
Borderlands 2 Game of the Year Guide Walkthrough
Hunting the Firehawk
|
 Mission Briefing
| Level | Money | XP | Gear |
|---|---|---|---|
|
8 |
$22 |
1187 |
Class Mod (White) |
*Money and XP may vary based on player’s level at start of mission.
Roland’s In Trouble
Make your way back to Sanctuary and head up to the second floor of the Crimson Raiders HQ. Open Roland’s safe to find a mysterious ECHO Recorder. Move this mission item to an empty slot in your backpack in order to play it. An anonymous and painfully masked voice claiming to be the Firehawk demands that Roland meet in Frostburn Canyon. You need to get to Frostburn Canyon if you ever want to see him again!
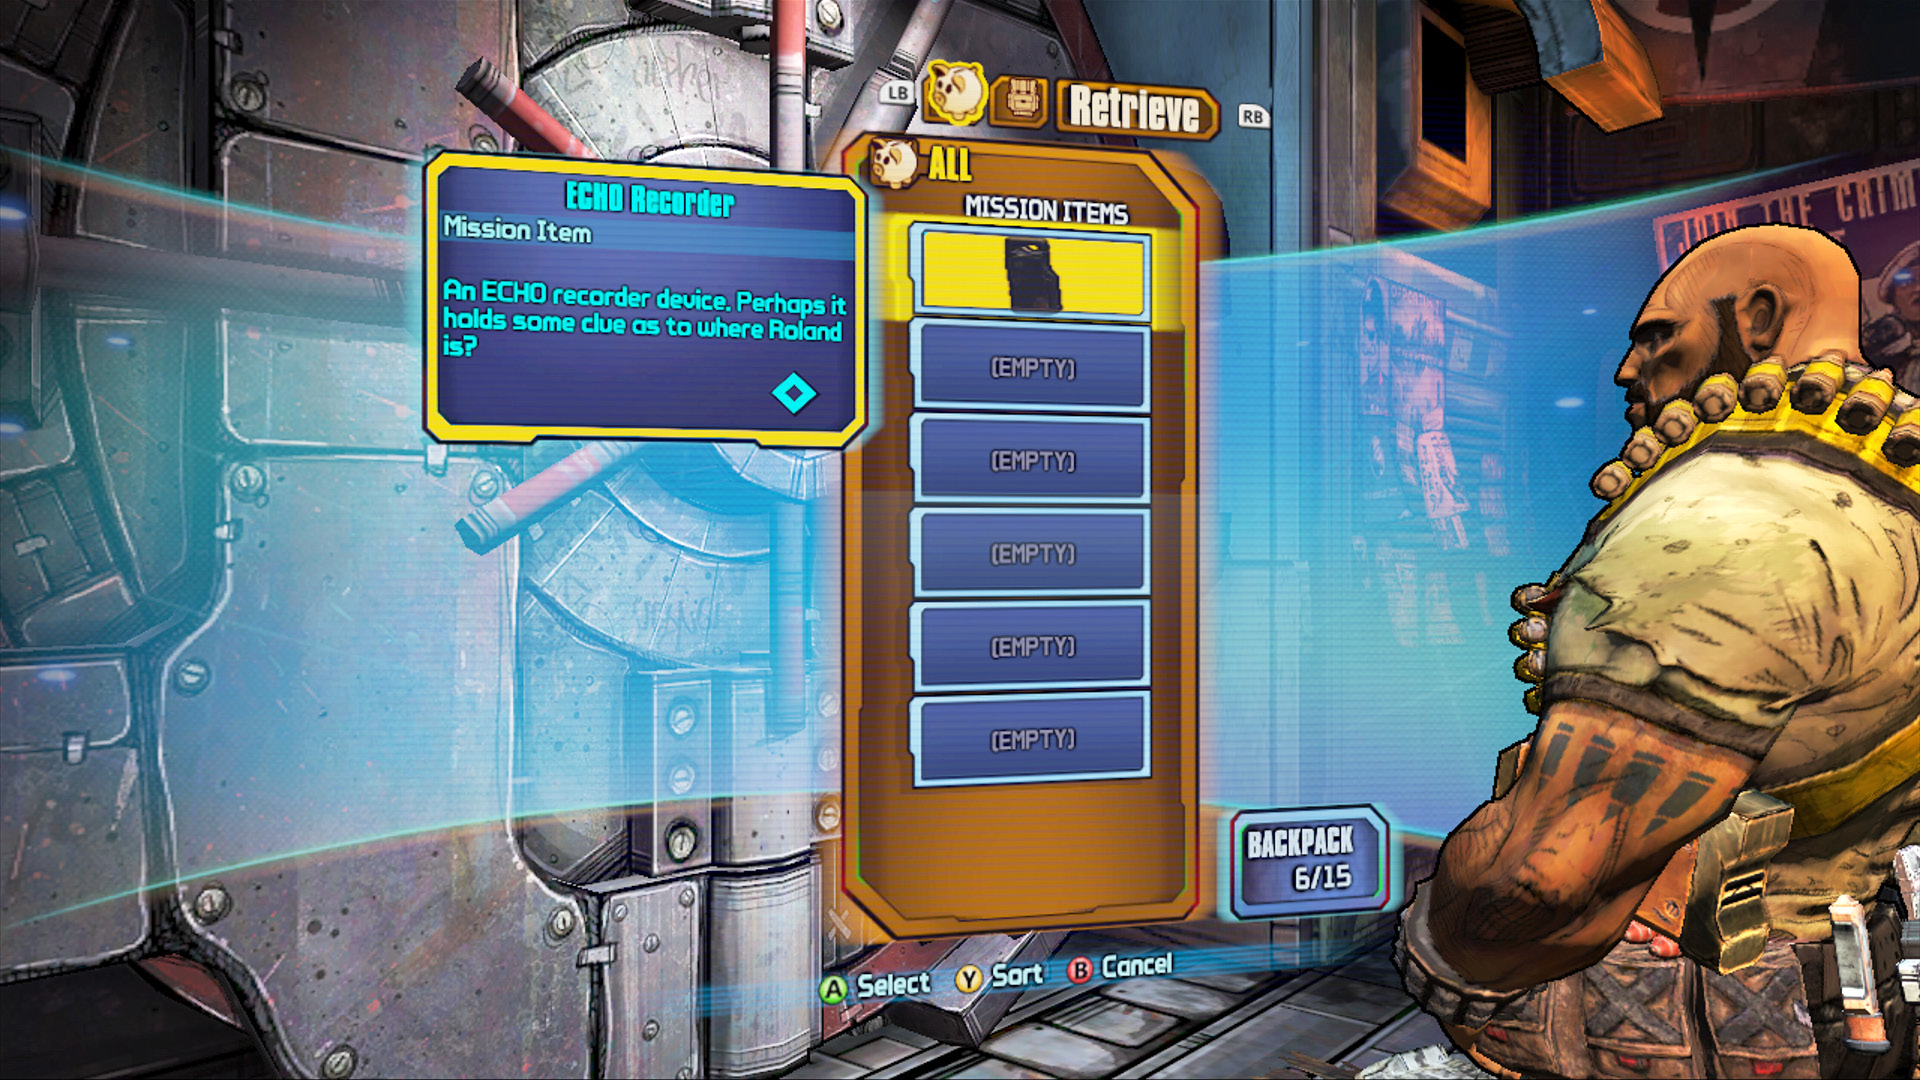
Slide the ECHO Recorder to your backpack to listen to the message.
If Roland is truly being held by this Firehawk person, then you’re going to have to get over to Frostburn Canyon and rescue him right away. Exit Sanctuary, grab a Light Runner from the Catch-a-Ride, and start heading south as if you were driving back toward the Marrowfield. Ignore the tunnel leading to Thirty Below on the left and continue to the right of the frozen waterfall, past the elevated ship. Make a hard left beyond the ship and drive (or run) across the bridge to the east.
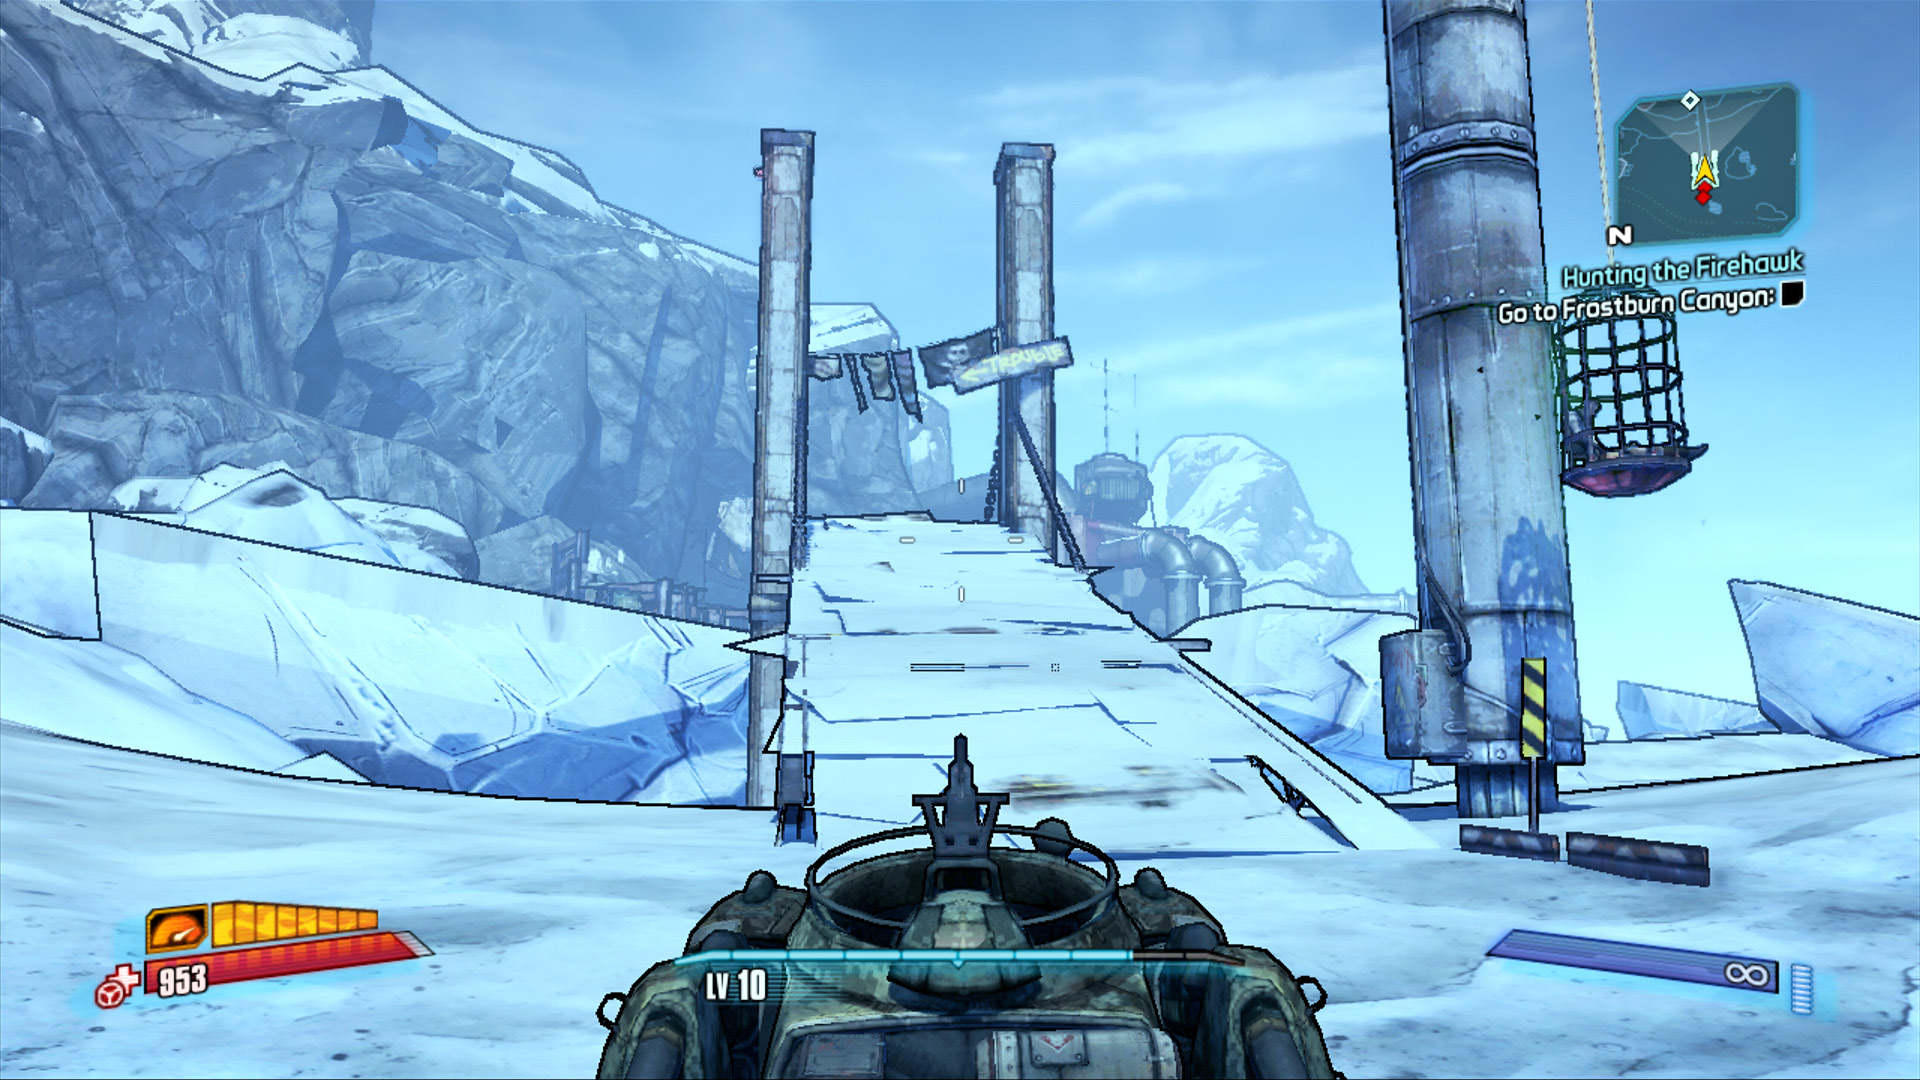
The entrance to Frostburn Canyon lies just beyond this bridge in Three Horns Divide.
The bandits inside Frostburn Canyon have set up a checkpoint of sorts outside the canyon’s entrance, meaning you’re going to have to fight your way in. This is the first area of many to come where you’ll encounter Nomad Pyros. These guys are highly resistant to fire, so have at least one non-fire weapon equipped and, if possible, swap to a Grenade Mod that inflicts explosive or another elemental type instead of fire.
Don’t hesitate to fall back outside the entrance to the bandit camp if the action gets too heated. There’s plenty of cover out there, thanks to its fortress-like walls on either side of the entryway. Use this cover to play the angles against isolated enemies and use the narrow opening to funnel them directly into your gunfire.
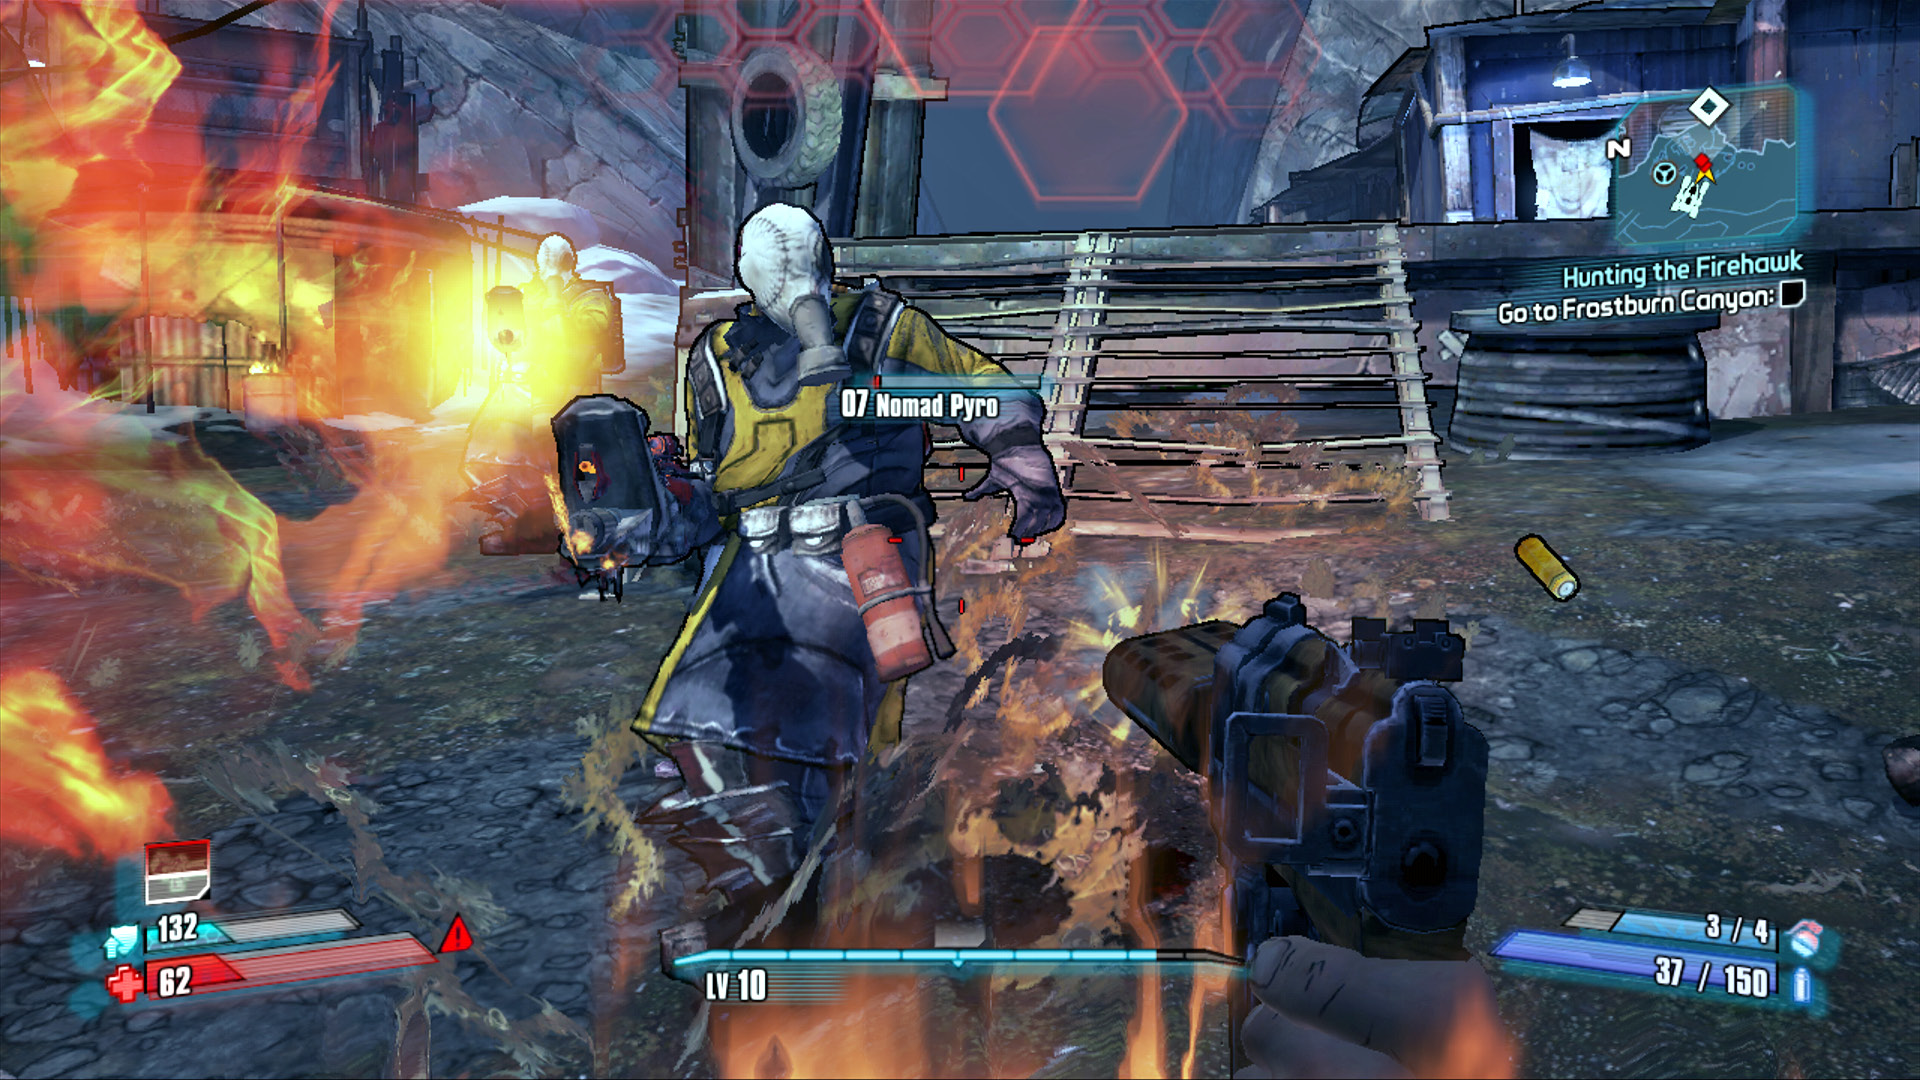
Some like it hot. You should not.
All Signs Point to Your Doom
The Guardian Angel will shed some light on the skirmish you witness upon entering Frostburn Canyon. Use the vending machines on the left to stock up on ammo and swap to non-fire weapons and grenades for flexibility, if possible. The Bloodshots you saw in the distance have erected seven signs pointing the way to the Firehawk’s Lair. These guys are taking revenge on the Firehawk for past killings and have posted these signs to help their members find the way in this very twisty, multi-level canyon.
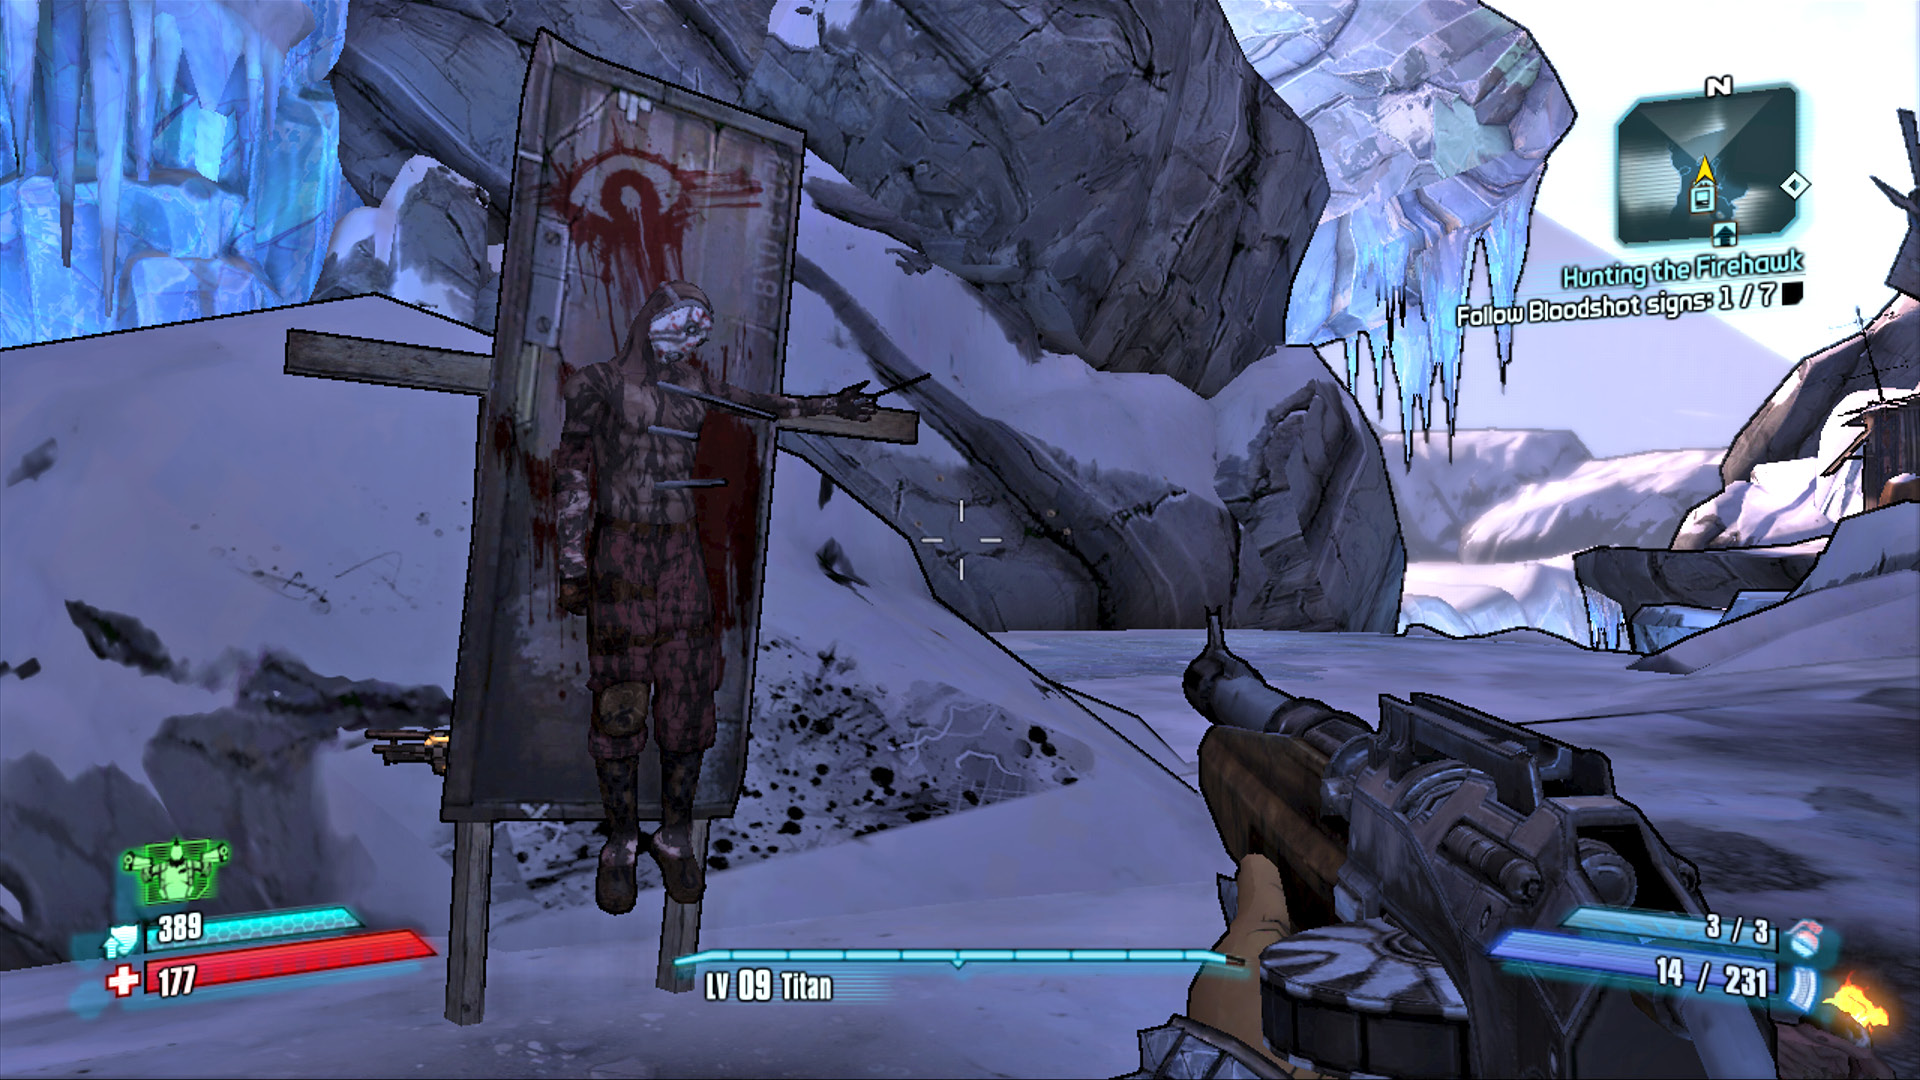
You’ve got to give them credit; the Bloodshots sure know how to point the way.
The first of seven signs is straight ahead, at the crossroads in front of the icefall. Follow the corpse’s outstretched arm to the right to locate Incinerator Camp just beyond the windmill on the left. This area is typically devoid of enemies and likely has some loot you can find. Take a moment to collect some extra money.
Continue to the right and loop around the northeast corner of Frostburn Canyon in a clockwise direction. The next stop is Blisterpus Camp. Stay high on the ice near Incinerator Camp and clear out the enemies on the upper left-hand portion of Blisterpus Camp so you can snipe the many Burning Psychos and Nomad Pyros down below without getting too close.
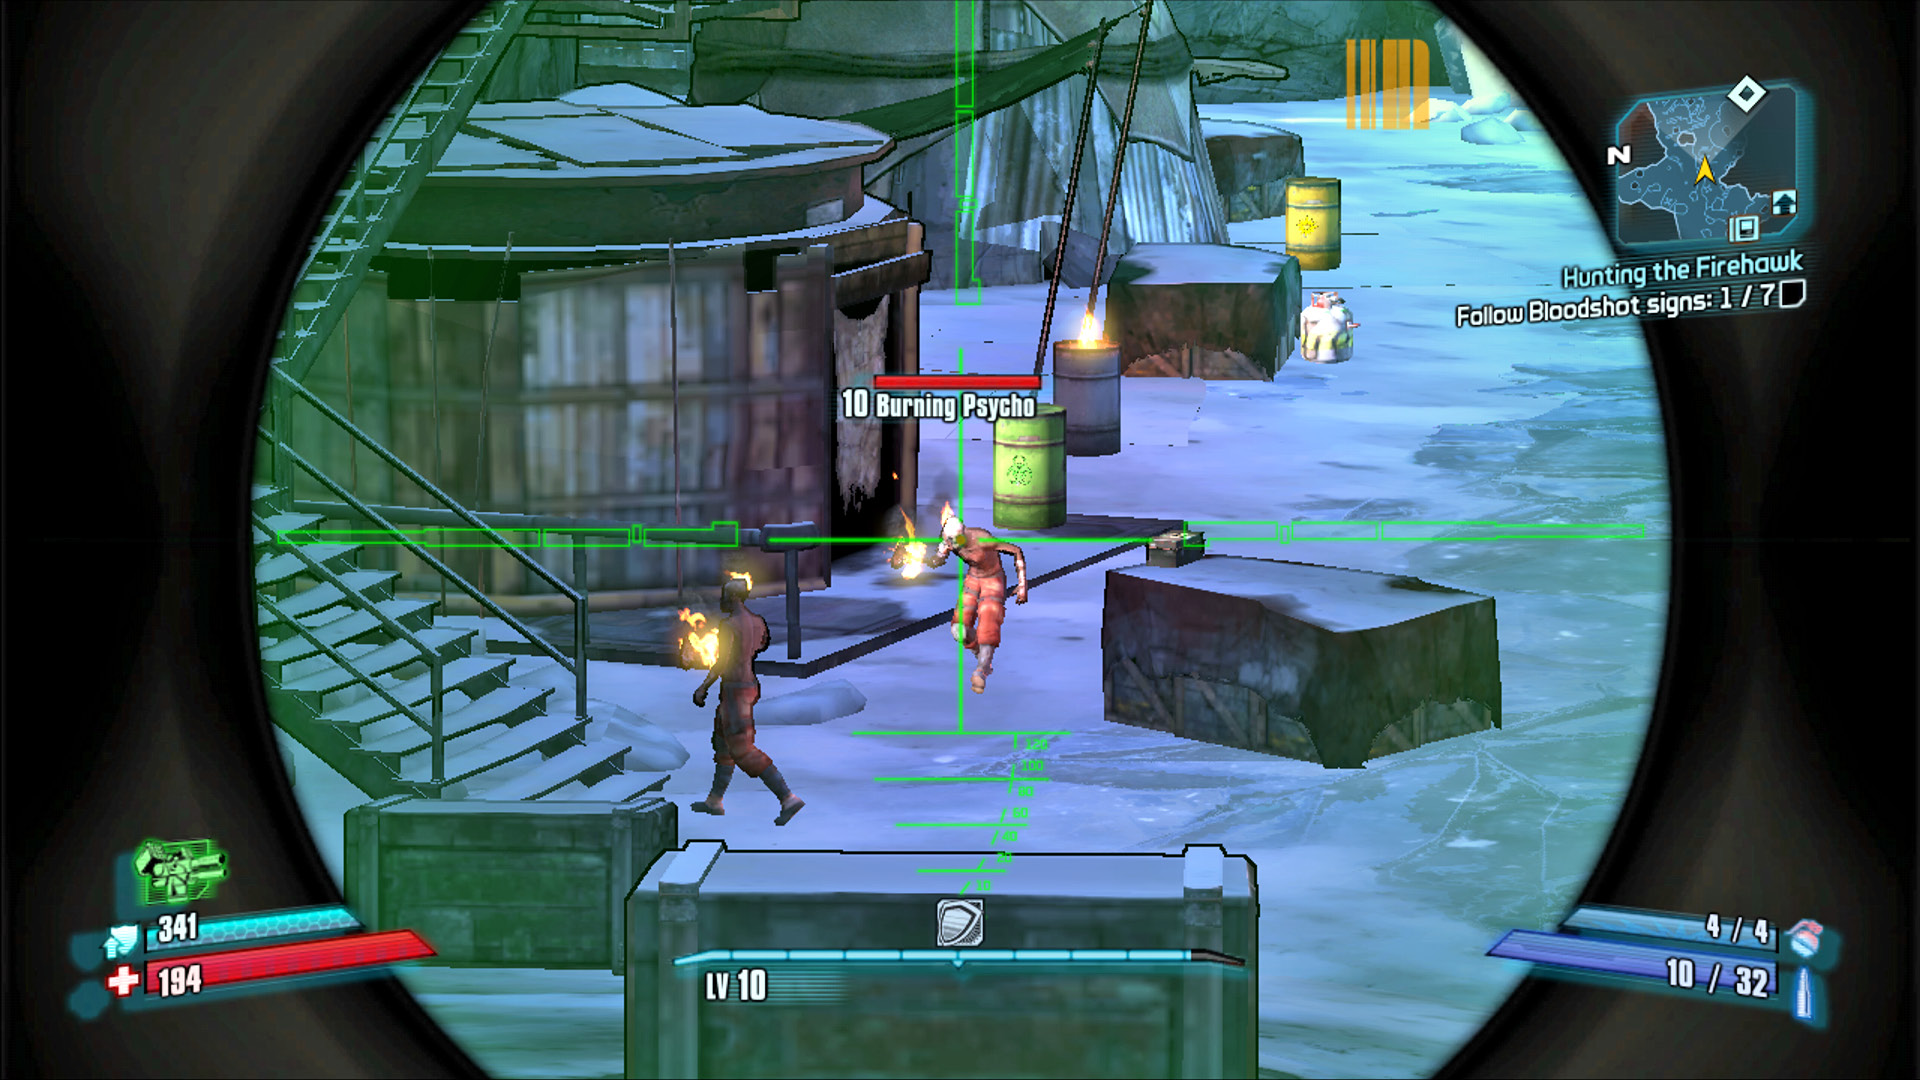
Blisterpus and Ashworth Camps are crawling with deadly enemies. When at all possible, snipe from an elevated position to thin the herd before charging in.
Blisterpus Camp will likely yield your first encounter with a Goliath. These crazed beasts only appear calm thanks to the iron mask affixed to their heads. If that mask comes off, look out! Shooting a Goliath in the head causes it to essentially level up and become a Raging Goliath, at which point it attacks anything nearby, including its bandit allies. You can use Goliaths to your advantage by sniping their masks off from afar to effectively unleash them on an enemy encampment. This is particularly useful against Nomad Pyros and Badass Psychos, who can pose a serious challenge in numbers. Just know that you do not receive any XP for the enemies killed by a Goliath, even if you inflict the majority of the damage.
There’s no need to fully incite everyone in Blisterpus Camp if you don’t want to. It’s possible to bypass much of the camp by just skirting it via the rocky path on the right, away from the elevated walkways and huts, then continuing straight for the second Bloodshot Sign near the New-U station. Nevertheless, Blisterpus Camp is a great spot to farm XP, gather some good loot, and even encounter a Midget Loot Marauder who, when killed, gushes forth a veritable fountain of money and loot—think of him as piñata of evil!
Venture south past Blisterpus Camp and into the narrow depths of Blacktoe Canyon, home of the spiderant species. Like most other creatures in Pandora, spiderants have a distinct weakness that, depending on your firepower, can result in a one-shot kill. Aim for their unprotected abdomen to eliminate them quickly as opposed to chipping away at their armored carapace or head. Try to snipe from afar before they even know you’re there; otherwise, they’ll do everything in their power to cover their ass—literally.
Fight through Blacktoe Canyon to the stairs in the distance where the fourth and fifth Bloodshot Signs are. Leave the barrel at the landing as-is and continue up the stairs toward the Totem of Fire in the distance. Kill any lesser enemies that attack until a Badass Psycho appears. Pepper him with shots; then, if he’s giving you trouble, lead him back down the stairs and detonate the barrel you passed earlier. A second Badass Psycho may attack not far from where the first originated, but at least you’ll be able to face him alone.
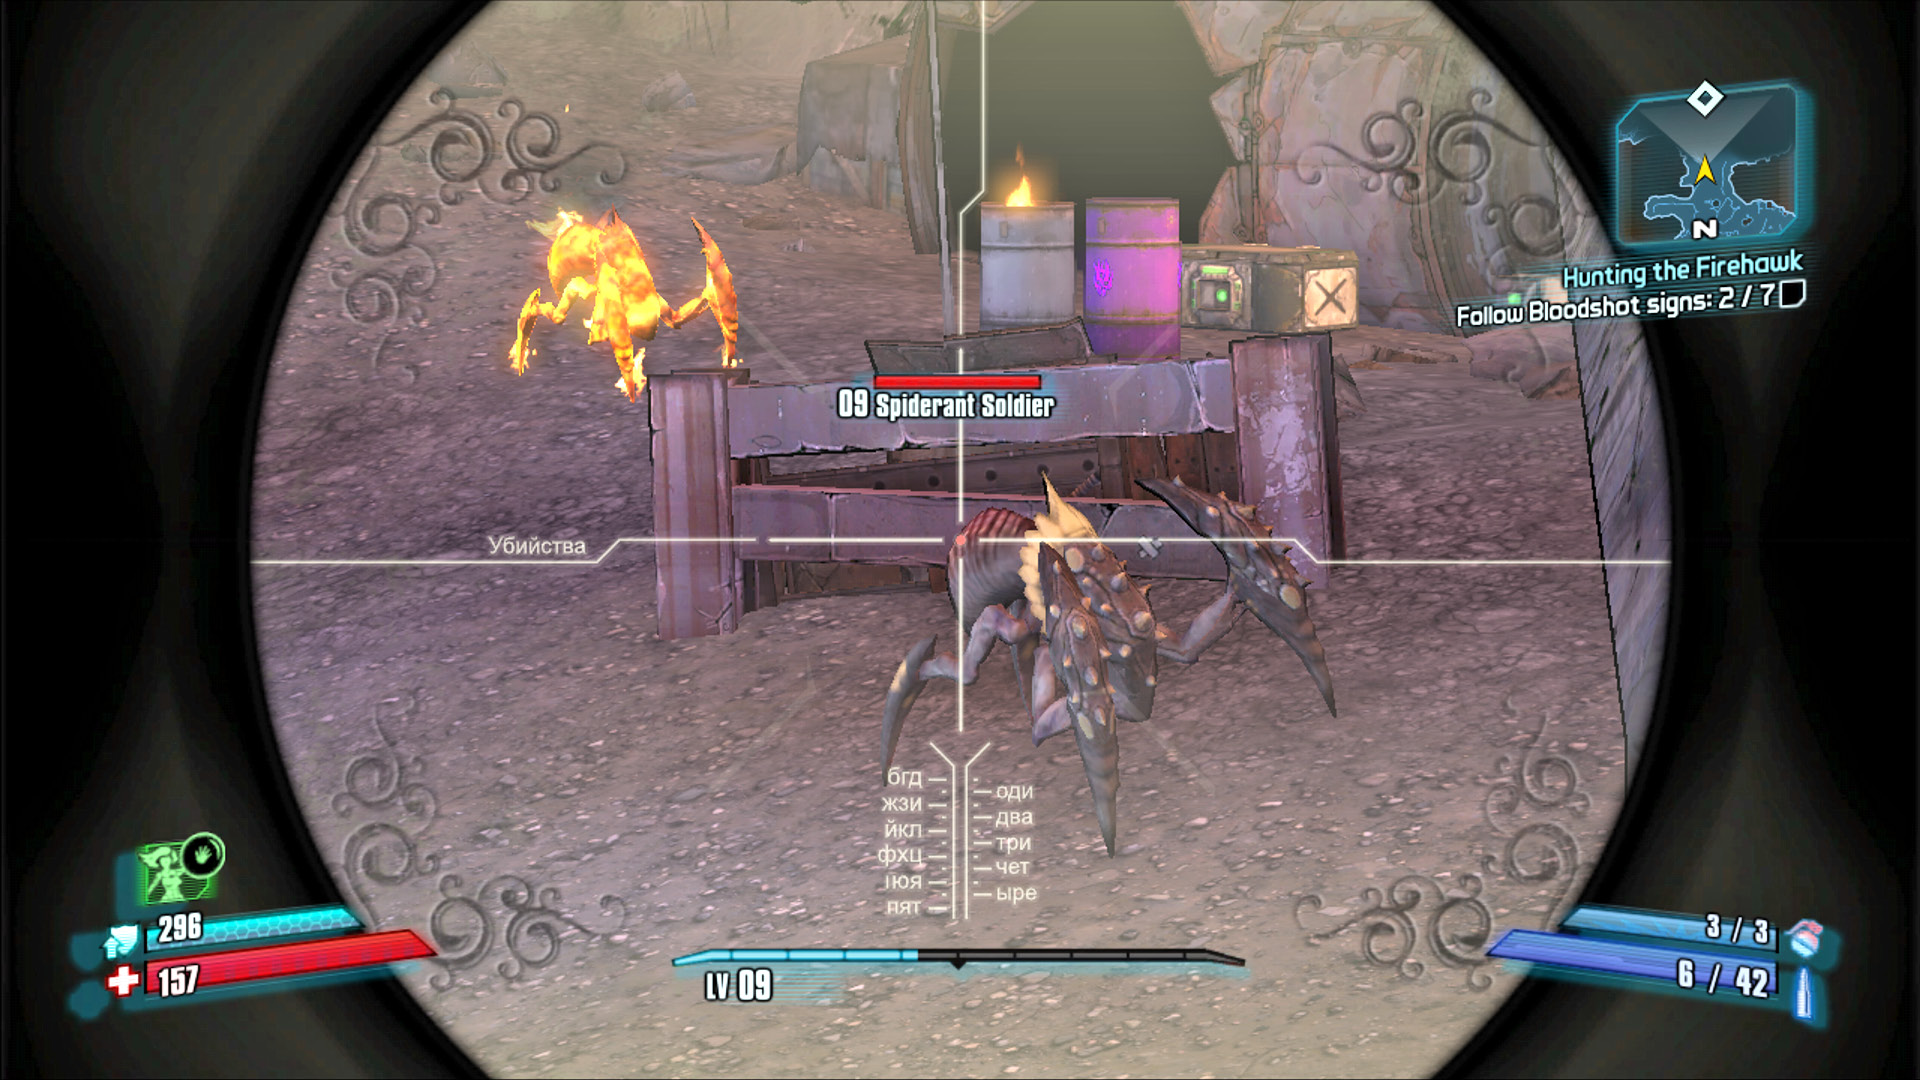
Target the soft, fleshy abdomen on the rear of a spiderant at first opportunity.
Continue on to the fifth Bloodshot Sign in the distance and stay to the left to climb onto the icy plateau near the supply depot. Set to clearing out the spiderants in the area without disturbing the bandits in camp below. Focus on taking out the Spiderant Workers first to cut down on the webbing being shot your way. These creatures spew a form of webbing that not only blocks your vision and does minor damage, but also slows you down, making you vulnerable to attack from their deadly pinchers.
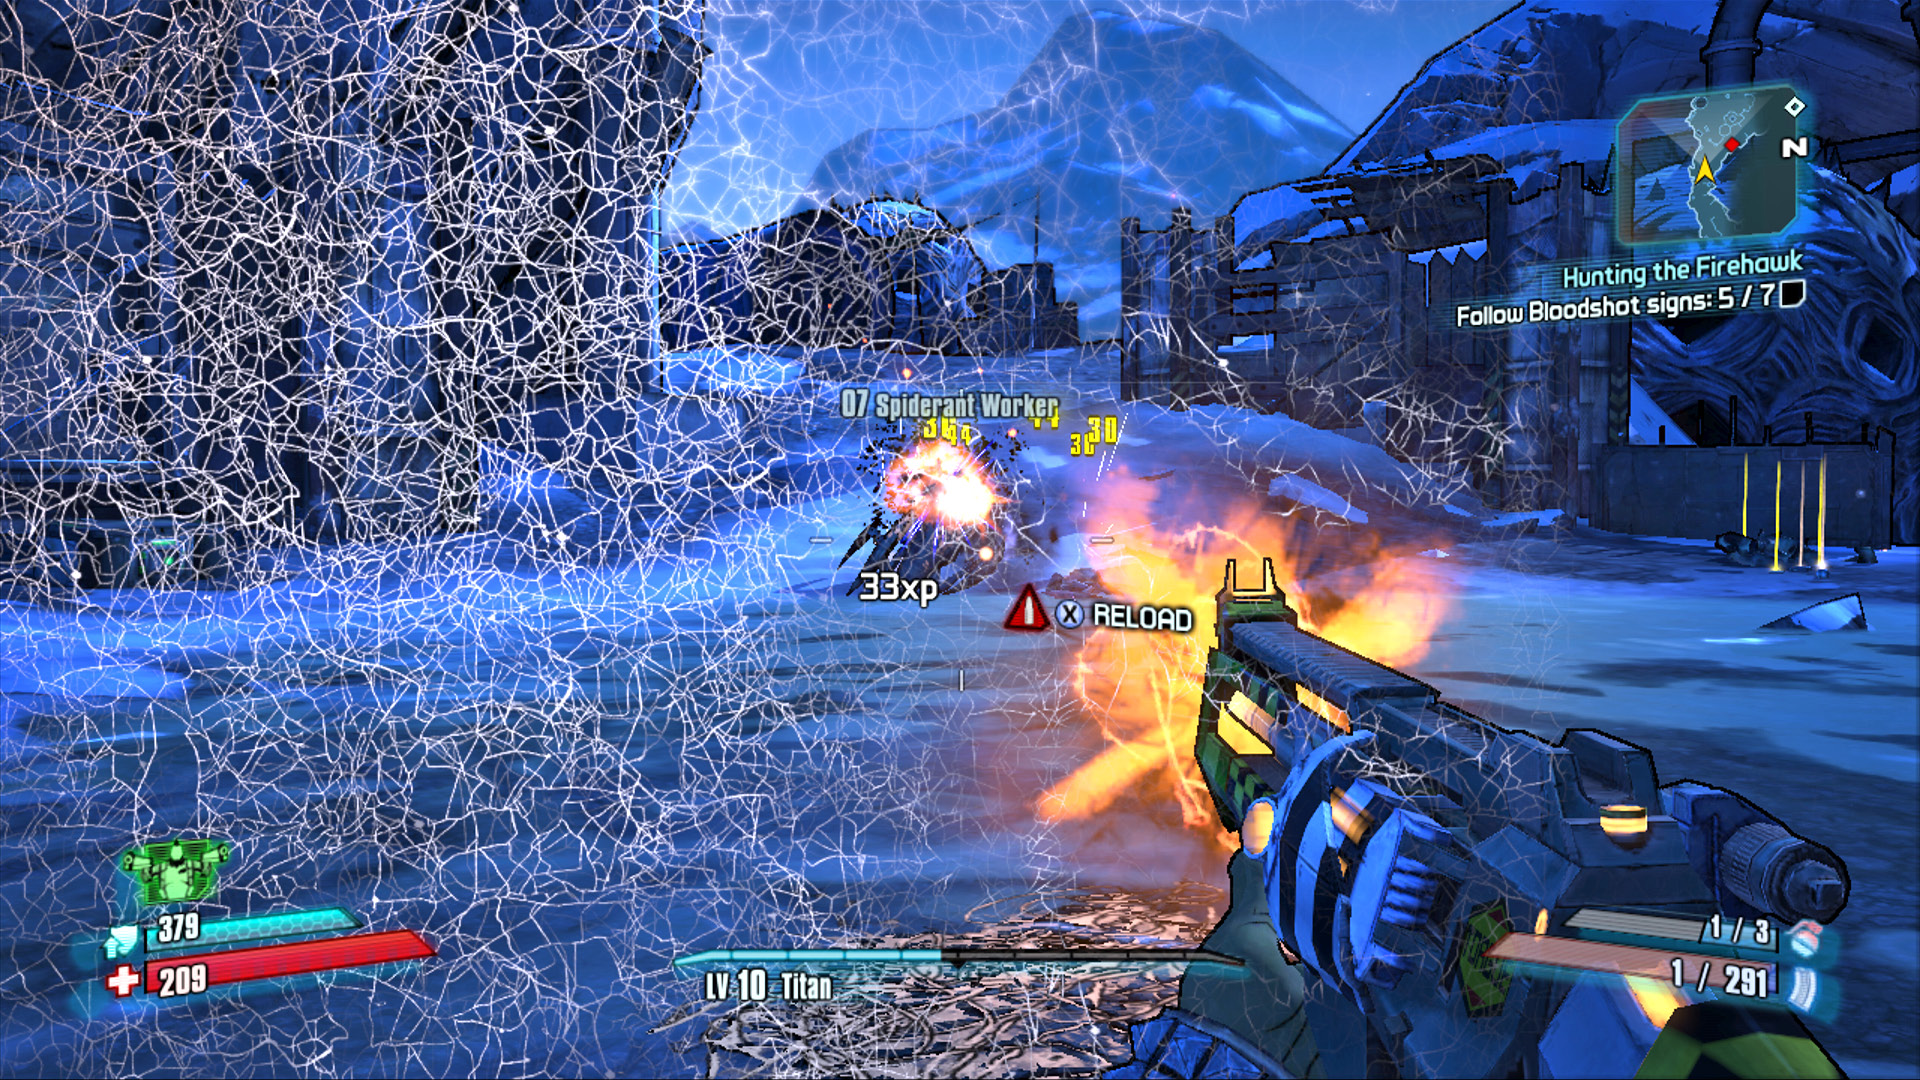
Spiderant Workers fight by trapping you in a web, then attacking en masse.
Once you’ve killed the spiderants and gathered up the loot, you can start using this icy vantage point to snipe the Nomad Pyros, Goliaths, and other assorted baddies in Ashworth Camp below. Ashworth Camp is similar to Blisterpus Camp in terms of size and the number of enemies residing in all of those huts and teepees. Stick to the upper left-hand side and use the barrels along the walkway to eliminate the Burning Psychos and others residing up top, then head out onto the ledge to raid the weapons chest perched above the abyss. Descend to solid ground and locate the chest behind the teepee, just north of the westernmost Totem of Fire.
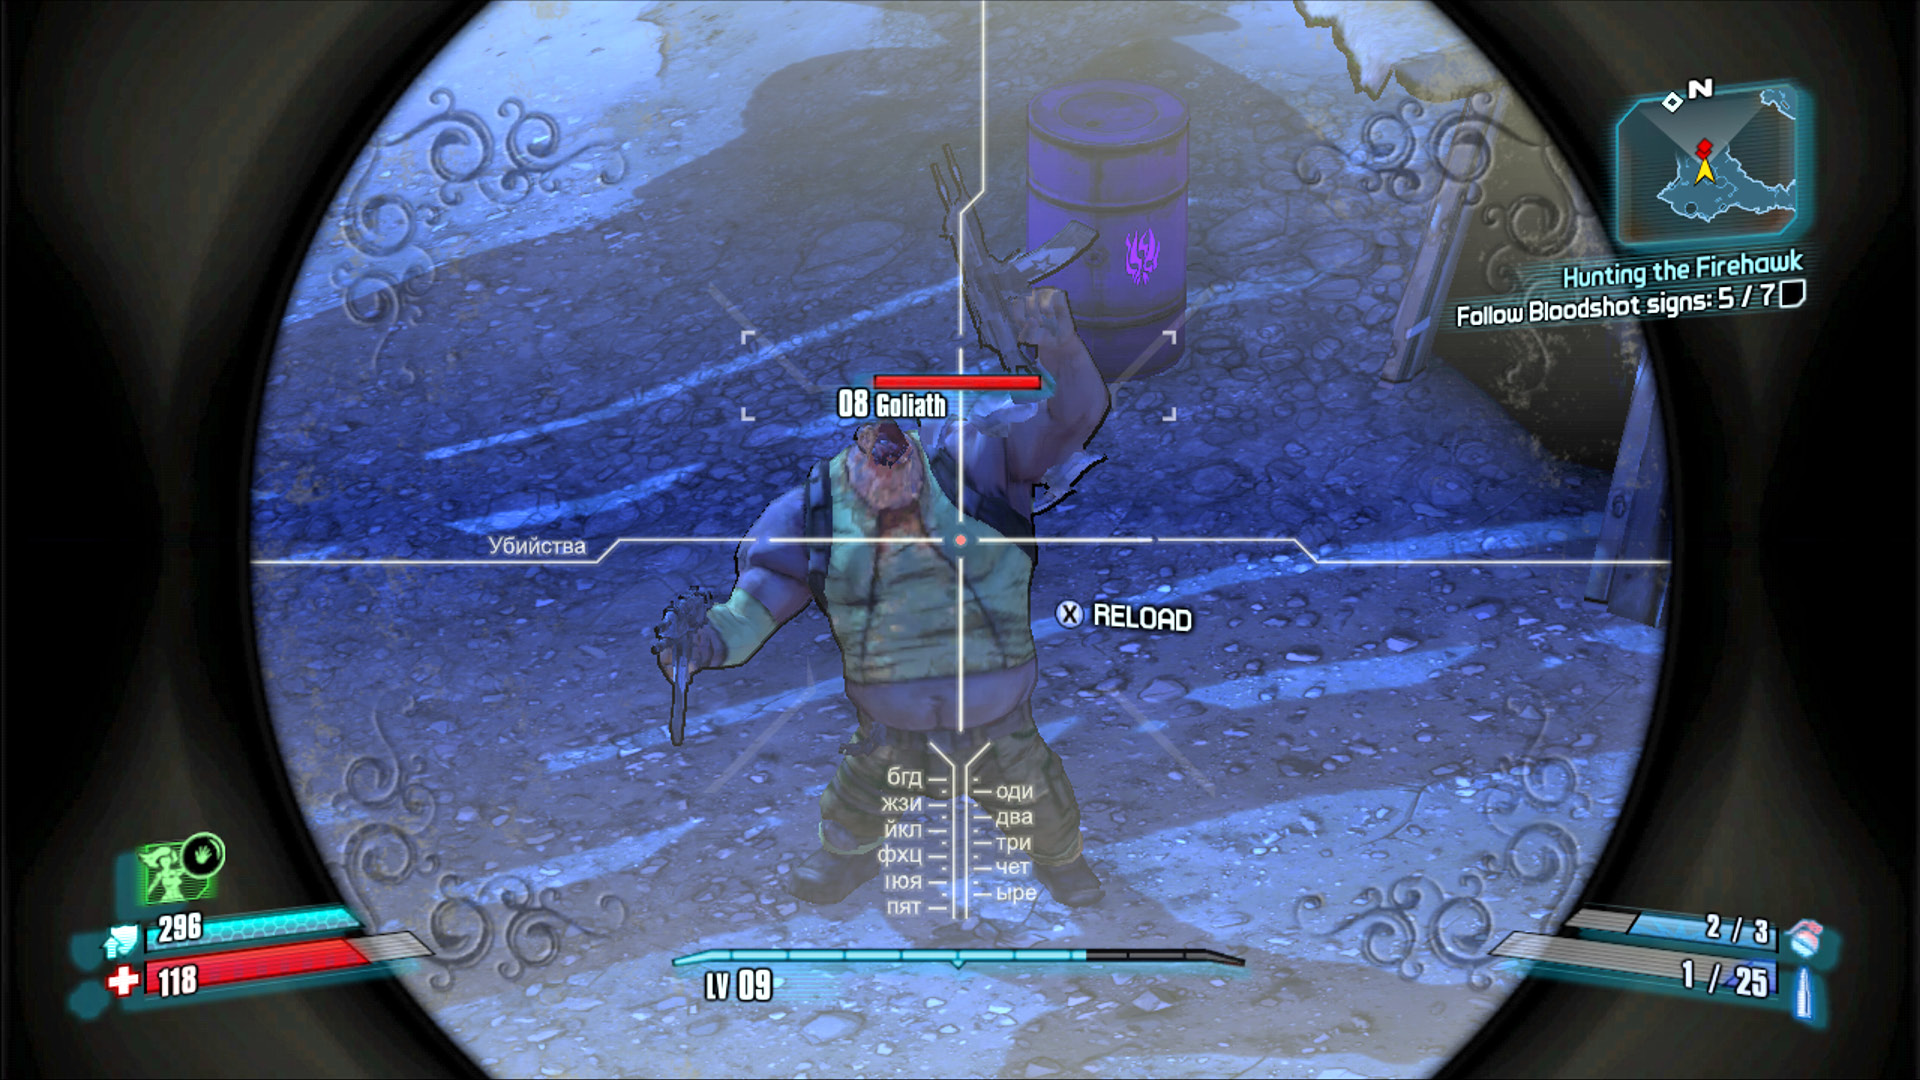
Snipe the Goliath’s mask off from the safety of the icy Spiderant den overlooking the camp.
Continue into the forked cave up ahead to find the sixth Bloodshot Sign pointing toward the Firehawk Lair. The first few traps that the Guardian Angel warns you of are all on the right-hand side of the tunnel. Look for the metal pipes and keep to the far left to avoid the fire that erupts from them as you get near. Later traps are located in the ceiling, but can be easily avoided.
Carefully balance your way across the narrow metal bridges erected over the chasm and proceed through the winding cave to the northwest. The seventh Bloodshot Sign lies just beyond the second balance-beam, along with another ceiling-mounted fire trap.
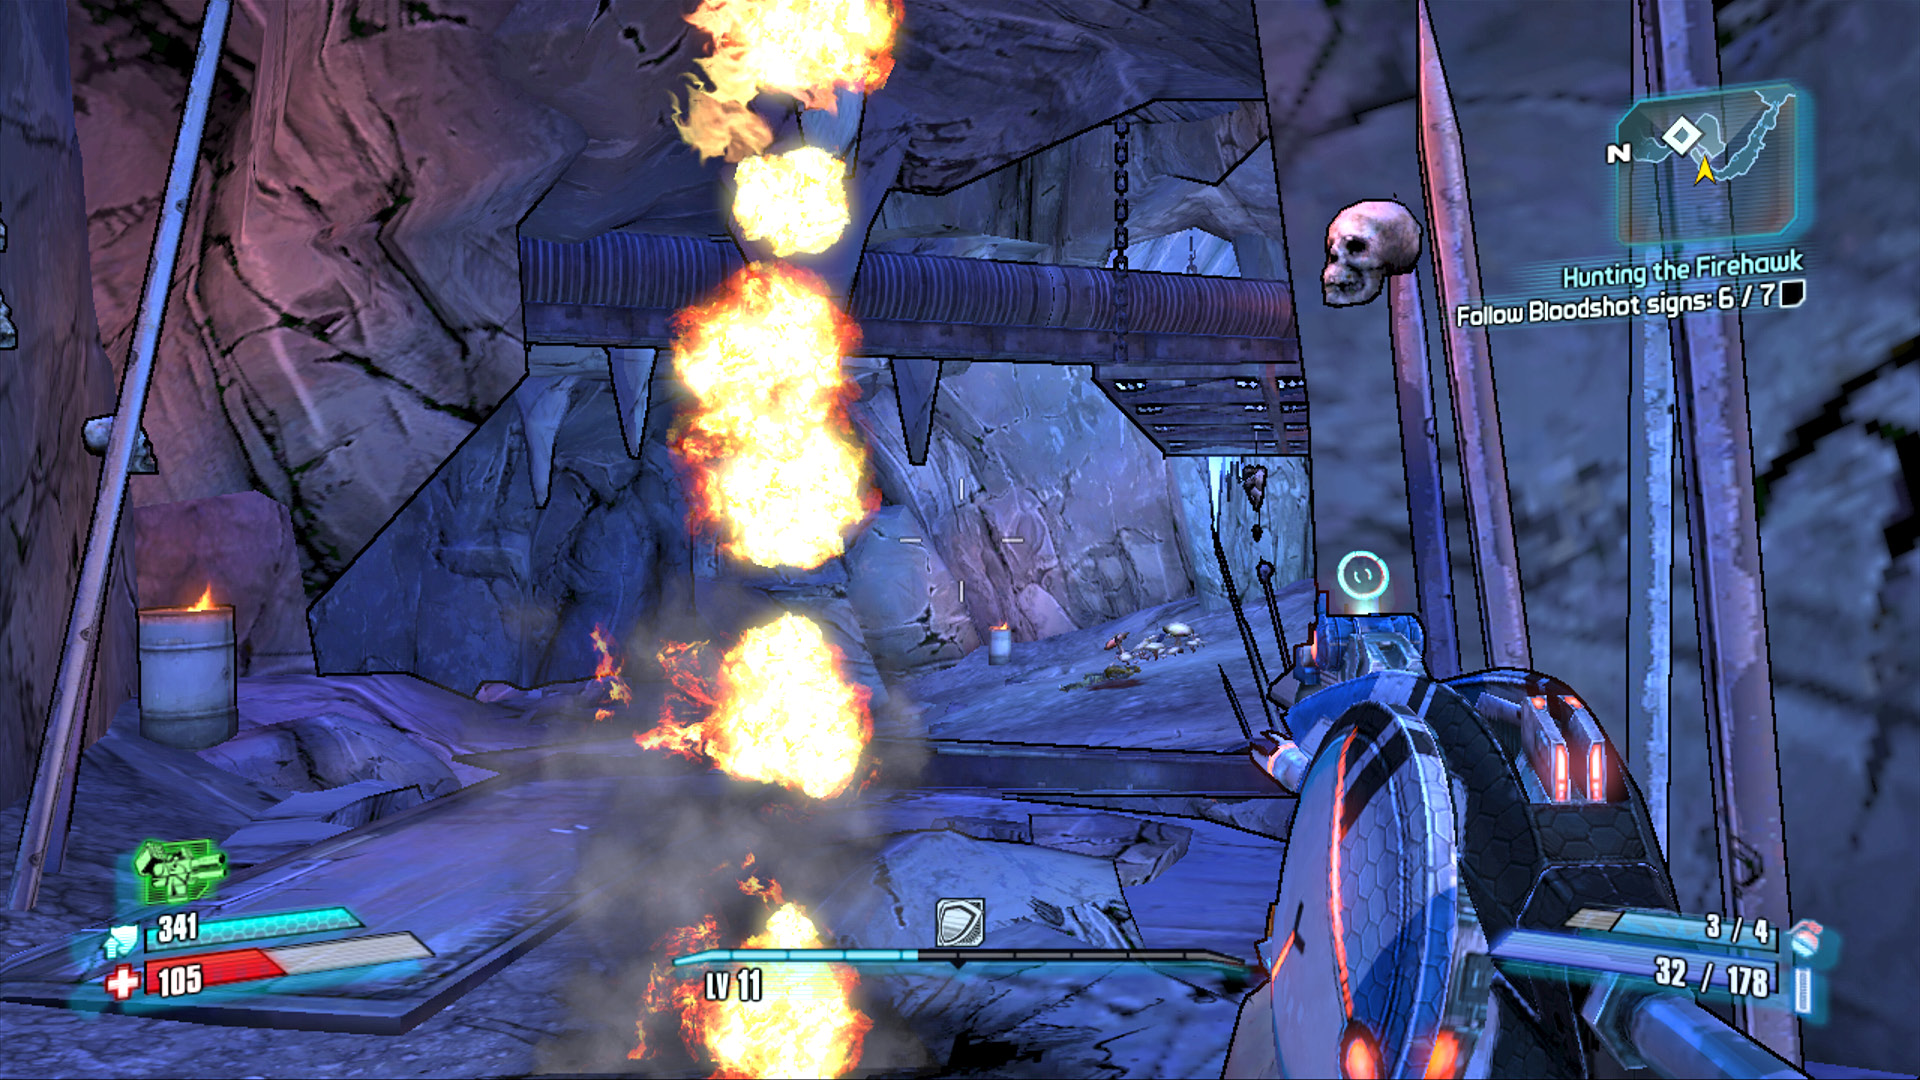
You’re getting warmer…
Vault Hunter, Friend, Enabler
Enter the Firehawk Lair to meet the one and only Lilith, one of the world’s only Sirens and a former Vault Hunter like yourself. Lilith was one of the four Vault Hunters responsible for opening the first Vault. She’s been hiding out ever since, but she’s seen better days. Help her to her feet, then fetch the Eridium Nugget from the strongbox on the platform to the north and give it to her.
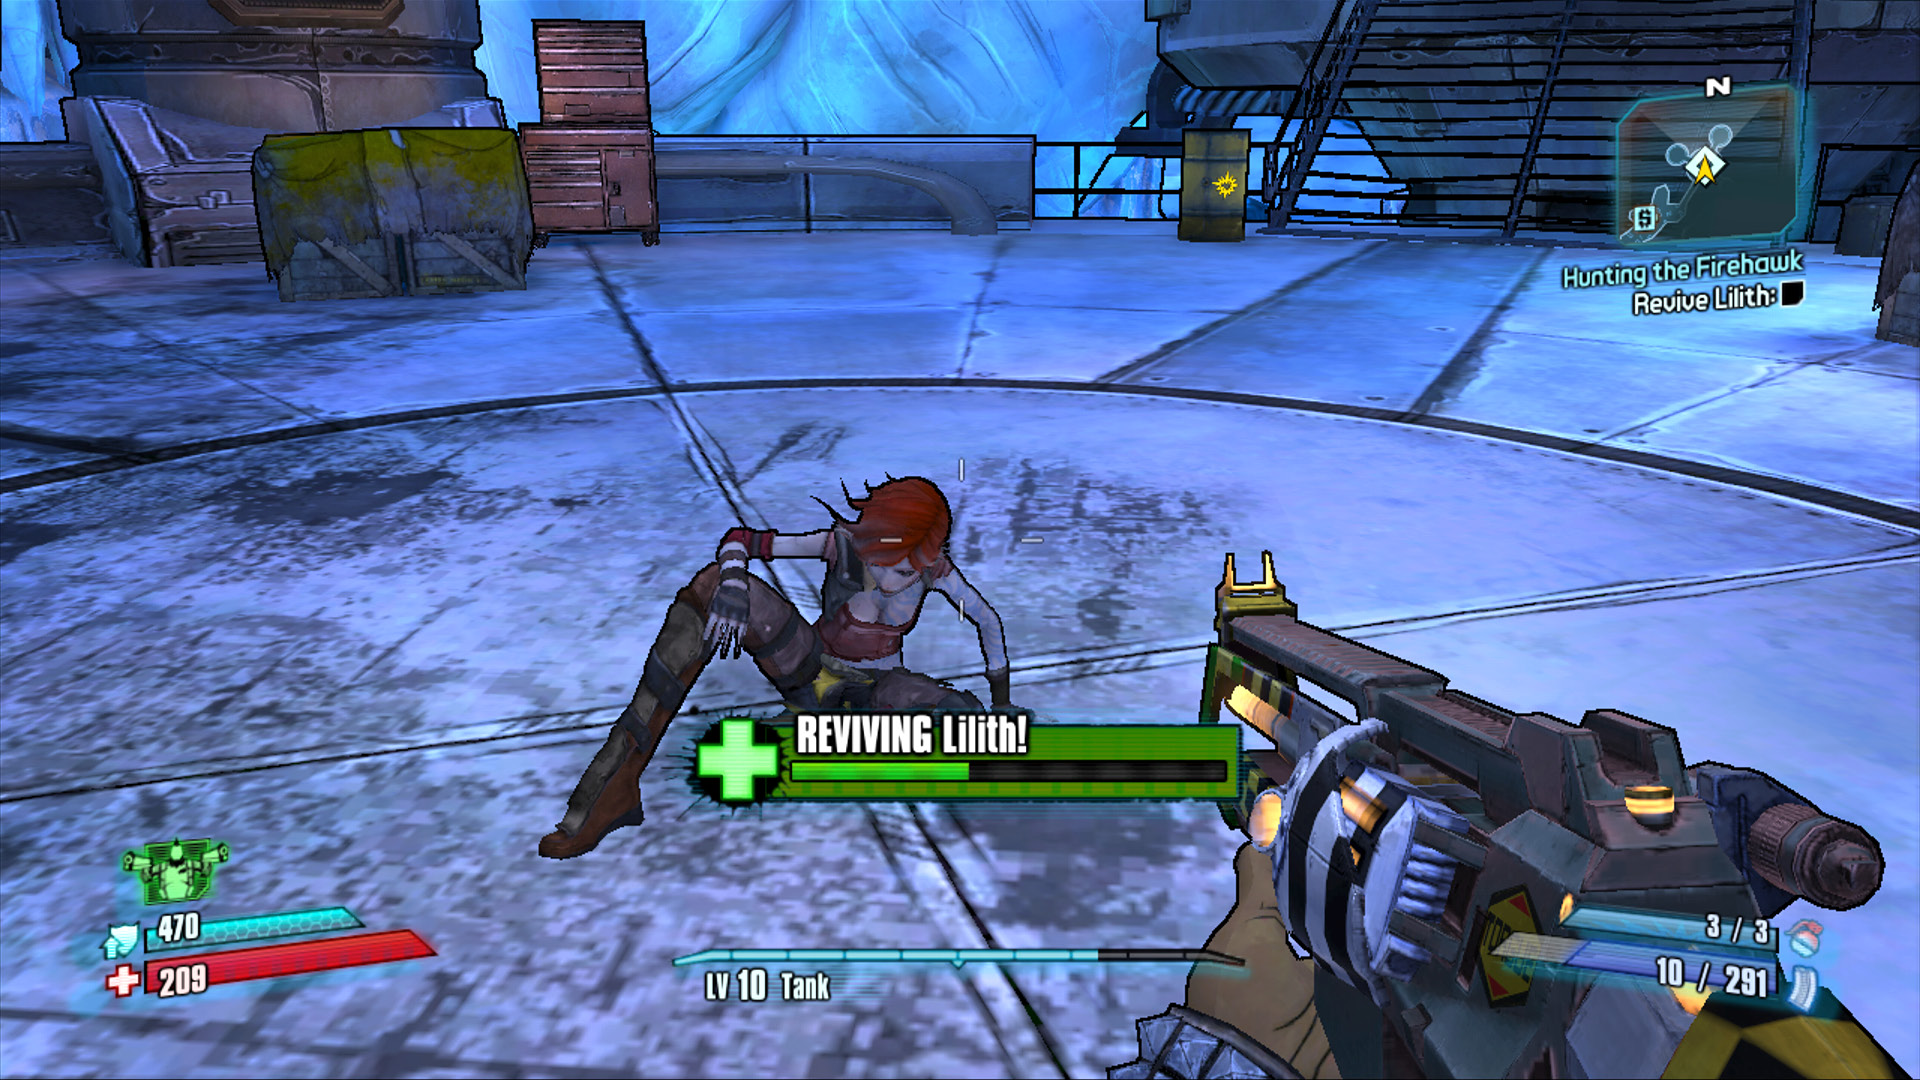
Years of Eridium abuse tends to have an effect on people. Sirens, too…
You get Lilith back to her feet just as the Bloodshots find a way into her lair. The first wave of Bloodshots attack from the northern platform, where you just retrieved the Eridium Nugget. Consisting mostly of Psychos and Crazed Marauders, many will fall quite quickly to Lilith’s Phaseblast attacks. The rest are yours to mop up. You can head up onto the northern platform and take the fight to them or you can stay down in the center and kill them as they charge down the stairs. Either way, avoid shooting any barrels until the Badass Psycho appears. His arrival signals the end of the first wave.
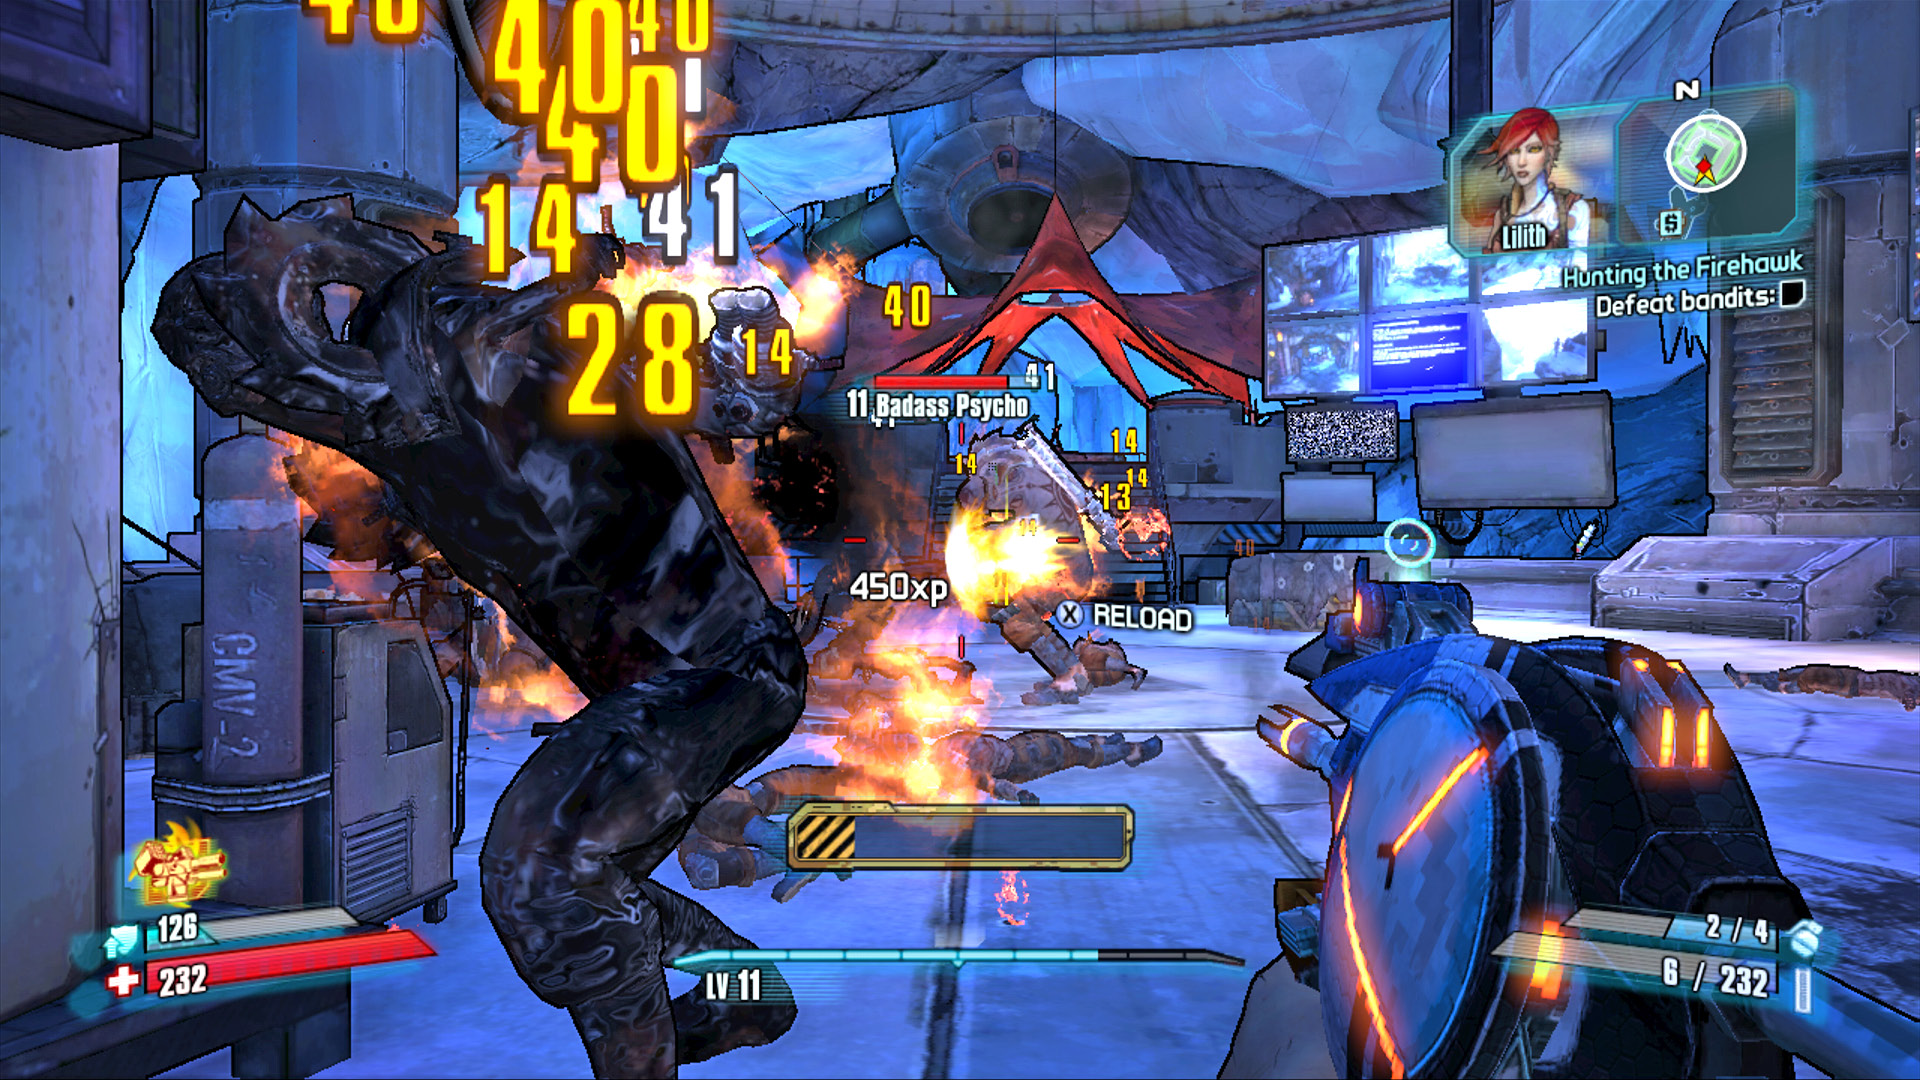
There aren’t any fire-resistant enemies in this fight—smoke ‘em if you got ‘em!
The second wave attacks from the western platform. Although the same variety of enemies attacks in this second wave, they are more numerous and harder to beat back at close range. Consider staying on the lower level or making a stand on the northern platform to give the Bloodshots more time to spread out. Gun them down as they make their way up the stairs to the northern platform. This wave ends with a simultaneous attack from two Badass Psychos. Lilith will continue to assist, but you need to do the heavy lifting. Target any barrels that have somehow remained intact and toss any grenades you have at them. It’s important to inflict status effects to continue to drain their health while you’re reloading or running for cover.
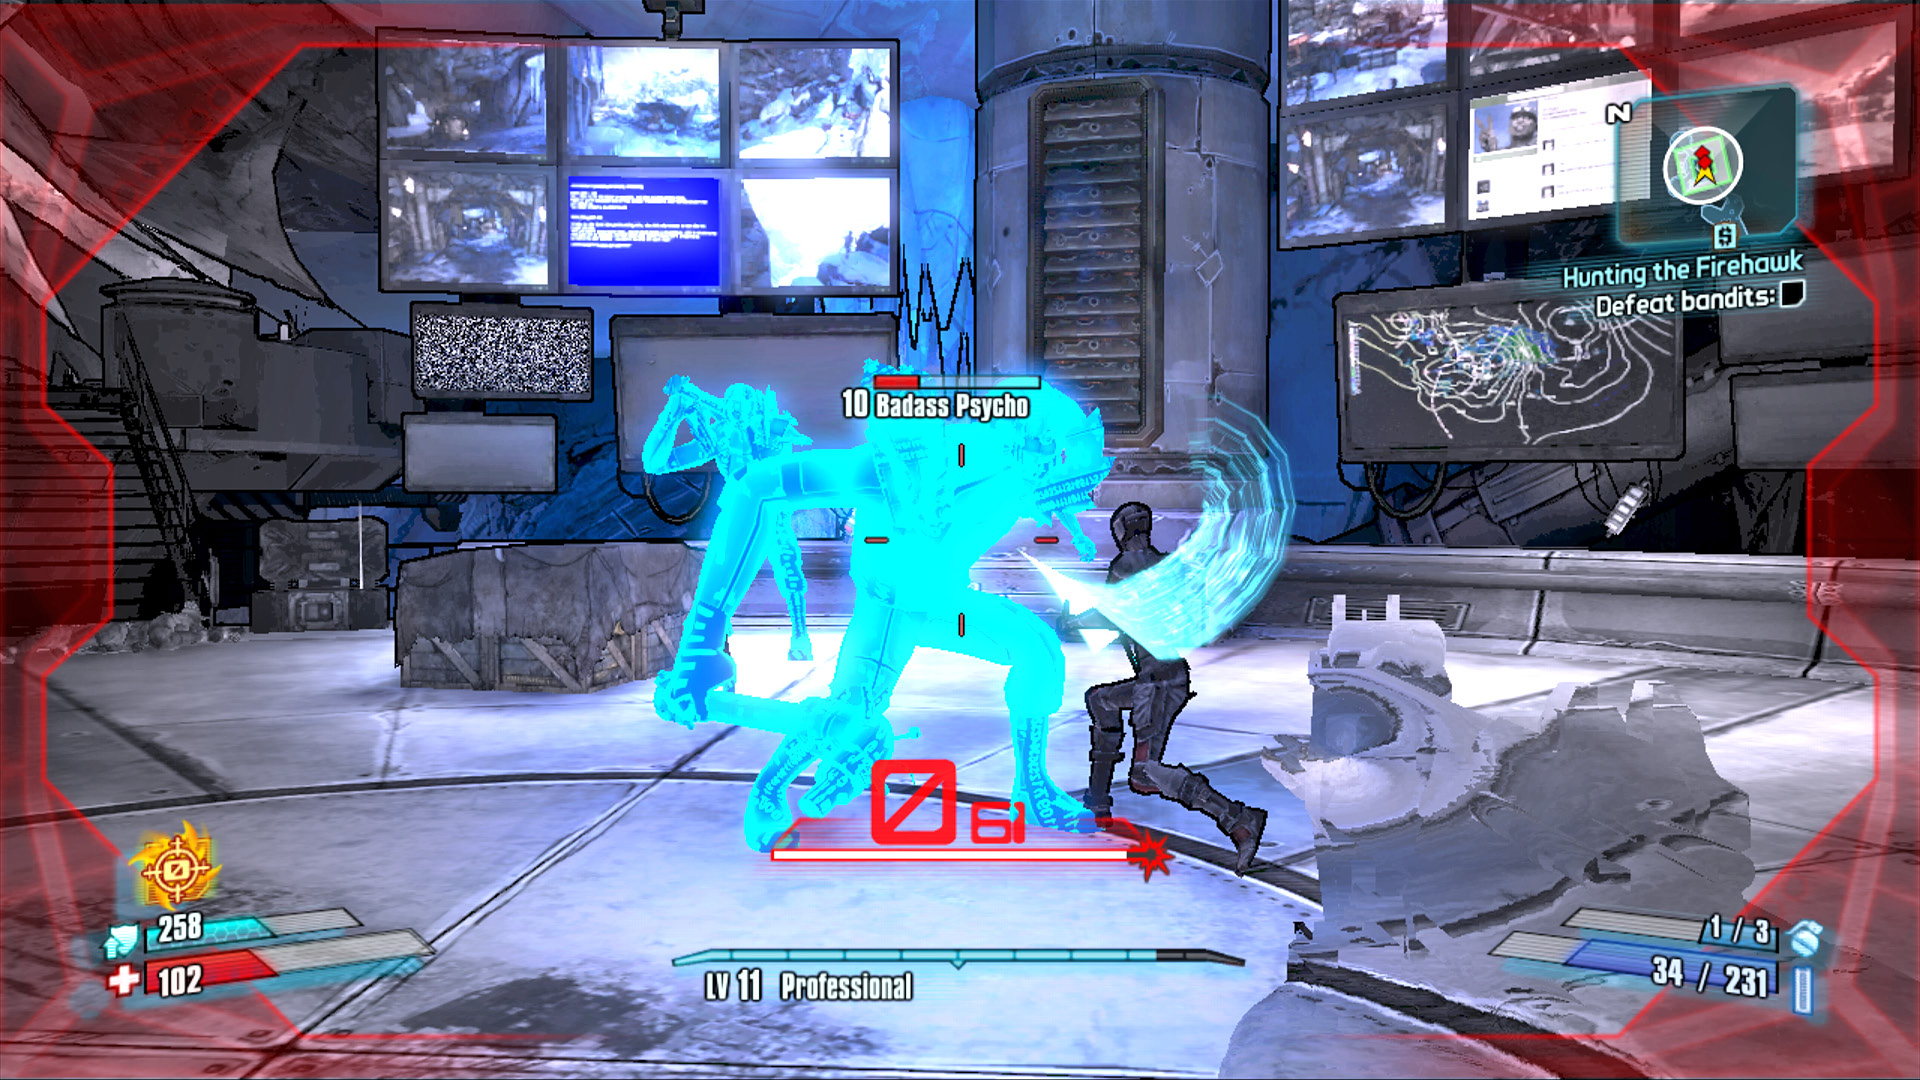
Focus your attacks on one Badass Psycho at a time. It’s better to have one healthy Psycho Badass attacking you than two partially damaged ones.
Retrieve the Eridium Nugget from the strongbox on the western platform and give it to Lilith. Speak to her again to complete the mission and gain her assistance in searching for Roland.
The Dust
If you’re eager to die of thirst or vehicular manslaughter, then you’ve just found your next vacation destination. The area now known as The Dust used to be a thriving frontier town known as Sweetsummer. Unfortunately, God has no pity on towns with goofy-sounding names, and so the entire area was buried under a sandstorm lasting six months.
This sprawling desert is one of the largest regions on Pandora and serves as an interlude of sorts. Although your initial visit is mandatory, much of the time you spend in The Dust is purely optional (but should not be avoided, thanks to the area’s colorful inhabitants). This area is home to the Hodunk family, as well as Ellie, one of only three Hodunks to ever leave the family alive. (The other two, of course, are her brother and her mother.)
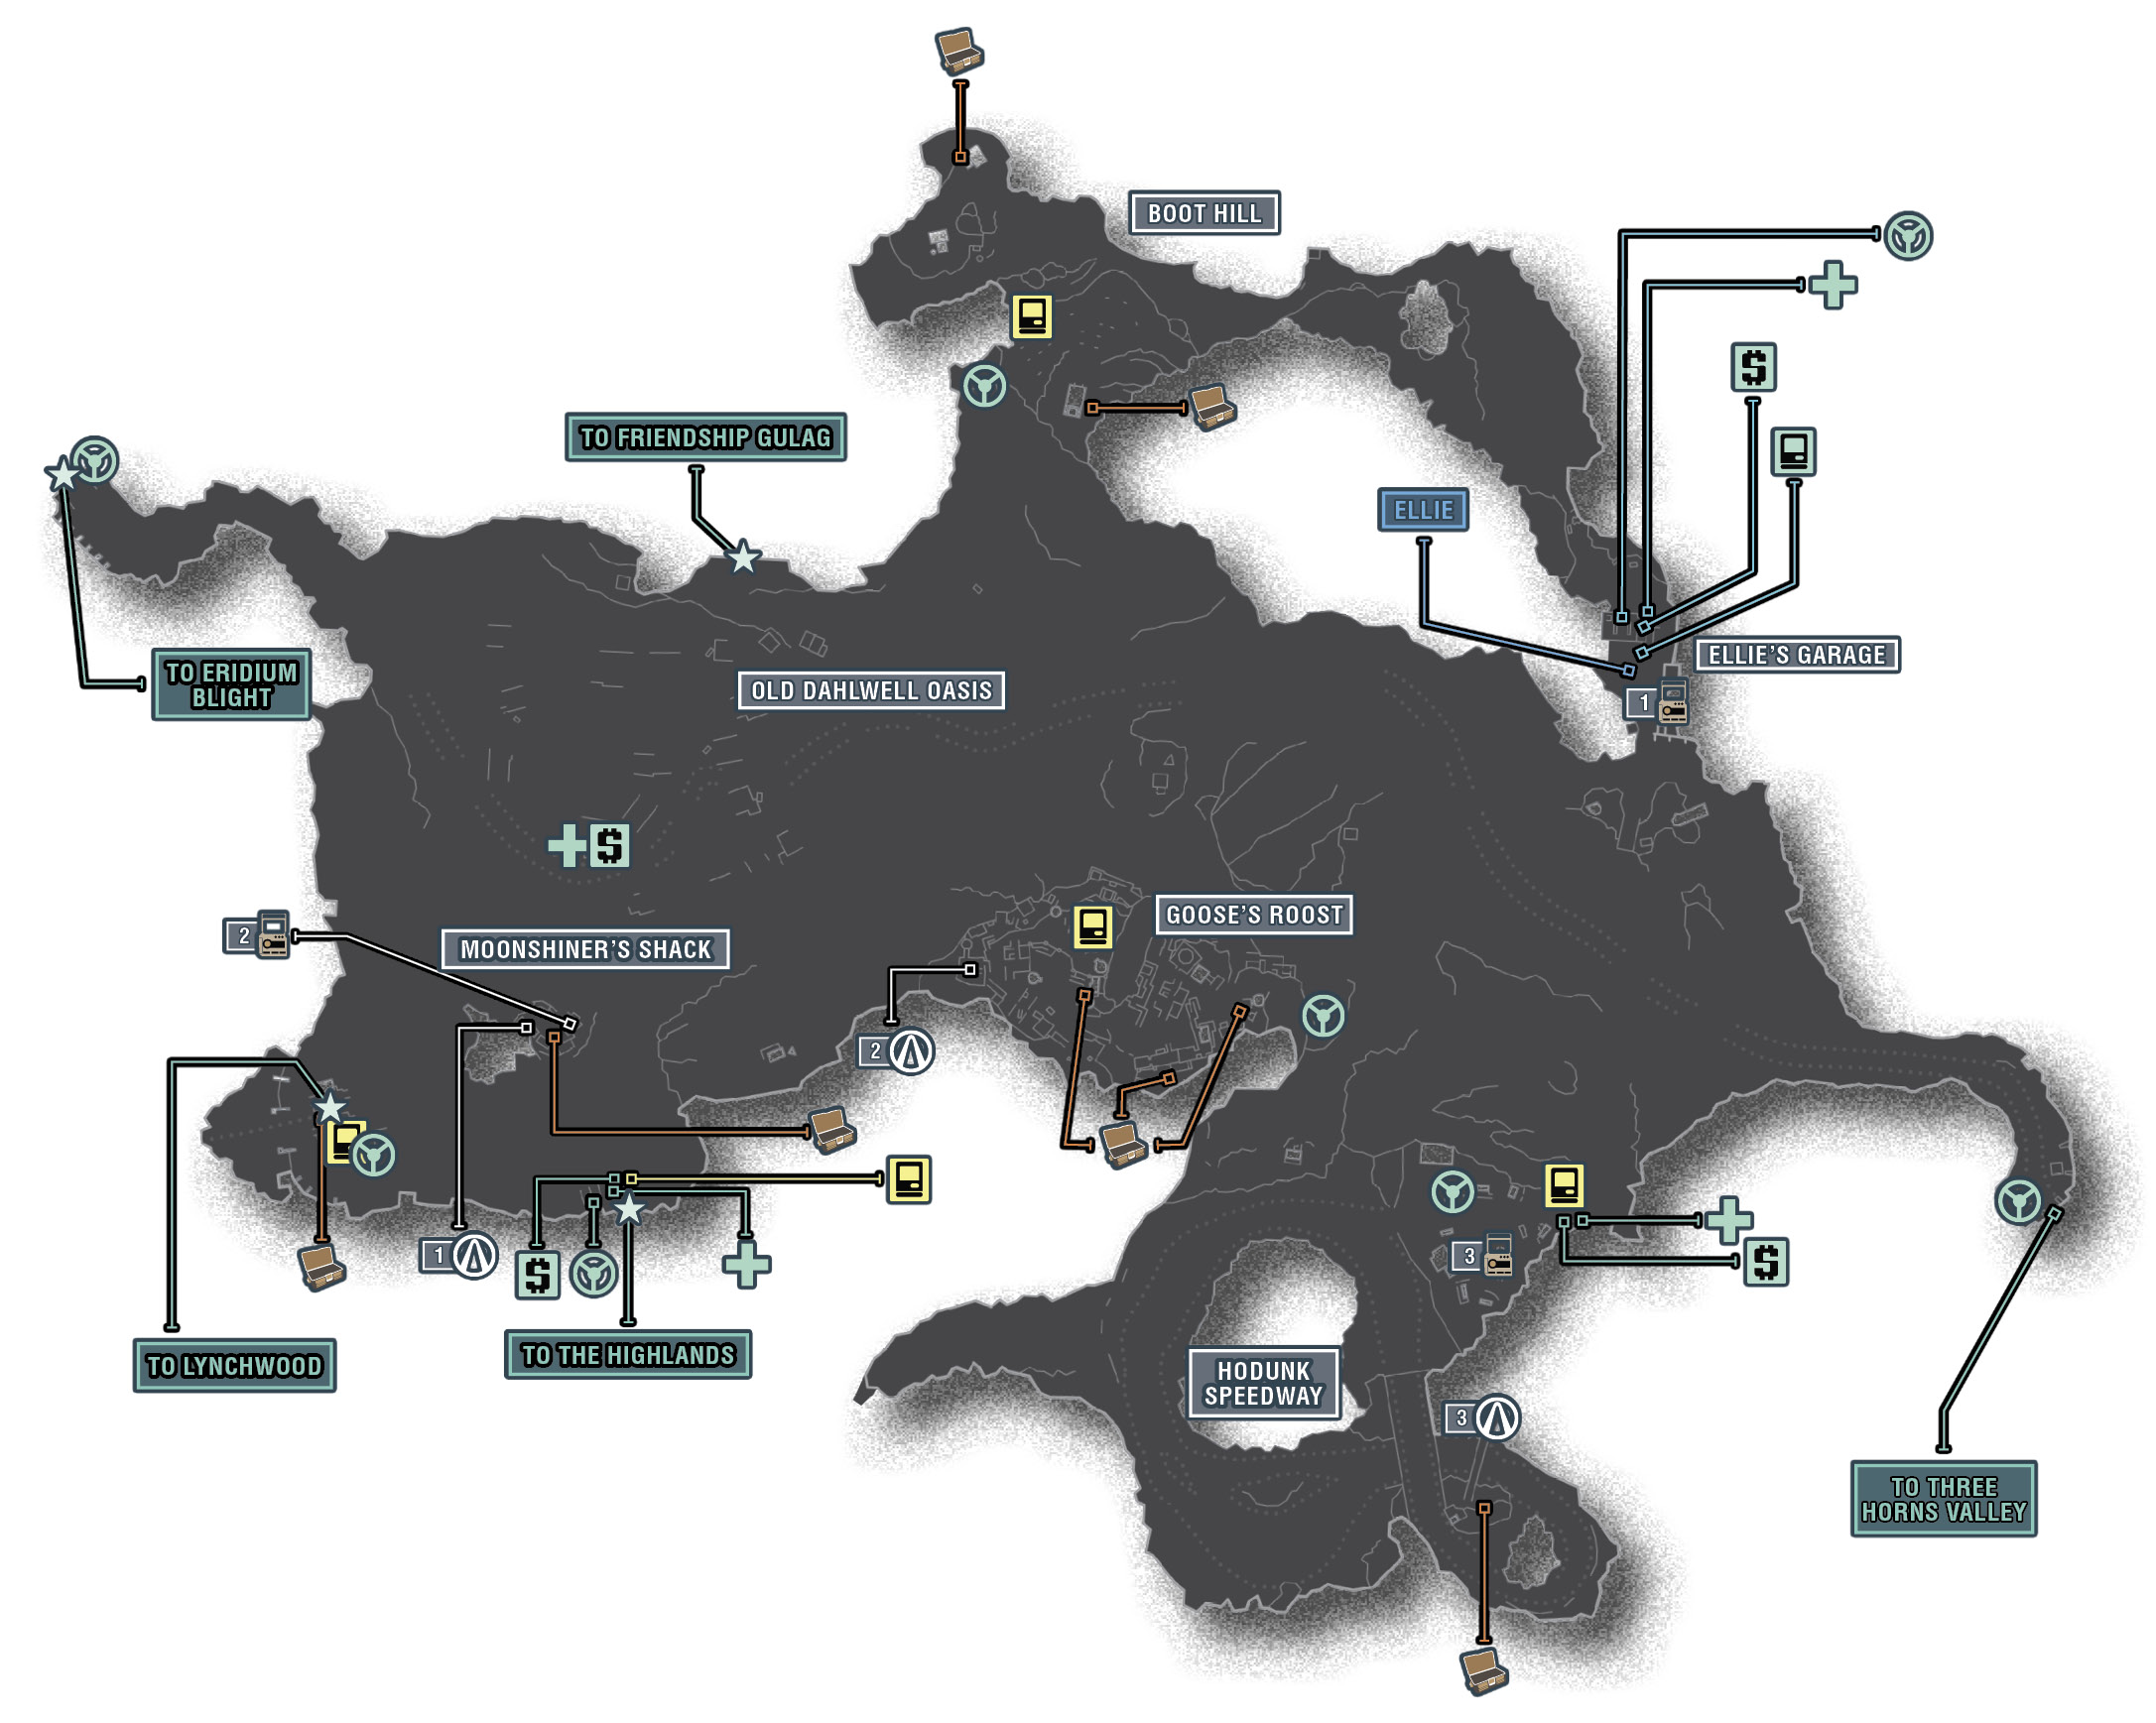
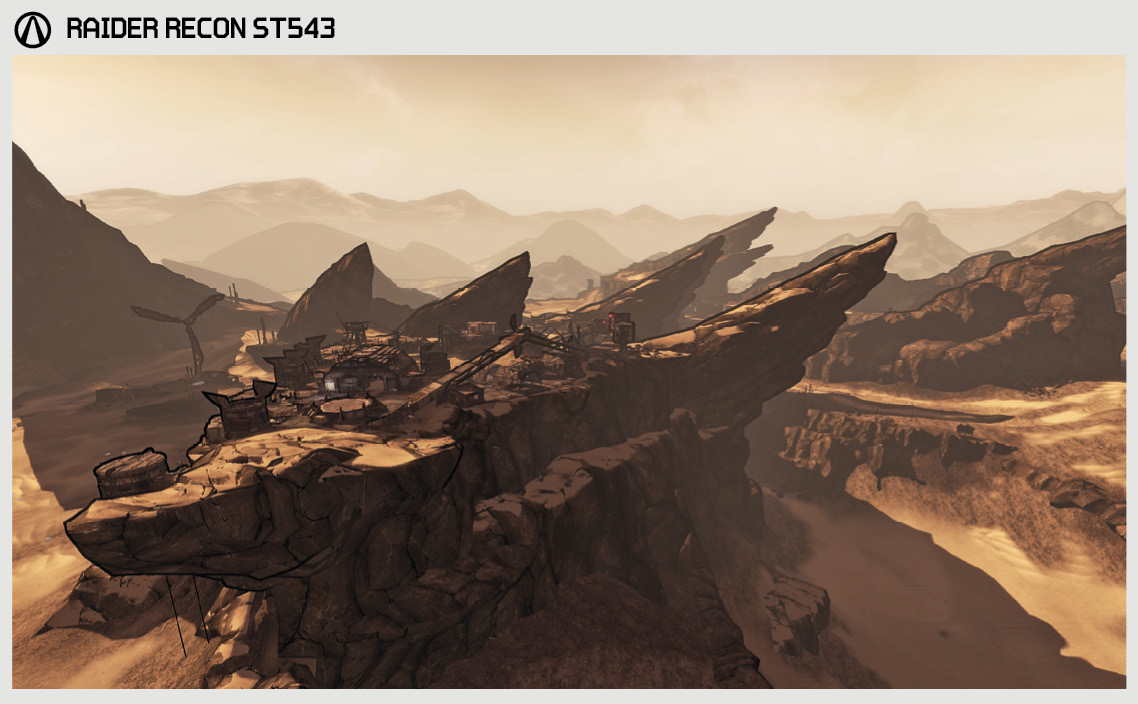
The Districts of The Dust
| Locale | Limited Access? | First Visit |
|---|---|---|
|
Ellie’s Garage |
No |
“A Dam Fine Rescue” story mission. |
|
Old Dahlwell Oasis |
No |
“A Dam Fine Rescue” story mission. |
|
Moonshiner’s Shack |
No |
“A Dam Fine Rescue” story mission. |
|
Goose’s Roost |
No |
“Too Close for Missiles” optional mission. |
|
Bug Gulch |
No |
“The Good, the Bad, and the Mordecai” optional mission. |
|
Boot Hill |
No |
“The Good, the Bad, and the Mordecai” optional mission. |
|
Hodunk Speedway |
Yes |
“Clan War: Starting the War” optional mission. |
Dangerous Beasts
| Enemy Family |
|---|
|
Bruisers |
|
Midgets |
|
Buzzards |
|
Bandit Technicals |
High Value Targets
| Enemy | Family |
|---|---|
|
The Black Queen |
Spiderant |
|
Tector and Jimbo Hodunk |
— |
|
Mick Zaford |
— |
|
Mobley |
Marauder |
|
Gettle |
Engineer |
|
McNally |
Psycho |
 Cult of the Vault
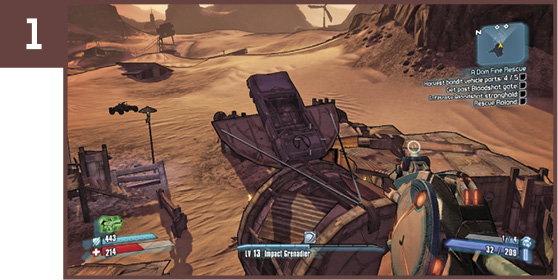
Head west across The Dust to the Moonshiner’s Shack, just beyond the Old Dahlwell Oasis. Climb up onto the rocks behind the camp and make a running leap onto the large circular structure with the car on it. The symbol is on the trunk of the car.
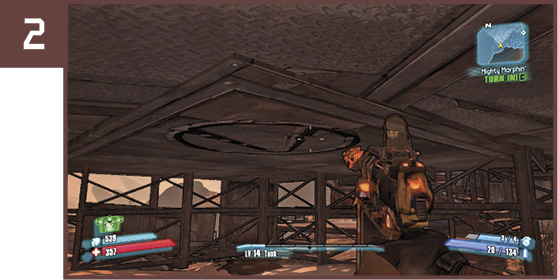
Launch a vehicle off the massive stone ramp to access Goose’s Roost. Head north to the large helipad and crouch down to crawl underneath the platform. The Cult of the Vault symbol is on the underside of the helipad platform.
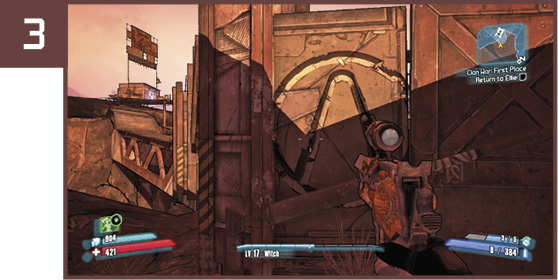
Drive around the Hodunk Speedway until you reach the stairs on the left side. Climb the stairs and notice the flaming barrel on the ledge above. The Cult of the Vault symbol is on the opposite side of that wall. Get there by leaping off the metal pedestrian bridge on the right onto the rocks.
 Dust to Dust
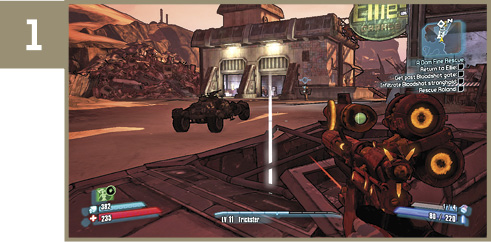
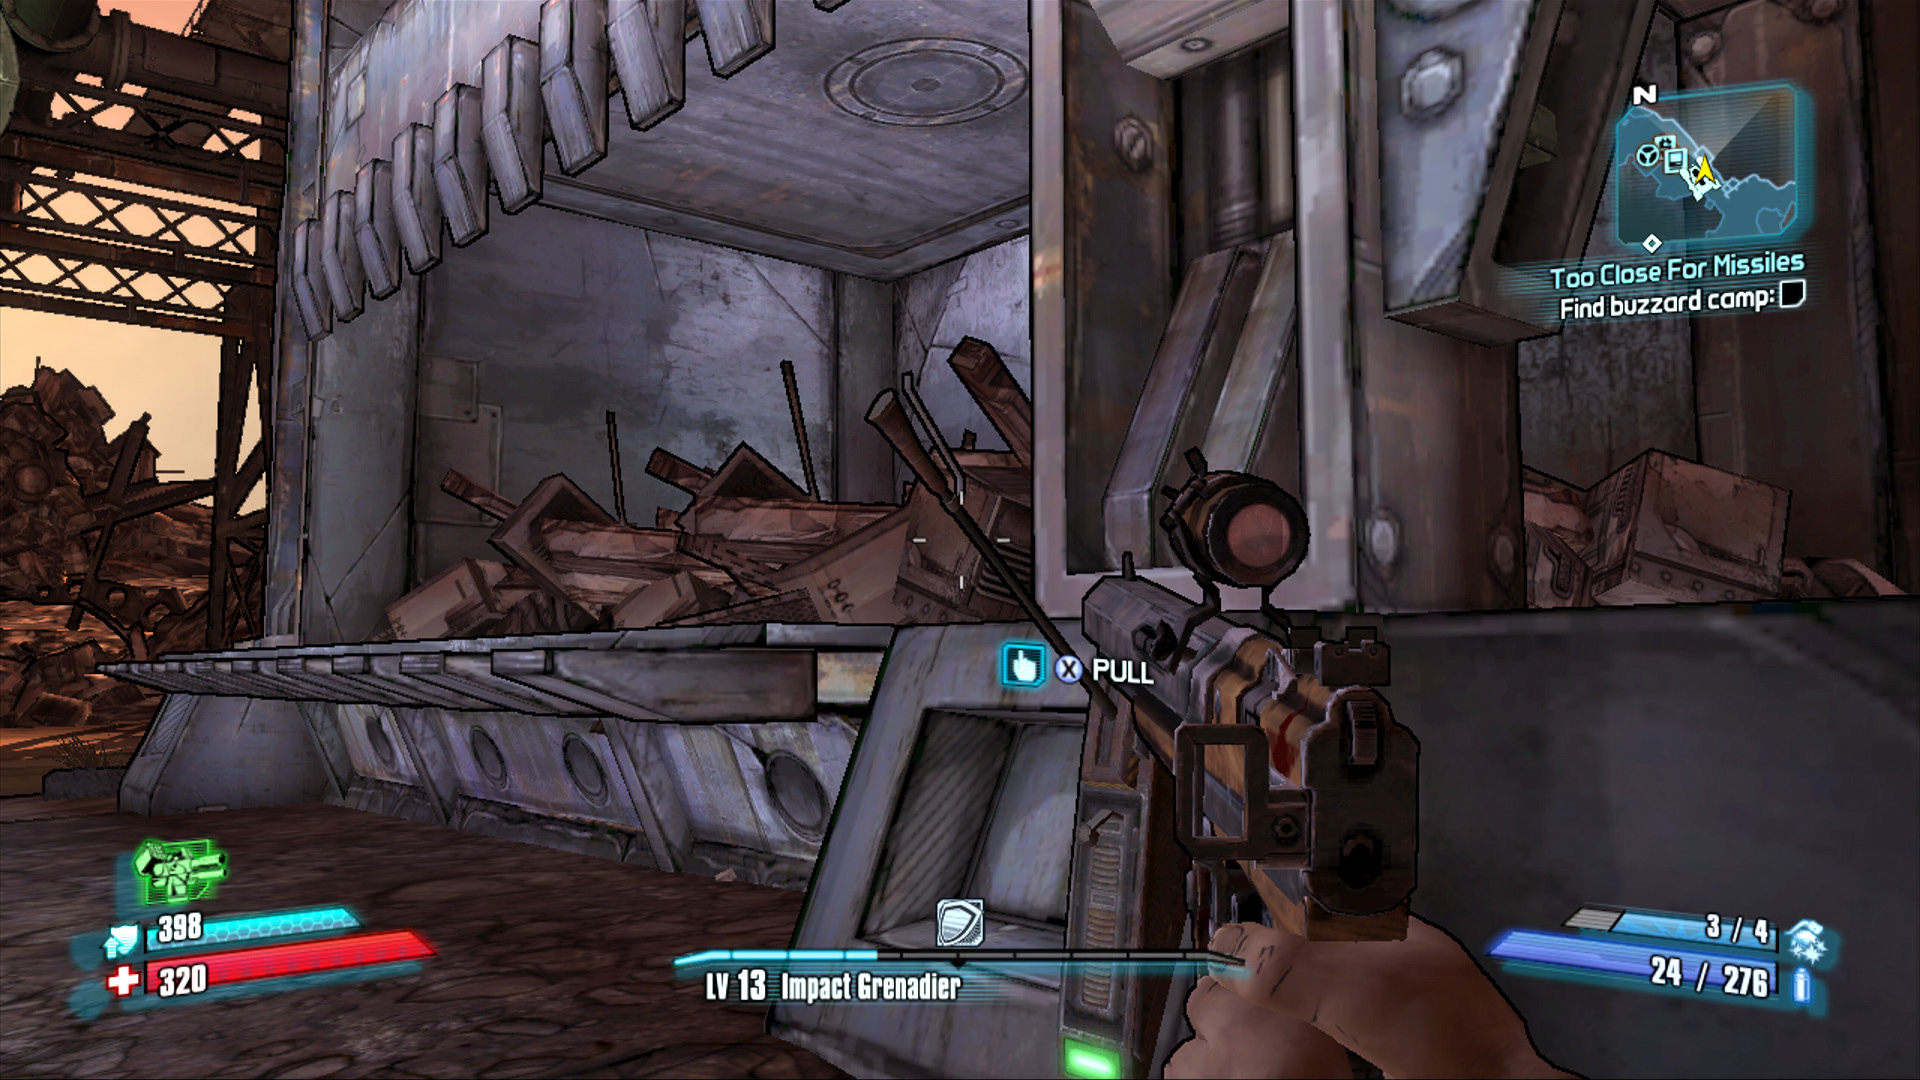
The first of the missing ECHO Recorders is located at Ellie’s Garage. It’s inside an old junker just south of the car crusher, on the right as you enter the area.
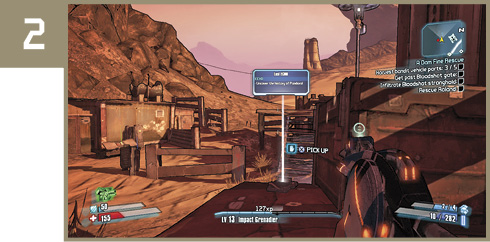
Find the second installment in the history of the Zaford and Hodunk feud at the Moonshiner’s Shack west of Old Dahlwell Oasis. The ECHO Recorder is on a pile of boxes to the left as you enter the property.
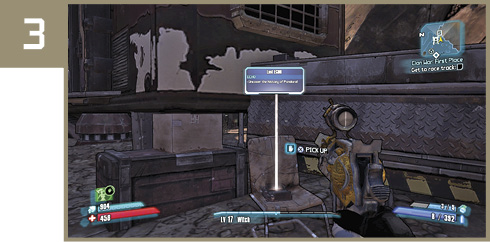
The final ECHO won’t be available until you access the Hodunk Speedway during the “Clan War: Starting the War” optional mission. Once inside the Hodunk Speedway area, continue past the vending machines to the first trailer on the left. The ECHO Recorder is on the chair around back.
I’ve Got a Crush on You
Leap into the car crusher at Ellie’s Garage (it’s on the right as you enter from the main area) and have a co-op partner activate the crusher to kill you. You’ll be resurrected just steps away at the nearby New-U station. A word to the wise: save this for when you’re not sitting on a massive pile of cash. It’d be a shame to lose a huge amount of money all for a slight increase to your Badass Rank total.
The Van is Damned
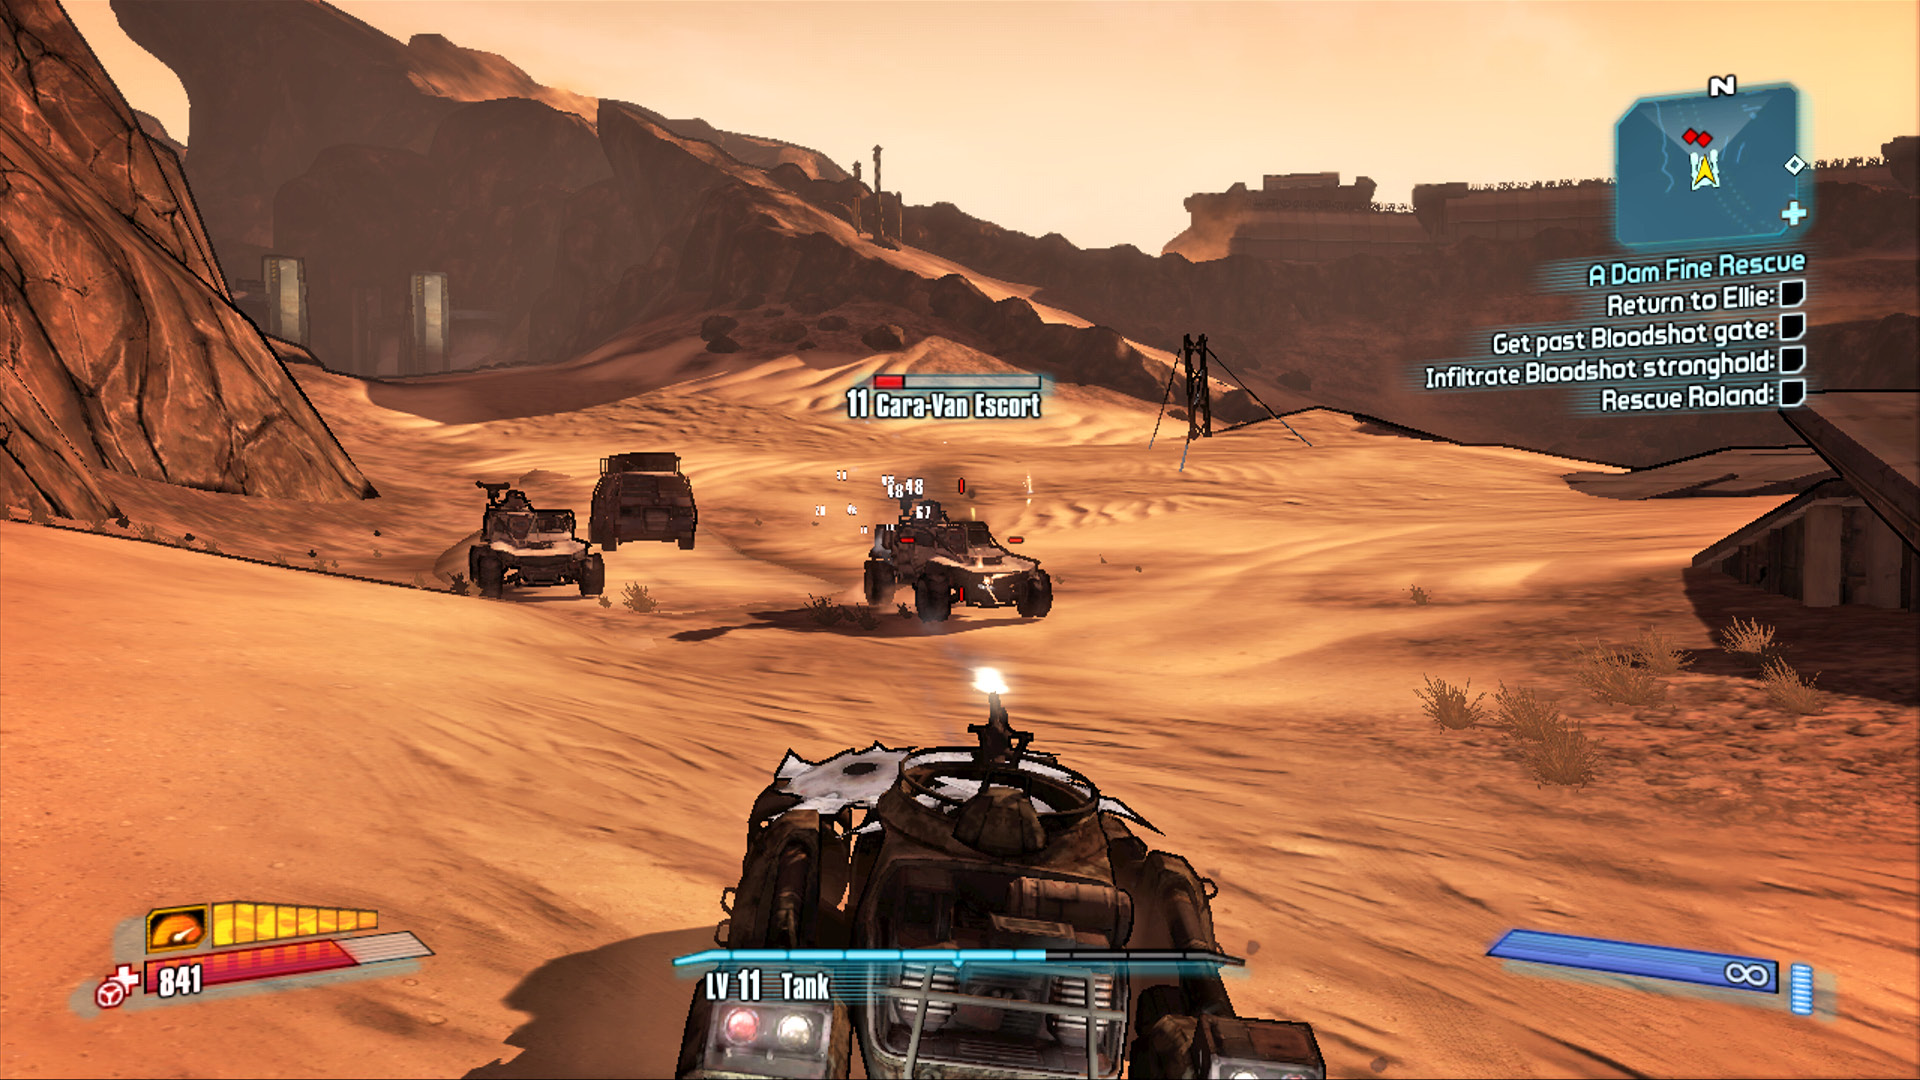
A Cara-Van periodically makes the long journey across The Dust escorted by two Bandit Technical vehicles, usually proceeding from west to east along the main road. The driver of the Cara-Van announces his presence over the ECHO and offers a dire warning to those who try to intercept him—something about a milkshake. Approach from the side and open fire on either of the escort vehicles—do not waste time shooting at the impervious Cara-Van, as it only gives the two escorts a chance to gang up on you. Take out the second escort after defeating the first to effectively stop the Cara-Van. Climb the ladder on the rear of the vehicle to loot the weapon chest on top.
Additional Challenges
If You’re Not First, You’re Last: Complete the Hodunk Speedway within the time limit (see “Clan War: First Place” optional mission for details).
Bloodshot Stronghold
The Bloodshots are the strongest gang in all of Three Horns, and they use the old Dahl 3rd Brigade Memorial Dam as their stronghold. The dam used to be full of workers, soldiers, and all kinds of people who didn’t self-immolate to pass the time. After the Dahl corporation left Pandora, that changed. The Bloodshots took control of the dam shortly after Commander Roland led us to push them out of Sanctuary. Since then, the Bloodshots, led by their fearless chieftain Flanksteak, have wreaked havoc on the entire Three Horns area. Only two things have kept them from steamrolling through Sanctuary’s gates: the city’s energy shield, and Lilith’s unrelenting walls of flame.
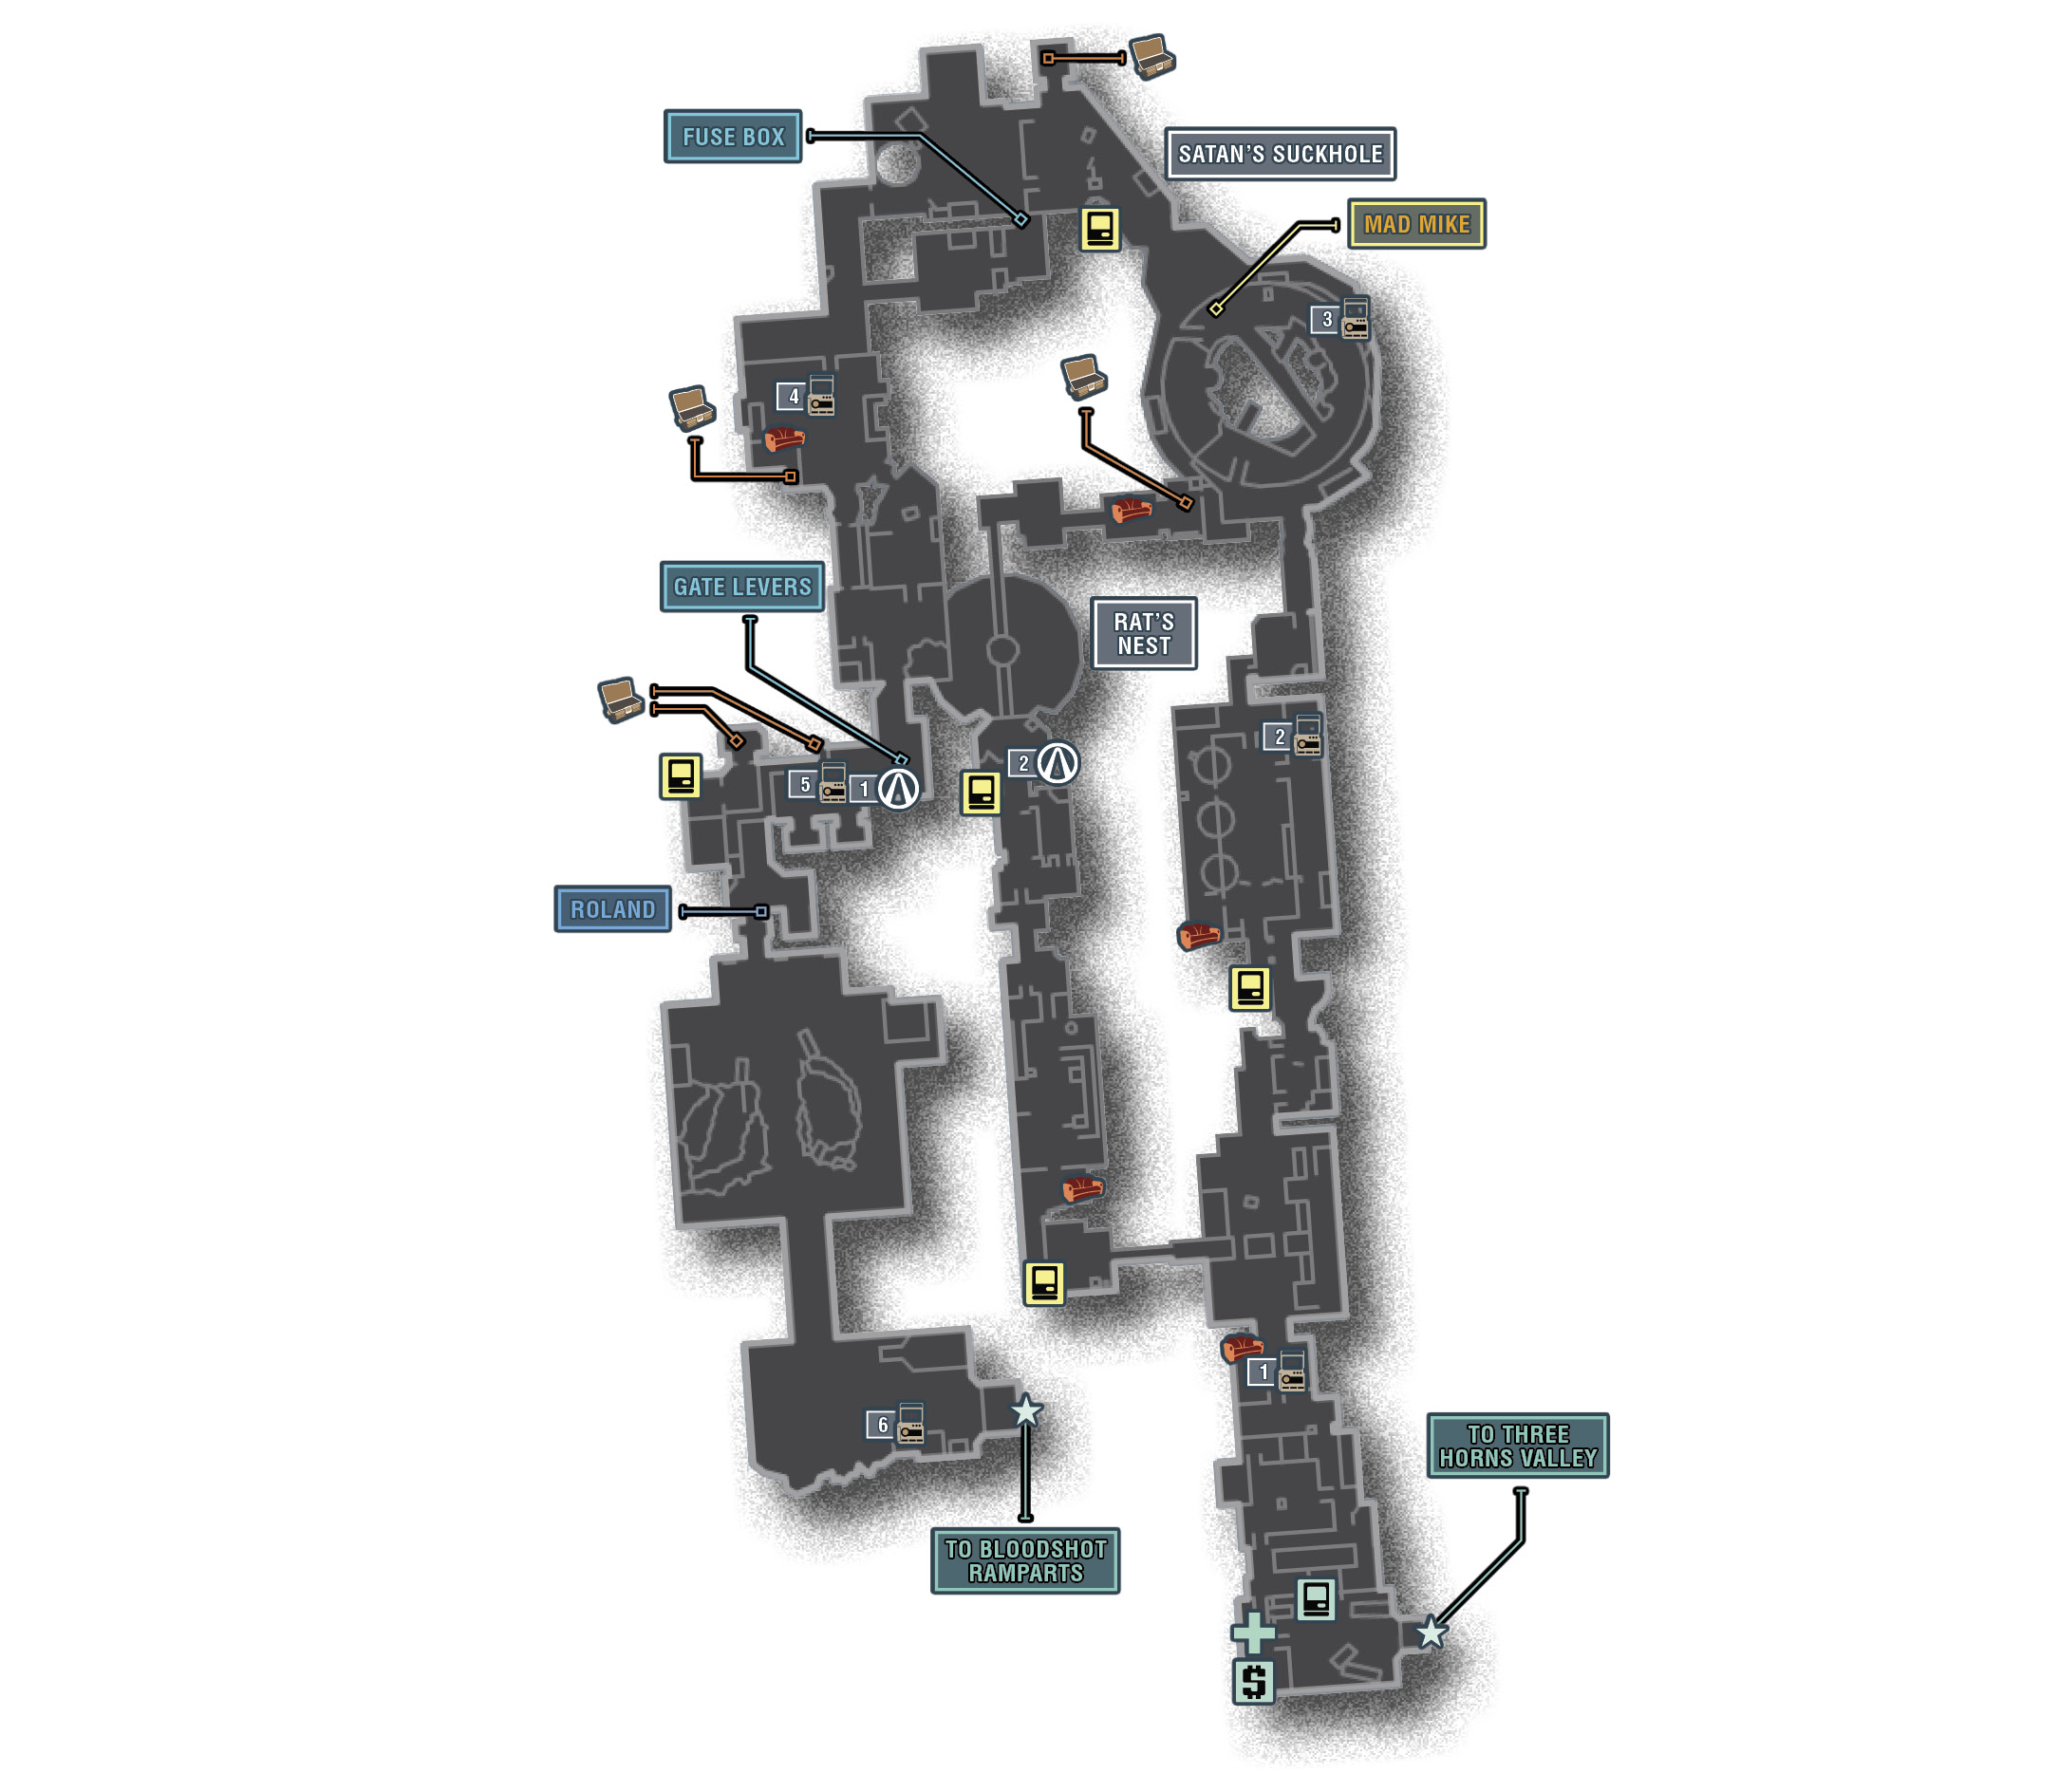
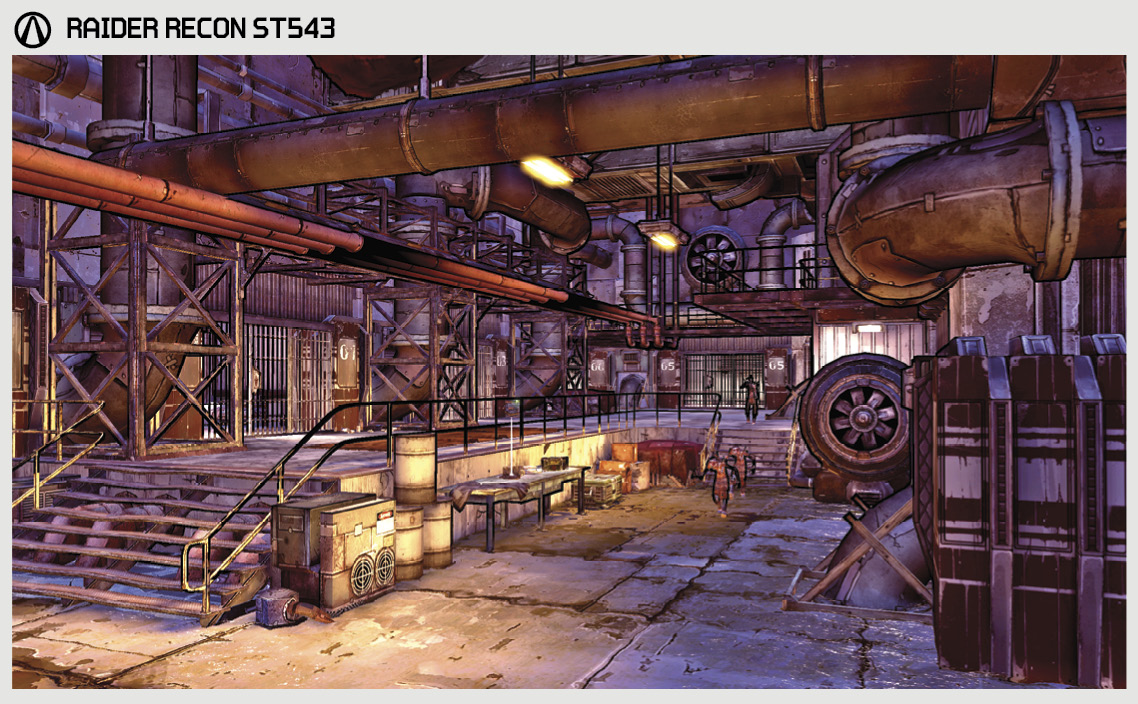
So, if you’re able to get Bad Maw’s key, you might be able to lower the drawbridge and sneak inside the Bloodshot Stronghold. The former dam makes an impressive base for the Bloodshot gang, and one hell of an impressive maze for any would-be intruders - aka you. The interior corridor of the dam is U-shaped in design, arcing from the southeast entrance up and around in a counter-clockwise direction to the southwest corner. The facility is crawling with every rank and breed of bandit that’s ever set foot on Pandora, including an impetuous foe named Mad Mike who guards the area surrounding Satan’s Suckhole. If you can manage to get up the spiraling walkway around the whirlpool, you’ll likely find this guy waiting for you at the top, and he’ll likely be waiting with a rocket launcher. If you somehow avoid getting blown up, you’ll be right near the Bloodshots’ holding cells! From there, just find the switch and free Roland before Hyperion decides to crash the party!
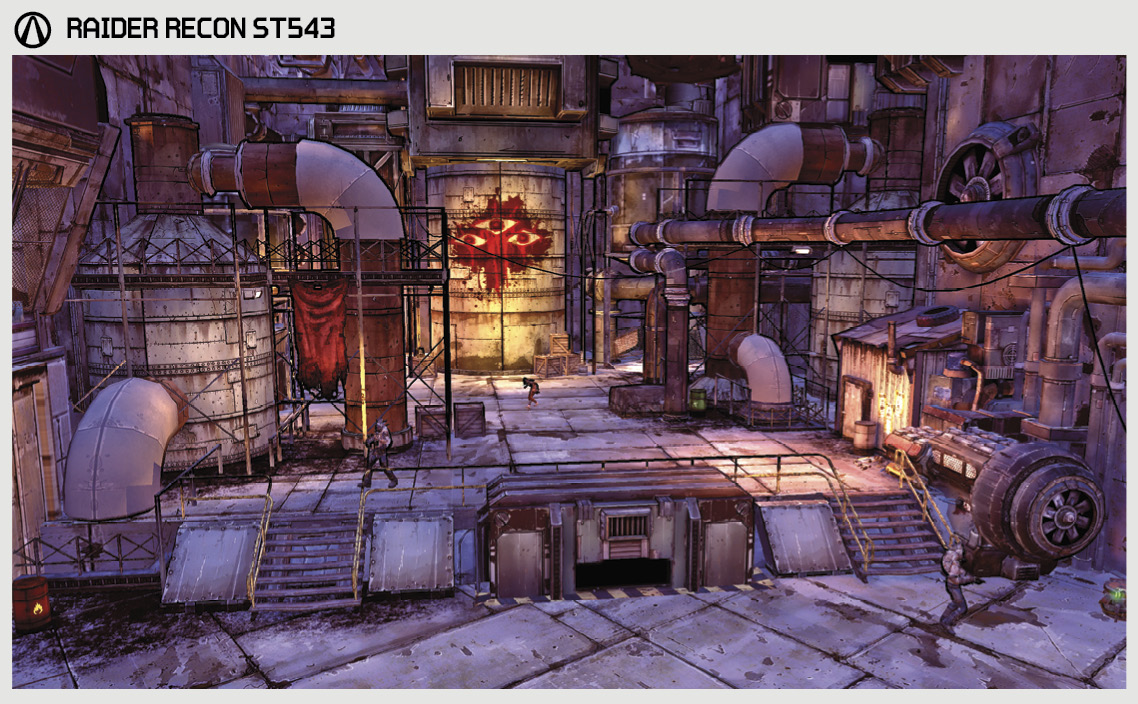
The Districts of Bloodshot Stronghold
| Locale | Limited Access? | First Visit |
|---|---|---|
|
Satan’s Suckhole |
No |
“A Dam Fine Rescue” story mission. |
|
Rat’s Nest |
Yes |
“Splinter Group” optional mission. |
Dangerous Beasts
High Value Targets
| Enemy | Family |
|---|---|
|
Mad Mike |
Nomad |
|
Lee |
Rat |
|
Dan |
Rat |
|
Ralph |
Rat |
|
Mick |
Ret |
|
Flinter |
Rat |
 Cult of the Vault
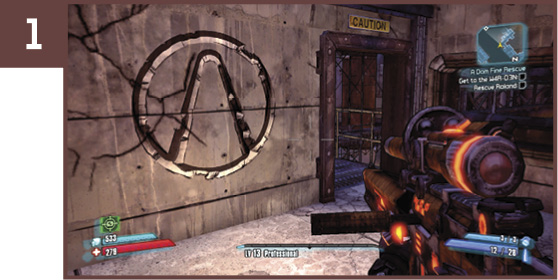
The first Cult of the Vault symbol is in the security room overlooking the cell block. Climb the ladder to the left of the New-U station, and leap from the catwalk onto the suspended red pipes. Run along the pipes to reach the room with the cell block controls to find this symbol.
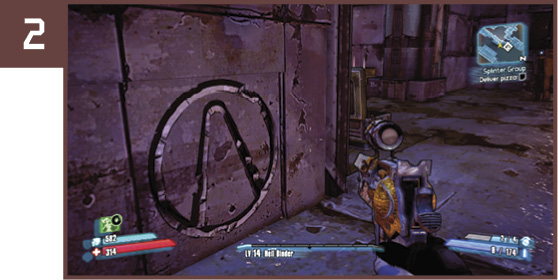
This Cult of the Vault symbol is only accessible during the “Splinter Group” optional mission. It’s located on the right-hand wall of the room where you get buzzed into the Rat’s Nest. Get it before dropping down the hole.
 Bloodshot Memories
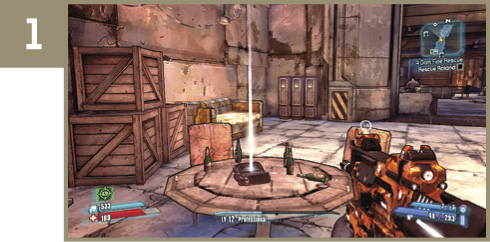
The first of the six ECHO Recorders is on a table in the center of the employee break room; you’ll be hard-pressed to miss it.
This ECHO is in the room with the Bandit Turret, on a desk near the far right-hand corner. Take out the turret first!
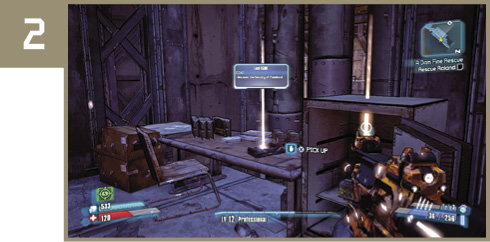
It’s easy to overlook this ECHO Recorder during your fight with Mad Mike, but it’s located just to the right of the ladder in the northeast corner of Satan’s Suckhole.
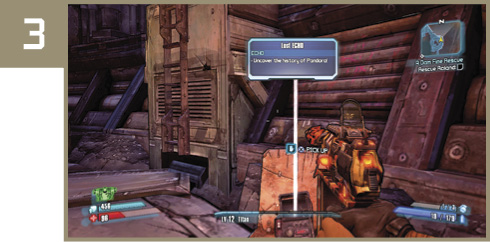
The fourth ECHO Recorder is in the small hut in the center of the water-filled room, just before the cell block. Turn around and face north to spot it.
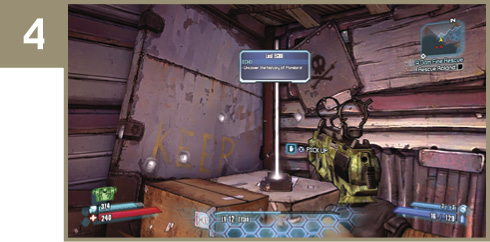
Continue toward the cell block to find this next ECHO Recorder on the table in the center of the room.
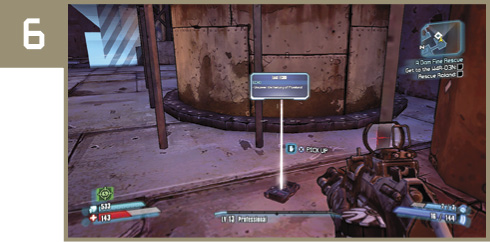
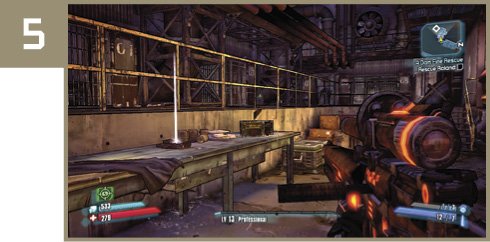
The final ECHO Recorder is outside, just to the right of the exit leading to Bloodshot Ramparts.
Eff Yo’ Couch
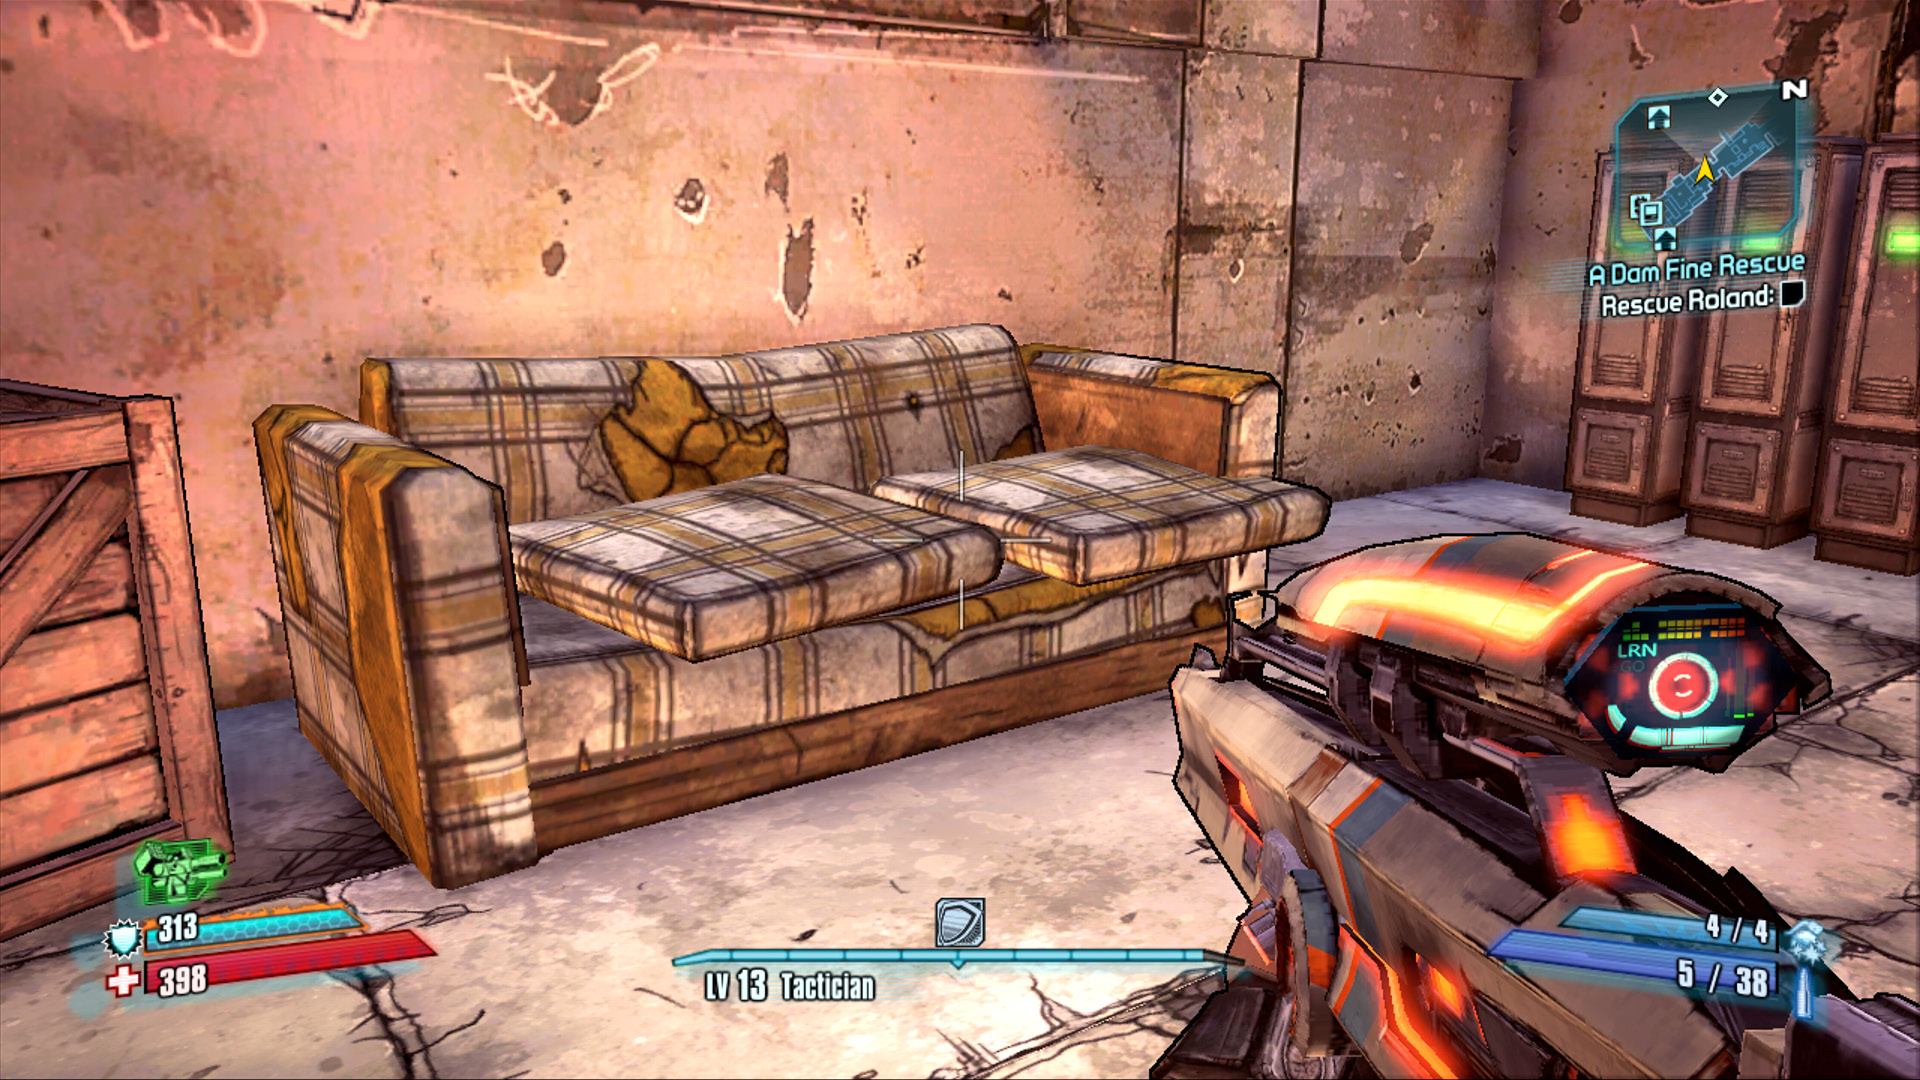
Those Bloodshots got a problem with the dirt you’re tracking into their crib? Show them what’s up by jumping on their couches. There are five yellow plaid couches scattered around Bloodshot Stronghold that you need to jump up and down on to complete this Challenge. You can reach three of them during the normal course of “A Dam Fine Rescue” but the other two can only be found during the “Splinter Group” optional mission. Yeah, eff Flinter’s couches, too! Check the map for all five couch locations.
Give It a Whirl
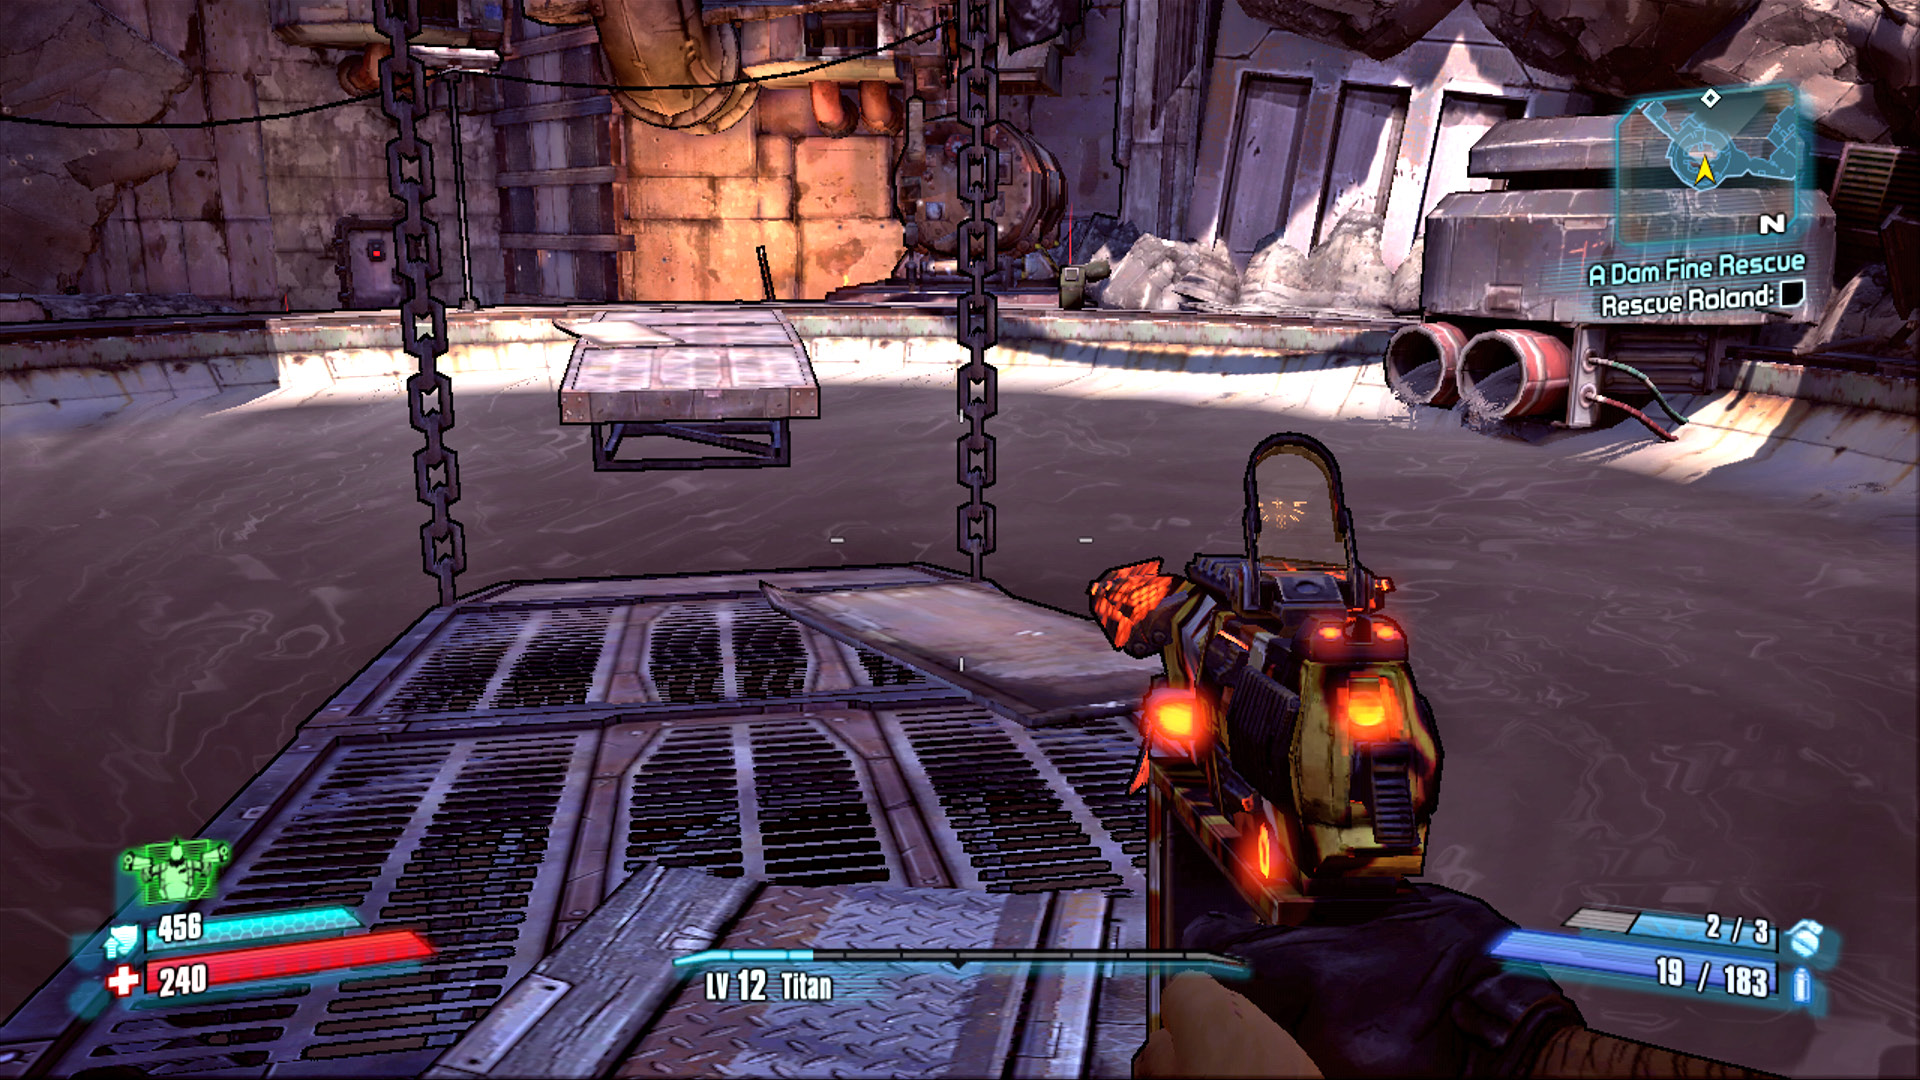
Complete this Challenge by knocking an enemy into the large whirlpool in the Satan’s Suckhole area. Keep your eyes peeled for opportunities to detonate barrels near an enemy, as this is the primary way of knocking a foe backwards into the drink. Alternately, use Maya’s Phaselock ability to trap an adversary in the air as they try to leap across the gap in the bridge on the lower level. Similarly, for those playing True Vault Hunter mode, Maya’s Convergence skill can be used to draw enemies over the whirlpool. Grenades, melee attacks, and even rocket launchers do not cause knockback (though you may have success with a Singularity Grenade). Another option is to return to this area with Salvador’s Fistful of Hurt skill and punch your way to a higher Badass Rank.
Additional Challenges
Cut ‘Em No Slack: Defeat the splinter group in their assigned order (see “Splinter Group” optional mission for details).