
Borderlands 2 Game of the Year Guide Walkthrough
The Once and Future Slab
|
 Mission Briefing
| Level | Money | XP | Gear |
|---|---|---|---|
|
20 |
$86 |
5789 |
Rocket Launcher (Blue) or Shield (Blue) |
*Money and XP may vary based on player’s level at start of mission.
Take Roland’s note from him at Crimson Raider HQ, and make your way to Thousand Cuts to meet a bandit called the Slab King. This guy used to be a member of Crimson Raiders, but his methods were too brutal, so Roland sent him packing. The area he now lives in, Thousand Cuts, can be reached from The Highlands via a path leading to a distant suspension bridge to the right of the main highway bridge on the south side of the region. Roland’s hope is that the Slab King can help the Crimson Raiders get past the bunker and advance to Control Core Angel. That is, assuming Claptrap gets past the death wall. Anyway, once inside Thousand Cuts, make your way northward through Slab Town. Don’t cross the bridge due west, as there’s no way to reach the bridge leading north from that side of the chasm.
Everybody Shoot the Messenger
Approach the entrance to Slab Town cautiously, and set to sniping any lone Marauders you see. Watch out for Suicide Psychos, and slowly make your way north to where you’re bound to encounter a Goliath or Caustic Goliaths. Check the minimap prior to shooting their helmets off and give a quick glance to the sky, as well—don’t shoot the helmet off a Goliath if the only other enemy nearby is a Buzzard, as this can be too much to handle. On the other hand, there is always a chance the Goliath will leap for the Buzzard and plummet off the side of the cliff to its death. It’s a crapshoot, but it’s your choice to make.
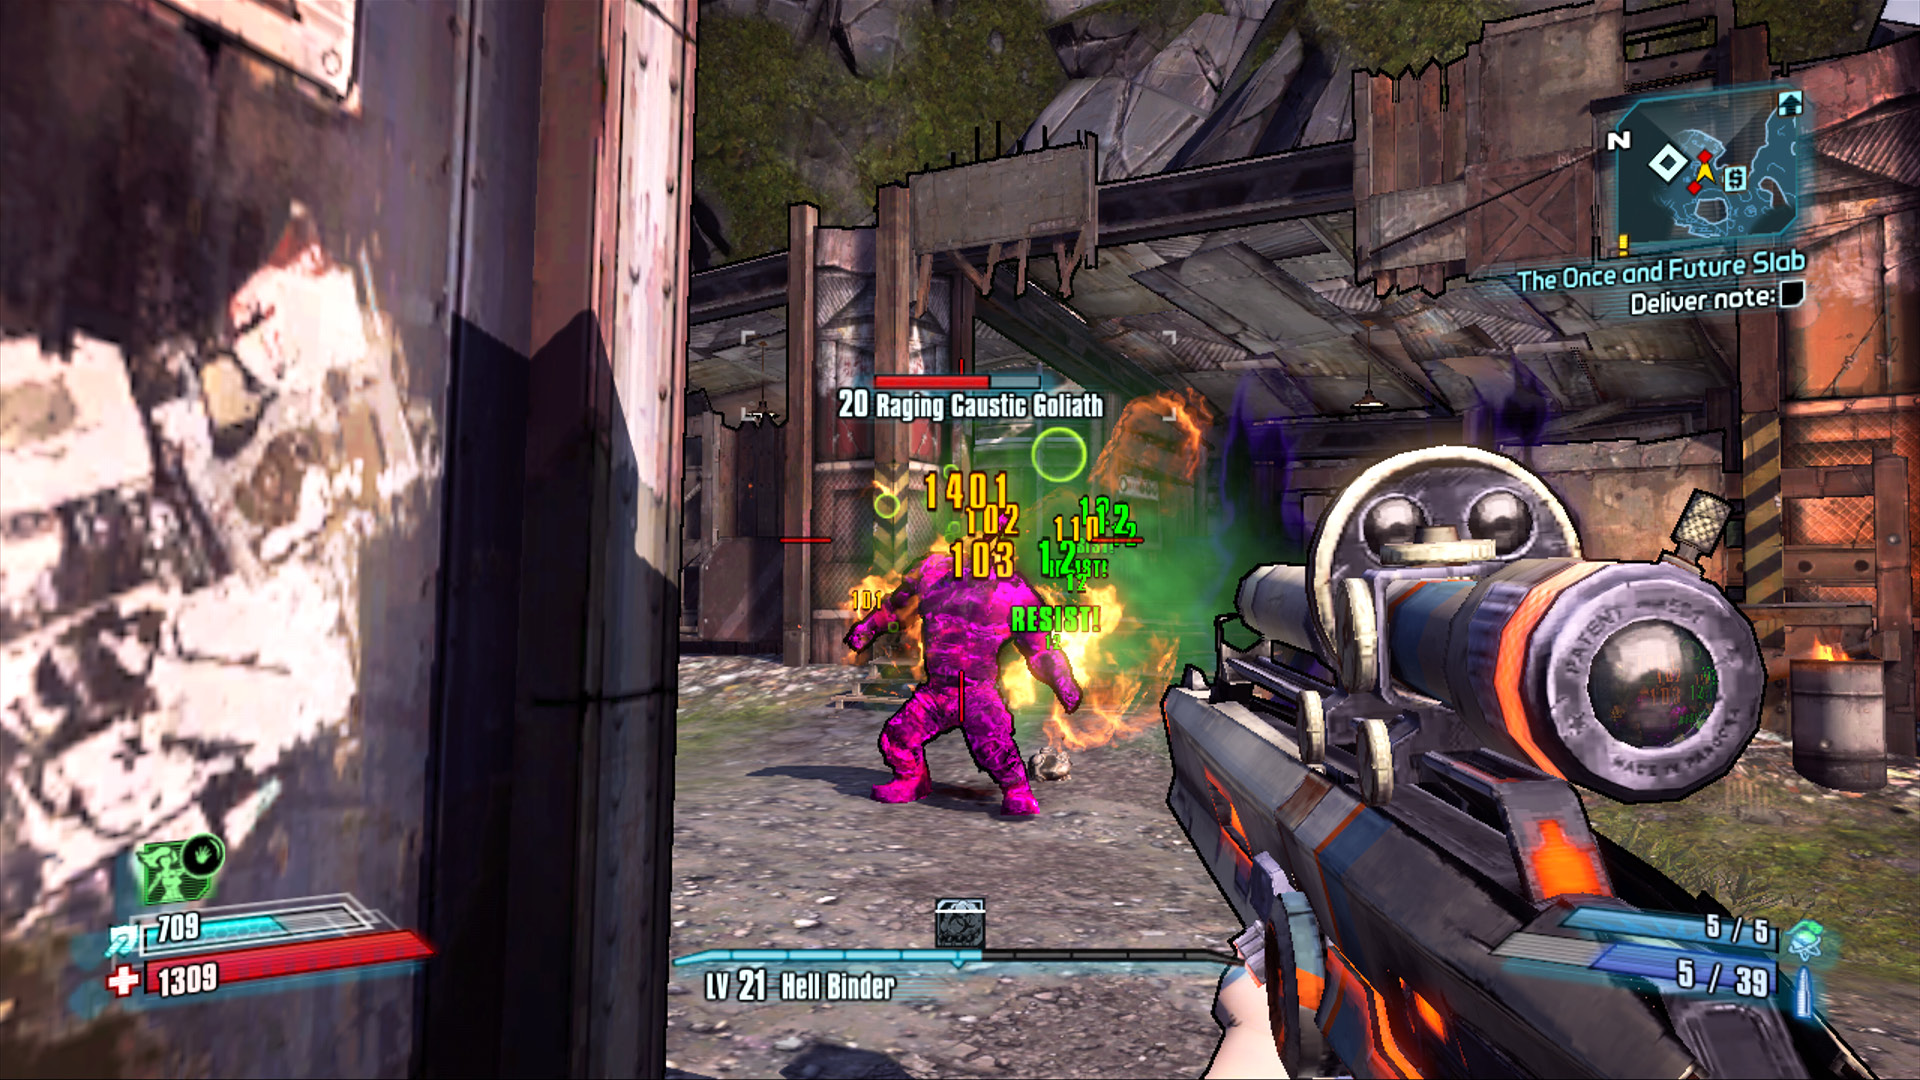
Slag a Caustic Goliath, then set it alight for maximum effectiveness.
Be on the lookout for Buzzards as you near the center of Slab Town. Target its engines as best you can but know that you may need to simply ignore it for the time being, as there is a lot of room for it to fly and evade your shots. Similarly, there are plenty of small houses and Hyperion containers that you can duck into for cover from its aerial bombardment.
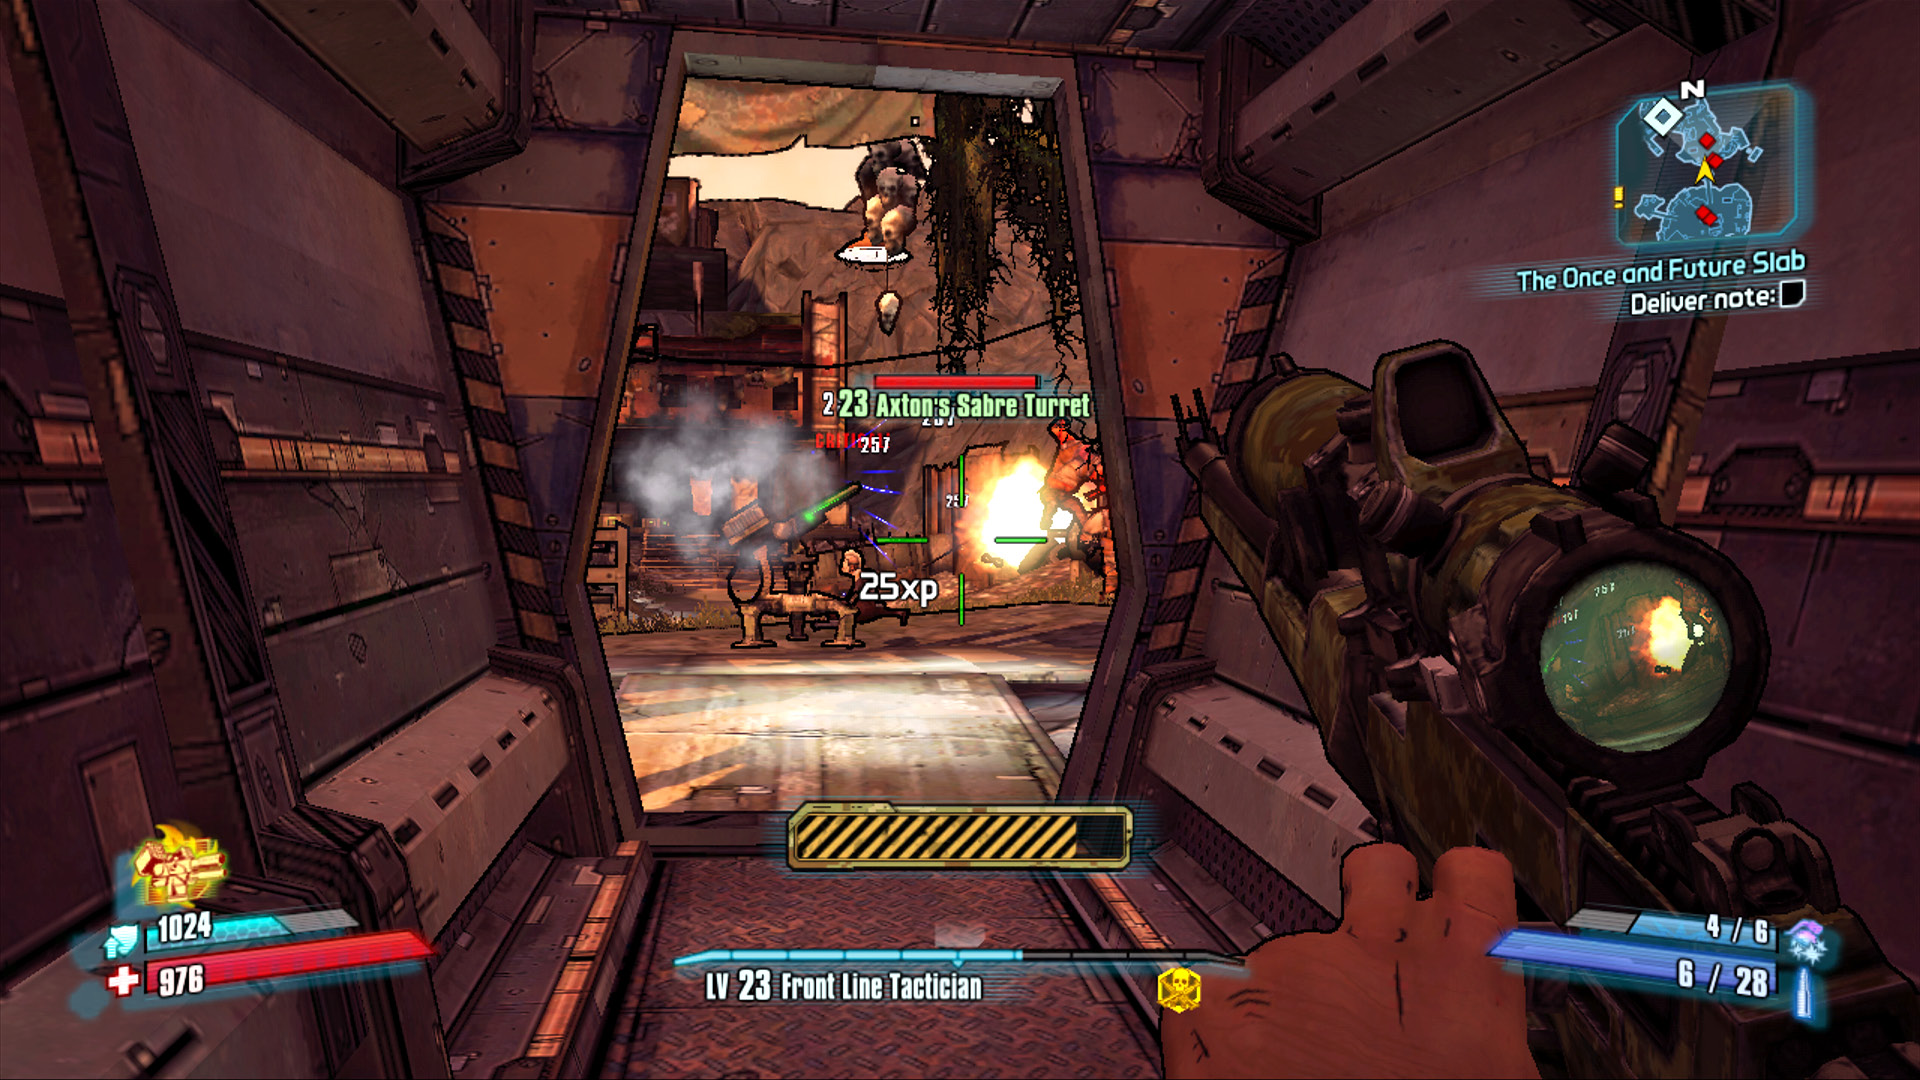
Axton can take cover from the Buzzards inside the container-bridge, but throw the Sabre Turret out ahead so it can clear the path.
Fight your way past the Elite Marauders to the bridge arching over the void, and continue toward the large arrow signs—bandits have a habit of erecting signs to lead their wayward selves home. At this point, the Slab King thinks you’re a Hyperion assassin, but he’ll realize the truth soon enough. Either way, you’re going to have to cut a swath through his Slab brethren.
Make your way up the stairs on the right near the arrow sign, and kill the Bruisers en route to the many containers and chests to the east. The Slab King is located at the Buzzard Factory in the northwest corner of Thousand Cuts, and the only way there is across the heavily guarded Broke Face Bridge. Hang back near the eastern side of the bridge, and snipe the helmets off any Goliaths that start to march across the bridge toward your position. They’ll most likely aid you in dispatching any remaining Bruisers, or (if you’re lucky), they’ll leap to attack a Buzzard. Use the barrels and gas tanks against the Goliaths, and continue across.
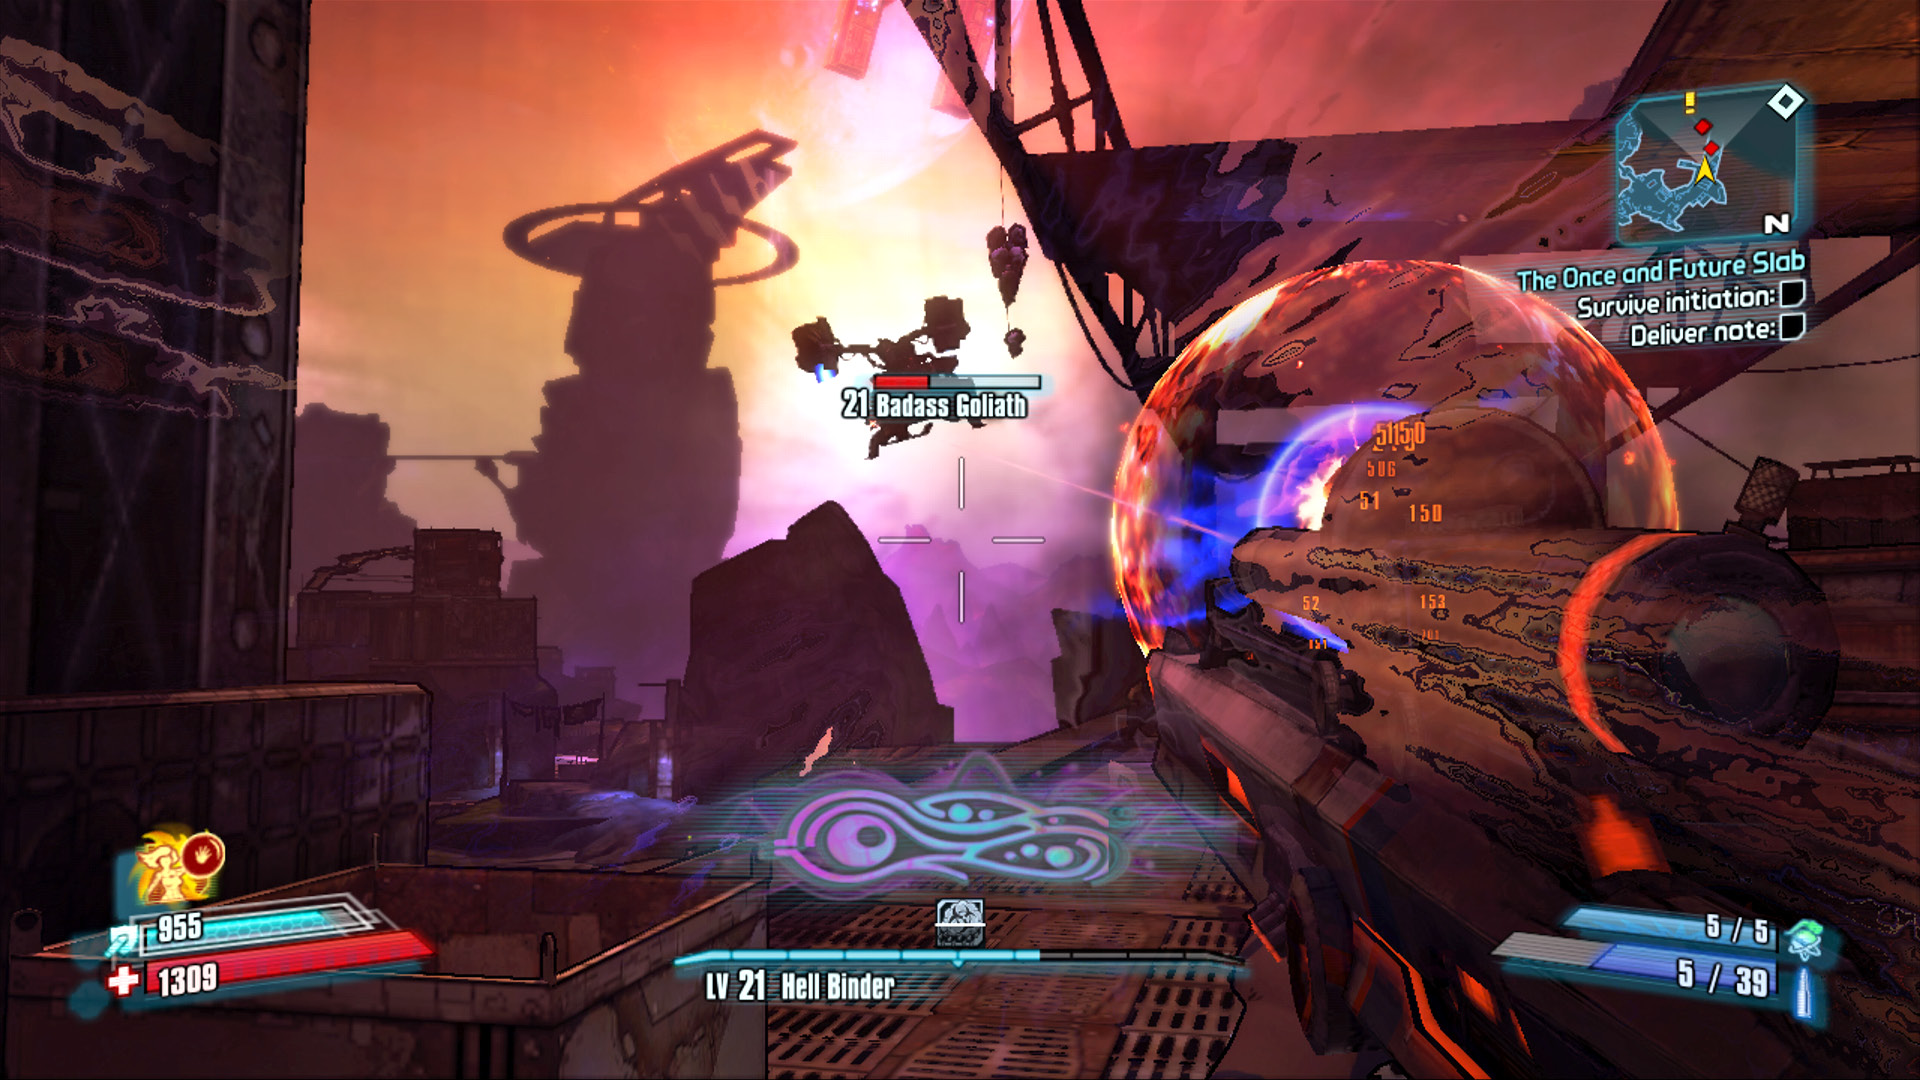
Nothing warms the cockles like seeing a Badass Goliath leap to his death.
Clear away the remaining ground-based bandits on the far side of Broke Face Bridge, and take a moment to scout the exterior of Buzzard Factory. Six of the nine tombstones are nearby, as is a Cult of the Vault symbol and a valuable chest at the base of a ladder to the north. The ground floor entrance to Buzzard Factory is locked up tight, so you’ll have to ascend the stairs and drop through the chute where the large fist logo is. As always, just follow the bandits’ arrows: they’re expecting you.
Slab Initiation
Drop into the Buzzard factory with guns and grenades ready, and wait for the Slab King’s brief remarks to end. Immediately target the helmet of the Badass Goliath on the balcony to the left of the Slab King’s throne. Dozens of marauders, psychos, bruisers, and other Goliaths are going to flood the factory floor in hopes of being the one Slab that gets to take you down and impress the Slab King. Don’t let it happen!
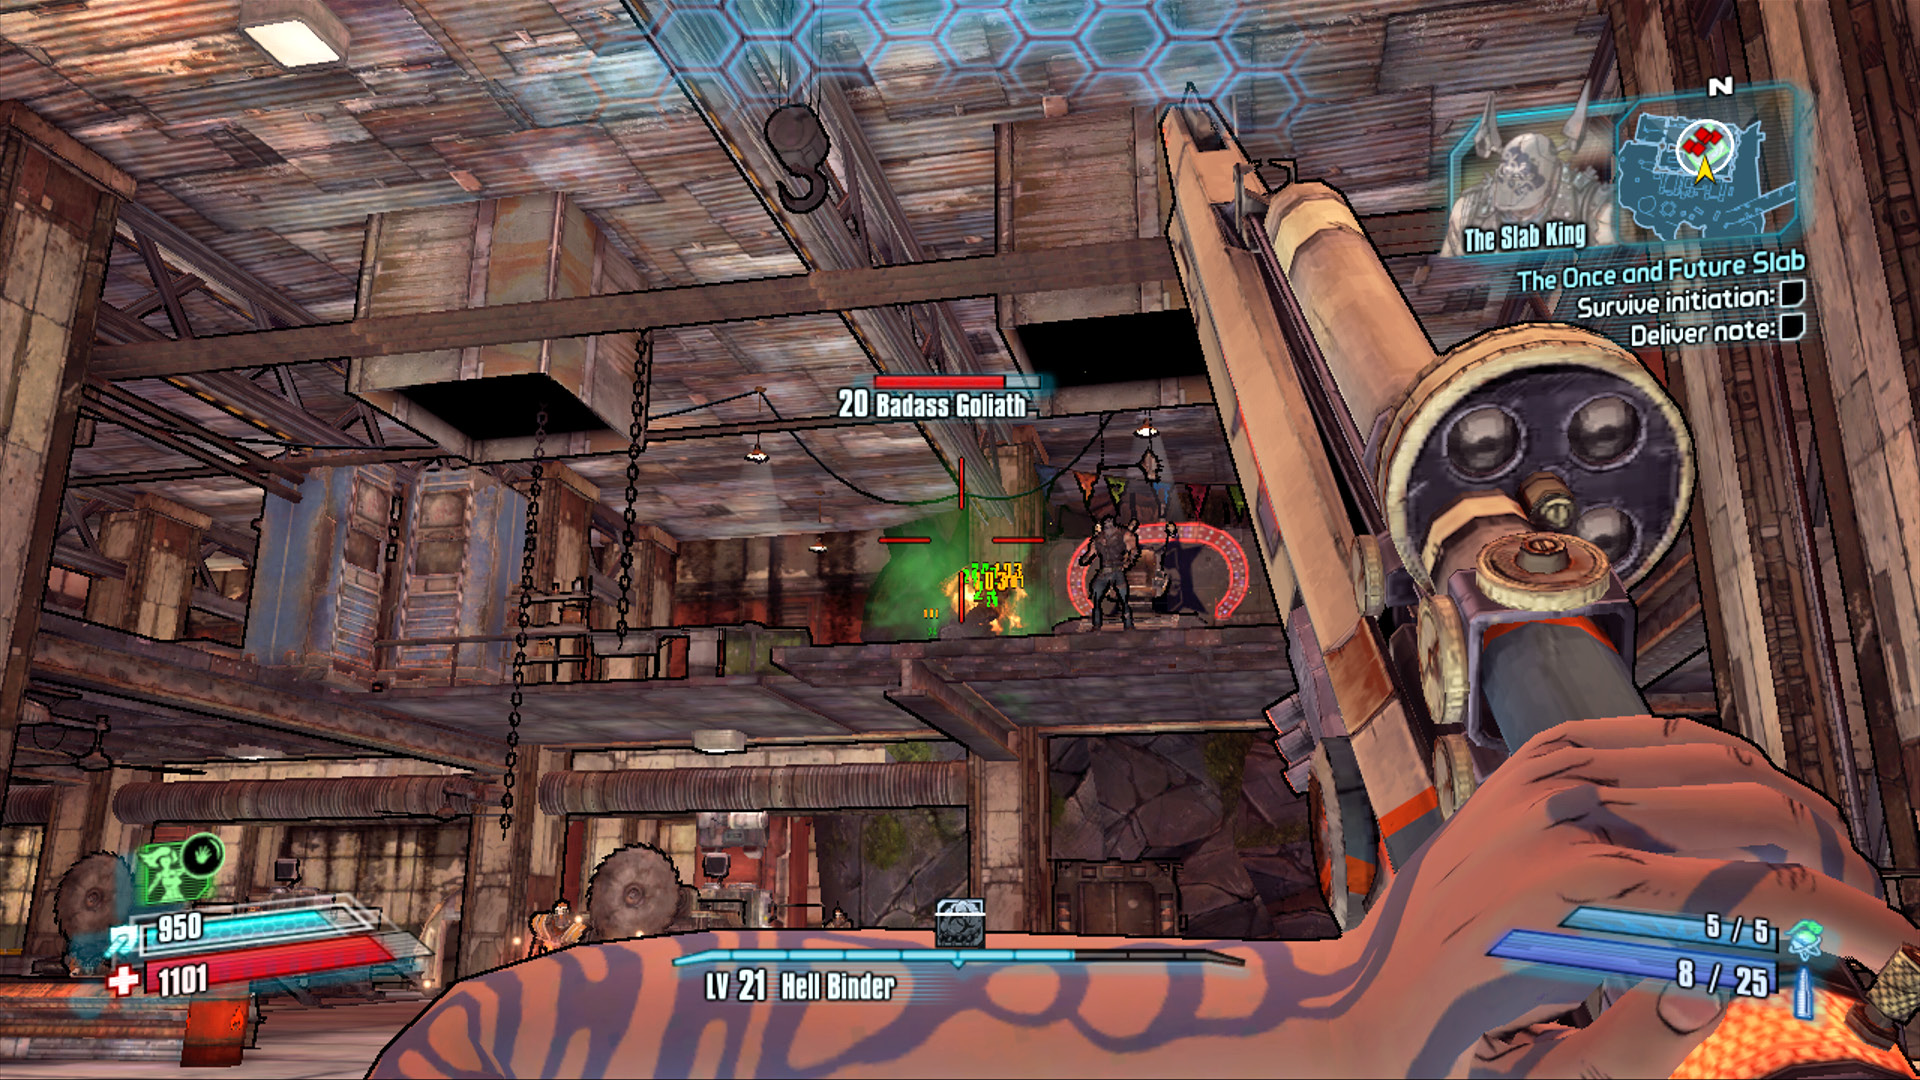
Shoot the helmet off the Badass Goliath as soon as the battle starts, then run up the stairs on the right for cover.
Toss a grenade into the fray—Singularity, MIRV, or Bouncing Betty would be ideal—to buy yourself a few uninterrupted moments and head up the stairs on the right, running to the narrow balcony overlooking the action. The easiest way through this fight is to let the Goliaths do the heavy lifting for you. You can stay on the catwalk in the southeast corner of the factory and watch much of the fight take place without you. Give the Goliaths a little help by softening up some of the enemies down below if you’d like to try to raise the Goliath to a God-liath.
A brief lull in the action precedes the arrival of a second wave of enemies consisting almost entirely of Psycho Midgets. This is a great time to shoot the helmet off the other Badass Goliath on the balcony near the Slab King (if he hasn’t jumped down already). Additional Goliaths typically arrive during the second wave, and some of the Psycho Midgets may leap onto their backs to ride atop their broad shoulders. Shoot the other Goliaths’ helmets off, and watch them all kill one other. Or, better still, wait for them to soften one another up, then lob some explosives down into the fray to collect the XP and loot!
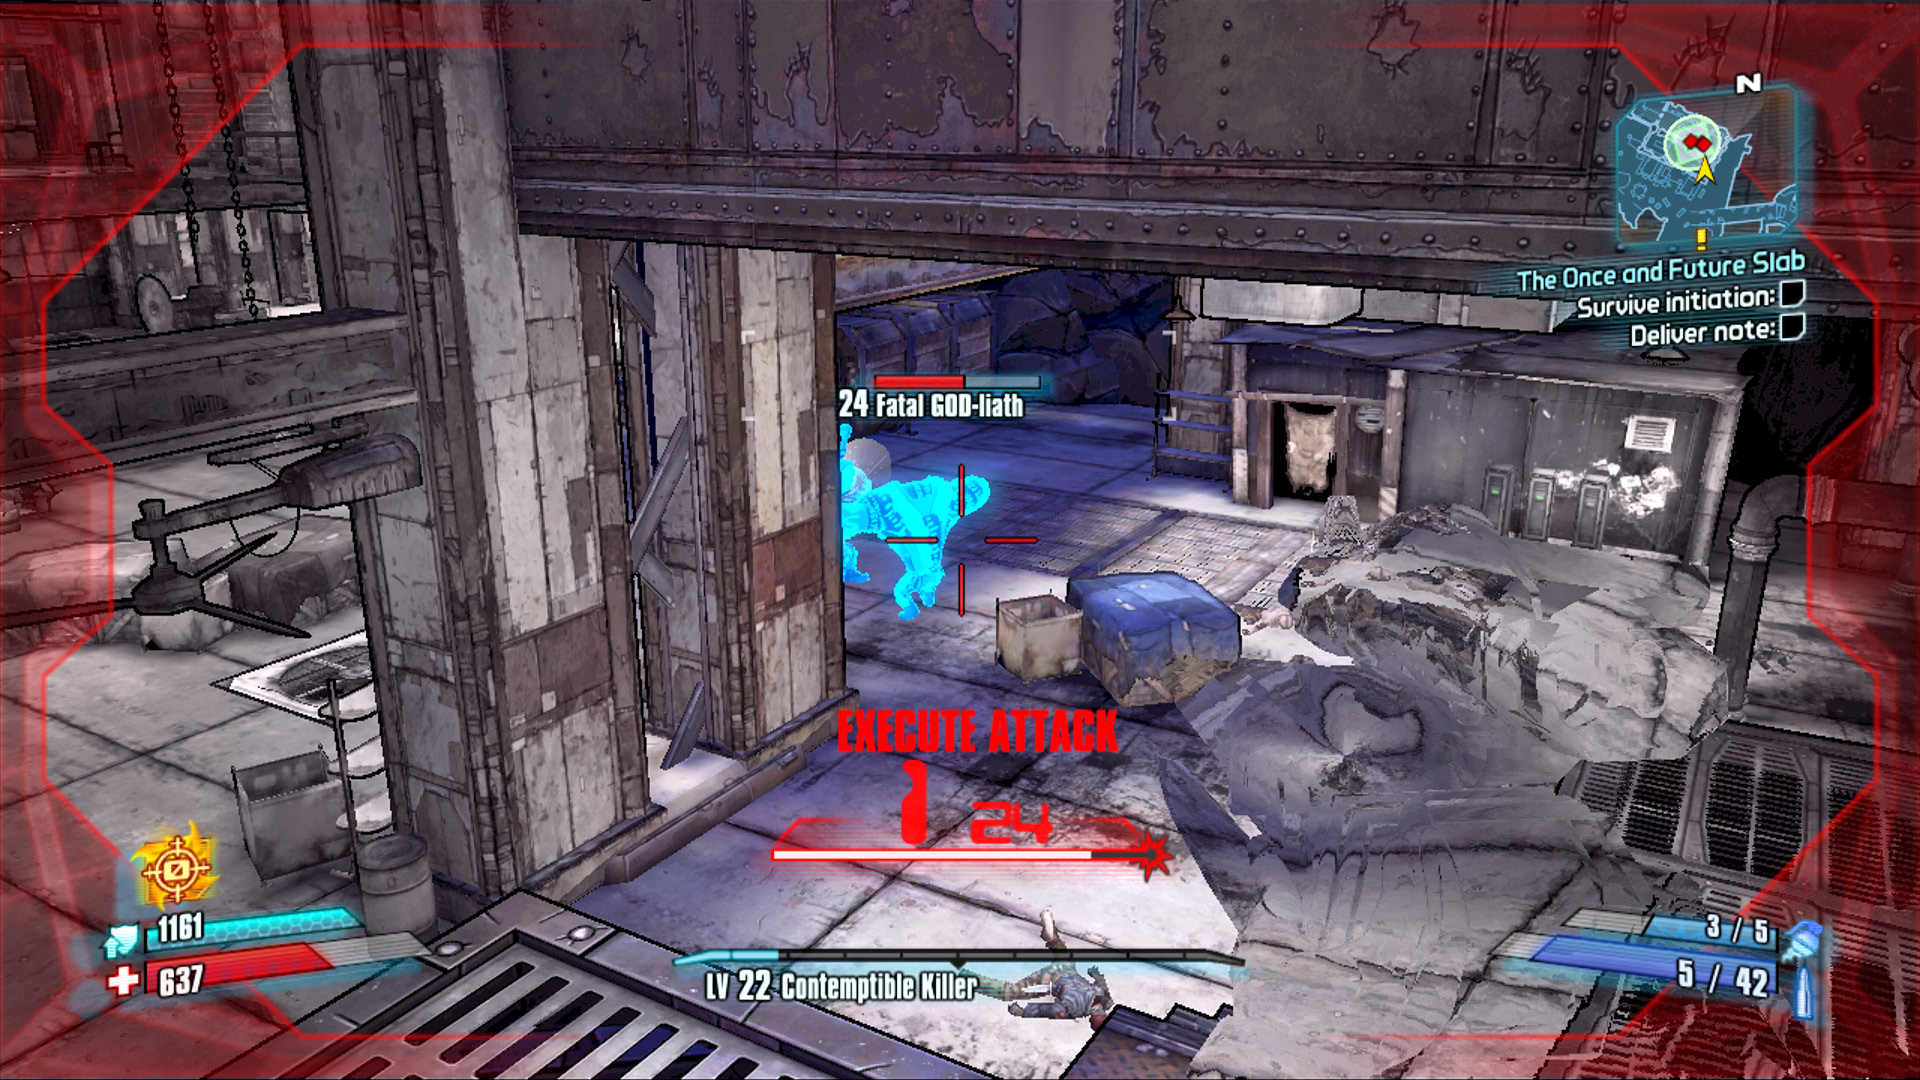
The one bad thing about cultivating a God-liath is being the only one left to kill the God-liath.
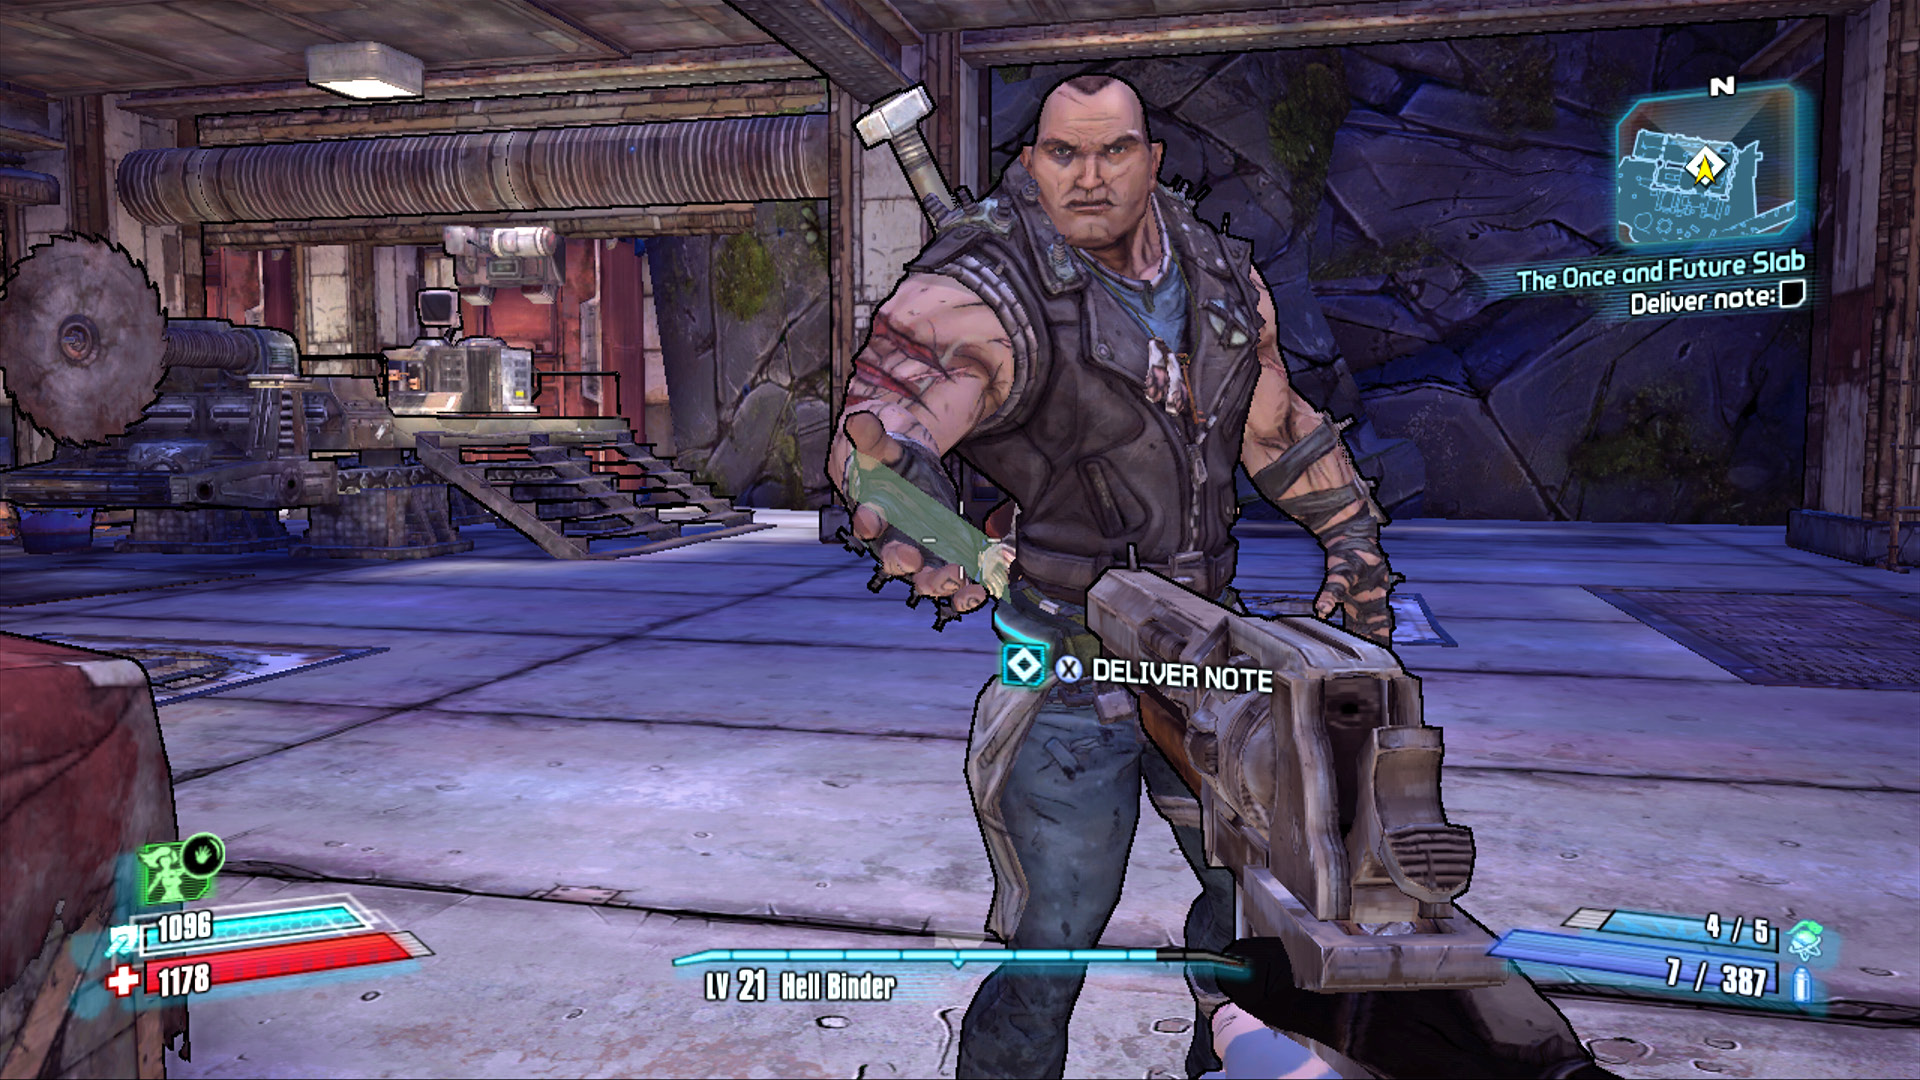
On the bright side, at least Roland didn’t send it C.O.D.
Your reward for surviving the battle is a meet and greet with the Slab King himself, also known to his friends as Brick. Give Brick Roland’s note, and take a moment to search the factory for loot. Head up the stairs in the back-left corner and raid the chest tucked away near the Slab King’s throne. Handsome Jack comes on the ECHO right as you’re approaching the door to announce a mortar attack on Thousand Cuts—just in time to kill a Vault Hunter and the Slab bandits! It’s up to you and Brick to take out those targeting beacons!
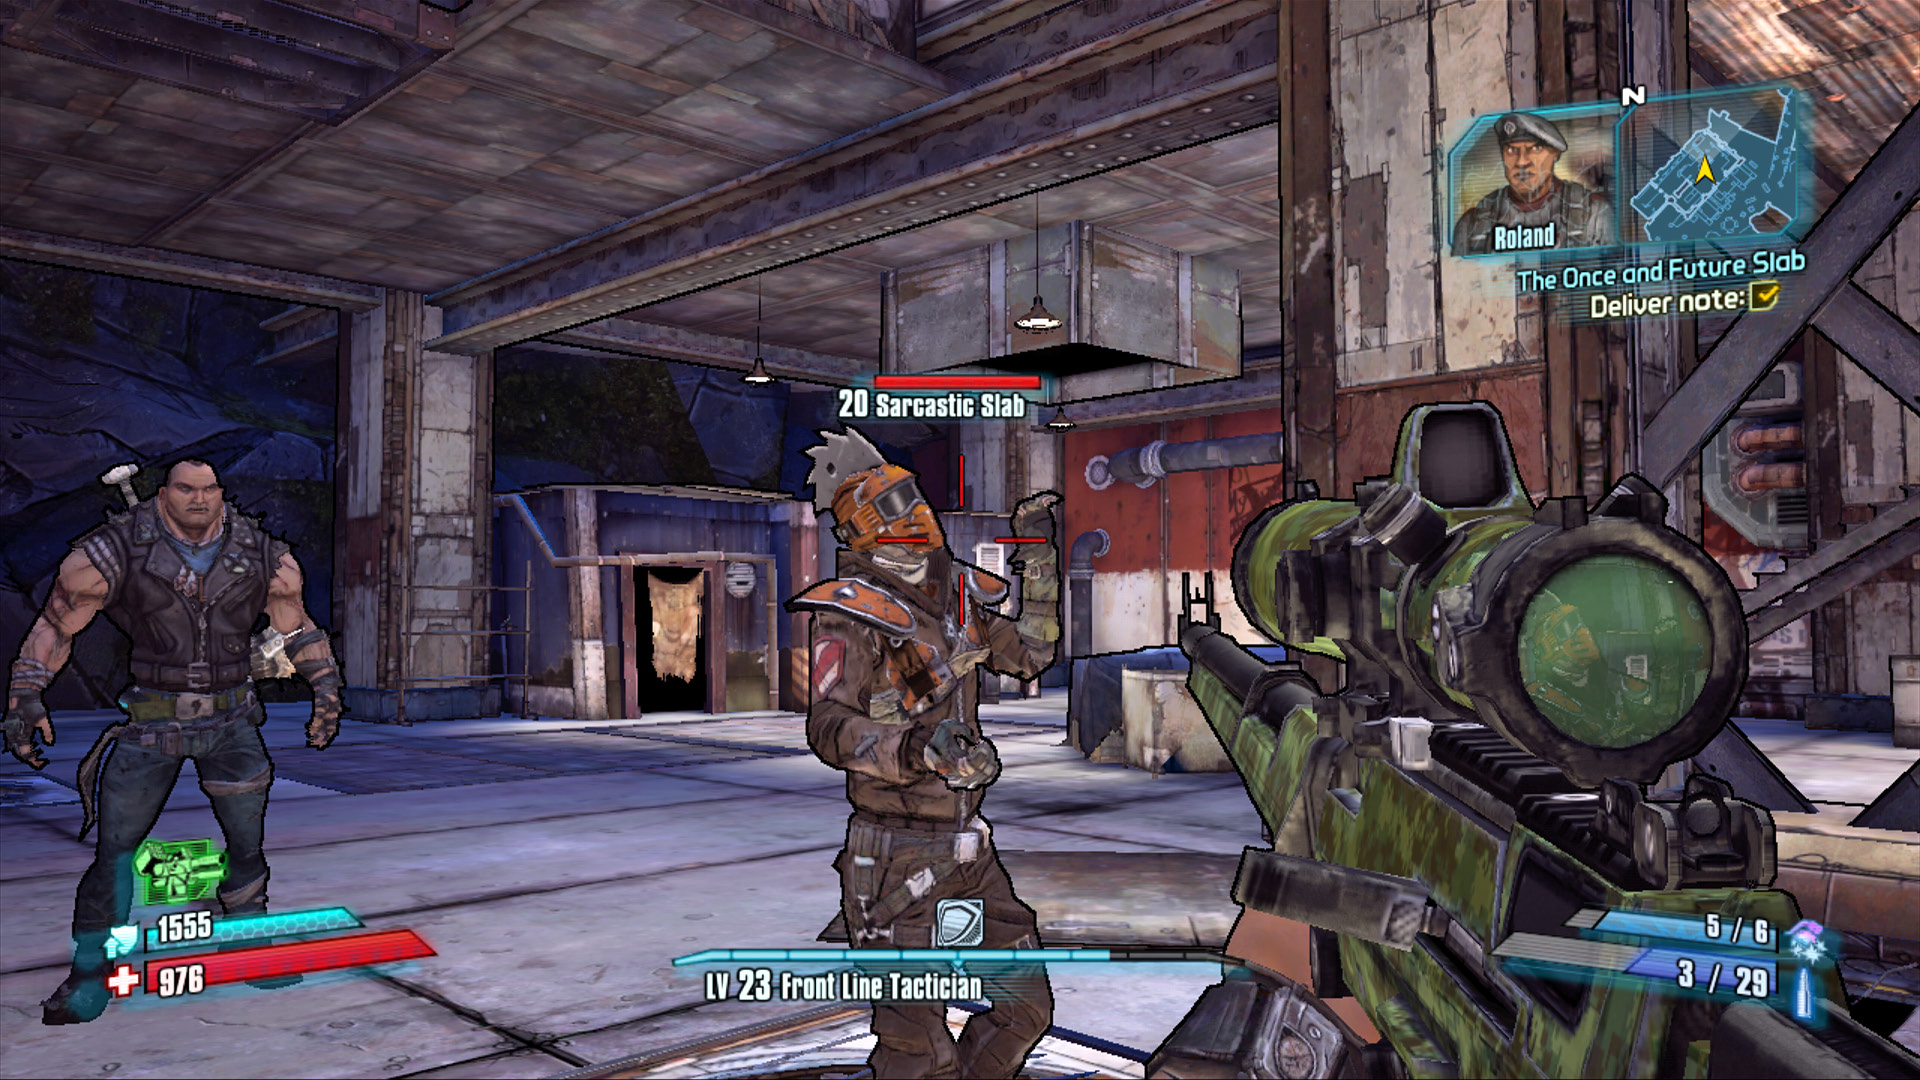
Go ahead and shoot the Sarcastic Slab giving you the slow clap. He’s a D-bag.
Mortar Beacon Destruction
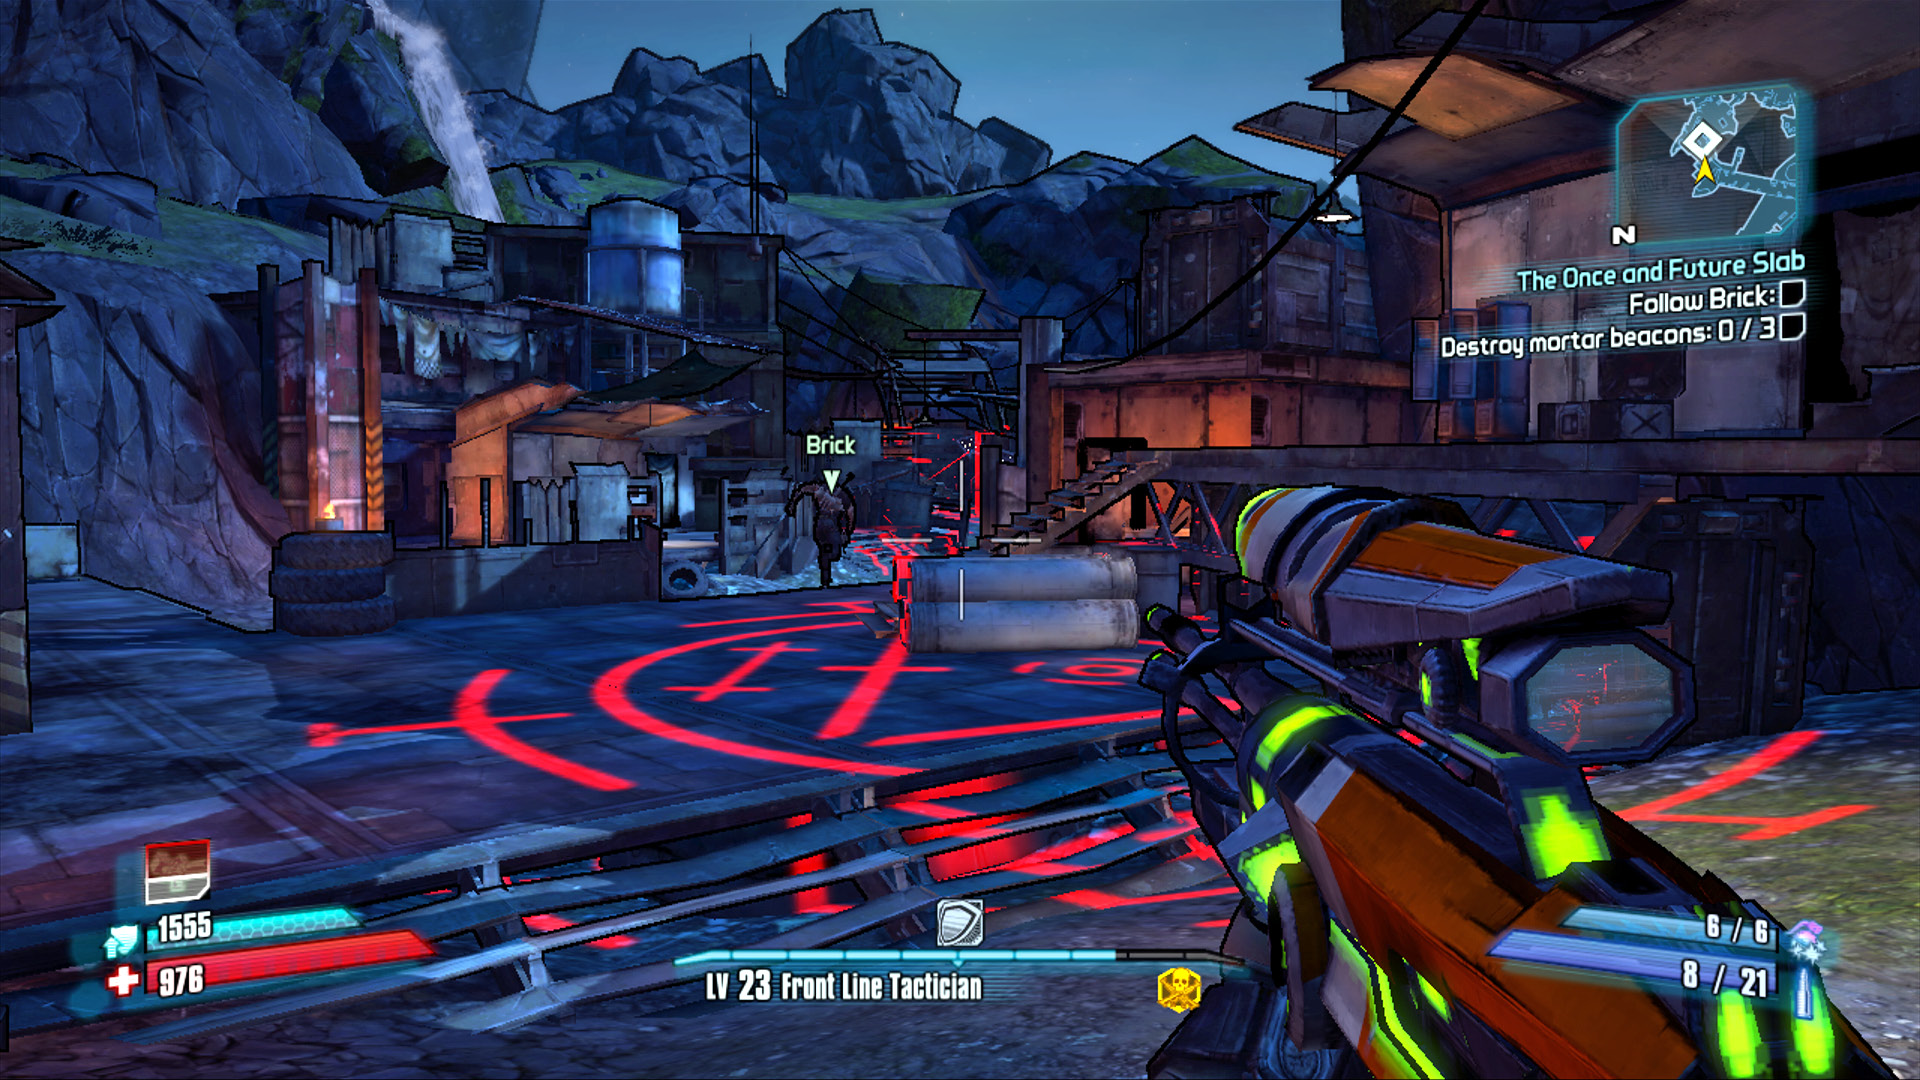
Avoid the large red targeting circles that indicate the pending mortar strike.
You delivered the note, and Brick has, in fact, agreed to help the Crimson Raiders, but you must take care of the pending mortar bombardment first. Follow Brick through Slab Town as he leads you toward the three mortar beacons. Avoid the red targeting circles as the mortars crash down around you. An army of Hyperion Loaders is also falling from the sky. Numerous GUN, EXP, and WAR Loaders arrive in force to defend the mortar beacons. Equip a Corrosive weapon, and be ready to use it!
Brick has to use his fists to break through the protective shields that envelop each of the mortar beacons. Attack the loaders while Brick destroys the beacon’s shield, then join him in attacking the mortar beacon. With the mortar beacon destroyed, only those loaders in the immediate area continue to pose a threat. Clear out any stragglers, then follow Brick to the next beacon.
The first mortar beacon is just across Broke Face Bridge, in the northeast corner of Slab Town. Kill the WAR Loader on the other side of the bridge, and round the corner to the right while dodging the targeting reticules. The second mortar beacon is south, across the Hyperion container serving as a bridge to the main section of Slab Town. Several of Brick’s fellow Slabs—the precious few you didn’t slaughter while earning your membership card—will take to the air in Buzzards to offer support. Don’t target them, as they’re here to help!
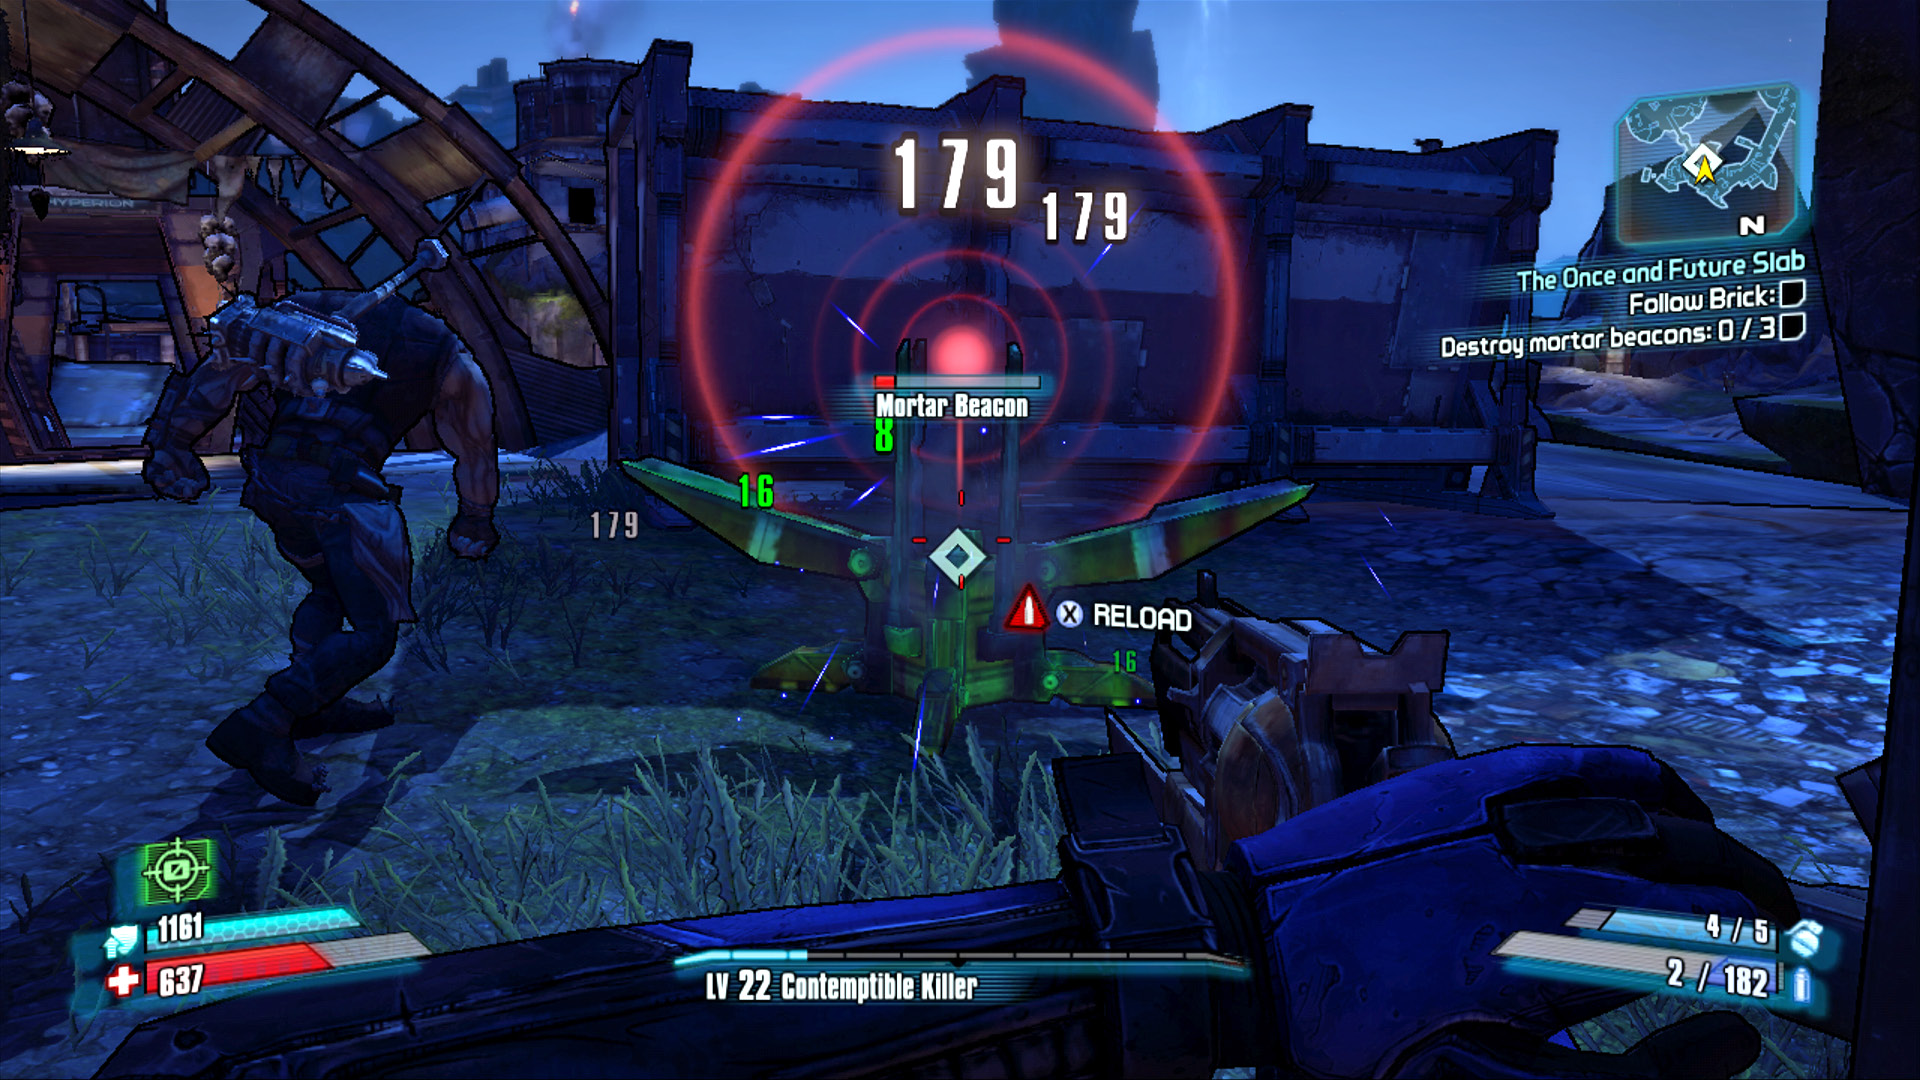
Cover Brick while he punches through the beacon’s shield, then open fire on the mortar beacon.
A Badass Loader attacks after you’ve destroyed the third beacon. Take a moment to loot the nearby containers and gather up plenty of ammo while Brick rushes off to shatter the barrier protecting the third mortar beacon. This should ensure you don’t run out of ammo when facing down the Badass Loader.
Speak with Brick in Thousand Cuts to get the warning about his idiot Slabs who will attack you if you return (they’re seldom there, though). Use the Fast Travel station to return to Sanctuary, and report back to Roland to complete the mission. Brick will meet you there.
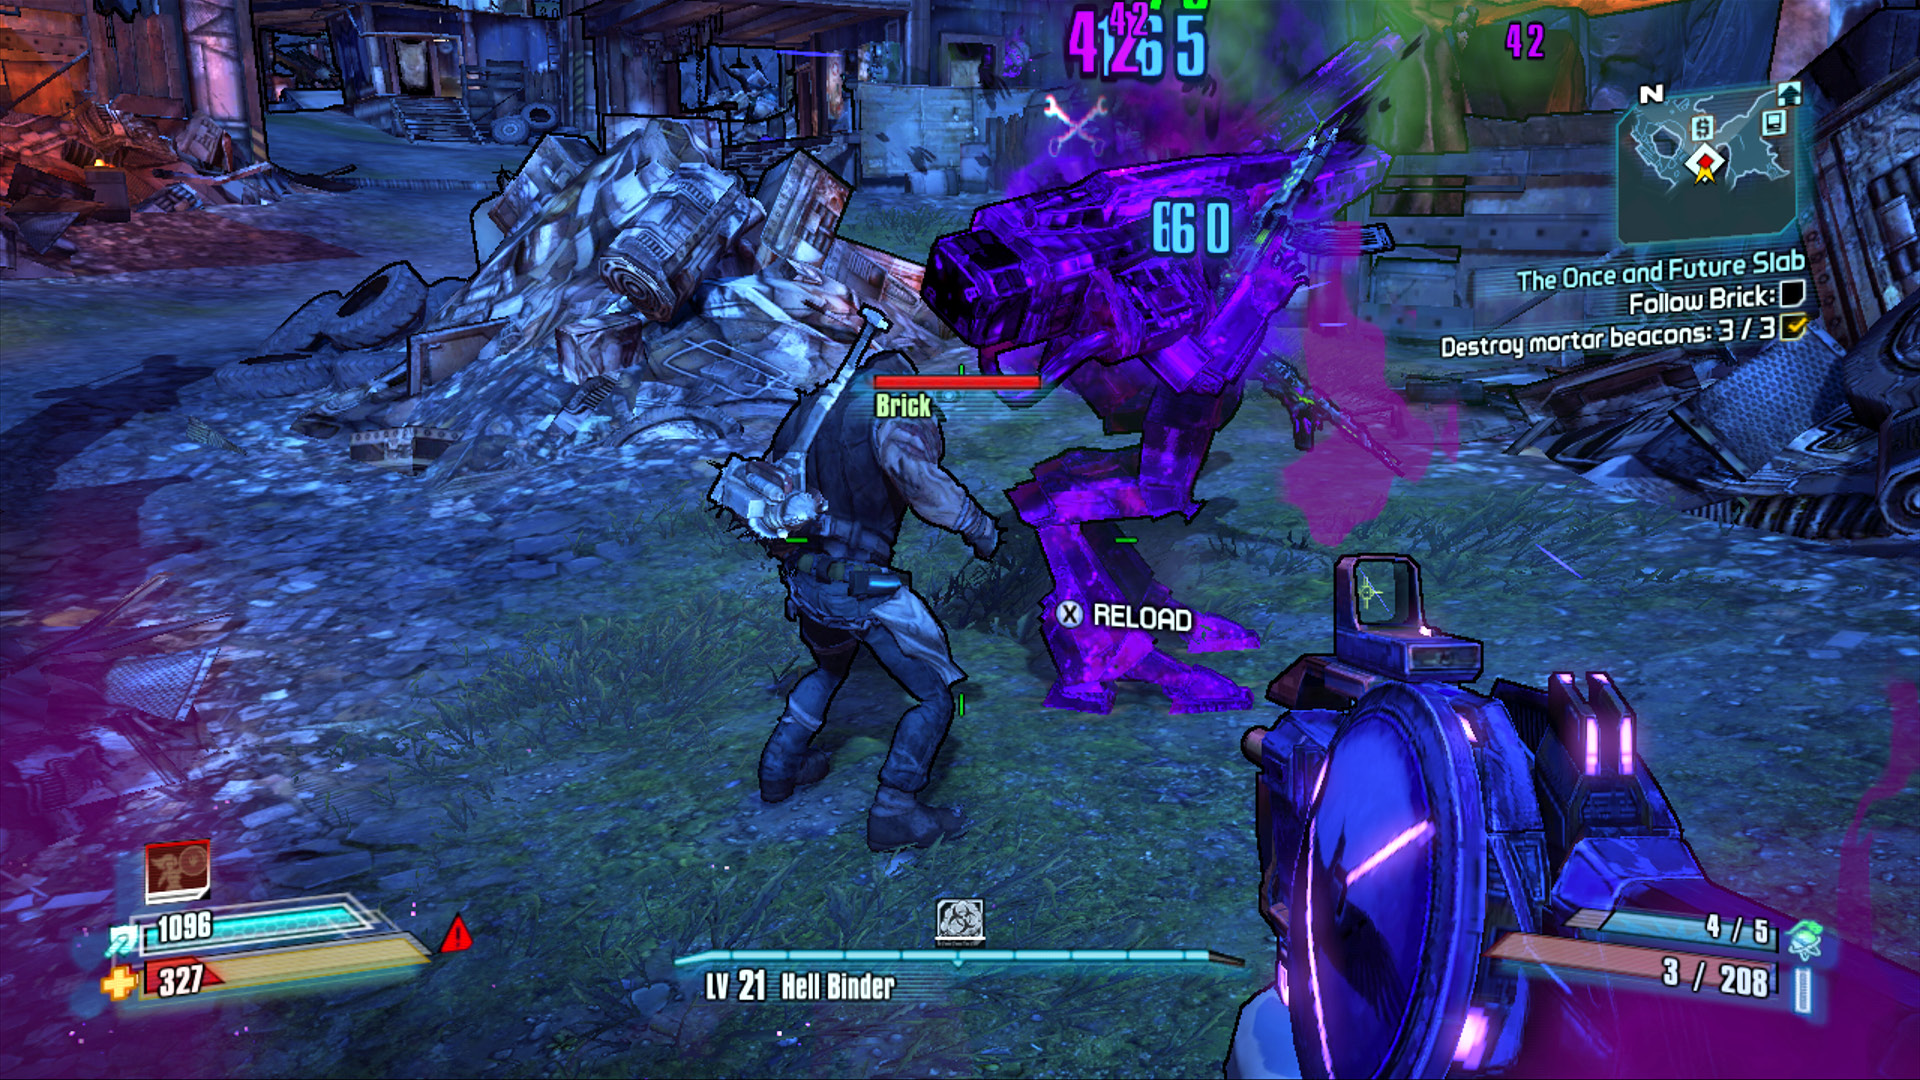
Brick soon gives you a hand defeating that Badass Loader, so go ahead and Slag it to boost Brick’s damage.
Lynchwood
Run by a corrupt Hyperion Sheriff, the town of Lynchwood is intentionally kept in a state of abject poverty. Why? Because poverty breeds crime. And crime needs to be punished. To the Sheriff of Lynchwood, punishing crime is fun as hell. If you step into Lynchwood, the Sheriff—and all of her Hyperion-financed bandit cronies—will consider you a criminal, to be executed on sight. Due to its general lack of strategic value, Crimson Raiders are discouraged from visiting Lynchwood. That said, Brick has a personal grudge against the Sheriff, and he has posted a sizable reward for her head. As a town, Lynchwood has all the markings of a frontier dustbowl. The humans who’ve come to this town live along Main Street and in Gunslinger’s Corner, far from the rats, skags, and Armored Skag Riders that populate The Grinders and Death Row Refinery areas. Vault Hunters have no official business in Lynchwood, but the area is home to numerous enemies.
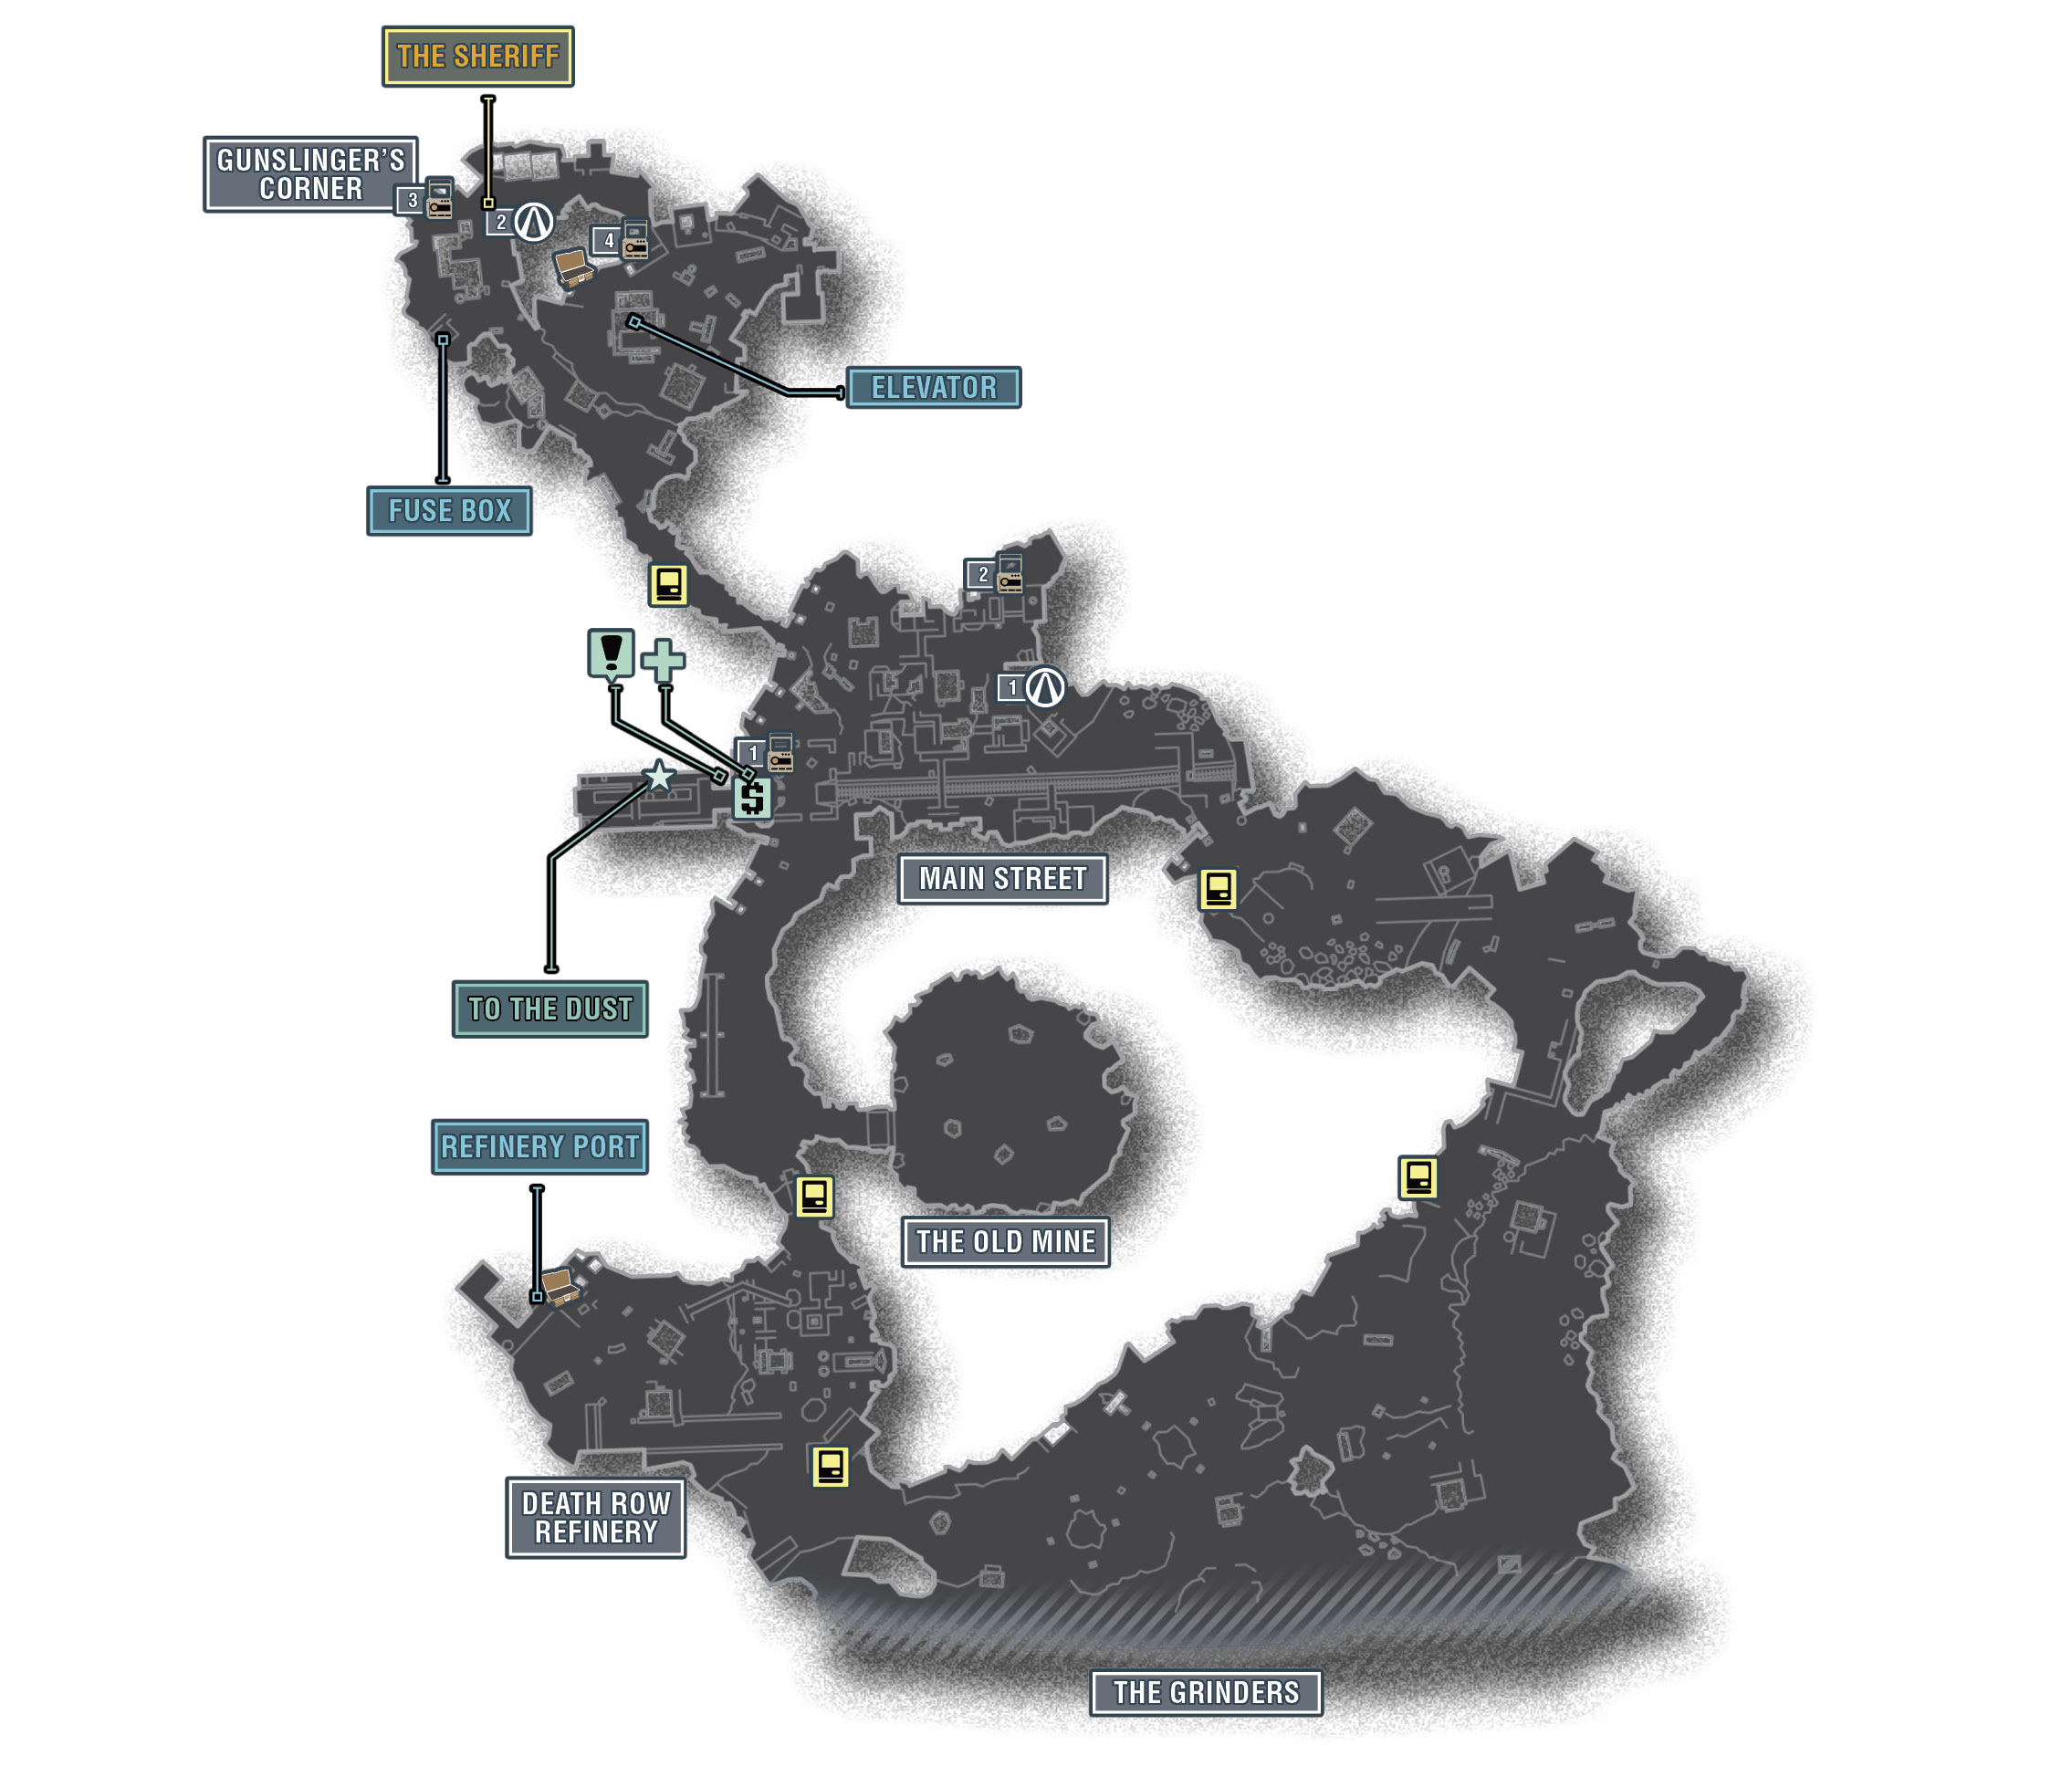
The Districts of Lynchwood
| Locale | Limited Access? | First Visit |
|---|---|---|
|
Main Street |
No |
“The Bane” optional mission. |
|
Gunslinger’s Corner |
No |
“The Bane” optional mission. |
|
Death Row Refinery |
No |
“The Bane” optional mission. |
|
The Grinders |
No |
“The Bane” optional mission. |
|
The Old Mine |
No |
“Demon Hunter” optional mission. |
Dangerous Beasts
High Value Targets
| Enemy | Family |
|---|---|
|
Sheriff |
Marauder |
 Cult of the Vault
This symbol is located on the roof nearest the rocks on the northeast end of Main Street. It’s not far from the pharmacy building and can be reached with a running leap from one roof to another.
This Cult of the Vault symbol is a bit trickier to reach. It’s atop a building on the lower side of Gunslinger’s Corner but can only be reached from the upper area. Ride the elevator to the plateau, then run and leap up and over the gray, ribbed roof in the northwest corner. This lets you drop down to the roof where the symbol is.
 Do or Die
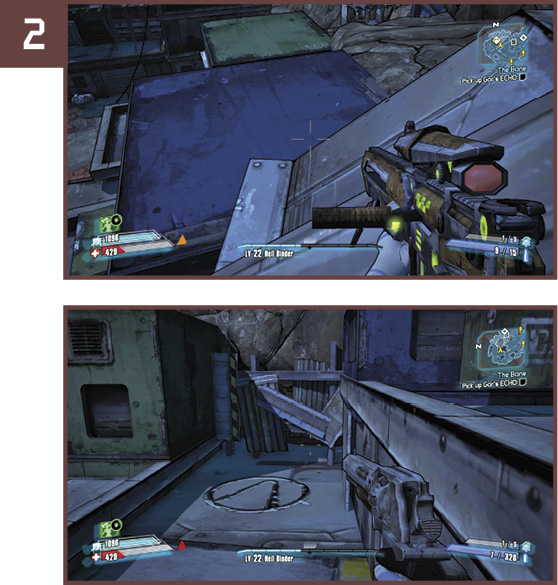
Exit the train station on the lower level and take an immediate left. It won’t be visible as you walk by, but there’s an ECHO Recorder in the dumpster immediately to the left of the station exit.
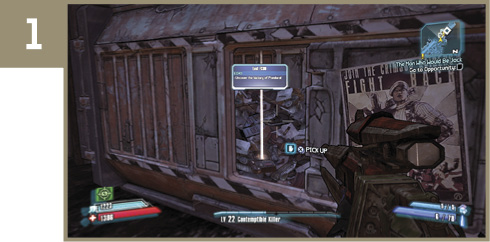
Make your way to the northeast corner of the Main Street area, near the large yellow and black striped gate. The ECHO Recorder is atop the last building on the left as you ascend the path toward the gate.
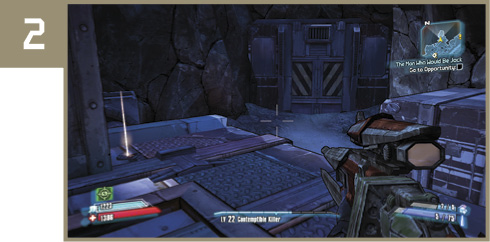
This ECHO Recorder is tucked under some mechanical apparatus in the northwest corner of Gunslinger’s Corner. Stick to the very edge of the area, and make your way around the periphery in a clockwise direction to spot it.
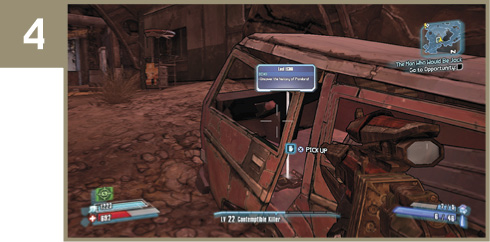
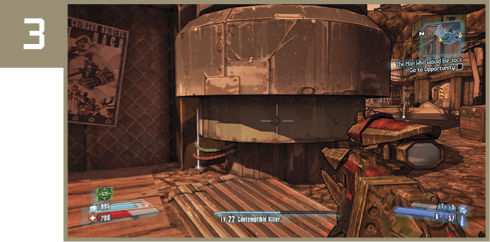
The final ECHO Recorder is located in Gunslinger’s Corner, in the cave leading to the elevator. It’s inside a burned-out car on the right-hand side of the path.
That’s Impossible, Even for a Computer!
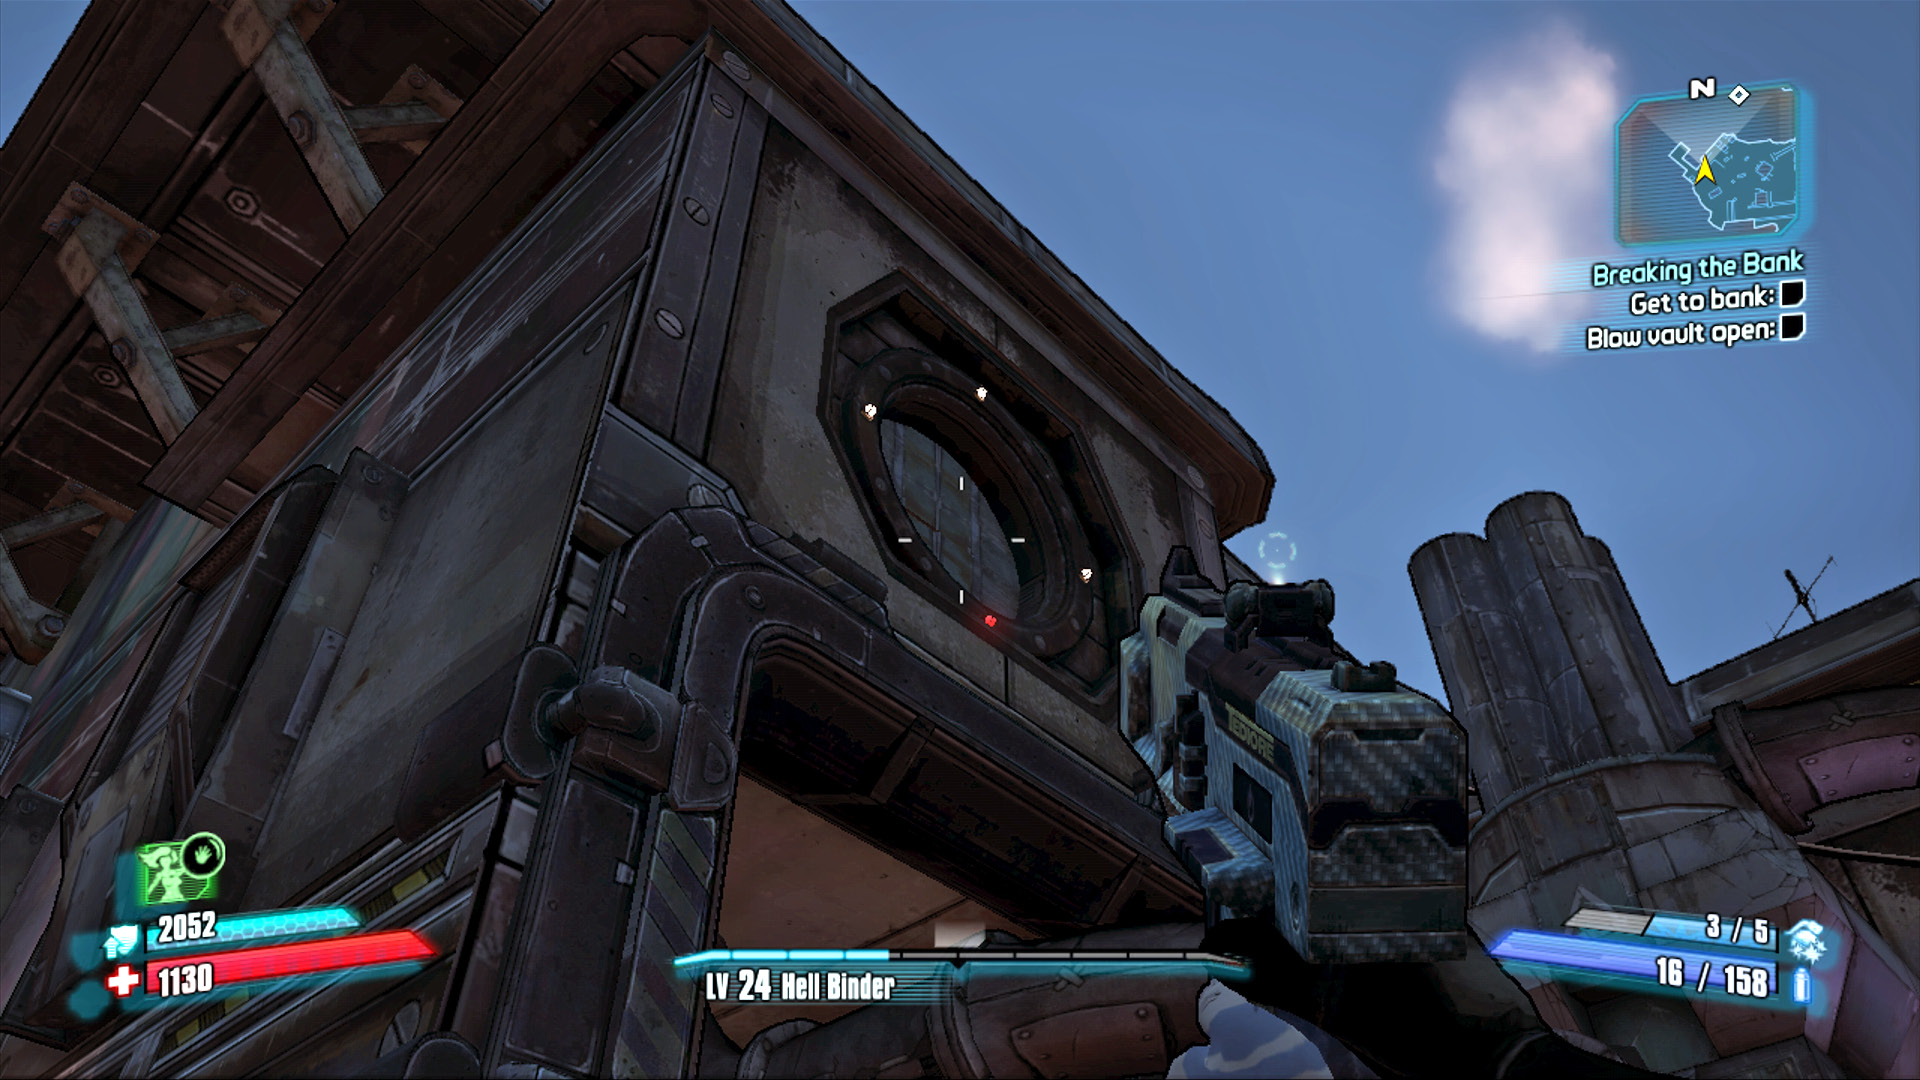
Make your way to Death Row Refinery and approach the deck that sticks out over the cliffs. To the right is a flame-spewing exhaust port high up on the side of the refinery. Study the pattern of lights that ring the hole and watch as they turn from white to red. The port opens just as the fourth light turns red, but a burst of flame is soon expelled. You need to time your grenade toss so that it can enter the port just as the hole opens, and before the flames get a chance to knock the grenade backwards. Anticipate the port opening, and throw your grenade just before it opens to have the best chance of landing it inside the port.
Look Ma, No Hands
Both The Grinders area and quarry to the east of Main Street are home to numerous Armored Skag Riders, some of whom represent the Sheriff’s Posse. You can earn yourself an additional Badass Rank by knocking five of these Armored Skag Riders from their mounts before killing the skags. The best way to do this is to simply aim high, target the rider, and use Corrosive or Explosive weaponry to inflict as much damage as quickly as you can. Though the blast from the explosion may damage the skag, you won’t need to worry about the Corrosion spreading to the beast. Whatever weapon you choose, just continue to aim high and focus your firepower on the gun-toting enemy atop the skag instead of the skag itself. Once the time is right, use Corrosive weaponry against the Armored Skags for best results.
Duel of Death
Grab a friend and head to the Main Street area of Lynchwood. Wait for the next train to speed past—better to be safe than sorry—then step out onto the tracks and initiate a duel. It doesn’t matter who wins, as you’ll both get credit for completing this Challenge as soon as the duel is finished.
Last Train to Nowhere
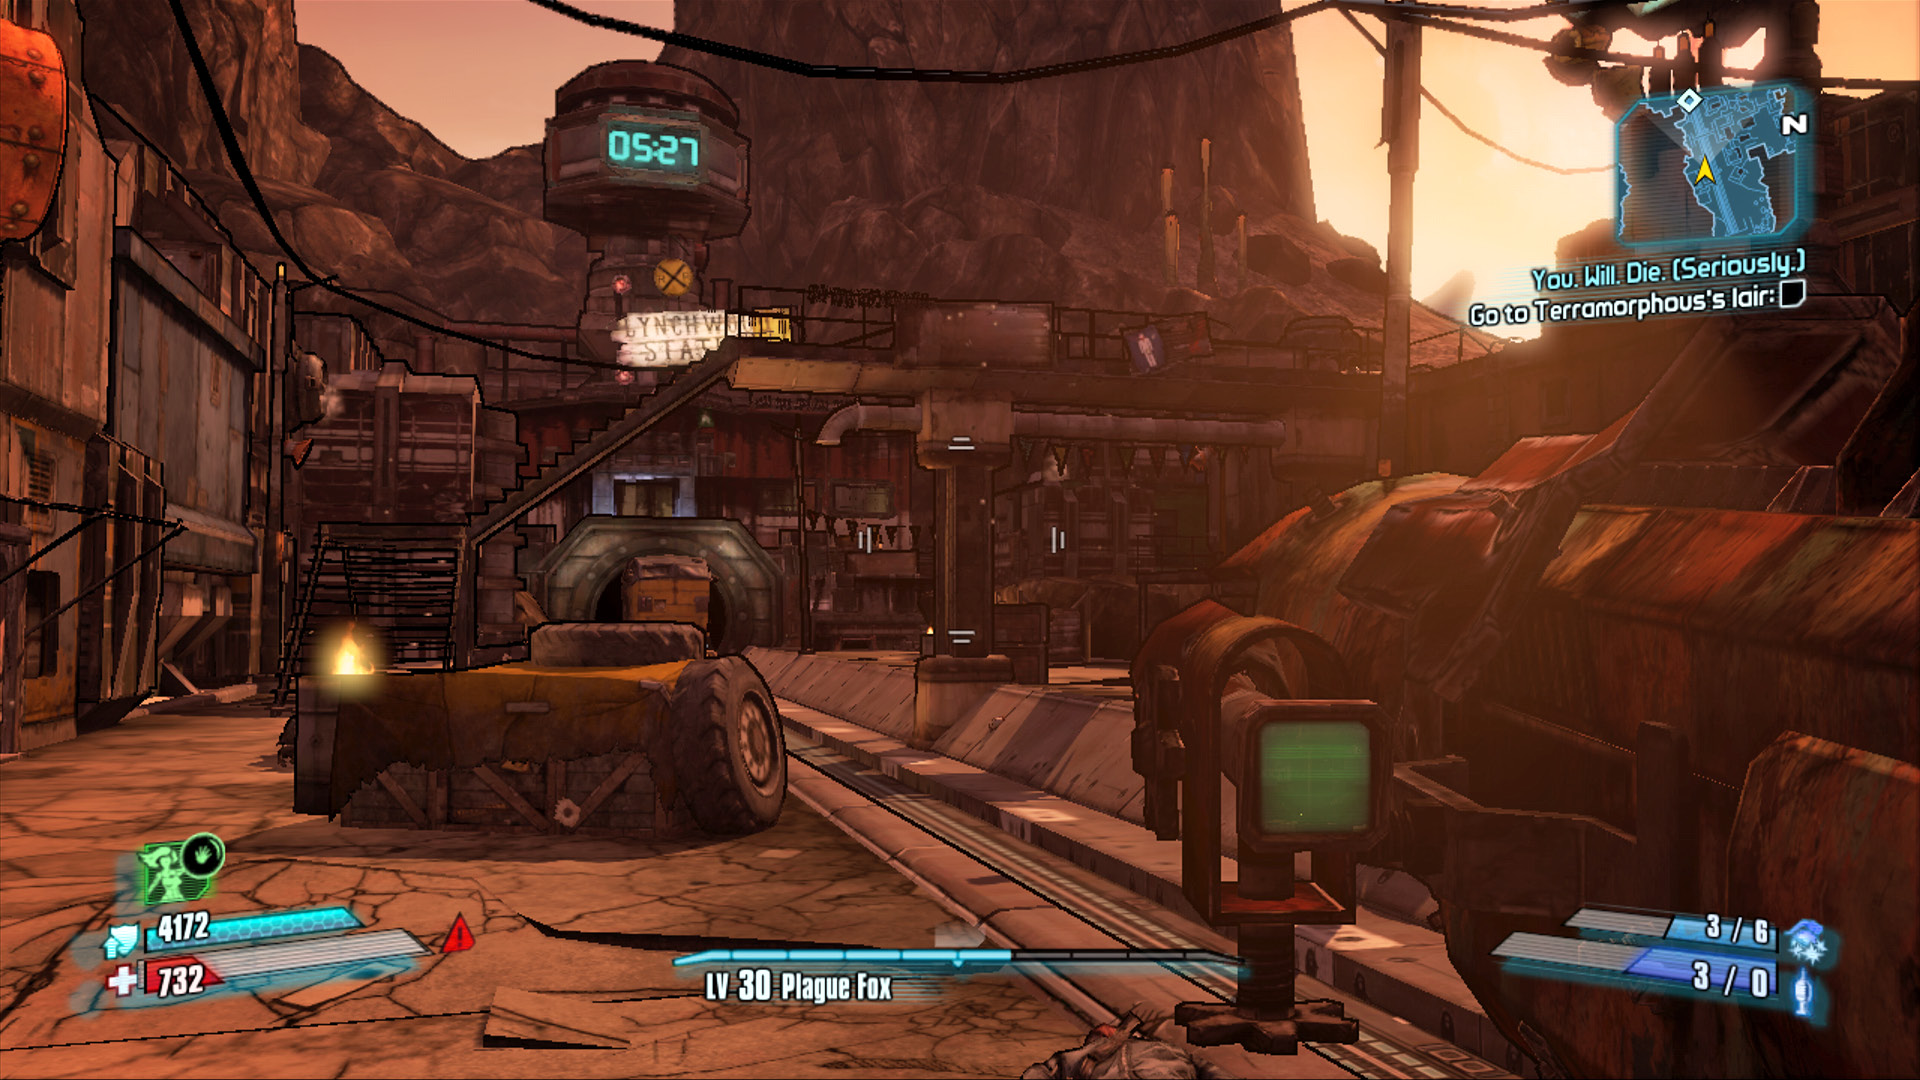
Every 12 hours, just past 5 o’clock, a train comes steaming through Main Street on an eastbound trajectory. This happens several times a day, but there’s a Bruiser standing on the very rear of this train. Kill him to complete this Challenge! This isn’t quite as easy as it sounds due to the speed of the train and the relative durability of the Bruiser. It takes roughly 90 seconds of real time for an hour to pass in Pandora, so beginning around 2 o’clock, you should start eliminating all other bandits near Main Street. You don’t want to be distracted when the train arrives. Head down to the tracks close by the station so you have the full length of track to fire at the Bruiser, and lie in wait. You should use a rocket launcher or high-powered assault rifle or SMG for this attack, as you need a combination of power and speed without the pressure of having to be pinpoint accurate.
Axton’s Sabre Turret can certainly help in this attack, as can Zero’s Deception skill if you time it right. Maya’s Phaselock can briefly lift the Bruiser, but he’ll keep moving with the train, so don’t expect to yank him off it. Of all the classes, this may be best accomplished with Salvador, especially if you can pair a Slag SMG with an Explosive assault rifle or Fire-based repeater. Good luck!
Opportunity
Welcome to Handsome Jack’s city of the future! Littering is punishable by death. That’s right—if Hyperion has their way, all of Pandora will eventually look like Opportunity. Clean, shiny, and utterly devoid of that oh-so-bothersome little idea known as “freedom.” As it stands, the city is still under construction; Jack’s current timetables suggest that the city will be done in a few months, at which point Hyperion will begin inviting high-class families to move in and experience all the wonderment and adventure of Pandora… behind four-inch-thick energy shielding, of course. Opportunity consists of multiple neighborhoods ready for residents in the central and western portions of the city, whereas the construction is still underway throughout the eastern half of the city.
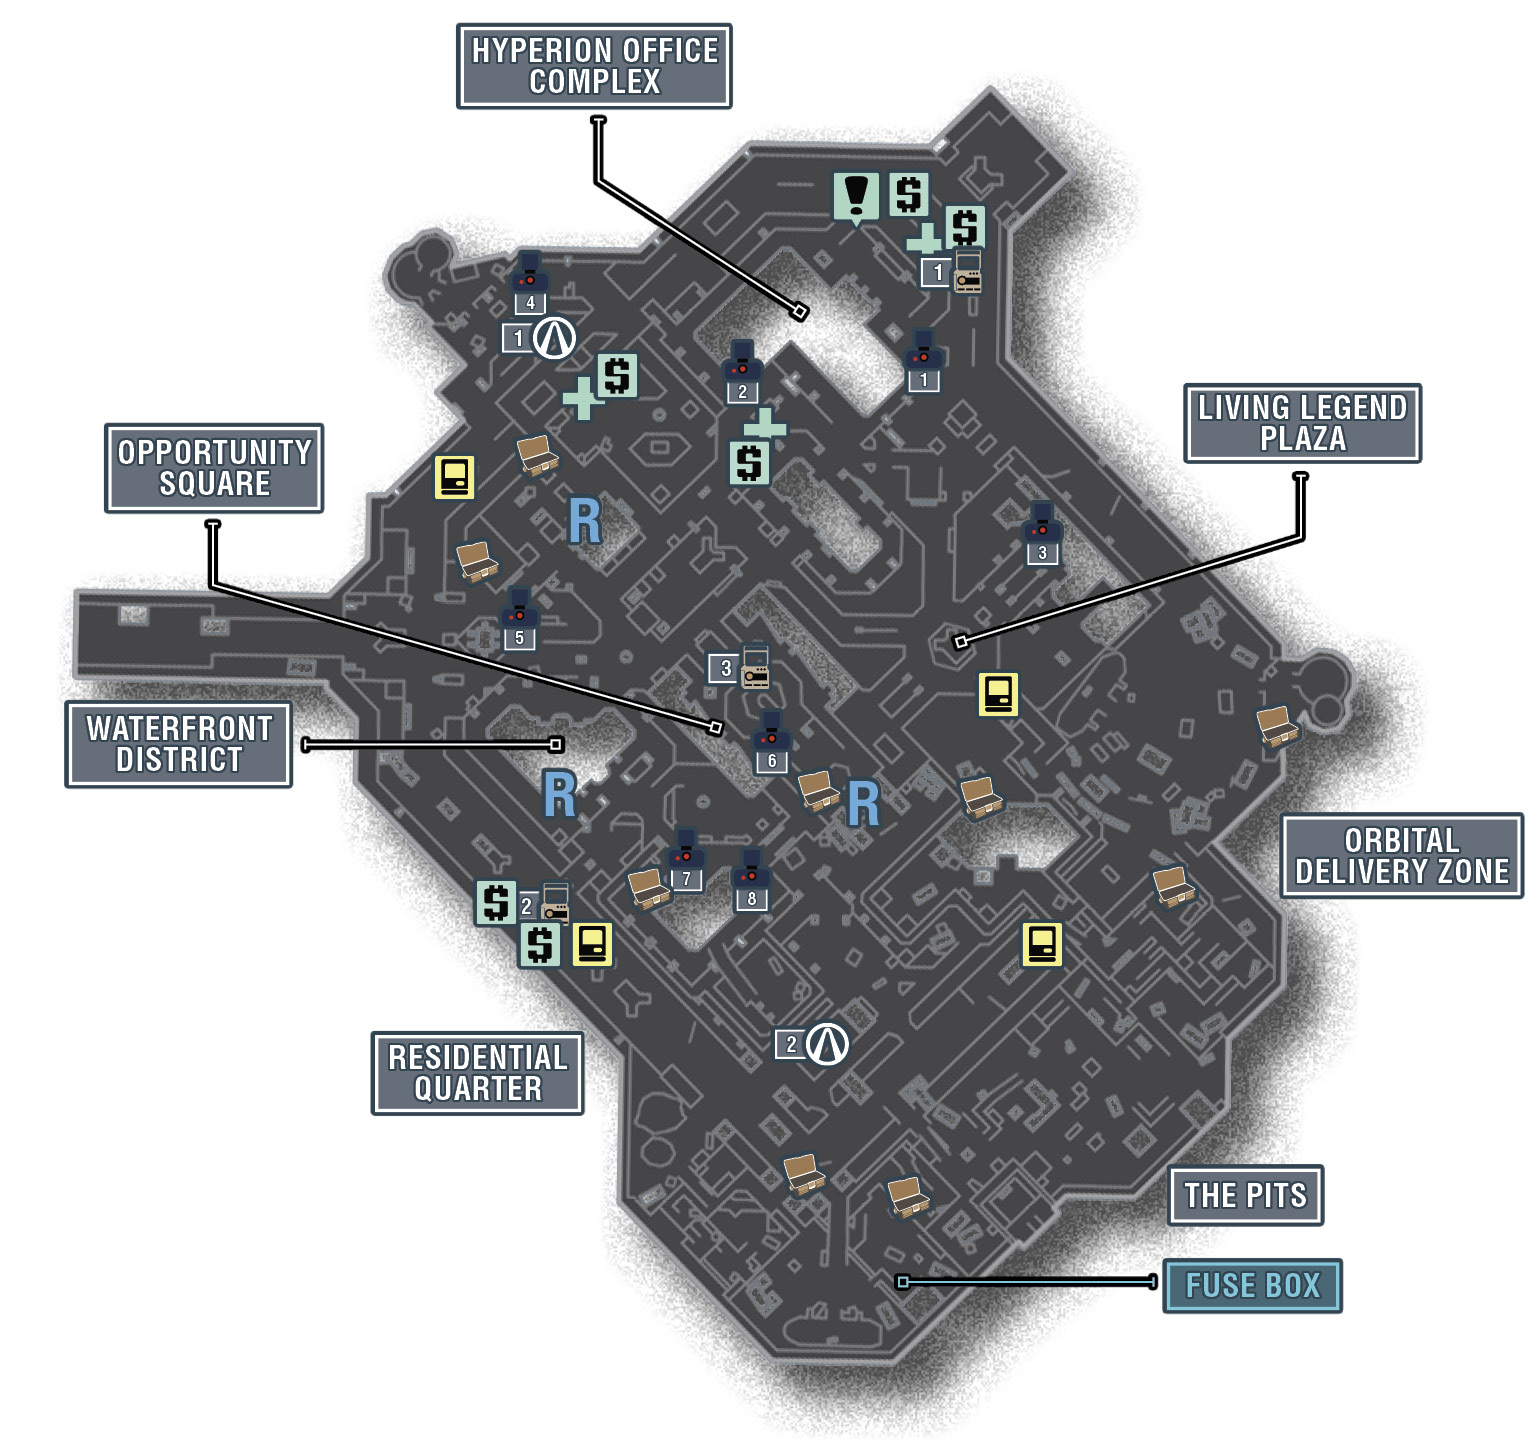
The Districts of Opportunity
| Locale | Limited Access? | First Visit |
|---|---|---|
|
Living Legend Plaza |
No |
“Written by the Victor” optional mission. |
|
Orbital Delivery Zone |
No |
“Home Movies” optional mission. |
|
The Pits |
No |
“Home Movies” optional mission. |
|
Waterfront District |
No |
“Home Movies” optional mission. |
|
Residential Quarter |
No |
“Home Movies” optional mission. |
|
Hyperion Office Complex |
No |
“Home Movies” optional mission. |
|
Opportunity Square |
No |
“The Man Who Would Be Jack” story mission. |
Dangerous Beasts
| Enemy Family |
|---|
|
Loaders |
|
Constructor Bots |
|
Surveyors |
|
Engineers |
High Value Targets
| Enemy | Family |
|---|---|
|
— |
— |
 Cult of the Vault
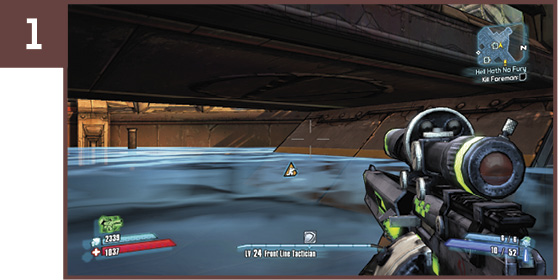
Make your way to the northwest corner of Opportunity, and drop into the shallow pools beneath the walkways. This well-hidden Cult of the Vault symbol is on the underside of the central walkway and can be accessed from within the water.
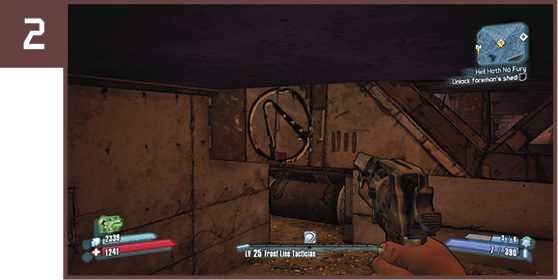
The other Cult of the Vault symbol is located on the northern edge of The Pits and is down deep in the construction site. Drop beneath the scaffolding and pipes, and seek out the symbol in the corner where the foundation is being dug.
 Opportunity Knocks
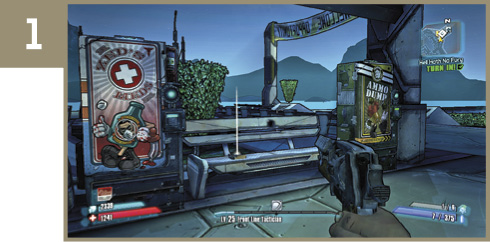
The first of the three ECHO Recorders is on a park bench between the two vending machines nearest the Fast Travel station.
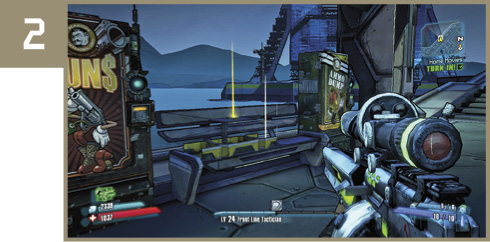
Make your way to the south end of Opportunity, near the Residential Quarter, and locate the second ECHO Recorder atop the park bench near the vending machines. It’s in a position much like the first, only on the far side of the city.
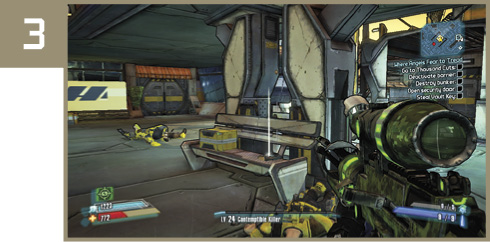
Descend the stairs to the lower level of Opportunity Square in the center of the city to find this final ECHO Recorder on a park bench.
 Down with Big Handsome Brother
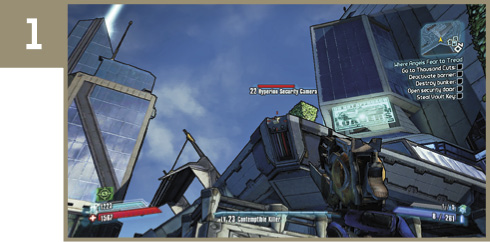
This Hyperion security camera is on the northeastern corner of the building in the Hyperion Office Complex nearest the Fast Travel station.
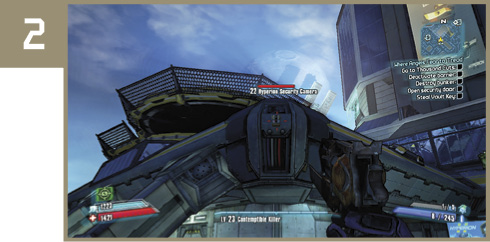
Loop around that same building where you found the first camera to find another on the southwest wing of the building.
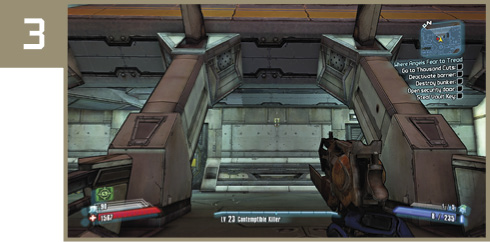
Head east to Living Legend Plaza and look to the north to spot this camera beyond the twin flights of stairs.
This yellow security camera is next to the shimmering Hyperion billboard in the northern corner of the Hyperion Office Complex.
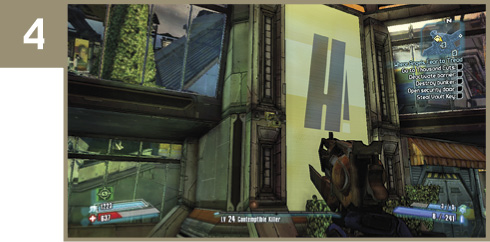
Head due west through the Waterfront District in the direction of the pier with the crane to spot this camera on the back of a lamppost.
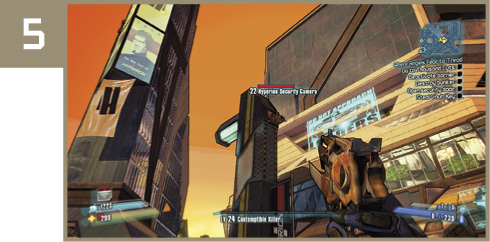
Descend the steps to the lower level of Opportunity Square and scan the upper walls in the southeast corner to find this camera. It’s on the corner to the right of a skybridge.
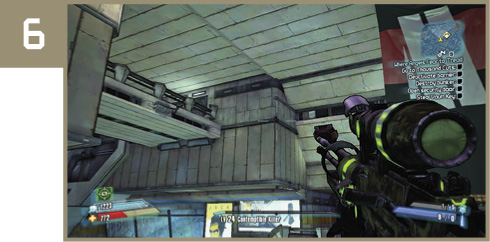
Make your way to the southernmost tall building and study the area under the overhang in the northwest corner of the building to spot this camera.
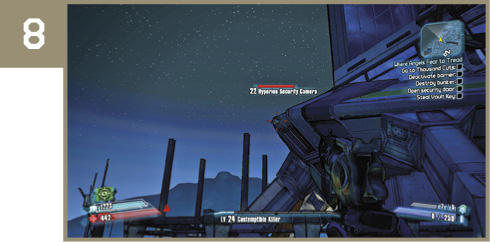
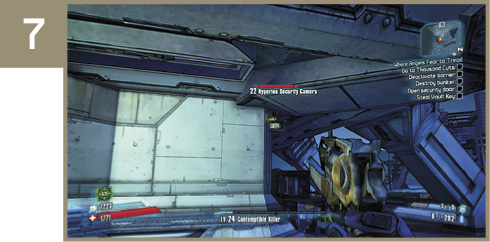
The final Hyperion security camera is on the same building as the previous one, but on the outer edge of the northeast corner.
 Top o’ the World
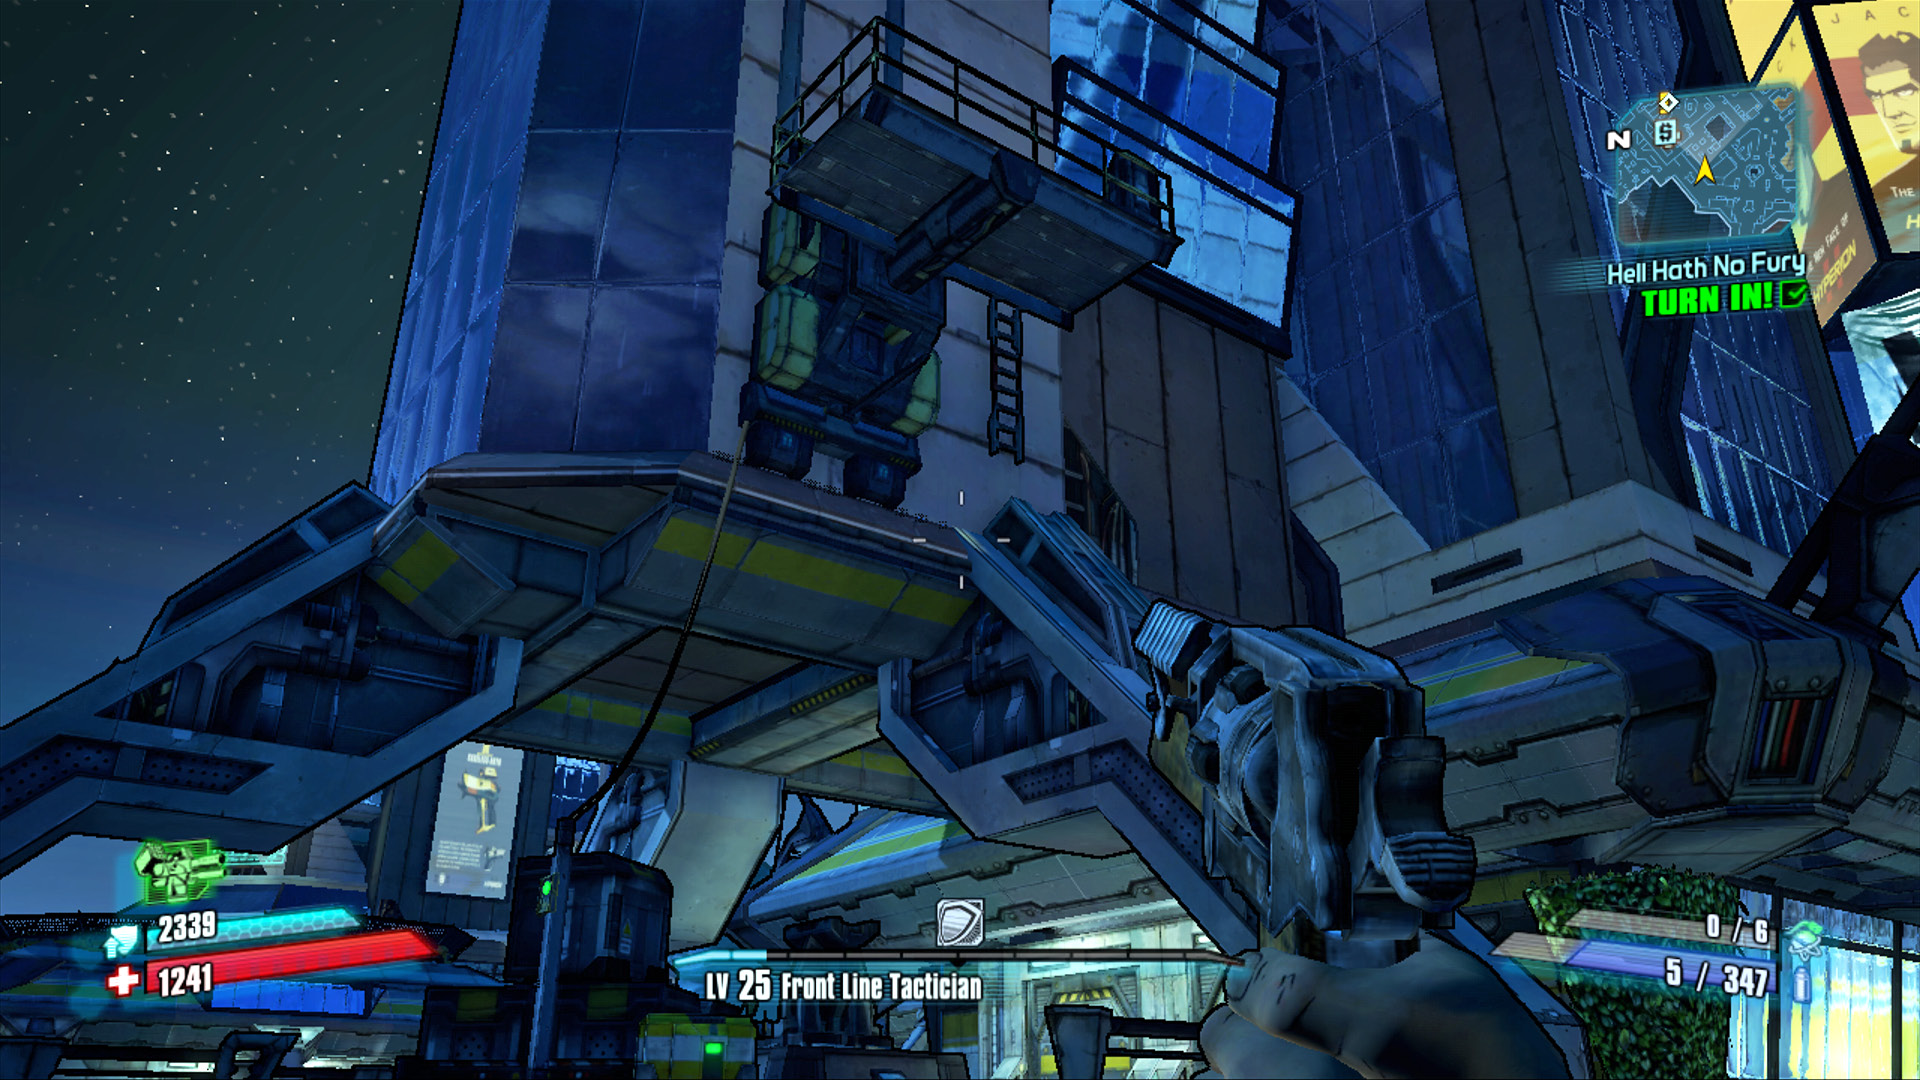
Complete this Challenge by reaching the three highest points in Opportunity. Our map shows the spots you’re trying to reach, but note that only two of them can be reached individually. The 45-degree angles that comprise much of the architecture in Opportunity make it possible to run up many of the surfaces, including two of the upper balconies included in this Challenge. It’s possible to run and leap right up the sides of the building in the Waterfront District and the one to the east of Opportunity Square. However, the third building, which is the tall narrow tower on the western side of the city, requires a helper in order to reach the top. Locate the control panel southwest of the building and activate it to lower a moving platform with a ladder. Run up the side of the building, turn to face outward, and jump onto the ladder to climb up to the platform. Unlike the other lifts in Pandora, this one has no on-board controls. You now must have a friend activate the controls to send you up to the roof. Jump off after you get the Challenge, and repay the favor.
Additional Challenges
Shame the Foreman: Kill Foreman Jasper without letting him construct any turrets (see the “Hell Hath No Fury” optional mission for details).