
Borderlands 2 Game of the Year Guide Headhunter Packs
Sir Hammerlock vs. the Son of Crawmerax
Fast Travel Location: Wam Bam Island
Taking off for Wam Bam Island for some relaxation? Mayhem catches up with the Vault Hunters when Sir Hammerlock gets kidnapped by the terrible Son of Crawmerax in this fifth and final Headhunter pack. Save him with the help of Crazy Earl and pick up some souvenir heads and skins along the way. But watch out, Sparky Flynt is looking to heat things up and give you more than just a sun burn.
Fun, Sun, and Guns
Use a Fast Travel station to teleport to Wam Bam Island. This takes you to a room with a couple of vendors. After a few seconds the door to the island opens, revealing a beach resort. Head south down the beach and up into the resort to find Sir Hammerlock.
After speaking with Hammerlock, he opens the gate behind him and starts talking about the Varkids. This conversation doesn’t last long before he is snatched up and dragged underground by a mysterious monster.
Finding Hammerlock
Turn around and grab his bottle of whisky that’s conveniently placed in the porta-potty just across from where you first spoke to Hammerlock.
Follow the path toward the beach and pick the Varkid injector on the table to the right. Go west back through the gate where Sir Hammerlock was abducted and confront some wild Varkids. Wait for one of them to start evolving into its mature form. Once it becomes an egg, run up and inject it using the Action button.
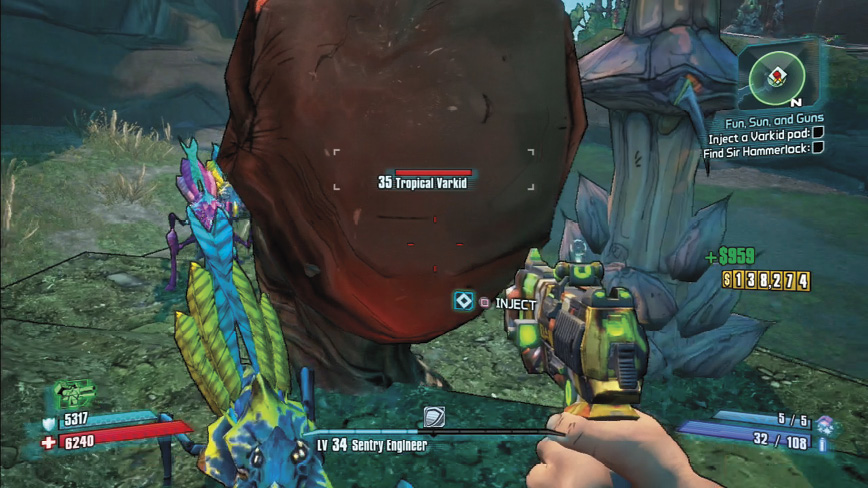
A Bloodhound Varkid spawns from the egg and leads you around the wilderness area. As you follow the creature, it eventually explodes due to being injected with too much serum.
Spawn another Bloodhound the same way you just did by injecting an egg. This Varkid leads you down a path toward the Fast Travel point, then jumps down an air vent into a currently inaccessible area.
To restore energy to the door, you must turn on the water wheel. Head west away from the door and up the wooden stairs on the right. As you approach the entrance to the water wheel, Crazy Earl phones in a favor asking you to kill some pirates before granting you entry.
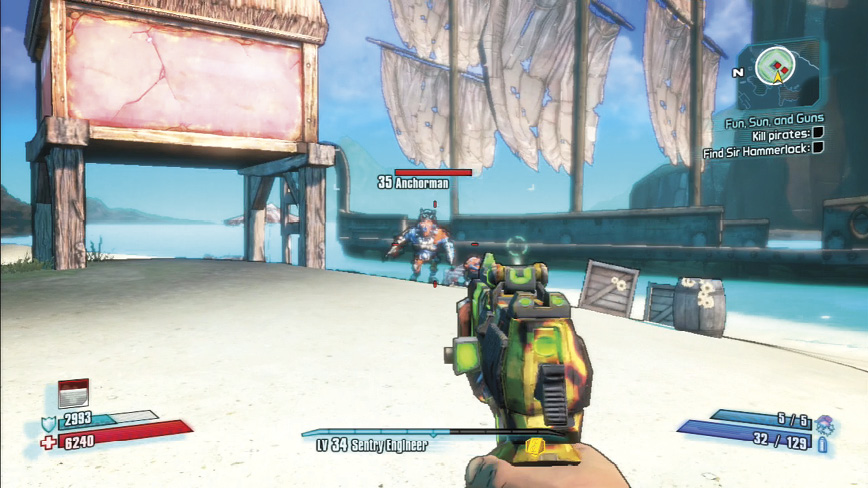
Proceed down to the beach directly south of this objective. A ship full of pirates shows up and begins assaulting you. Use some grenades to make quick work of them before they spread out onto the beach.
The Anchorman is the hardest pirate to defeat. These foes carry two huge anchors as shields and attack with hard-hitting melee damage. Keep your distance from them and reload when they bring their anchors up to shield themselves so you’re ready to fire again when they’re exposed.
Head back up to the water wheel, then press a few buttons inside, and[md]Voila! You have power! Wait a moment before running out. The Ammo and Shield vendor inside gains power, as well, allowing you to stock up on some ammo before going through the water tunnel and continuing your search for Sir Hammerlock.
As the tunnel begins to curve around, you hit a closed door with the Blood Hound Varkid and a few Craboids. A Giant Craboid also spawns. These are beasts easy to kill, though[md]they cannot attack if you just keep your distance from them. Once they’re dead, the door is busted open by an Anchorman and a Buccaneer. Retreat back down the hill as you shoot them and avoid any harm to yourself.
Follow the path and take the elevator back up to ground level, then continue to the gate. The Varkid opens it and the effects of the serum wear off. Kill it quickly and enter the gate to find another Varkid pod to inject.
The local inhabitants then begin to attack. They behave the same way as Psychos, rushing the player quickly and with numbers. Kill them and continue along the wooden, path past their huts, to find a Varkid Pod waiting for you to inject it.
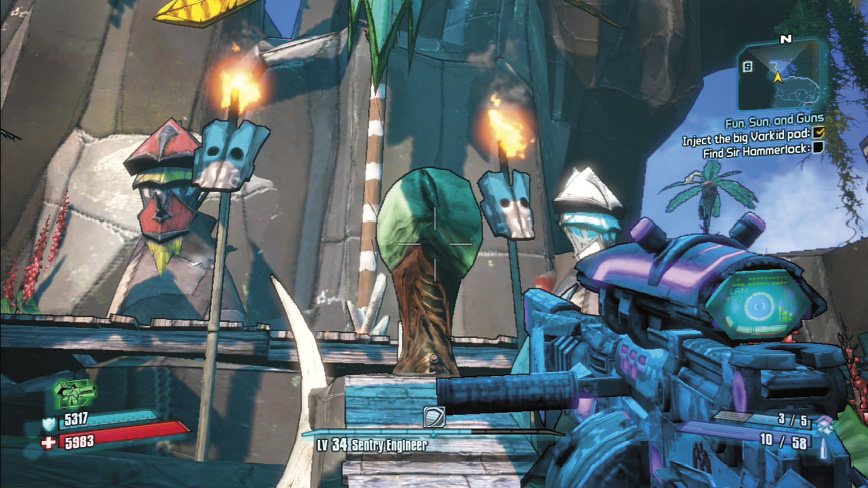
When the egg hatches, a few more Warriors from the huts come out and attack. Once you’ve killed them, the Varkid knocks the gate down and transitions into a Badass Varkid. Kill it, stock up on ammo from the Vendor just past the gate, then follow the path to Sir Hammerlock.
Killing The Son of Crawmerax
Cross the bridge and another gate opens, revealing a bound Sir Hammerlock. To get him untied, you must drop down into the pit and turn the wheel directly below him. Performing this action spawns The Son of Crawmerax.
The arena is a basic circular shape. There are no hard walls on the arena, however, so getting knocked out of the arena by The Son of Crawmerax’s knockback attacks is a very real danger that promptly ends any run.
During the fight, try to focus on the glowing purple critical points above the Son’s claws. If you deal enough damage to the critical points, it’s possible for the entire claw to fall off. Try to avoid getting knocked out of bounds.
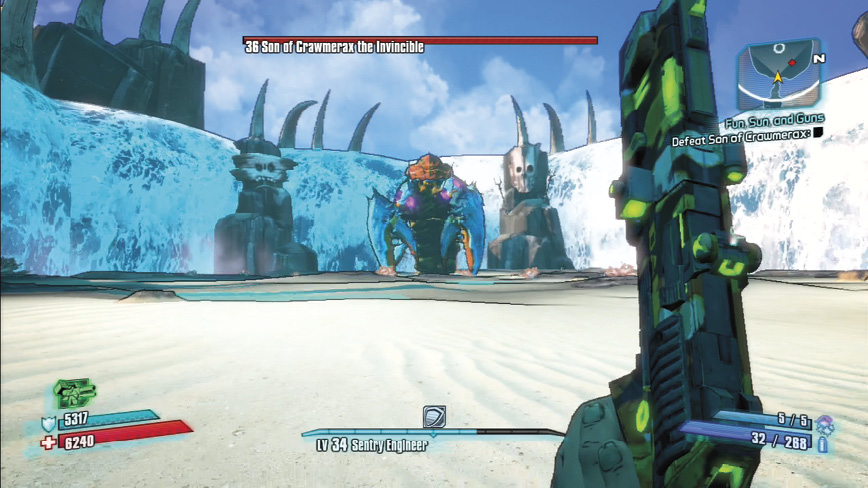
All of the Son of Crawmerax’s attacks can be dodged. When it sits up into the air, it begins to attack with some AoE caustic rounds. These are slow moving and can easily be dodged while still shooting.
When a purple ring appears on the ground, quickly move away from it. This attack won’t deal a ton of damage, but it will knock you back, which could spell instant death.
After defeating the Son of Crawmerax, return to the wheel that spawned him. Activate it to lower Sir Hammerlock into the Arena, then speak with him to claim your reward!
Victims of Vault Hunters
Rewards: Cash and XP
Not everyone loves the Vault Hunters
This mission sends you around to find five would-be assassins that have shown up to kill the Vault Hunters. Luckily for you, only one of them survived the journey down to Wam Bam Island. Use your minimap as a guide to “defeat” (find) each of the five dead assassins, who died in their own unique ways.
Defeat Sparky
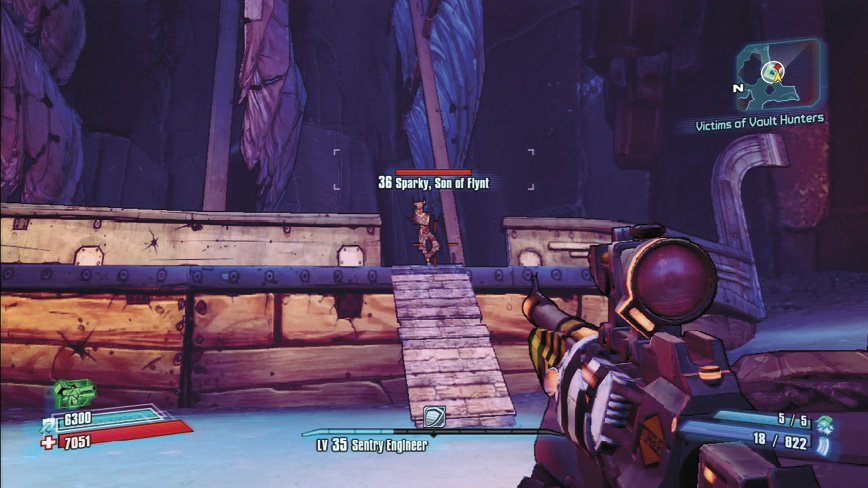
After finding all of the bodies, Sparky, Son of Flynt, summons you for a fight with him. Activate a lever in the same room to reveal a secret path. The last assassin directs you down to the arena.
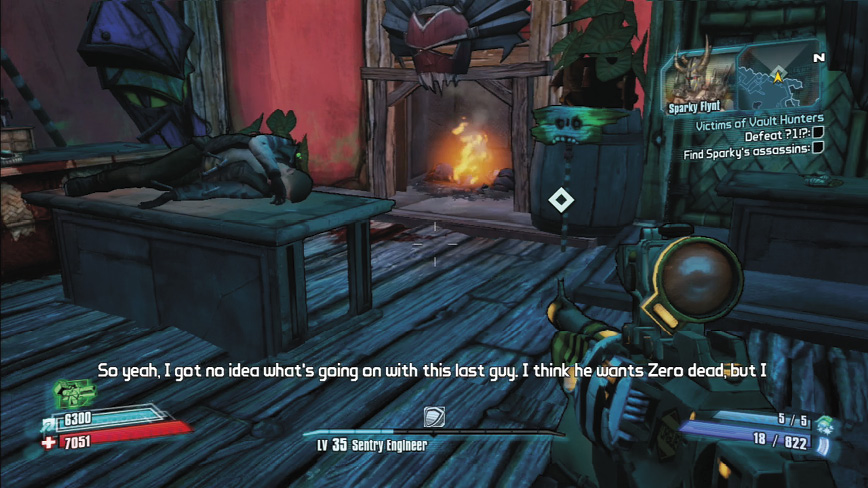
Sparky is the only enemy you face in this battle. He mainly focuses on throwing grenades, requiring you to dodge most of the time. Use a high damage weapon, like a rocket launcher, to deal damage in between your evasive moves.
Take a brisk walk back to Sir Hammerlock and turn in the quest for your reward!