Borderlands 2 Game of the Year Guide Tiny Tina's Assault on Dragon Keep
Dwarven Allies
|
 Mission Briefing
| Level | Money | XP | Gear |
|---|---|---|---|
|
32 |
$1,691 (2,537 with bonus) |
8845 |
— |
*Money and XP may vary based on player’s level at start of mission.
An Audience with King Ragnar’s Face
With the ghost kings bested, Roland is ready to take the battle to the sorcerer’s lair. He suggests passing through the Mines of Avarice, where the imprisoned dwarven people might make valuable allies. Head east from the Vitality Grove to find the entrance to the mines.
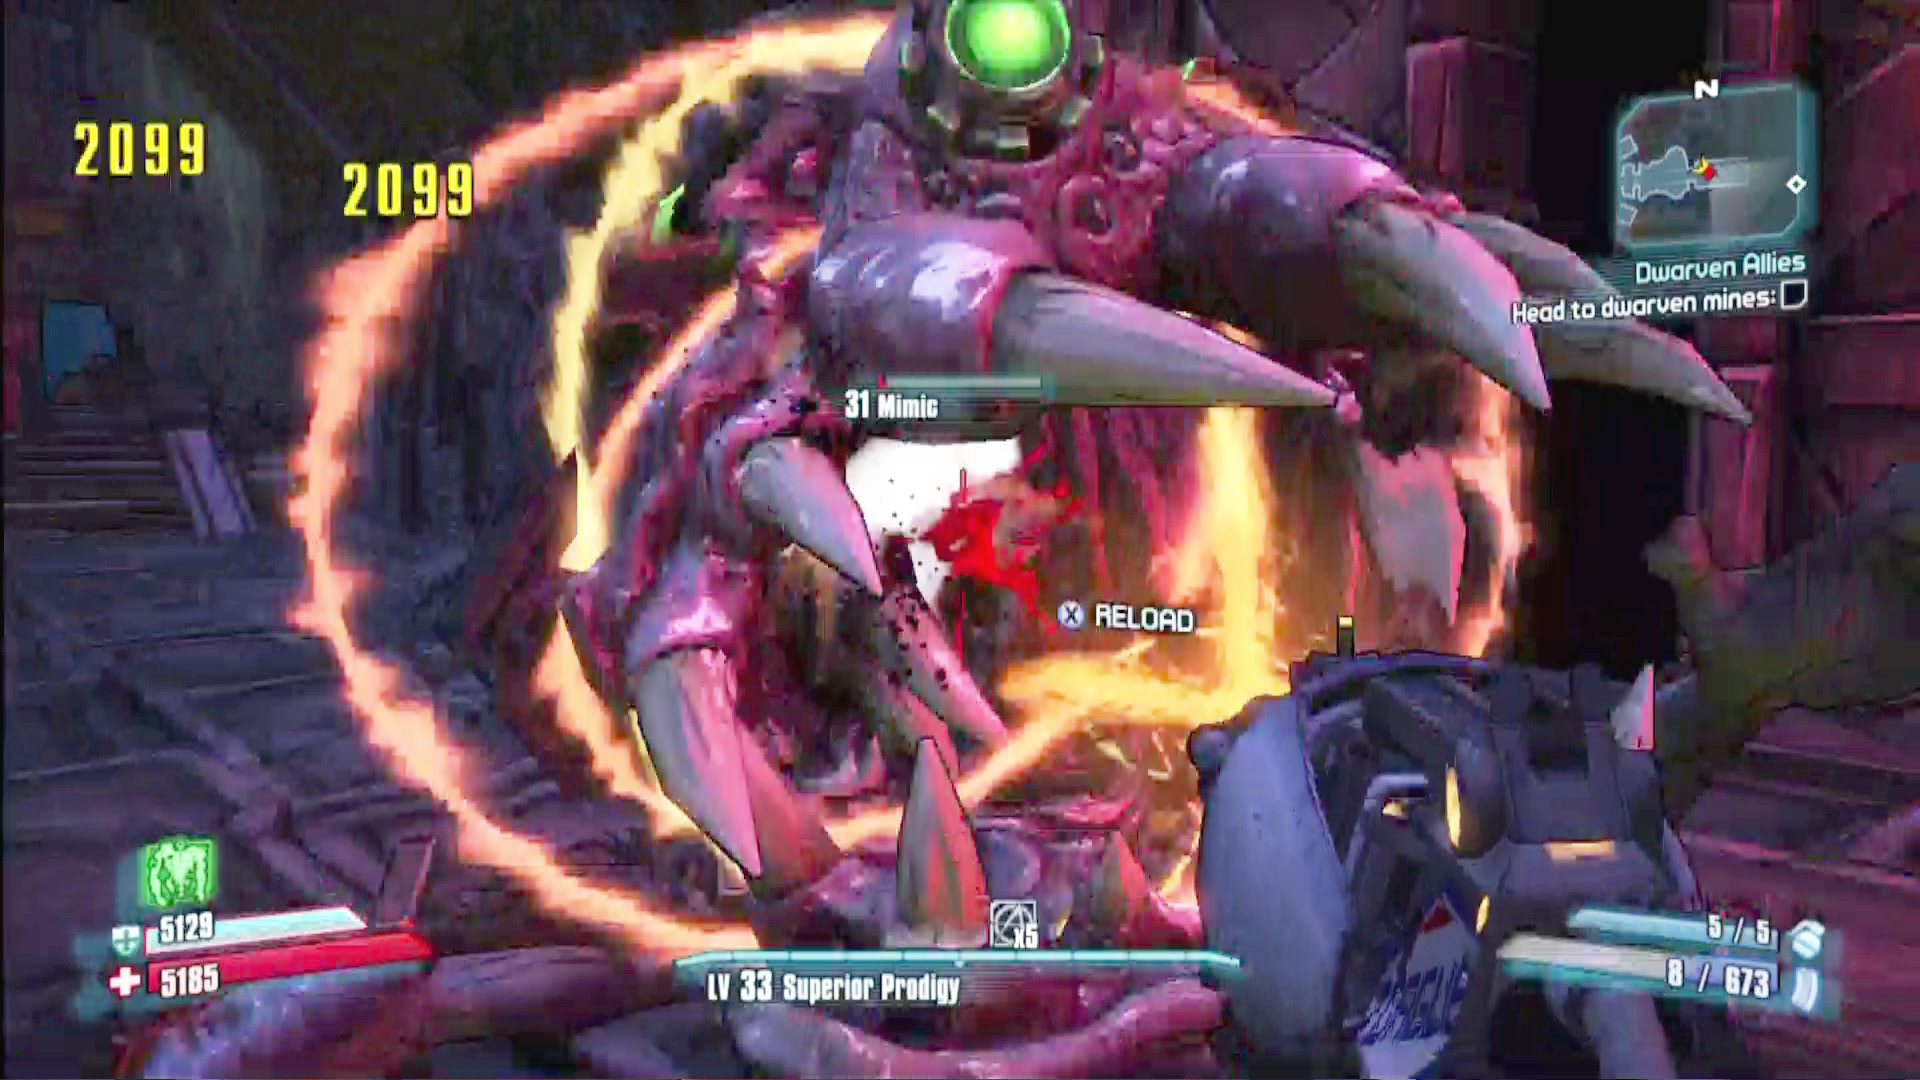
In the treasure room after defeating the ghost kings, you’ll encounter your first Mimic. An attack from these loot chest-mimicking foes can be startling, but they’re pretty easy to beat, and you can still get your loot from their corpses.
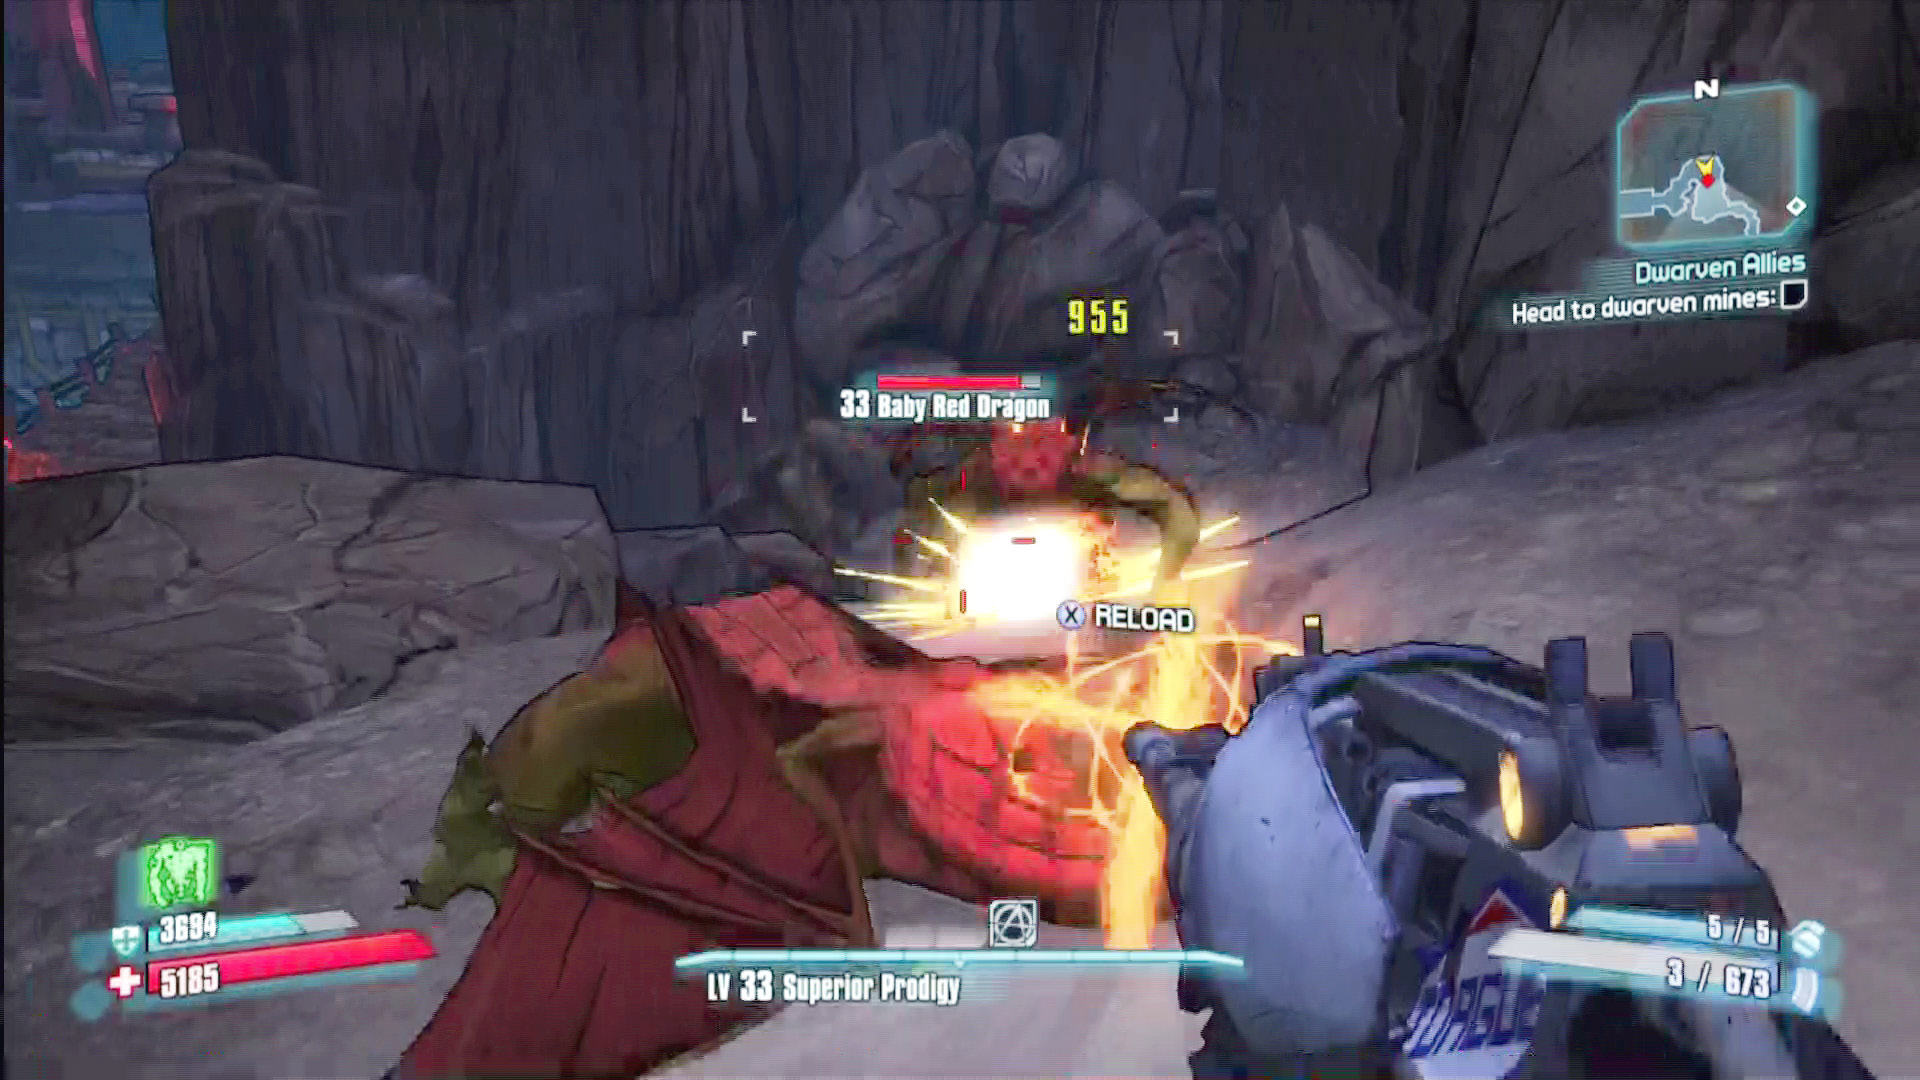
The Earthen Vein Chasm is crawling with baby dragons and basilisks. These foes can be bullet-spongy and don’t offer much XP, so feel free to dash right through their midst.
You enter the mines through a spider-invested shaft in the north. Make your way west to Camp Dwarf Torture, where you can murder any 10 orcs of your choice as an optional objective. But watch out for Warlord Turge; if he starts leveling up into a Duke of Ork, you may want to grab your crumpets and get the heck out of there. Run southeast through the camp to reach the Hall of Emancipation, where the leader of the dwarven resistance, King Ragnar, is happy to grant you an audience.
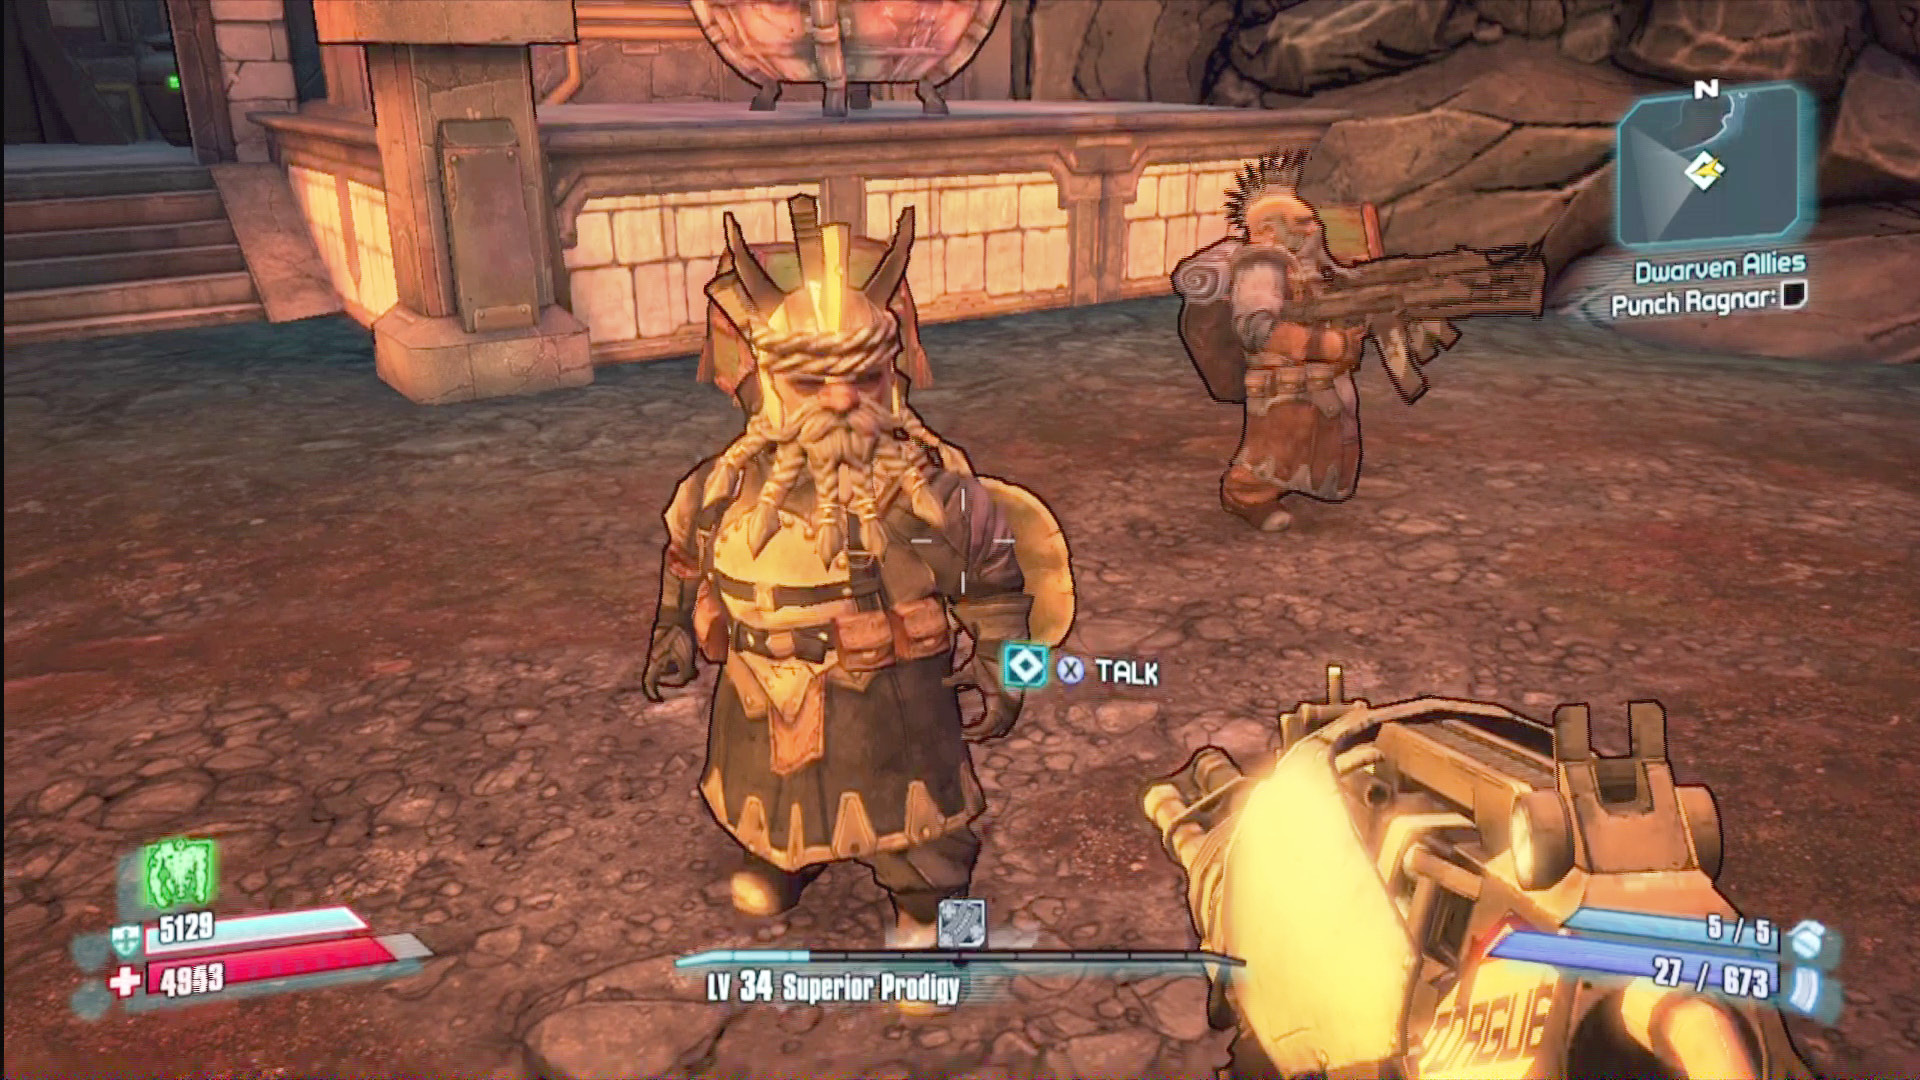
Sadly, Brick is giving the orders, and you have no choice but to start your mission of peace with a solid punch to Ragnar’s chops. This attempt at diplomacy works just about as well as you’d expect.
Claptrap the Grey
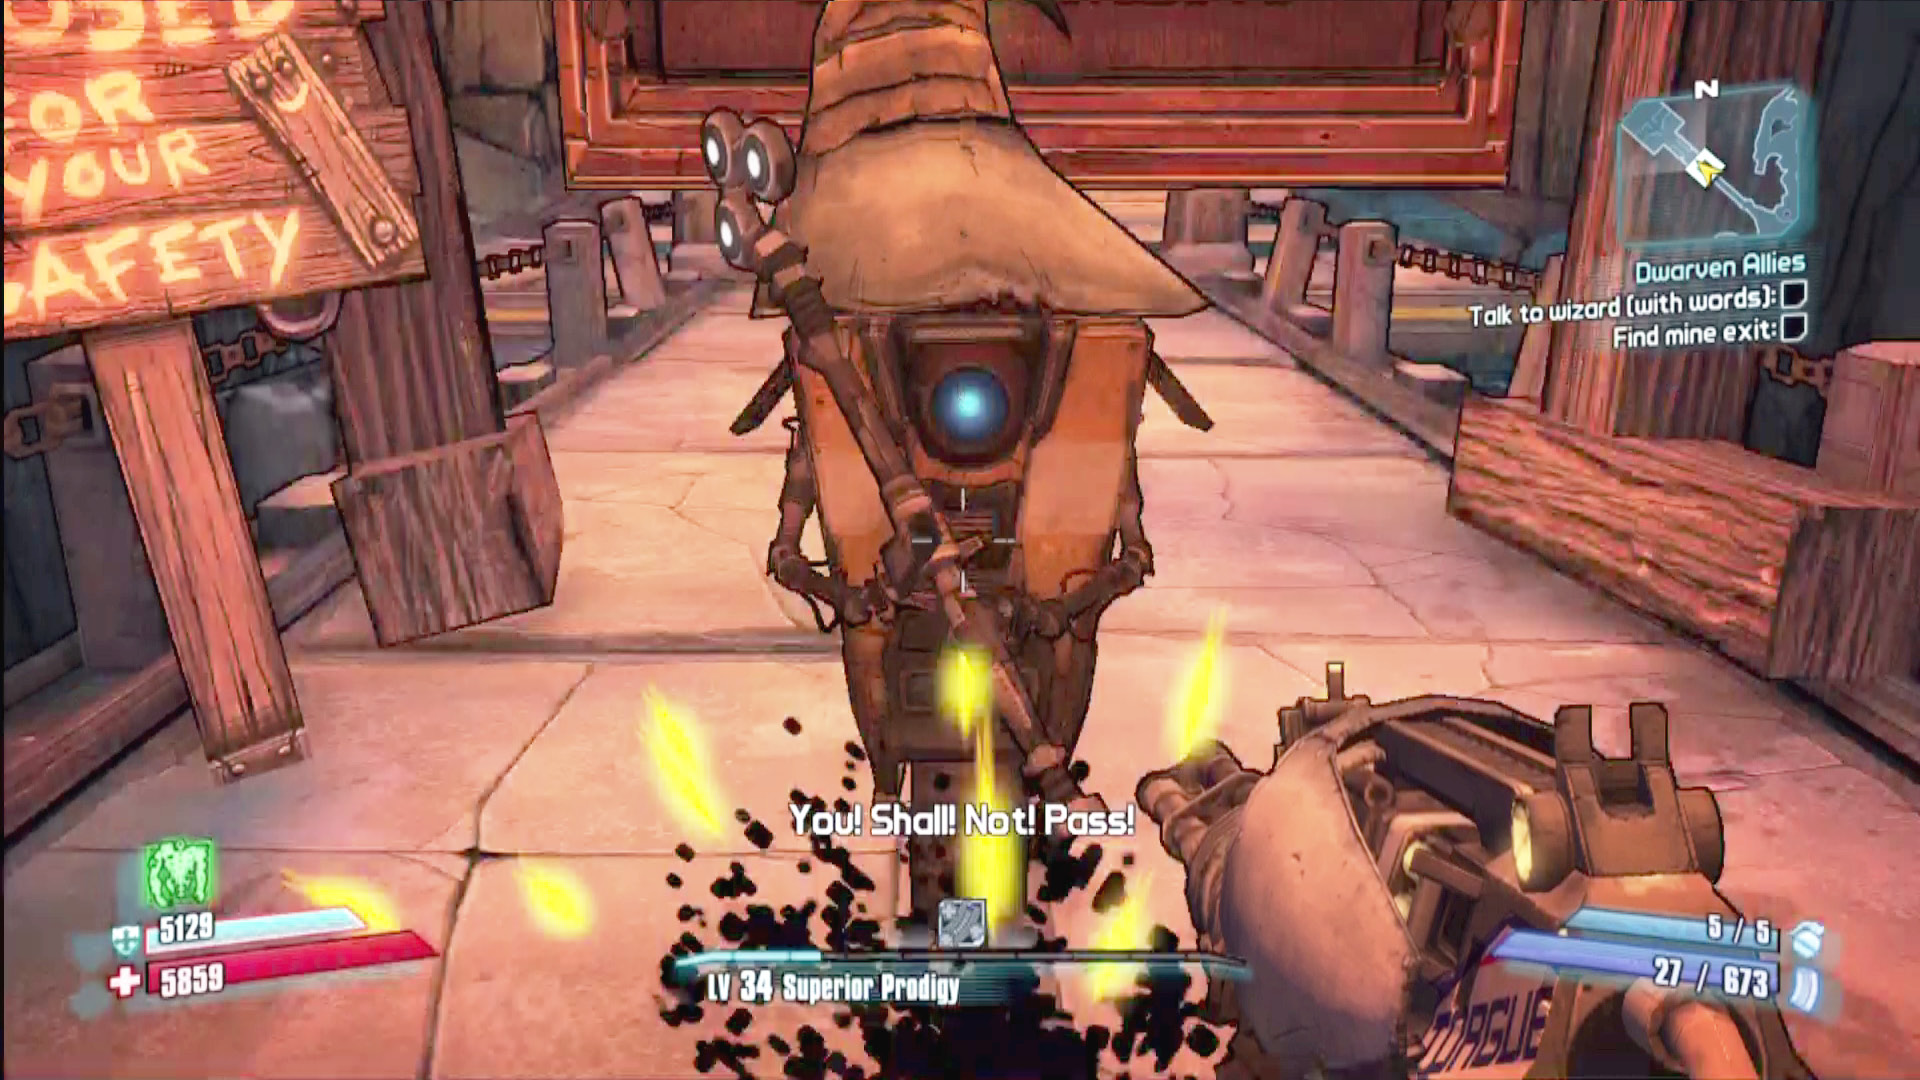
The trick to surviving Claptrap’s mighty wizardry is just, uh, walking normally past him.
Okay, time for plan B—get the hell out of here. Head northwest to the Wizard’s Crossing, where a lengthy bridge leads to the exit to Hatred’s Shadow. Once you get past the familiar wizard who blocks your path, you’ll find that the exit is locked.
Head back across the bridge where you met Claptrap, and follow him to the west. He’ll open up a locked door and then set up shop at a new spot in Stonecrag Ridge. You can snag the first of your four required dwarven letters from directly under his nose. You can also sign up for “The Beard Makes the Man,” the first in a series of three Claptrap quests that take place here in the mines. Might as well accept it now, as all the objectives are directly on your way.
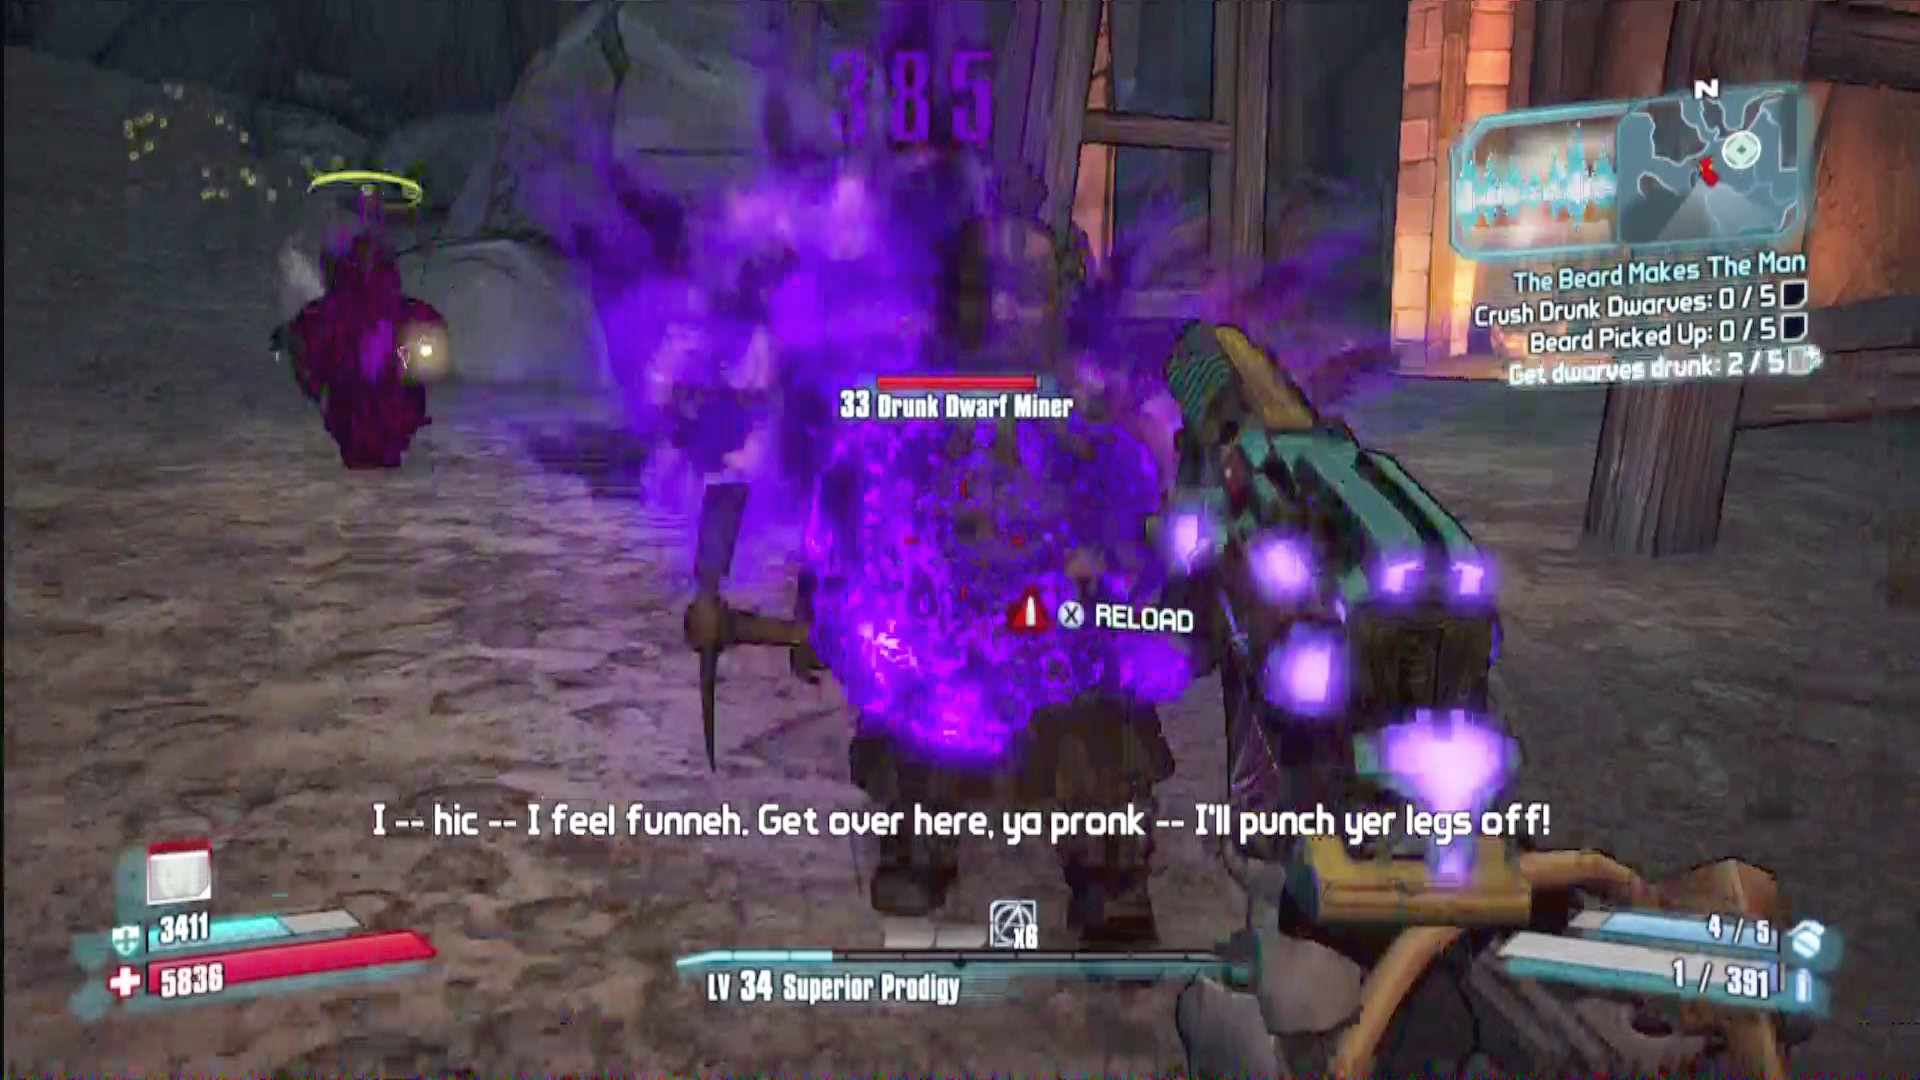
Accepting “The Beard Makes the Man” also gives you temporary access to a sweet dwarf-intoxicating gun. It doesn’t deal much damage, but it always slags its targets and also has strong health-recovery properties. Equipping it while you use melee attacks or grenades is a great way to refill your health.
The Impossible Jump at the Treacherous Chasm
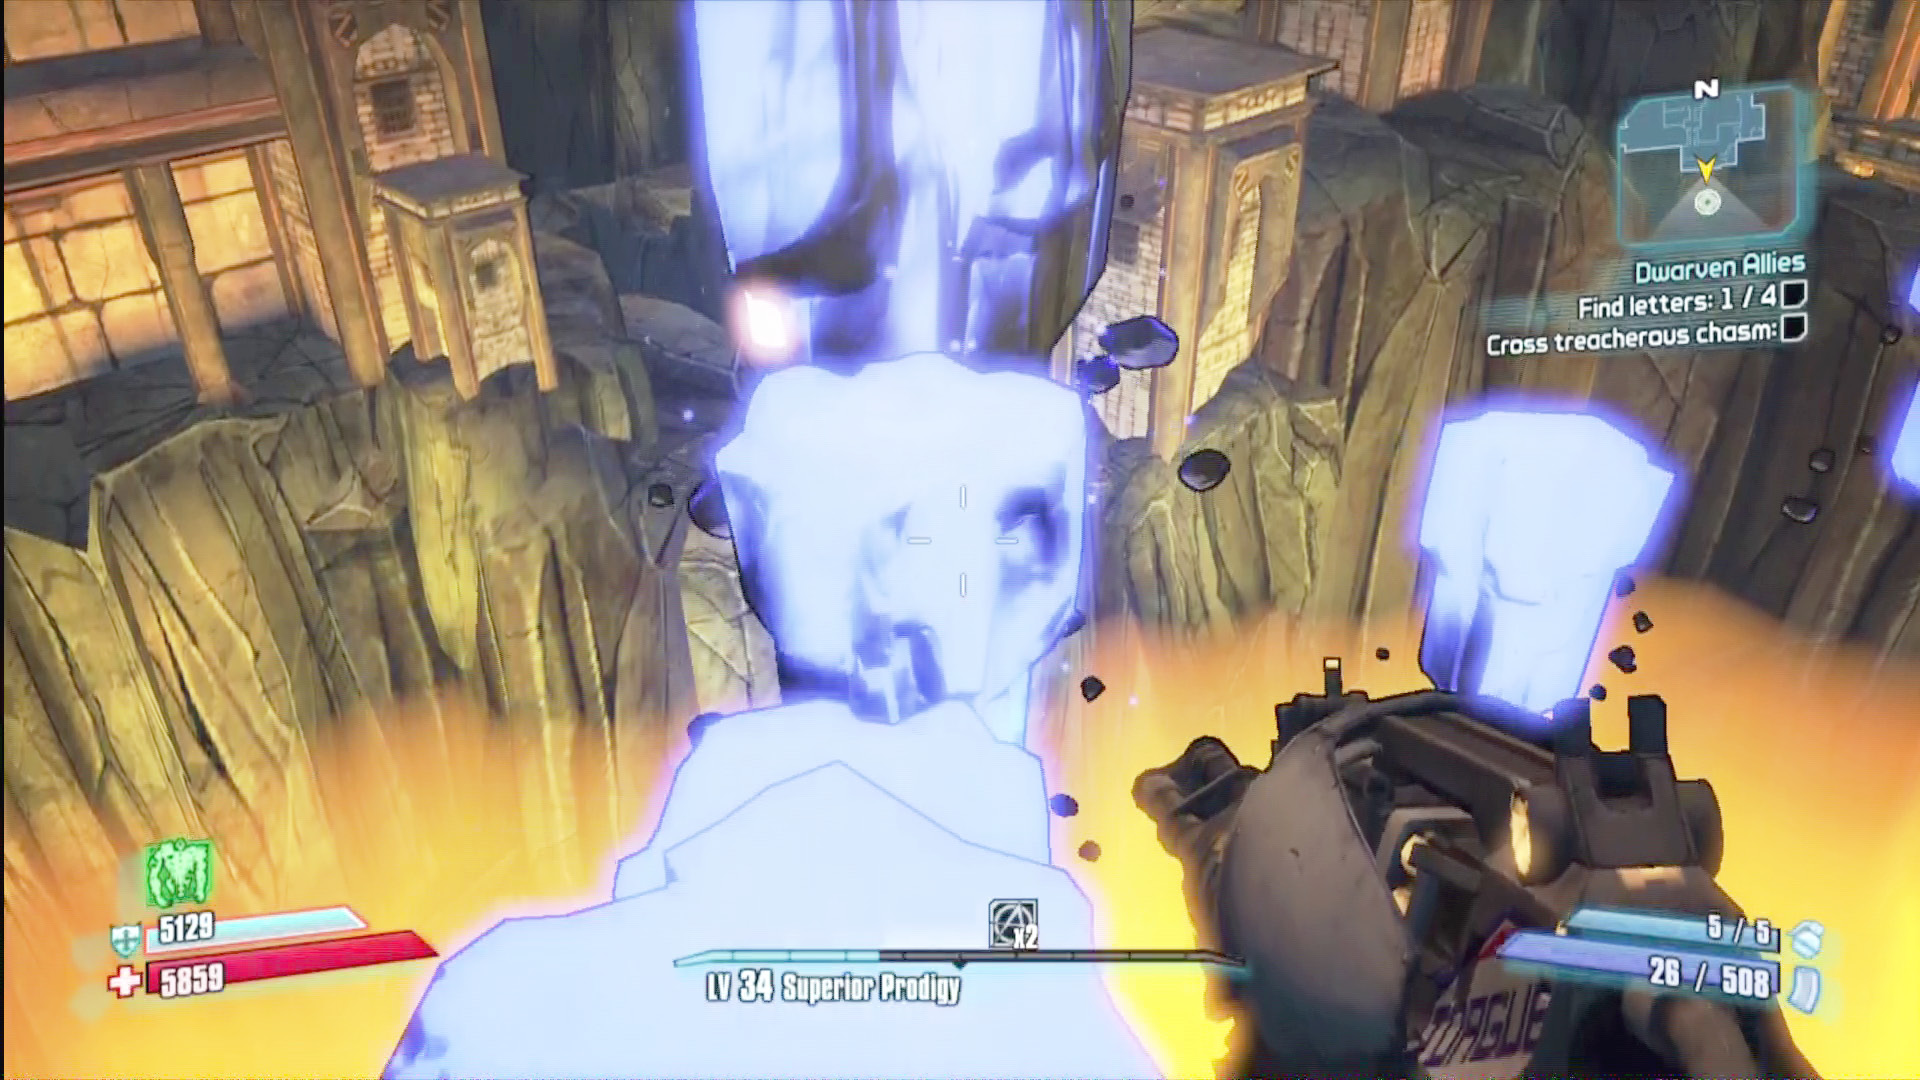
Don’t worry: whenever you fall, you’ll respawn at the start of the puzzle, with no penalty.
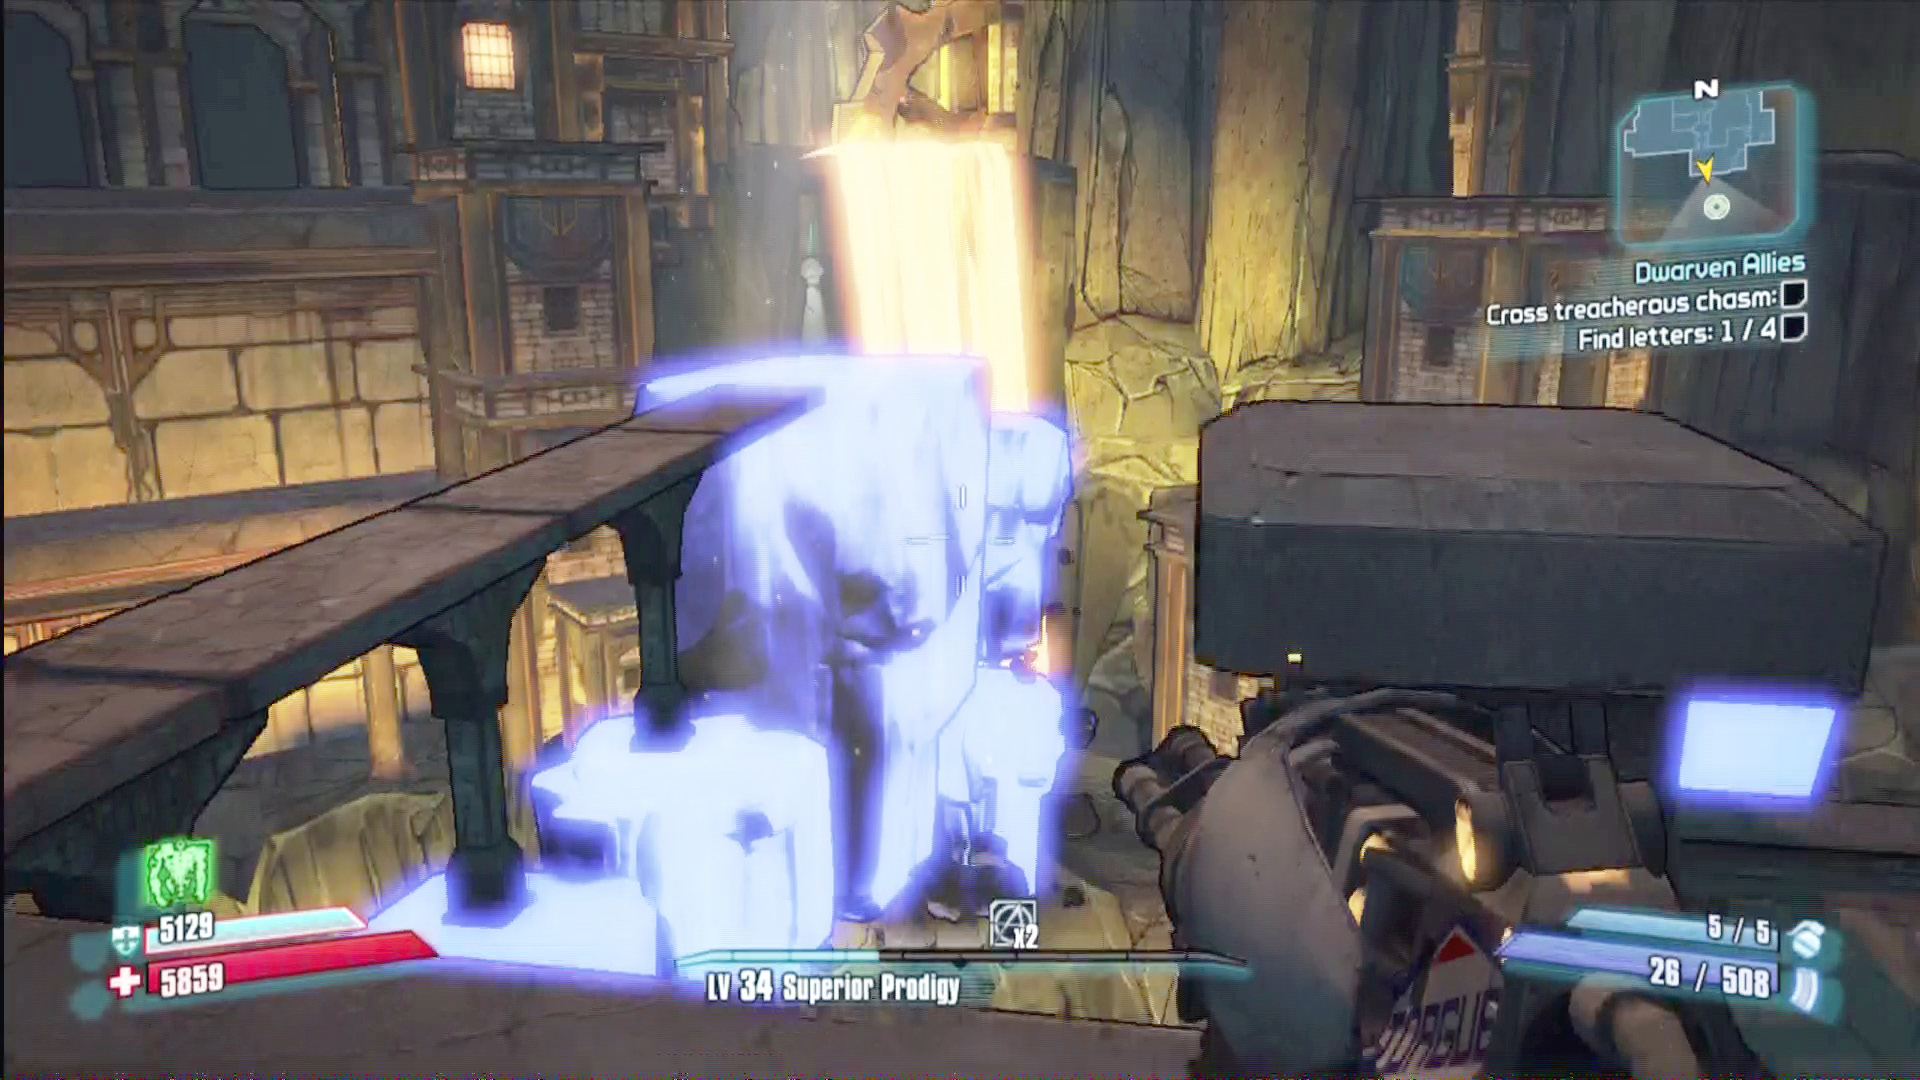
Fall enough, and Tiny Tina makes a bridge directly to the rune. However, you’ll miss out on a Challenge if you don’t reach it via the moving platforms.
From Claptrap’s position, head southeast toward the first of several Ingot Processing facilities. (You’ll pass through the mining site for “The Beard Makes the Man” on the way.) You’ll find the processing facility under heavy dwarven guard, so proceed slowly through it, sniping from afar when possible to avoid being overwhelmed by their superior numbers. Proceed directly south, where you’ll eventually discover the second rune floating off of the edge of the map.
Tiny Tina whips up some icebergs you can use to jump to it, but the final iceberg doesn’t go high enough, so the puzzle is initially impossible. After you fall once, Tiny Tina adds some additional platforms to make the puzzle possible. Ignore the direct approach; you’ll need to use the moving platforms to your right to reach the letter.
The Ancient Dwarven Puzzle
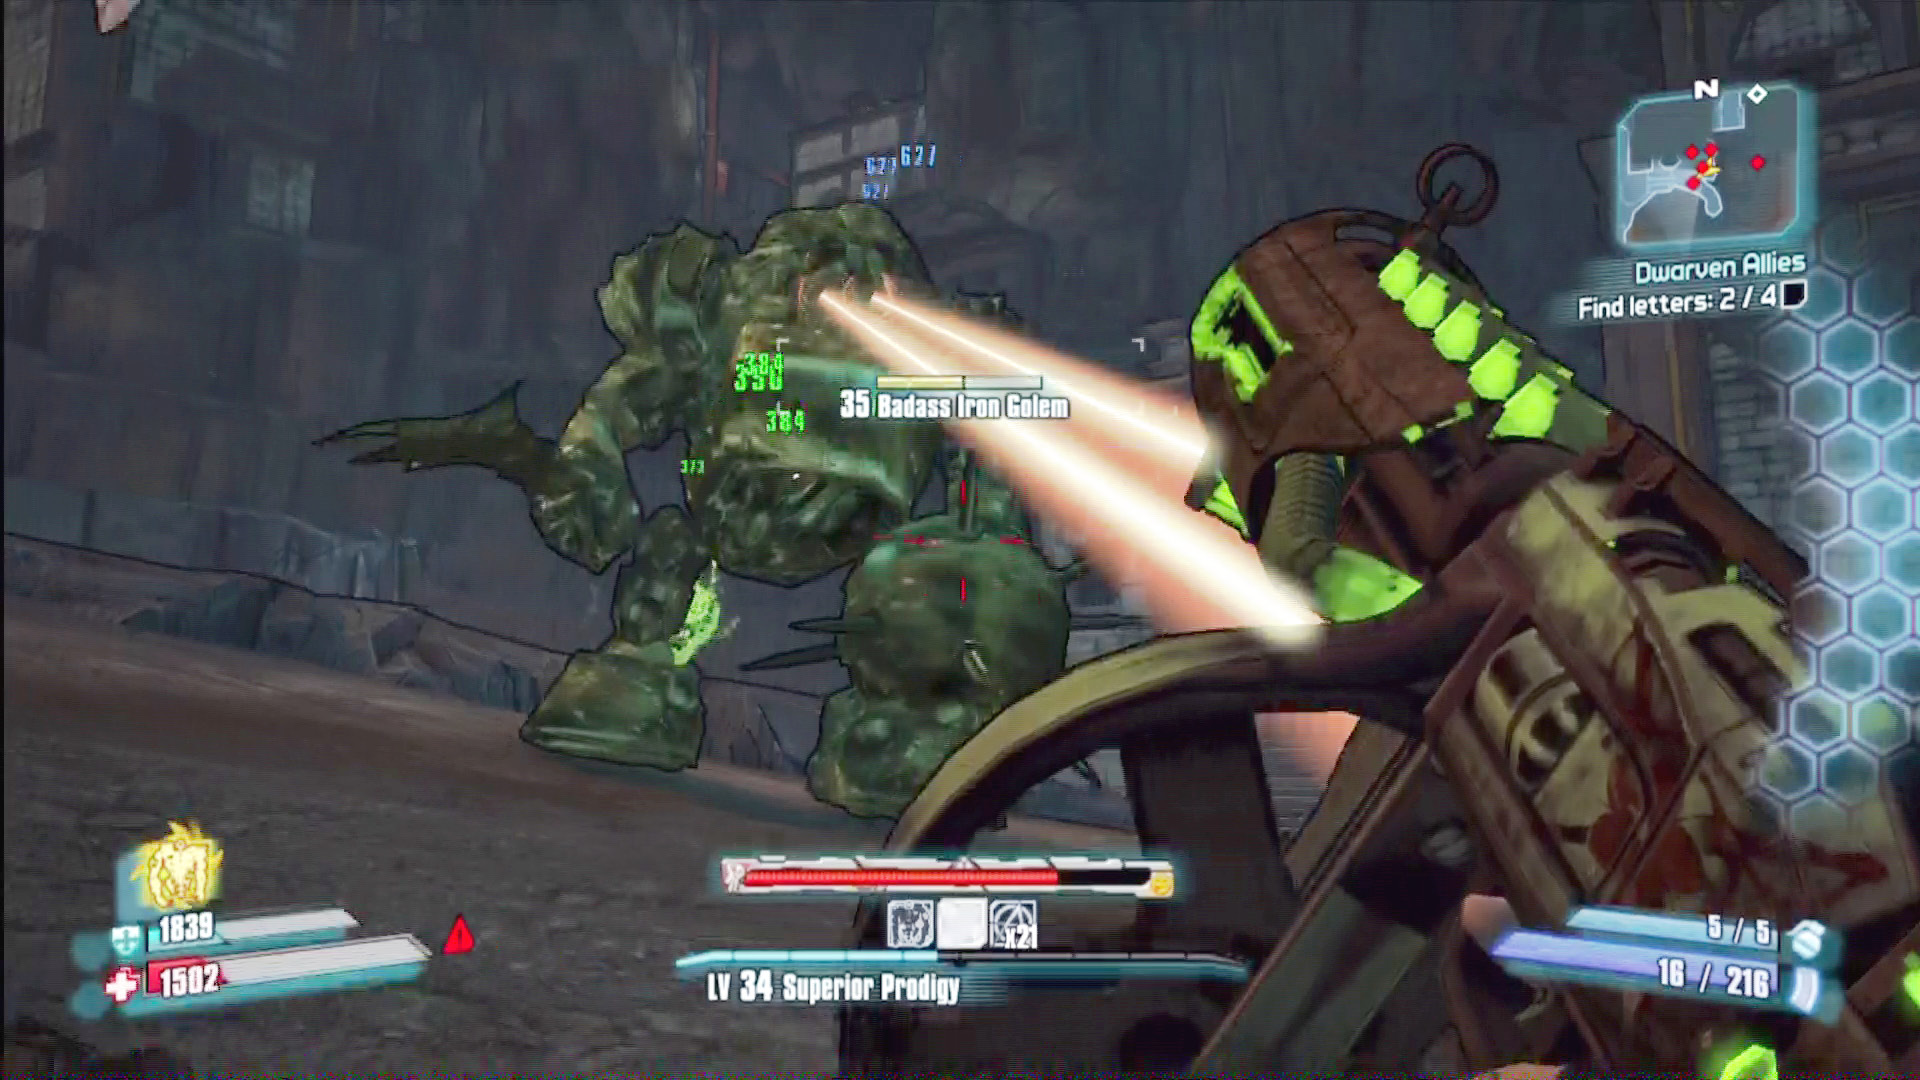
Badass Iron Golems wear armor that mostly covers the glowing furnace that serves as their weak point. Players who are fighting in teams or who are able to exploit distractions like dwarves or Deathtrap can circle behind the golem to hit it. Another option is to give up on Critical Hits and simply exploit the golems’ weakness to corrosive weaponry.
After you claim the second letter, a gate opens in the eastern part of the same room. That gate leads to a passage that crawls along the eastern rim of the map, which then leads to the vast eastern half of the mines. Along the way, you’ll face more dwarven armies and massive Badass Iron Golems. Fortunately, you’ll face them at the same time, so you can always hang back, let them fight each other, and fire off a few sniper rifle shots when a good opportunity presents itself.
The path ultimately leads northwest to a Gilded Forge that is free of dwarves. Instead of fighting, you’ll have to solve an ancient dwarven puzzle to unlock the two doors on the either side of the room, which hold a dice chest, a vault symbol, and the third letter. If you struggle with the puzzle, Brick proposes an alternate strategy of punching the puzzle cube. This proves to be a viable solution, but punching it only unlocks the door with the dwarven letter. If you want the loot and that vault symbol, you’re going to need to solve it the correct way.
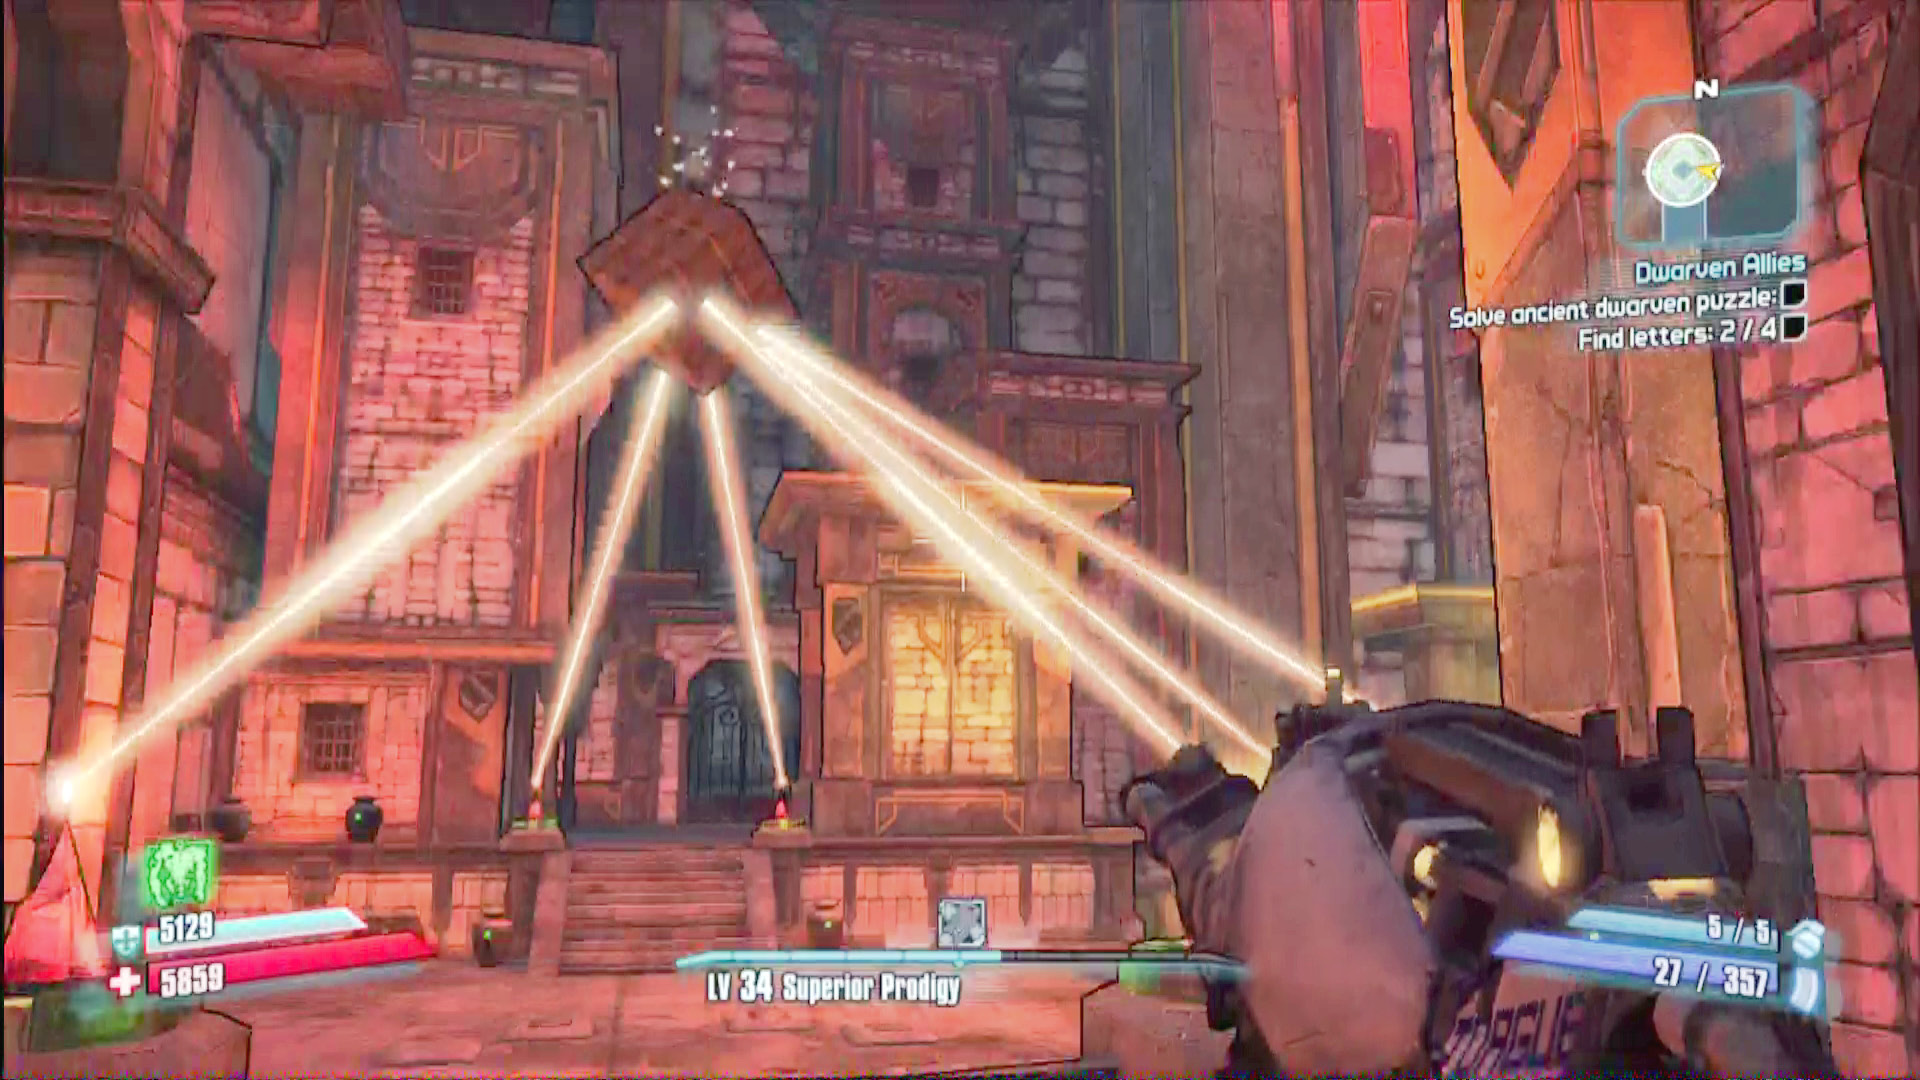
Step 1: Use all six of the green switches (in any order) to turn them red and lower the puzzle cube.
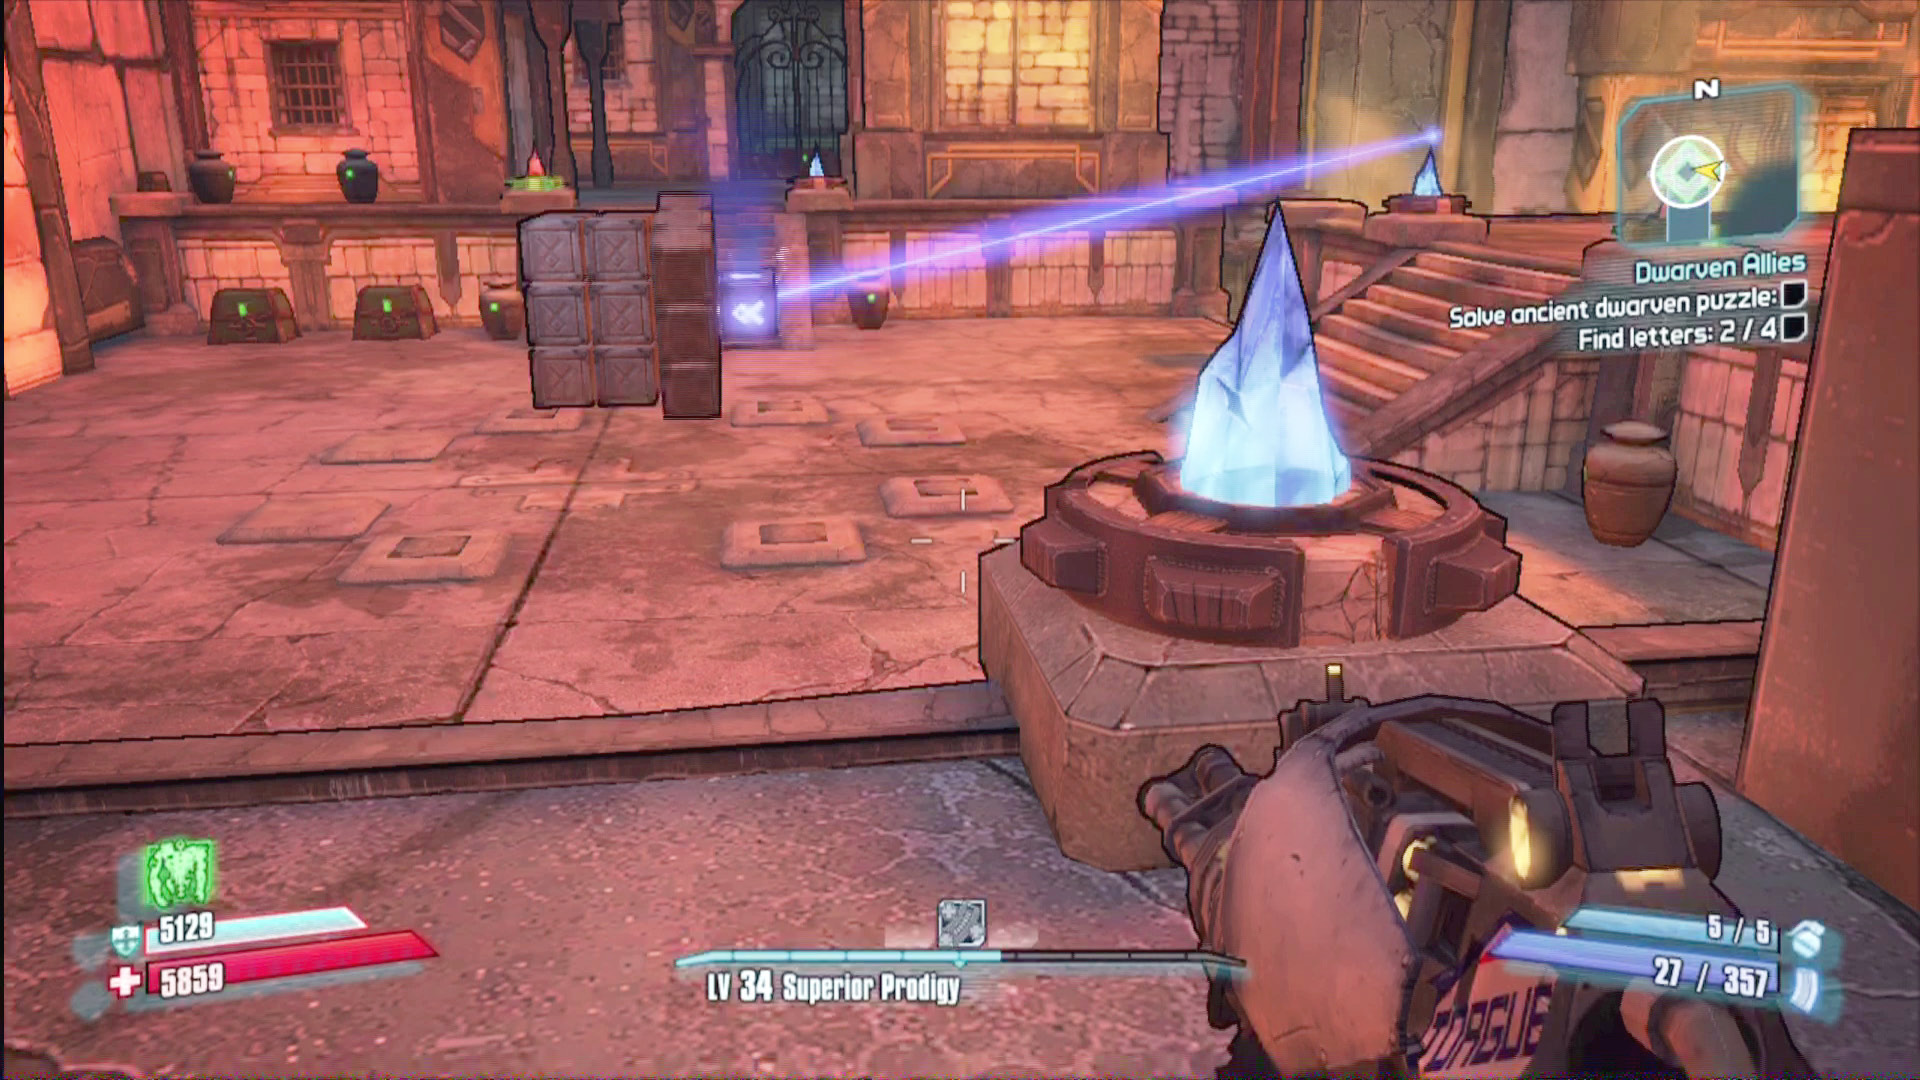
Step 2: The puzzle cube shoots blue light at the six switches in a random order. Number the switches in your head, and write down the order in which they turned blue.
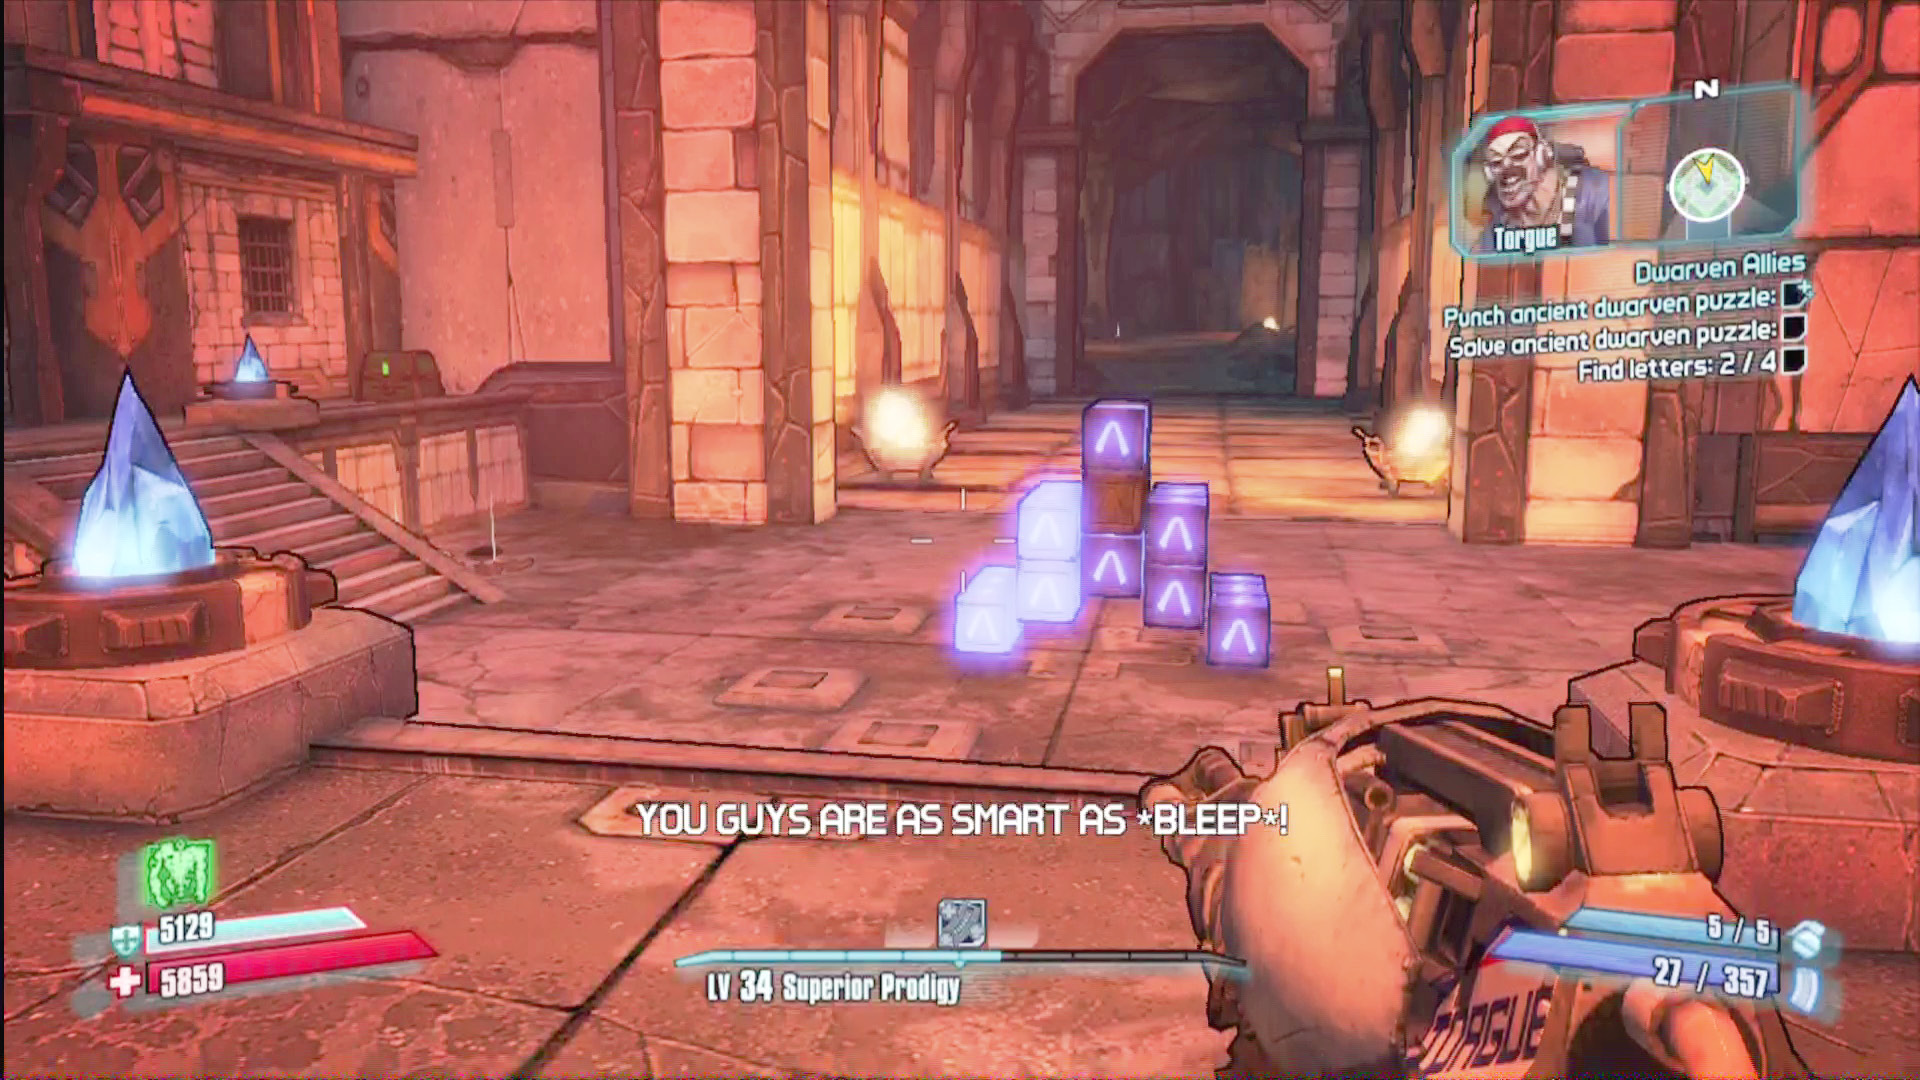
When the puzzle cube is done, use the switches in the reverse order that the cube activated them. So if the cube went in “465231” order, activate them in “132564” order.
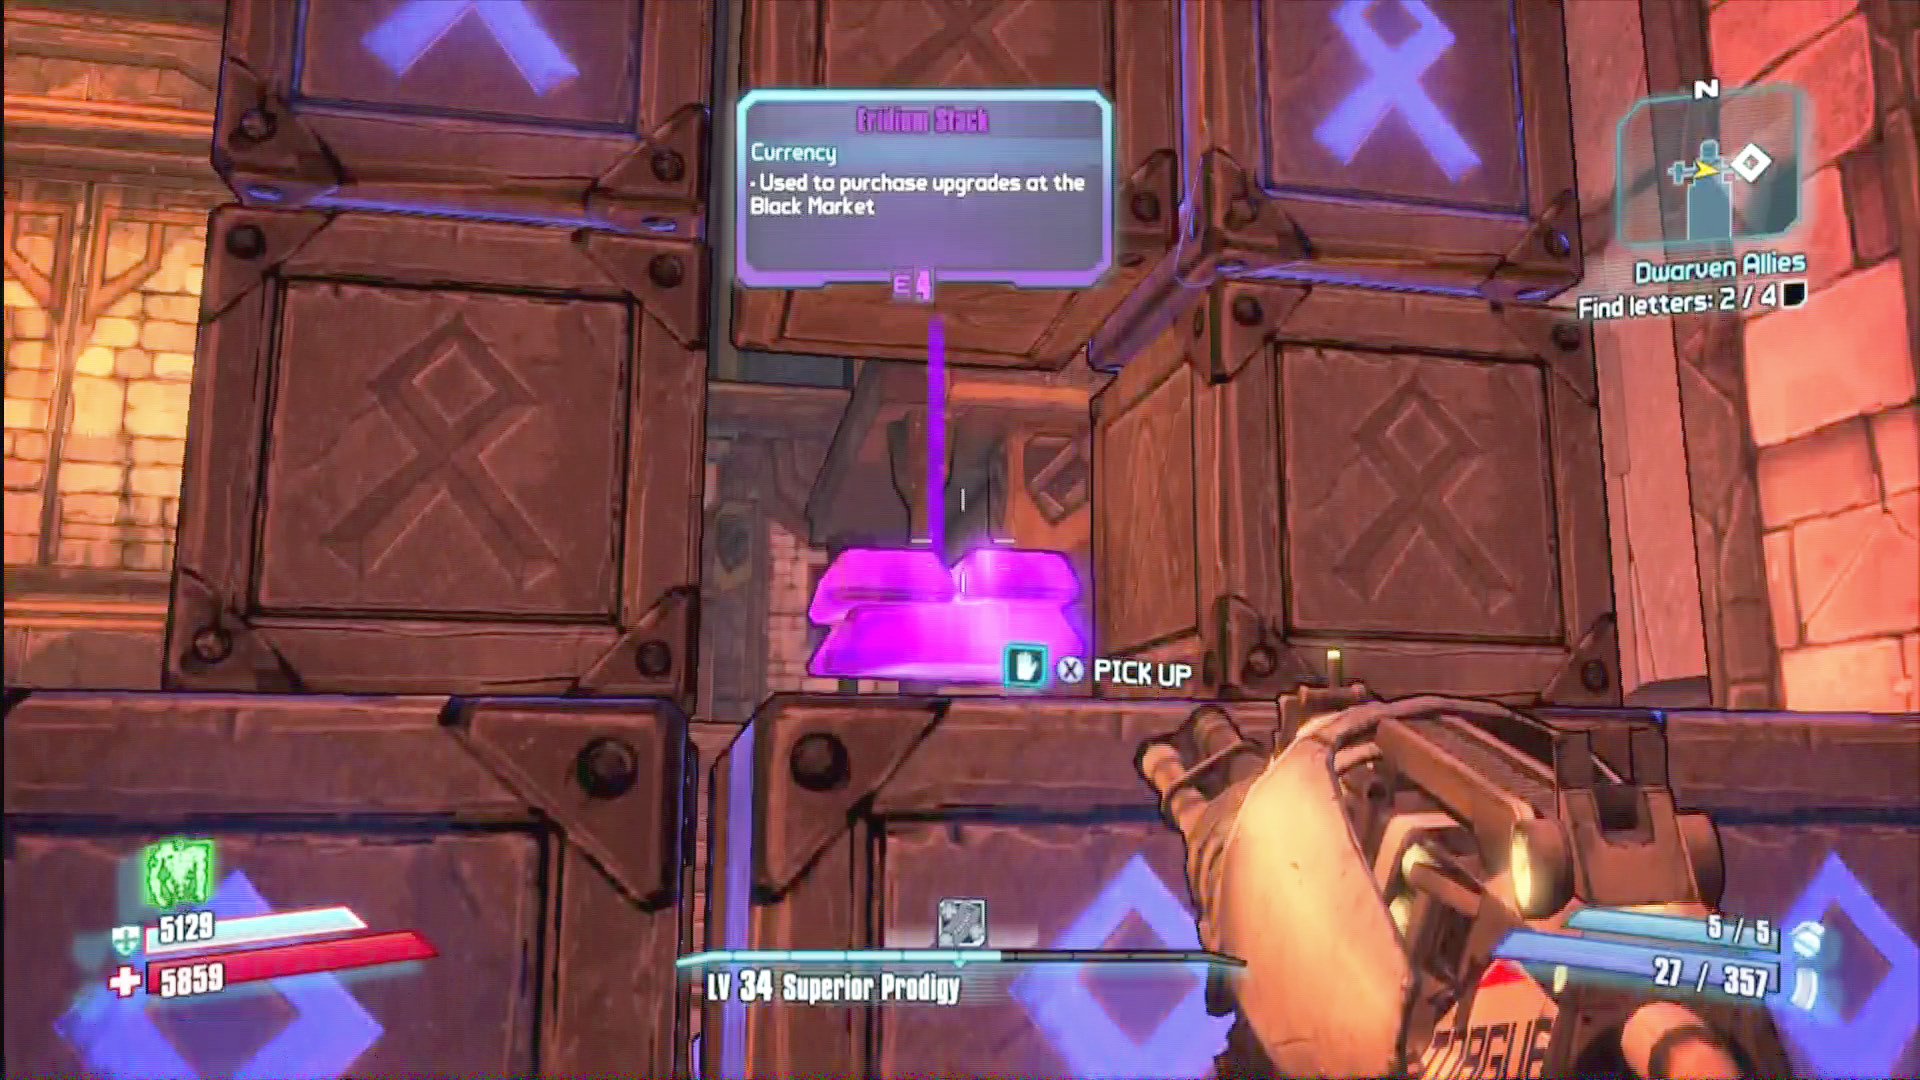
You did it! (Or maybe you didn’t. If you mess up, repeat from step 1.) Don’t miss the Eridium stack in the center of the puzzle cube.
Before you leave the area, don’t forget to place your beard pieces on the Gilded Forge if you’re pursuing “The Beard Makes the Man.” Travel south out of the forge, and then proceed east to the location of the final room, which is guarded by Greedtooth himself.
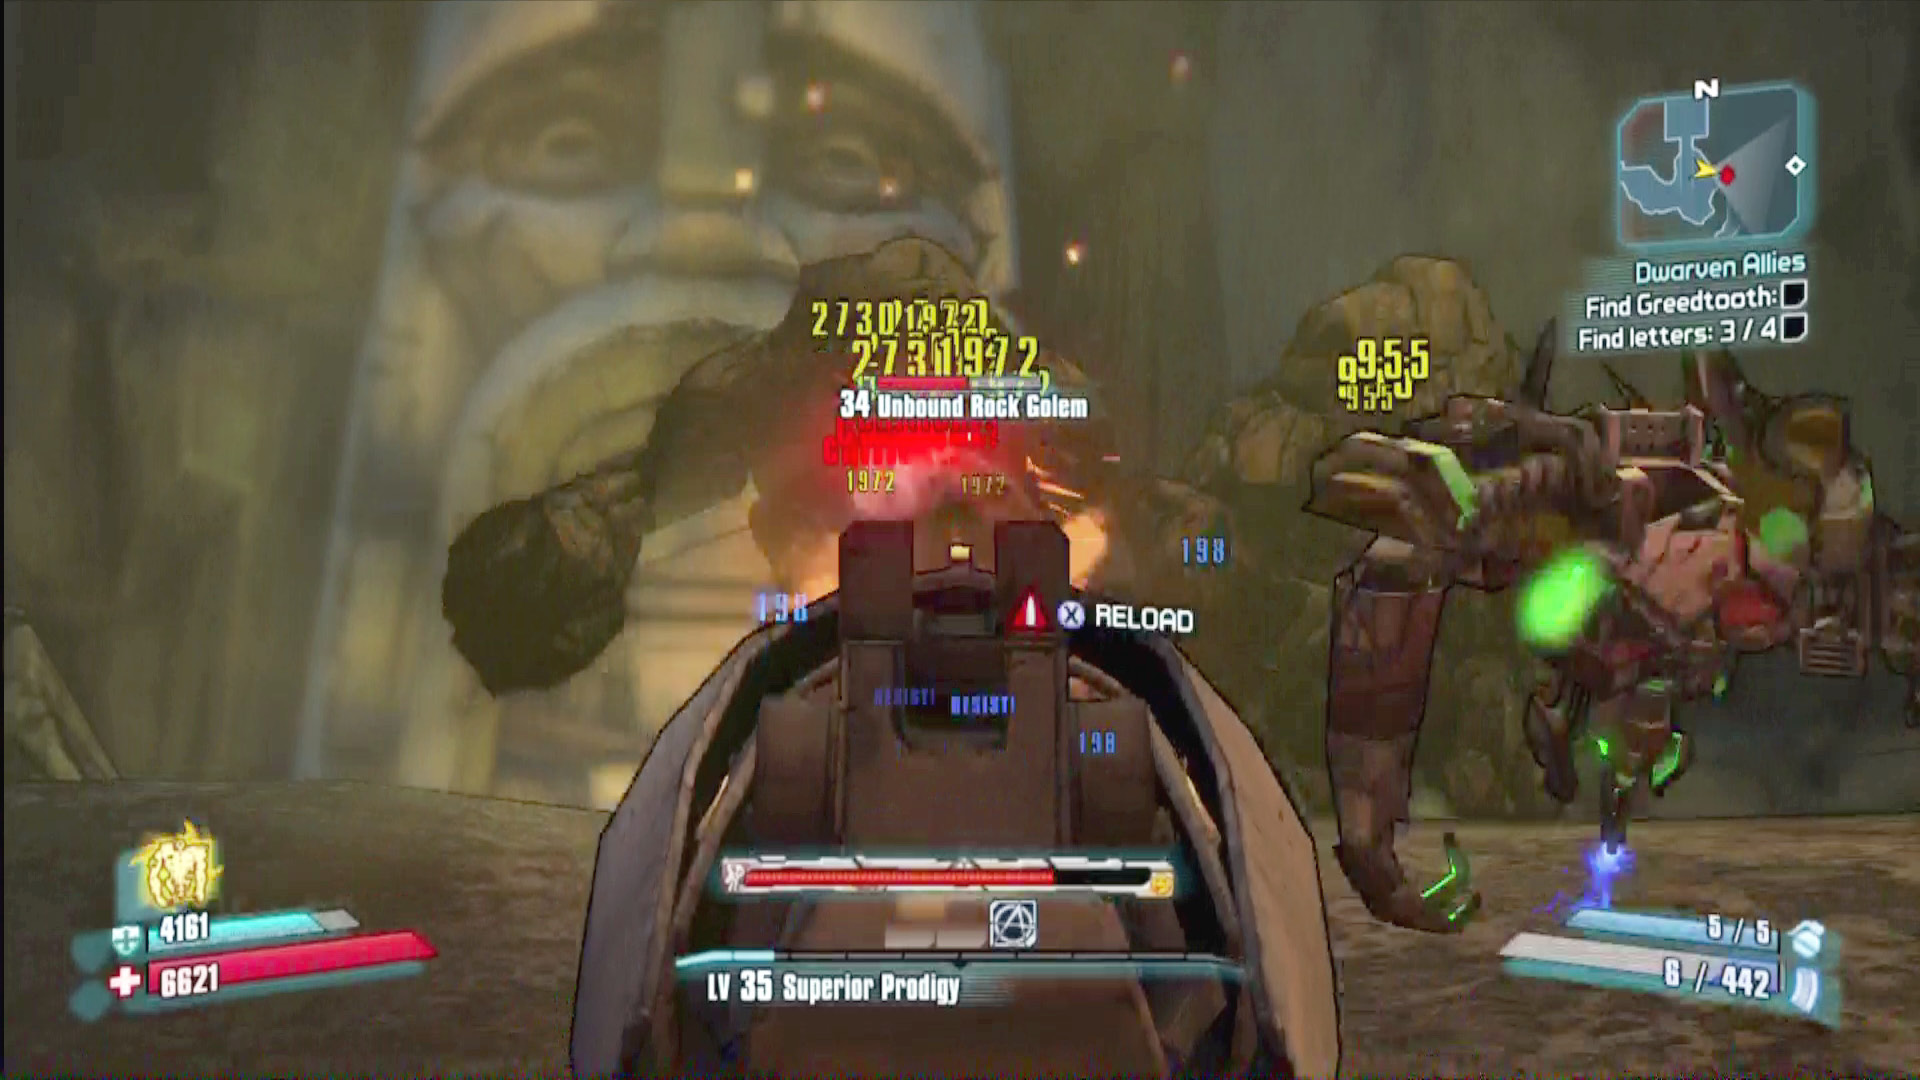
Feel free to go all out against the golem guardians that protect the entrance to Greedtooth’s lair; vending machines are just ahead.
gold golem
Gold Golem’s Vitals
| Health Multiplier | Shield Level | Damage Multiplier | XP Value | Critical Areas | Weakness/Resistance |
|---|---|---|---|---|---|
|
110 |
— |
2 |
Unknown |
Goldtooth (in chest) |
— |
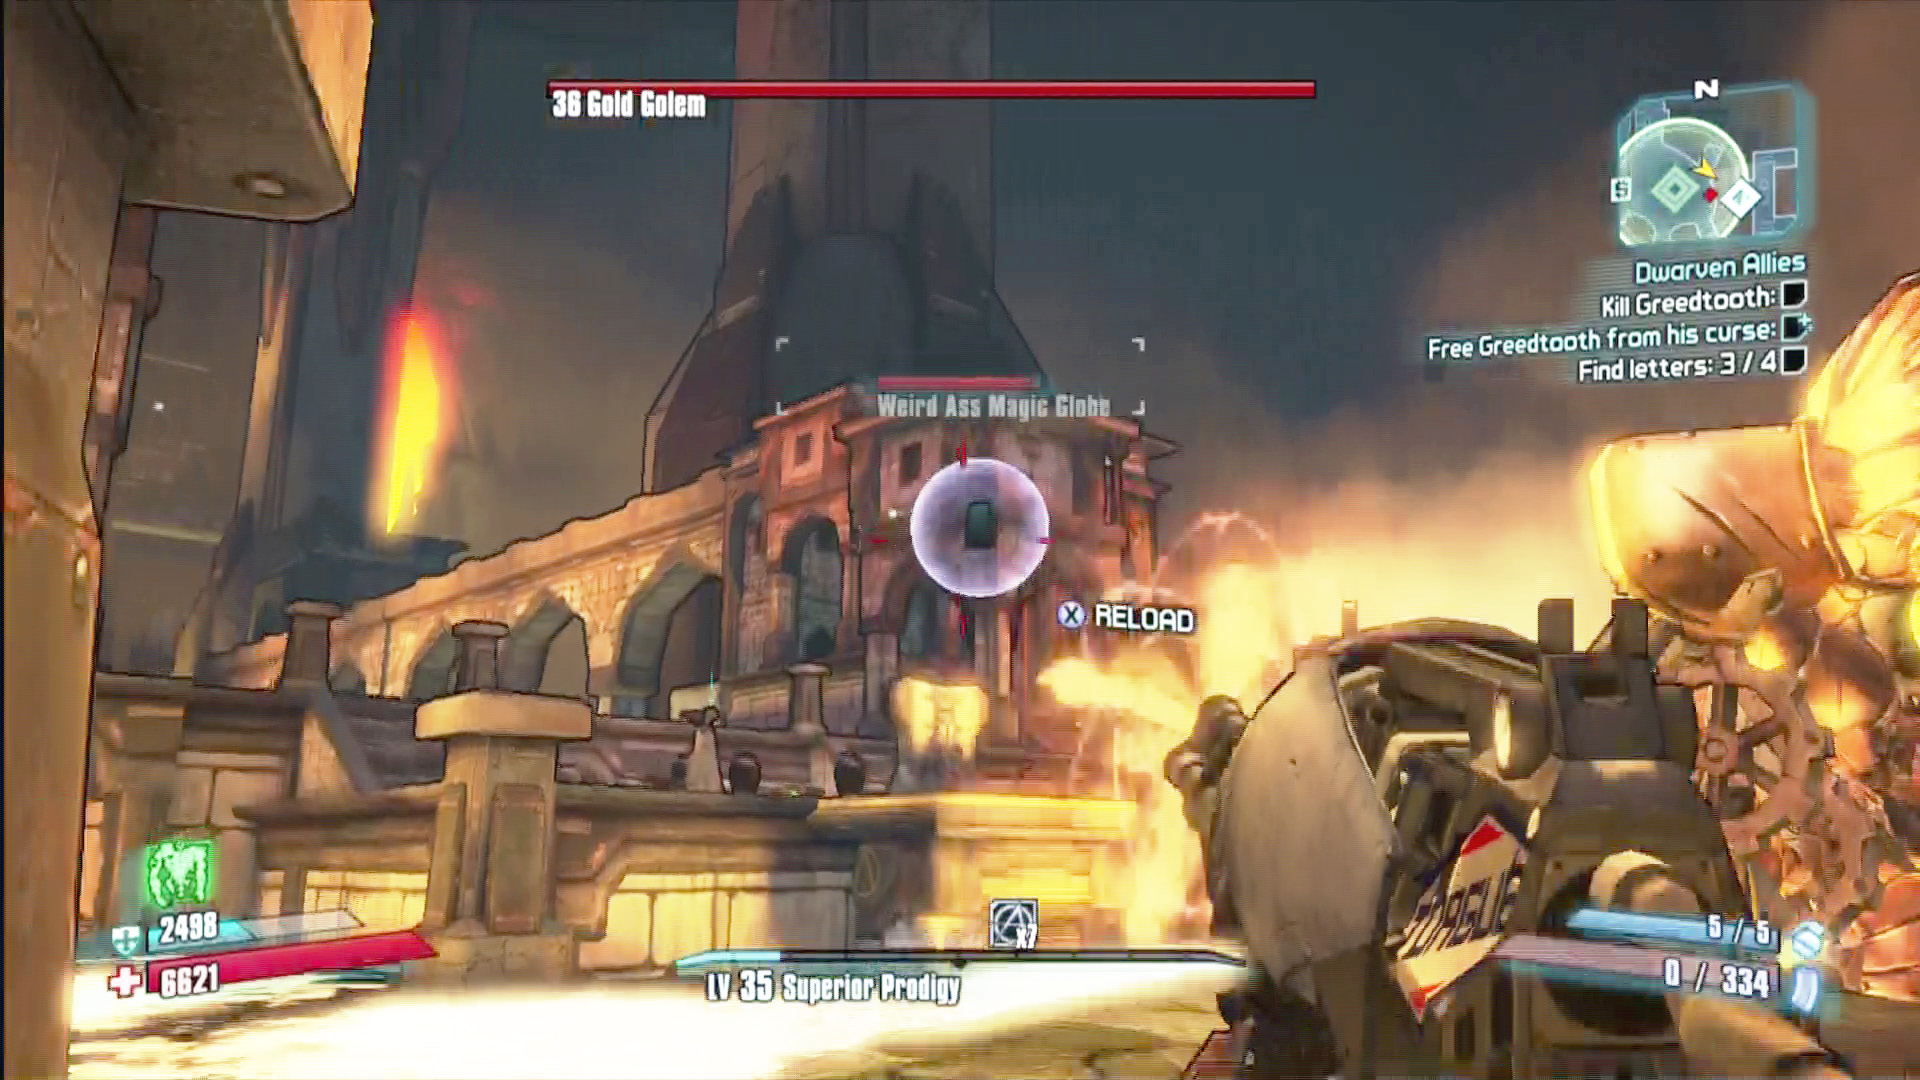
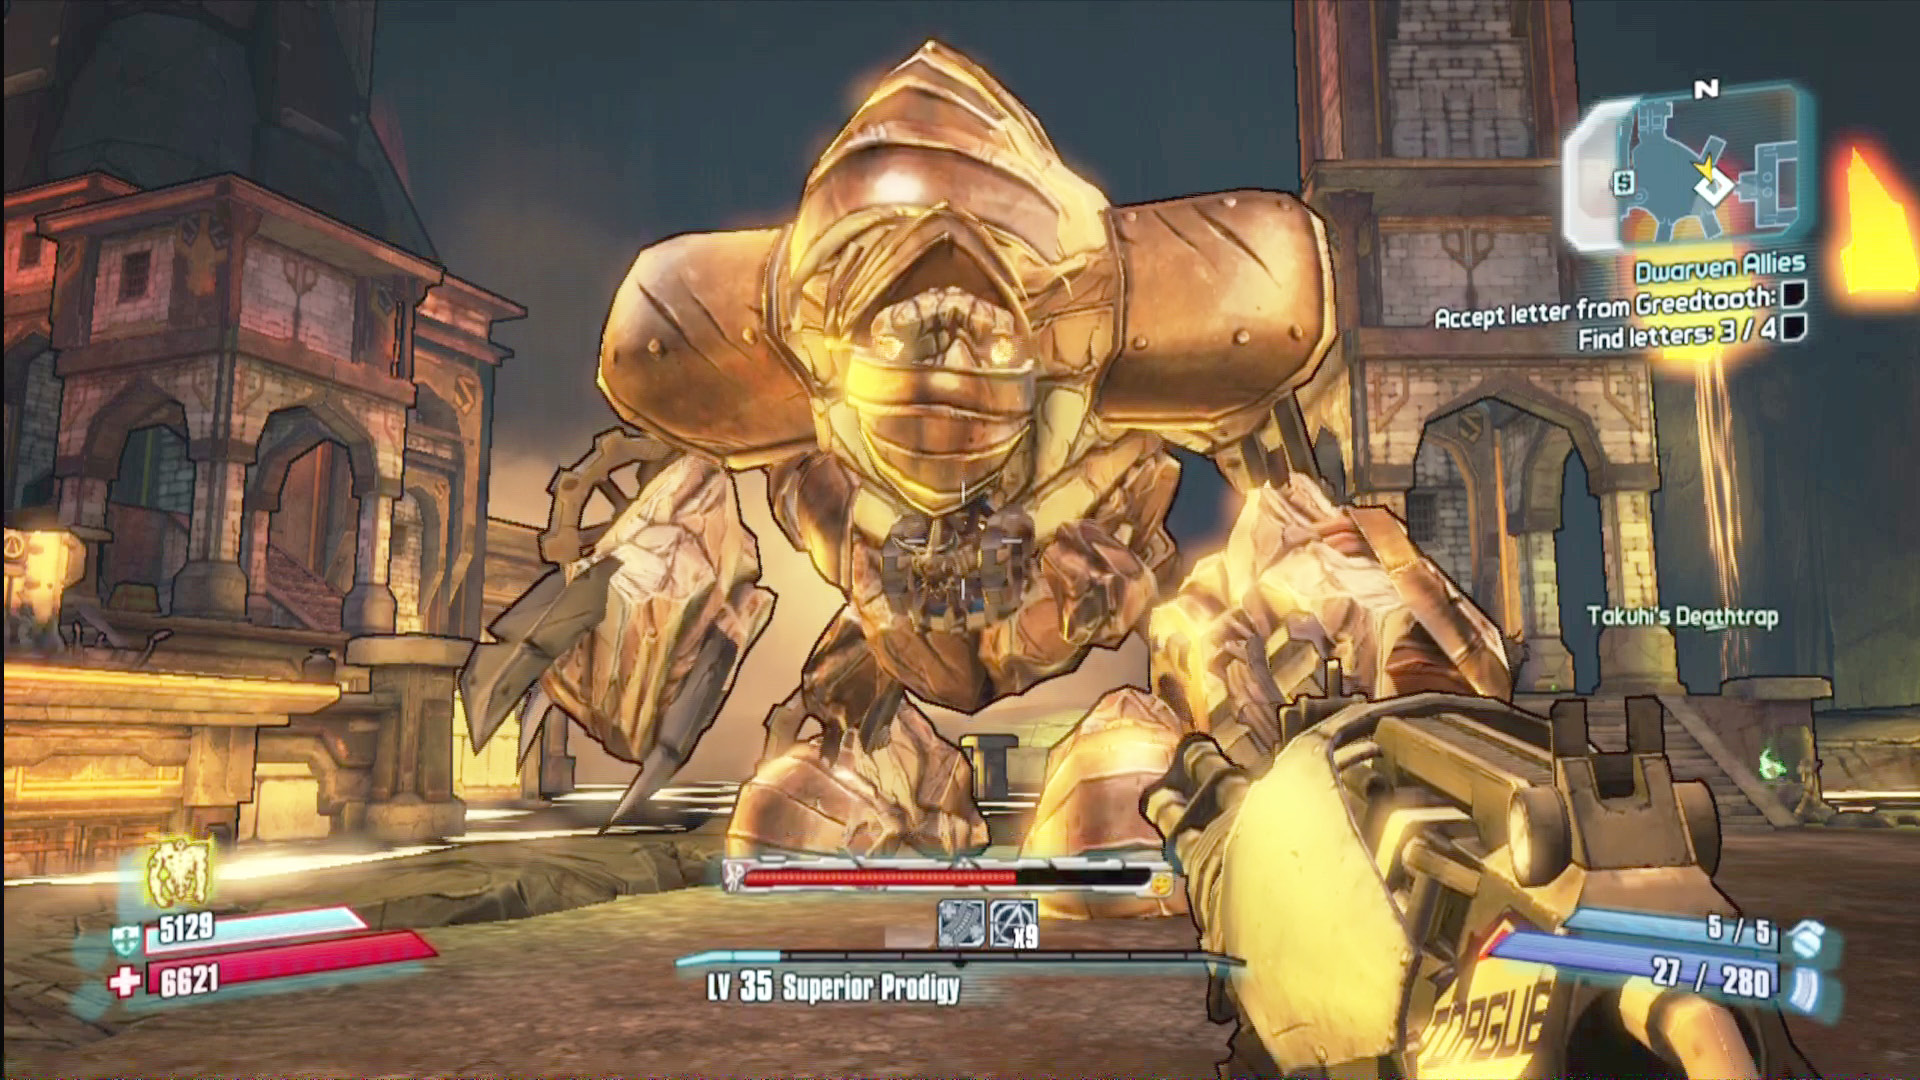
Leap off the high ledge down to Greedtooth’s throne room to begin the battle. As Greedtooth transforms into a powerful Gold Golem, Tiny Tina explains that the Weird Ass Magic Globe beside him is how the sorcerer is controlling him. Destroy it as soon as it begins to rise from beside the throne, as it only gets harder to hit as it speeds up. Doing so completes an optional Challenge, but it won’t actually convince Greedtooth to leave you alone, because, you know, of all the other legitimate reasons he has for wanting you dead.
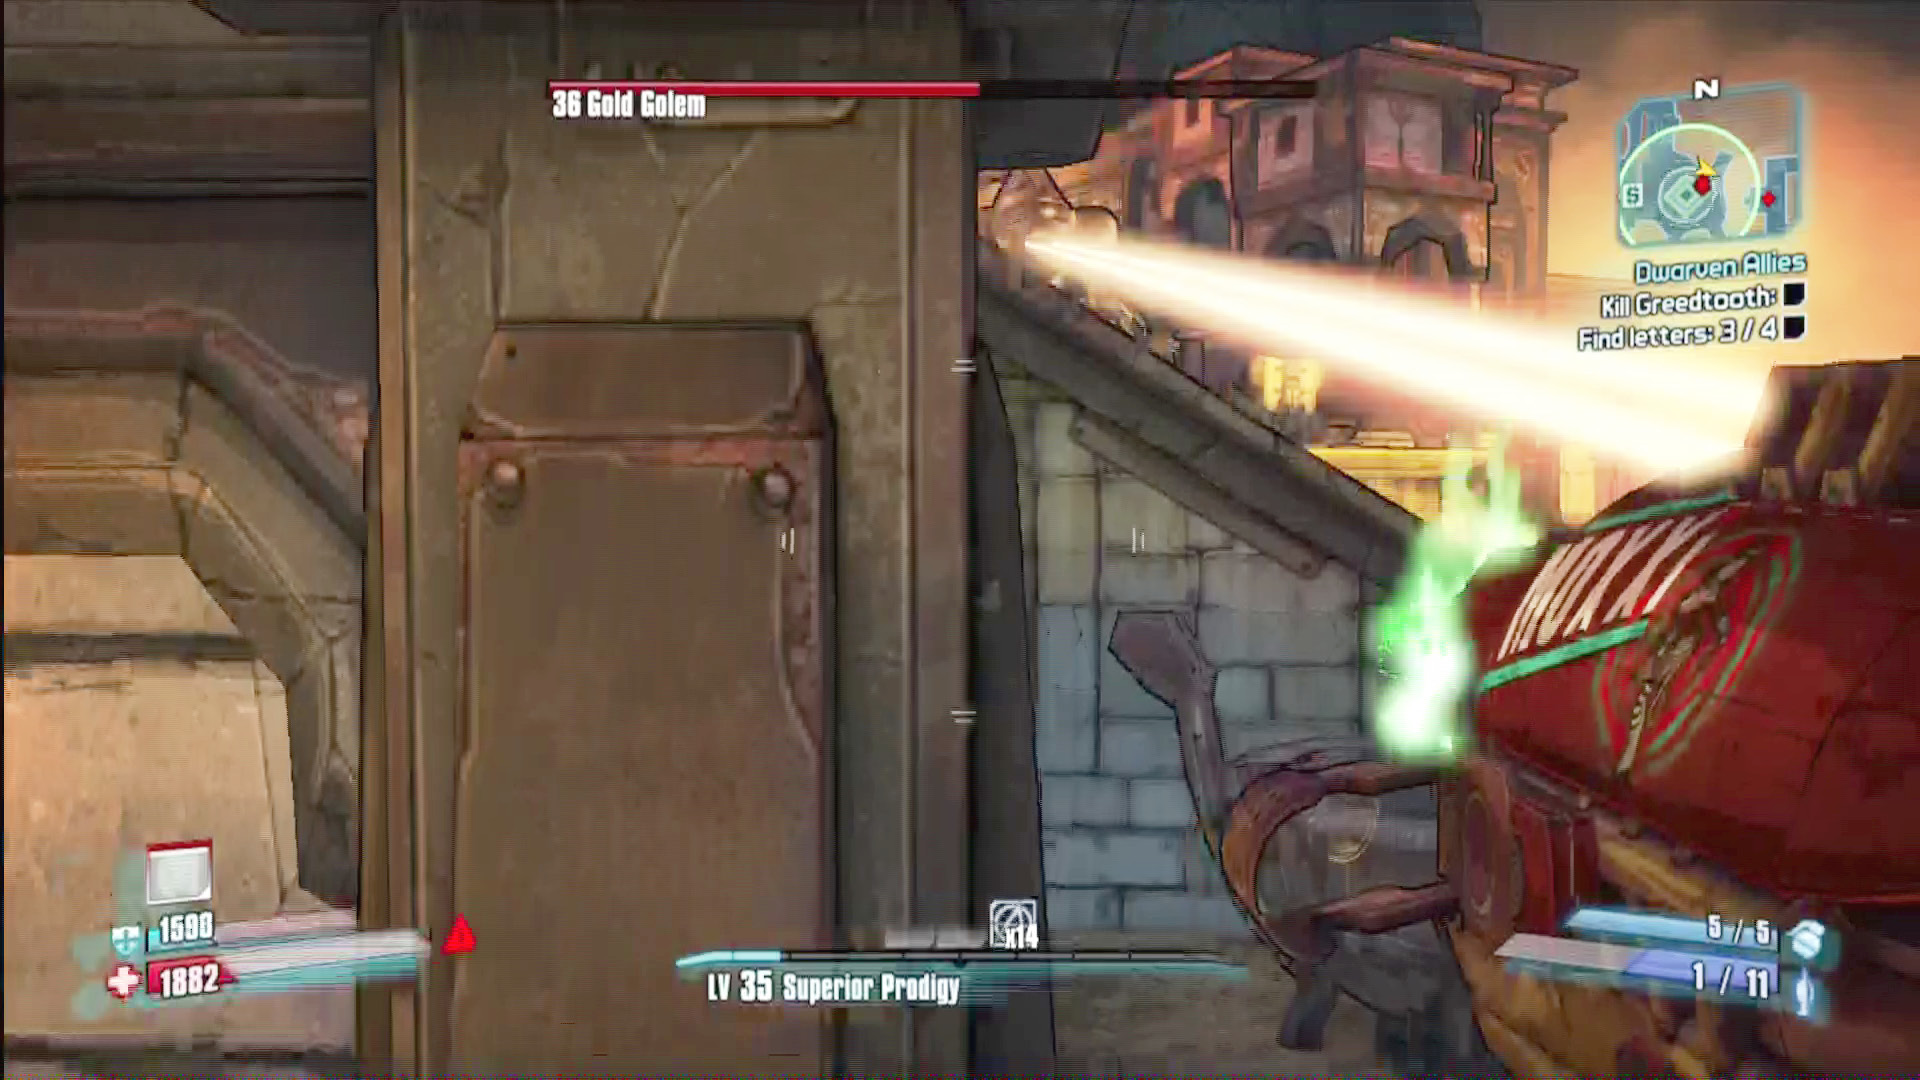
The Gold Golem doesn’t have a furnace, but it does have Greedtooth’s big stupid face sticking out of its chest, so blast it there for Critical Hits. Use an accurate weapon so you can fight from afar, which gives you ample time to dodge most of the golem’s projectile attacks. When the golem returns to the throne area, make your way to one of the small buildings on either side of the battlefield so you can hide behind it to avoid the golem’s eye beams and other projectile attacks.