
Borderlands 2 Game of the Year Guide Optional Missions
Hyperion Slaughter: Round 5
Ore Chasm
The fifth round consists of seven waves in total and requires far more ammo and a good amount of defensive maneuvering than the previous rounds. It’s worth making a trip to the Black Market in Sanctuary to purchase additional storage deck upgrades before continuing with this battle.
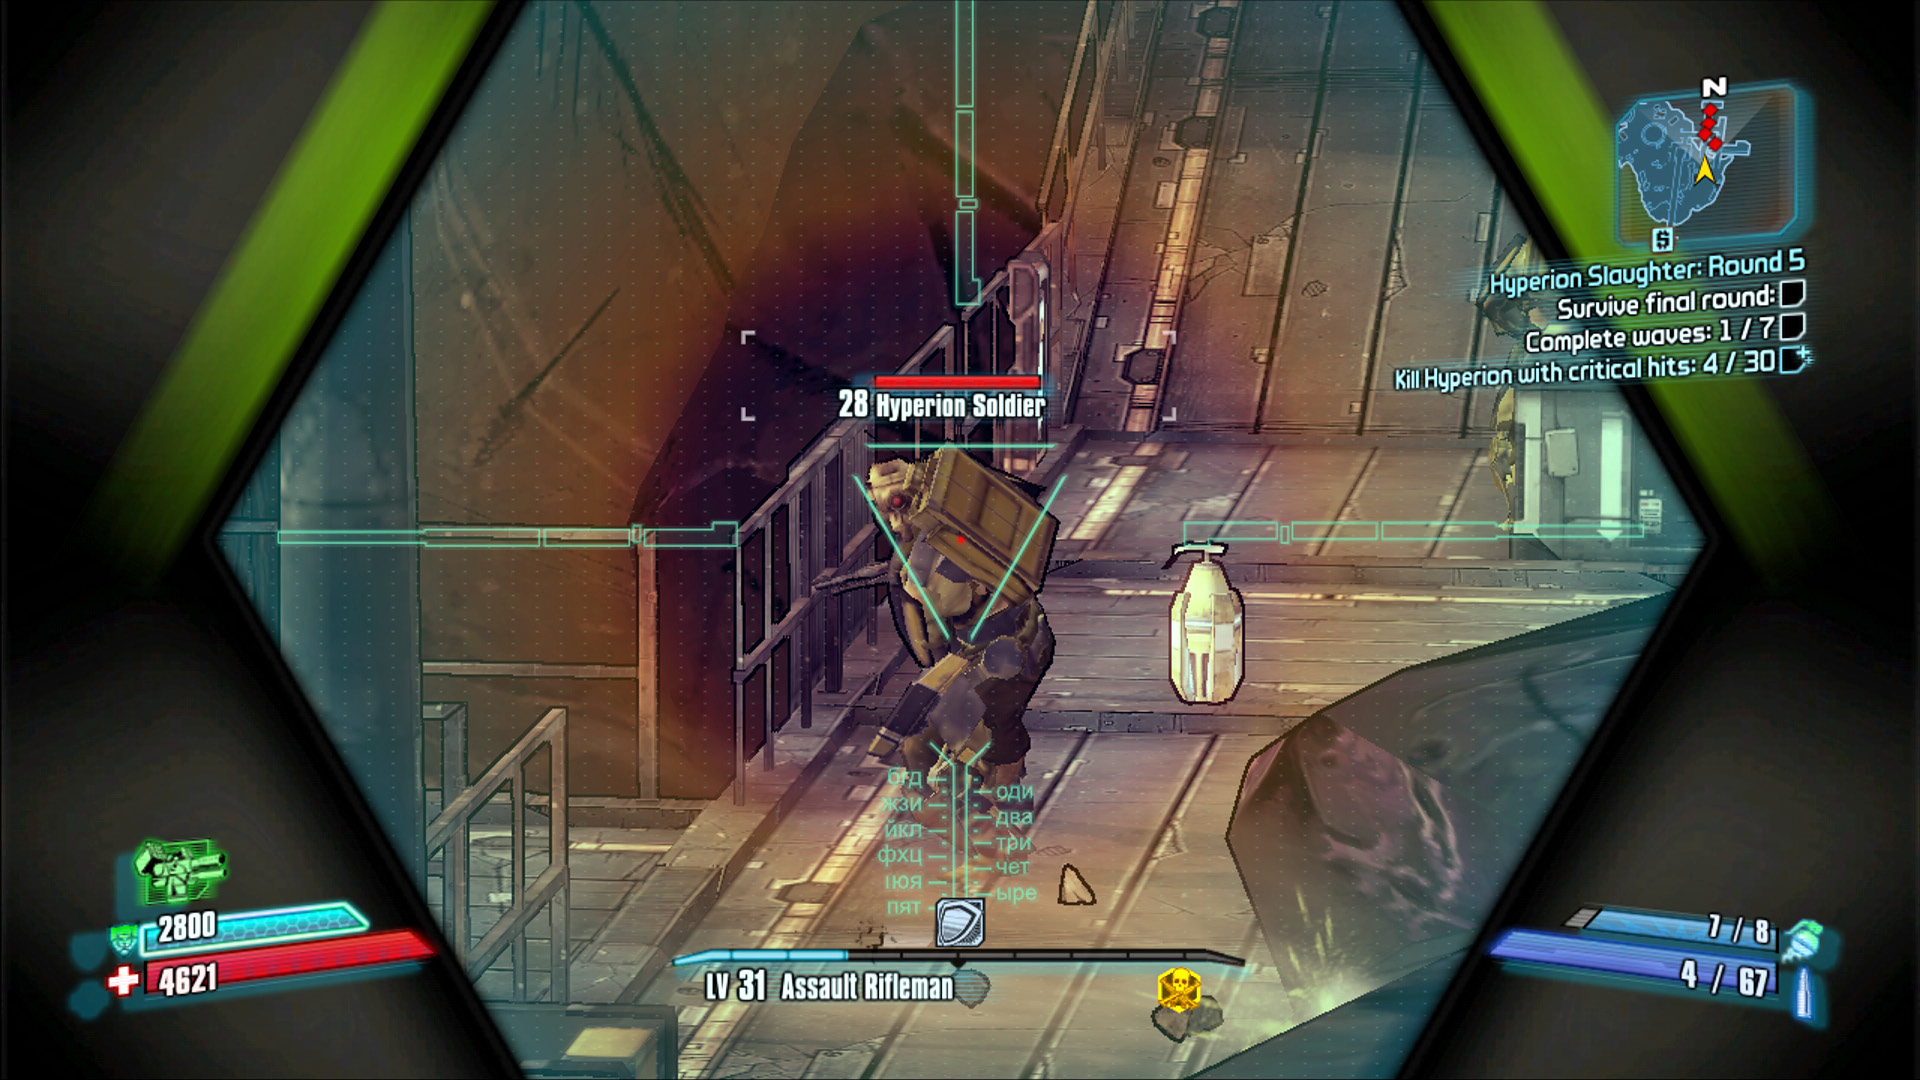
Take up position on the hill above the ladder, and pick off the Hyperion Soldiers as they funnel toward your position.
The first wave consists of numerous Loaders of numerous varieties ranging from ION to RPG. The wave also contains a few Surveyor Drones. The second wave begins with a small group of Hyperion Soldiers approaching from the northern catwalks while several RPG Loaders slowly approach from the south. Snipe the Hyperion Soldiers as quickly as you can to avoid being caught in crossfire, then take cover near the elevator or within one of the containers on the northern side of the arena.
|
 Mission Briefing
| Level | Money | XP | Gear |
|---|---|---|---|
|
29 |
($2121 with Bonus) |
3715 |
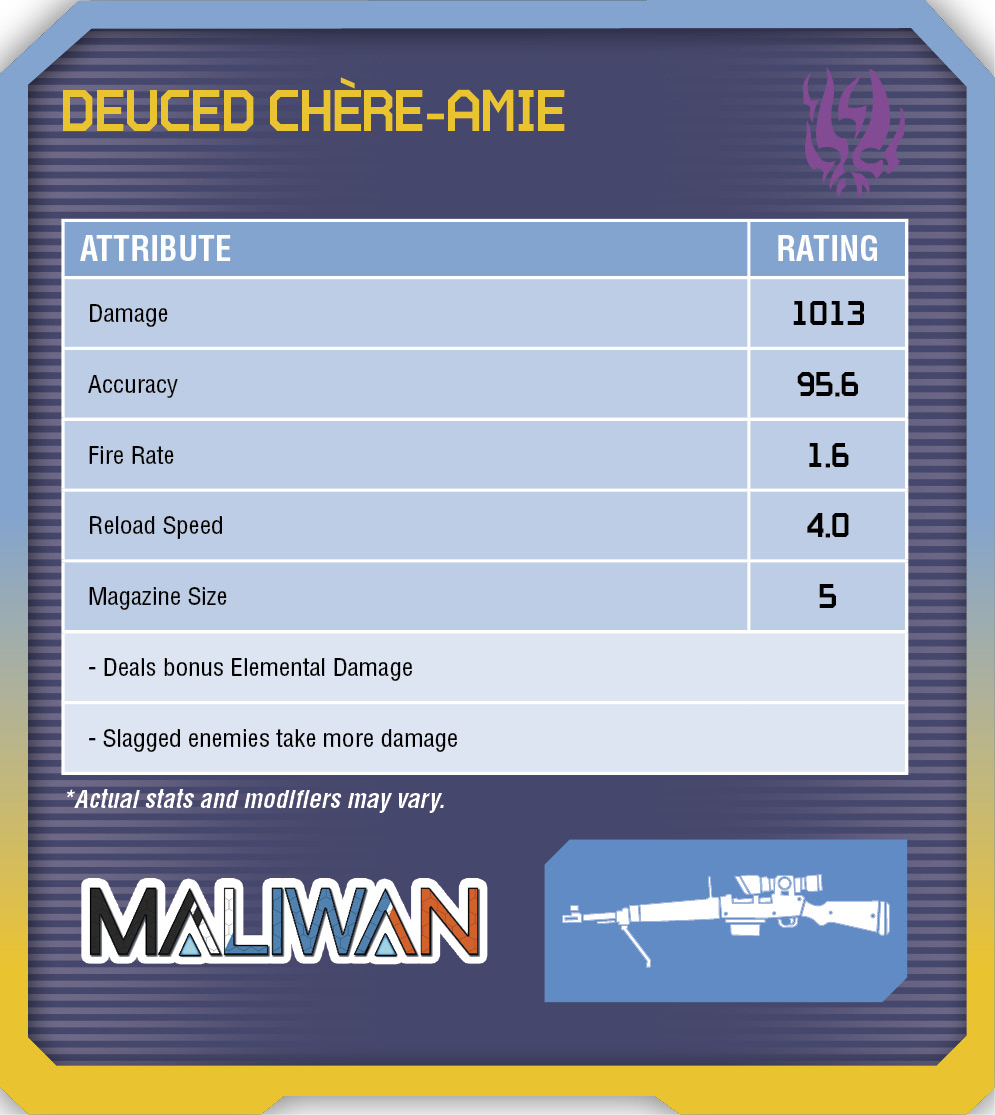
Sniper Rifle (Blue) |
It really pays to have a class mod that boosts one of your go-to attacks for this battle, particularly from the third wave and beyond. For example, you can gain a tremendous boost by pairing a high-powered Torgue assault rifle with a class mod that increases magazine size and damage for assault rifles. Similarly, equipping a class mod that boosts Corrosive damage and chance to corrode can also help significantly.
The third wave routinely consists of a Super Badass Loader (or two) and a Constructor Bot. Continue using the rock pile atop the hill on the southeast side of the map for cover and focusing on the heavy enemies first, leaving the smaller ones around to obtain a Second Wind from, if needed.
The fourth and fifth waves consist largely of human and cybernetic enemies. Hyperion Infiltrators resemble Hyperion Snipers, but they’re far more agile and use their cloaking ability to avoid damage and attack up close. At this point in the battle, particularly if you’re playing solo, you should strongly consider moving to the Hyperion container on the north edge of the map. Use this container for cover, and strafe in, out, and around the container for optimum targeting opportunities during the fourth through sixth waves. These waves contain multiple JET Loaders, Badass Shield Surveyors, Hyperion Snipers, and many, many more enemies. Use the container for cover whenever you need to reload, allow your shields to recharge, or simply feel overwhelmed. Study the minimap, move with a purpose, and don’t take any chances. Buy time with your Action Skill to collect ammo that falls on the circular arena floor to the south.
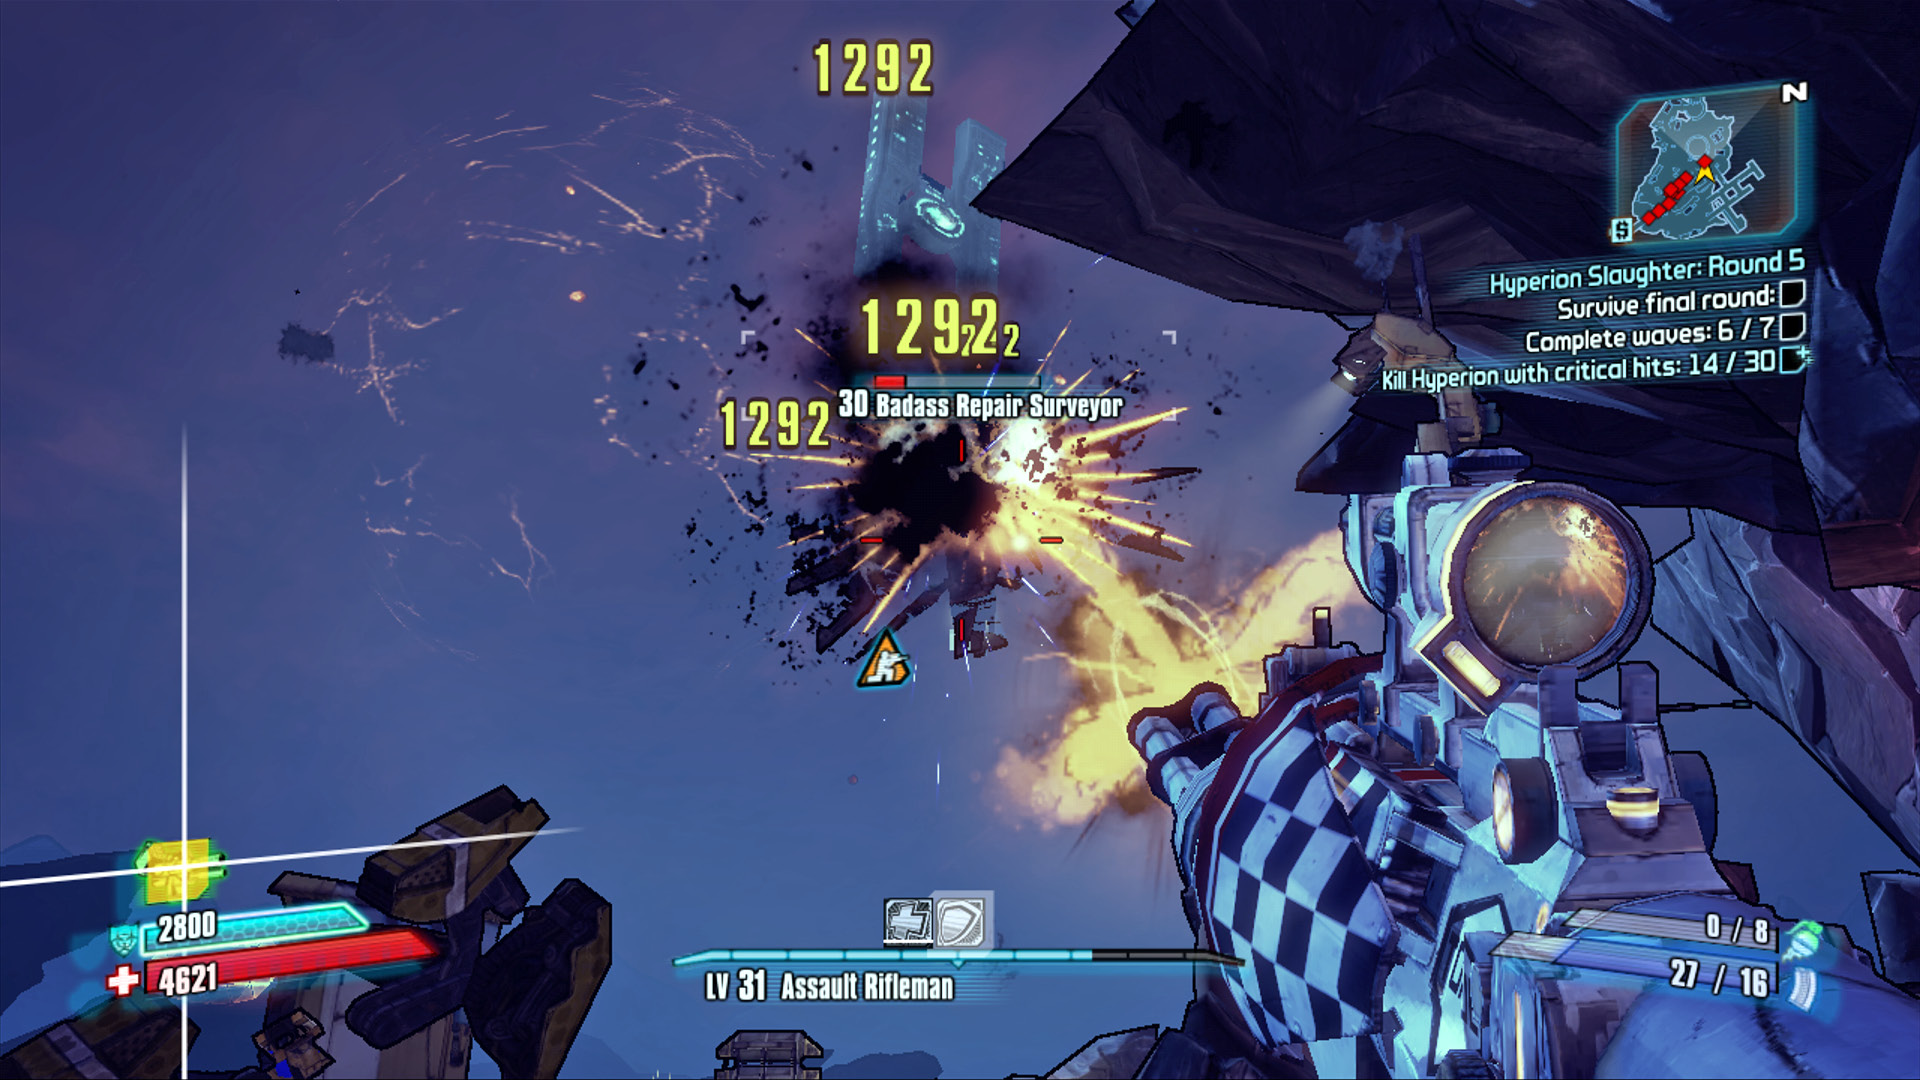
Let the Surveyors come to you and save the auto cannons for last. Note the position in the minimap for ultimate coverage from this final wave.
The seventh and final wave consists of a Super Badass Constructor Bot, numerous Badass Repair Surveyors, and also several auto cannons mounted on the ceiling. Move into position behind the northwest corner of the elevator. Due to the Constructor Bot’s position directly south of here, this bit of cover shields you from virtually all of its attacks. Focus on eliminating the Badass Repair Surveyors first, and only step out from cover to either use an Action Skill or strike with a particularly heavy attack. Do not take any chances! Pay close attention to the Constructor Bot’s audible cues and listen for when it is preparing a new attack, as this is the time for you to strike! Don’t be afraid to use up your rocket launcher ammo or grenades here, as there’s very little for you to Second Wind from should you get downed. If you run out, just use your Action Skill to get you through to the end. Stay in cover, wait for your Action Skill to recharge, then step out and attack. Rinse, repeat, and collect the loot.