
Borderlands 2 Game of the Year Guide Walkthrough
A Train to Catch
|
 Mission Briefing
| Level | Money | XP | Gear |
|---|---|---|---|
|
14 |
43 |
3104 |
Relic (White) |
*Money and XP may vary based on player’s level at start of mission.
Tundra Express
Wake Up Call
Meet Roland back at the Crimson Raiders HQ in Sanctuary to learn about his plan for exacting revenge on Handsome Jack: his solution lies in the frozen land of Tundra Express. Fast Travel to Three Horns Divide, and proceed due north to Tundra Express via the nearby exit.
Have your preferred Fire weapon ready and proceed down the hill toward Varkid Ranch, bearing to the right. The only way to wake up Roland’s spy is with the sound of three varkids screaming. And the only way to get them to scream is to make them burn.
Larval Varkids don’t burn for very long before dying, so you’re going to want to get the attention of multiple Larval Varkids before opening fire on them (alternately, allow one or two to morph into much more resilient Adult Varkids). The counter in the objective list will update to show how many are currently burning—keep torching as many varkids as you can until you get three alight at the same time. It’s also possible to light multiple varkids on fire by shooting one of the Firemelons growing in the area. Wait for several Larval Varkids to exit the hive near a Firemelon, then shoot the plant to release a ball of fire!
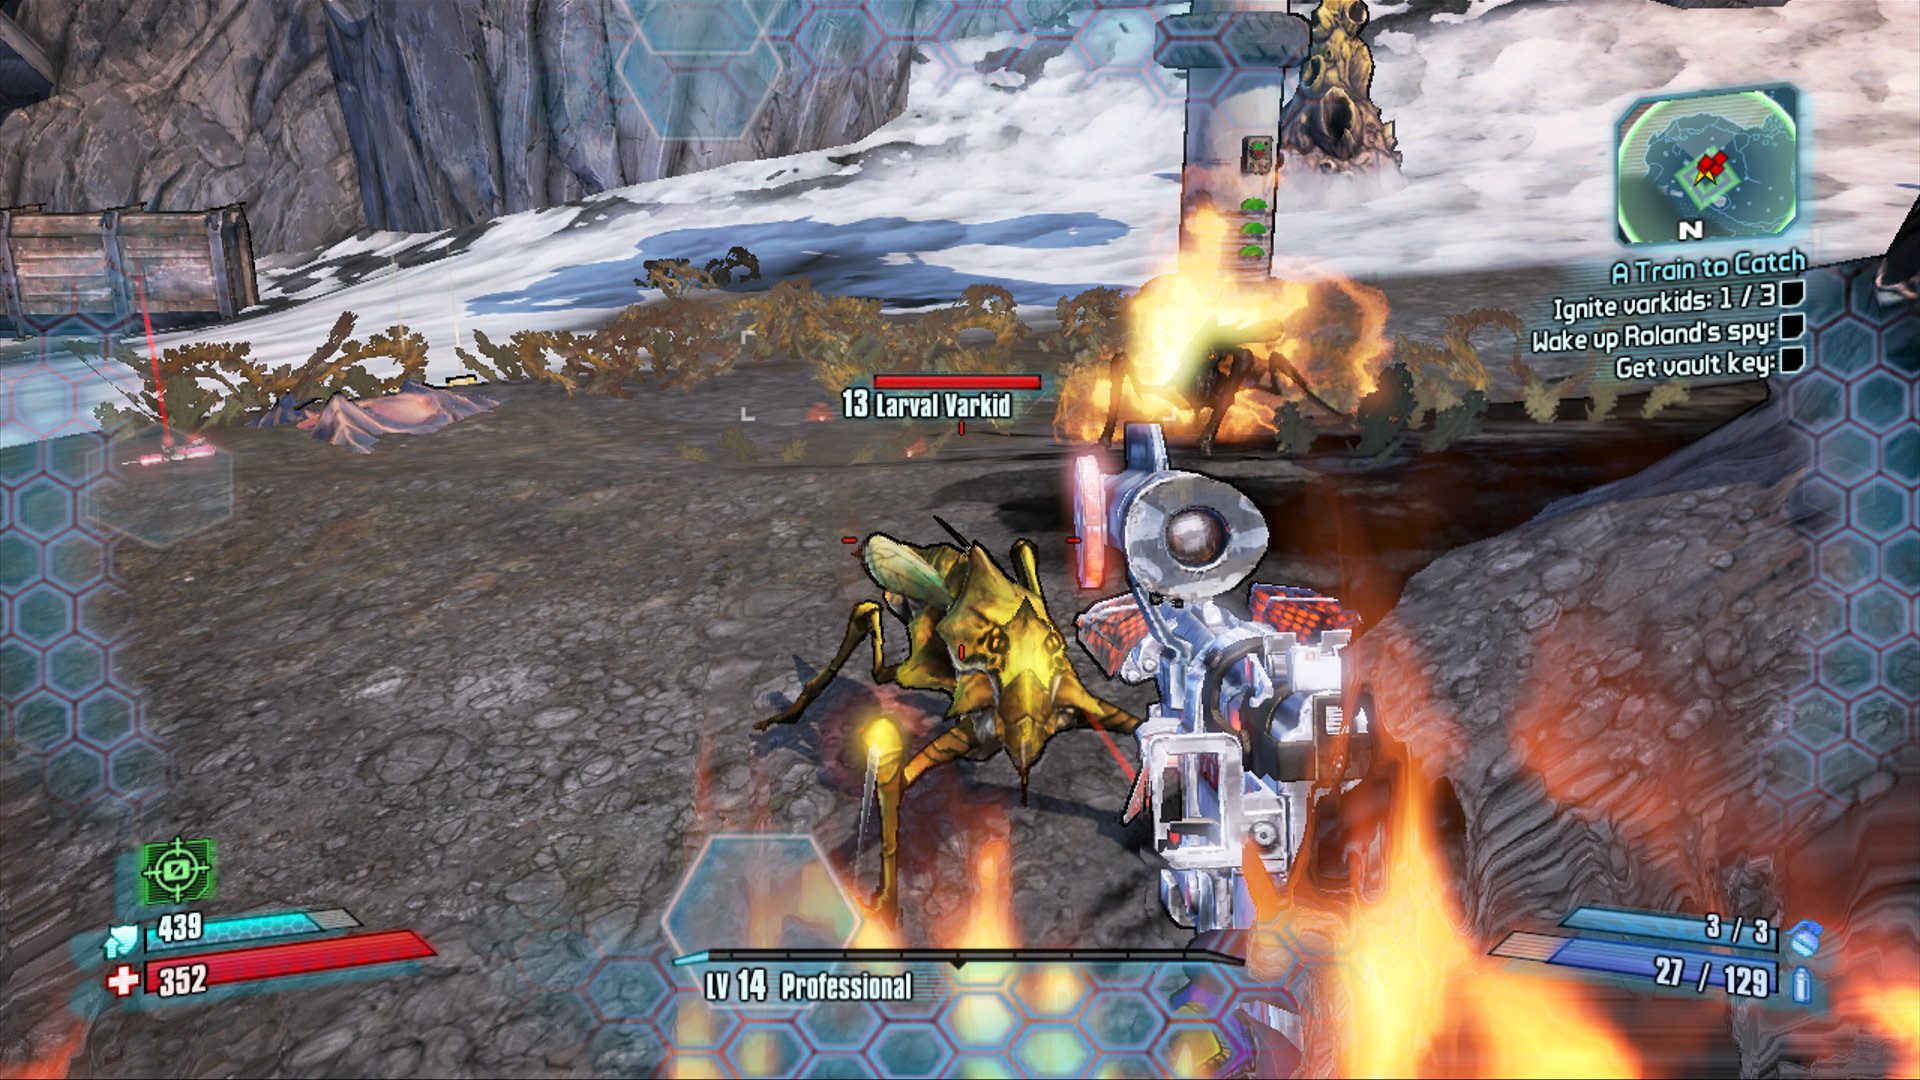
Larval Varkids don’t burn for long, so be sure to use a fast-firing weapon to light ‘em up!
Roland’s friend goes by the name Mordecai, a skilled sniper who assisted in the opening of the first vault five years ago. Mordecai has learned of a train he believes to be carrying Handsome Jack’s Vault Key—a train ripe for hijacking! One look at your backpack tells you that you’re not exactly packing enough firepower to pull that off; you’re going to need some help! That’s where Roland’s friend Tiny Tina comes in. Don’t let the name fool you, as she’s the best demolitions expert around. And she’s always willing to lend a hand.
Tiny Tina’s Workshop lies due north from the Varkid Ranch. Take a minute to climb the ladder up to the roof of the Varkid Ranch Observatory to locate the Cult of the Vault symbol and to see what goodies are lurking within the weapon chest up there. Continue around the central mountain in a counter-clockwise direction until you come to a locked door flanked by two oh-so-cute bunny drawings.
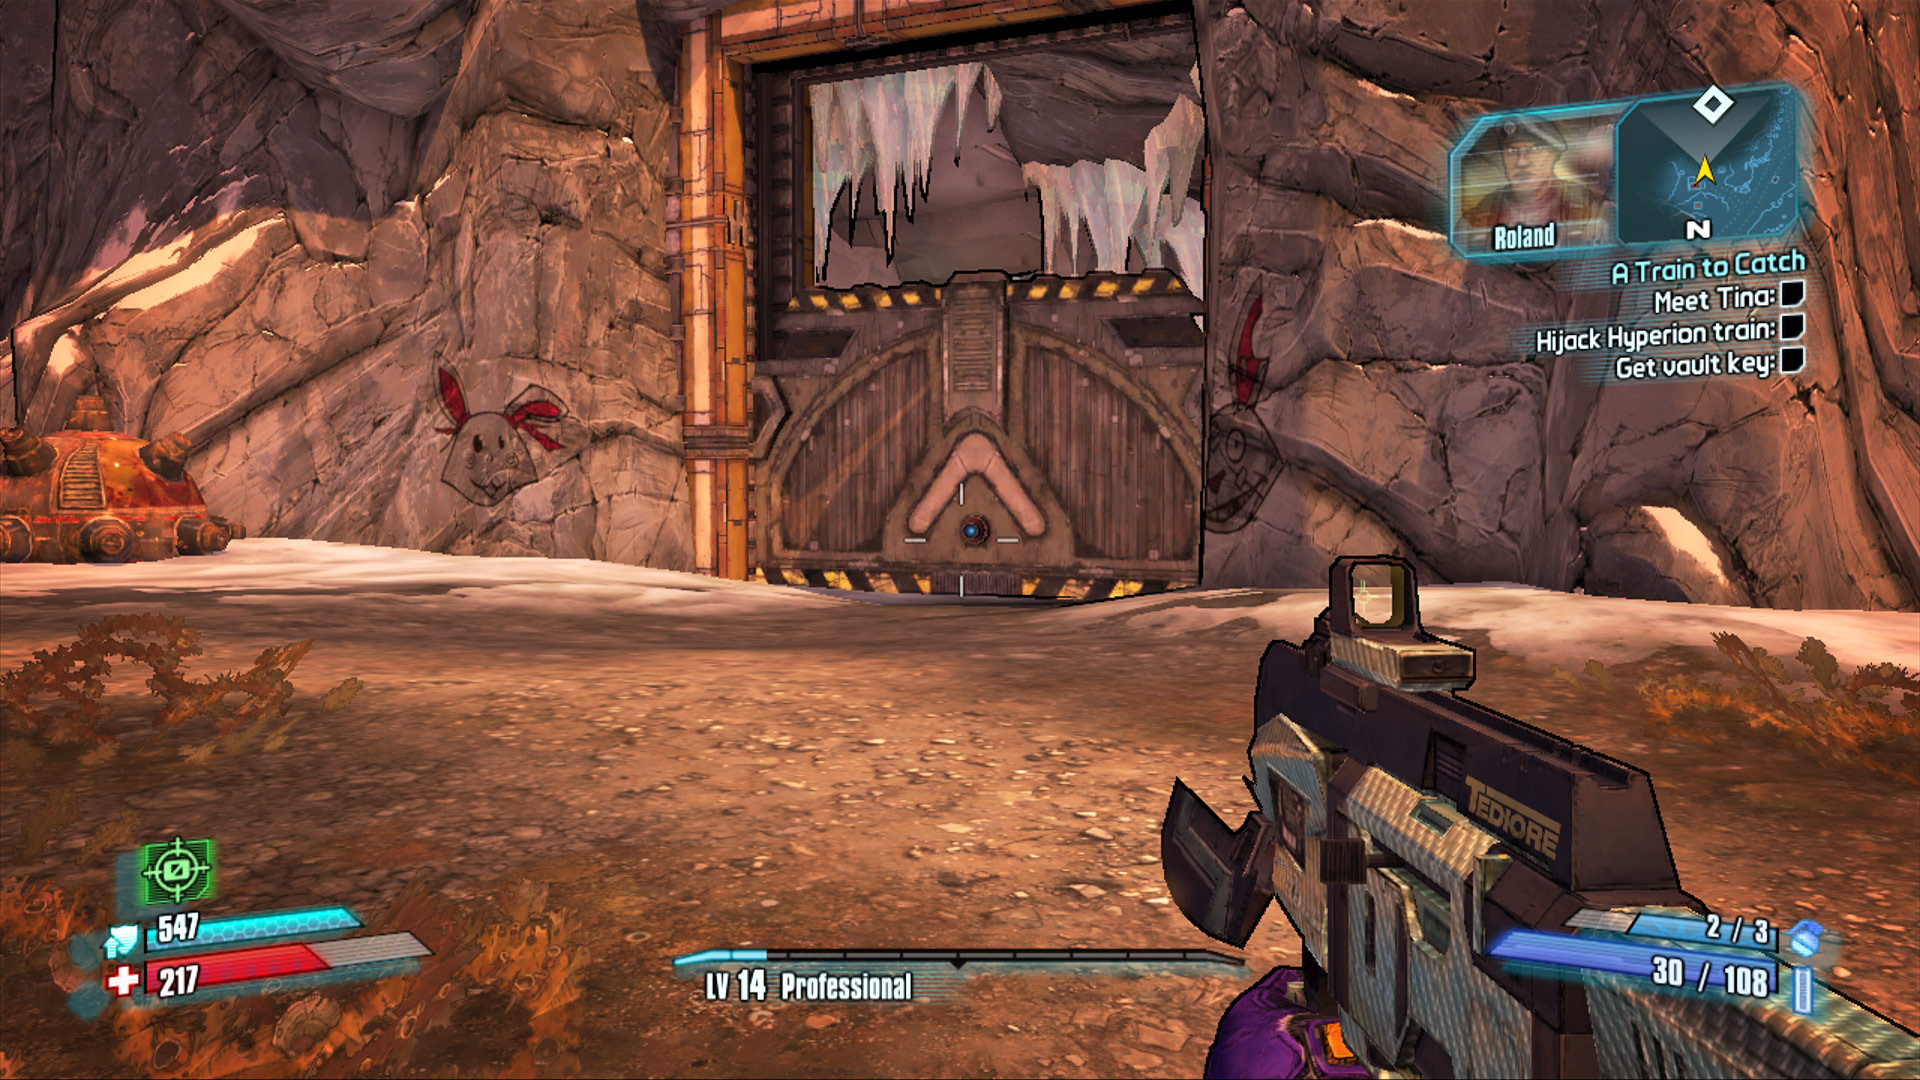
Behind that gate resides the littlest illin’ demolitions expert this side of Eridium Blight.
Tiny Tina is all too excited to help you hijack a train, and she’s got just what you need to get it done. Her two fine-assed stuffed animal friends are up for the task, save for one problem: they’re missing their, ahem, badonkadonks. And ladies can’t fly without their badonkadonks!
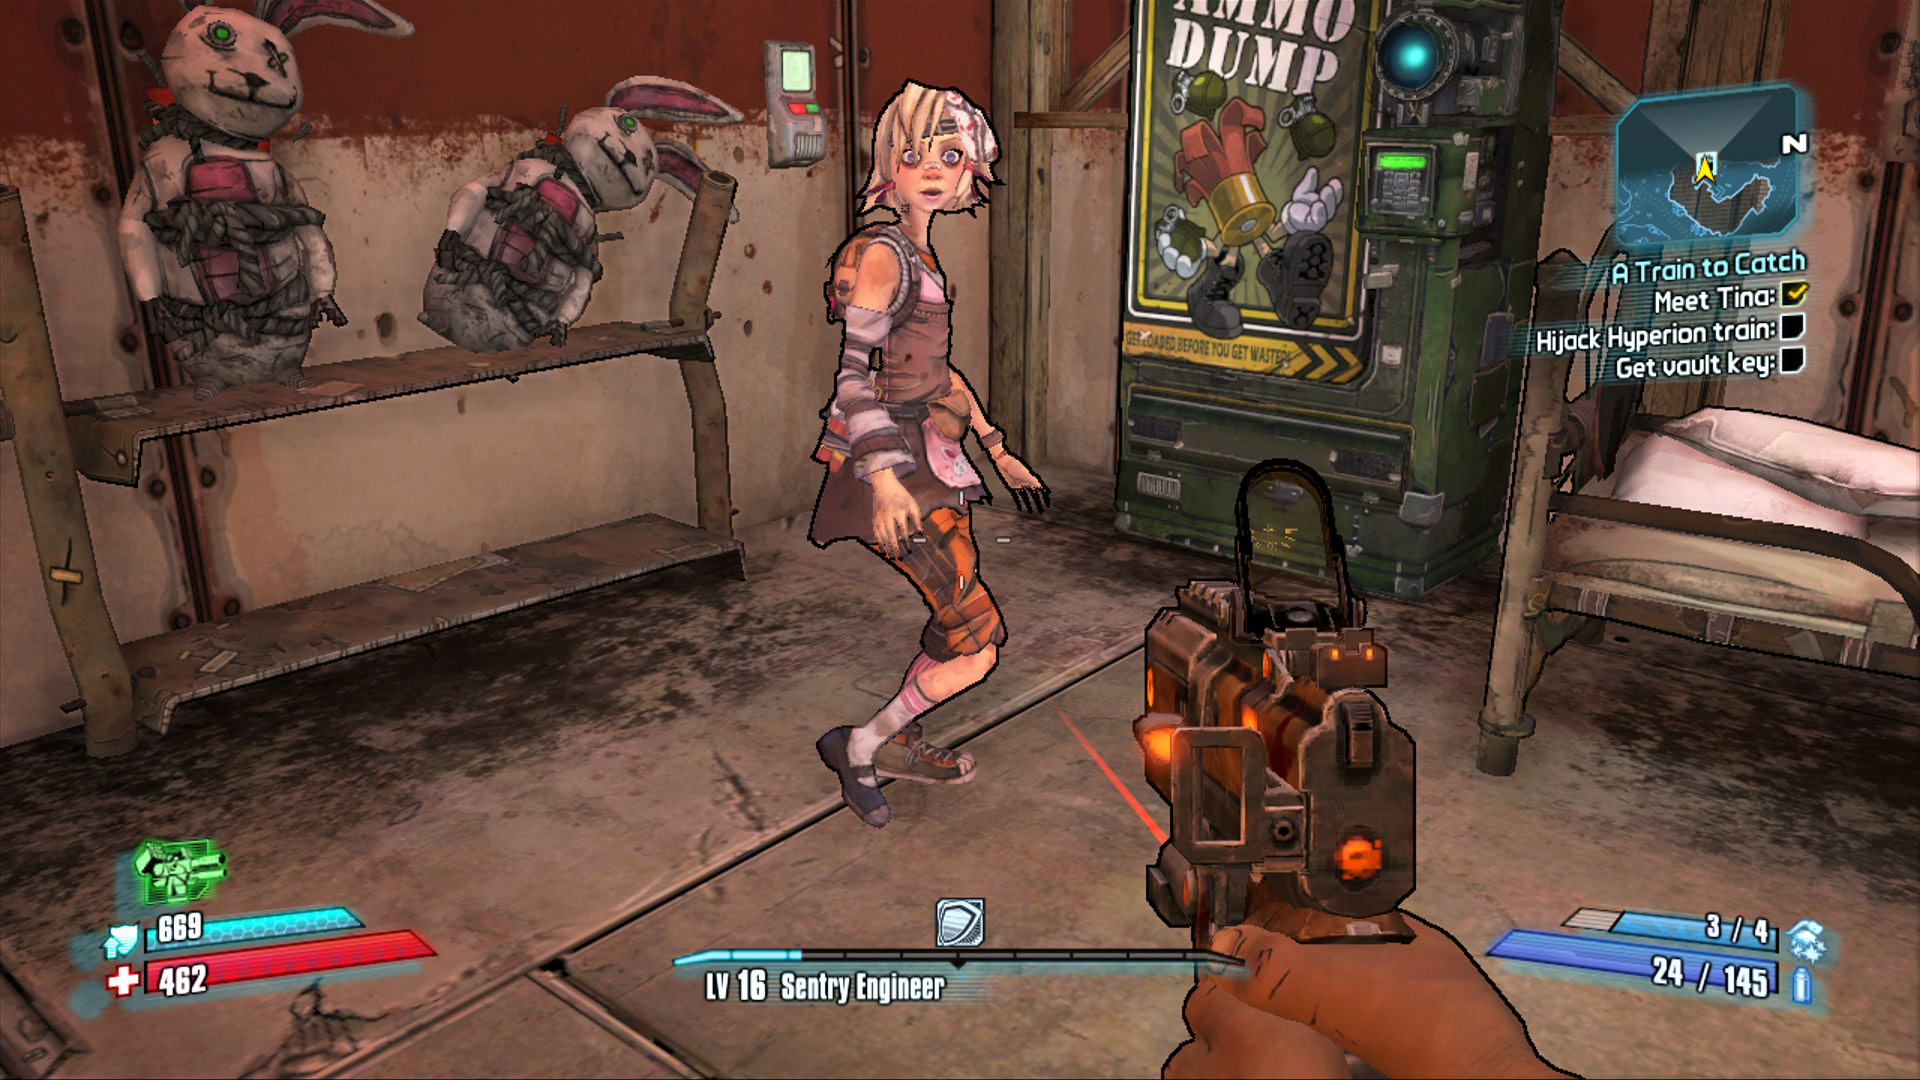
Kids are so cute at that age.
Operation: Babies Got Badonkadonks
Make your way north out of Tiny Tina’s Workshop toward the fork in the train tracks. Locate the Cult of the Vault symbol, and continue the loop around the perimeter of the map in a counter-clockwise direction. This is an indirect and longer route to your destination, but for a good reason.
The train typically takes the inner loop at the fork, but you’ll need to keep your ears open for the oncoming train as you walk alongside the tracks toward Old Man Johnson’s Farm. Turn south and cut across the fields toward the inner track as it heads due south toward the waypoints marked on the minimap. This roundabout path to Buzzard Academy allows you to approach from the rear of the facility, within steps of the first badonkadonk.
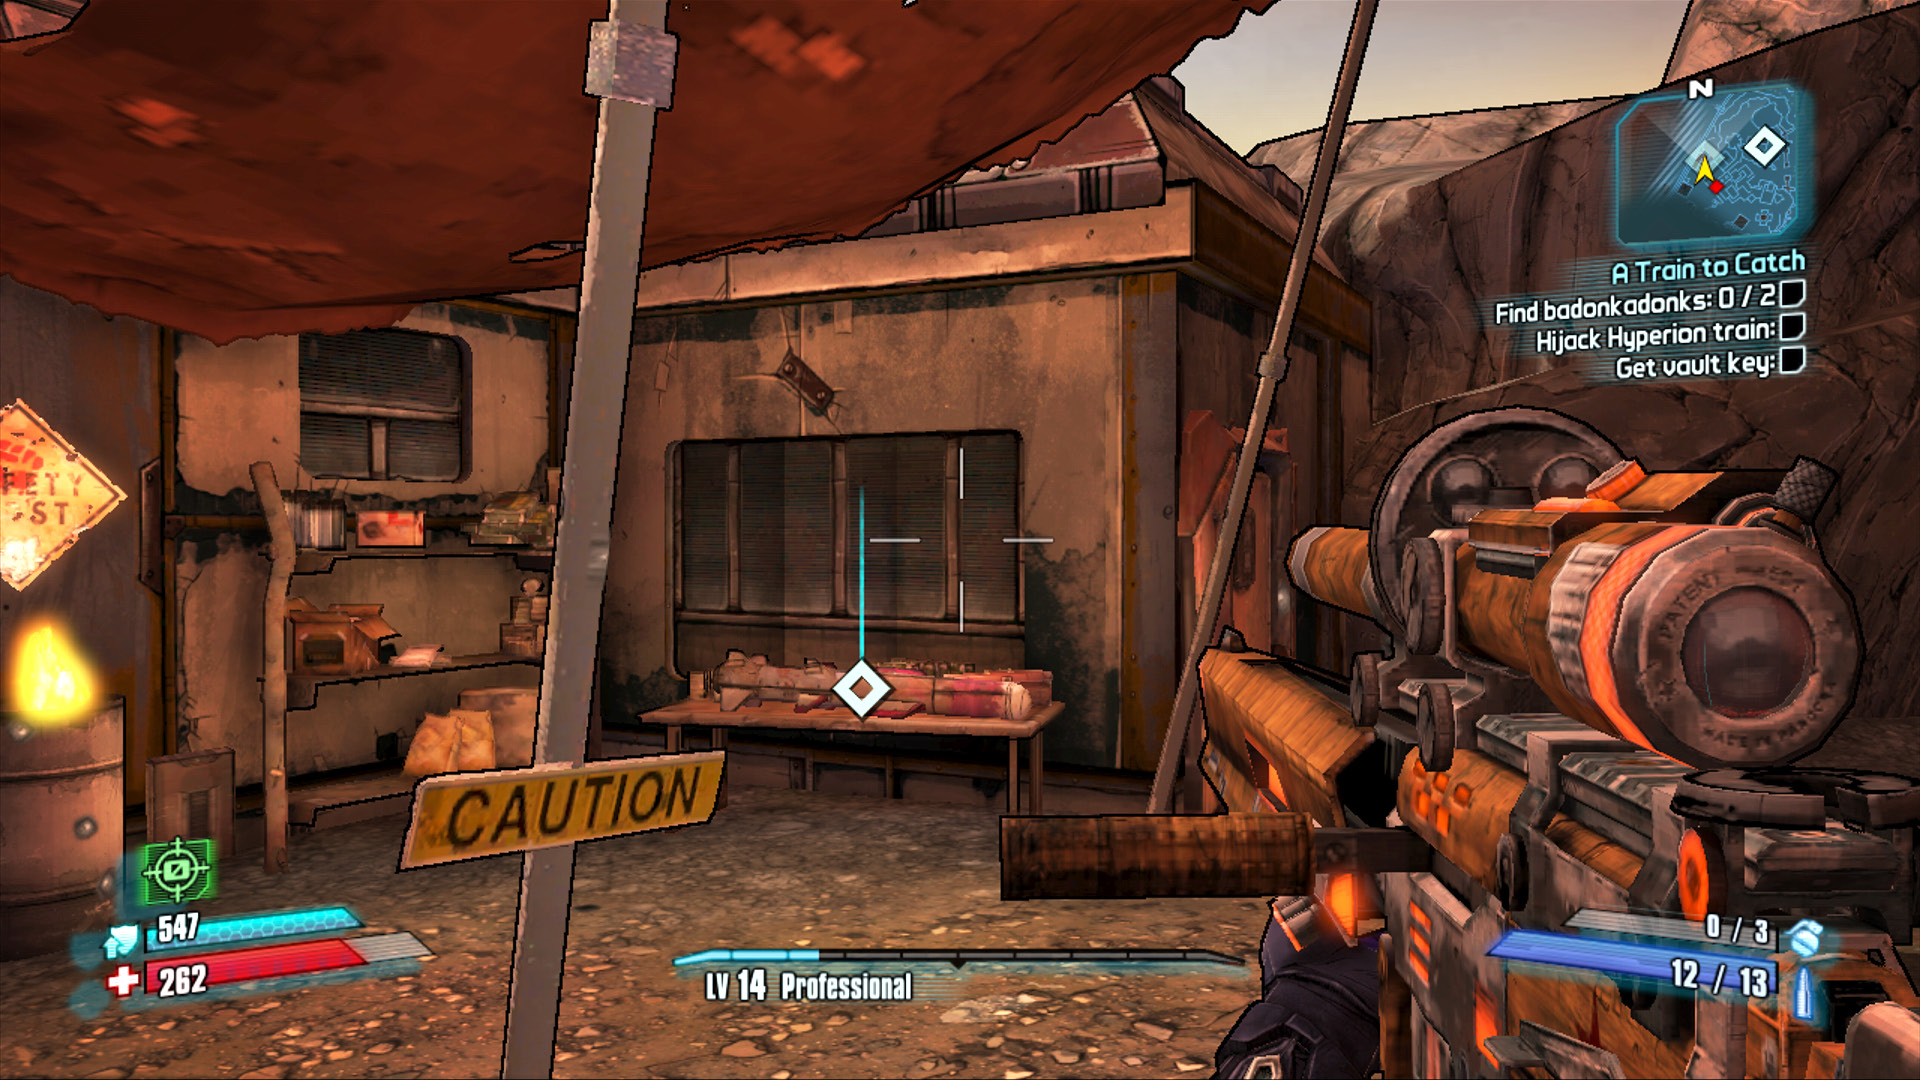
The first badonkadonk is on the table, just inside and to the left of the rear entrance. How fitting.
Entering through the rear of the facility allows you to take cover under the low-hanging structures and walkways and avoid most of the Buzzard’s rockets and gunfire while you eliminate the foot soldiers. Use the barrels around the area and your Action Skill to take out the nearest enemies first, then take aim at those on the elevated walkway, but only if you can get a clear shot. Focus on the tougher adversaries first, making sure to leave low-level Marauders alone in case you need a quick Second Wind.
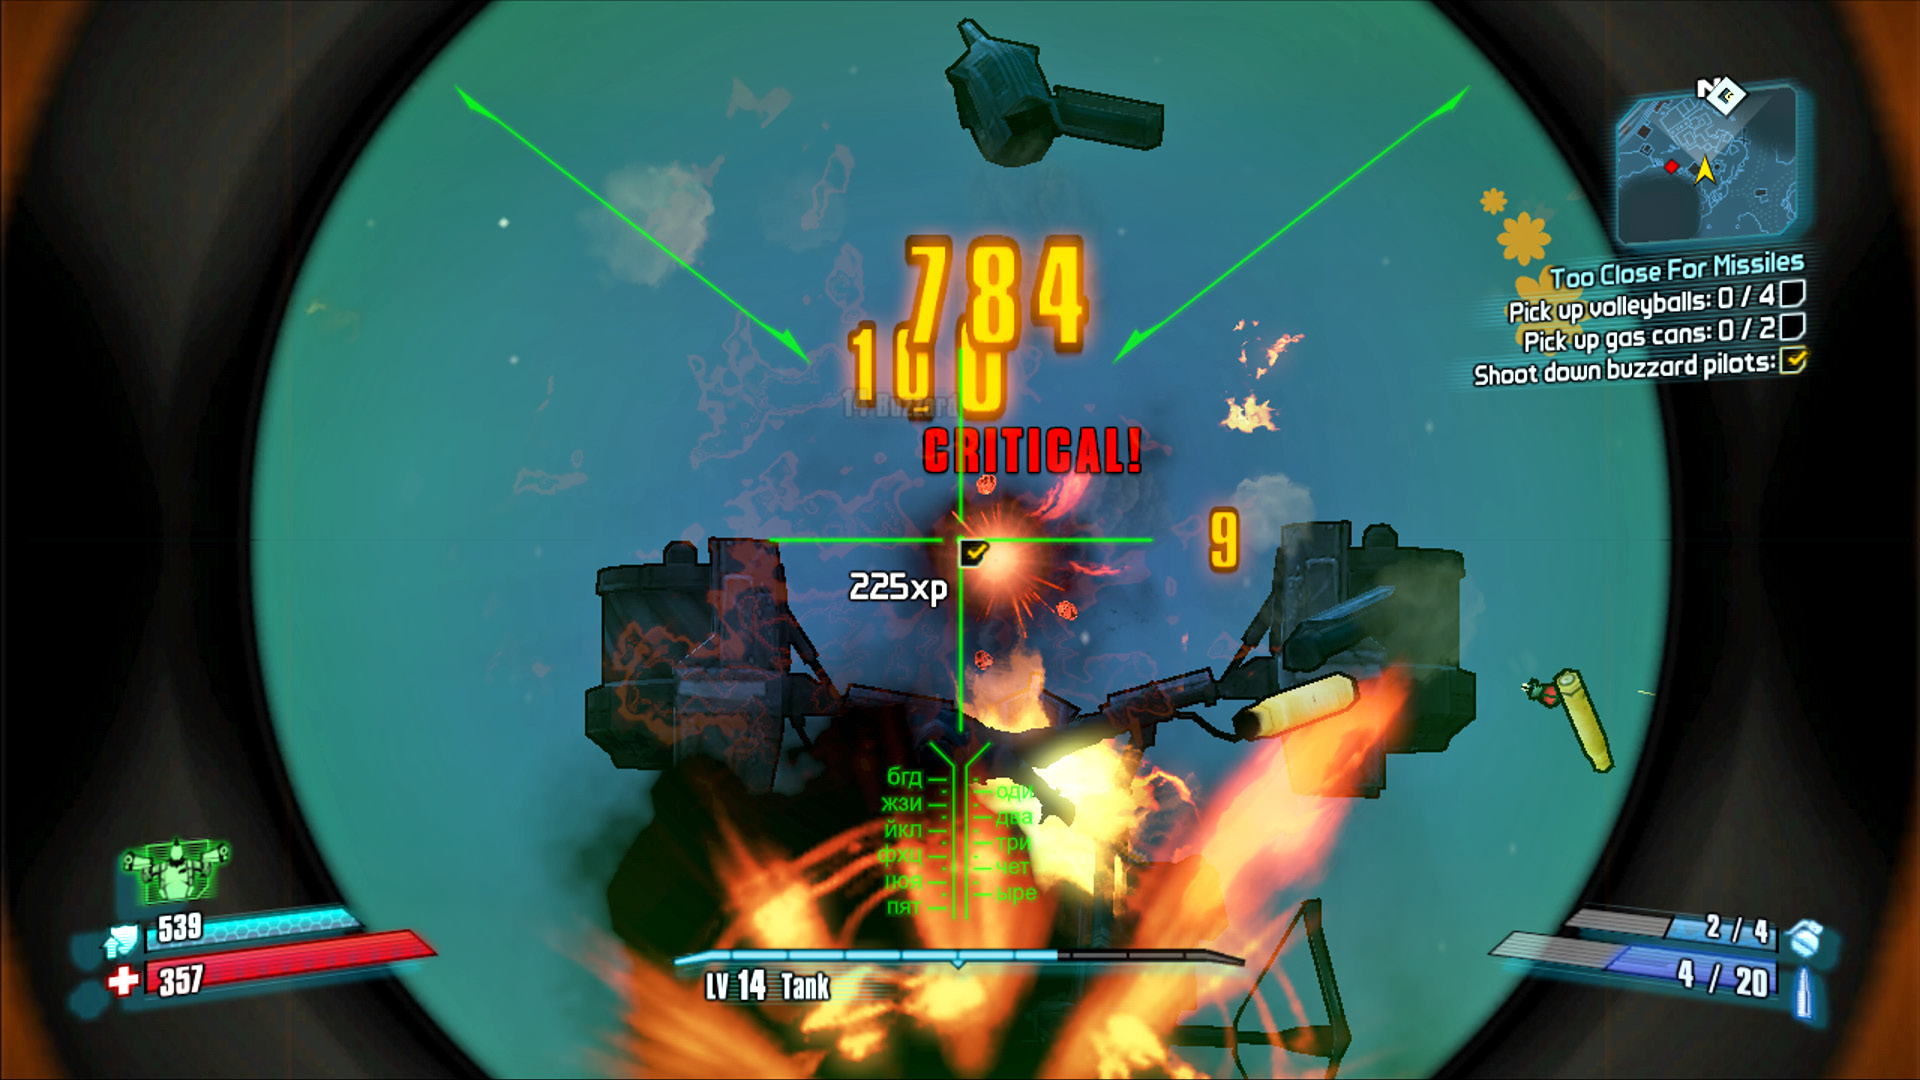
Focus your fire on the Buzzard’s engines to score Critical Hits.
Grab the first badonkadonk and angle to the northeast, under the large gray structure, and around the back of the building nearest the rocks. Climb the steps to the landing, then continue up the next set of stairs and across the walkway on the right. Circle around to the north in a clockwise direction to find the second badonkadonk. This area is crawling with foes, and you’ll be completely exposed to the Buzzards. Target their engines and stay under overhead cover near the badonkadonk as long as possible.
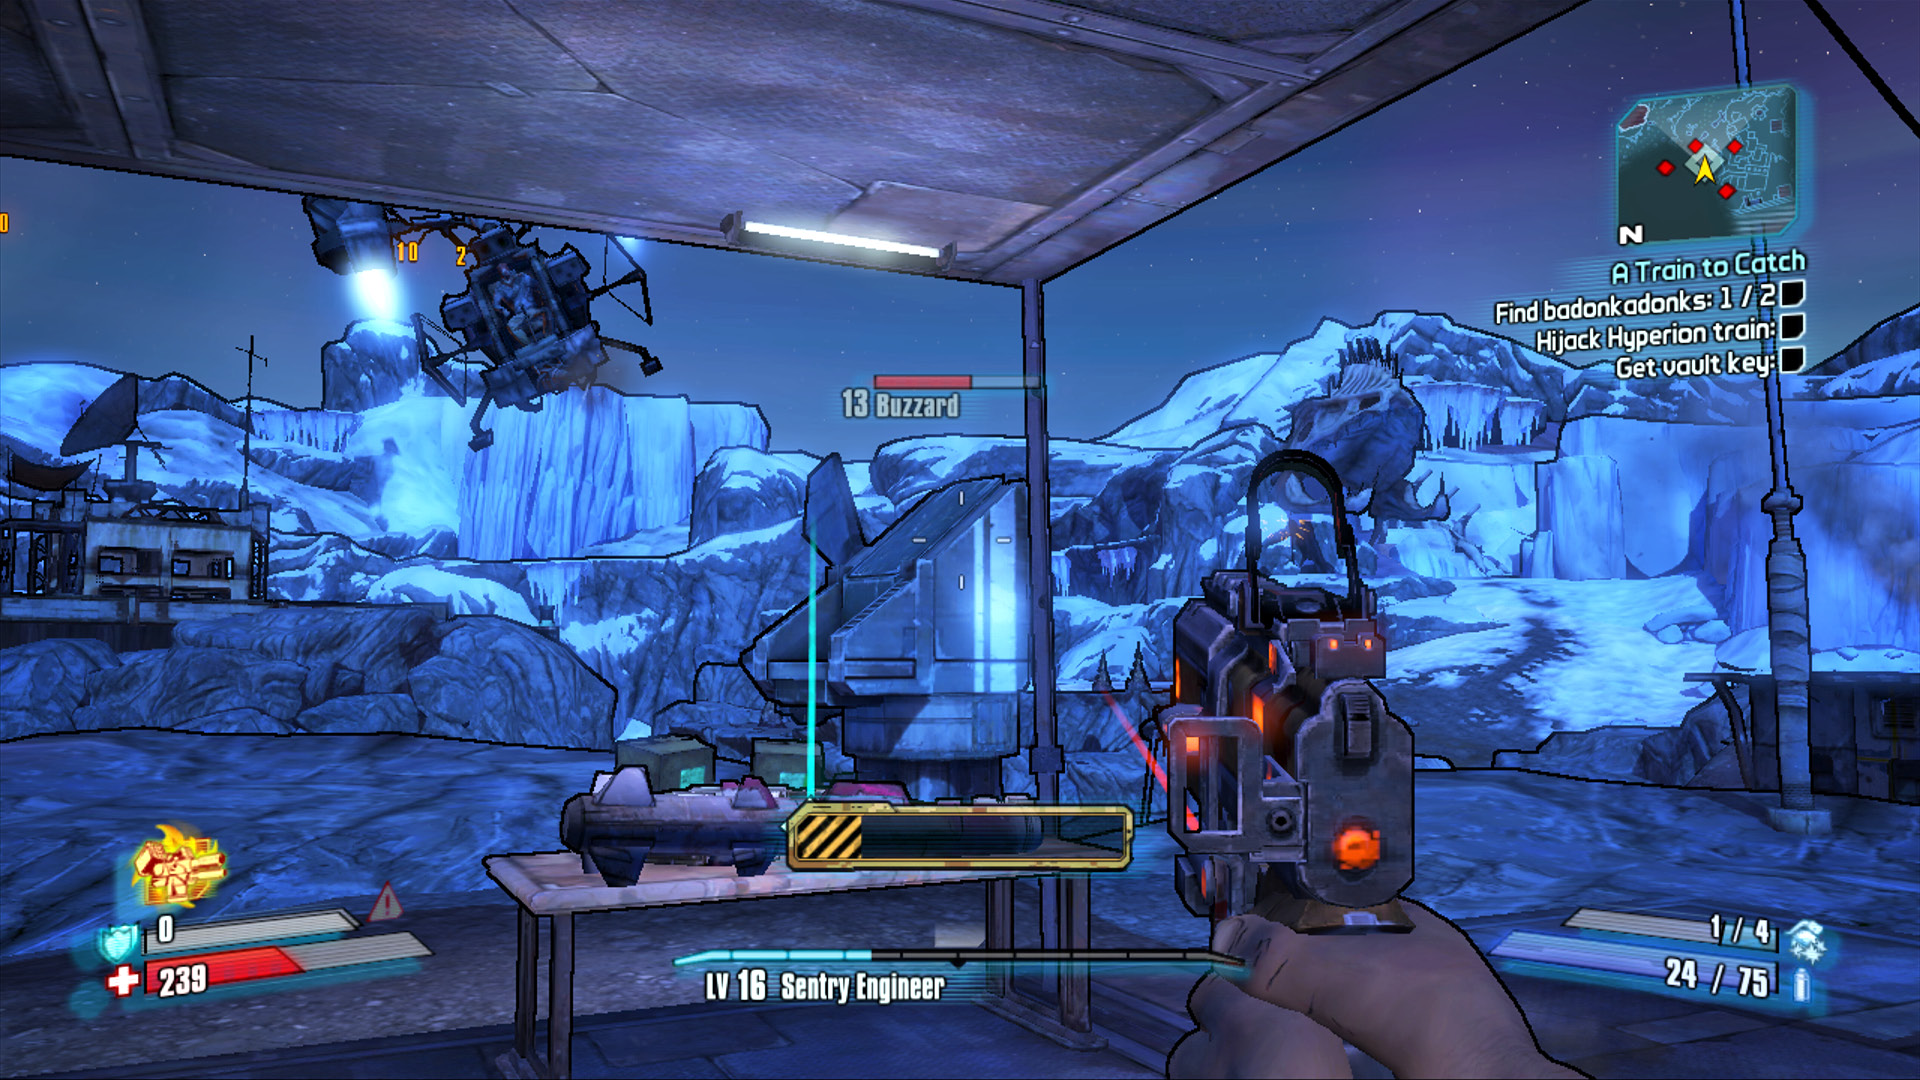
Take out the Buzzards from beneath this overhead cover, then grab the badonkadonk and run back to Tiny Tina.
Return to Tiny Tina and present her with the two badonkadonks. She’ll take them into her workshop, and (provided you give her the privacy she requests) it won’t be long before you’re staring at her twin damsels. Only Tiny Tina would strap two stuffed animals to high-yield rockets and send you on your way to hijack a train with them.
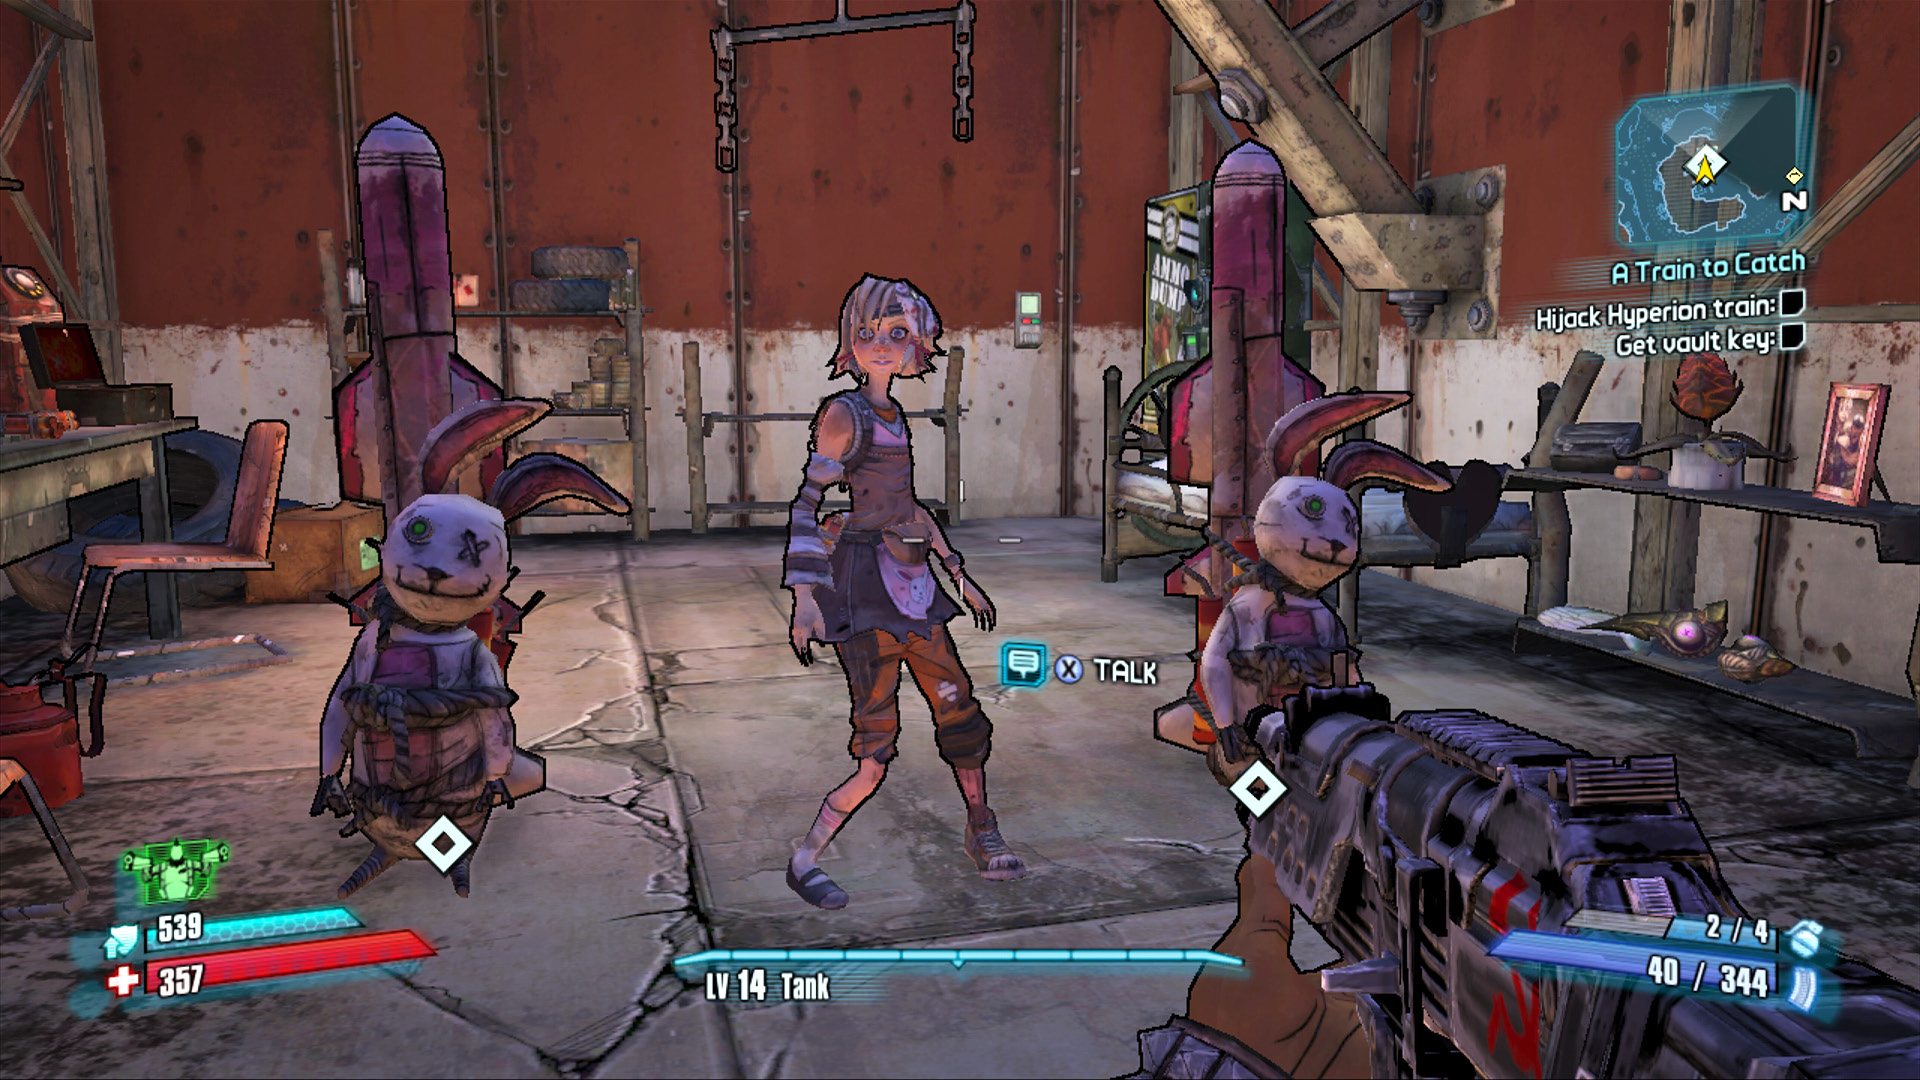
Tina’s twin damsels are yours for the taking.
Cross the bridge just north of Tiny Tina’s Workshop to enter Meltwater Crossing. Fight your way past the various Marauders, Nomads, and Goliaths in the area, and locate the ladder to the right. Climb the ladder and set up the damsels on the roof in the positions marked. Go ahead and give their bellies a gentle tap to arm them once you’re ready to give Tina the all-clear.
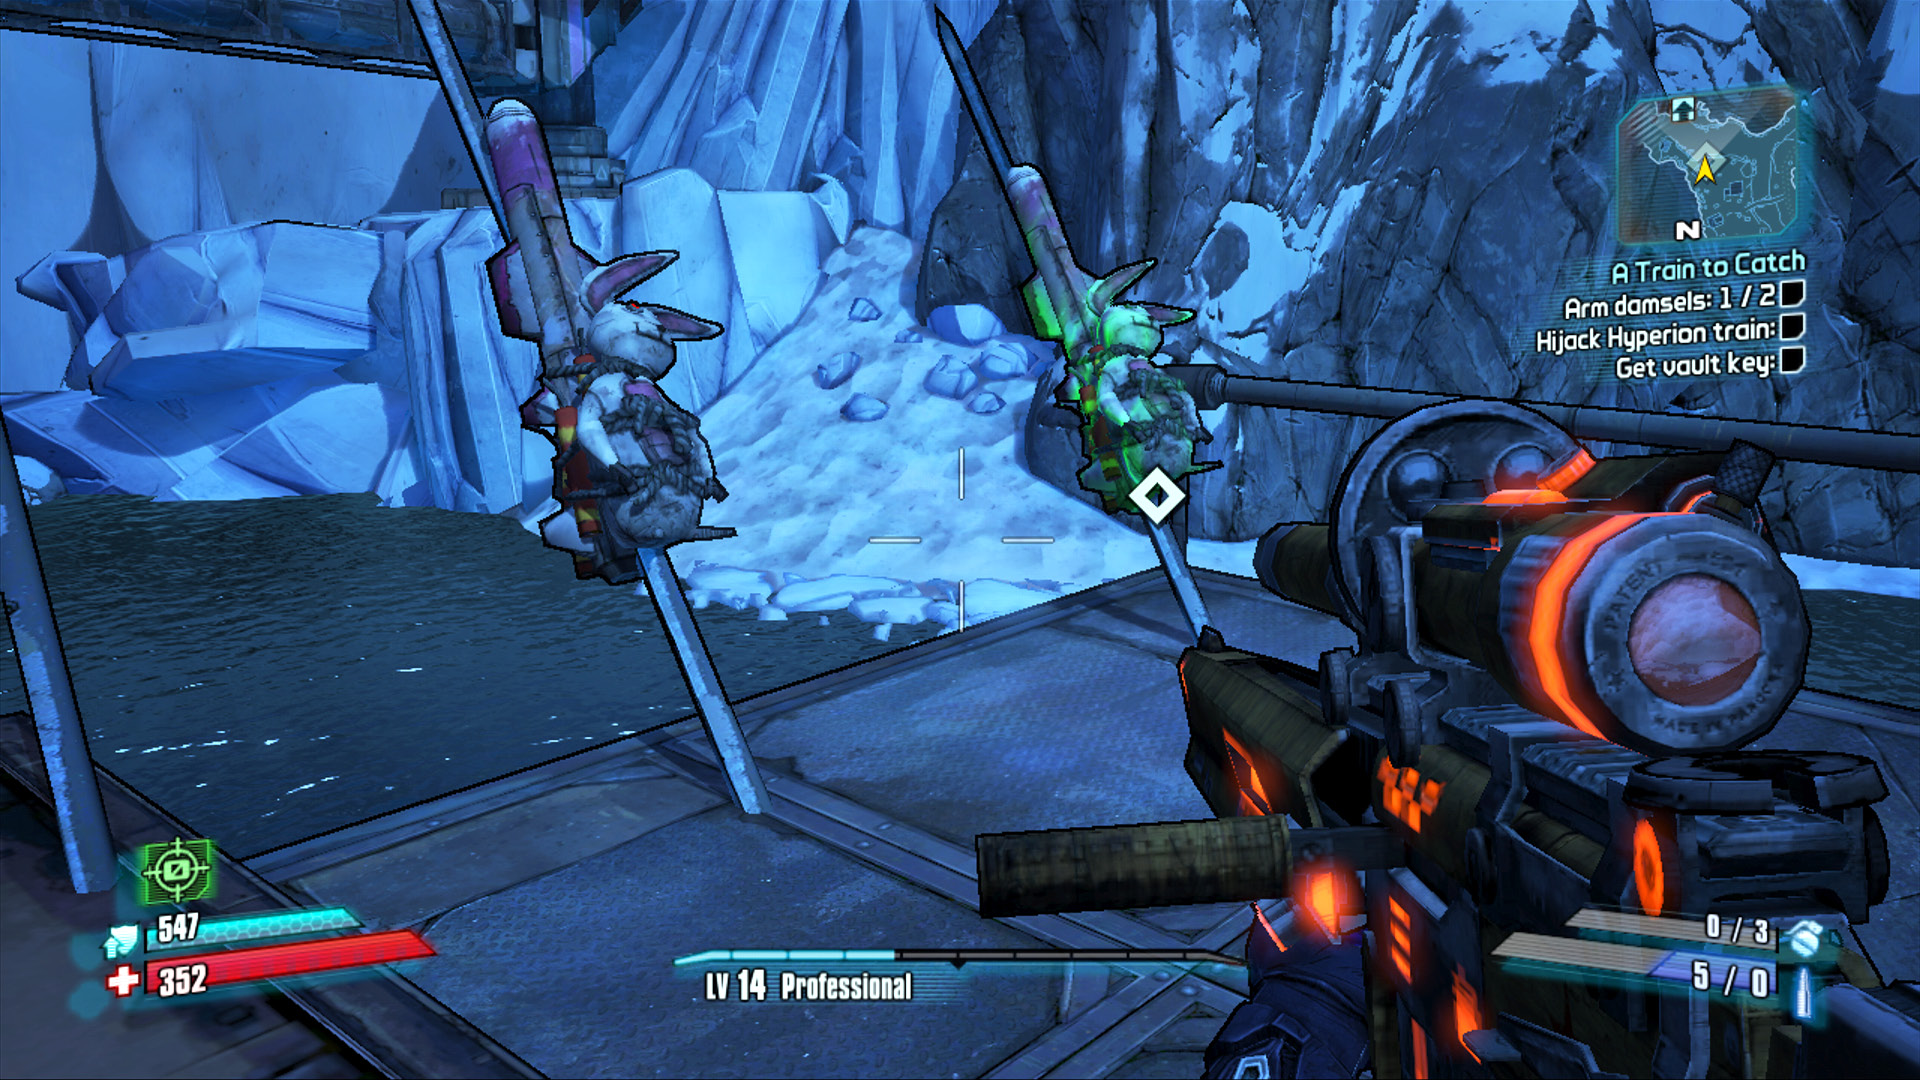
Arm the ladies whenever you’re ready.
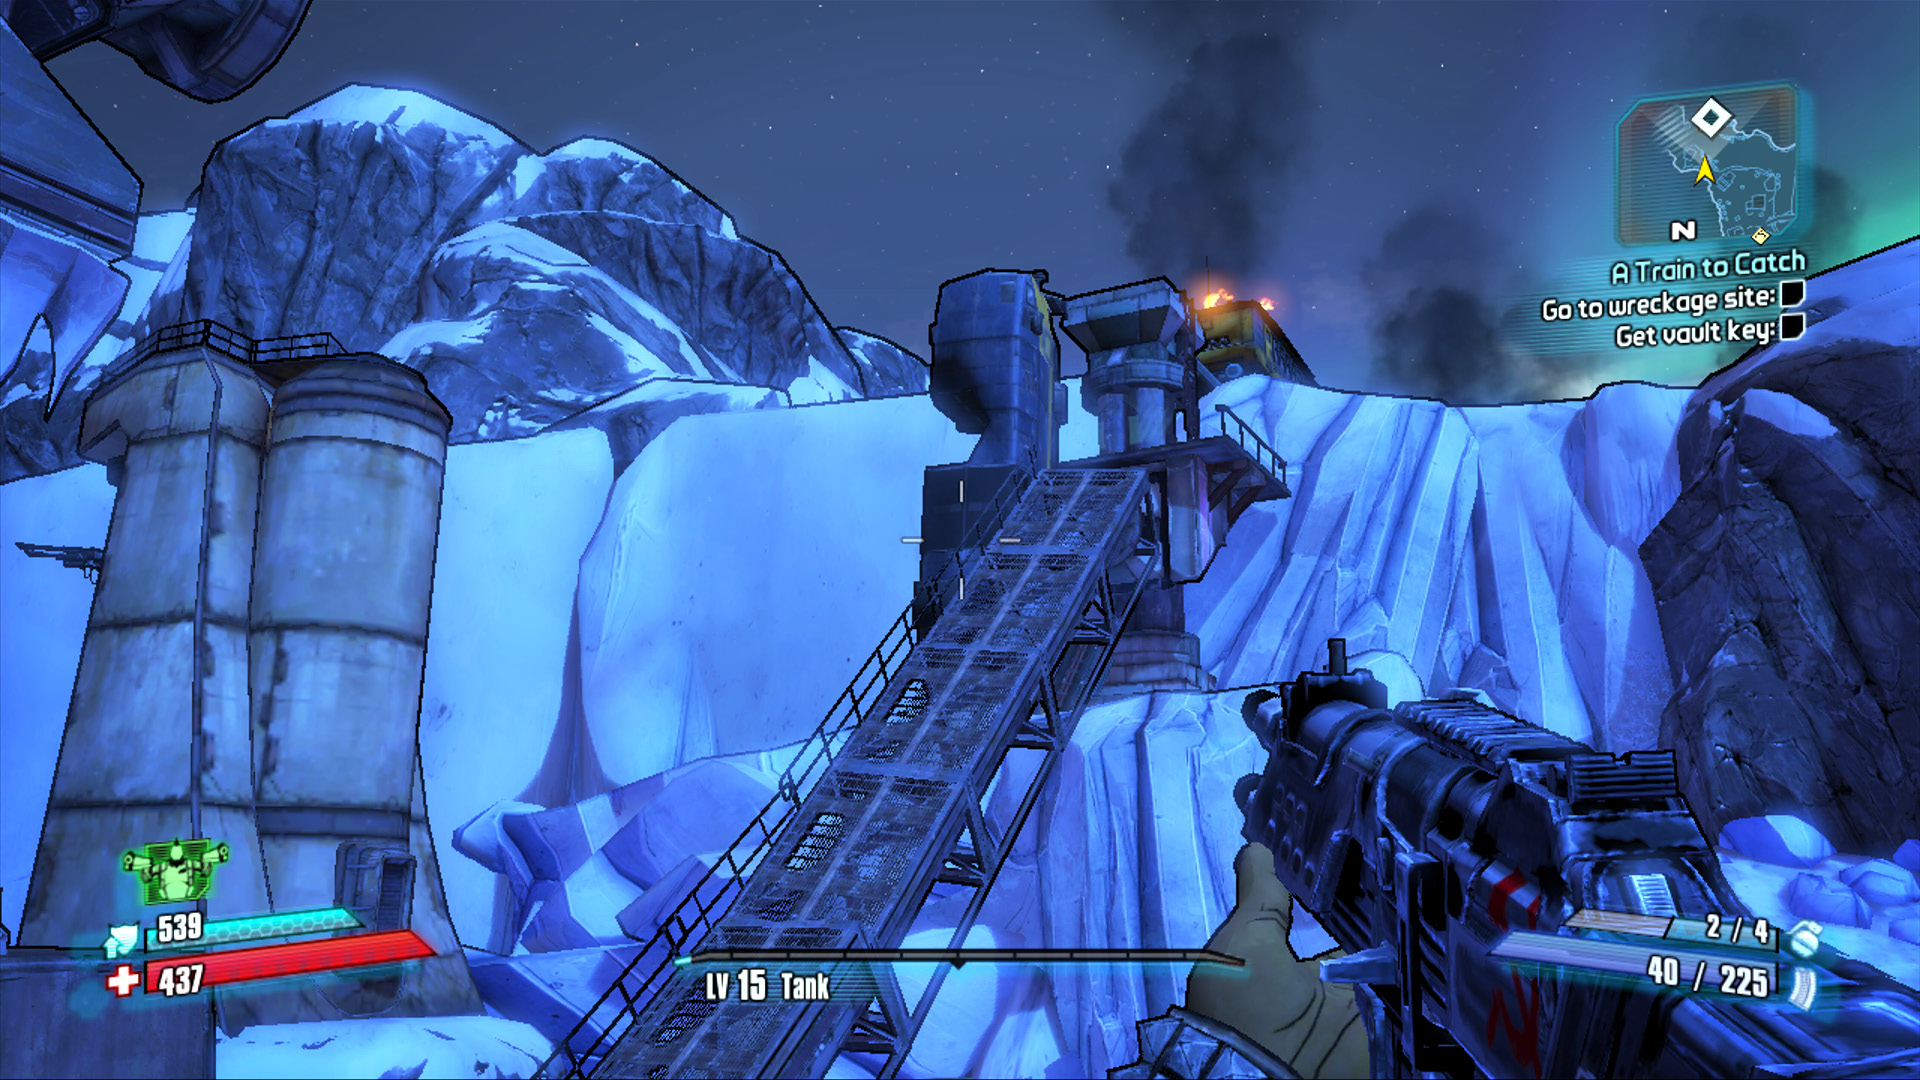
Drop into the water and run up the fallen trestle to access End of the Line.
End of the Line
The Hyperion train was derailed atop a snow-covered sheet of ice on the outskirts of Tundra Express. To reach it, you must first navigate a narrow canyon crawling with angry revenge-seeking Loaders and Surveyors. Stock up on ammo at the vending machines, and check to see if the medical vending machine carries a shield that grants immunity to Shock damage. If so, buy it!
Advance slowly through the narrow canyon as it winds its way through Snowblind Defile. GUN and EXP Loaders leap from the scattered train cars—keep your distance, and aim for the small red “eye” in their chest to score Critical Hits. Continue around the bend to the right and climb the snowy hill on the right, near the train cars, to a large gun chest near the cliff above the train. This chest frequently contains a Corrosive weapon.
Continue around the corner, under the trestle, and off the cliff into Terminus Plateau. Loot the chest to the left of the one-way Fast Travel station, and prepare for combat. Use this time to equip a Corrosive weapon, Shock weapon, and rocket launcher.
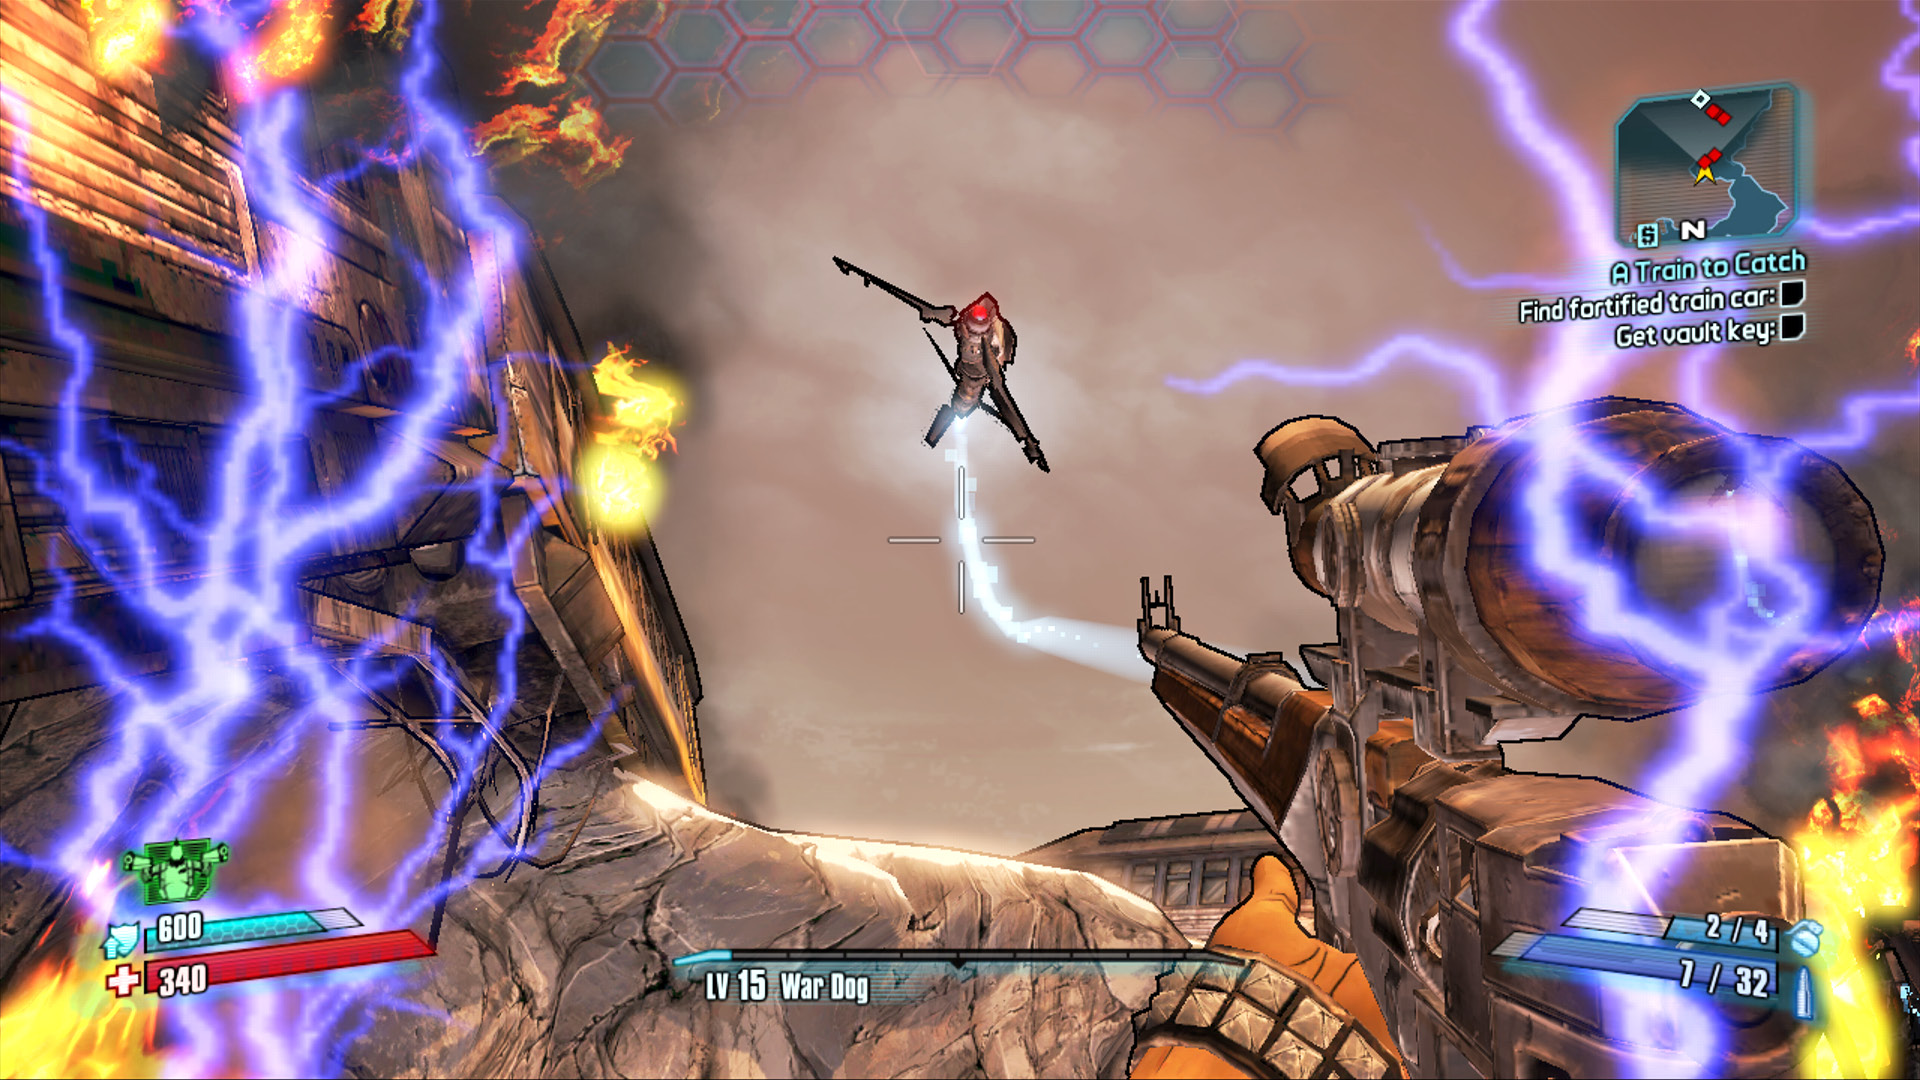
Take out the Repair Surveyors before they drain your shield with their shock ball attacks!
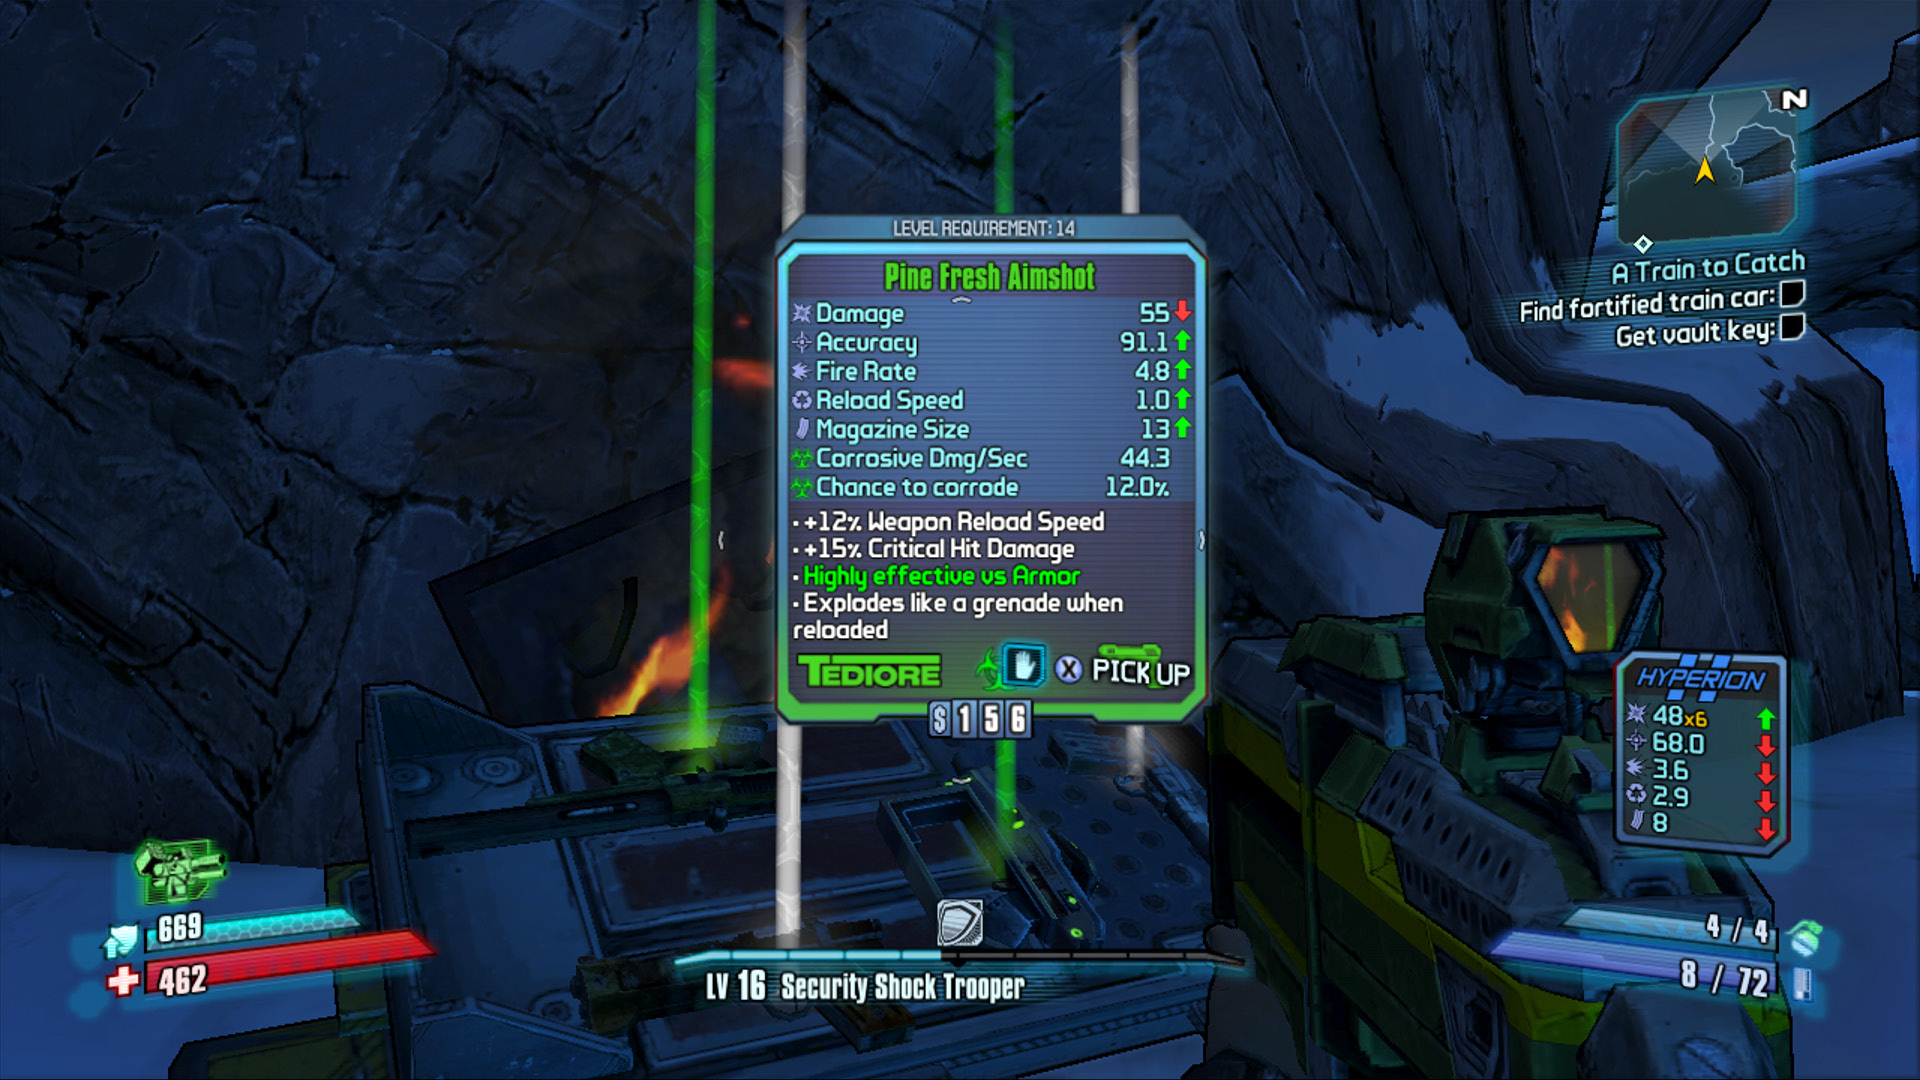
Sixty percent of the time, this chest contains a Corrosive weapon every time!
Wilhelm
Wilhelm’s Vitals
| Health Multiplier | Shield Level | DMG. Multiplier | XP Value | Crit. Areas | Weakness/Res. |
|---|---|---|---|---|---|
|
25 |
6 |
2.5 |
Boss |
Leg joints, head |
|
 / —
/ —Wilhelm is feared throughout the Crimson Raiders, and for good reason. This hulking Loader-like monstrosity has all the firepower and armor the best Hyperion technology has to offer, combined with the cunning and bloodthirsty nature of man. And to make matters worse for those seeking the Vault Key, Wilhelm can deploy Shield Surveyors, and comes accompanied by an army of GUN and PWR Loaders. Yes, indeed, this will be a tough battle… but not if you come prepared!
Wilhelm emerges from the wreckage of the train without any shielding and immediately deploys a solitary Shield Surveyor to remedy that lone deficiency. As with any other creature, a shield can only recharge if the host isn’t taking any damage. The quicker you can inflict damage-over-time status effects on him—preferably Corrosive—the less shield you’ll have to chew through to damage Wilhelm’s health. Though he’ll not waste any time in constructing two additional Shield Surveyors, you can negate their combined efforts by continuously keeping him under duress through status effects. Even a relatively weak Corrosive SMG can yield outstanding results by simply not allowing his shield to recharge.
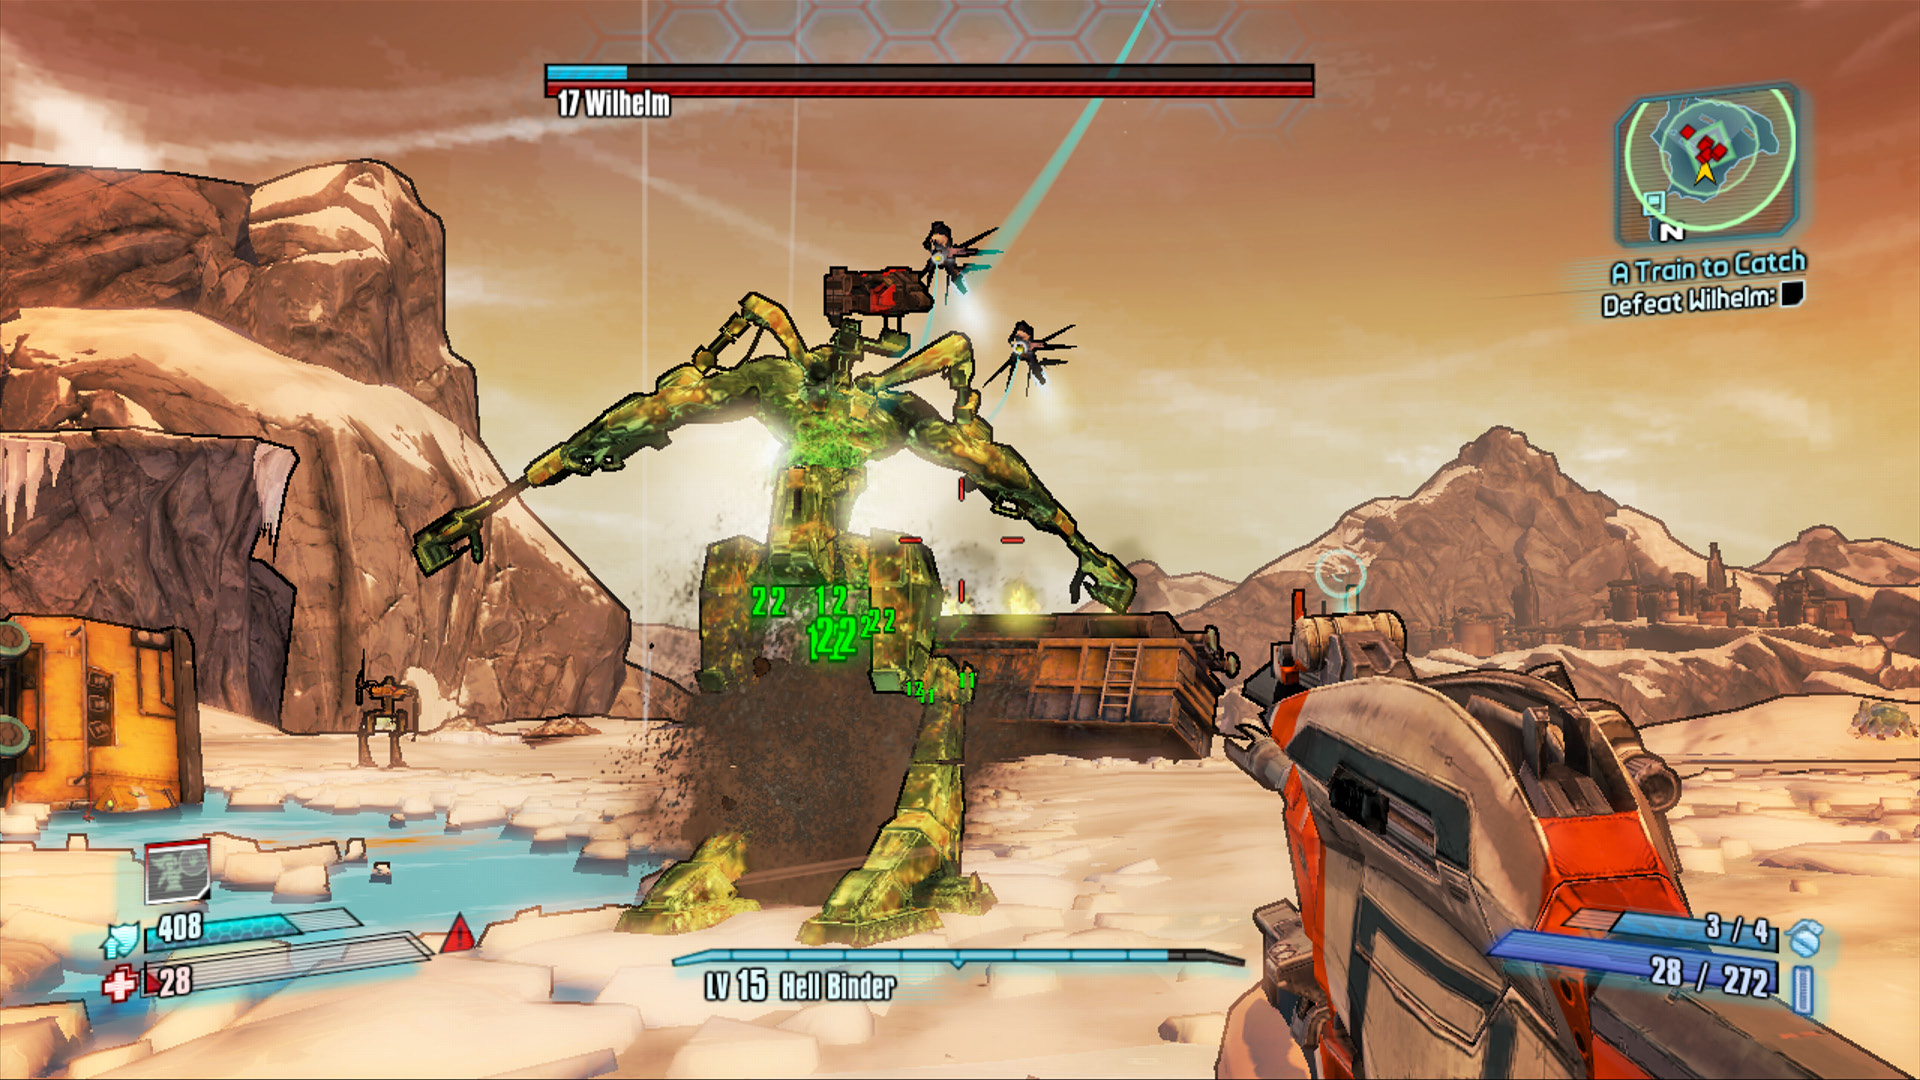
Given time to attack, Wilhelm alternates between three primary attacks, one of which is primarily defensive in nature. His most common attack/repellant is a spinning whirlwind attack where he spins from the waist up, knocking back anyone caught in close range while kicking up a small cloud of dust. This attack can knock you backwards and inflict minor to moderate damage, but it is generally not much worse than his occasional running charge attack. His other attacks are both far deadlier. Wilhelm points his arms in your direction and fires a barrage of grenades at you. Quickly run toward him to allow the grenades to sail over your head. Finally, watch for the orange lights to appear on his shoulders, as this is his way of broadcasting an impending missile strike—where he send a volley of missiles arcing toward your current position. Fortunately, the missiles don’t track very well, and you can avoid them by strafing out of the way.
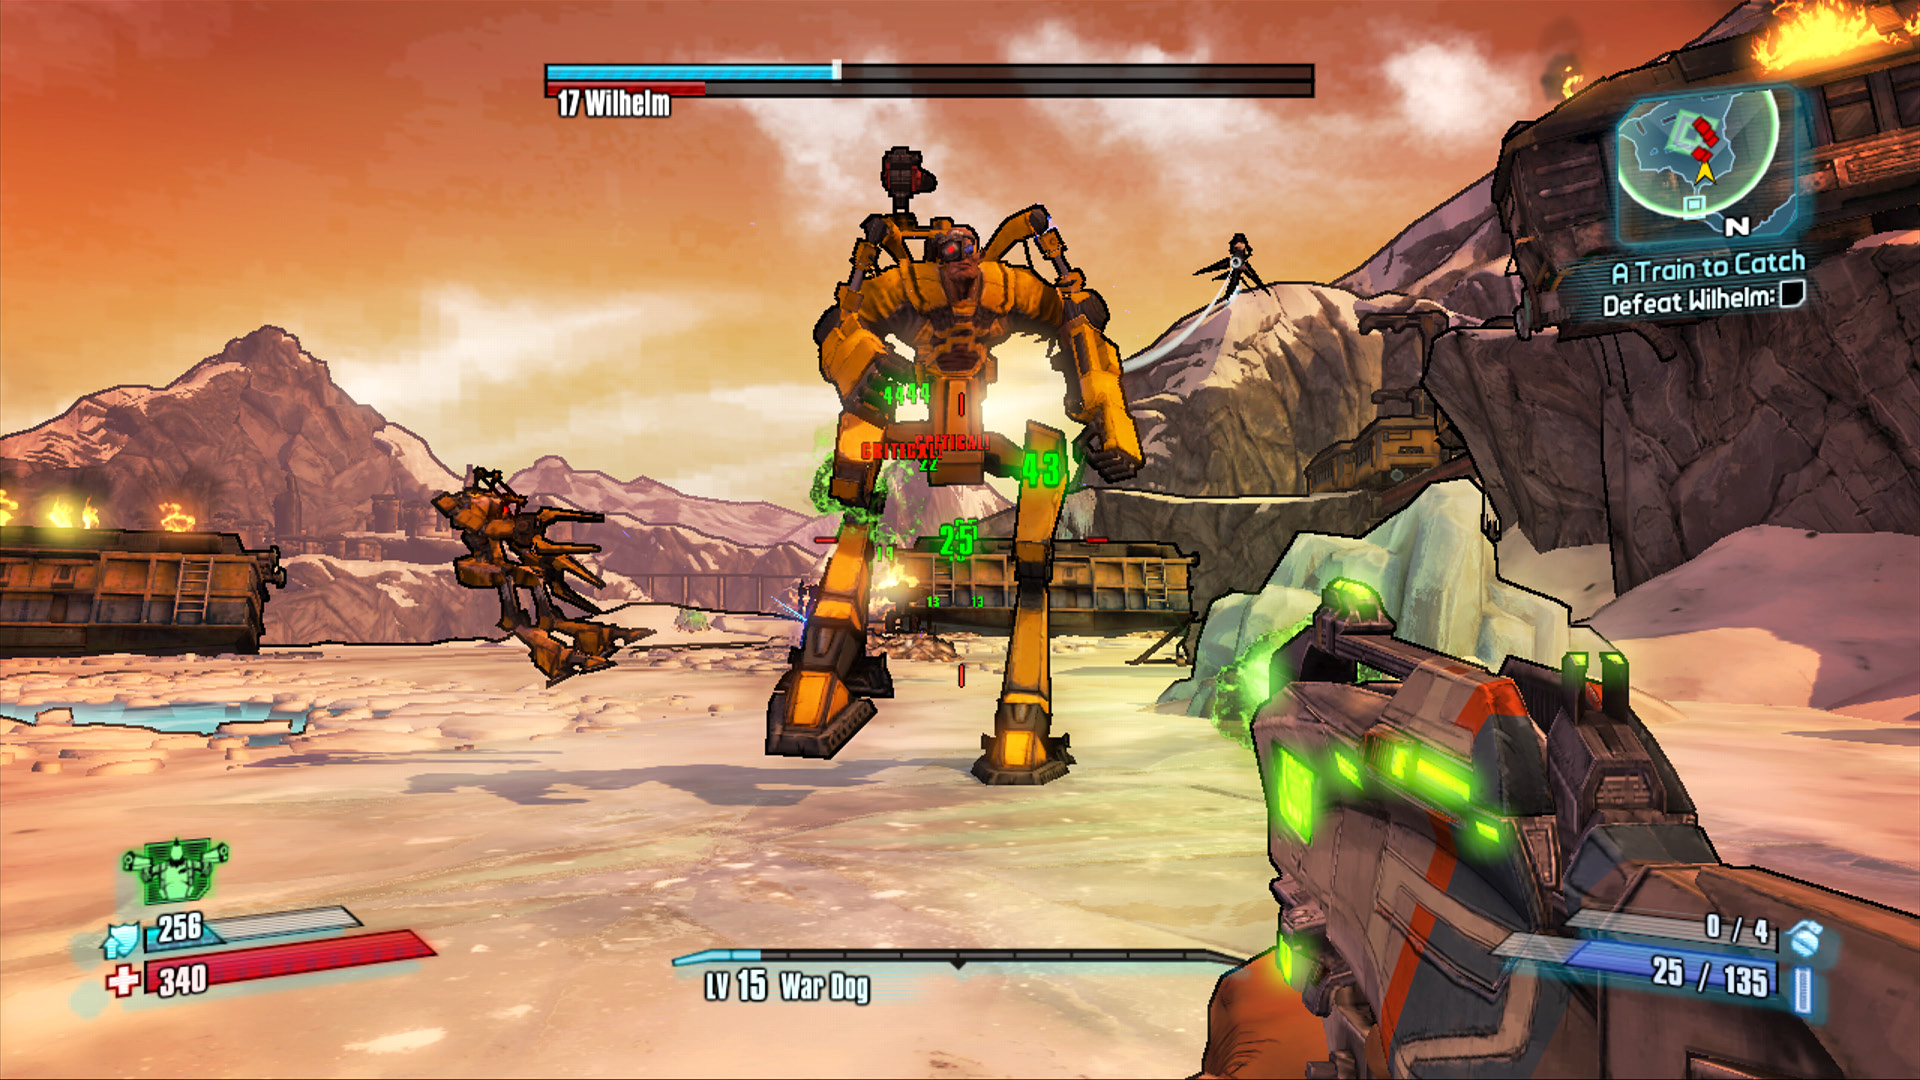
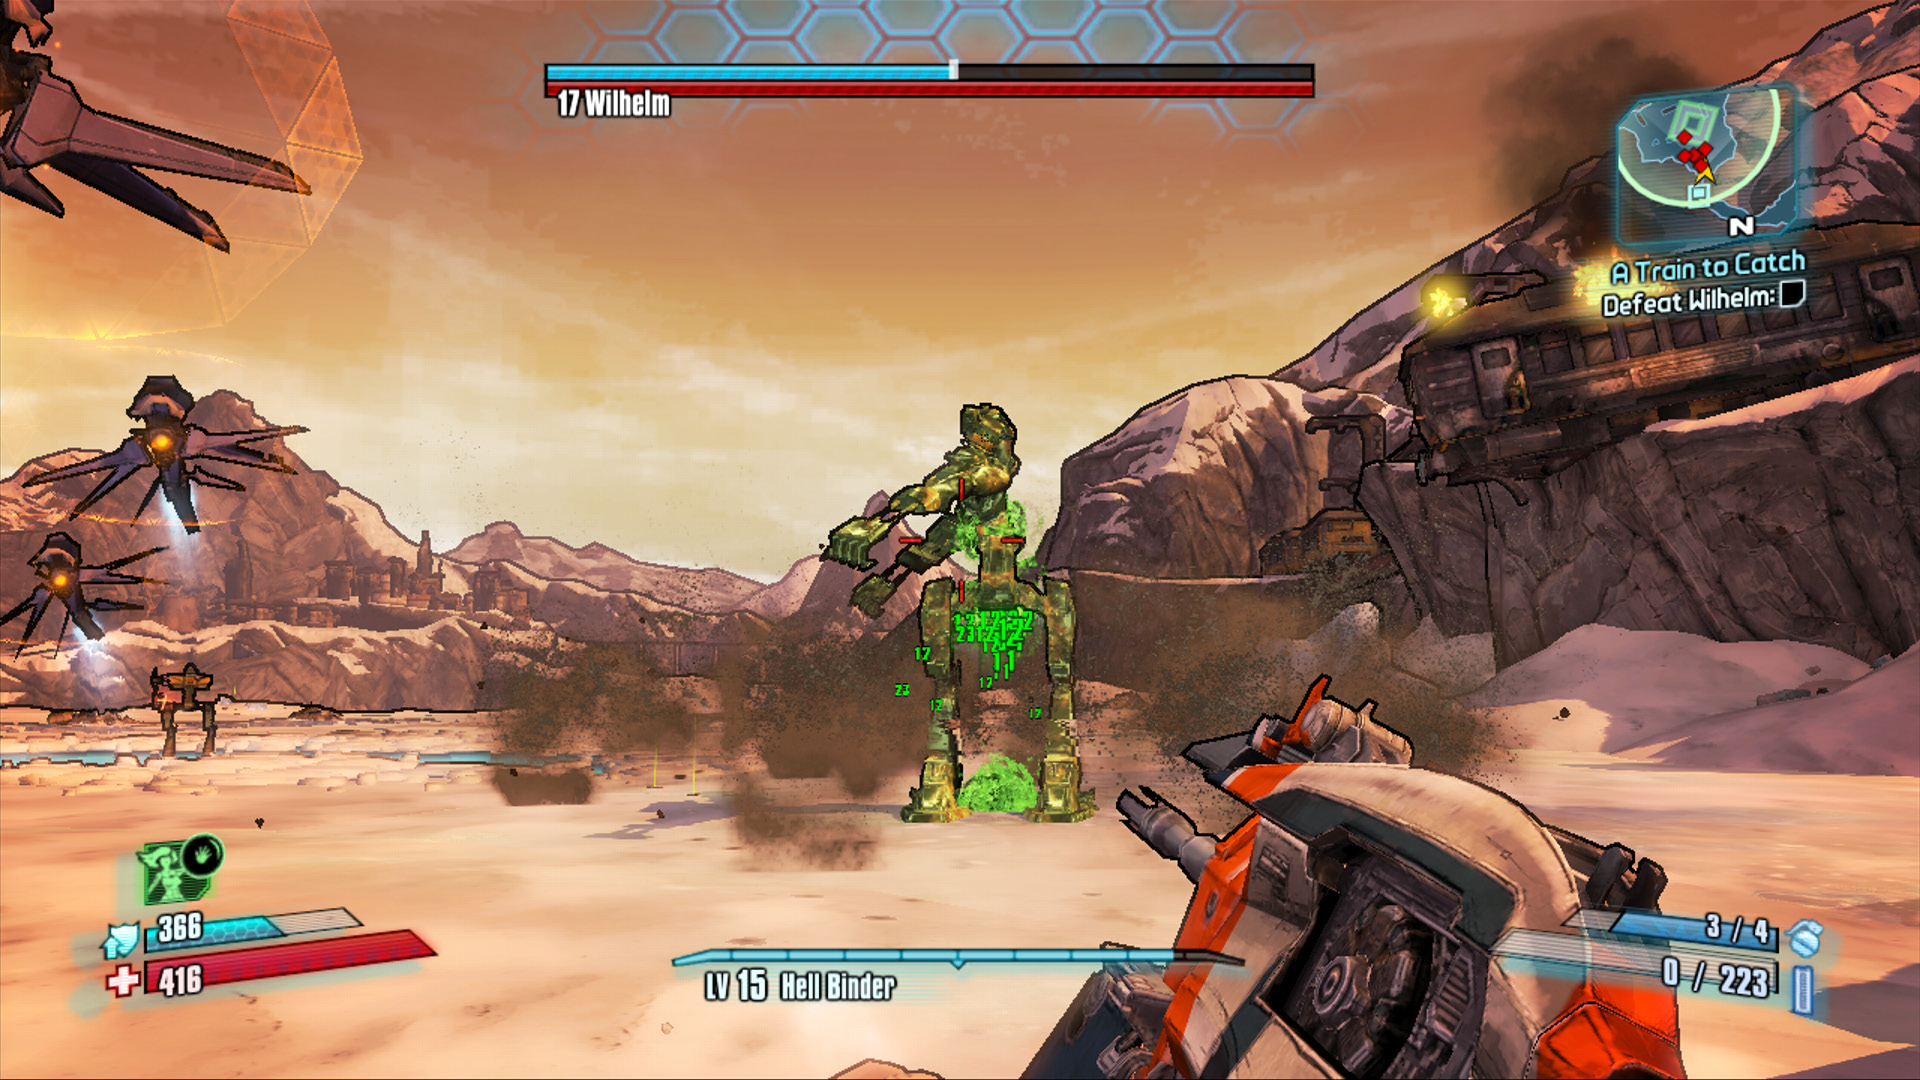
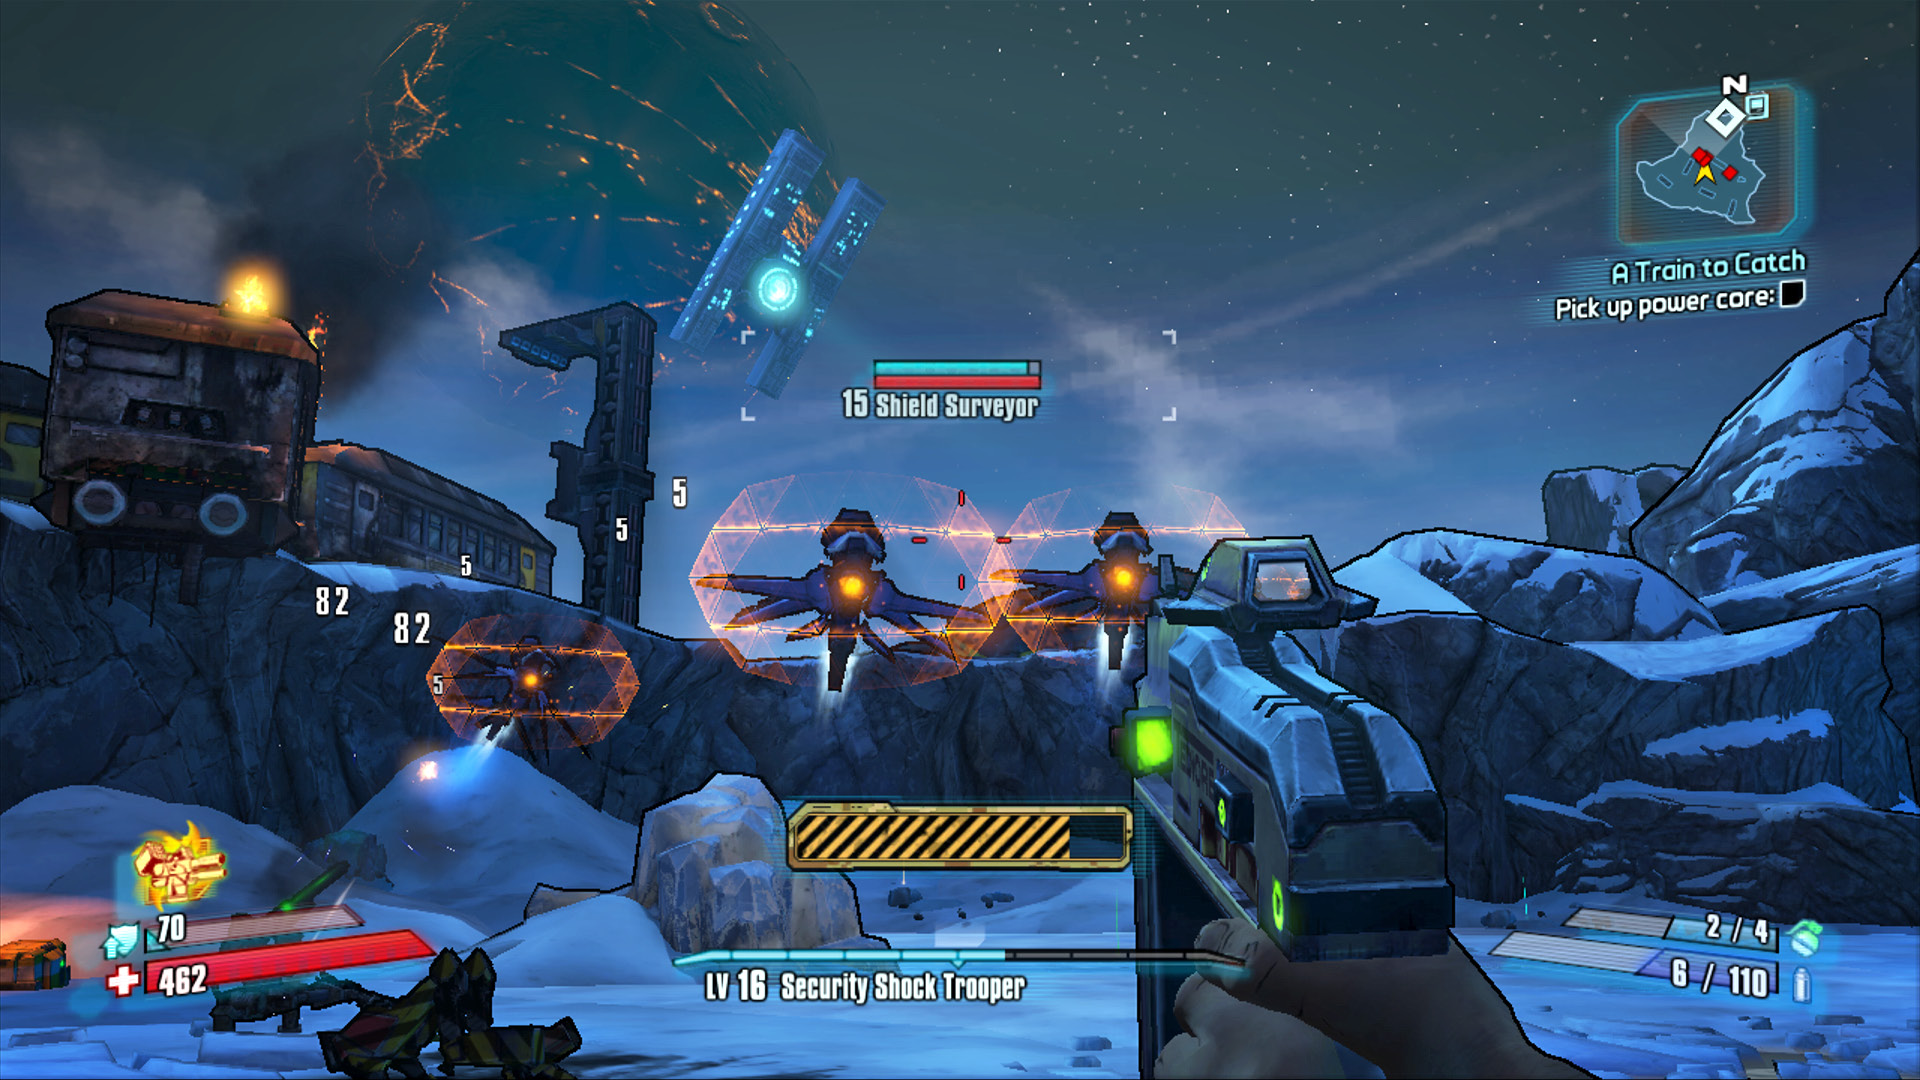
Your best bet for defeating Wilhelm is to ignore his Shield Surveyors and the various Loaders he summons. The PWR and GUN Loaders are good to have in case you get downed, as they are both very vulnerable to Corrosive attacks and can be quickly killed with a Rocket Launcher for a Second Wind. Shield Surveyors, on the other hand, often have their shields up and deflect non-explosive bullets back in your direction, including elemental shots. You do not want to be hit by your own elemental attacks!
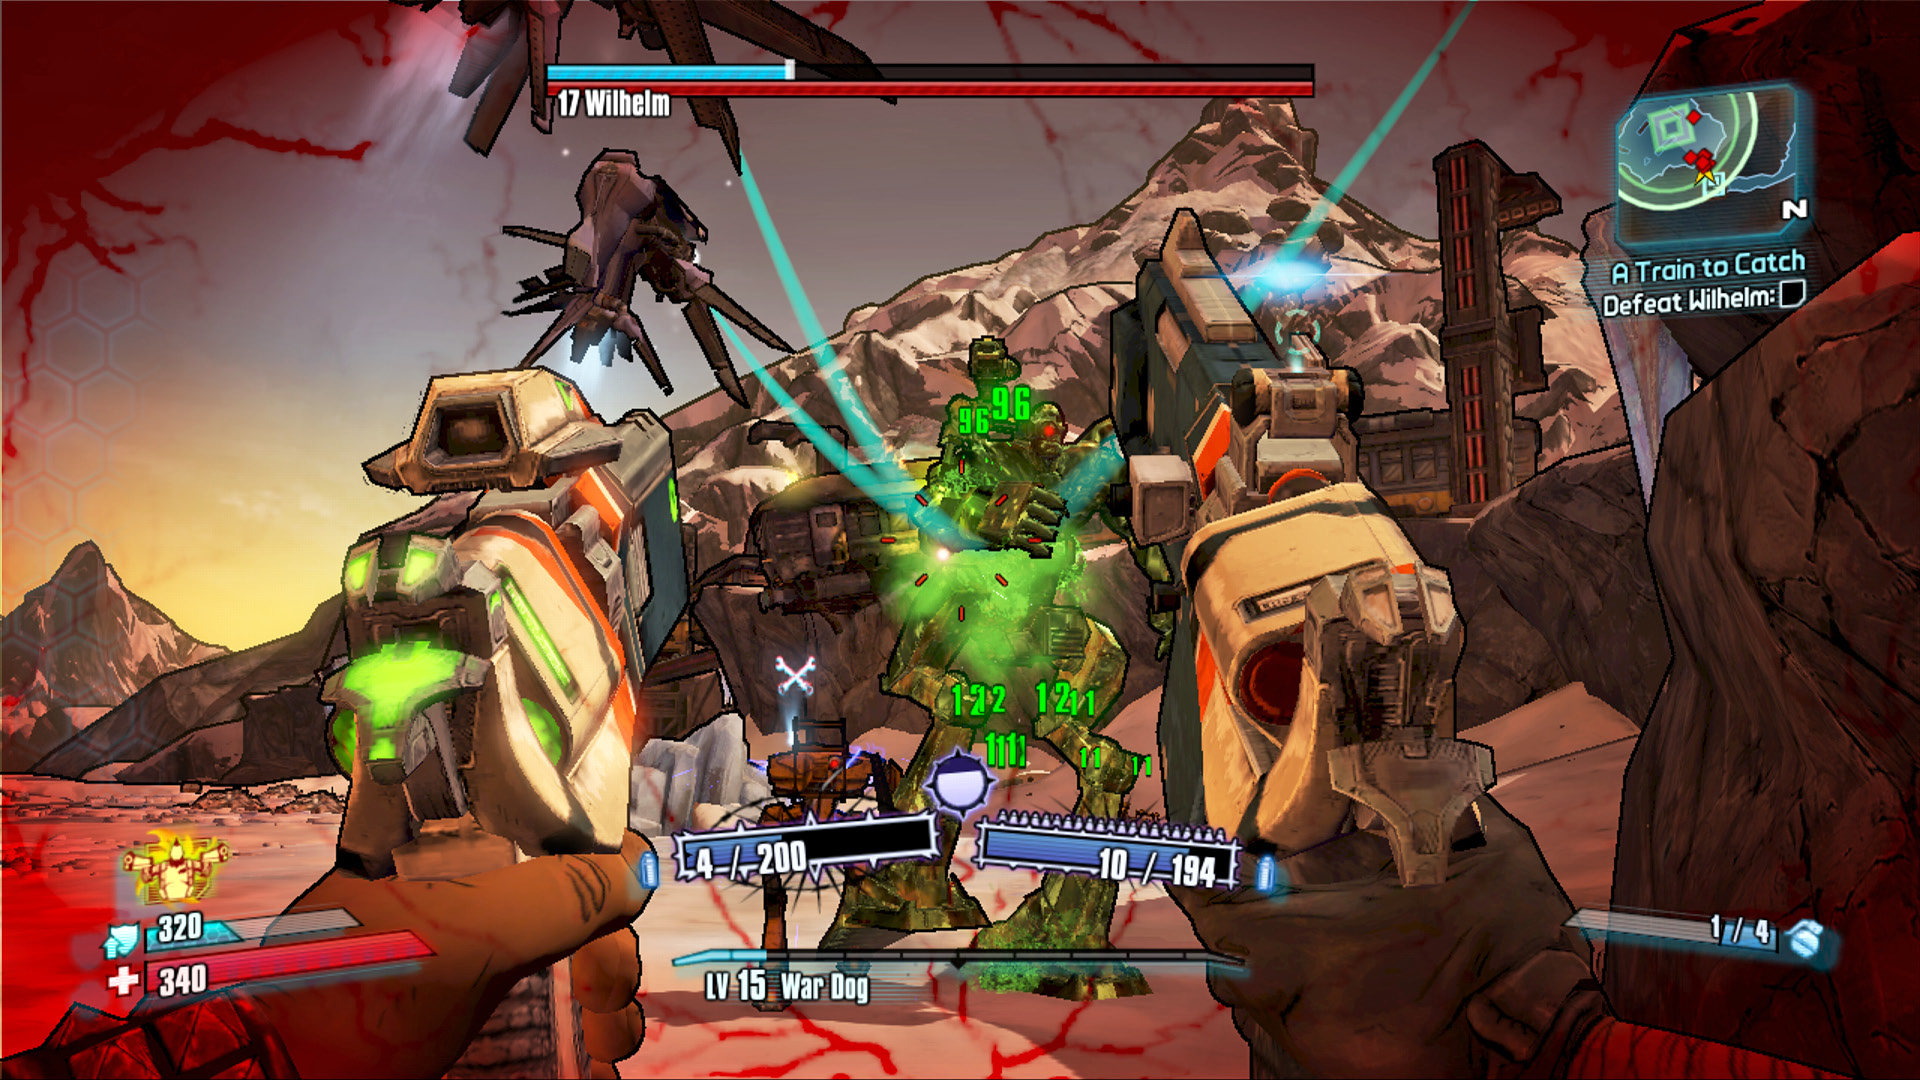
This leaves Wilhelm himself. Use the train cars for cover from his rocket and grenade attacks and maintain constant pressure on him with elemental attacks. It’s good to have a Shock weapon on hand in case the Shield Surveyors manage to recharge his shield; otherwise, bombard him with a steady stream of Corrosive gunfire. A Maliwan SMG is hard to beat in this regard, even at a low level. Wilhelm occasionally breaks off from his Shield Surveyors to either chase after you or knock one of the trains off the cliff (especially if you’ve been using the latter for cover). Use this opportunity to fire a rocket launcher at his lower extremities, or even around his feet. This helps to avoid damaging the Shield Surveyors should they swoop back into range. Of course, if you don’t care about completing the Master of All He Surveys Challenge, then go ahead and use all manner of explosives and aim for Wilhelm’s chest to ensure that the Shield Surveyors are destroyed, as well.
Master of All He Surveys
To complete this Challenge, you must manage to defeat Wilhelm without destroying any of his Surveyor drones. This is entirely possible, even solo, but it requires patience and a willingness to be extremely careful with the use of anything but precision elemental attacks. Axton must certainly not deploy his Sabre Turret. Similarly, you must be careful with grenades, rocket launchers, and even Torgue and Tediore weapons, as the splash damage could easily take out a Shield Surveyor or two.
Consider the following techniques for completing the “Master of All He Surveys” Challenge with each class:
Axton: Under no circumstances should you use the Sabre Turret. There’s just too great a chance the Sabre Turret will target a Surveyor and cause you to fail the Challenge. Instead, stick to Corrosive and Shock weapons, preferably an SMG, pistol, or assault rifle, and limit your use of explosives to a rocket launcher aimed at Wilhelm’s feet or legs.
Maya: Though Maya’s Phaselock ability will not lift and hold Wilhelm—he’s too big for that—be careful about using it when the Surveyors are nearby because of the secondary effects that may trigger when you hit him with it for direct damage. Instead, use Phaselock to keep PWR Loaders and GUN Loaders at bay, and only use it on Wilhelm if the Surveyors are away or if you currently have no additional skills associated with Phaselock (though Helios is permissible because Surveyors are Fire-resistant).
Salvador: Salvador can make quick work of Wilhelm with the help of his Gunzerking ability, provided at least one of the two weapons equipped are Corrosive in nature. Try pairing a Corrosive SMG with a Shock shotgun or non-elemental assault rifle. Keep your shots aimed at the body to account for the lessened accuracy, unless you’re wielding Hyperion weapons.
Zero: Deception is great for helping Zero avoid both Wilhelm’s attacks and the numerous Loaders that are spawned. It’s also worth using to maximize the damage of a single sniper or melee attack, depending on skill selection. It definitely pays to have a Corrosive sniper rifle on hand and to wait until the last second during Deception to fire right at Wilhelm’s head for a tremendous Critical Hit.
Finish off the surviving Loaders and Surveyors and collect the loot from the wreckage site—there are many chests in the area in addition to the debris piles. Most importantly, pick up the Power Core that was dropped. It wasn’t the Vault Key, but it will have to do. Use the nearby one-way Fast Travel station to return to Sanctuary and head back to Lt. Davis in the plaza outside the city’s interior gate to end the mission (but be sure to read the Optional Missions alert on this page before initiating the events of “Rising Action”).