
Borderlands 2 Game of the Year Guide Optional Missions
Bandit Slaughter: Round 4
|
 Mission Briefing
| Level | Money | XP | Gear |
|---|---|---|---|
|
18 |
$692 ($1038 with Bonus) |
1604 |
— |
Fink’s Slaughterhouse
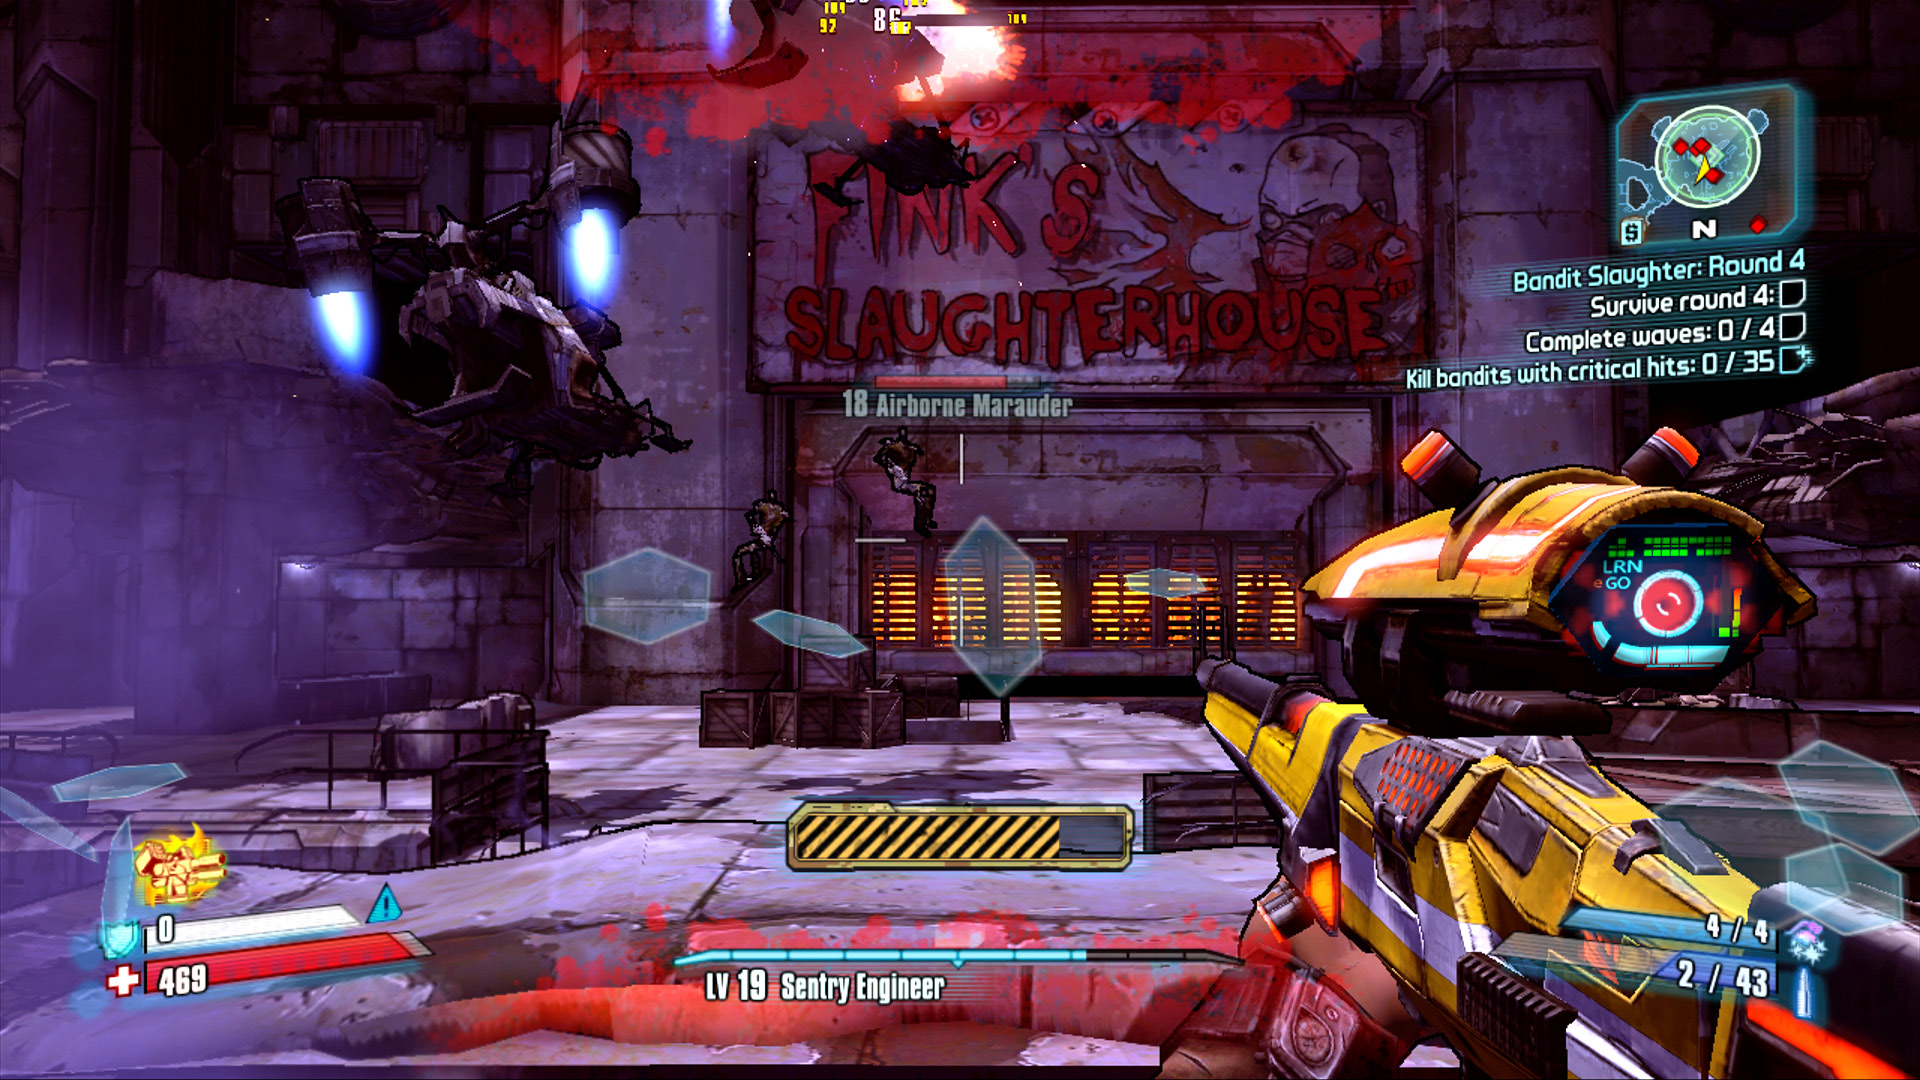
Stay under cover until the Buzzards fly off after deploying the Airborne Marauders.
The fourth round is, indeed, where things start to get really interesting. For starters, there are now four waves instead of three. This may seem like plenty of time to rack up the 35 critical kills needed to complete the bonus objective, but not all of the enemies are as conducive for headshot kills as earlier. The other big tweak is that you’ll now be squaring off against Buzzards and their accompanying Airborne Marauders!
The very first wave of Round 4 begins with the arrival of several Buzzards. Immediately take cover on the ground level in the darkened area near the stairs to avoid being bombarded by their rockets. Aim for their engines if you can; otherwise, let them drop off their Airborne Marauders and stay under cover until the other enemies spawn and the Buzzards vacate the area.
Ammunition starts to become even more of an issue in this round, and it’s important to not waste too much sniper ammo on the tougher enemies if you’re trying to get the bonus objective. Nomad Torturers surprisingly provide an easy solution to this problem. Simply aim for the Midget Psycho strapped to the shield for a relatively easy one-shot Critical Hit kill. Chew up most of the Nomad’s health with other weapons, then switch to your sniper rifle for the final headshot.
It can be particularly tough to get a Second Wind on the latter waves of these final rounds, but there is an easy solution that comes via a rocket launcher. Though you may be reluctant to assign one of your three weapon slots to a rocket launcher from the start (if you are doing this mission when first available), it’s definitely worth swapping out your sniper rifle for the rocket launcher once you’ve completed the bonus objective. Resist the urge to use it except during Fight For Your Life. No one would blame you for using it against a group of Badass enemies or Goliaths, but make sure you reload it before swapping to another weapon. The only thing worse than not having a rocket launcher to swap to is swapping to one that is out of ammo.