Borderlands 2 Game of the Year Guide Walkthrough
The Road to Sanctuary
|
 Mission Briefing
| Level | Money | XP | Gear |
|---|---|---|---|
|
6 |
$19 ($118 with Bonus) |
948 |
Assault Rifle (Green) or Shotgun (Green) |
*Money and XP may vary based on player’s level at start of mission.
Hack-a-Ride
You set sail with Claptrap, bidding an anxious farewell to the frozen lands of Southern Shelf, only to dock in the equally frigid and ice-covered region known as Three Horns Divide. So much for dreams of warmer climes… Exit the ship and strike out on foot toward the canyon beneath the bridge just as a vehicle quickly speeds across the span, only to turn and fire its rockets at it. Judging by the ECHO communications you overhear, those rockets came from one Corporal Reiss, a member of the Crimson Raiders who is actively trying to keep the bandits from reaching Sanctuary. Little did he know a Vault Hunter also needed to get across that bridge. Looks like you’re going to have to jump it!
Fight your way past the bullymongs as you ascend the path leading from the ferry dock up to the Catch-a-Ride and vending machines atop the hill. Catch-a-Ride machines can be used to deploy vehicles on command, but this one has been locked down so the bandits can’t use it. The Guardian Angel can’t override the system since it’s not part of the Hyperion network, but she’s detected an inactive Hyperion ‘bot in the nearby camp. If you can get the Hyperion adapter from it, she just might be able to hack the Catch-a-Ride for you.
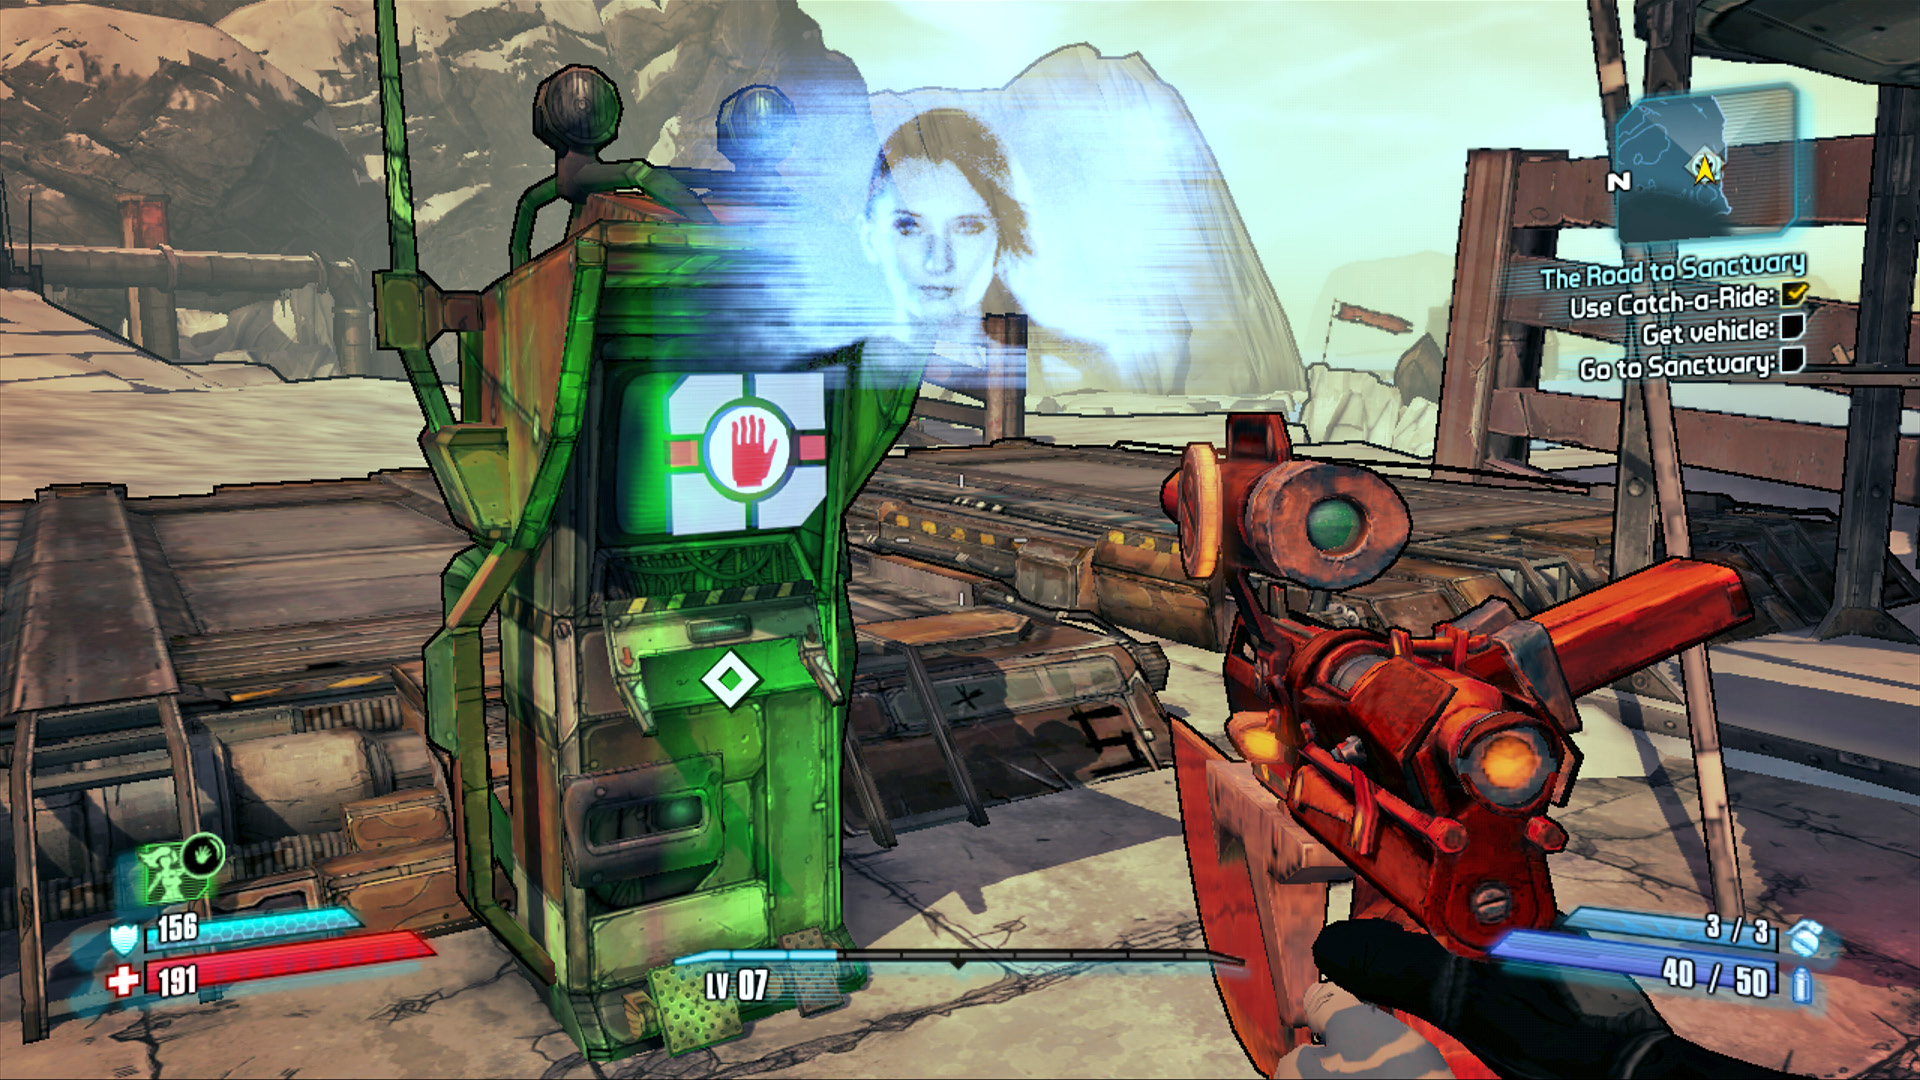
The Catch-a-Ride was deactivated, but the Guardian Angel has a plan.
Take a moment to outfit yourself with some proper gear (and sell off the wealth of weapons you scrounged from The Soaring Dragon) at the vending machines, then head north through the massive skull to Fishguts Outpost. This bandit camp is crawling with enemies, most notably a foe known as a Nomad. Nomads come in various forms, but they’re all very large and possess a much higher health pool than your average Marauder. Some (Badass Nomads) even carry a heavy shield in front of them that can be very difficult to shoot around. You aren’t likely to encounter any shield-carrying Nomads initially, but if you do, it’s best to use your Action Skill or hit them with an elemental weapon that will at least inflict a status effect on the enemy, even if the initial bullet doesn’t hit flesh. And if that fails, lob a grenade!
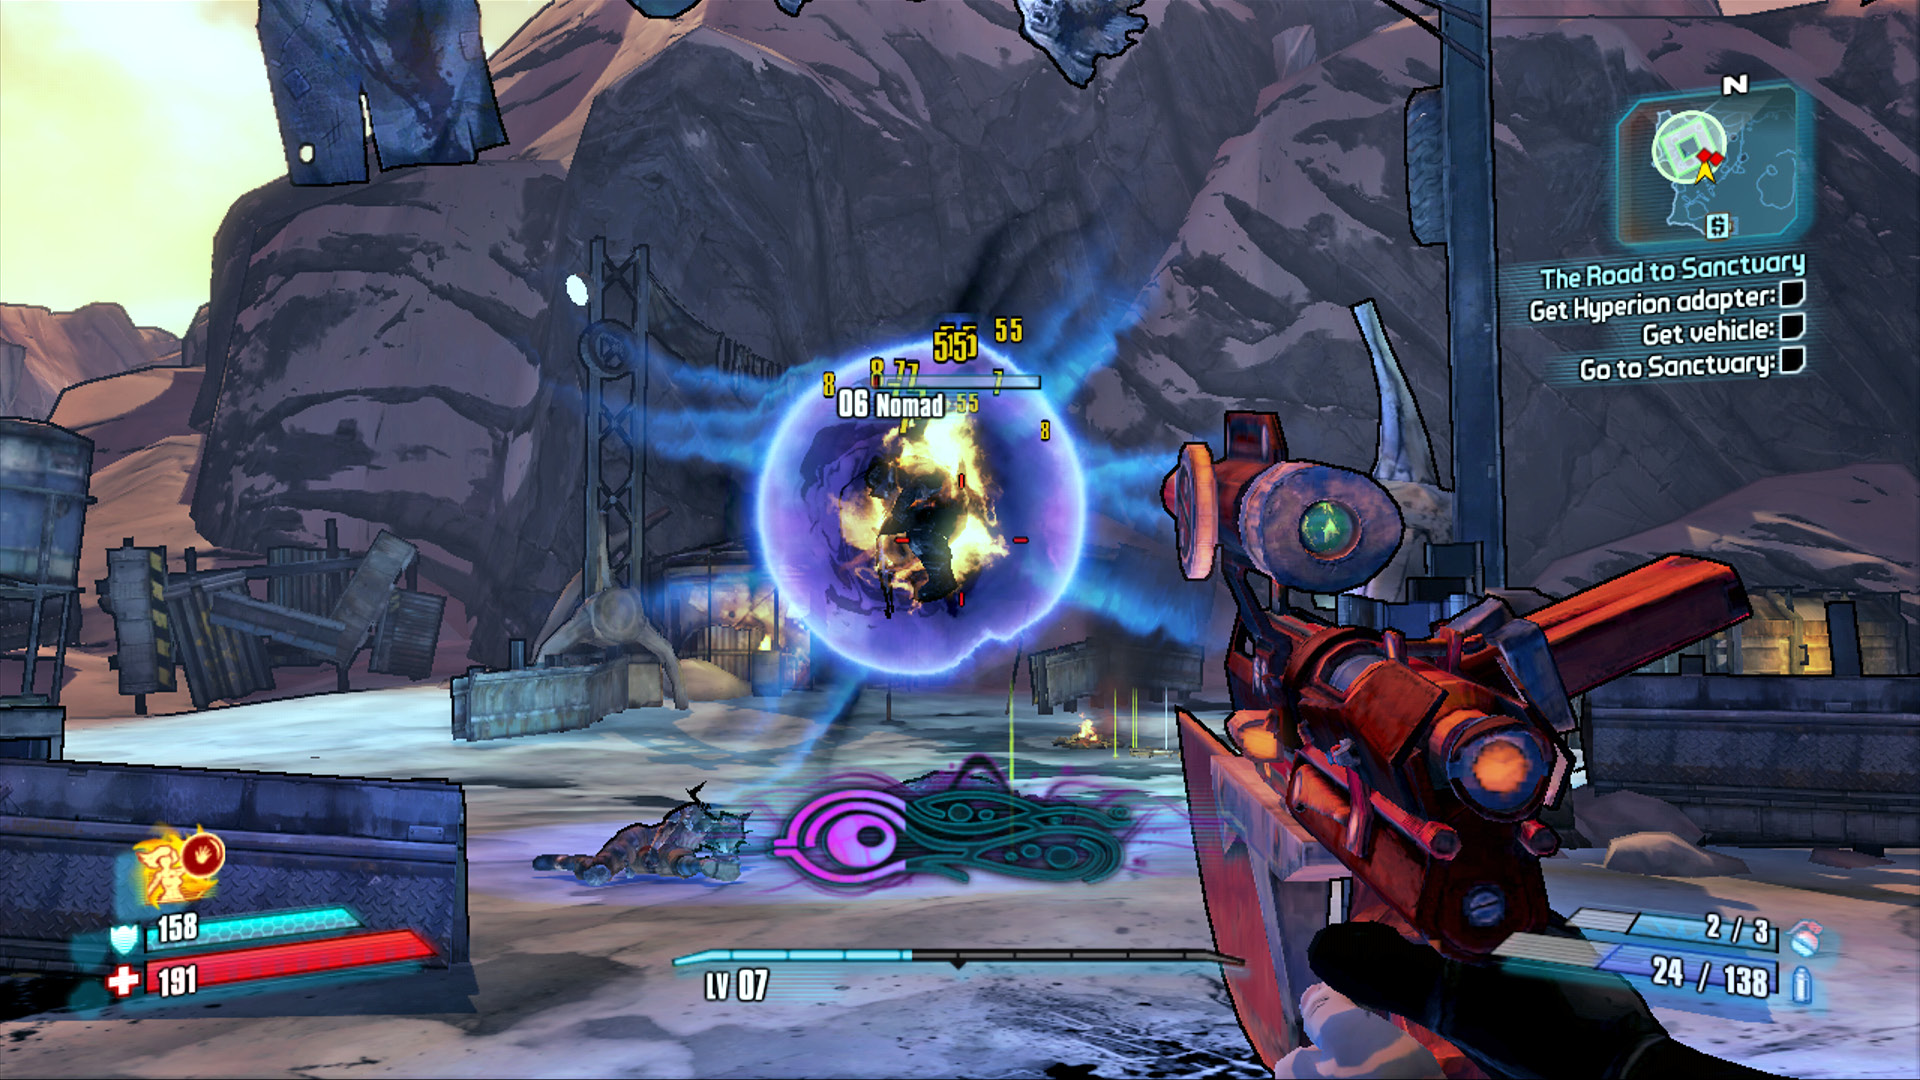
Phaselocked Nomads have no defense for the fiery goodness that is Flynt’s Tinderbox!
Stick near the entrance to the camp to avoid being surrounded and open fire on the various elemental barrels scattered around the camp. Soften up the Psychos to make for a quick Second Wind should you need it, but focus on the Nomads and Crazed Marauders. The latter are particularly adept at using cover and can be tricky to flush out of hiding without the assistance of an Action Skill or grenade.
Raid the chest and containers on the edge of the cliff, then locate the inactive Hyperion ‘bot at the rear of the camp. Retrieve the Hyperion Network Adapter and return to the Catch-a-Ride. Once the adapter has been installed, the Guardian Angel will be able to bring the system online. Now you can use any Catch-a-Ride on Pandora, starting with this one. Deploy the Light Runner of your choice—heavy machine gun or rocket launcher—and jump the gap in the bridge to continue toward Sanctuary!
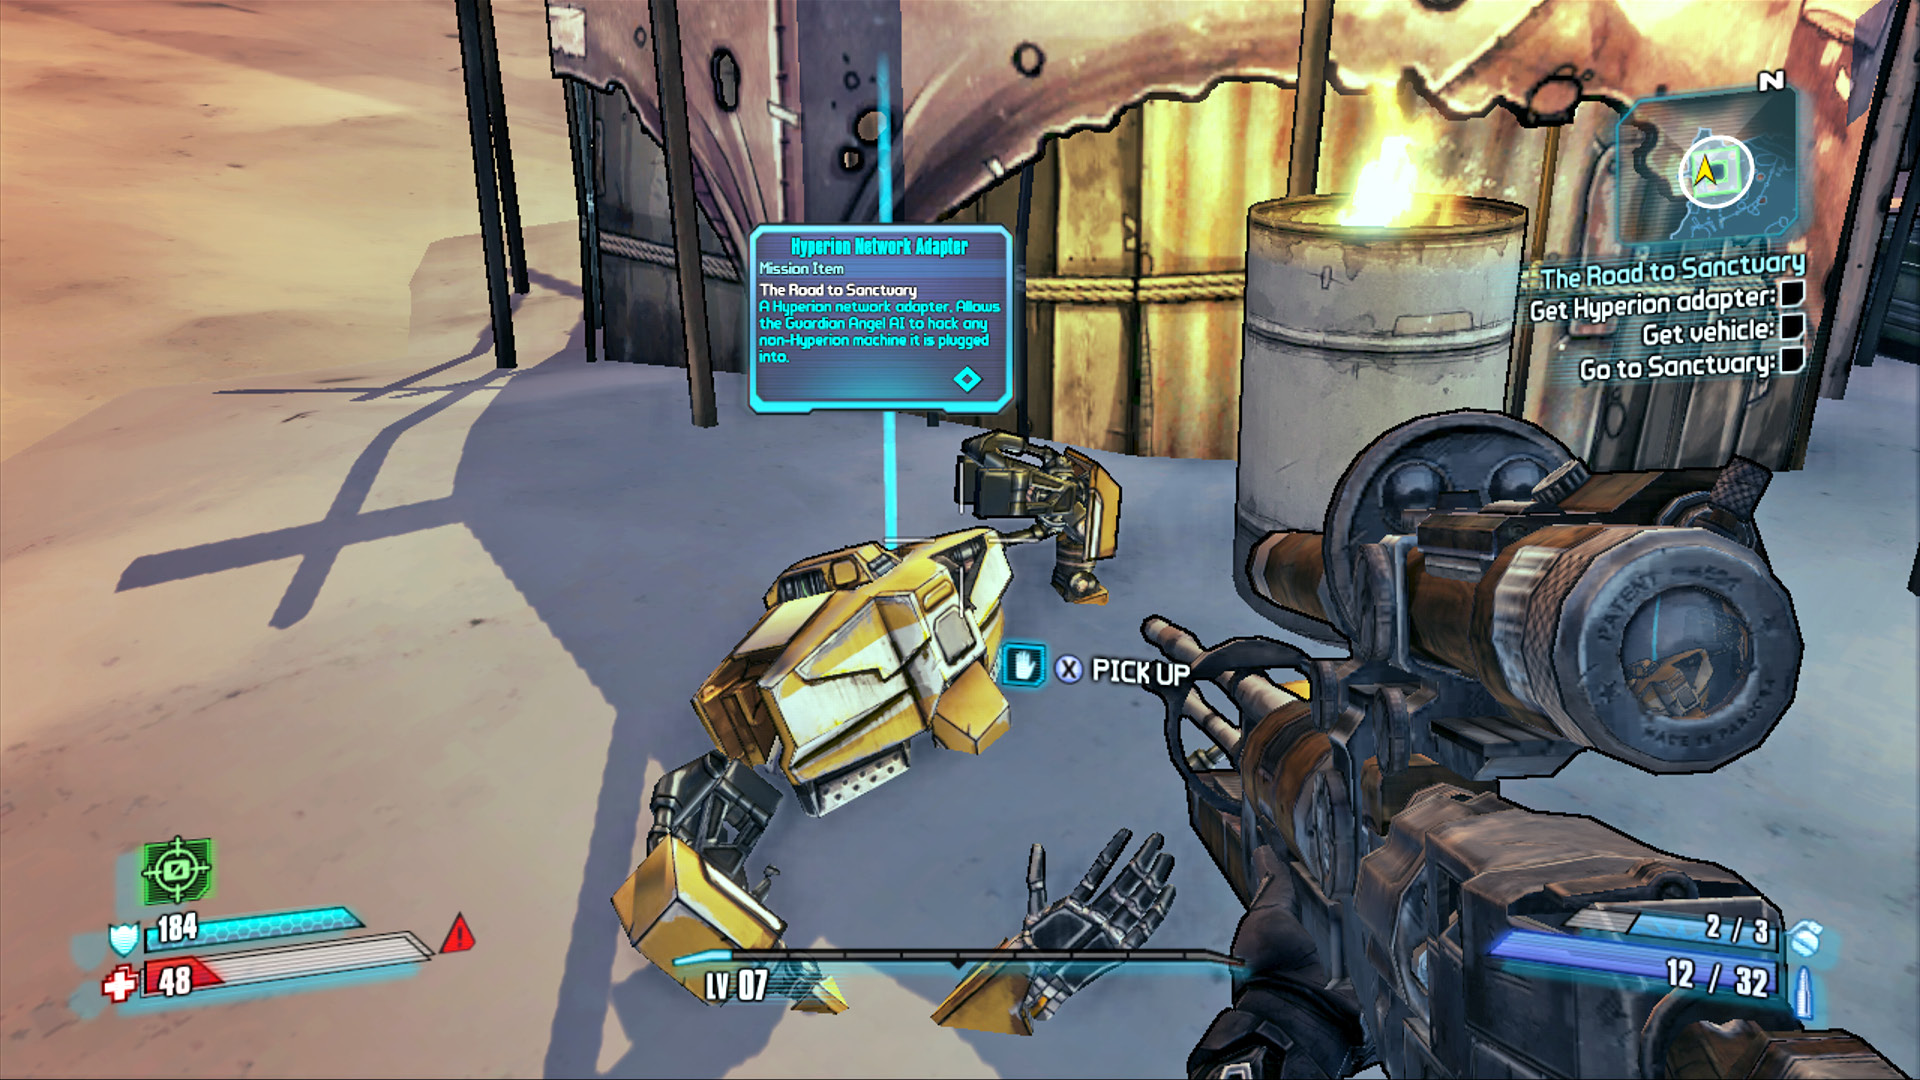
Pilfer the Hyperion Network Adapter from the remains of the inactive bot in the bandit camp.
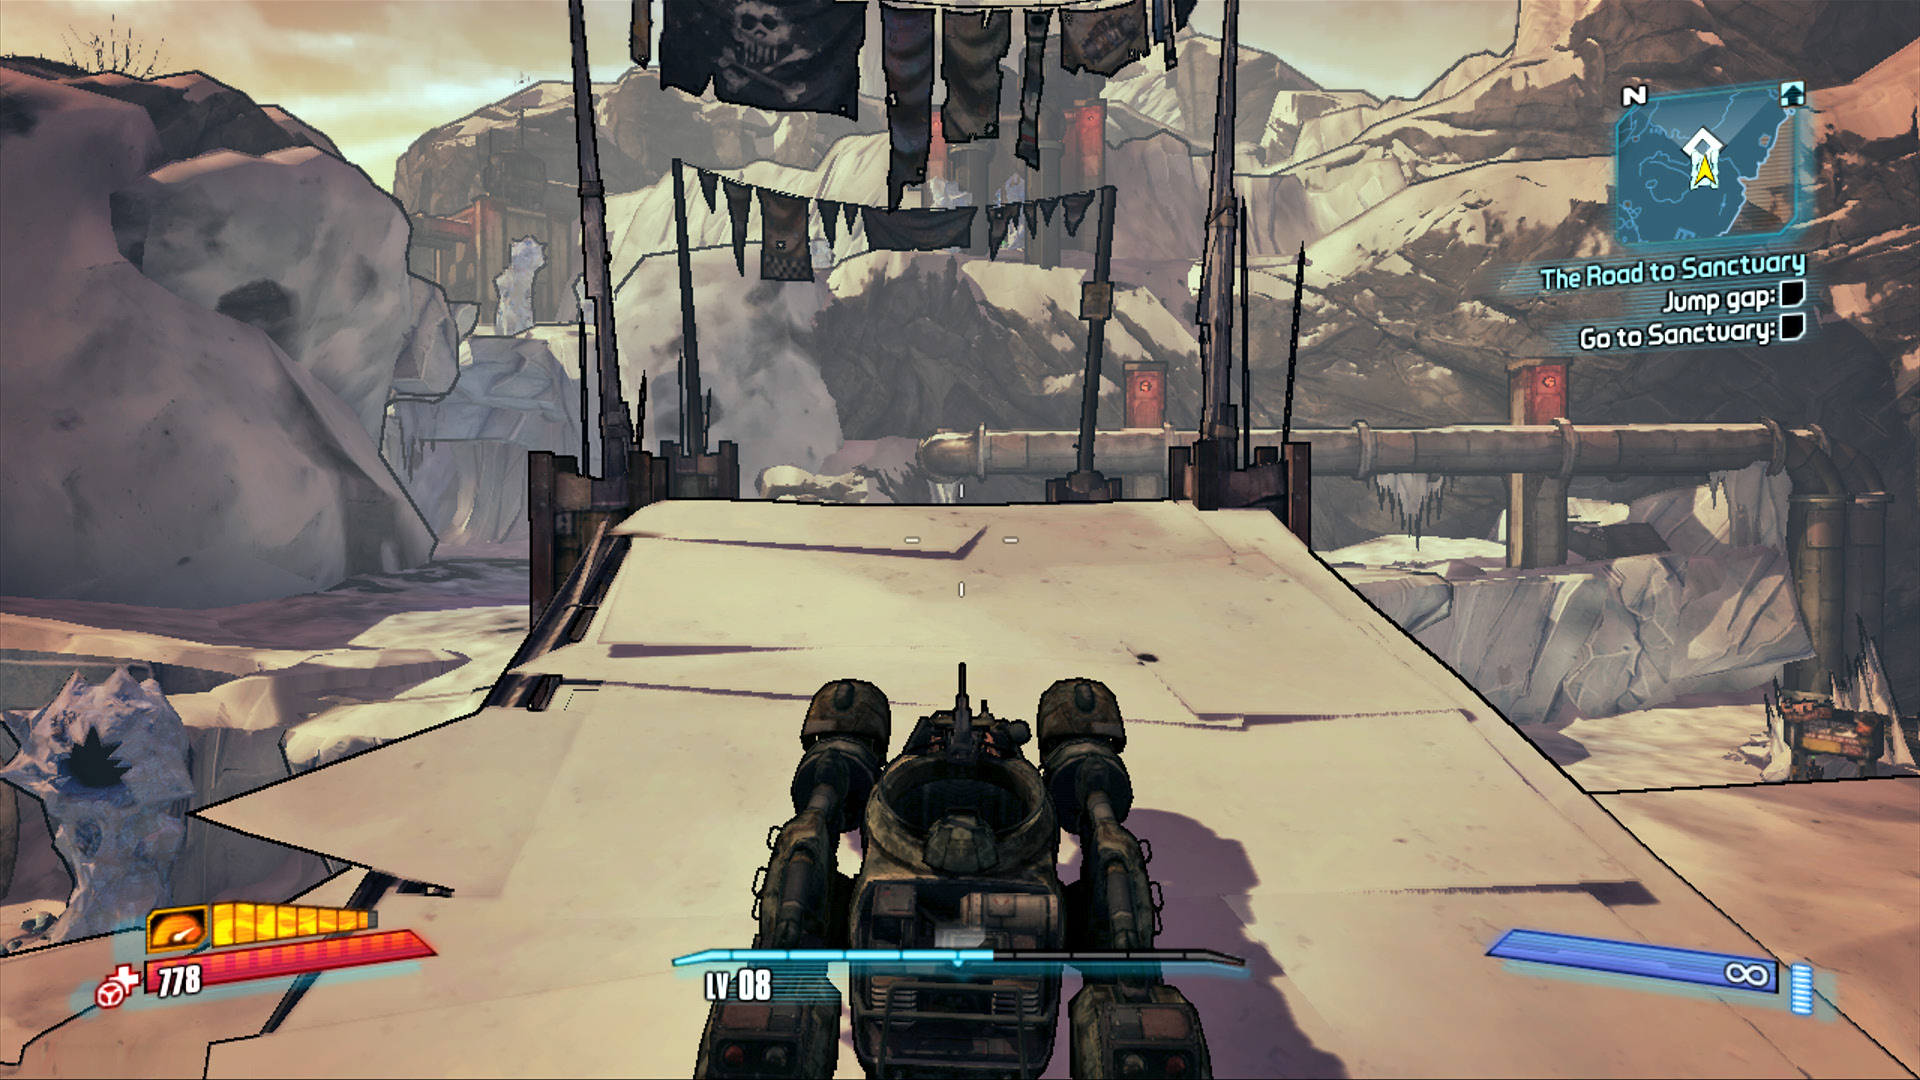
Line the Light Runner up with the bridge and accelerate off the ramp to clear the gap.
Steer the vehicle into the icy tunnel on the left and open fire on the hordes of bullymongs that make their den here. So what if this is their home; there be XP beneath that fur! And loot! Practice using the Light Runner’s turbo and power-slide features and open fire with the hood-mounted machine gun. The vehicle’s secondary weapon is mounted on a turret and can be aimed in full 360-degrees, even while driving. Drive your way northward through the tunnel, deep beneath the snowy plains above (this is why the minimap isn’t being completely revealed to the east and west). Exit the tunnel’s northern terminus and continue north across the plains.
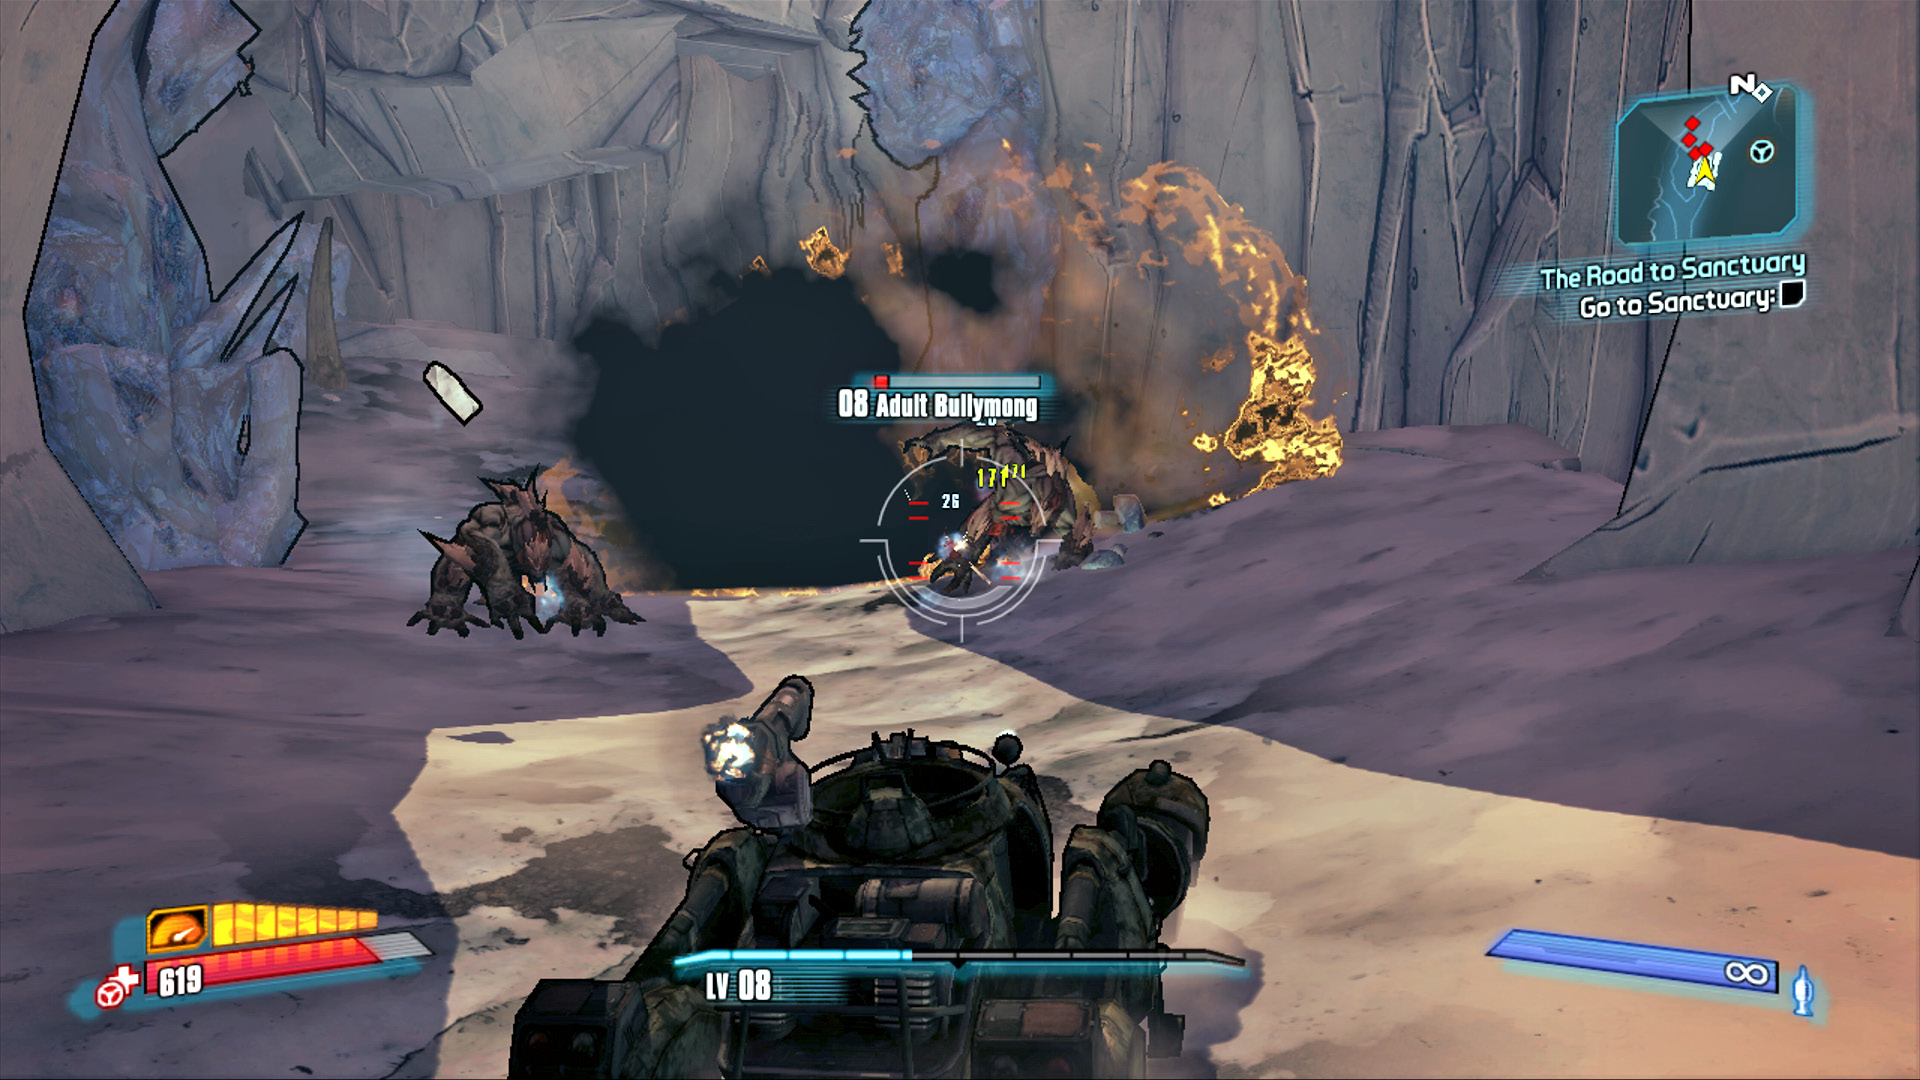
Don’t be afraid to open fire with both weapons at once!
Storming the Gates of Sanctuary
Pilot the Light Runner across the undulating plains as you continue north across Three Horns Divide toward the gated city of Sanctuary. Those looking to squeeze every drop of XP out of Pandora’s inhabitants should slide some donuts in the fetid pit to the right of the signs for Sanctuary, as there are certain to be a bevy of skags living there. Either way, hang a right at the intersection and follow the signs (and the waypoint on your minimap) straight ahead to Sanctuary’s gate.
Park the Light Runner in the middle of the street and open fire on the Bandit clamoring for entry at the gate—you’re going to want to make sure the coast is clear before trying to use the intercom. Swap seats inside the Light Runner to manually mount the gunner’s seat in the turret, as this will allow for greater precision when aiming thanks to the turret’s zoom controls. This is particularly helpful when aiming at enemies behind cover, as you fire with near-pinpoint accuracy!
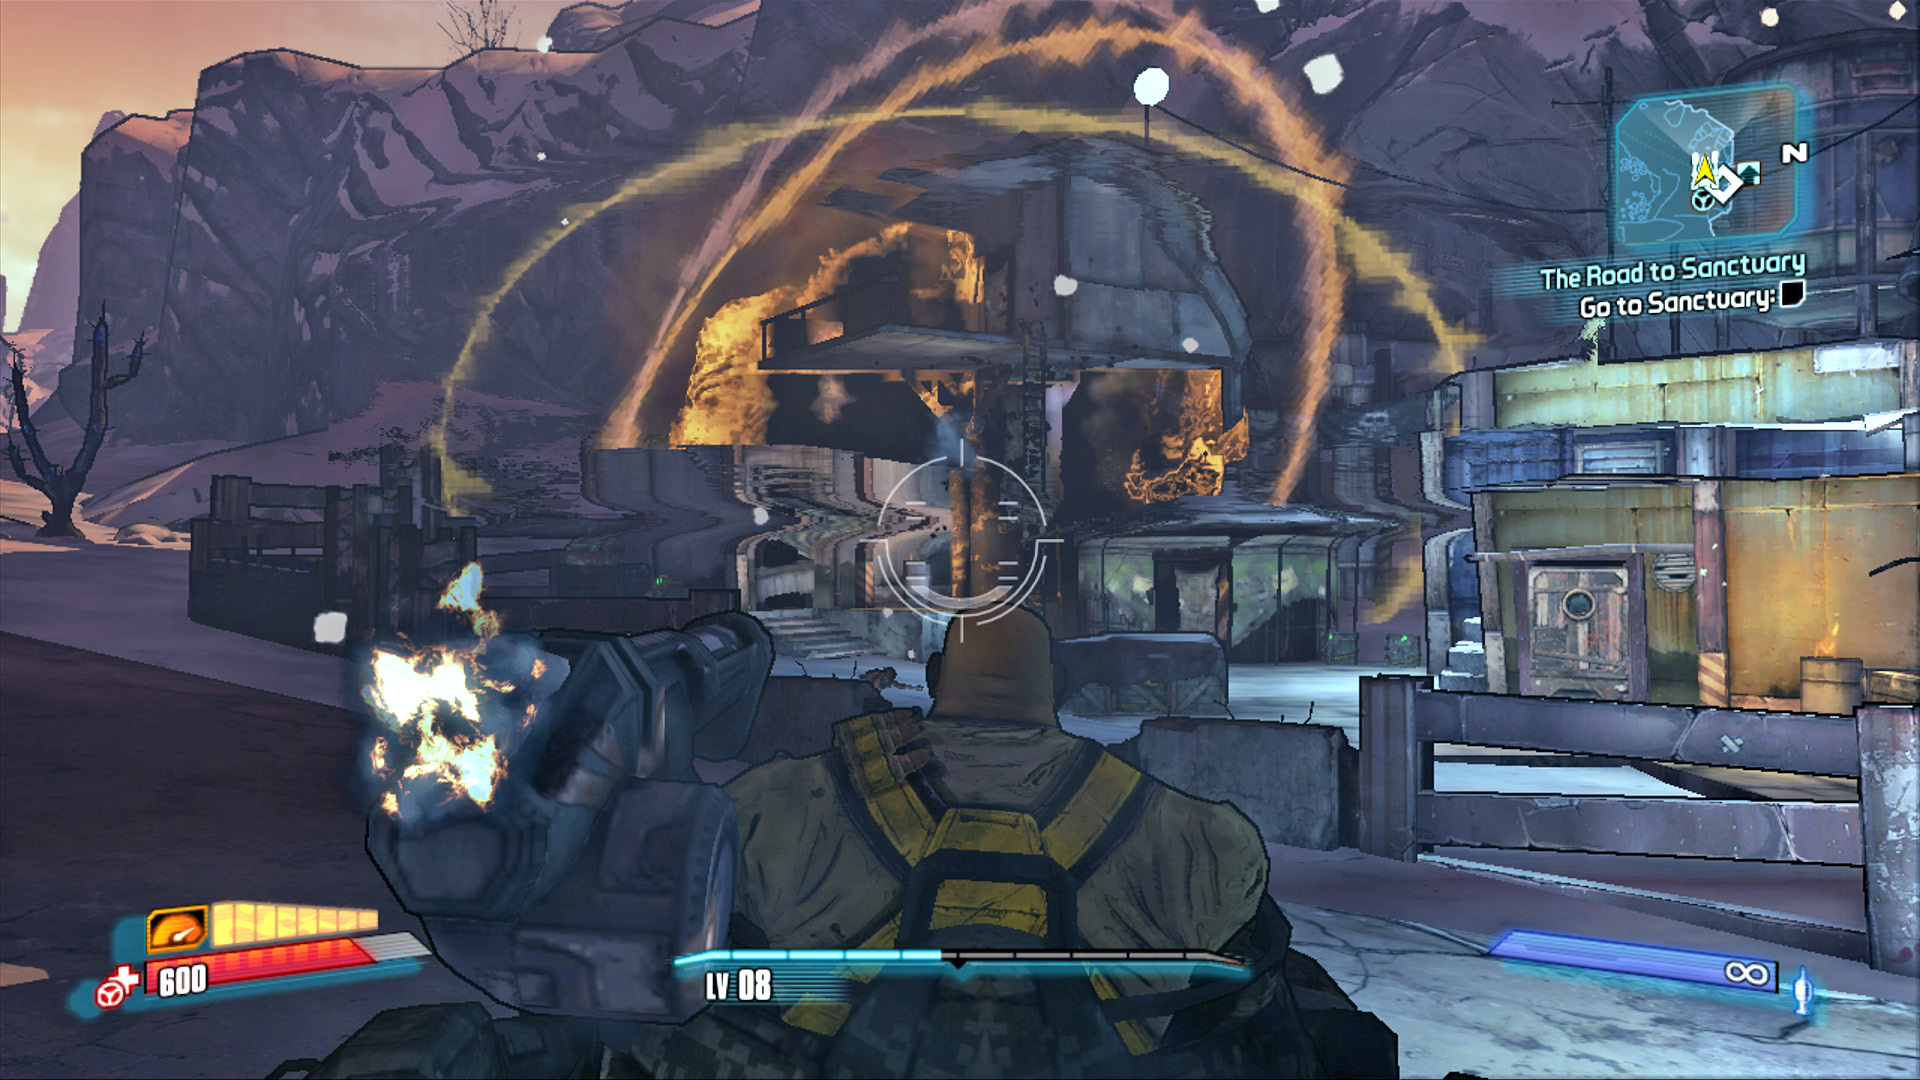
Switch to the gunner’s seat and clear the buildings outside the gate of enemies.
With the coast clear, exit the vehicle and use the intercom to speak to Lt. Davis who promptly patches in Roland, the leader of the Crimson Raiders. He can’t let you in—yet—because one of his men, Corporal Reiss, has gone missing while searching for a replacement Power Core for the city’s shield. He’ll not only let you into Sanctuary, but promises to welcome you into the Crimson Raider resistance, too; that is, if you can find Corporal Reiss and retrieve the Power Core.
Hop back into your vehicle (or spawn a new one near the intercom outside the gate) and head southwest. Take a left at the Fast Travel Station and Catch-a-Ride and continue along the road toward the icefall in the distance, then make a hard right-hand turn toward the ship perched atop the shacks.
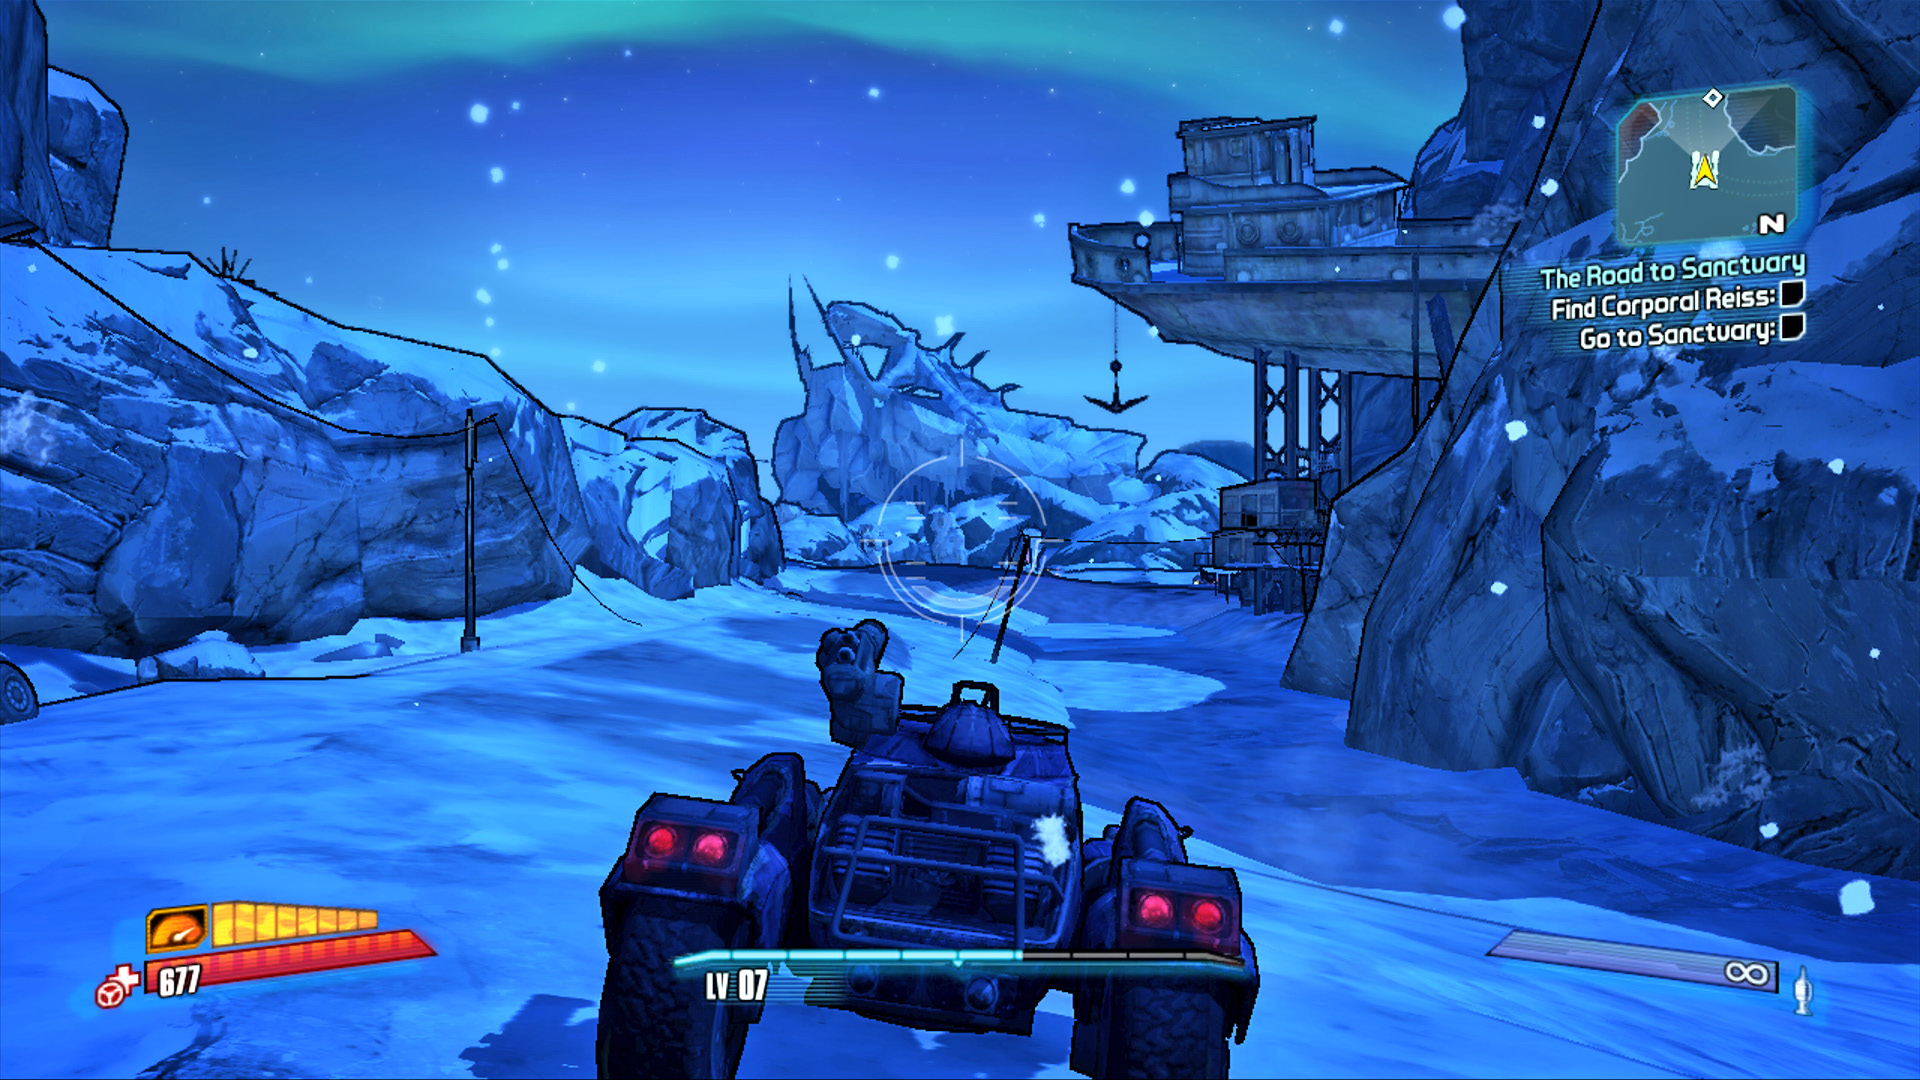
There’s a ladder that leads up onto the deck of that ship. You can probably see your house from there.
Continue west toward the bullymong dens and burning cars beyond the suspended ship. Gun down the local fauna and collect the ECHO Recorder in the middle of the path—it’s from Corporal Reiss.
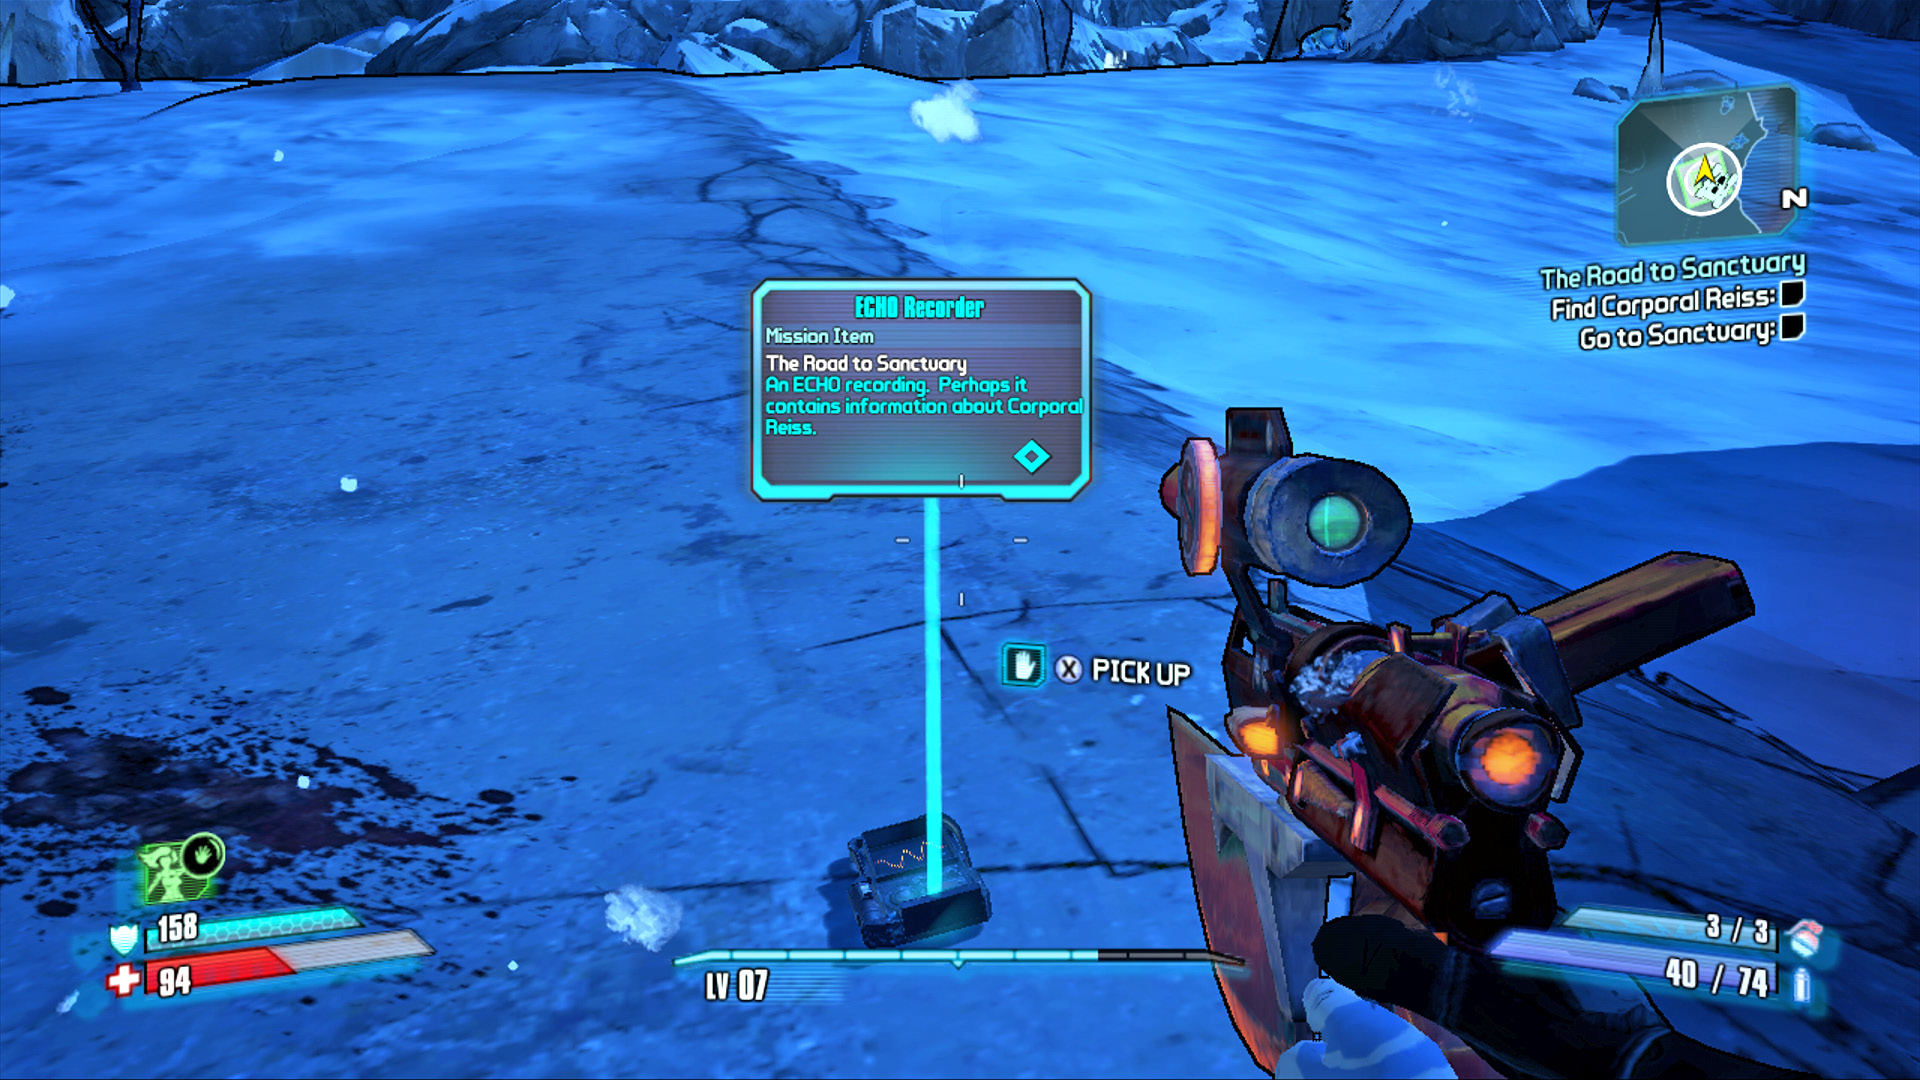
Corporal Reiss left this distressed ECHO Recorder on the road as he took off on foot into the Marrowfield.
Corporal Reiss is in Pieces
Park the vehicle at either of the sets of massive tusks rising from the ground. These makeshift barriers serve to keep vehicles out, thus making it so you can continue only on foot.
Fight your way past the bullymongs—use the Stinging Cacti to your advantage—and head up the slope and around the corner to where three Bloodshots are busily delivering a massive beating to Corporal Reiss. Unlike the blows administered to Claptrap back at the Soaring Dragon, you can be assured that Corporal Reiss is suffering much internal bleeding.
Kill Reiss’s attackers, as well as the pesky Rakk that dive-bomb the area (Axton’s Sabre Turret is the perfect Rakk-killing tool), then speak to Reiss. A Psycho made off with the Power Core and it’s up to you to get it back. The Bloodshots fled to nearby Windbreak Camp, just down the hill from where you entered the Marrowfield.
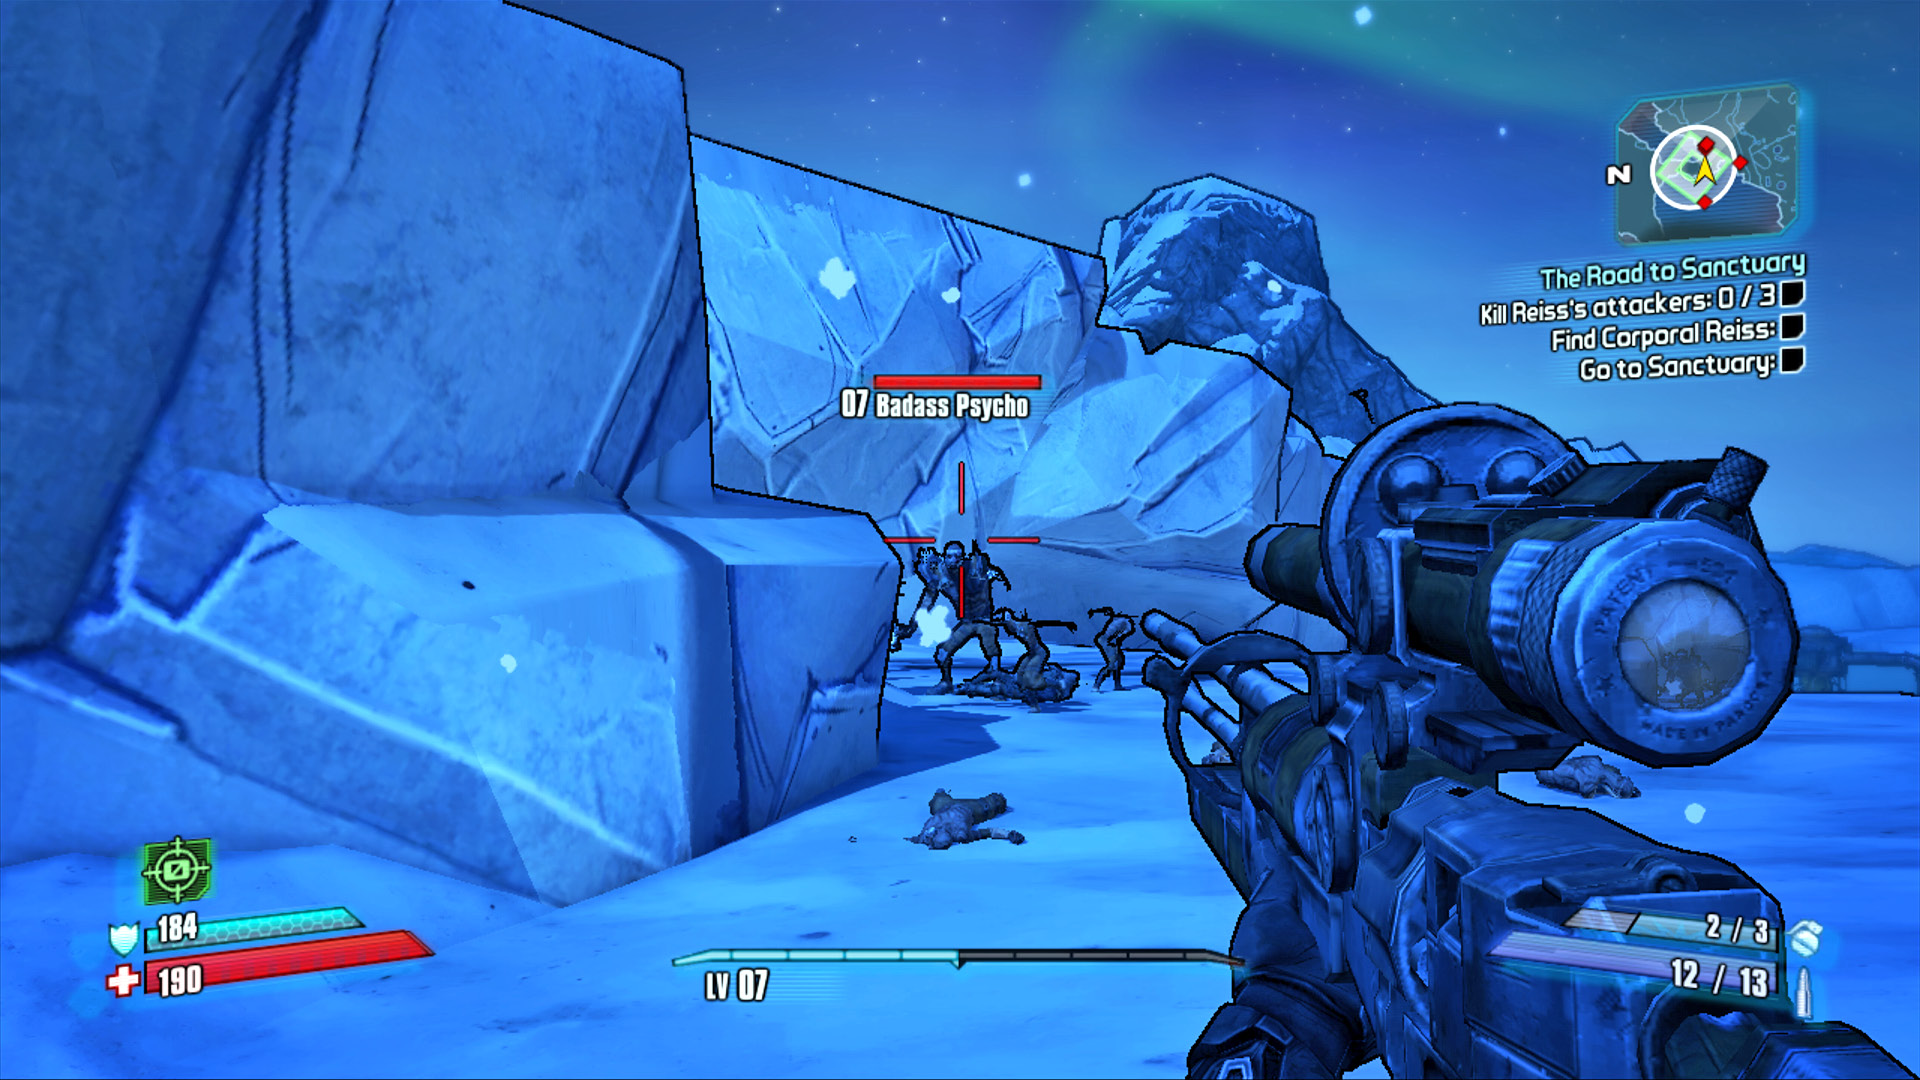
Target the Badass Psycho first, leaving the weaker units available for a Second Wind opportunity should the need arise.
Core Retrieval
There are a number of ways you can go about retrieving the Power Core, but they ultimately fall somewhere between an exhaustive, methodical approach that sweeps the area clear of loot and enemies and an approach that lures the Psycho with the Power Core right to your feet. Let’s discuss the lengthier, more elaborate tactic first.
Approach the entrance to Windbreak Camp and scout the area quietly. The left-hand side of the camp is patrolled by a variety of Psychos, Marauders, and a Nomad or two. The right-hand side of the camp is empty. One strategy is to sneak in without firing any weapons, then climb the stairs on the right and raid the houses and walkways of loot. There’s a very large, multi-weapon chest high above the ground on the north side of Windbreak Camp that’s certainly worth the search. From this elevated position, you can rain gunfire down on the Bloodshots from deep within their camp.
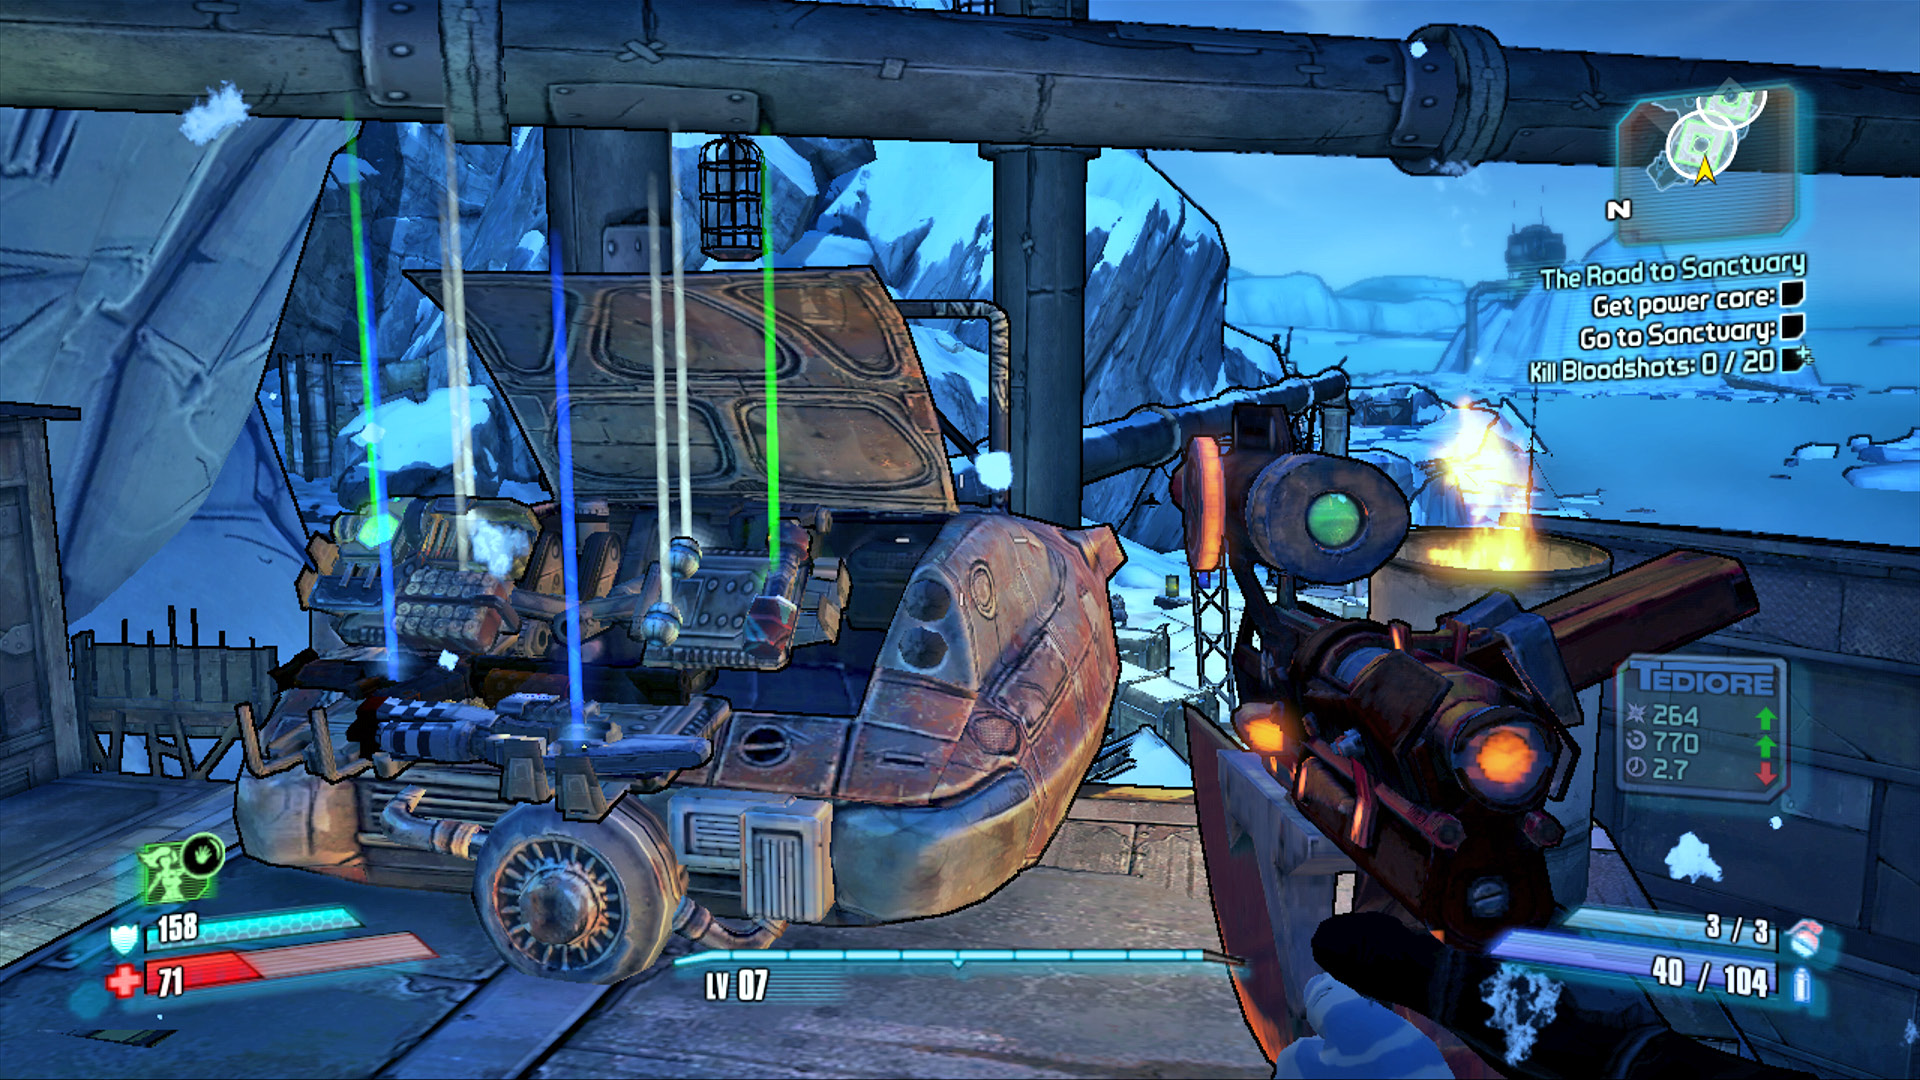
Sweep the elevated part of the camp clean of loot, including the contents of this massive weapons cache!
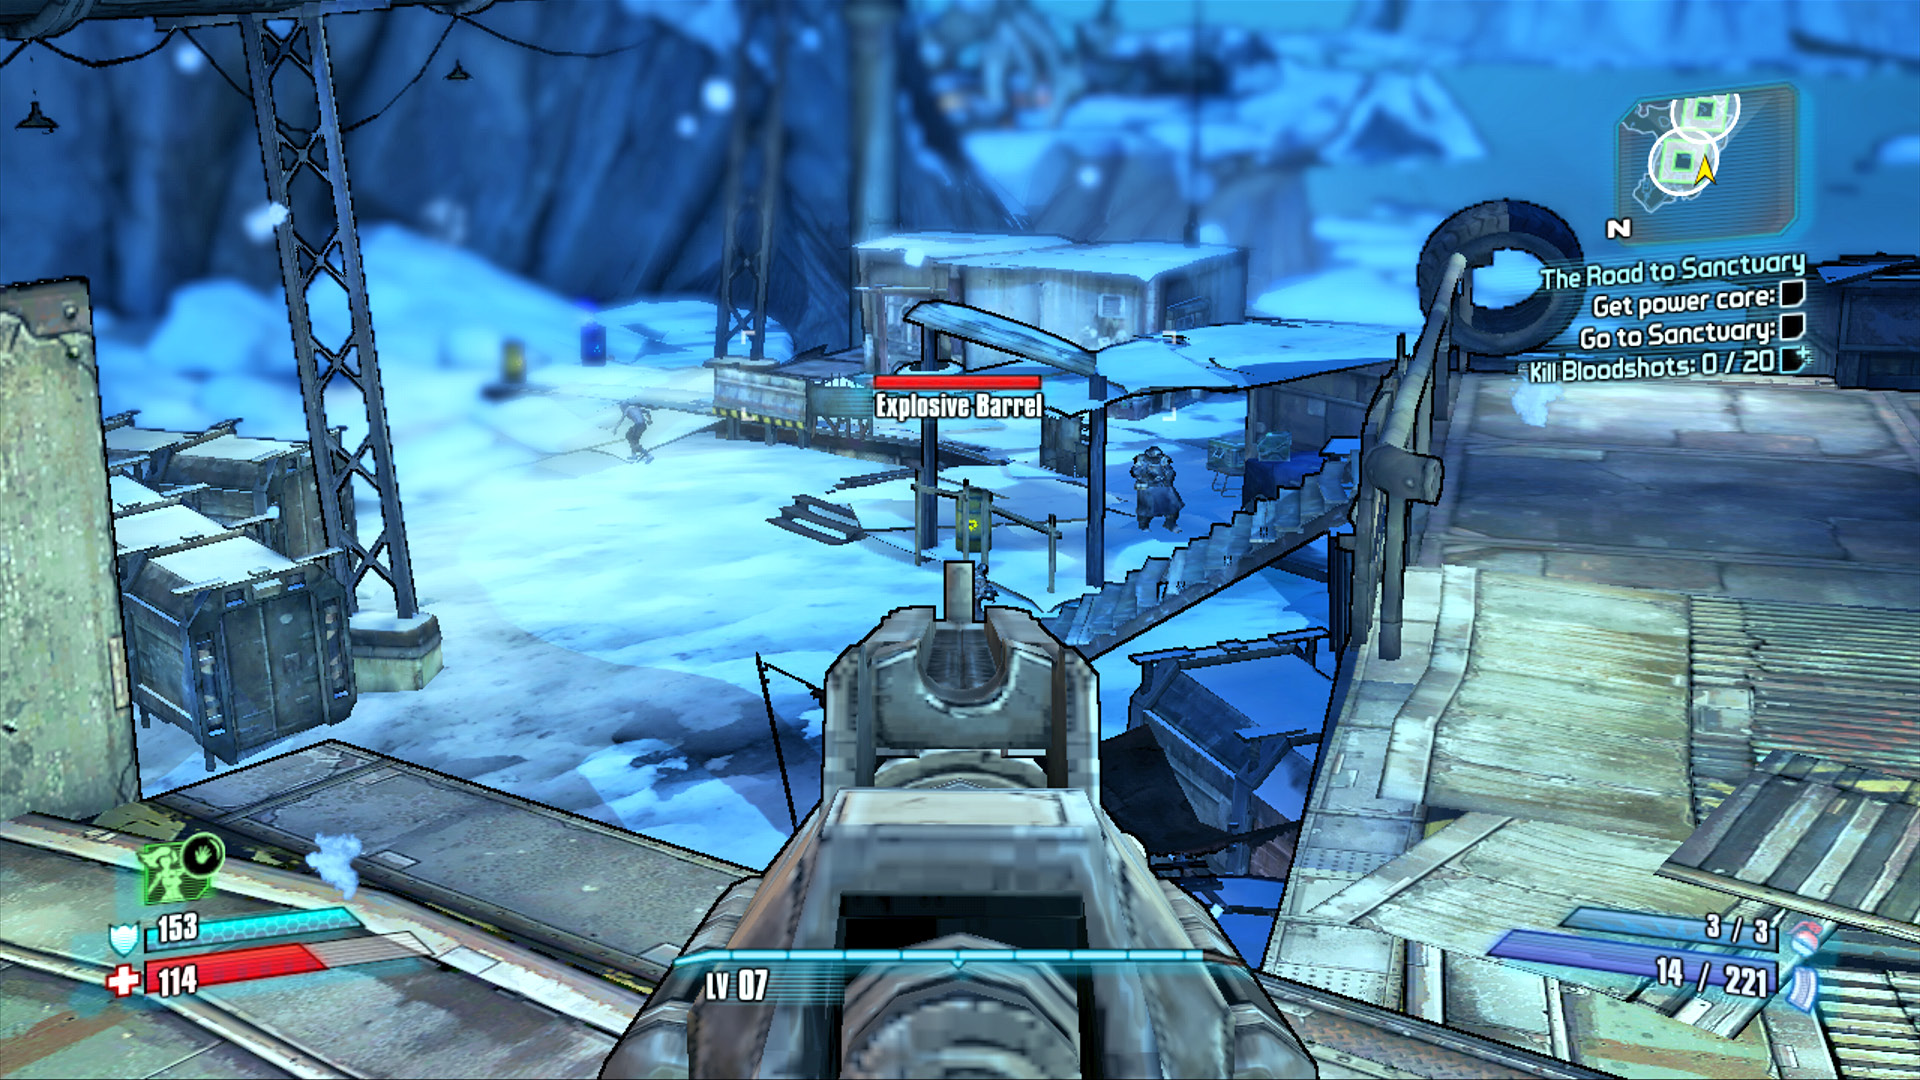
You’ve got the elevated advantage, now whaddya say you pop a few barrels and get this party started?
Another strategy—one perfect for those with long-range weaponry and a desire to move swiftly—is to linger at the entrance of the camp and snipe the Nomads. The Power Core is carried by the Psycho off to the far left—Corporal Reiss wouldn’t lie to you. Let this nut charge near your position before unleashing your Active Skill and gunning him down at close range. Then you merely have to pick up the Power Core he drops and run back to your vehicle.
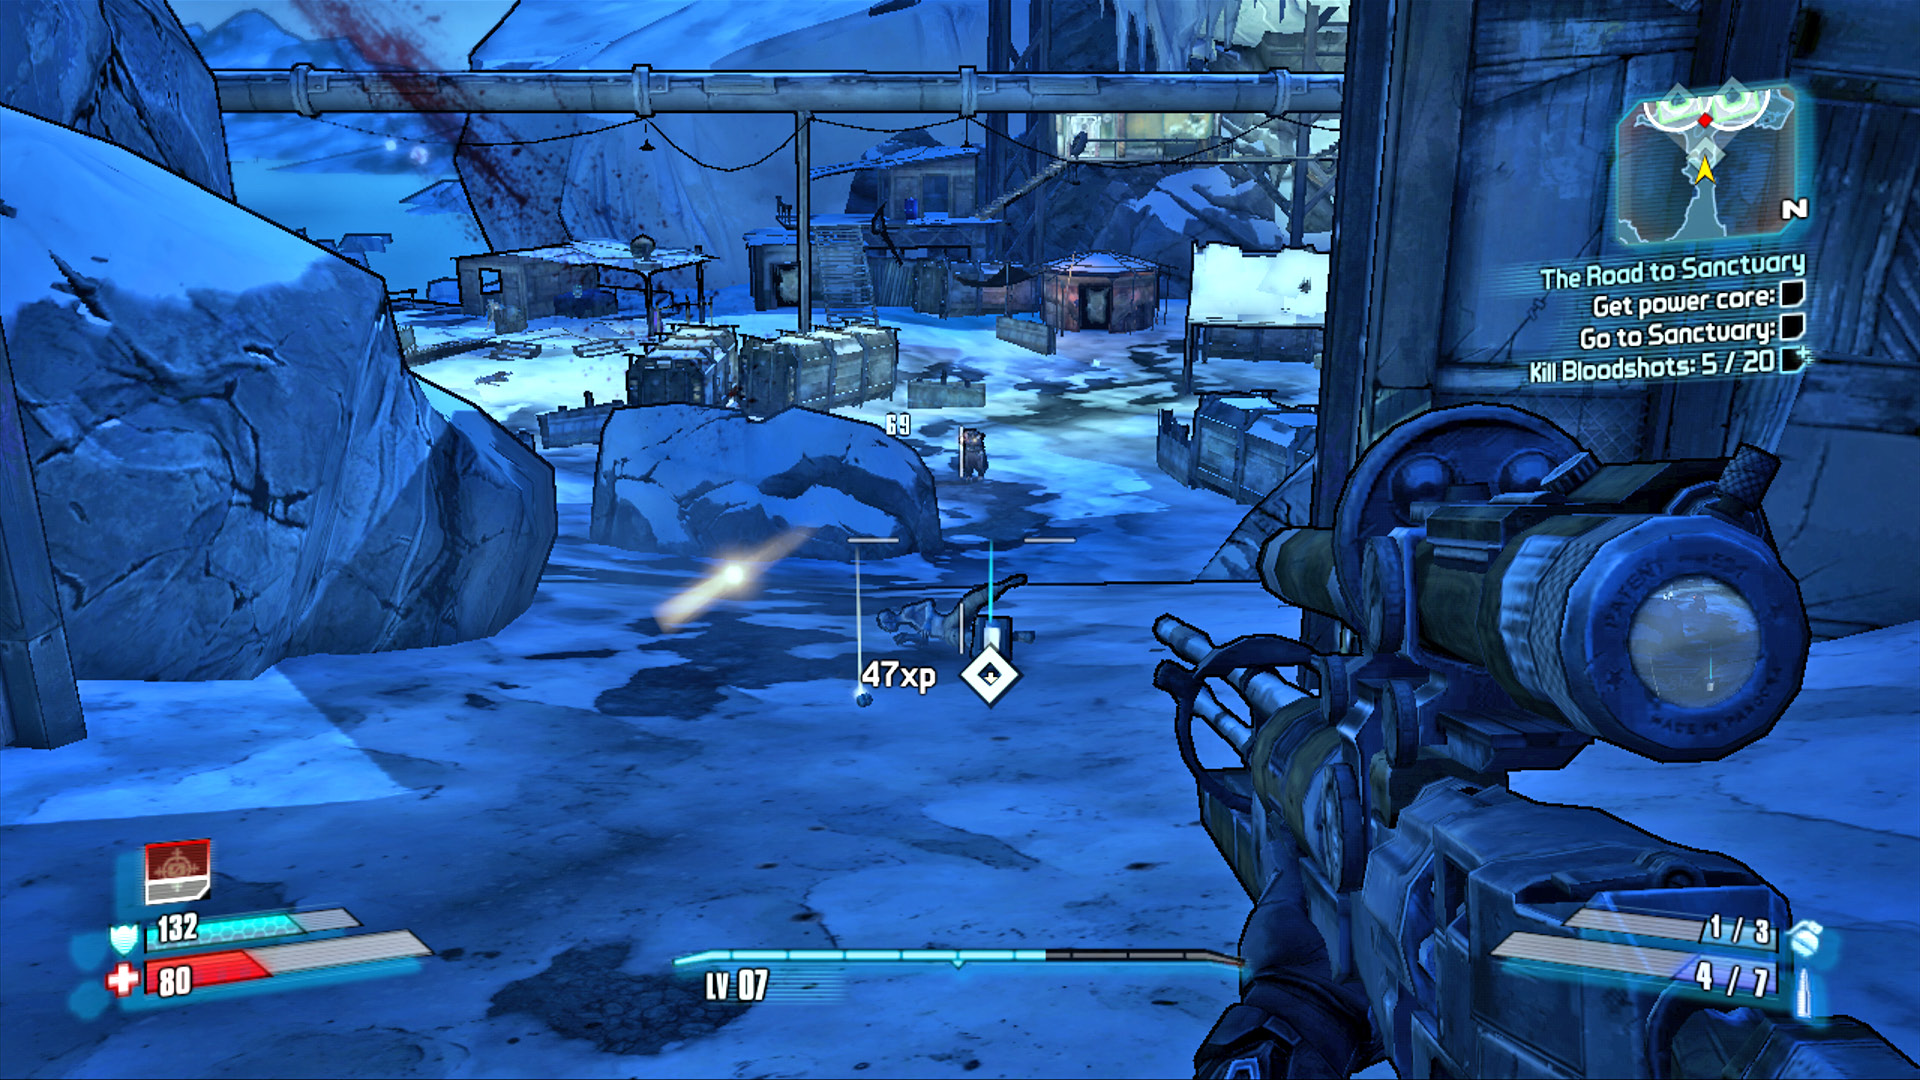
Target the Nomads to get the Psycho’s attention, then gun him down near the entrance to have the Power Core delivered right to you.
The problem with this tactic is that you’ll need to return later if you want to find the Cult of the Vault symbol or weapons chest. You’re also unlikely to kill 20 Bloodshots and earn the extra hundred bucks for the bonus objective by employing this technique.
Return to the Sanctuary Gate and use the intercom to have Lt. Davis open the city for you. Head up the stairs of the substation on the right-hand side of the plaza. Speak to Lt. Davis, then remove the old Power Core and install the new one to complete the mission. Welcome to Sanctuary, Vault Hunter!
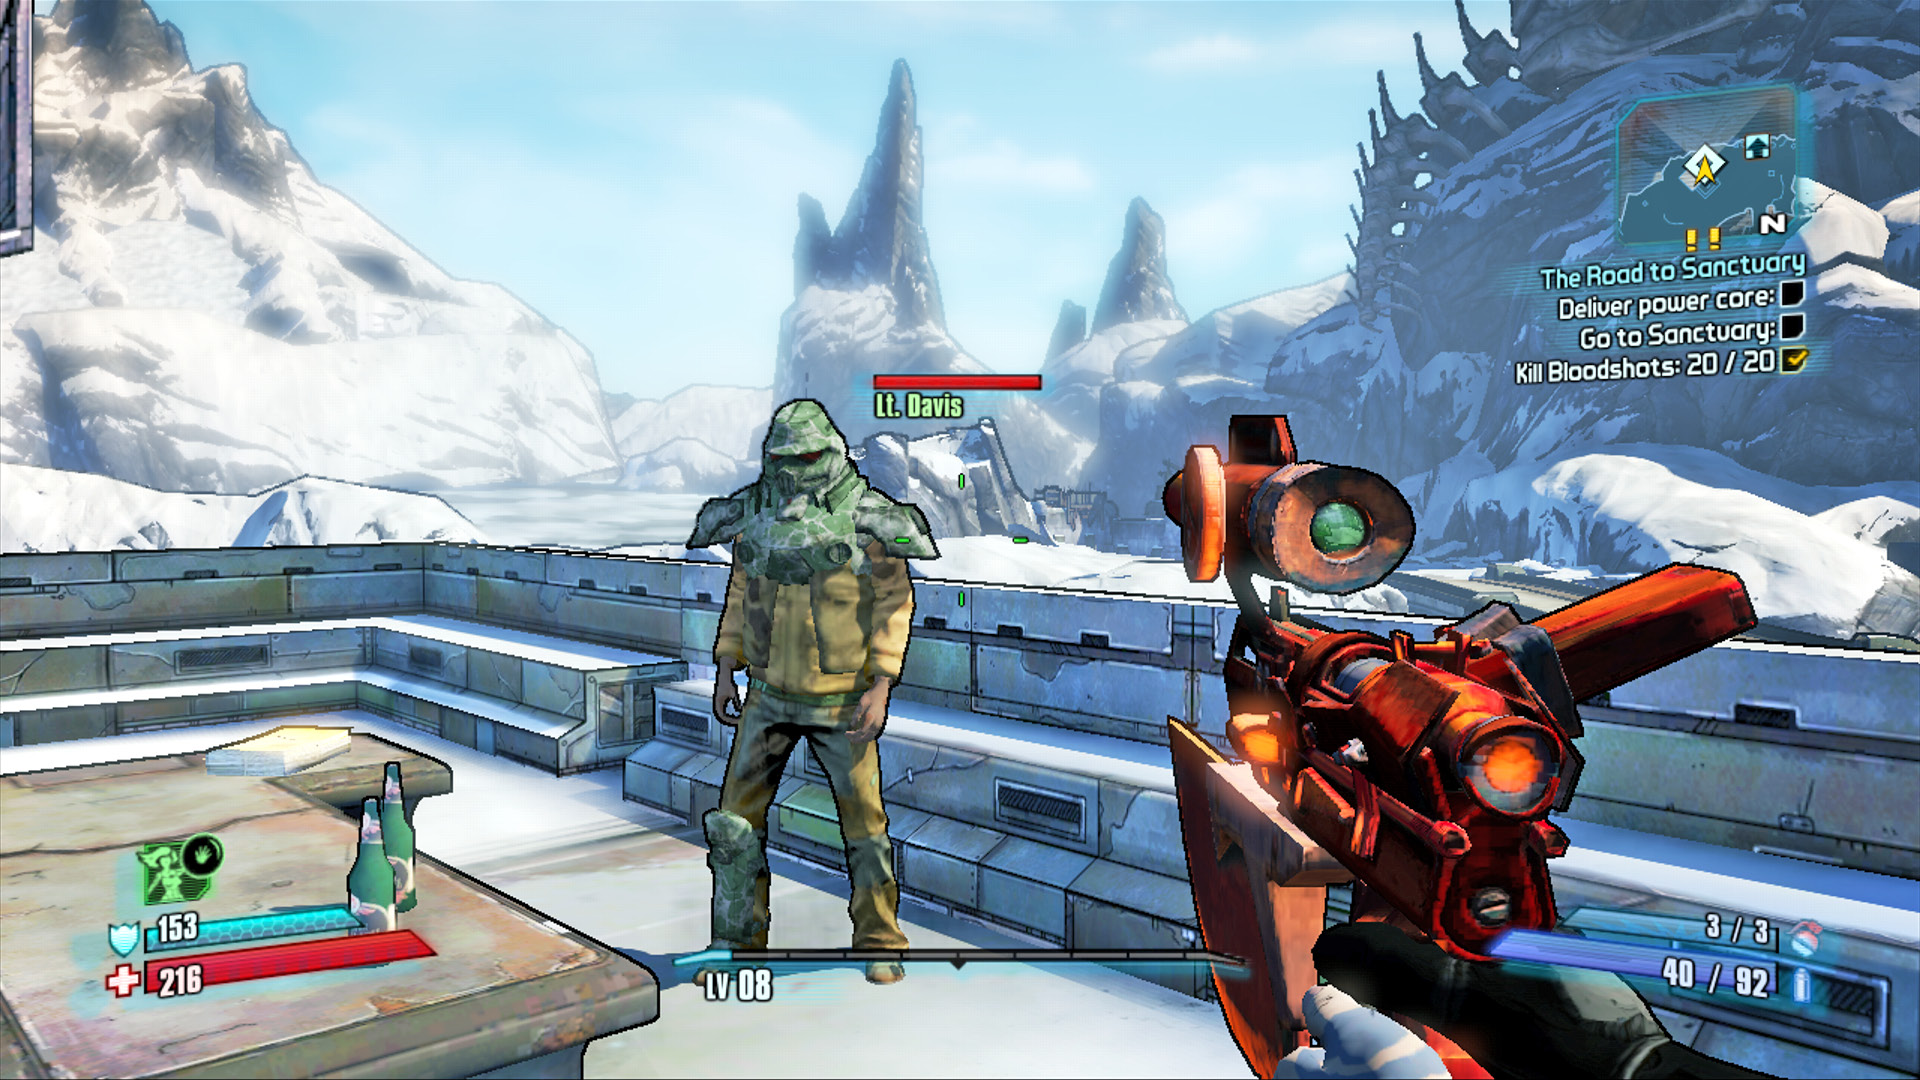
Speak to Lt. Davis, then replace the Power Core on the generator to the right.
Sanctuary
The last free city on Pandora, Sanctuary is the only safe place for Pandora’s non-bandit, non-robotic, non-creature-that-could-tear-your-face-off-with-its-toenail population. The Atlas Crimson Lance turned this derelict mining ship into a thriving frontier town during their brief occupation of Pandora. Though Sanctuary has seen its share of trouble—the city was nearly torn apart by internal struggle after Atlas Commandant Steele declared martial law—it has endured. Today, it is the home of the Crimson Raider resistance, led by Roland. Vault Hunters are held in high regard by the citizens of Sanctuary and the many merchants are all too willing to present their wares to anyone carrying money in this cash-strapped city. Treat Sanctuary as a home and return often. Not only is it a great place to stock up on supplies, but the Crimson Raiders and other residents of Sanctuary always seem to have a few tasks they need done—and are willing to pay generously those willing to do the work.
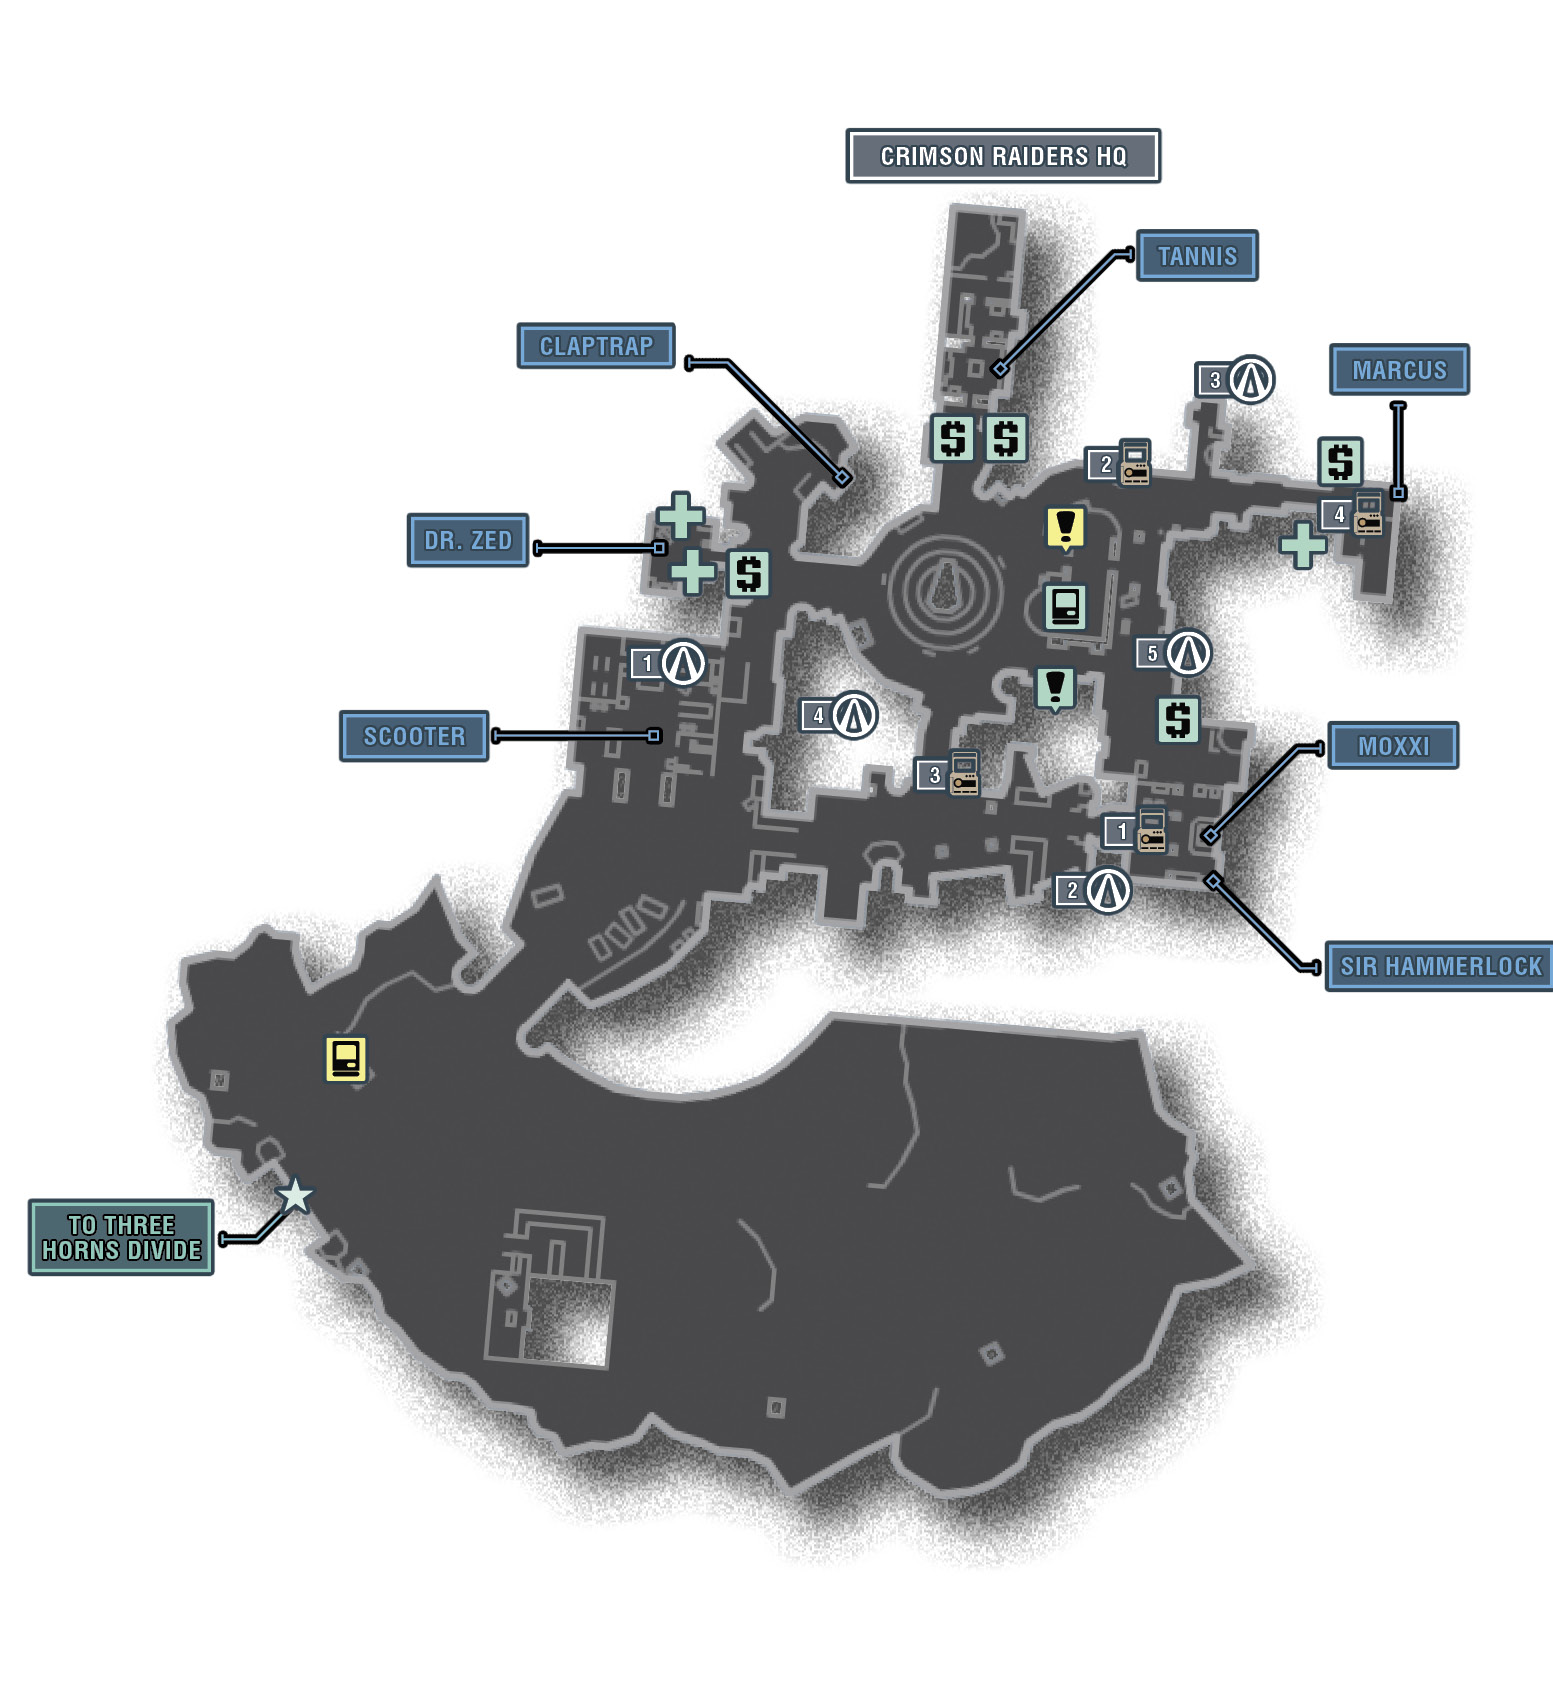
The Districts of Sanctuary
| Locale | Limited Access? | First Visit |
|---|---|---|
|
Crimson Raiders HQ |
Yes |
“Plan B” story mission. |
Sanctuary Chamber of Commerce
| Business | Proprietor | Services |
|---|---|---|
|
Marcus Munitions |
Marcus Kincaid |
Gun, grenade mod, and ammo sales; customer (dis)satisfaction |
|
Dr. Zed’s 24/7 Clinic |
Dr. Zed |
Insta-Health, shield, and class mod sales; tetanus |
|
MoXXXi’s Bar |
Moxxi |
Slot machines; gossip (but only if you tip her); cleavage |
|
The Black Market |
Crazy Earl |
Storage deck upgrades; insults |
|
Sanctuary Paperboy |
Propaganda; corporate mouthpiece |
|
|
Pierce Station |
- |
Quick-Change Station; Fast-Travel Station; Golden Chest; tchotchkes |
 Cult of the Vault
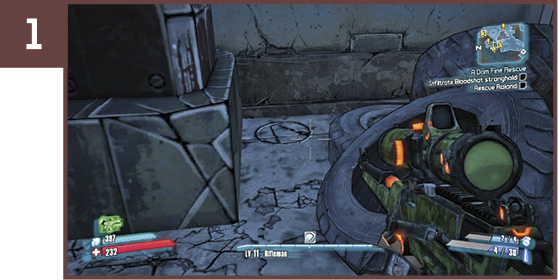
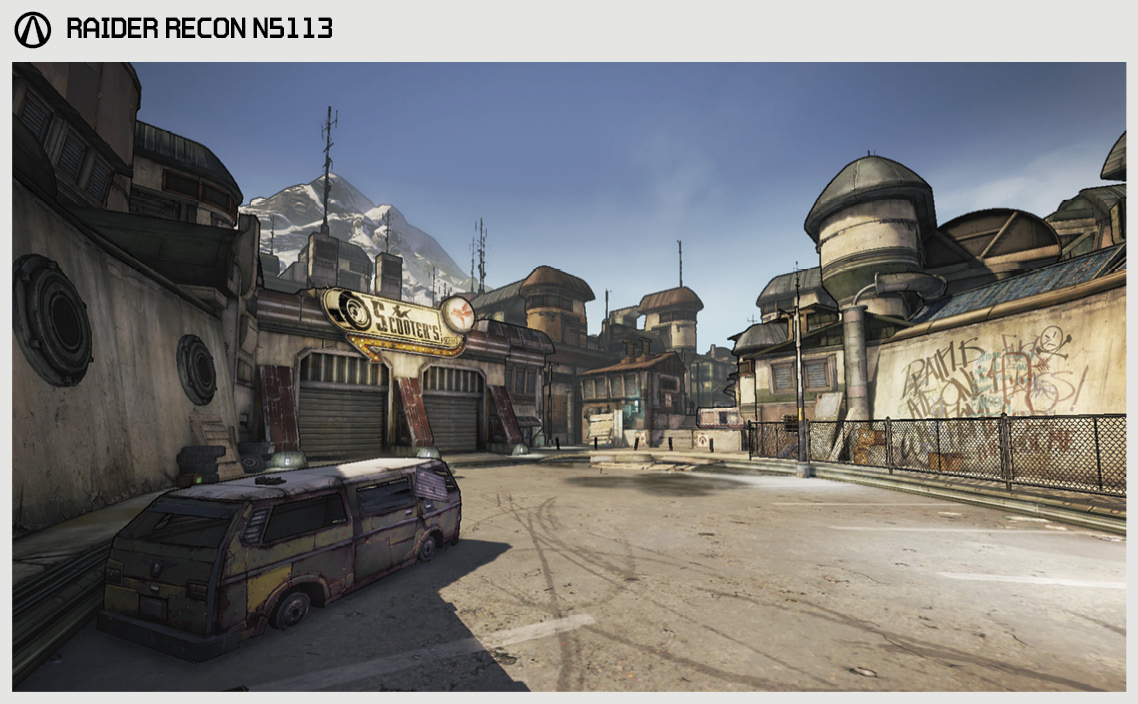
This tiny Cult of the Vault symbol is under the stairs at Scooter’s garage, behind the pile of tires.
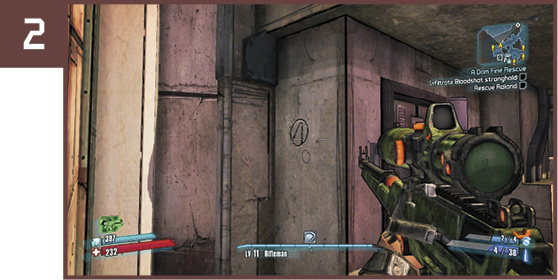
The second (miniscule) Cult of the Vault symbol in Sanctuary is on the side of the building just outside the main entrance to MoXXXi’s Bar. Descend the stairs and look to the left to spot it on the side of the column.
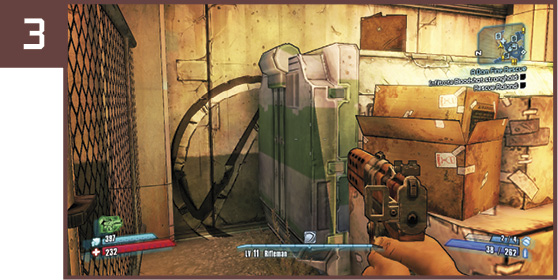
This partially-hidden Cult of the Vault symbol is in the alley to the left of Marcus Munitions. It’s behind the trash compactor and pile of boxes.
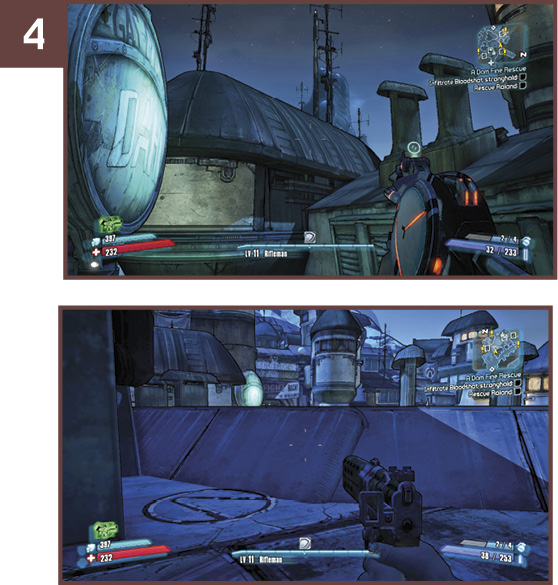
This symbol is on the rooftop of the building in the southwest corner of the town center. Leap out the upstairs window of the Crimson Raiders HQ building and make your way across the roofs to the circular Dahl sign. Leap onto the ridge of the roof to the right, then use the slightly stepped ridge to the south to reach the highest point on this block. Leap to the roof across the alley to reach the Cult of the Vault symbol.

This Cult of the Vault symbol isn’t just among one of the hardest to find on Pandora, but also one of the more difficult ones to reach. Start by using the cardboard box to leap onto the white structure on the corner across from the Quick-Change Station. Run and jump from the edge of this platform to the corner of the Pierce Station roof—this is at the limit of the Vault Hunter’s leaping ability, but it’s possible. Once there, jump onto the generators on top of the roof, then leap back across to the roof on the north side of the street. Head east a short bit and hop back across to the roofs in the alley leading to the hostel sign. Use the ragged canopies draped across the street to reach the second floor balcony next to the hostel to find the Cult of the Vault symbol.
 Rise of the Crimson Raiders
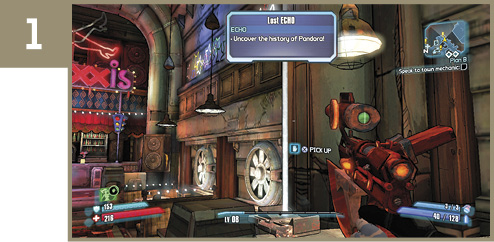
The first of the four ECHO Recorders revealing the history of Pandora is on the hostess stand just inside the main entrance at MoXXXi’s Bar.
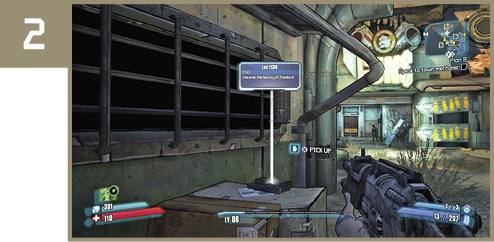
Another ECHO Recorder can be found on a cardboard box to the west of Marcus Munitions.
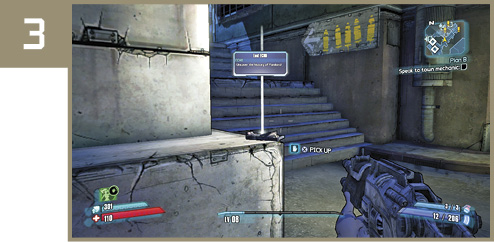
You can find the next ECHO Recorder on the corner of the stairs halfway between MoXXXi’s Bar and Scooter’s garage, along the southern road in Sanctuary.
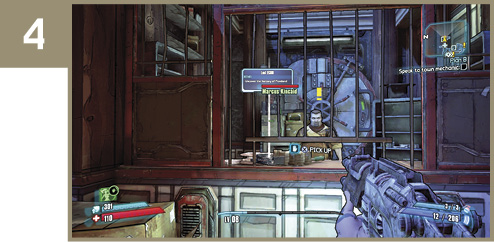
The final ECHO Recorder has been left for you on the counter at Marcus’ gun shop.
Jackpot!
Play the slot machines at MoXXXi’s Bar and hit three Vault Symbols or three Eridium Stacks to win the jackpot. There are multiple winning combinations—rewarding everything from cash to weapons to Eridium—but watch out for the grenade you “win” if you get three bandits.