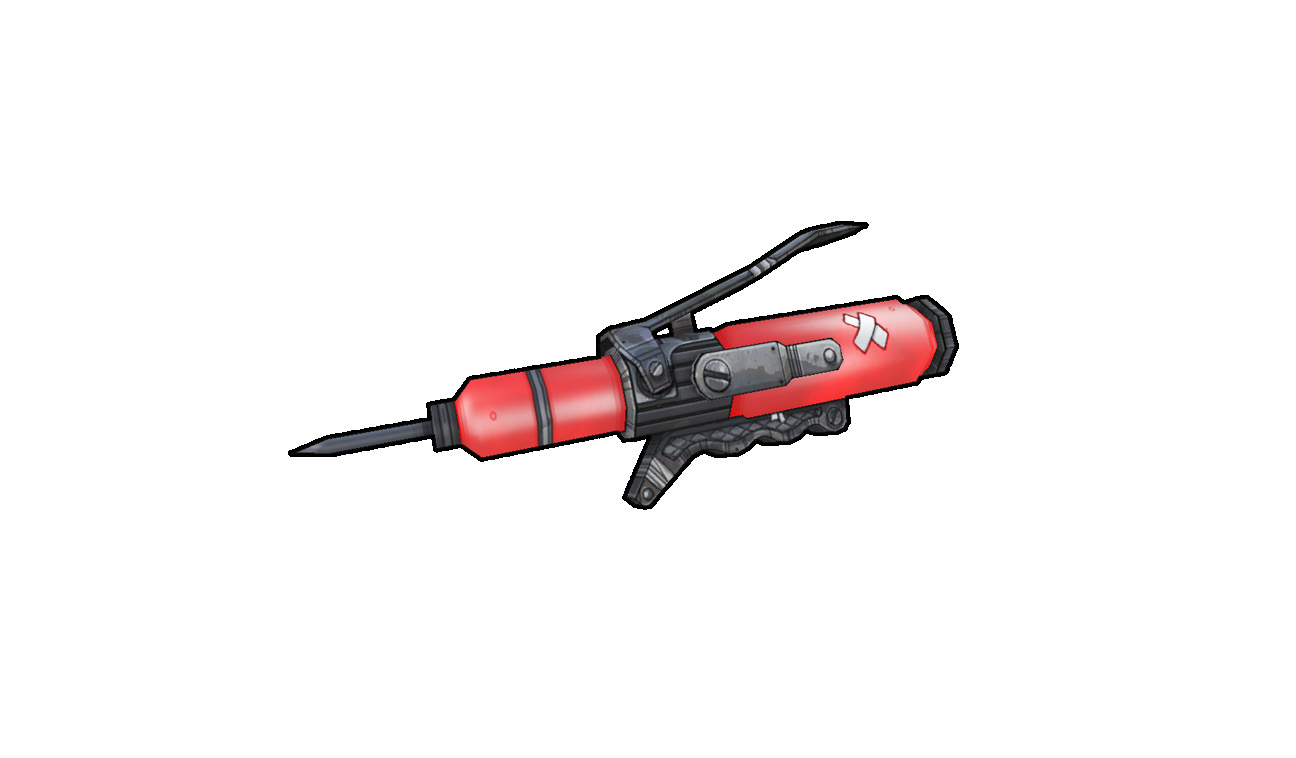
If you can’t manage to dodge attacks, the first buffer between your poor fragile flesh and the claws, fangs, and bullets of the locals is your shield. Shields take damage before it saps into the flesh-and-blood of your health pool, and they even soak up some of the damage from burning or corrosive sources entirely. Note that, just like enemy shields, your own shields are VERY vulnerable to Shock attacks. Those blue, sparking projectiles hurtling at you from a flying surveyor or an ION Loader or an electric weapon-wielding nomad are not just for show. They’ll knock your shield off just about instantly, leaving you totally vulnerable and exposed to damage from all sources. And excess damage against a depleted shield bleeds over into health damage immediately.
Every shield shares the stats of capacity, shield recharge delay, and shield recharge rate. Capacity dictates the most damage-absorbing energy the shield can hold at once. Recharge delay shows how long you’ll have to avoid damage for a diminished shield to begin recharging to full (a lower number is better), and recharge rate indicates how fast that recharging process will be (a higher number is better). Beyond these standard parameters, shields from different manufacturers have their own specific properties that make one or the other more appealing to you. Some of these will alter the look of the shield’s bar on the HUD to help depict the effects. Just like with guns, there are seemingly countless different shields you’ll discover, and picking the type you carry and use boils down to your preference, your character’s build, and the needs of the moment. A more complete breakdown of shield types is available in the Marcus Munitions Monthly section of this book.
It’s Best to be Flexible
Health
Your health is displayed in the bottom-left corner of the screen as a red bar and is determined primarily by the level of your character. Health can be further increased by using Badass Tokens to boost health capacity, or by purchasing certain health-boosting skills. As with shields, some class mods and Relics also buff up health.
Damage taken when shields are down injures health. If a shield is “overkilled,” that damage bleeds into health immediately… no free rides. Your priority when shields are down and you’re taking health damage should be getting out of harm’s way and giving your shield time for recharge delay to end, so the shield builds back up and you have a margin for error again. (Unless you’ve crafted some kind of build that involves rocking a depleted shield on purpose, in which case godspeed, brave warrior!) Damage taken to health doesn’t recharge naturally like shield energy. Instead, you must replenish health damage by finding hypodermic Health Now! medicine. Like ammo supplies, you may find these anywhere: off killed enemies, in loot piles or in containers, and in vending machines.
If a Health Now! hypo is dropped during a heated battle, you can simply run over it to replenish health if needed. These can otherwise be purchased at any Zed’s Meds vending machine. Don’t even ask if they provide clean transfusions; you probably won’t survive long enough on Pandora for this to become an issue.
There are also other ways to replenish health. Every character has a bit of a “survivability path” for skill assignment that somehow maximizes possible health regeneration (and likely health capacity and shield performance, too). Some Relics and class mods can increase health regeneration for your character or even your entire team. Everyone can equip Transfusion grenades, which suck health back from enemies caught in the blast; some rare guns feature a health-sapping effect, as well. And Maya can be a combat medic for an entire team through her Harmony skill tree.
Fight For Your Life
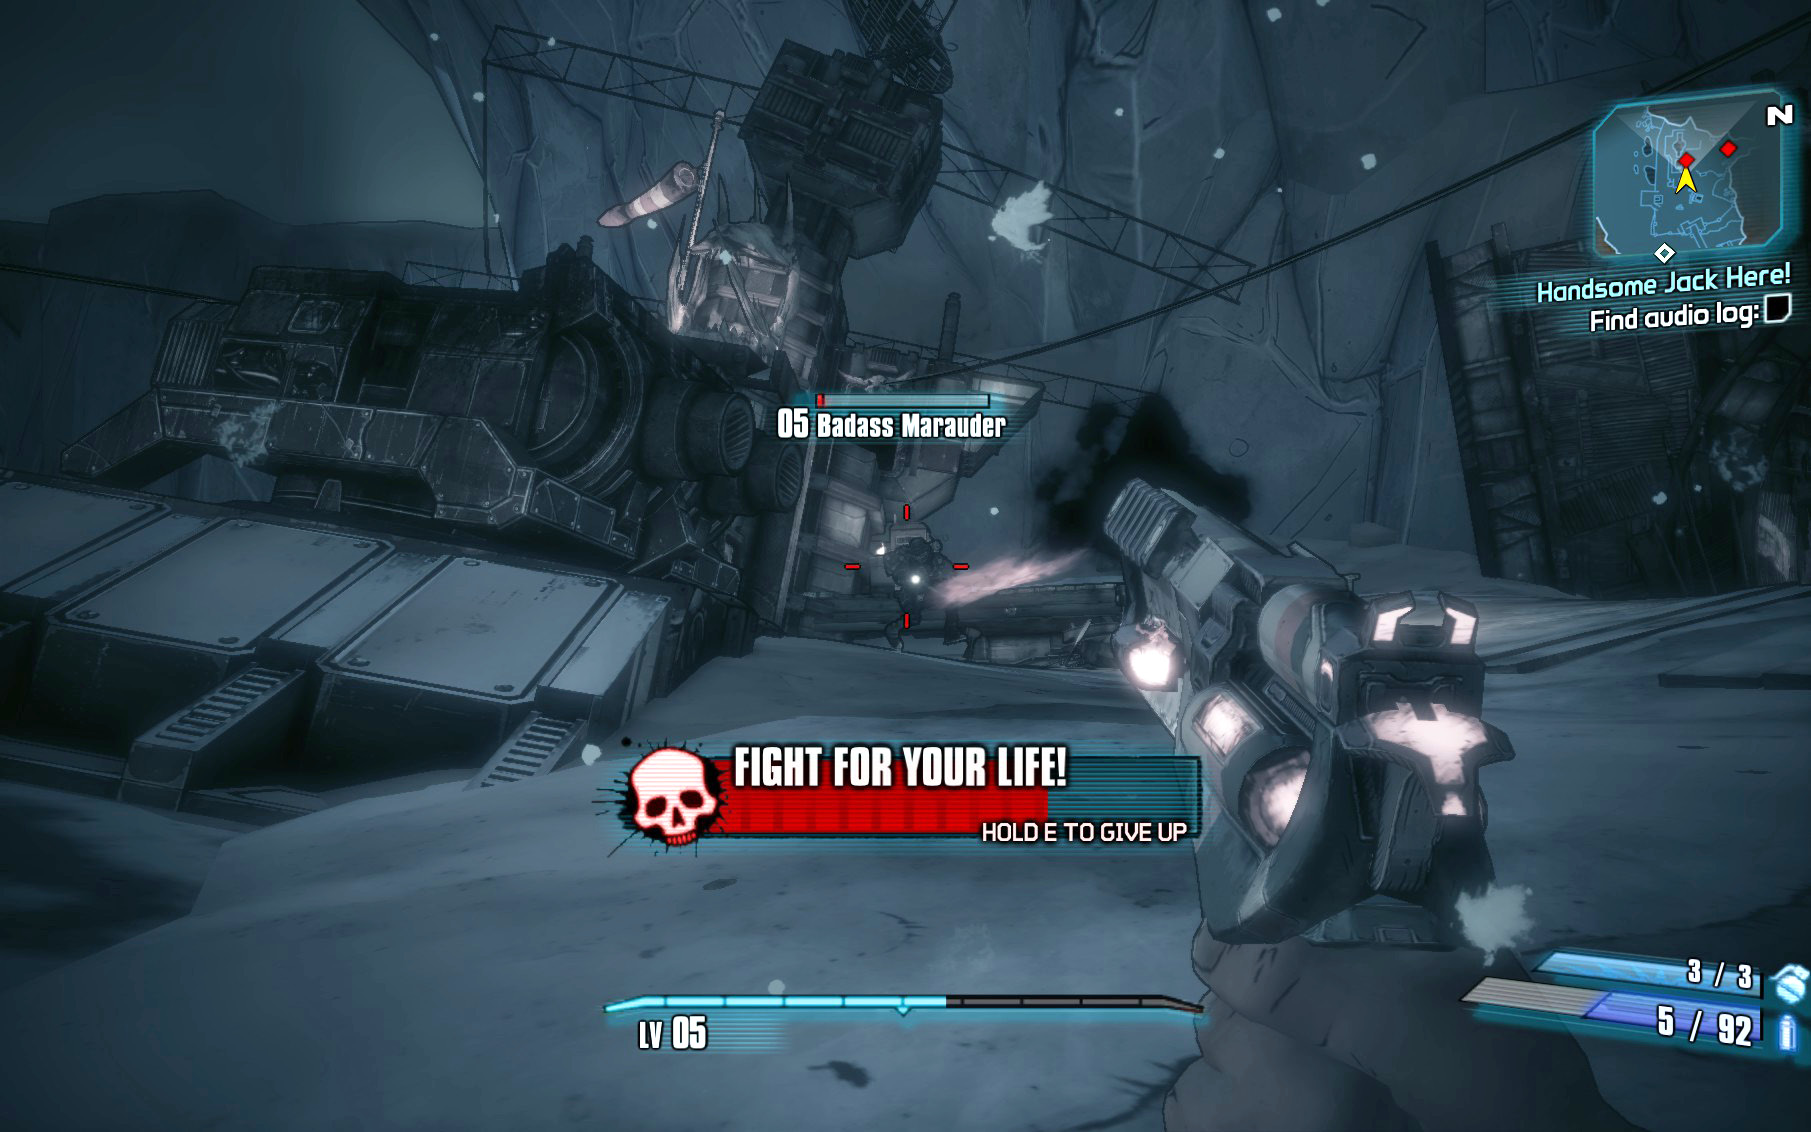
Your shield is down, your health is rapidly diminishing. Get health knocked all the way to zero, and you’ll fall to your knees, rattled at death’s doorstep. For a brief period of time, you’ll be stuck in a state called Fight For Your Life. This can also be called a “downed” state. While downed, movement speed becomes a literal crawl, aiming down weapon sights isn’t possible, and Action Skills cannot be activated. But there are exceptions—for example, Salvador can use his Action Skill if he has the Down Not Out skill, and Krieg can move freely and throw dynamite with his Light the Fuse skill.
Score a kill during Fight For Your Life, and you’ll rise back to your feet with Second Wind, rejuvenated by this brush with the end. Co-op partners can also rush to your side and revive you during Fight For Your Life; Maya equipped with the Res skill can use Phaselock to instantly revive downed allies remotely.
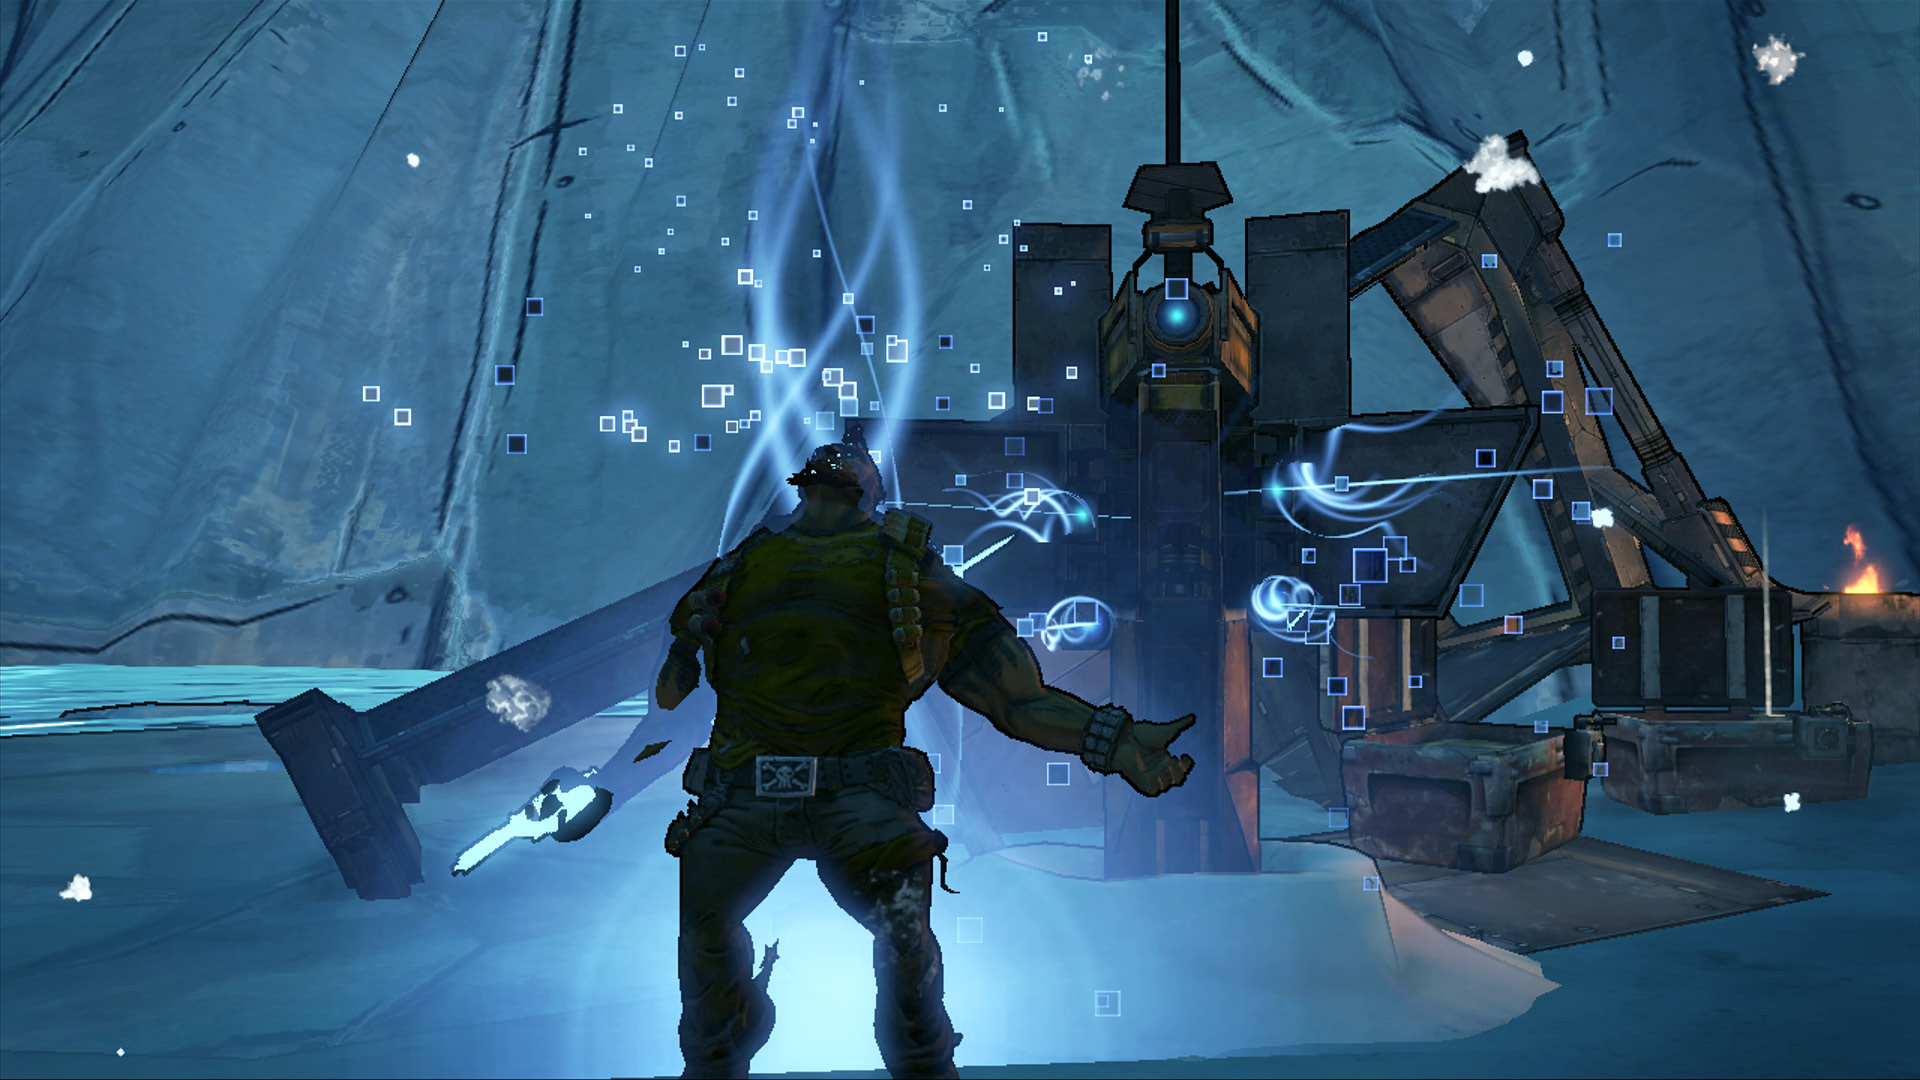
If the Fight For Your Life timer ticks all the way down before a teammate can revive you or before you can score a kill that activates Second Wind, then you’ll be dead. A shame, so young. Your body will be discorporated, and a new body will be digistructed at the most recent Hyperion New-U station you’ve passed nearby in the current area. For the humble feat of bringing you back from the dead, Hyperion will garnish about a tenth of your total funds. That might add up to a lot of money, but it’s a lot better than being dead, so don’t complain too much.