
Borderlands 2 Game of the Year Guide Tiny Tina's Assault on Dragon Keep
Denial, Anger, Initiative
|
 Mission Briefing
| Level | Money | XP | Gear |
|---|---|---|---|
|
32 |
$1,691 (2,537 with bonus) |
8845 |
Shotgun (blue) or Submachine Gun (blue) |
*Money and XP may vary based on player’s level at start of mission.
Follow the Diamond-Pile Road
After hastily changing The Forest of Tranquility into The Forest of Being Eaten Alive by Trees, Tina adds a bunch of powerful treants to her campaign, along with their Stumpy offspring. Both varieties are slow and easily fought from a distance, but watch out for the Elder Treants’ ability to use ranged attacks with the blue fruits that grow from their branches. While healthy, the treants throw their fruit onto the ground, which explode if approached. When dying, the treants send their fruit directly at their attackers.
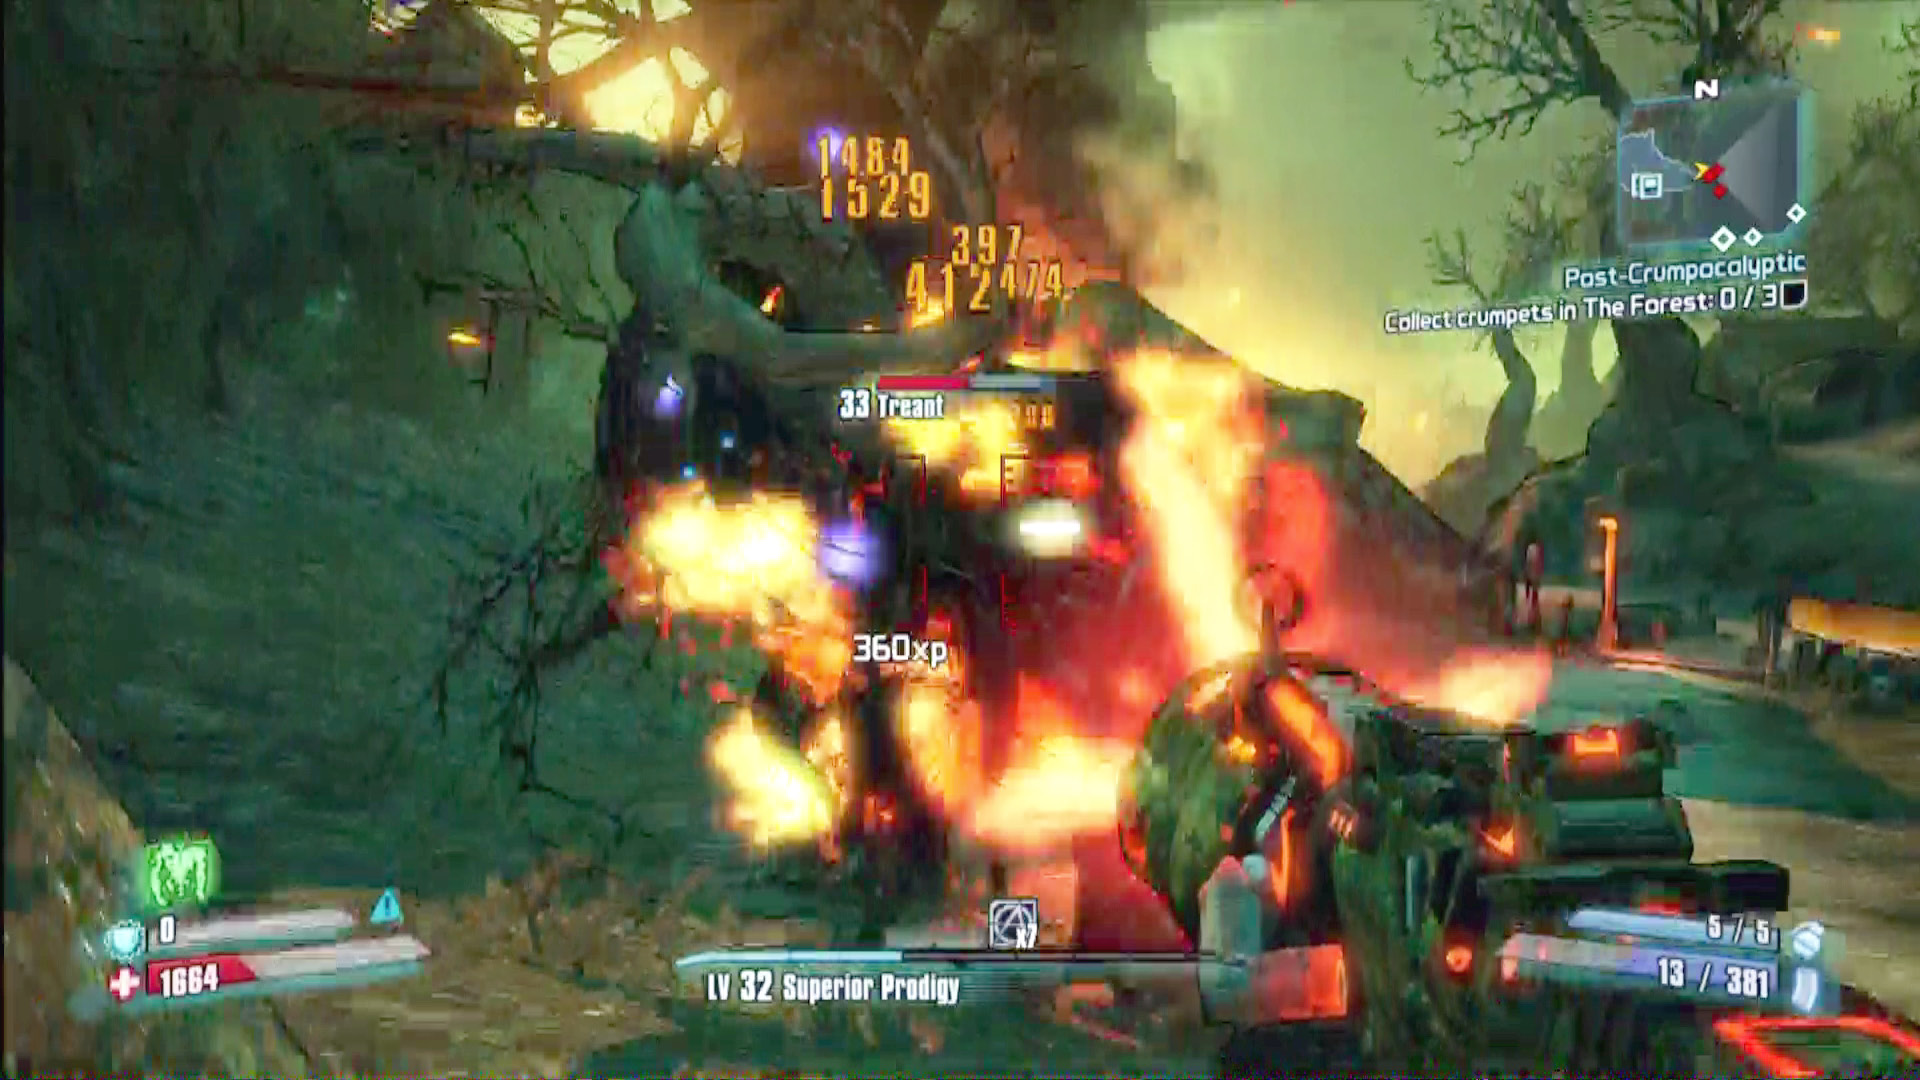
It probably will not shock you to learn that all varieties of treant are extremely weak against incendiary weaponry.
The queen’s trail of diamonds leads you to a temple-like structure in the southeast part of the map, where newly re-commissioned gate guardian Davlin is waiting. But if you explore the side path to Old Glenn the Blacksmith’s cottage (which you must do before meeting Davlin), you’ll complete an optional quest objective and also get an early crack at some loot chests, a plate of crumpets, a Cult of the Vault symbol, and your target in the “Ell in Shining Armor” quest.
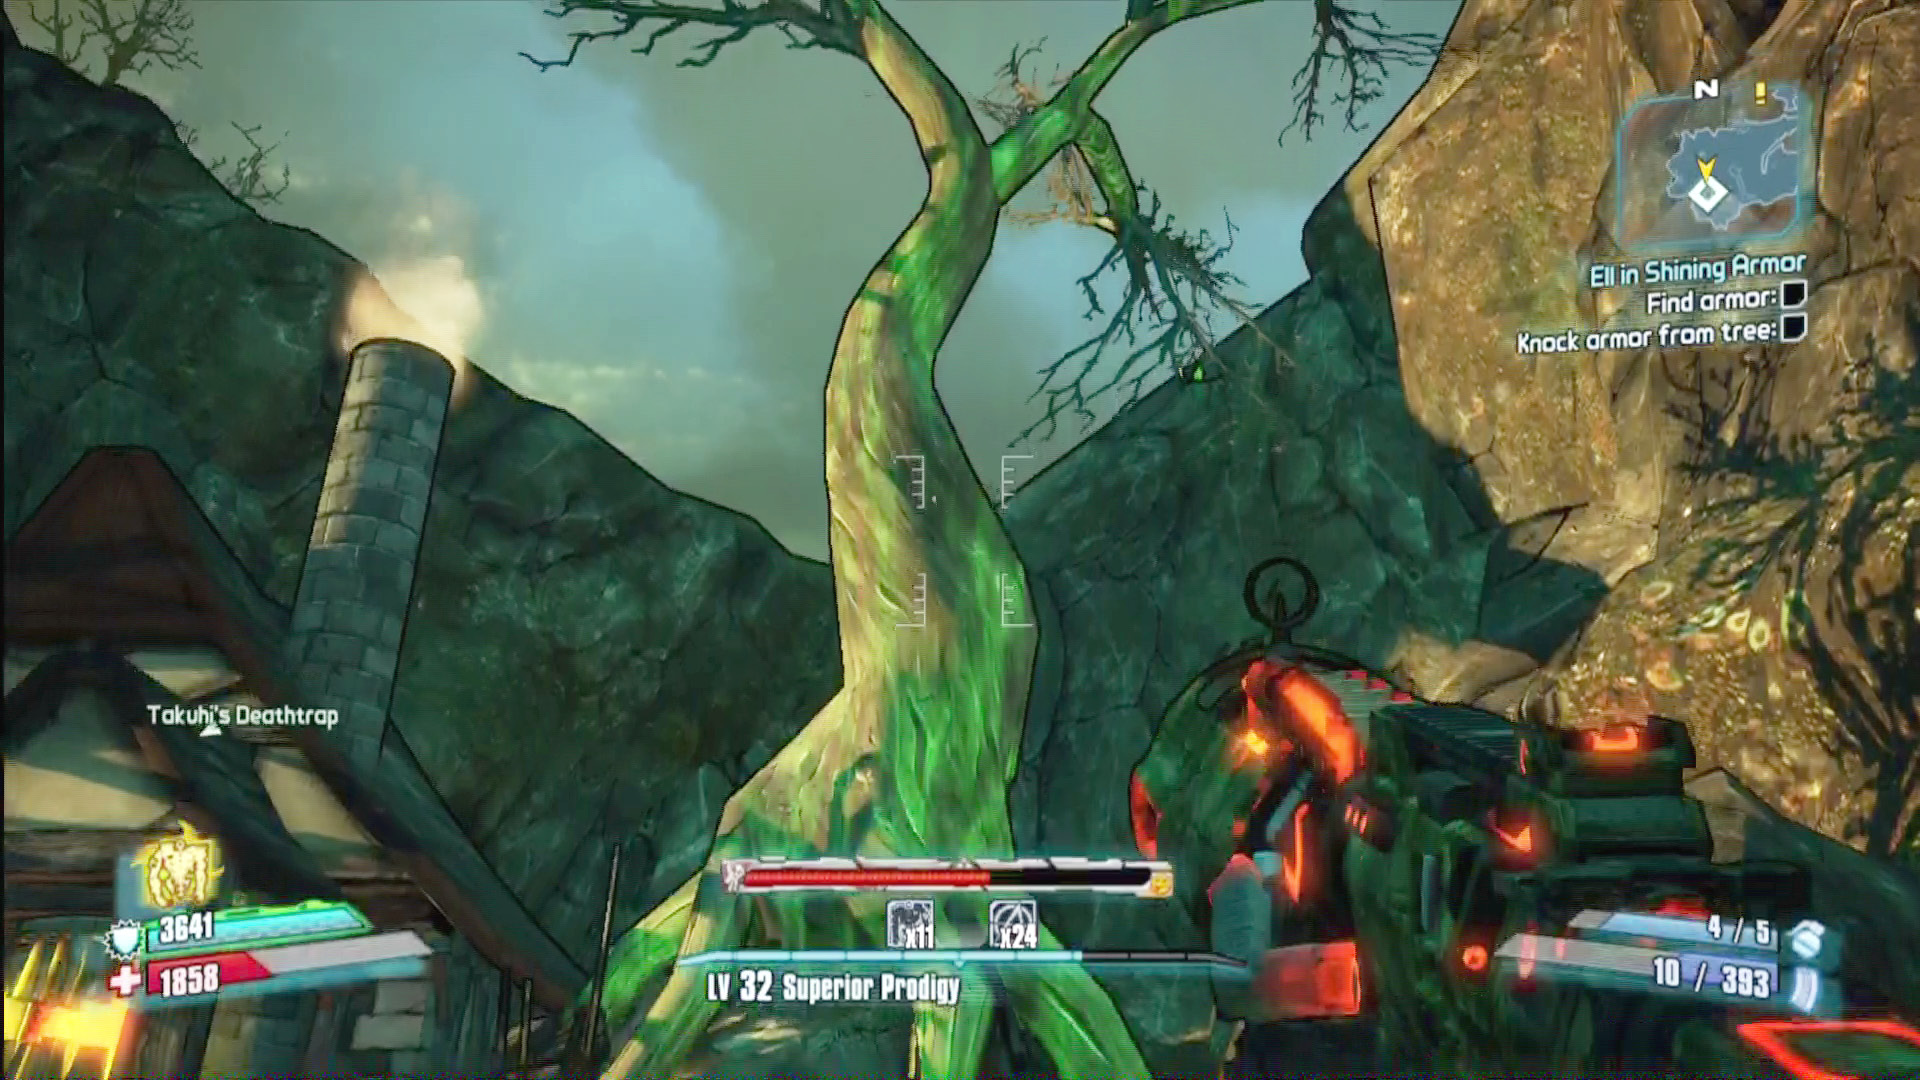
Switch on the “Ell in Shining Armor” quest to make it easier to find the prompts necessary to complete it.
The Bloodfruit Harvest
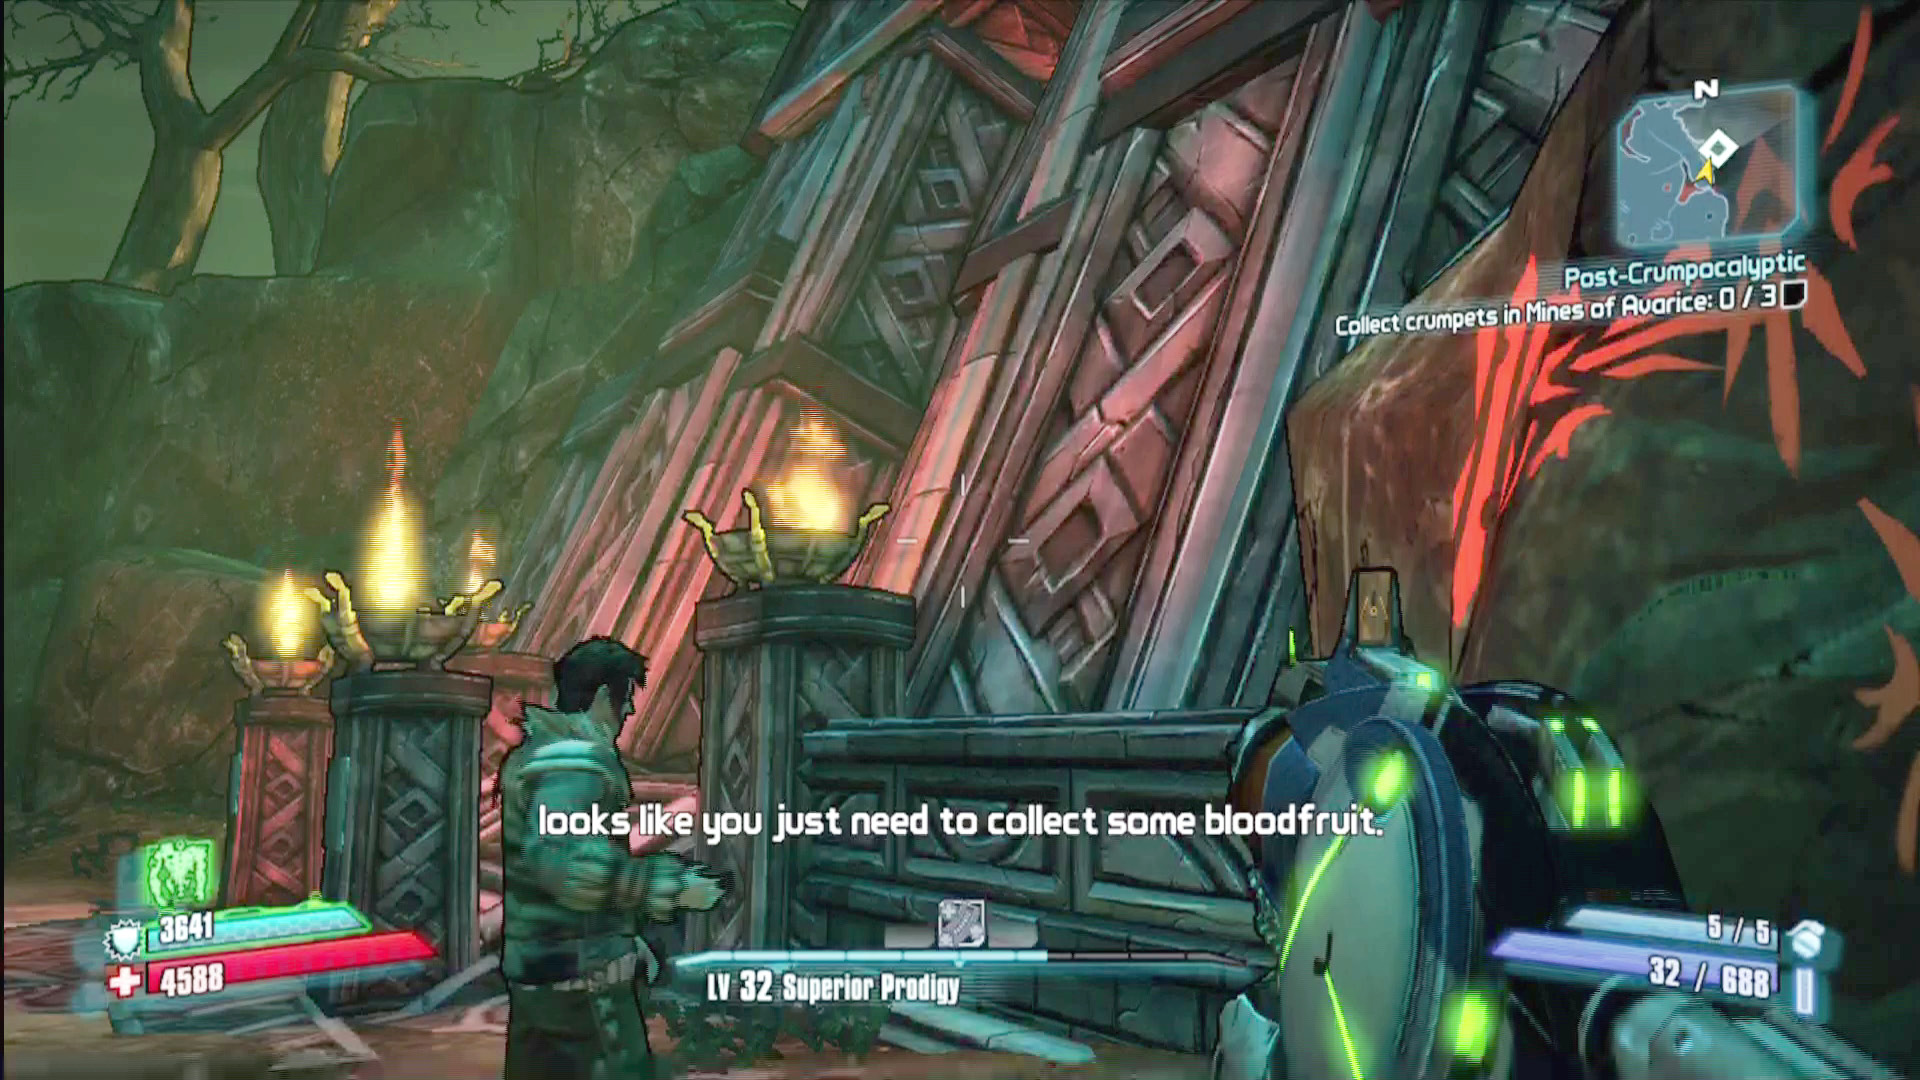
When you meet up with Davlin, he’ll discover some orcish writing and yada-yada-yada, now you have to find a bunch of bloodfruit. The bloodfruit is in the Blood Tree Camp to the west. If you haven’t yet visited the camp, you’ll find it full of powerful orc enemies, led by the optional boss Warlord Grug/Duke of Ork. You’ll eventually want to clear them out to get at the chests, crumpet, and challenge objectives, but there’s no need to do so immediately; in fact, if you rush through them, you can lead an orc or two to the bloodfruit pool, where they can serve as a useful distraction. There’s also usually a Pixie in the bloodfruit pool, and capturing it helps provide some support.
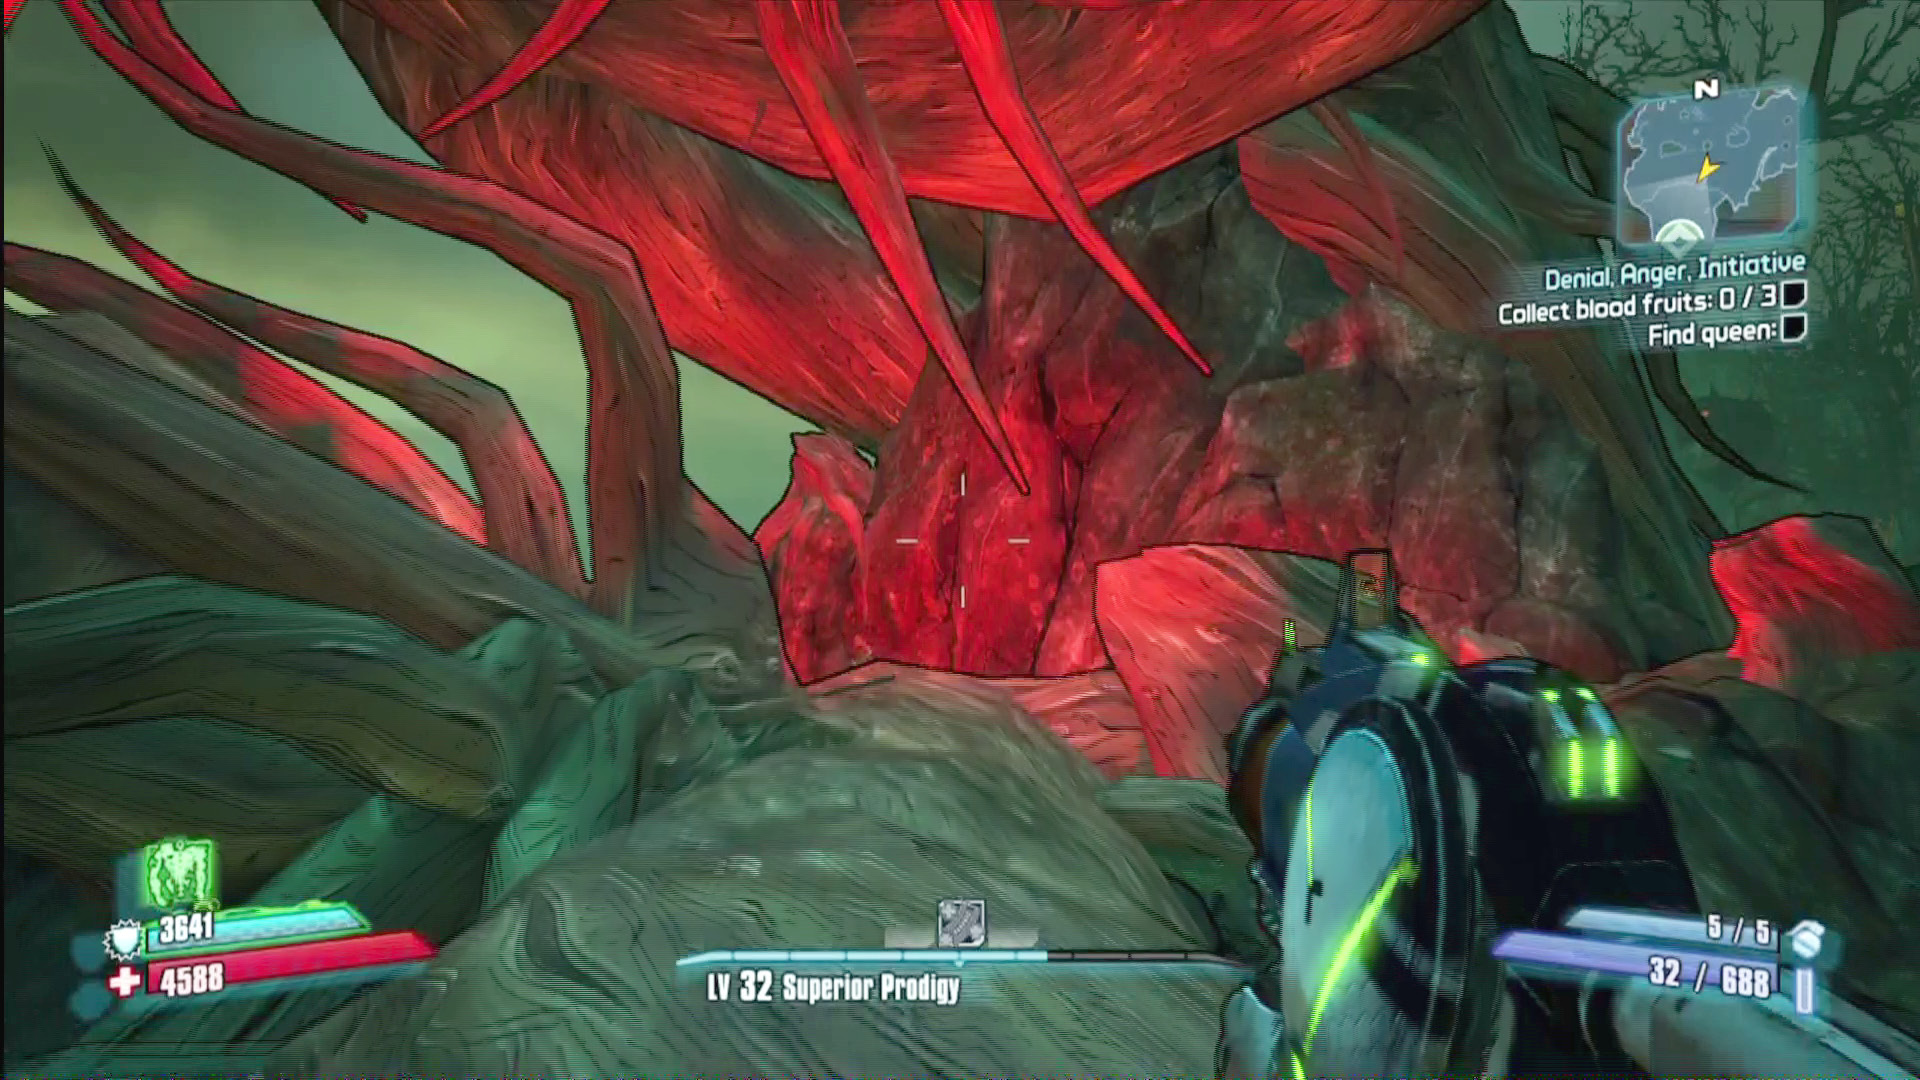
To spot the bloodfruit pool, look for the ominous red glow in the southernmost part of the Red Tree Camp. A fallen tree allows you to reach it.
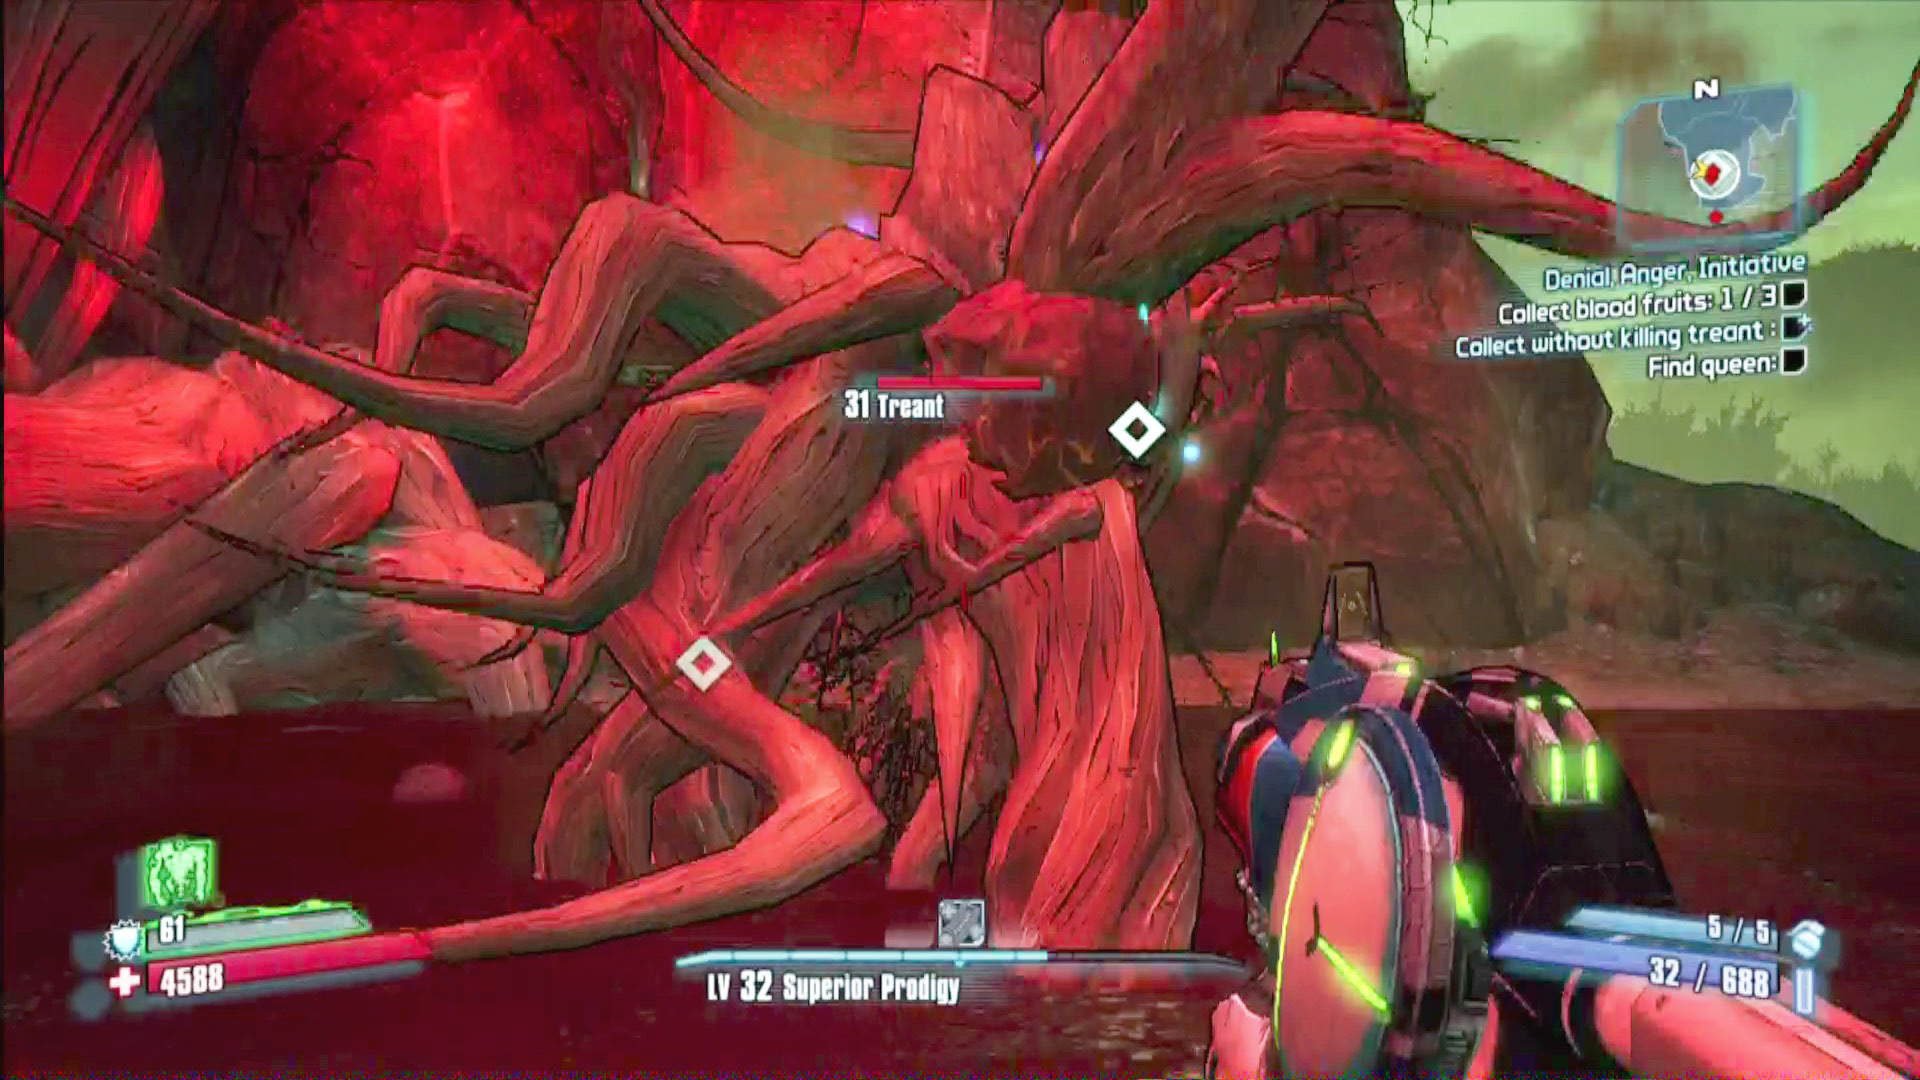
Make sure not to summon Deathtrap or drop a turret here, as they didn’t get the memo about that don’t-kill-the-treant thing.
The first bloodfruit is free, but picking it awakens the treant on which the fruits grow. Claiming them without killing the treant is an optional objective, and you can snatch them if you’re quick. But grabbing them is easier if you have an orc distracting the treant. Bring the fruit back to Davlin, smear it on the two shining pillars, and the path to the Immortal Woods opens wide.
Queen in the Woods with Diamonds
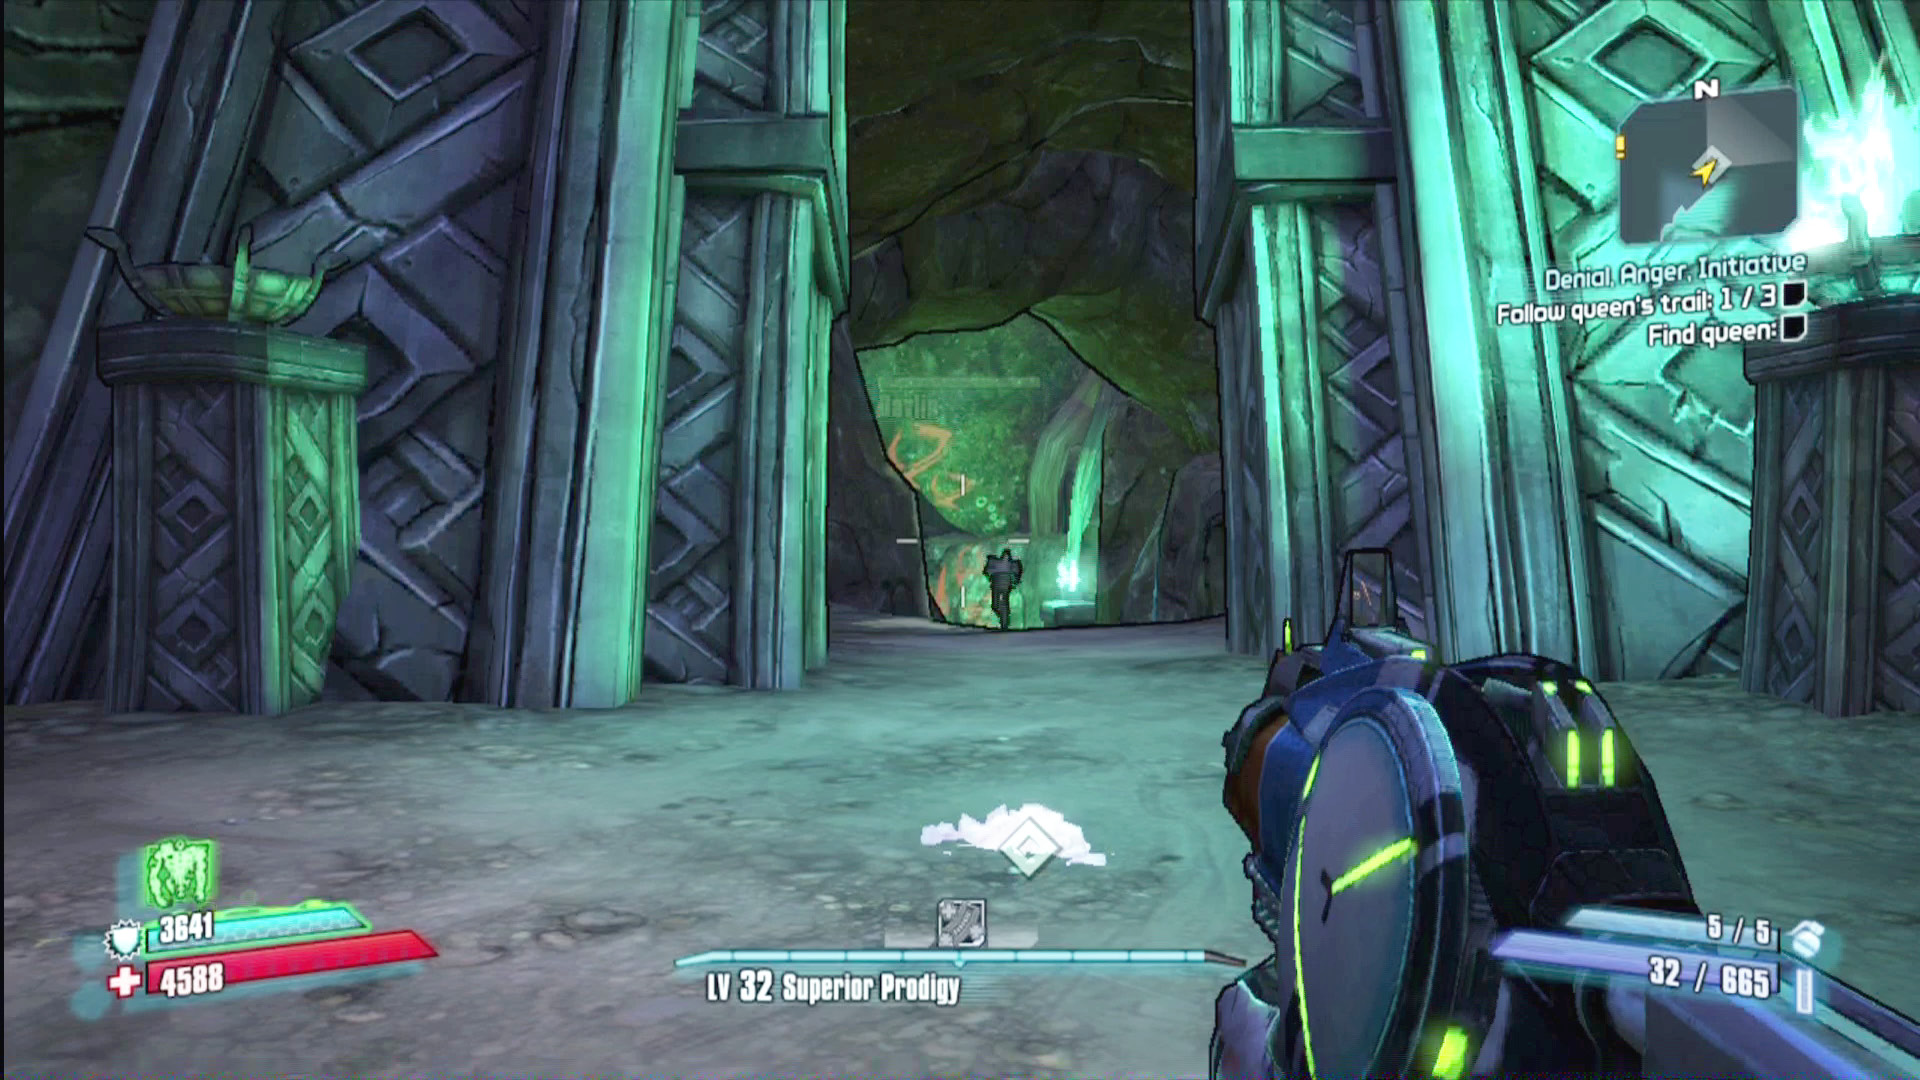
How many diamonds can one queen carry?
The queen’s sparse diamond trail leads you to the northeast, and to follow it, you can either cut through the Sacred Ruins (site of the “Lost Souls” and “Critical Failure” quests) or the Fields of the Fallen (site of the “MMORPGFPS” quest). Either way, expect to fight packs of adventuring Knights, Squires, and Archers on the way—individually, you easily have these would-be-heroes overpowered, but good teamwork can give them an edge. Slip past the Knights to snuff out the pesky Archers first.
At the second diamond pile, follow Davlin into the tunnel, where some hasty plot rewrites send you scrambling back to the Fields of the Fallen to find a White Knight. From the southern part of the area, head north along the east wall to find a path that leads to a tunnel to That One Blimp You Destroyed, where the White Knight is waiting.
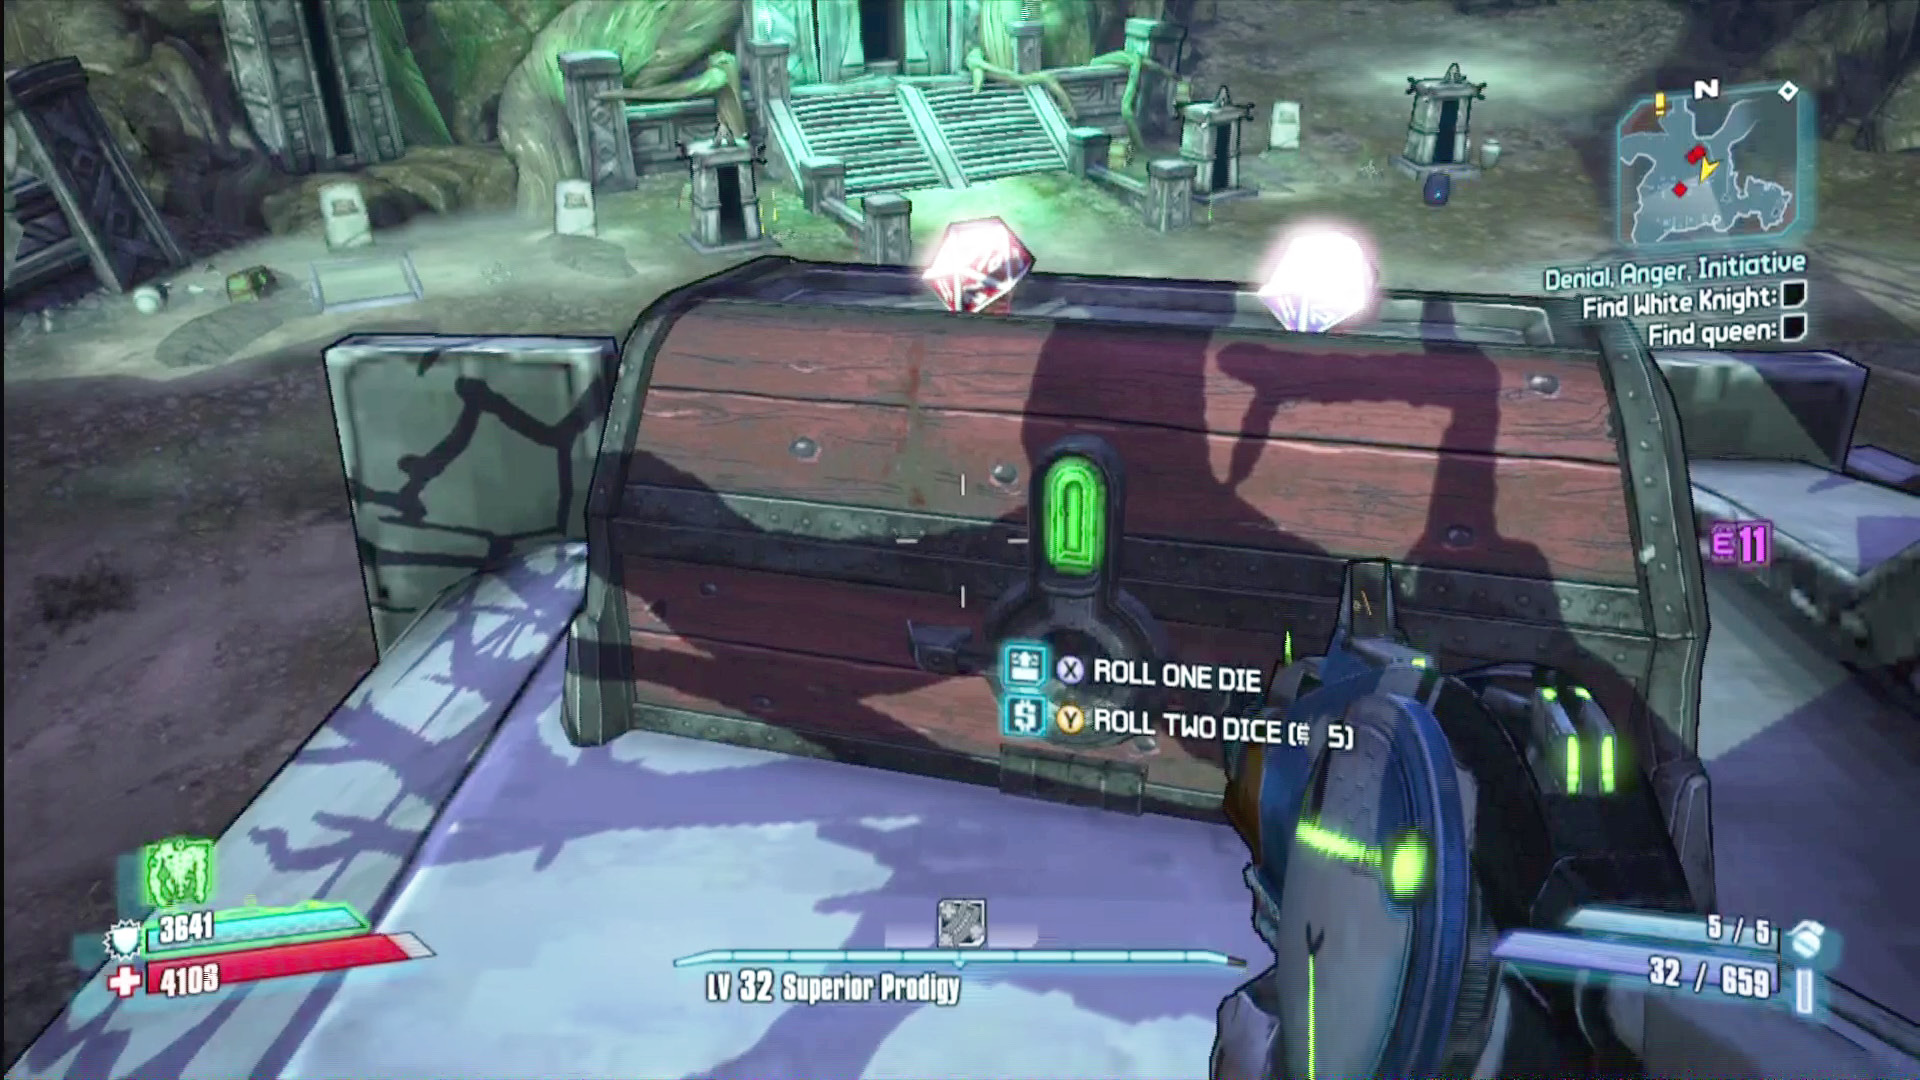
Before you enter the tunnel to That One Blimp You Destroyed, don’t miss the opportunity to jump onto a column to the west, from which you can make a series of jumps to a dice chest atop a mausoleum.
White Knights and Dragon Slaying
You’ll find your White Knight locked in battle with a pair of flying Red Dragons. When you bring those two down, a stronger Blue Dragon joins the battle. This can be a difficult fight, as the aerial dragons are hard to hit, and there are no lesser enemies on which to score Second Winds. Play it safe against the tougher Blue Dragon by hiding in the tunnel, ducking out just long enough to slap it with an elemental-damage dealing effect like Fire or Corrosion (it’s highly resistant to Shock). Team players should break out their slag weapons to maximize the damage.
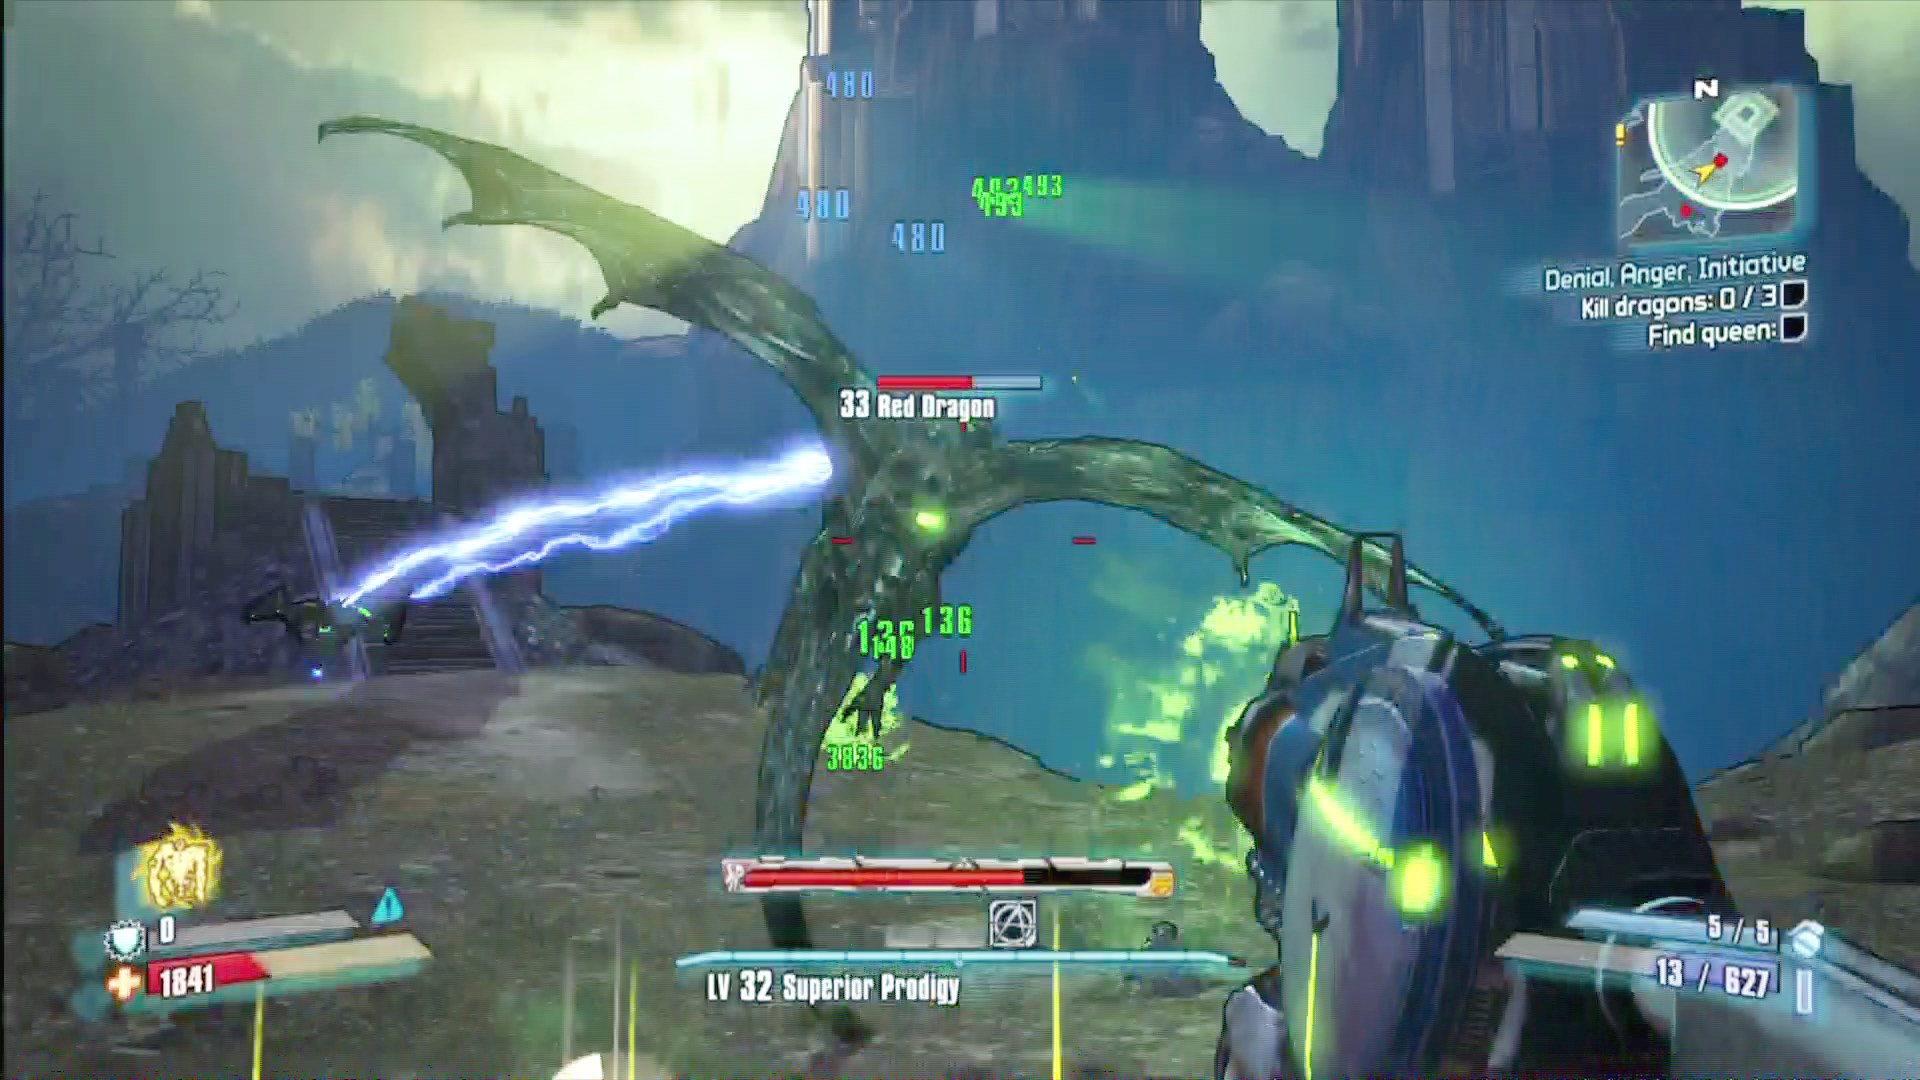
If the evasive dragons tax your ammo supply, you can always drop an Eridium at the nearby ammo Shrine.
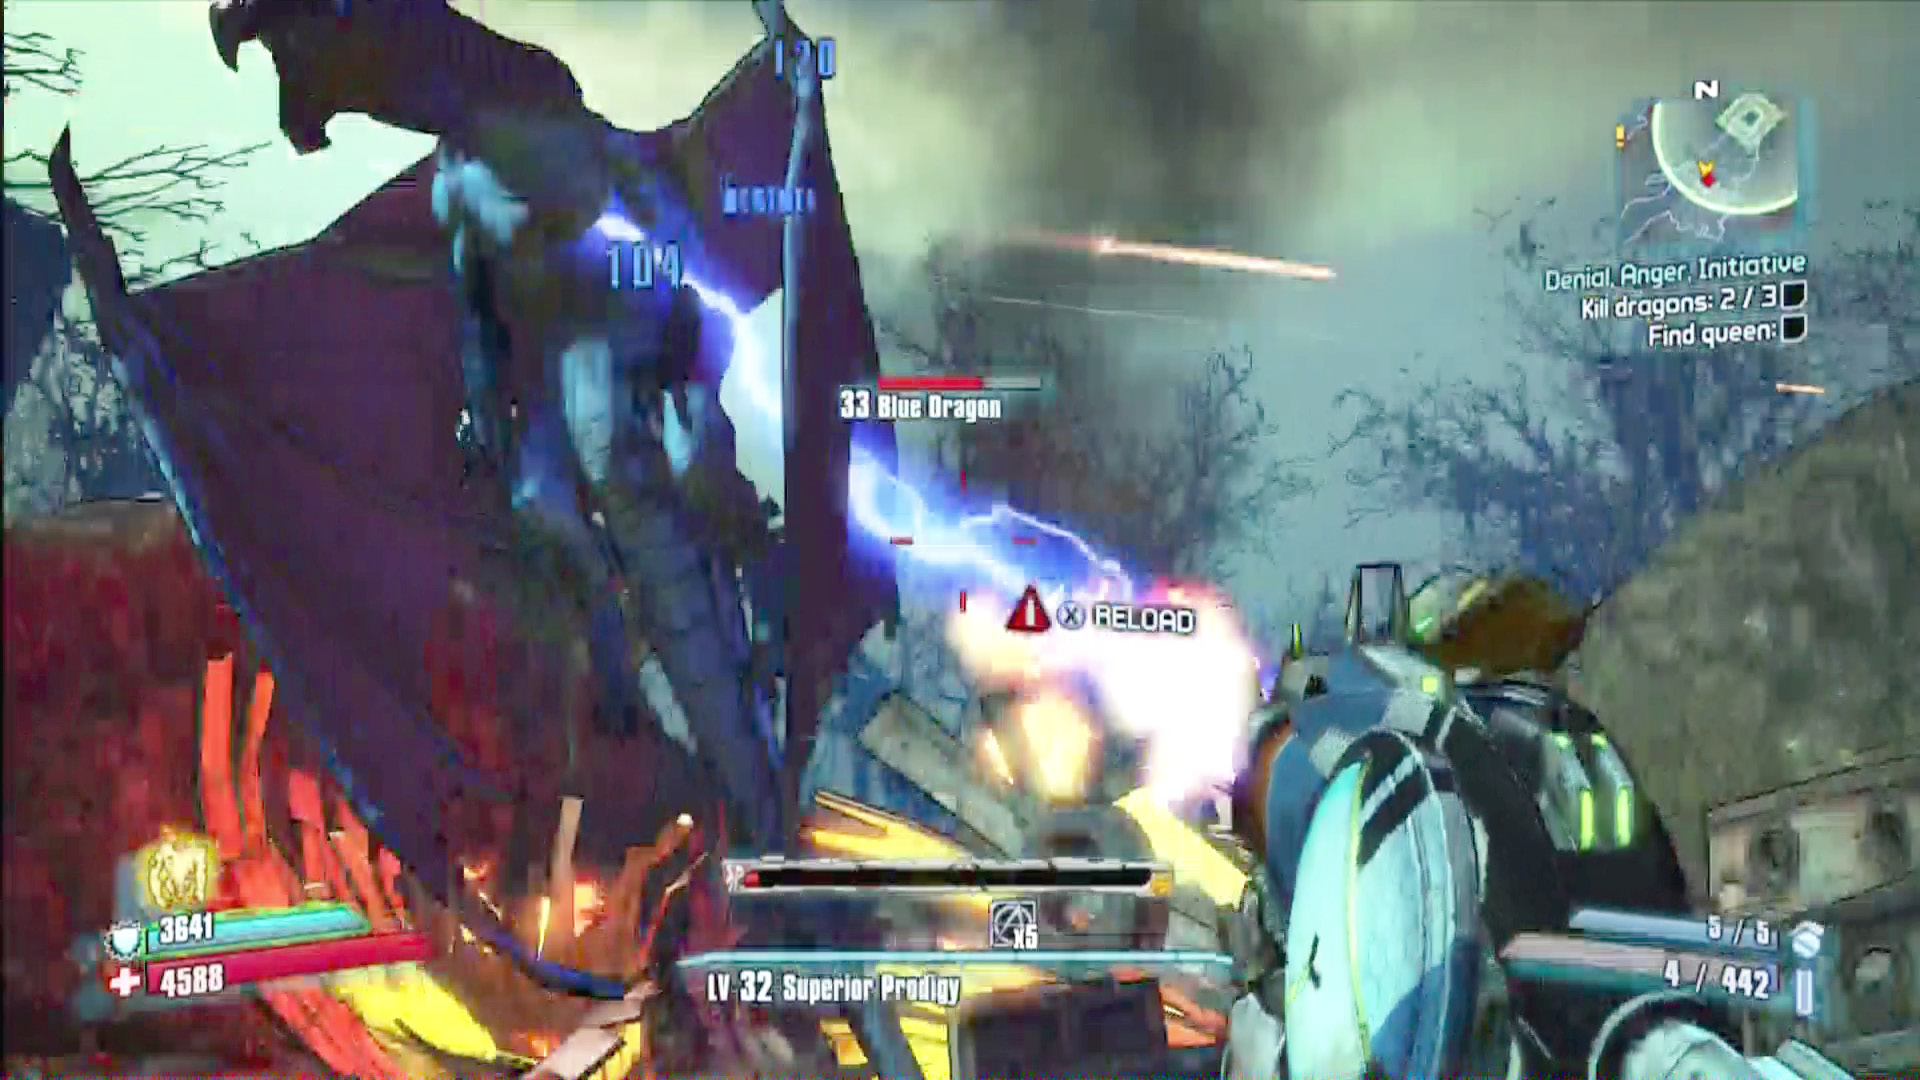
Great leaders delegate. Don’t be afraid to let Roland and hench-things like Deathtrap and turrets do the heavy lifting while you heal up in the tunnel.
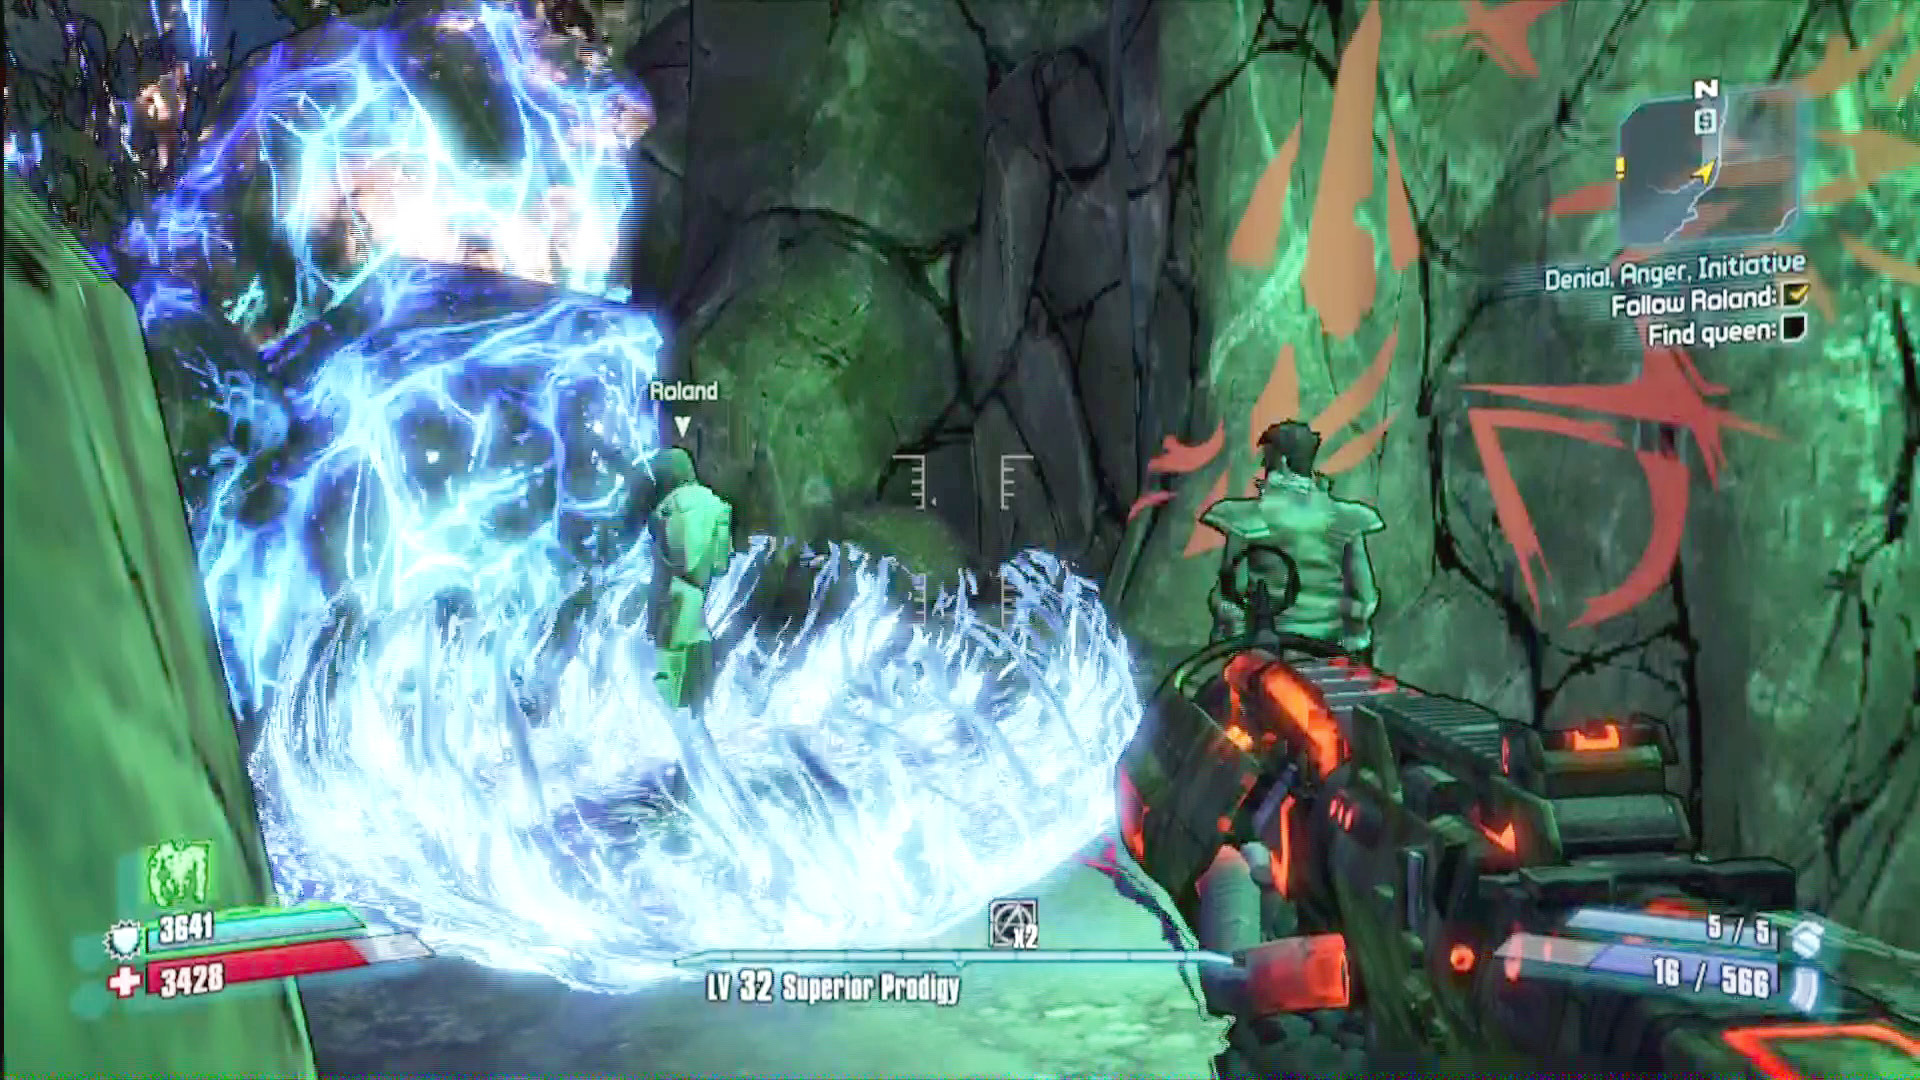
After the battle, escort Roland back to the cave in the northeast, where he’ll use his White Knight magicky goodness to open up the rest of the map.
Dethroning the Ghost Kings
Follow Roland and Davlin to the Vitality Grove. Hand over the bloodfruit, and you’ll face the abrupt double whammy of a nonsensical plot twist followed by a grueling boss encounter.
King Aliah is only the first of four ghost kings you’ll have to fight, although all four are basically identical in terms of stats and behavior. The ghost kings are resistant to incendiary, shock, and corrosive weapons, so stick to normal or explosive weaponry, and aim for headshots if you can. Once the body is beaten, the damaged head soars around the battlefield, and you’ll have to finish it off quickly before it can revive the fallen body.
When you’ve eliminated all four ghost kings, report to Roland to complete this mission and accept the next story mission.
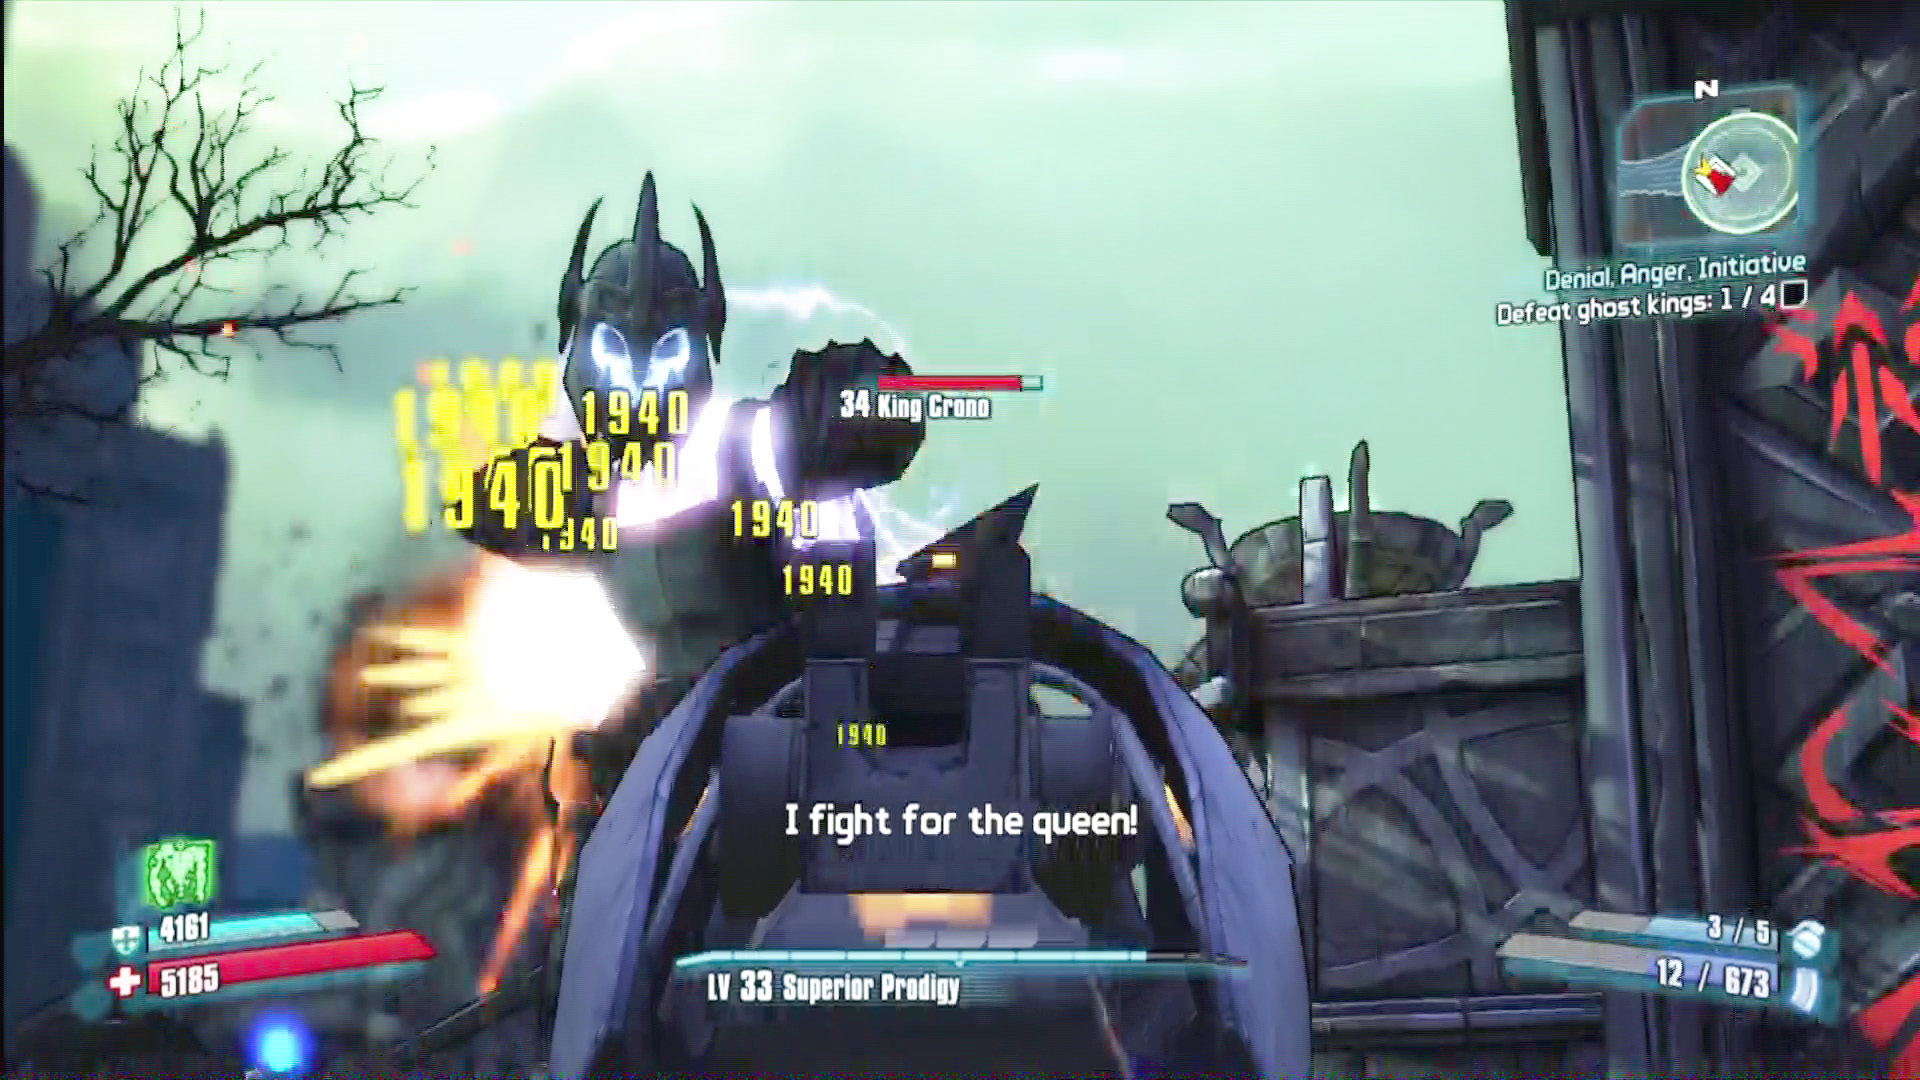
A good explosive weapon can make short work of the ghost kings.
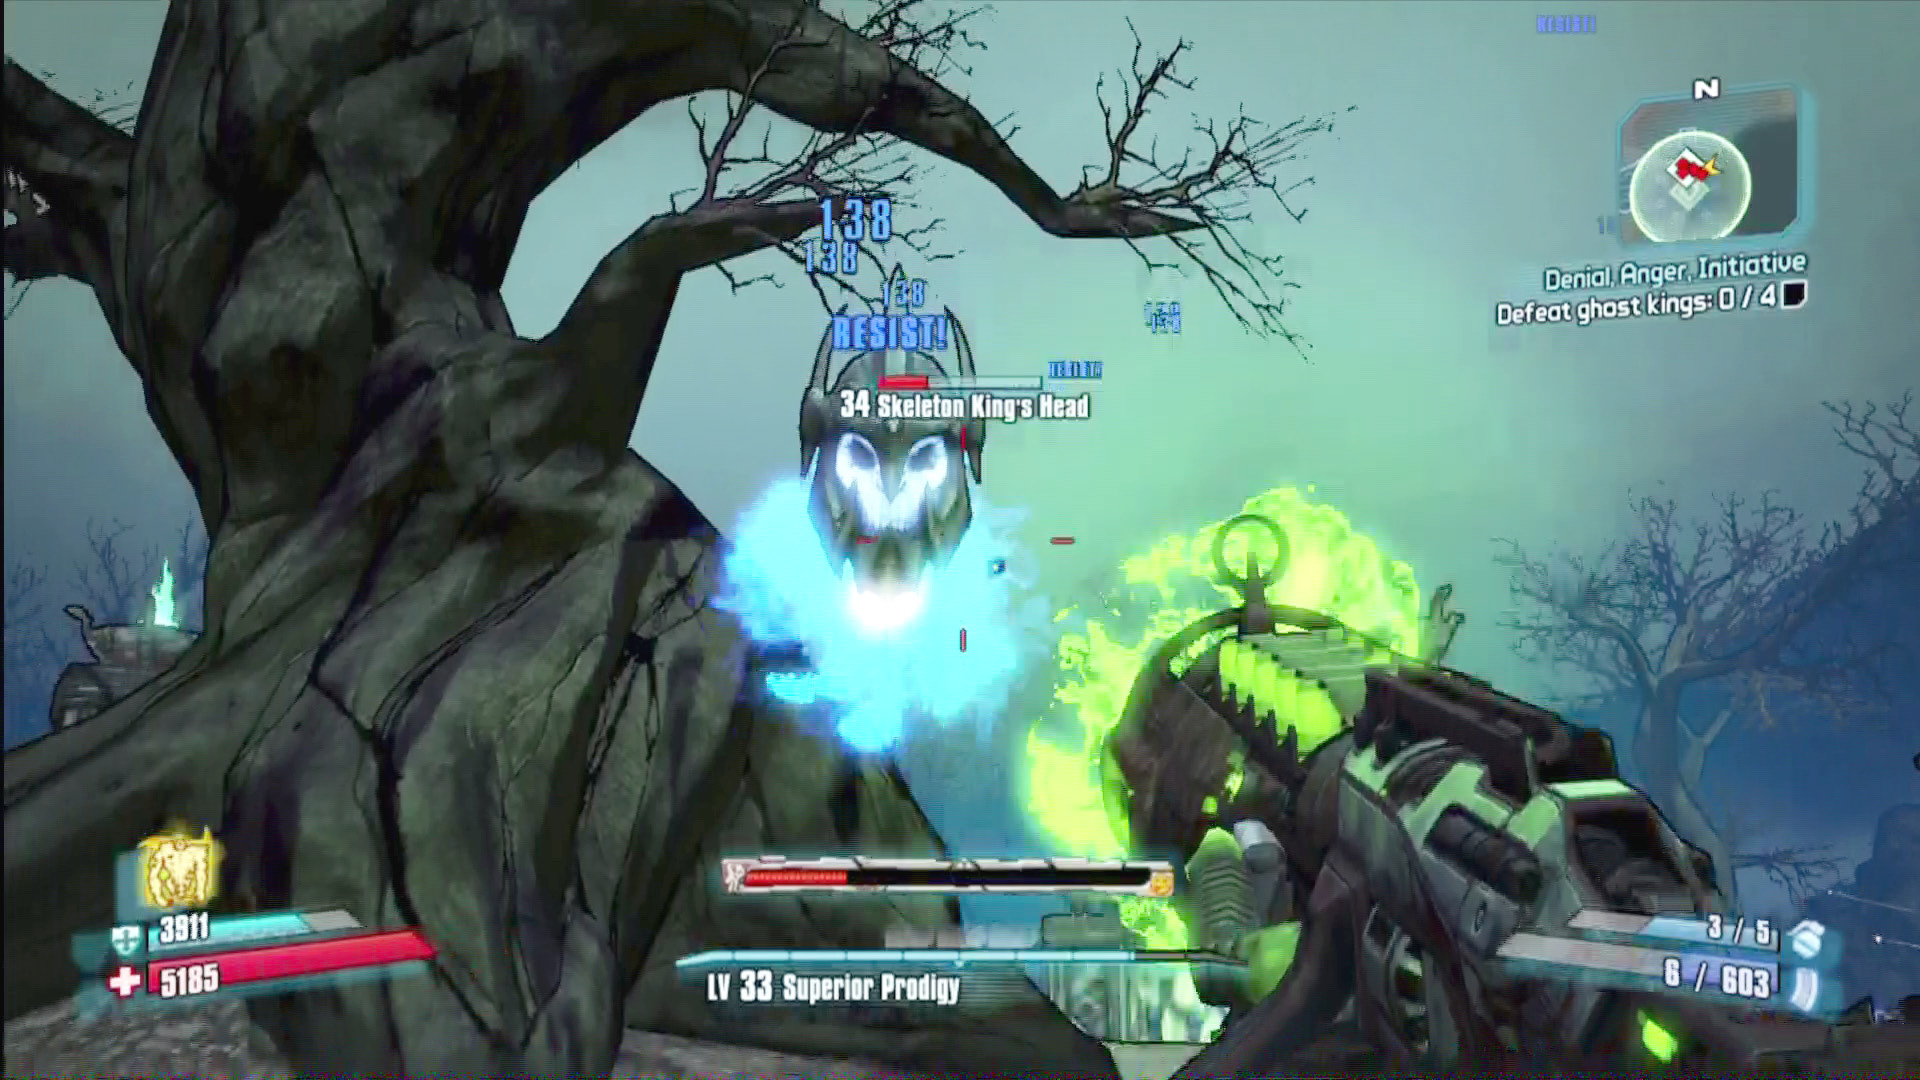
The disembodied heads can’t do much more than attempt to head-butt you. Back away as you blast them to keep them in your sights for as long as possible.
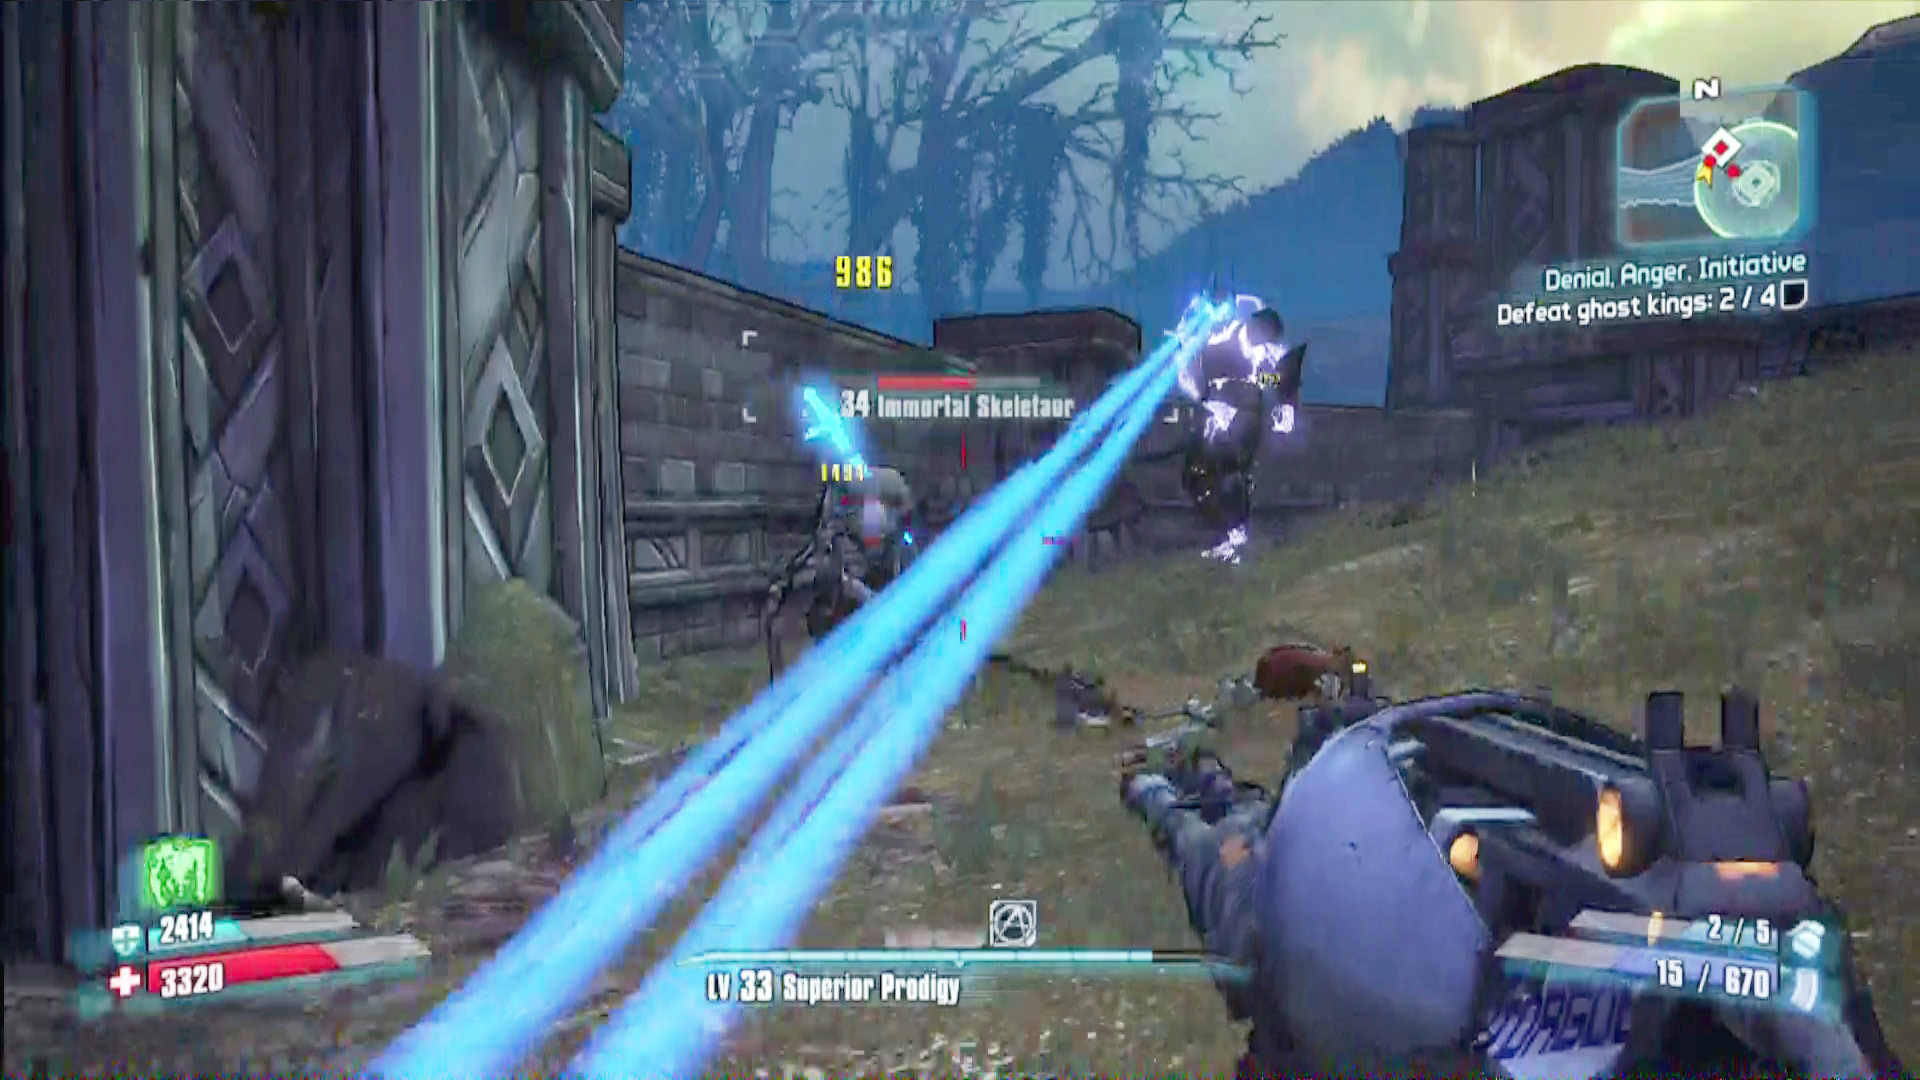
When the ghost kings whip out their eyebeams, duck behind a column to break their gaze. They’ll likely refocus on another target, giving you an opportunity to attack from behind.
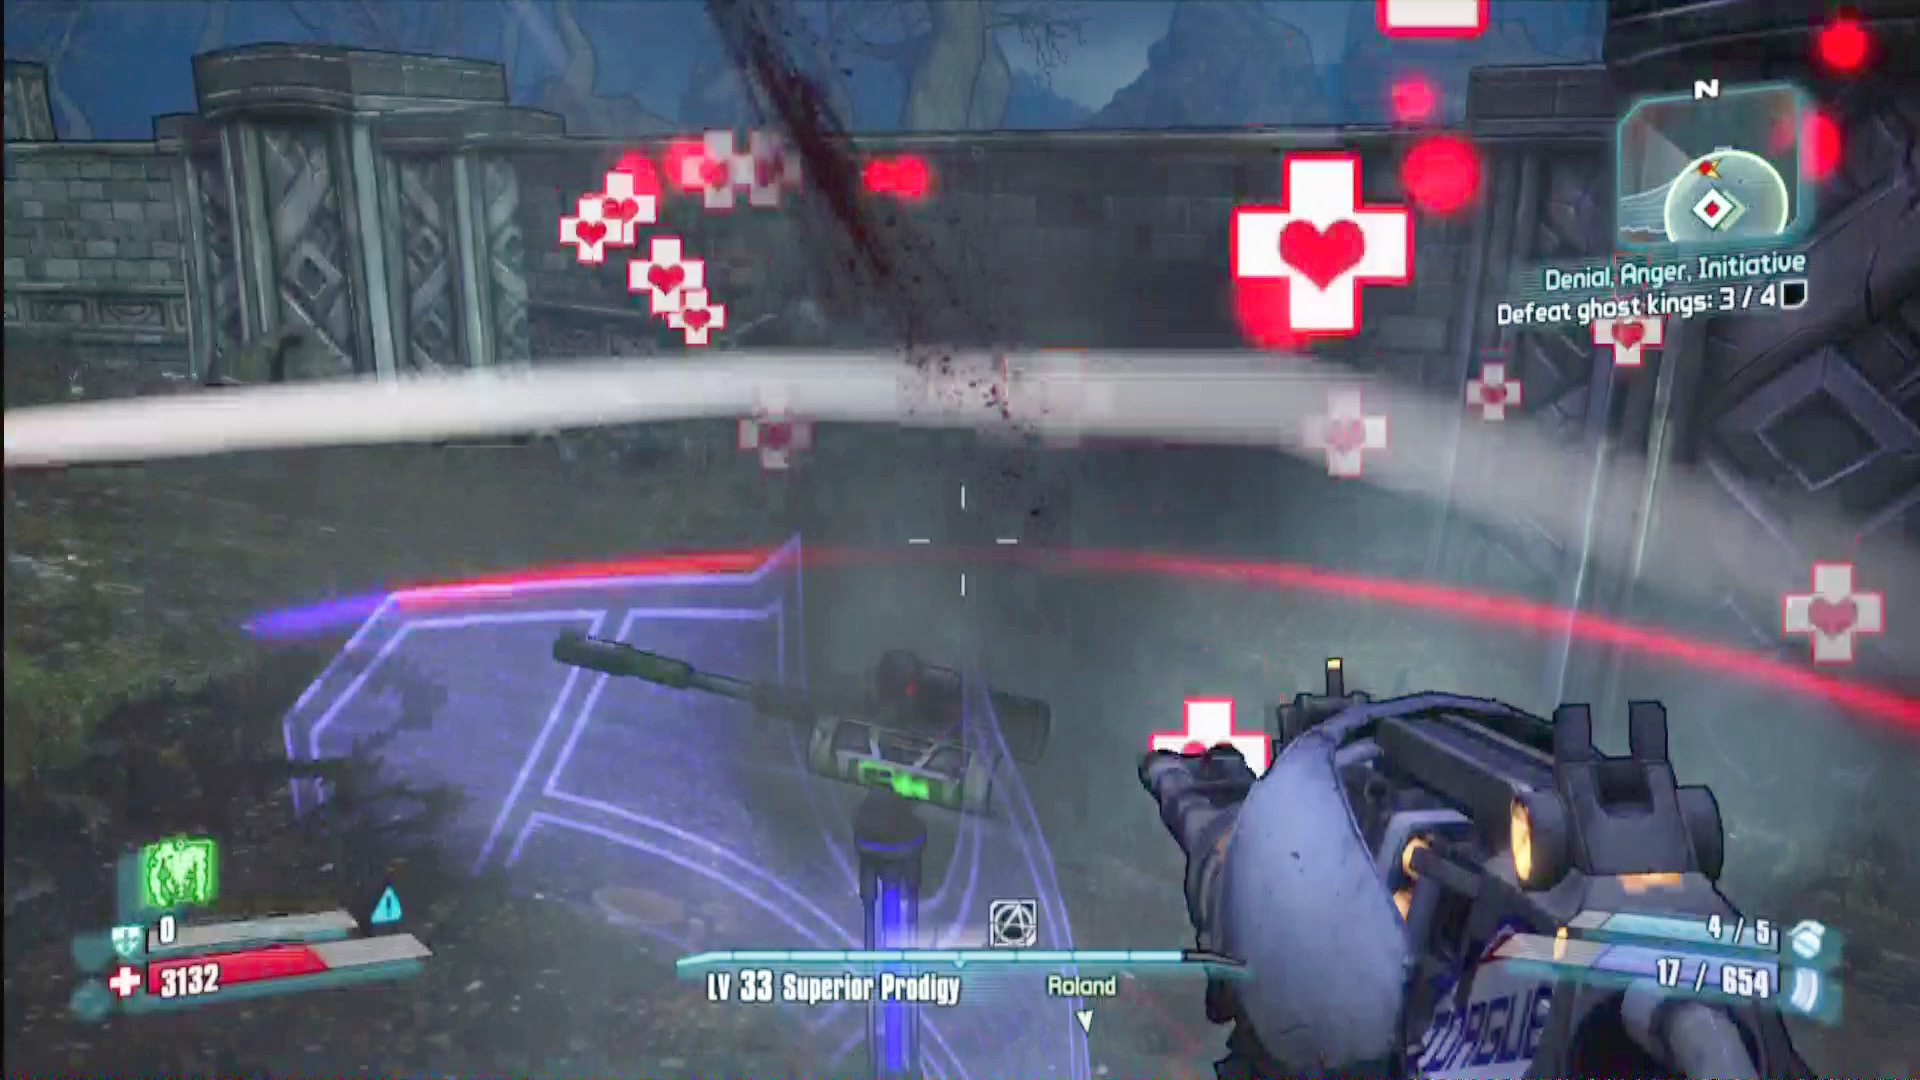
Use the healing properties of Roland’s turret to your advantage in this long and challenging battle.
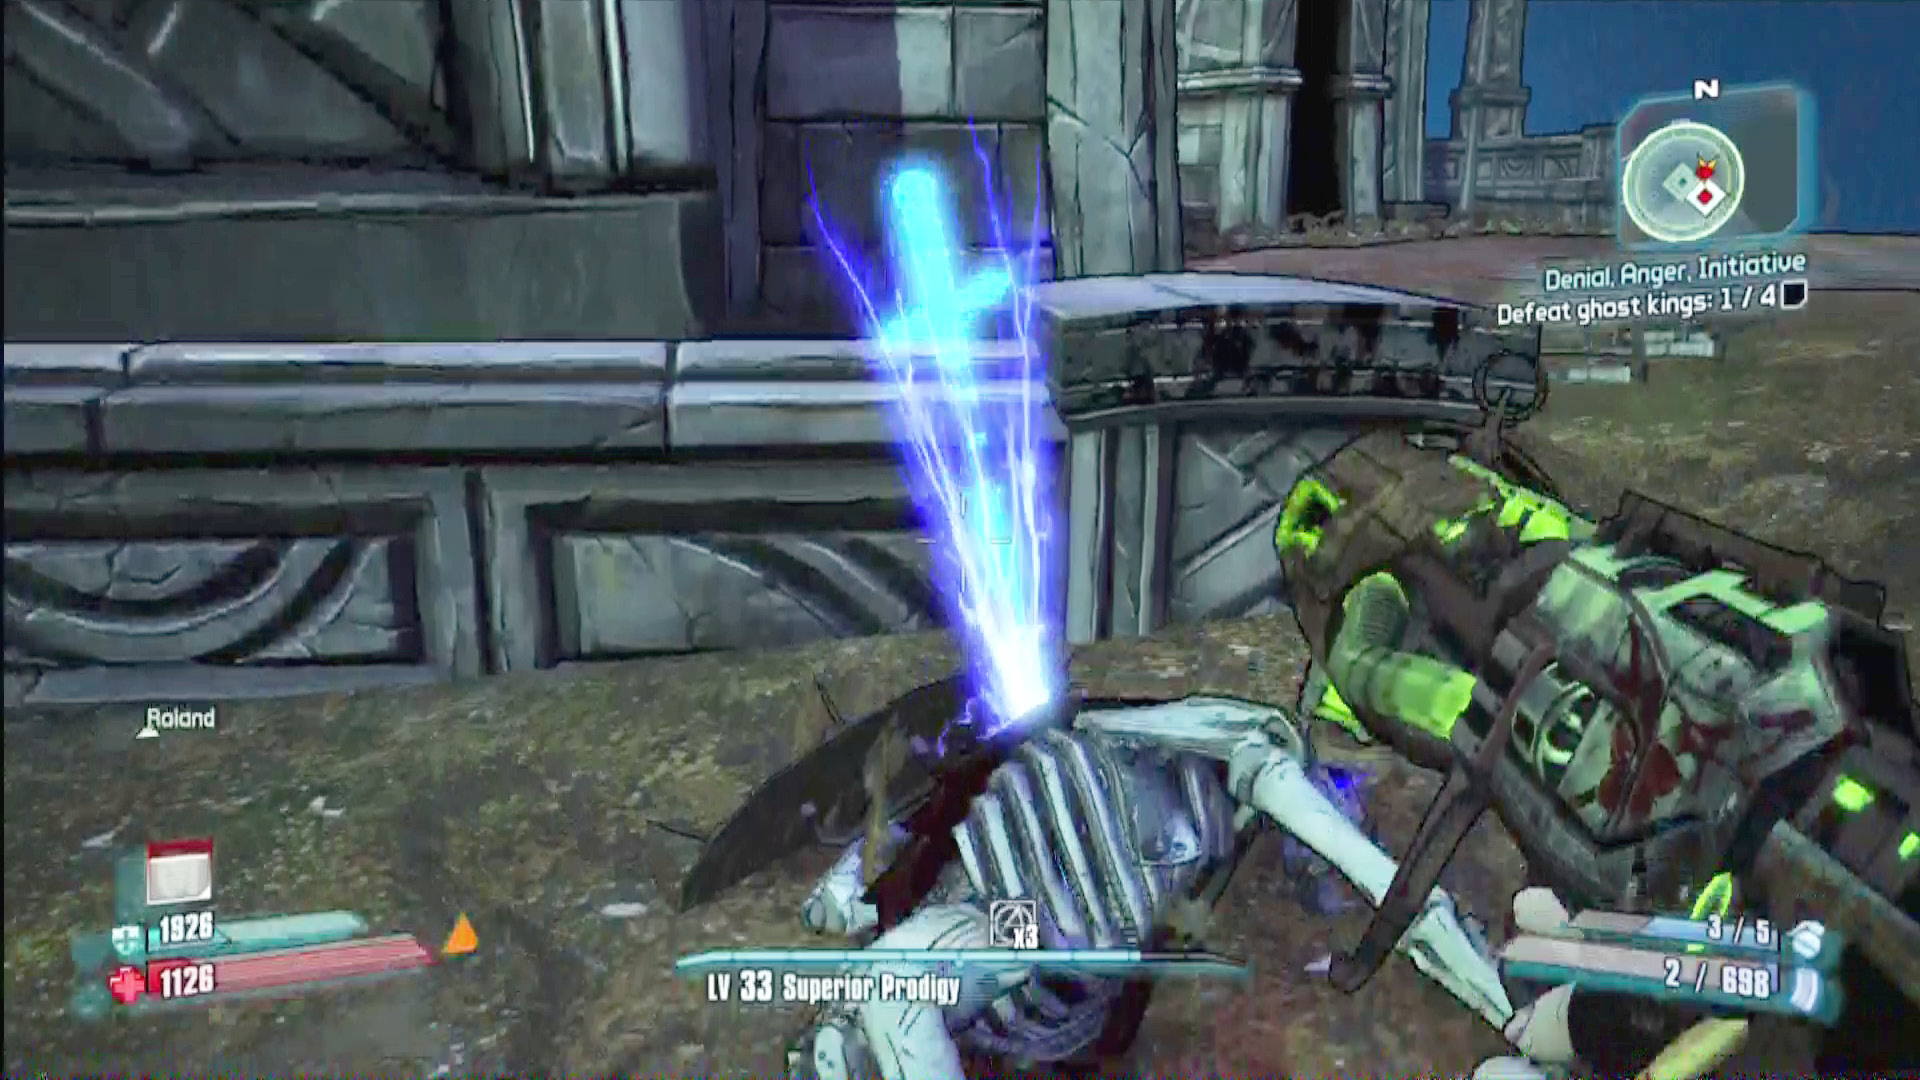
Save the lesser skeletons for Second Winds, but destroy Immortal Skeletaurs immediately, lest they die unnoticed in the crossfire and revive at a higher level.