
Borderlands 2 Game of the Year Guide Mr. Torgue's Campaign of Carnage
Long Way to the Top
|
 Mission Briefing
| Level | Money | XP | Gear |
|---|---|---|---|
|
20 |
75T |
3859 |
— |
*Money and XP may vary based on player’s level at start of mission.
The Challenger Cometh
It’s time to end this contest once and for all. The only thing that stands between you and the Vault is Piston, the very man who double-crossed you when you first gained a ranking in Mr. Torgue’s crazy tournament. Head to Badass Crater, and proceed up the ramp to the main entrance to Torgue Arena. There’s no need to use the maintenance entrance this time; you’ve earned this.
Badassasaurus
Badassasaurus Vitals
| Health Multiplier | Shield Level | Damage Multiplier | XP Value | Critical Areas | Weakness/Resistance |
|---|---|---|---|---|---|
|
80 |
1 |
.5 |
Super Badass |
— |
|
 /
/ ,
,  ,
, 
Piston isn’t about to fight you one-on-one; that would be far too honorable. Instead, he arrives on the scene in a giant fire-spewing robotic dinosaur dubbed the Badassasaurus. Success against Badassasaurus is highly dependent on two things: your equipment and your ability to quickly destroy the nuclear missiles it routinely fires at you. Badassasaurus is resistant to fire, shock, and slag damage, as well as non-elemental attacks, and reflects bullets. It also resists amp shield damage. This makes having Torgue weaponry all but essential, as well as some hefty explosive grenades. As for a shield, having an Adaptive or Fireproof Shield can really come in handy and keep you safe from Badassasaurus’s numerous fire-based attacks. Keep in mind that there aren’t any lesser enemies in the Arena, so getting downed is going to likely cost you your life.
Badassasaurus attacks primarily by breathing fire out of its mouth, spinning around in place while emitting a 360-degree arc of fire from its exhaust, and lobbing fireballs at you. Though dangerous, you can survive these attacks by keeping your distance and equipping an Adaptive or Fireproof Shield.
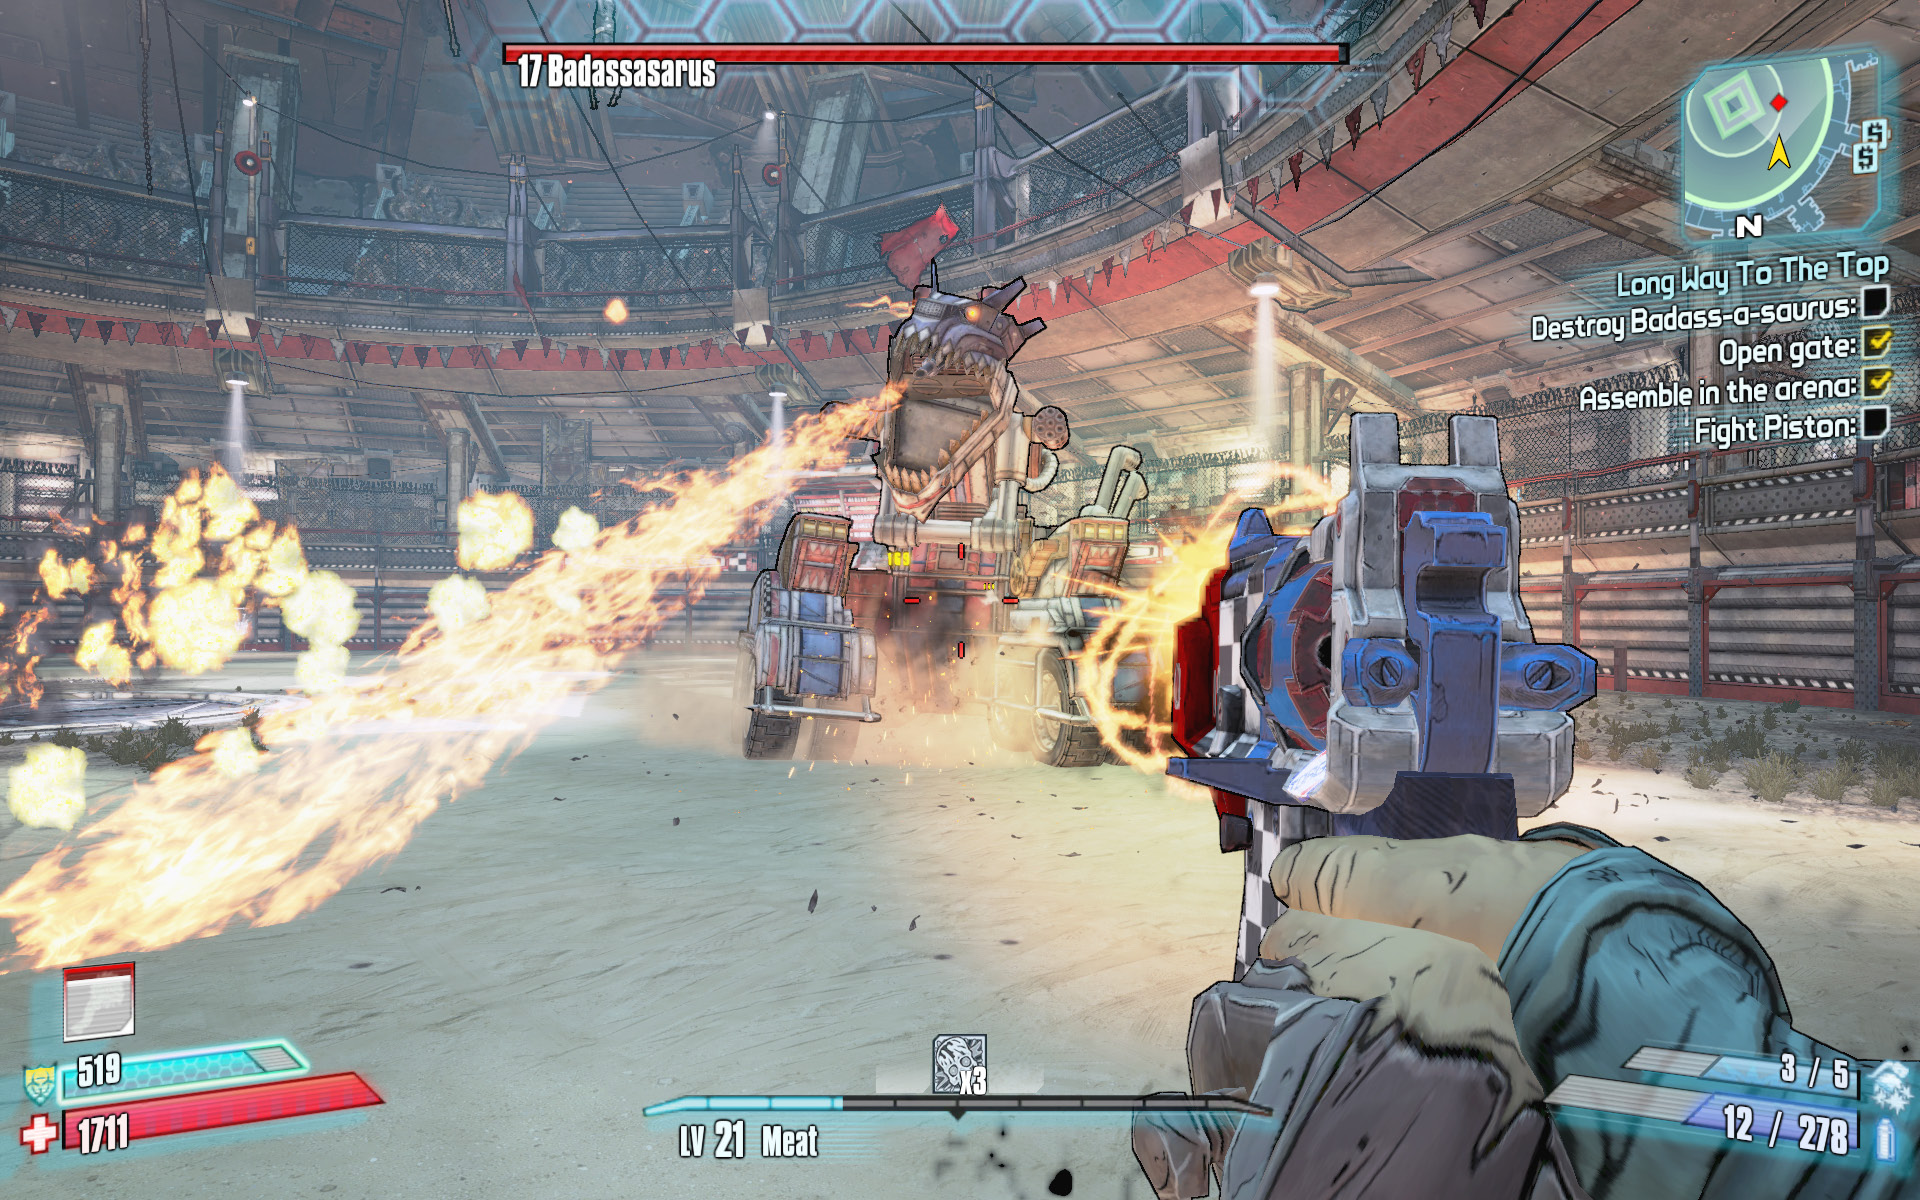
Open fire on the robotic dinosaur vehicle with your explosive weaponry. Aim at any of the red fuel barrels mounted on the rear, top, and sides of Badassasaurus to inflict the most damage. Fire as often as you can, whether with a pistol, assault rifle, or rocket launcher, but try to aim at the red barrels.
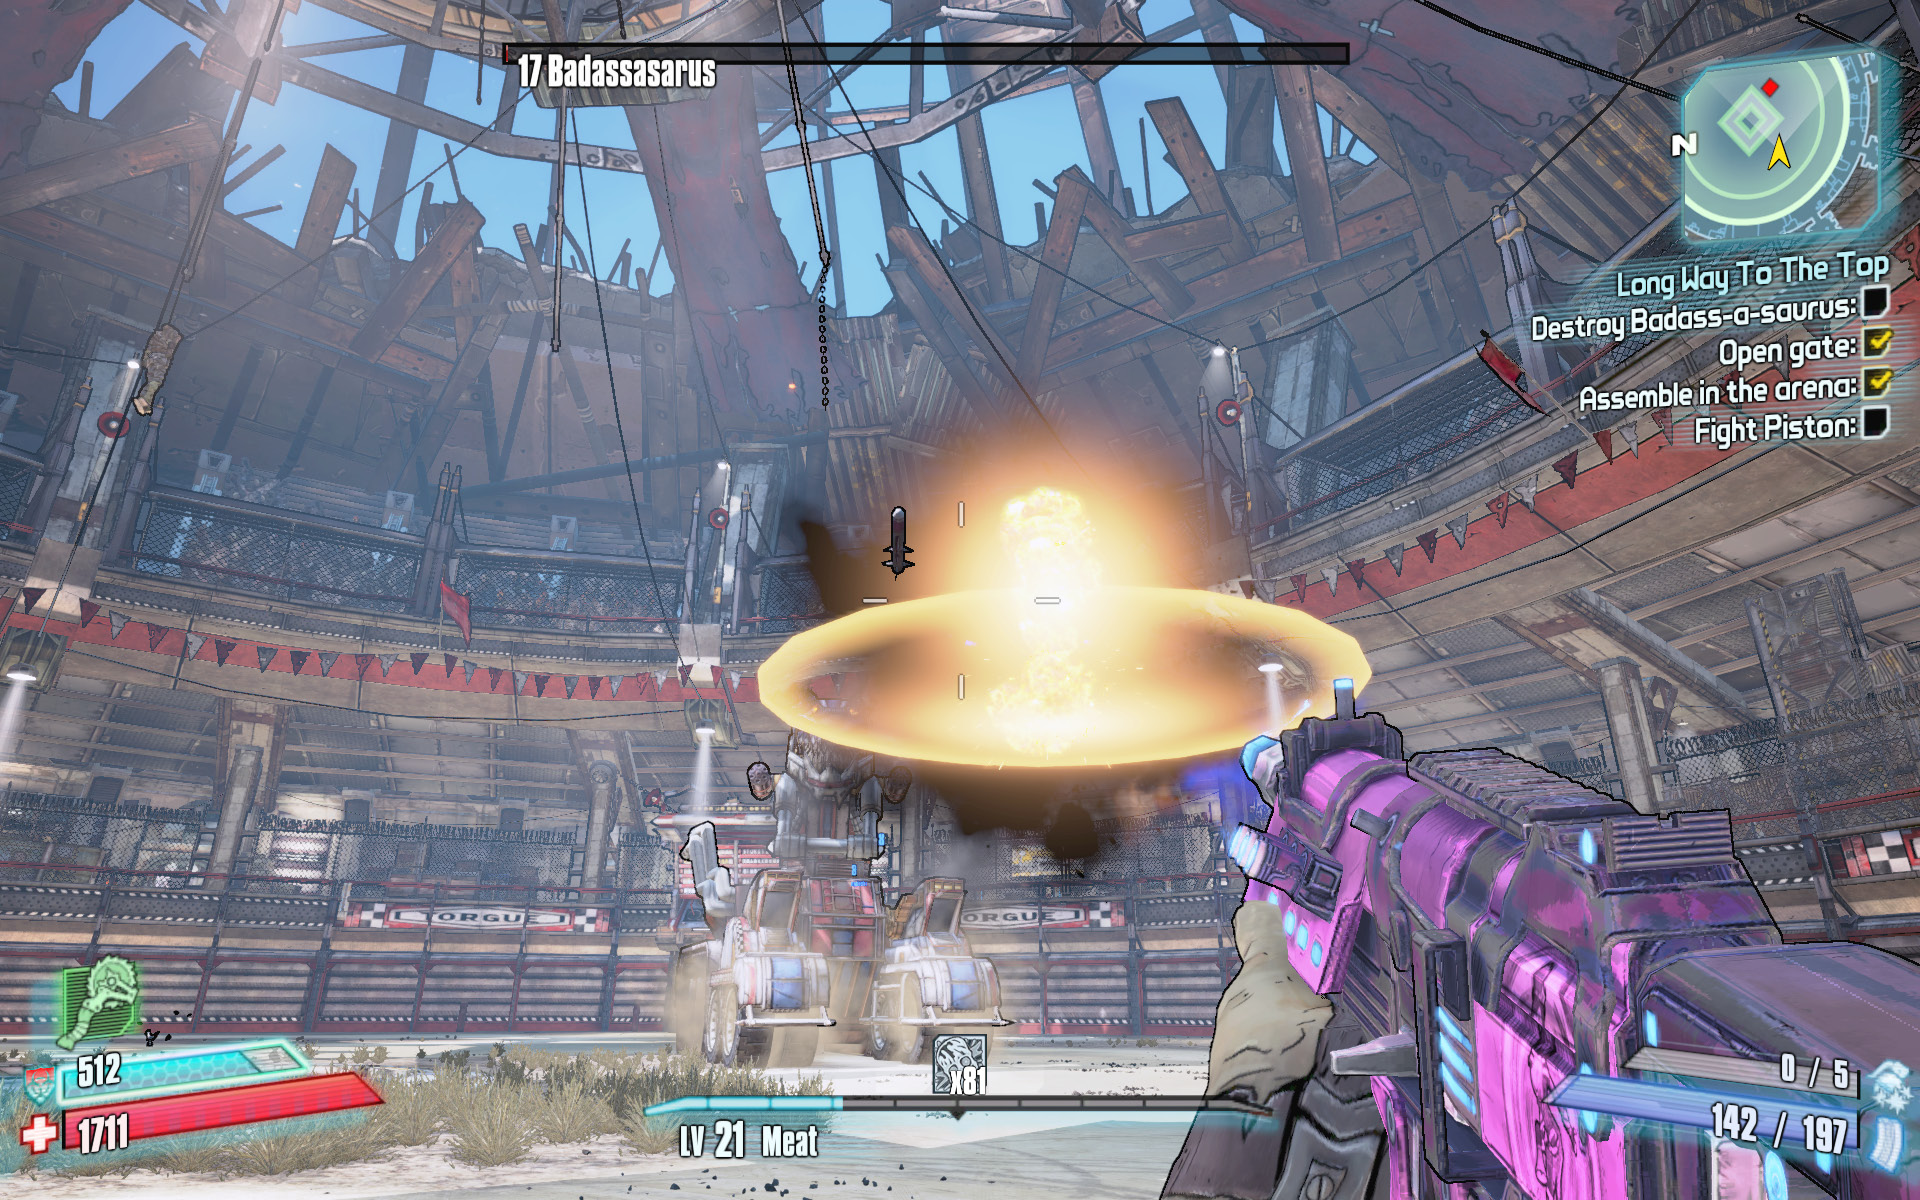
The more you damage Badassasaurus, the more frequently it turns to its most dangerous attack: the nuclear missiles! Listen for the siren alerting you that it is about to fire its nuclear rockets, and quickly switch to a faster-firing gun. It can be elemental if that’s all you have available, provided it has a large magazine and a rapid firing rate. Consider it a bonus if it has a spread pattern like the Expansive Kitten. Immediately switch to this weapon, and reload it as soon as you hear the sirens start to peal. Watch for the flaps to open on the front of the Badassasaurus and two homing rockets to be fired into the air. Back away slowly while shooting the rockets out of the air. These rockets have the capacity to drain you of your shields and perhaps down you with a single strike, especially if both of them hit their mark. You mustn’t miss these rockets!
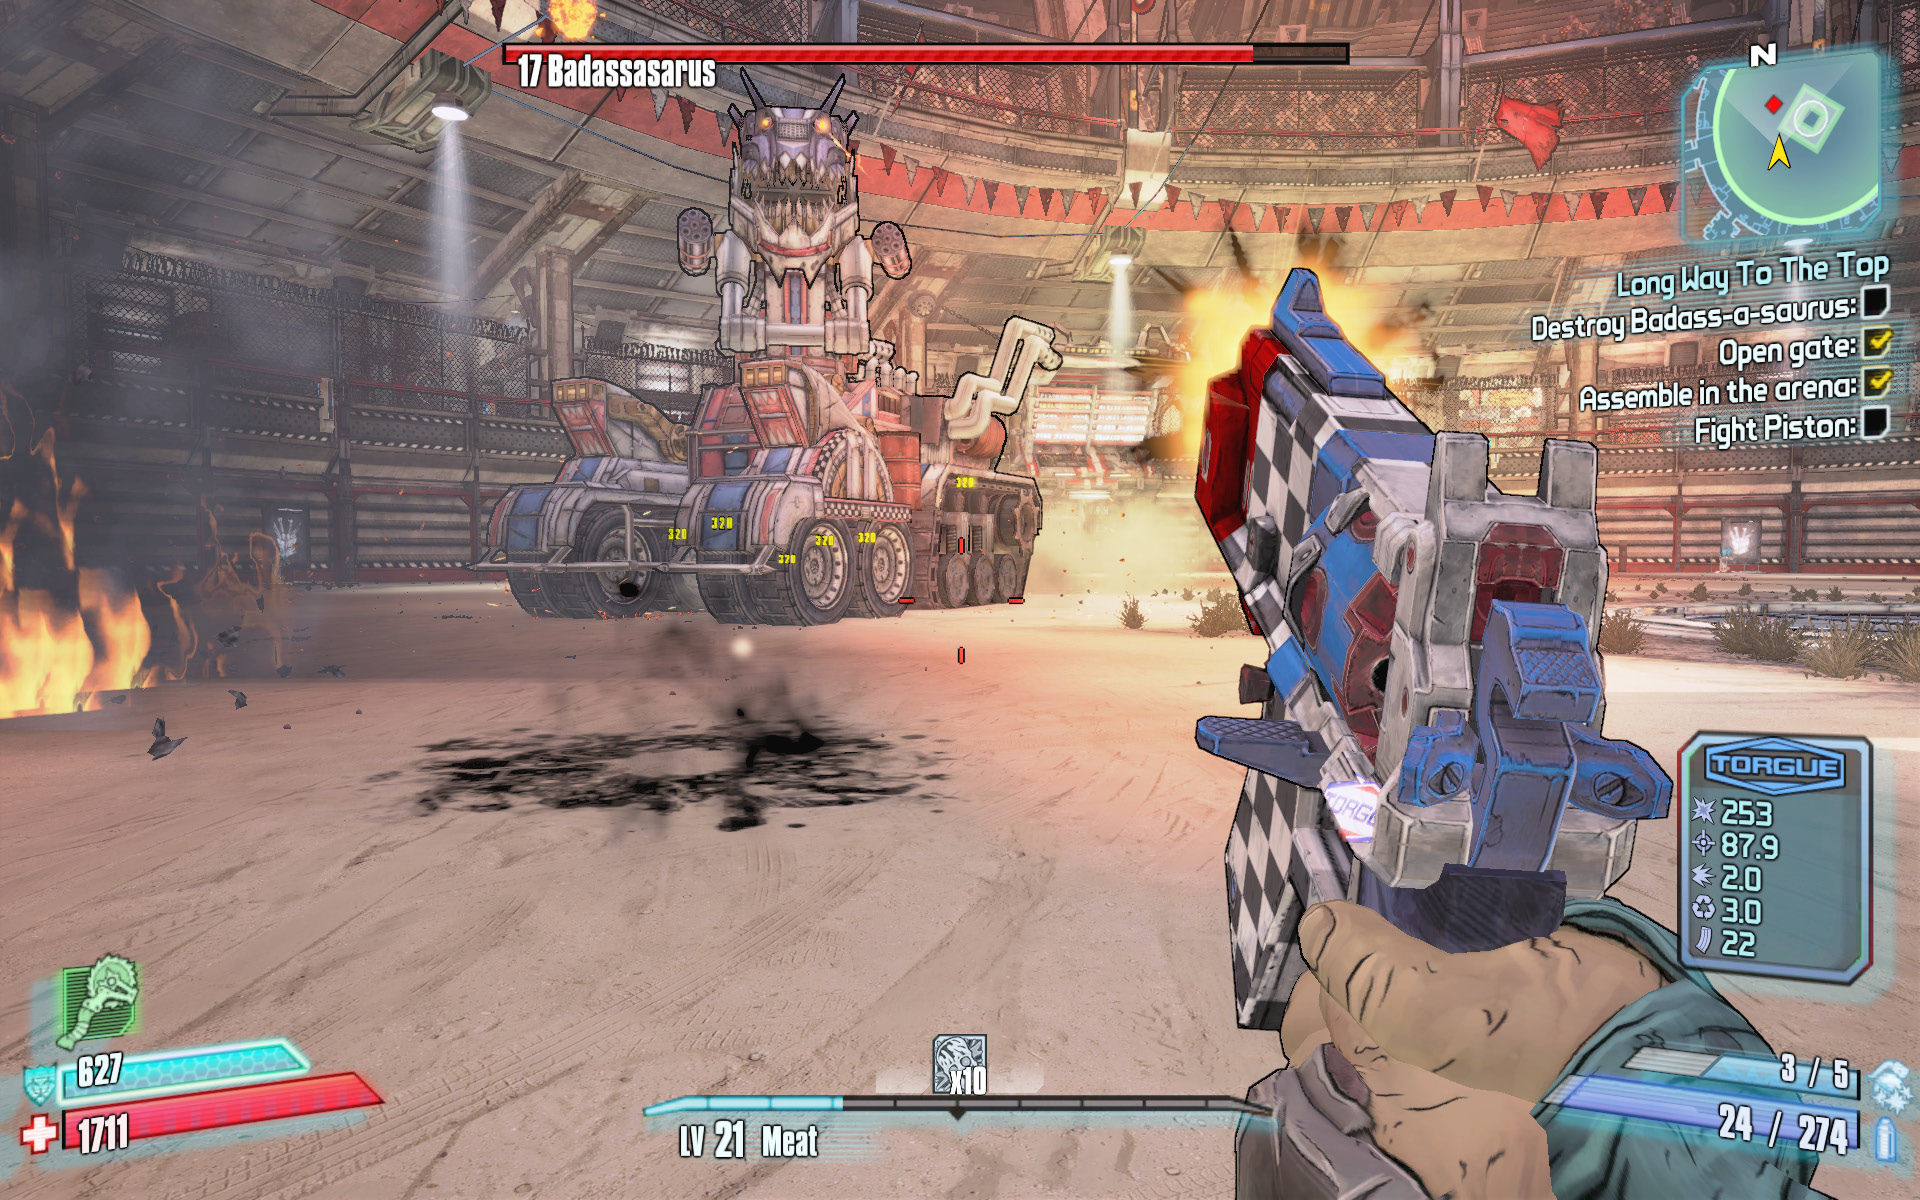
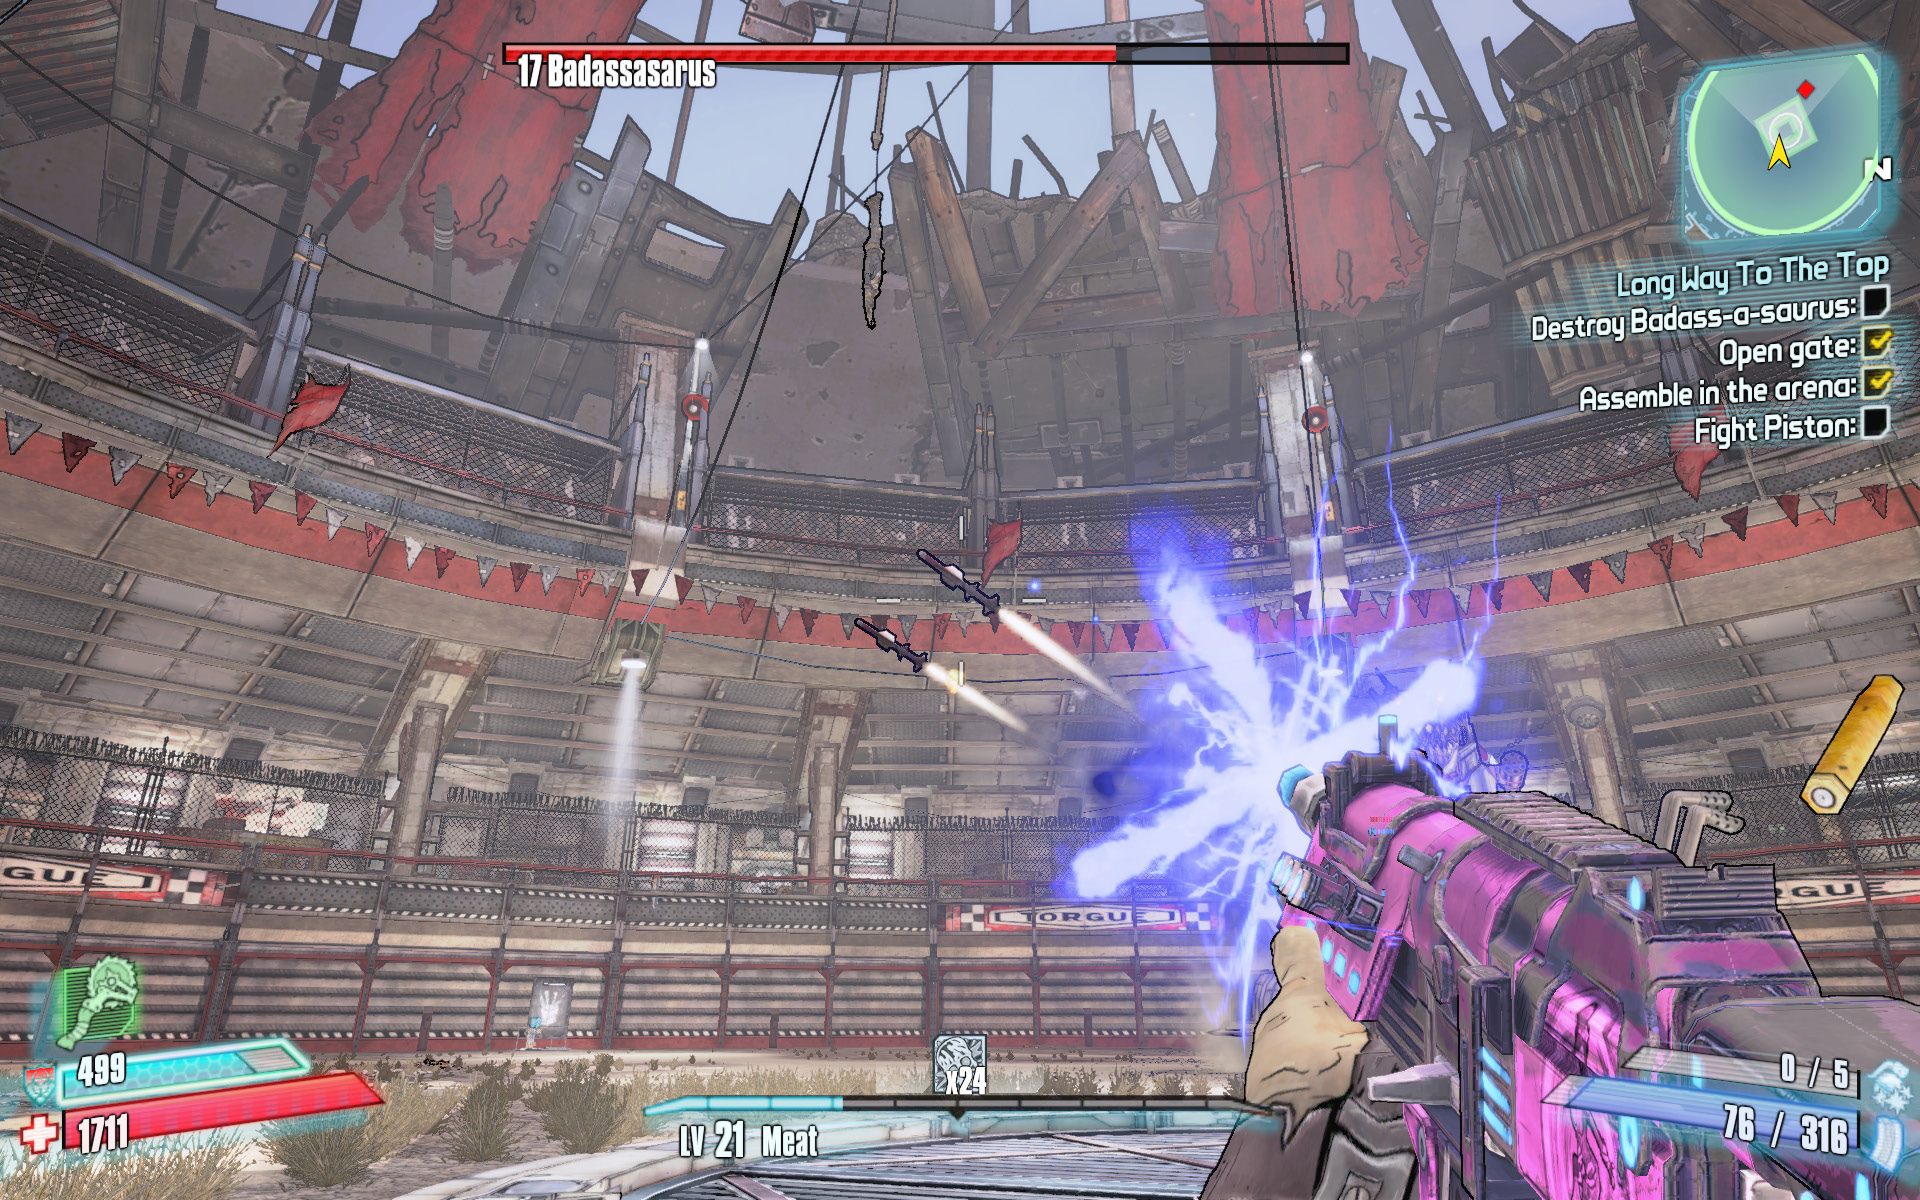
Patrol the perimeter of the Arena while firing at the barrels on Badassasaurus for maximum damage. Take your time, and don’t rush it. Gather up ammo (particularly grenades or rockets) from the ammo supply chests along the perimeter when it’s safe, and continue to focus on shooting the nuclear rockets out of the air.
Piston
Piston’s Vitals
| Health Multiplier | Shield Level | Damage Multiplier | XP Value | Critical Areas | Weakness/Resistance |
|---|---|---|---|---|---|
|
30 |
25 |
1 |
Normal High |
Head |
|
 /—
/—Piston isn’t nearly the foe that Badassasaurus was, but he still packs quite a punch. Piston primarily attacks with the guns mounted on his arms. These energy-based weapons have to charge up before he can attack, giving you time to move out of the way. Piston usually tries to fire both guns simultaneously, but he can also shoot them one at a time. Piston can also fire a small volley of rockets at you from his backpack, but he only utilizes this attack from afar.
Unlike Badassasaurus, Piston is human and is susceptible to fire-based attacks, but only after you’ve depleted his shield. Switch to a shock weapon, and open fire. (Any shock weapon will suffice.)
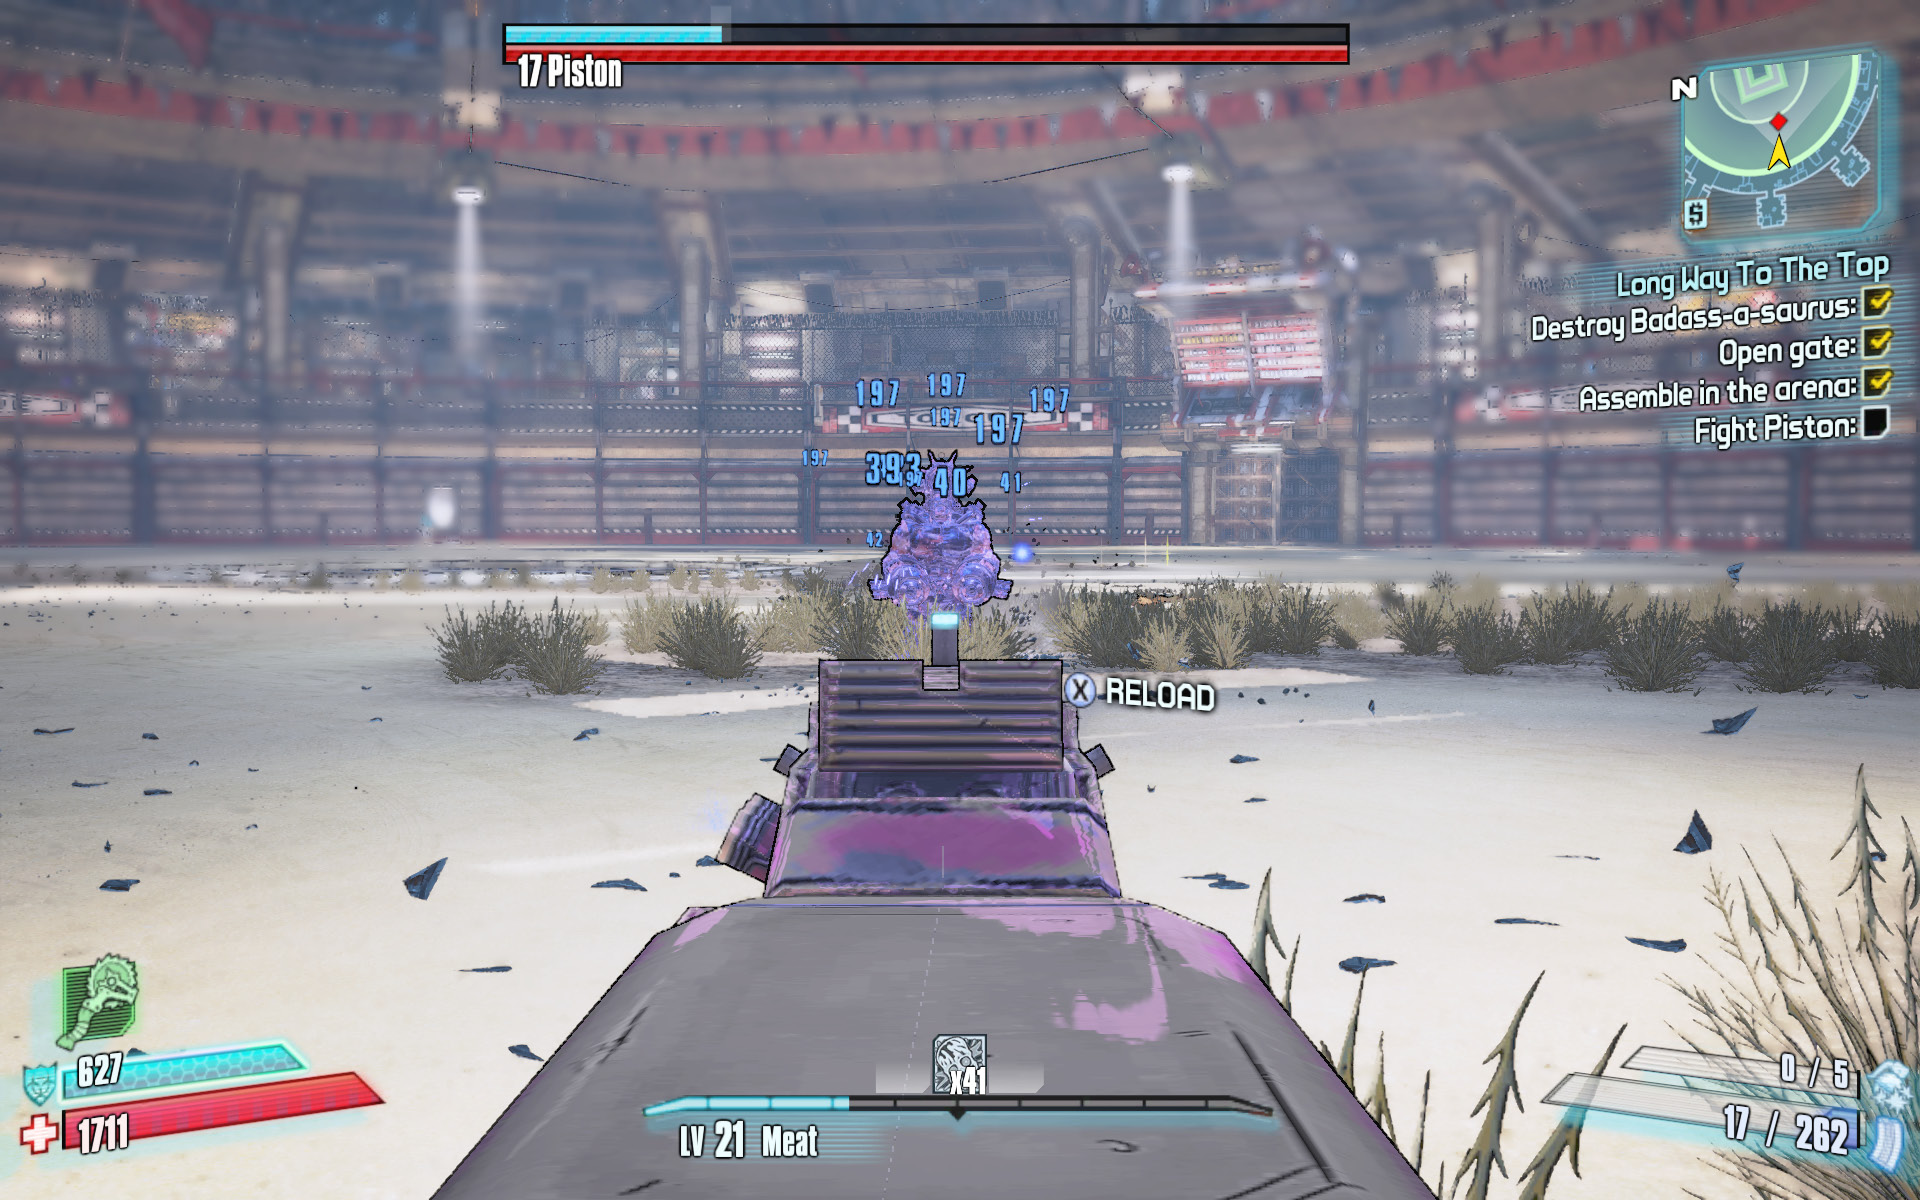
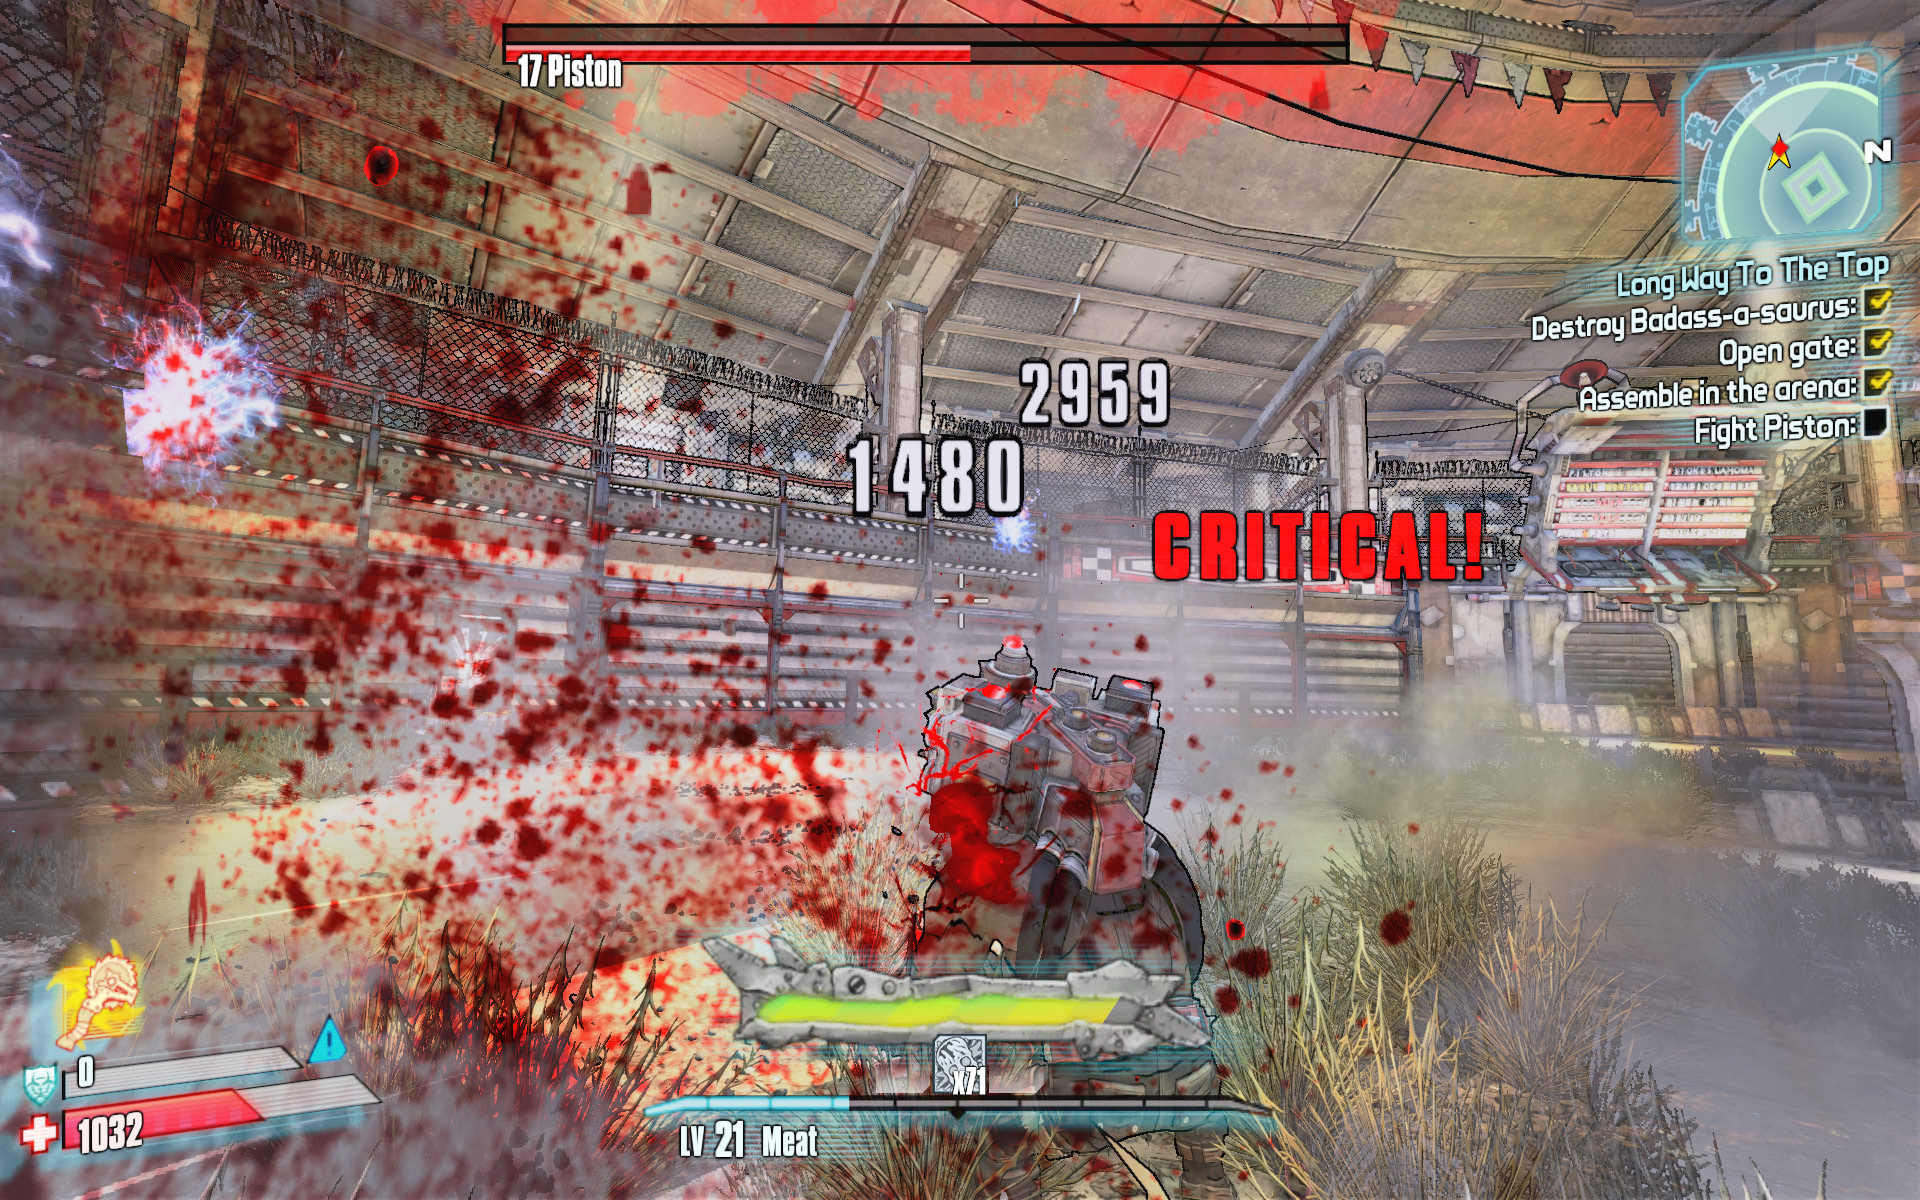
Once you’ve drained Piston of his shields, it’s time to either switch to an incendiary weapon, or (depending on your character and build) move in for melee attacks. Krieg and Zero can inflict severe damage with melee Action Skill attacks. Not only do these attacks reduce the chance for Piston to strike with his missiles or have time to charge his guns, but you’re all but guaranteed not to miss. Similarly, using any of the Action Skills in conjunction with a bladed weapon or fire damage can bring Piston to his knees in no time.
Defeating Piston earns you a shower of loot and Eridium. It also earns you access to even more missions! Check out the Battle Board outside Torgue Arena and also pay Moxxi a visit, as there are more challenges ahead.
Tier 2 Battle: Appetite for Destruction
Defeat the Horde of Horrors in the Appetite for Destruction.
Optional Mission Rewards
| Level | Money | XP | Gear |
|---|---|---|---|
|
21 |
10 Tokens |
2102 |
— |
*Money and XP may vary based on player’s level at start of mission.
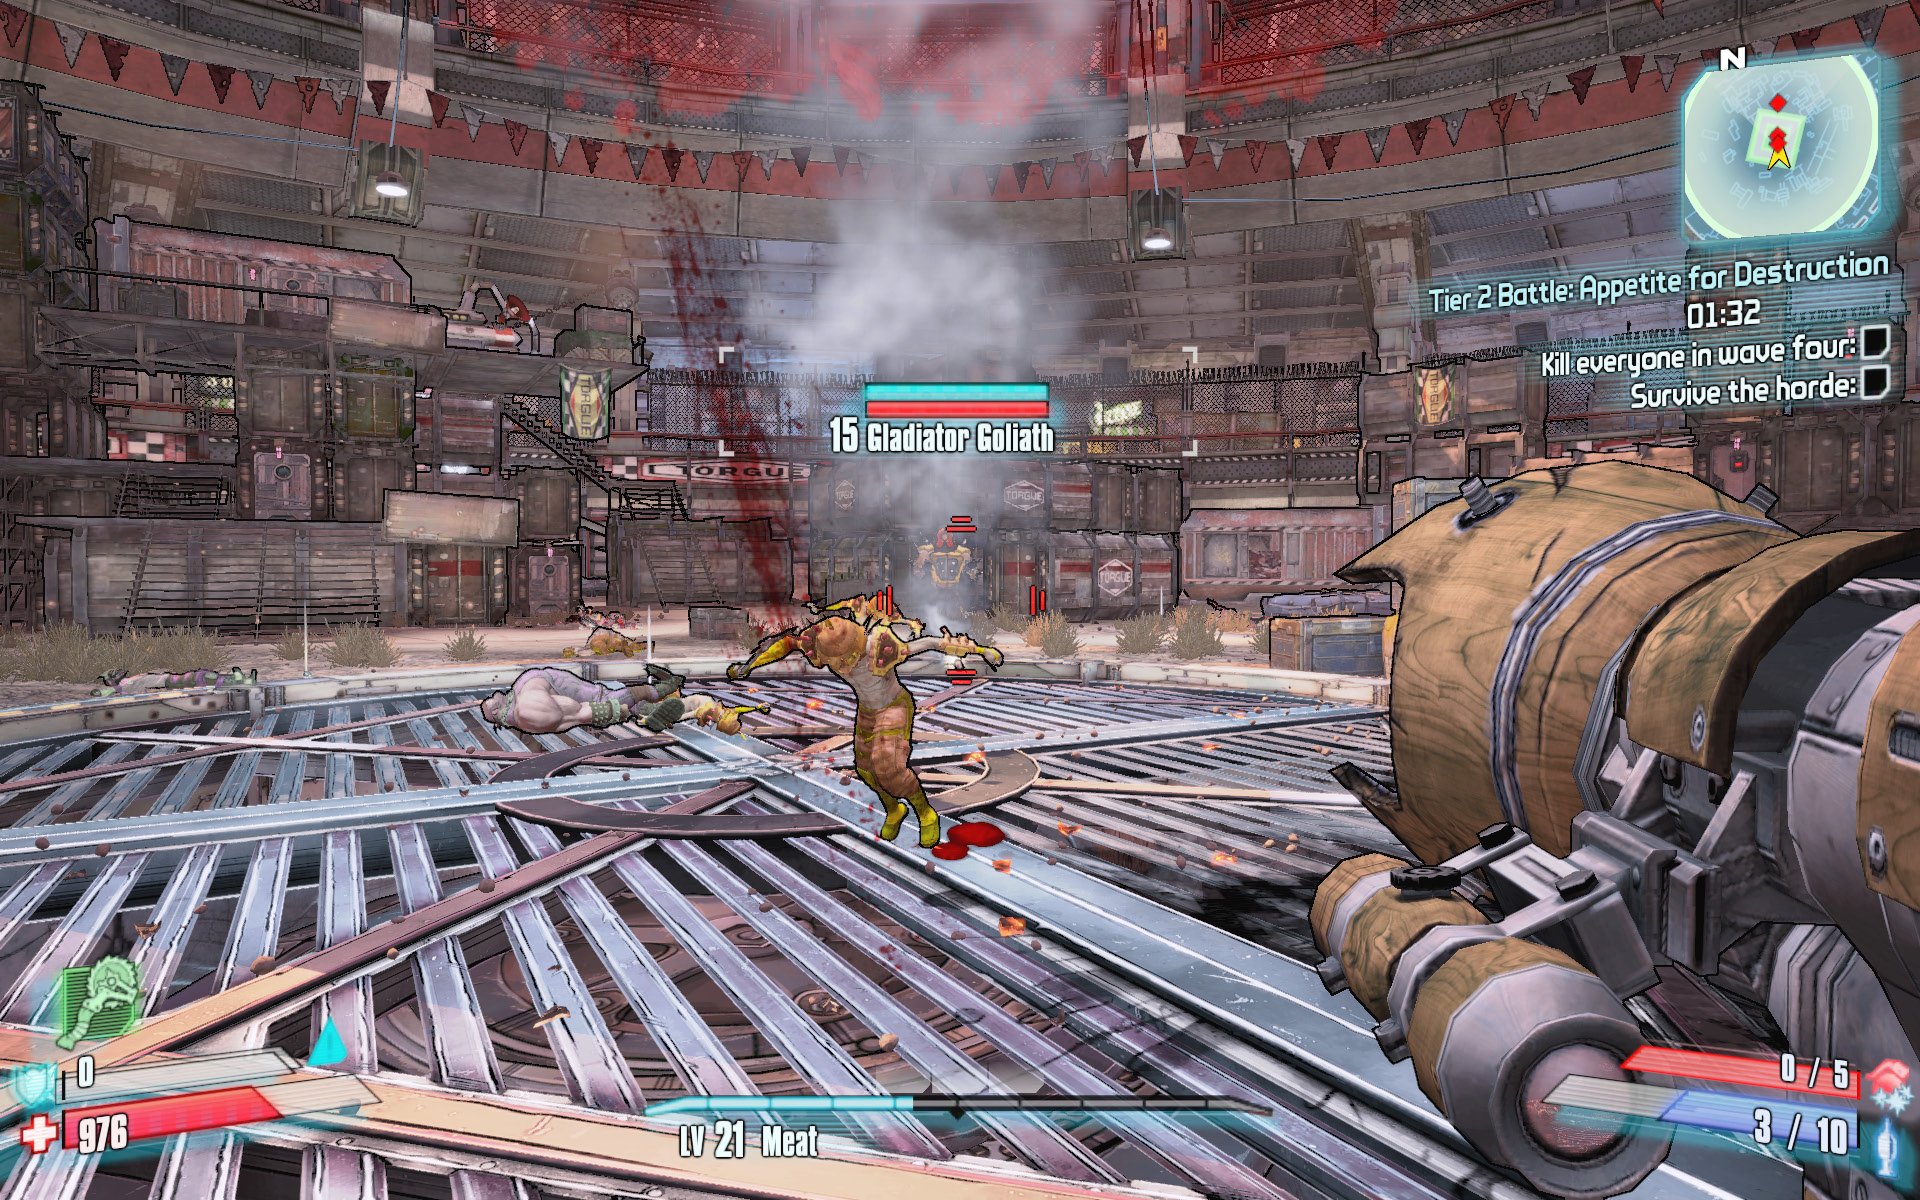
Torgue Arena has been reassembled just as when you first saw it, complete with ammo supplies and container structures, and now you have five minutes to clear all four waves of the Horde of Horrors. As was the case with the Tier 1 battle, the first two waves don’t contain many enemies, and those that do appear often fight one another. This makes it possible to stick to the top of one of the container structures and snipe enemies from afar.
The third and fourth waves contain many more enemies, making it all the more important not to stray out into the center of the Arena until you have reduced each wave to just one or two enemies. There is plenty of ammunition available, so don’t hesitate to rely on your more potent firearms, even if that means using more grenades and rocket launcher ammo than you’re accustomed to. It’s more important to kill enemies quickly than it is to save ammo. Just make sure to leave one or two lesser foes alive for when you deal with the Gladiator Goliaths at the end of the fourth wave. These shielded opponents can fire powerful rockets at you if given the chance. Fortunately, the level of the enemies in the Tier 2 battle is essentially set by your level when you participate in the first Appetite for Destruction battle, so this shouldn’t be too difficult.
Tier 3 Battle: Appetite for Destruction
Defeat the Horde of Horrors in the Appetite for Destruction. Tier 3.
Optional Mission Rewards
| Level | Money | XP | Gear |
|---|---|---|---|
|
50 |
20 Tokens |
9777 |
— |
*Money and XP may vary based on player’s level at start of mission.
The Tier 3 Battle (and subsequent rematches) challenges you to complete all four waves in just 4:30 of time, against level 50 enemies. The same tactics that got you this far still apply provided you level up to match the enemies in strength. Consider equipping shock and fire SMGs, a potent shotgun for close-up kills, and a rocket launcher to pull out if you are downed. Utilize cover and keep to the perimeter of the arena. Use the shipping containers scattered throughout the floor of the arena for cover as you flank enemies exiting atop the taller structures. This should give you a clear shot at them as they exit the doors without having to charge up the stairs straight into their line of fire. Lastly, watch the mini-map closely and utilize the ammo replenishment points when there’s only one enemy left in the wave.
Tier 3 Battle: Bar Room Blitz
Pick a fight in a Biker bar. Tier 3 difficulty.
Optional Mission Rewards
| Level | Money | XP | Gear |
|---|---|---|---|
|
49 |
20 Tokens |
9431 |
— |
*Money and XP may vary based on player’s level at start of mission.
As with the previous Bar Room Blitz battles, you have to kill all of the Badass enemies. Unlike the previous ones, however, you only have 2:30 and must kill five Super Badass Enforcers to succeed. The Super Badass Enforcers are all that matters, but they don’t appear at the start of the mission so you’ll need to kill some of the other bar patrons first to draw them out. It pays to have a high Damage per Second shotgun, preferably with fire, such as the Conference Call. This weapon can be employed to one-shot all of the lesser enemies and can also make quick work of the Super Badass Enforcers, provided it’s a high level weapon. The Super Badass Enforcers spawn in the back room and on the upper landing, but they do move around a bit. Consider a counter-clockwise lap up the stairs in the side room (nearest the elevator) to check the upper walkway then descend the rear stairs and return to the room just outside the bar area to reload and allow your health to regenerate before making a second lap.
Tier 3 Battle: Twelve O’ Clock High
Fight the denizens of the unfriendly skies. Tier 3 difficulty.
Optional Mission Rewards
| Level | Money | XP | Gear |
|---|---|---|---|
|
50 |
20 Tokens |
9777 |
— |
*Money and XP may vary based on player’s level at start of mission.
The Tier 3 version of Twelve O’Clock high plays out much the same as the previous ones, only you now have to collect 12 pieces of bling and destroy 6 Escort Buzzards before the 5:00 expires. The key difference is that this is a level 50 mission and both you and your weaponry need to be up to the task. It pays to have a high Damage per Second corrosive SMG or assault rifle for this mission, both for knocking down the cargo crates and for destroying the escorts. If you find shooting the individual crates too difficult or time consuming, you can simply destroy the Cargo Buzzard instead, since it will drop the three crates upon destruction. Retreat to the stone arch leading back to the Battle Board if you need to allow your health to regenerate someplace safe.
Pete the Invincible
Pyro Pete has been working out.
Optional Mission Rewards
| Level | Money | XP | Gear |
|---|---|---|---|
|
30 |
$2696 |
3945 |
— |
*Money and XP may vary based on player’s level at start of mission.
Defeating Pyro Pete the Invincible depends on your team’s ability to manage unavoidable corrosive and fire attacks that cause an un-expiring damage over time (DOT) effect. These attacks alternate between the two elements and envelop the arena every 30 seconds. The only way to end the DOT damage is to turn on one of the waterfalls and stand beneath the water. The problem with rinsing off the DOT effect is that a half-dozen spiderants or tunnel rats will emerge whenever the valves are turned. For added difficulty, each group of minions that are spawned is 3 levels higher than the previous group. This makes it critical that your team not rely on the water any more than necessary. Here are some tips for defeating Pete the Invincible:
- Have the entire team equip a shield with either 100% fire immunity or 100% corrosive immunity. It pays to have the entire team synchronized so an entire minute can pass without having to spawn more minions.
- Another approach is for the team to equip Bee shields, immediately open the valves for the waterfalls after each DOT attack, and put the Bees to work against Pete. You’ll need to have two players dedicated to defeating the spawned minions, however.
- All players should be equipped with a powerful shock weapon for use against Pyro Pete’s shield, as well as a potent corrosive weapon for the second phase of the battle after his shield is depleted.
- Pyro Pete’s AOE attacks are deadlier during phase two of the battle (he uses the AOE two times in a row!), once his helmet has been knocked off. This reveals his critical spot—his head!
- Pyro Pete attacks with very dangerous ranged melee attacks. Have one player focus on luring him away from the others (and away from the waterfalls) while the others focus their fire on his head.