
Borderlands 2 Game of the Year Guide Sir Hammerlock's Big Game Hunt
Savage Lands
|
 Mission Briefing
| Level | Money | XP | Gear |
|---|---|---|---|
|
30 |
$674 |
7890 |
— |
*Money and XP may vary based on player’s level at start of mission.
Meeting the Gentleman’s Gentleman
Sir Hammerlock is very happy you came to spend the weekend with him and can’t wait to show you the lodge. He’s not far from the entrance to Hunter’s Grotto. Proceed east out of the ravine into the swamp, where you’re likely to encounter your first drifter. Drifters come in numerous varieties but are considered badass-level enemies and have considerable health. Drifters can stab with their long, spindly legs and possess corrosive spit, but they don’t pose too large of a threat. Stand back and fire your rockets at it, or better still, get close and aim at the glowing sacs on the base of its body to deal critical damage.
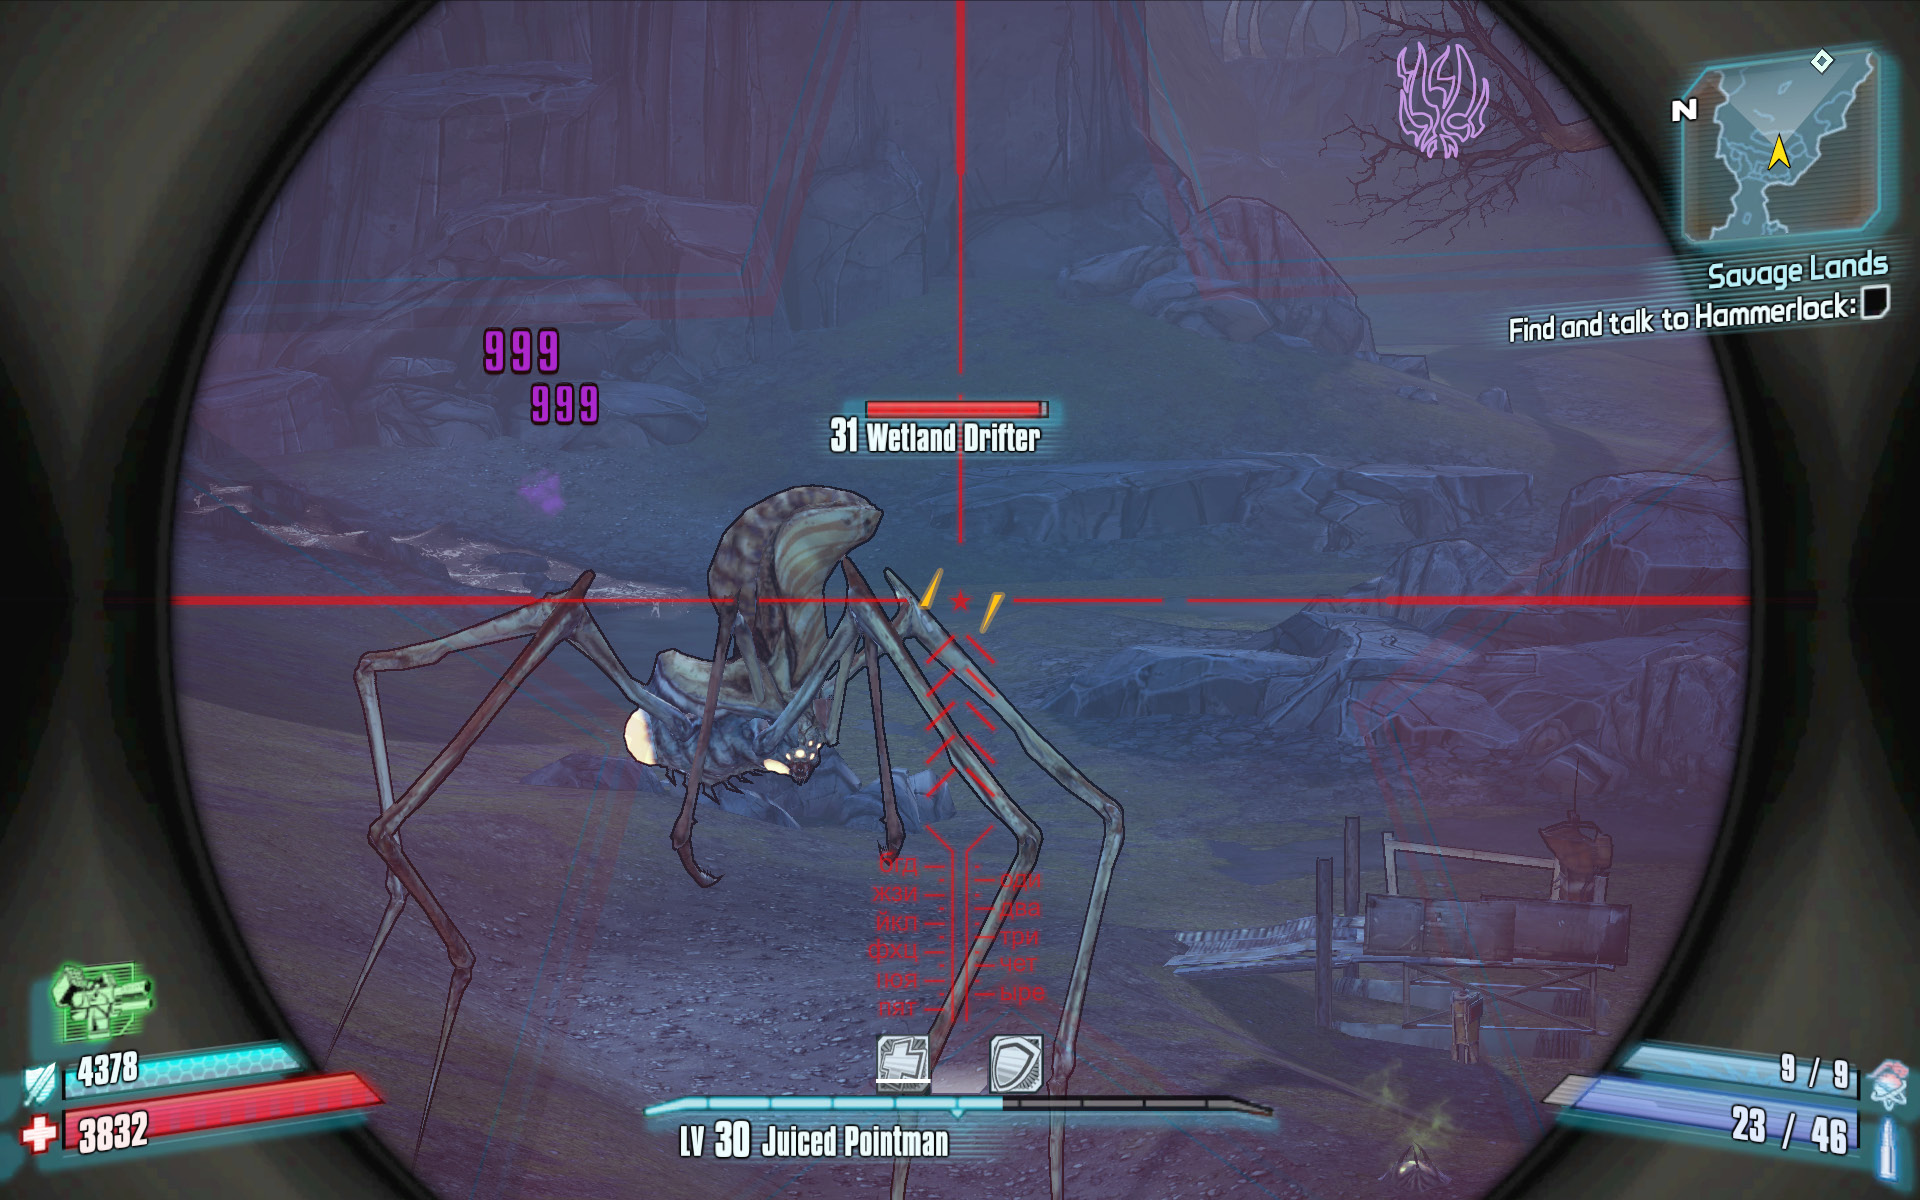
Drifters have oodles of health, so you had better aim for their glowy bits.
The Catch-a-Boat in the middle of the plain is currently out of order, so you’ll have to continue on foot. Continue east toward the lodge suspended like a bridge in the distance. Sir Hammerlock is located inside a cave to the south of the lodge, but the only way to reach him is by passing under the lodge and entering the cave from the east.
Explore the immediate area, including the savage camp up ahead. The continent of Aegrus contains numerous deadly creatures, but also a number of hostile human inhabitants, as well. The savages who roam these lands are primitive, but you shouldn’t take them lightly. The witch doctors they reside alongside not only boast an elemental property (usually) but have the ability to level up the savages, increasing their health, strength, and ferocity.
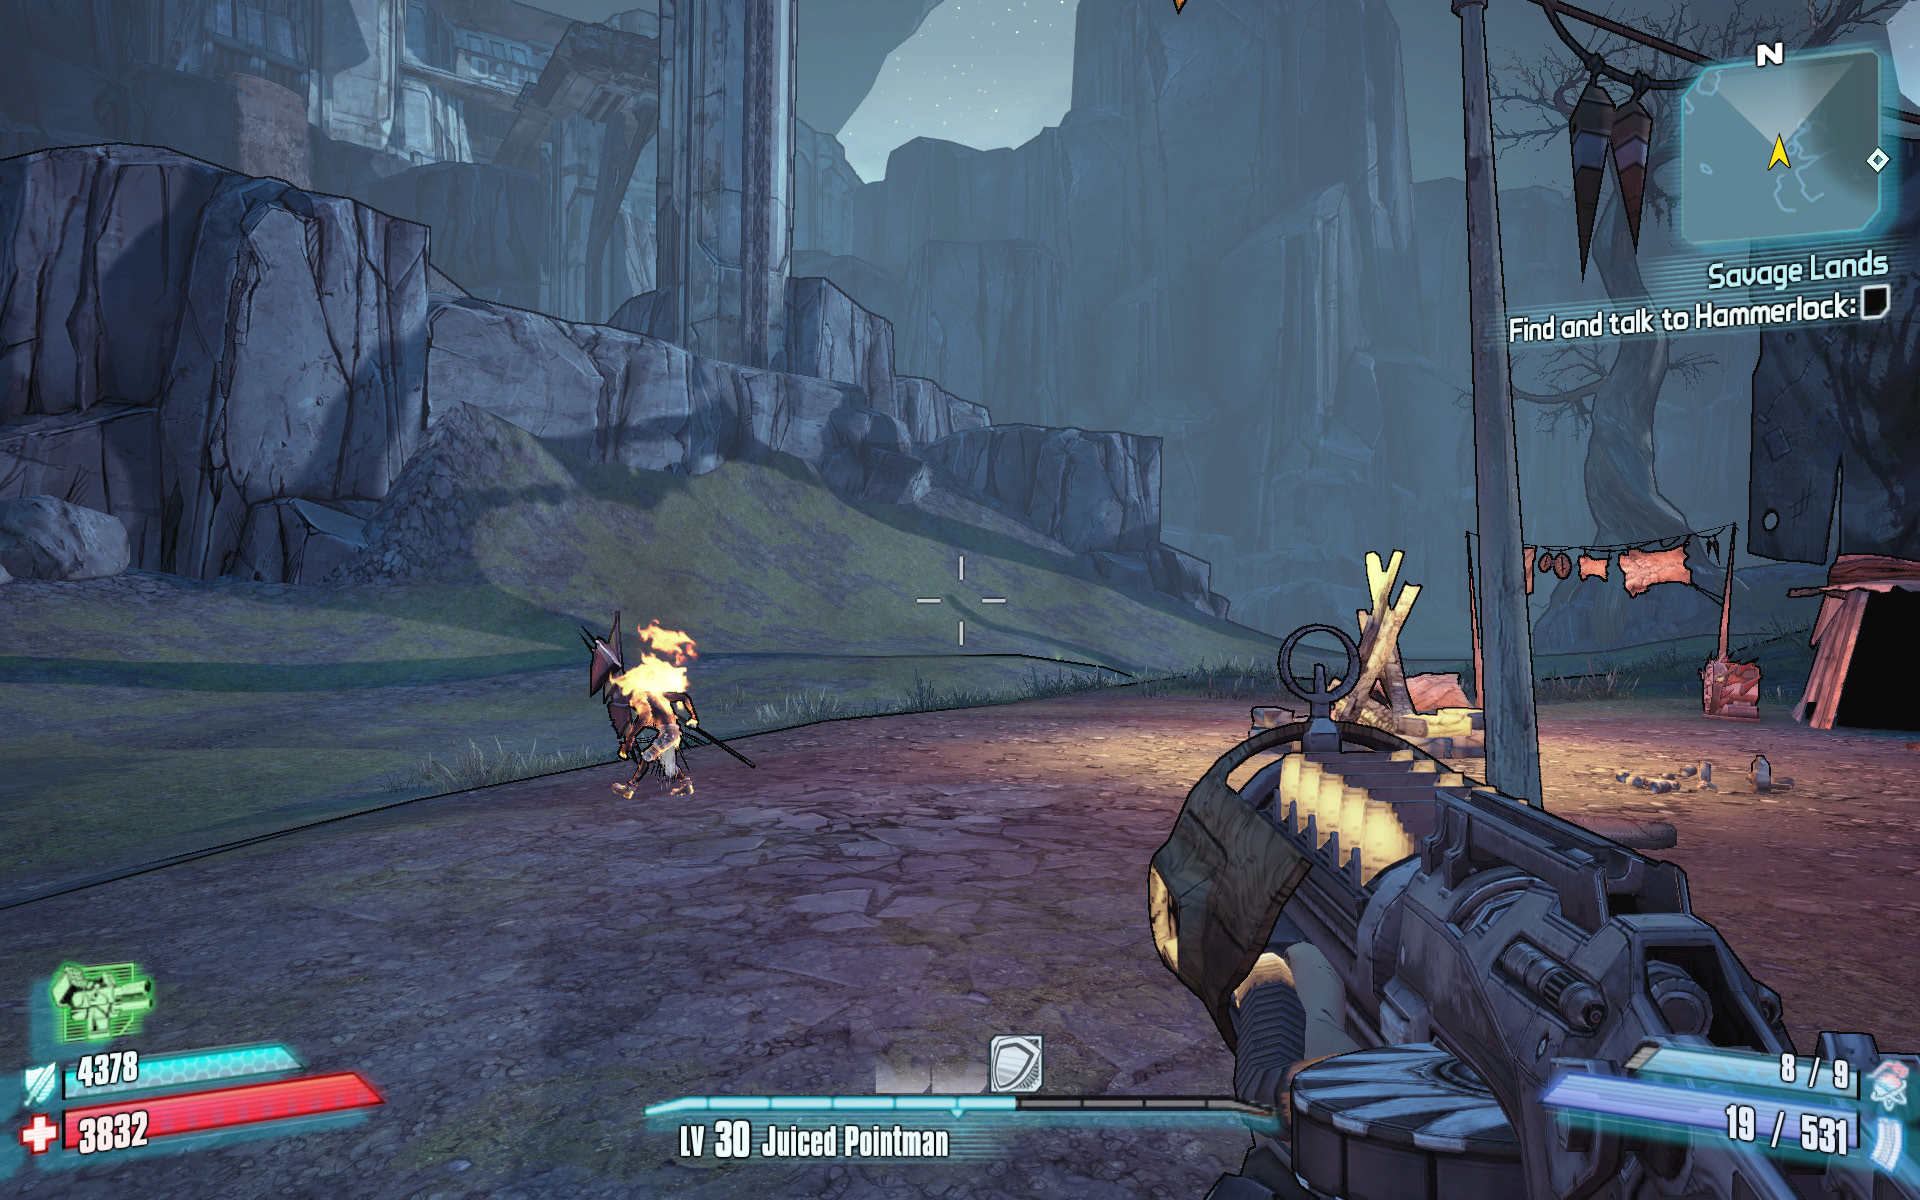
This Burning Witch Doctor is fire-resistant and can strengthen his fellow savages if left to dance.
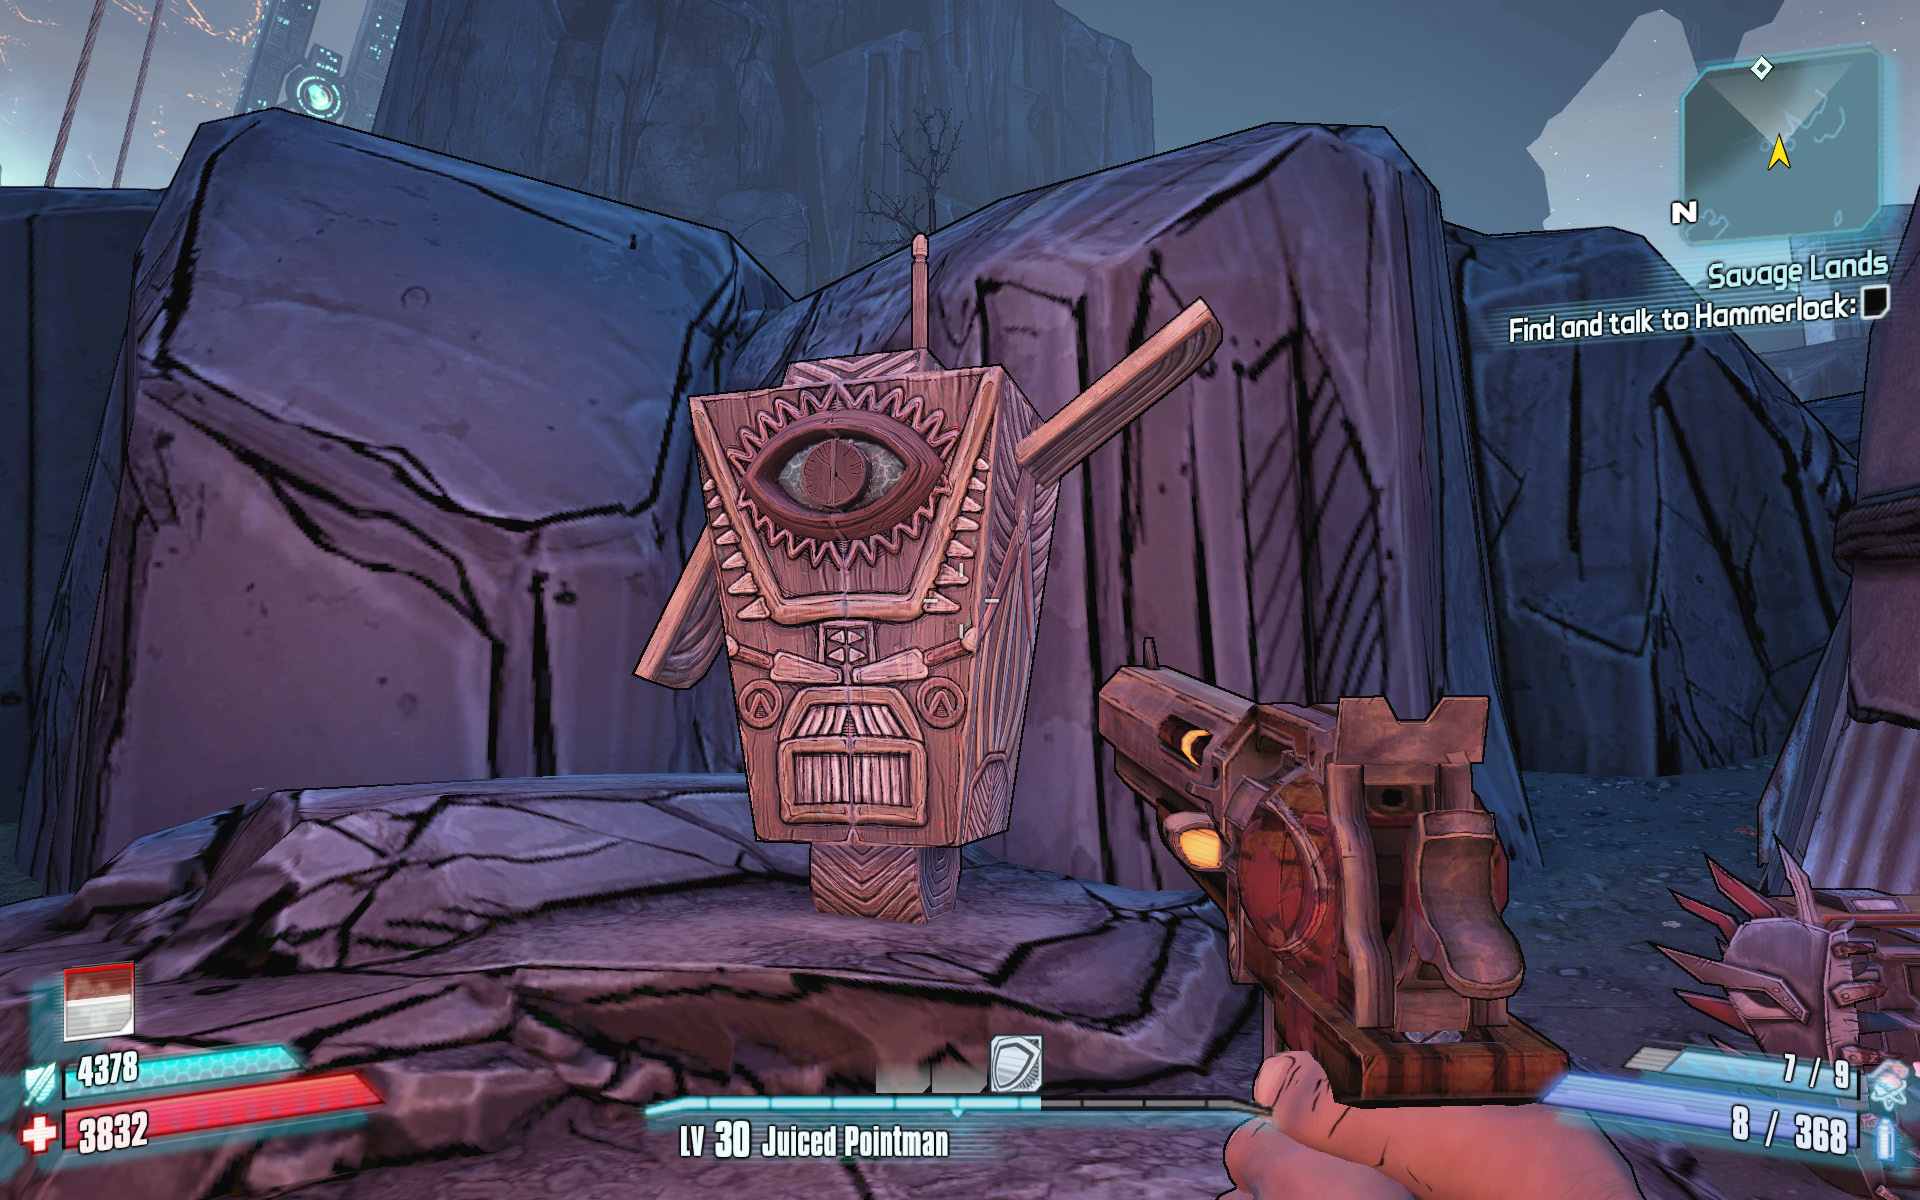
Treasure chests on Aegrus bear a strange resemblance to Sir Hammerlock’s least favorite robot.
Pass under the lodge and circle to the right to enter Hammerlock’s Camp within the cave. Follow Sir Hammerlock out the far end of his camp, up the stairs, and across the wooden walkway to the lodge. Note the location of the Cult of the Vault symbol to the right of the door and prepare to be ambushed.
A small band of a dozen or so savages was waiting inside the lodge. Keep your distance and lob grenades at the door to the lodge as they stream forward. Savage warriors wield large body-length shields that offer head-to-toe protection from your shots, but those shields can’t protect them from explosive or elemental damage. Try lighting them on fire if you don’t have any explosive weaponry.
Finish off the savages, then head inside the Aegrus Sophisticates’ Lodge with Sir Hammerlock. Your companion notes that the power needs to be turned on, and he could use your help. Exit the left-hand door and throw the switch to turn the power on. Now you can use the vending machines and Fast Travel inside the lodge.
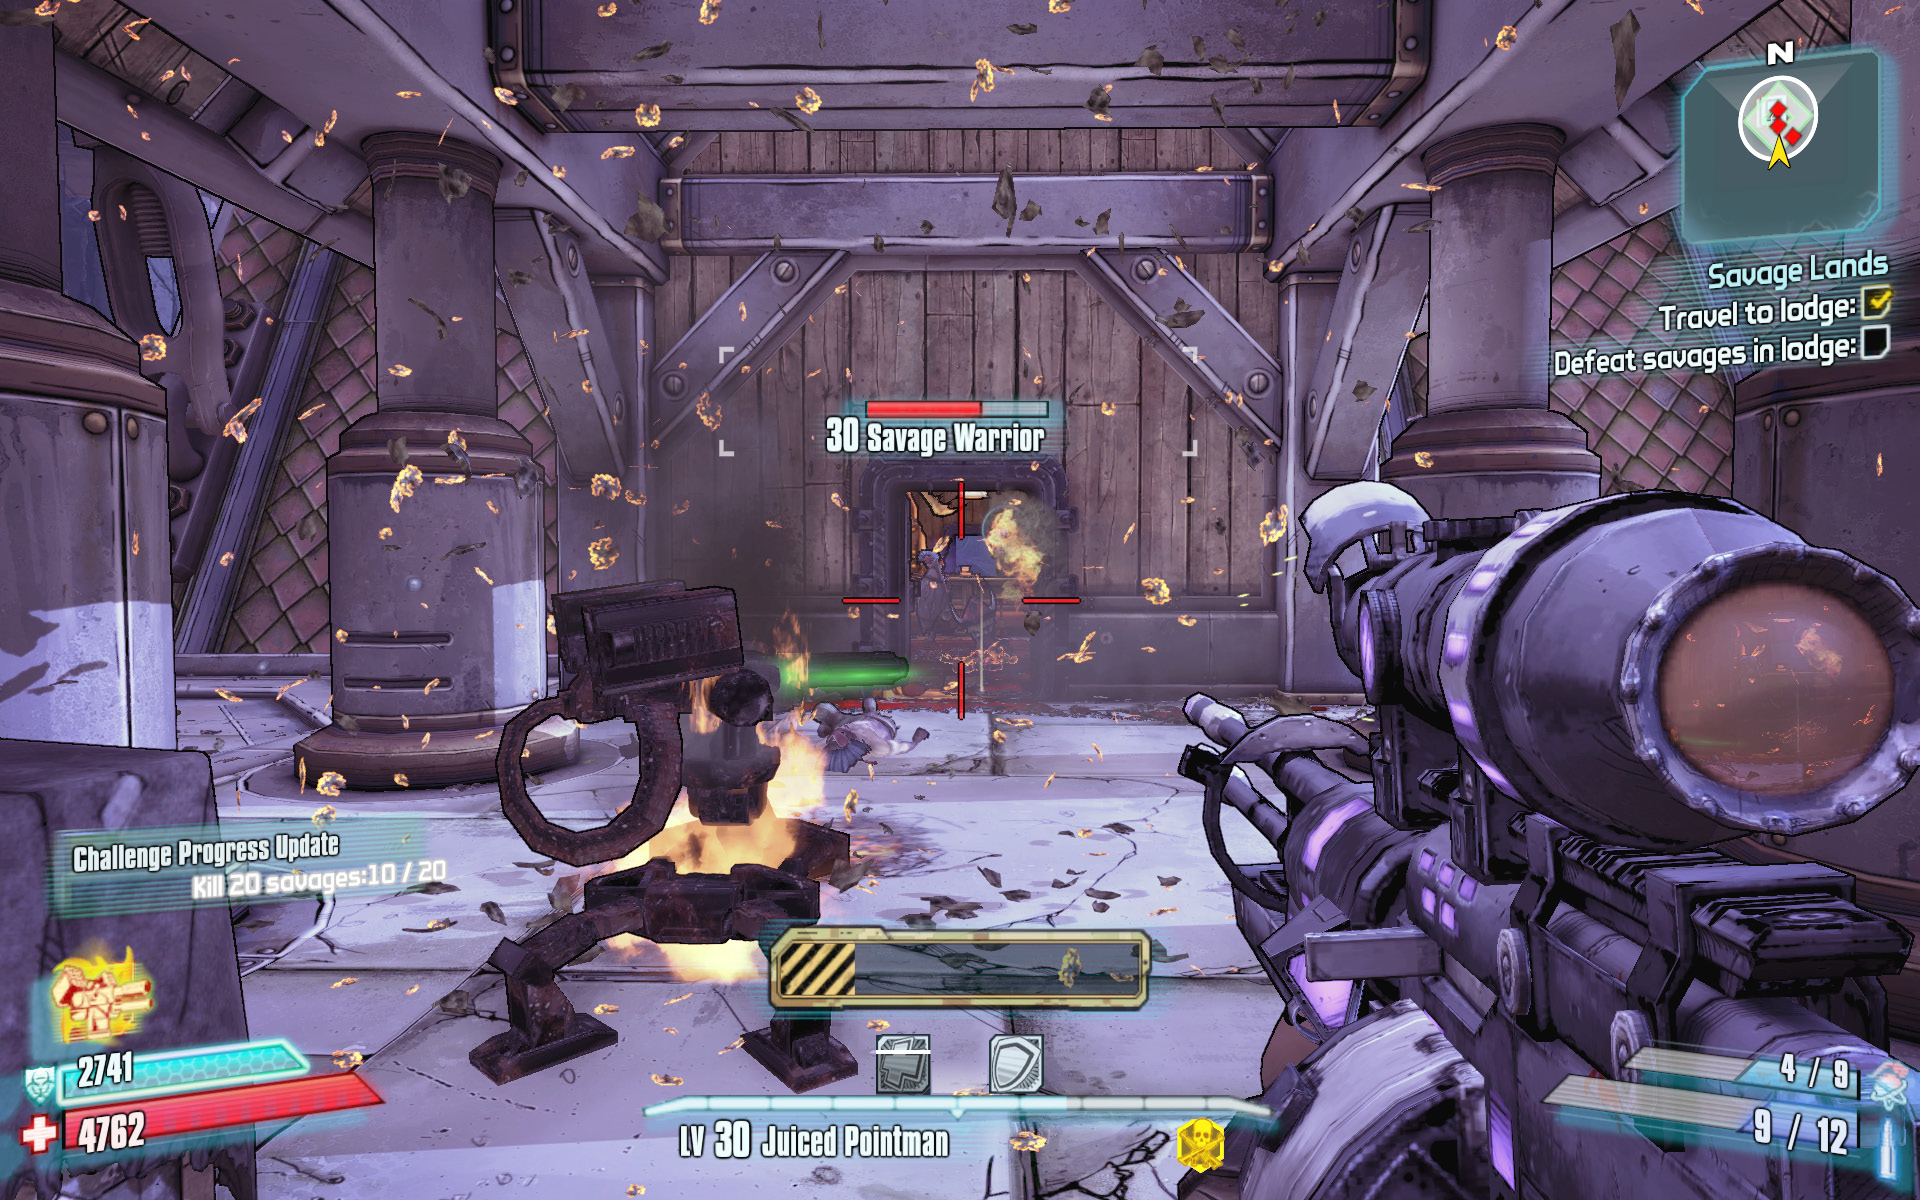
Stick near the boardwalk so you don’t get knocked off the sides of the lodge. Or worse…
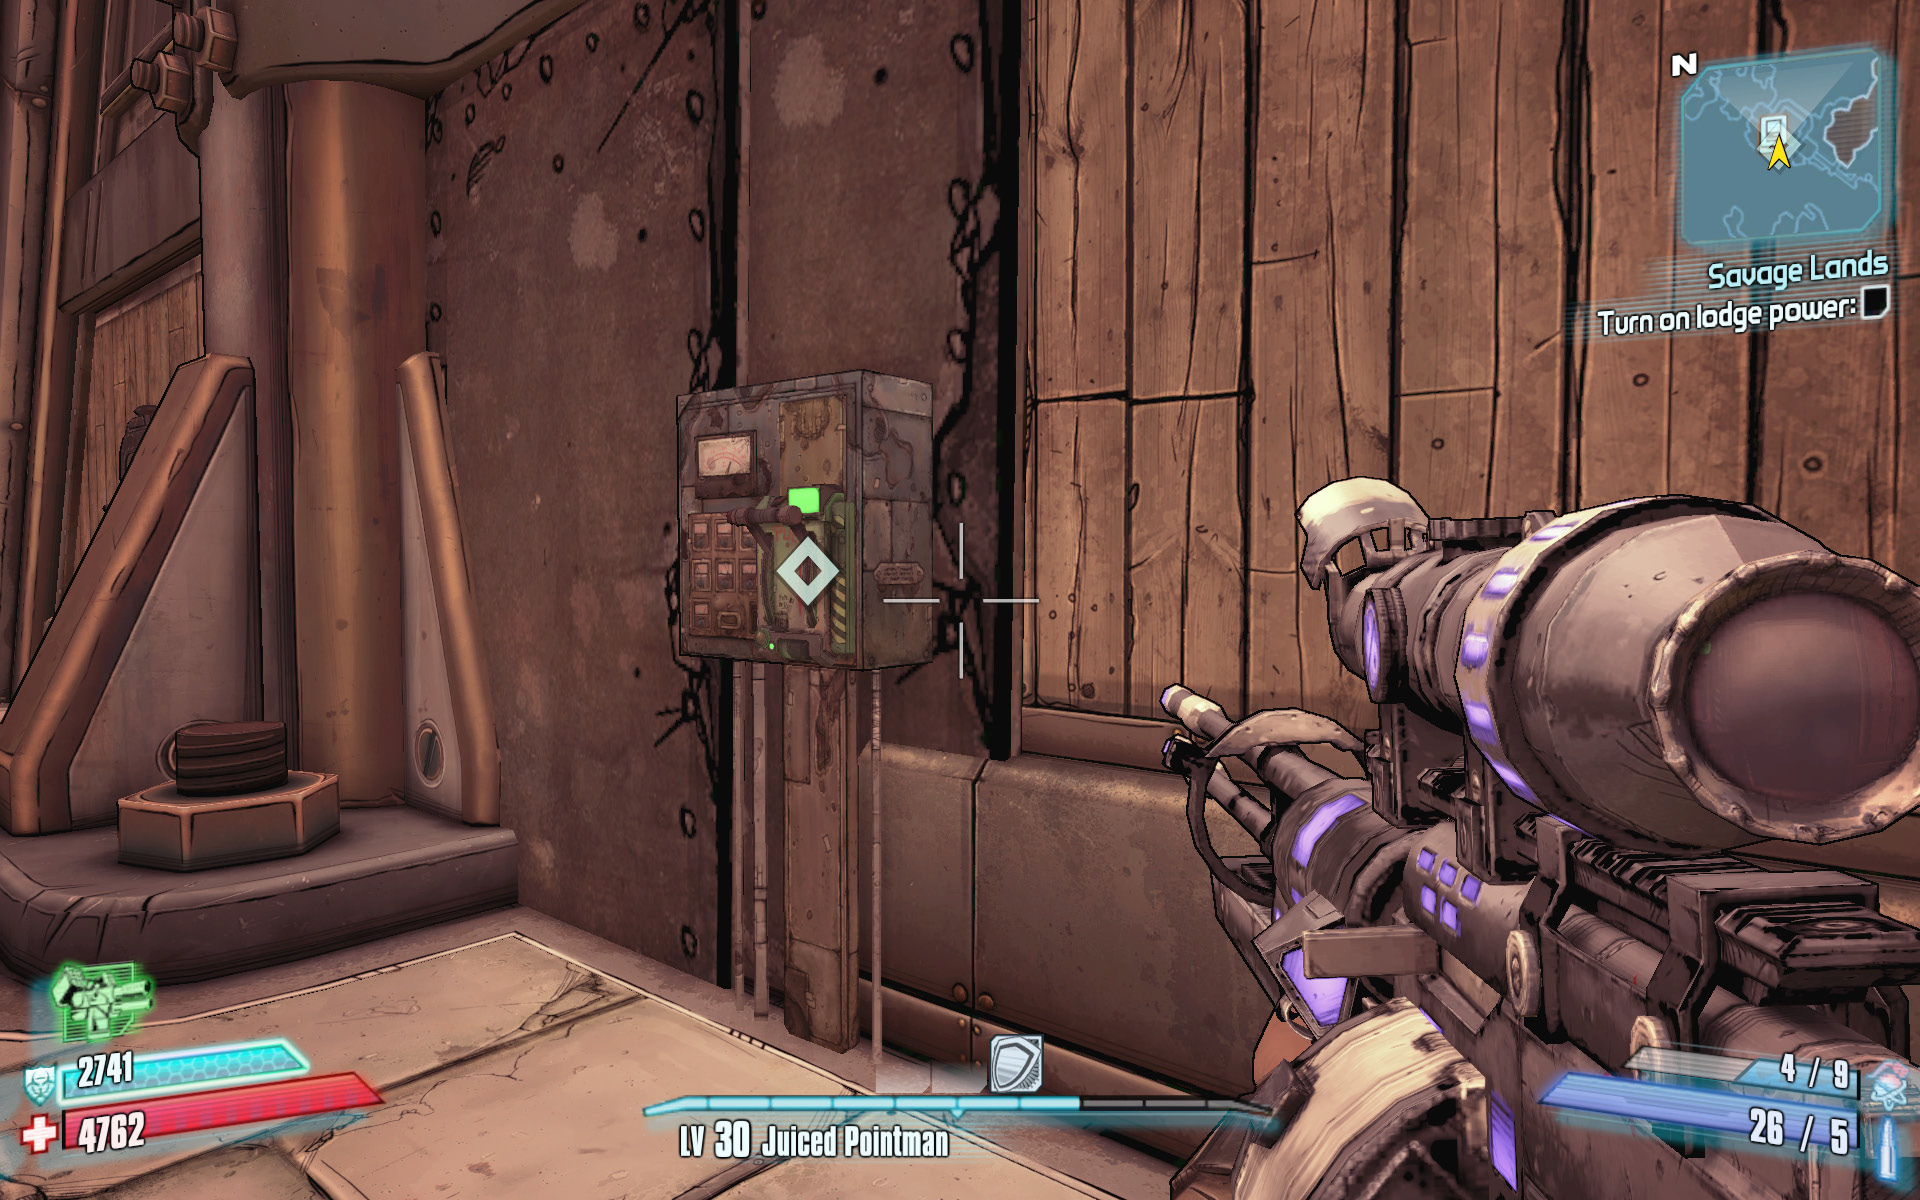
Throw the switch to power on the facility.
Exit the lodge, and follow Sir Hammerlock down the steep rocky path to the Catch-a-Boat platform near the water. Hammerlock needs to repair the device, and it’s up to you to keep him safe while he does. Several fan boats quickly cruise by as a diversion before a seemingly endless army of savages descends from the mountains to attack. Focus your attacks on any witch doctors in the area so that the savage warriors aren’t promoted to skilled warriors.
Monitor the mini-map for lulls in the action and to keep an eye on the locations of the swarming savages. Raid the containers near the cliffs to the left of the Catch-a-Boat in search of ammo if you need it. It really pays to have a slag SMG for this fight, especially if you can pair it with an area-of-effect fire grenade. Back away from the Catch-a-Boat, and keep all of the action in front of you. Avoid luring any passing drifters into the fray, although it’s worth targeting any incinerator spores if they happen to be floating past. Speak with Sir Hammerlock after the battle.
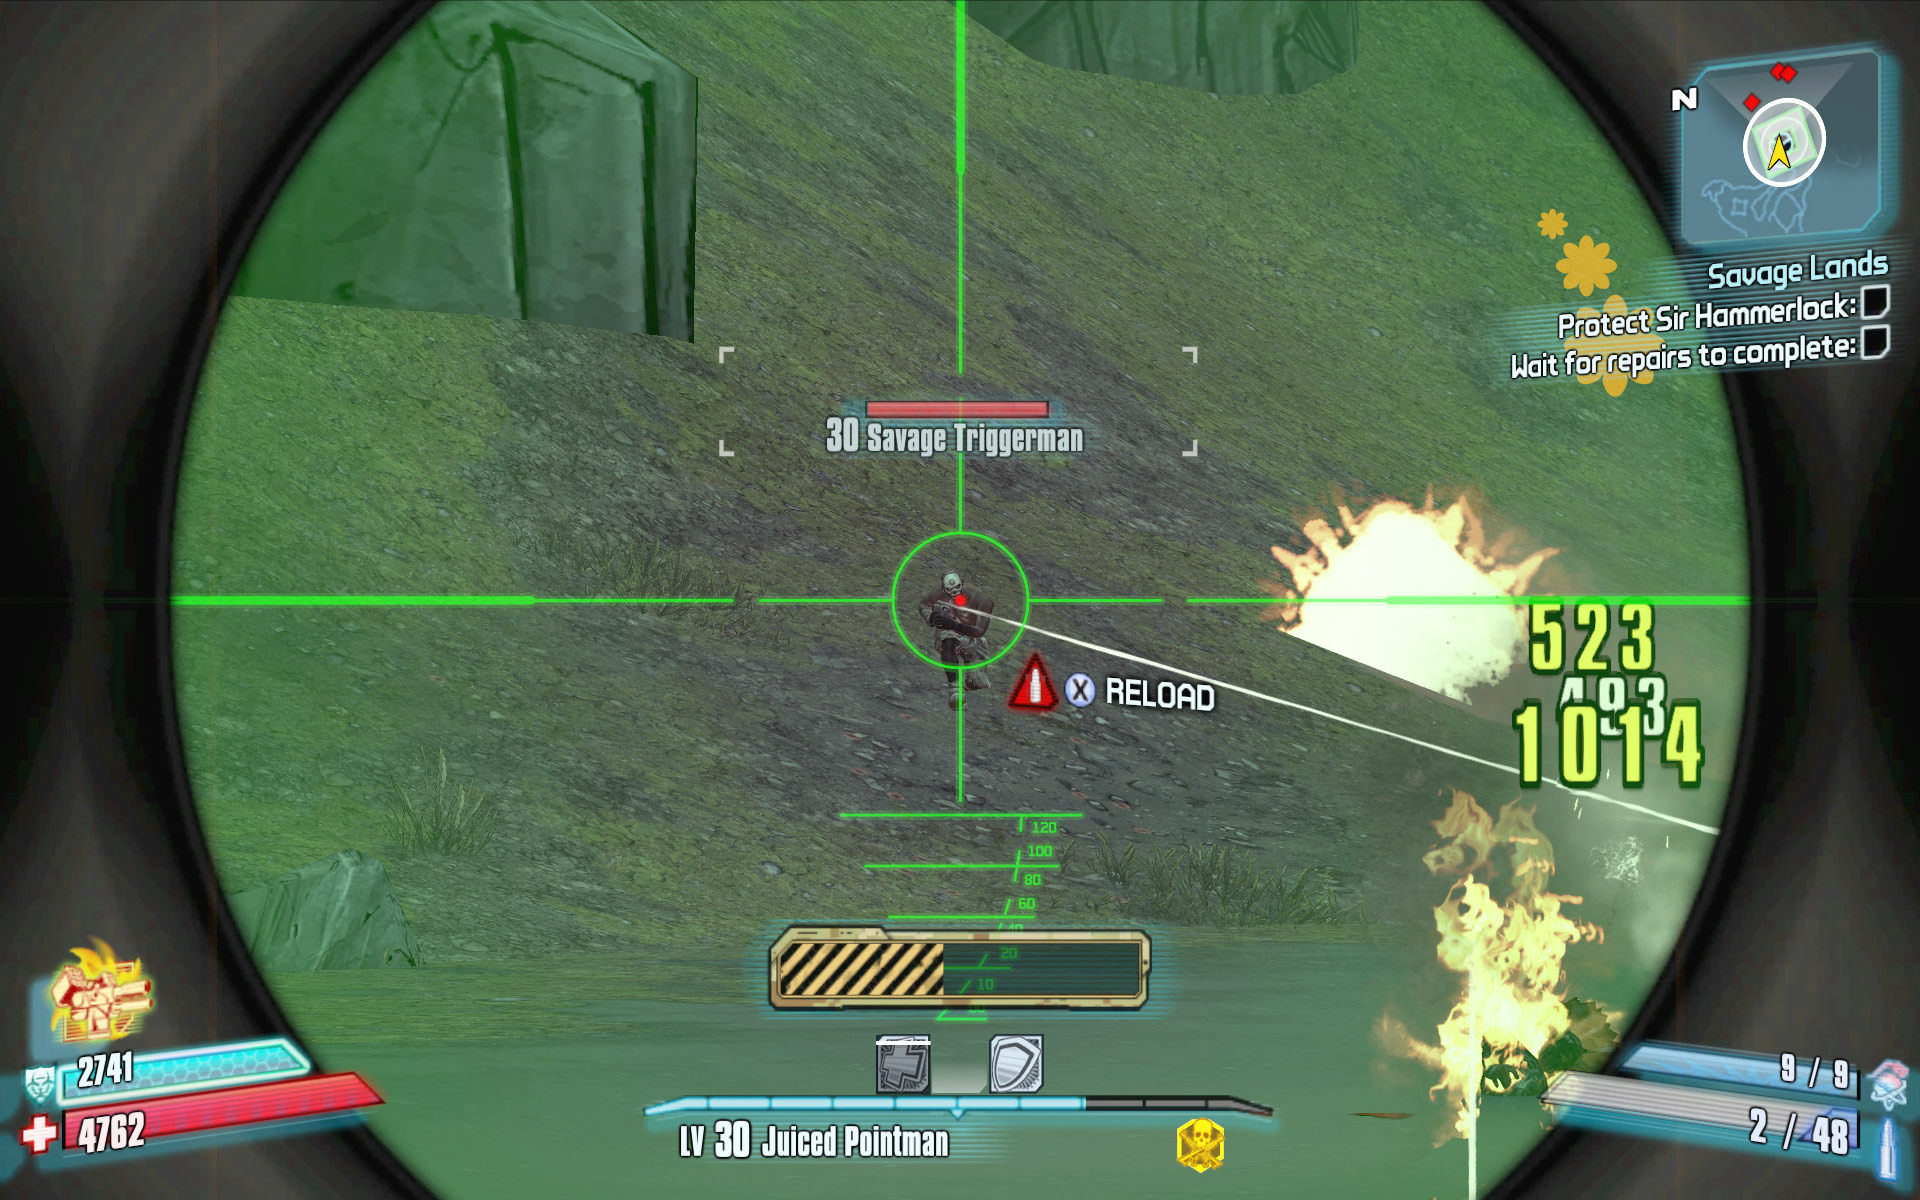
Snipe as many savages as you can before they reach the water.
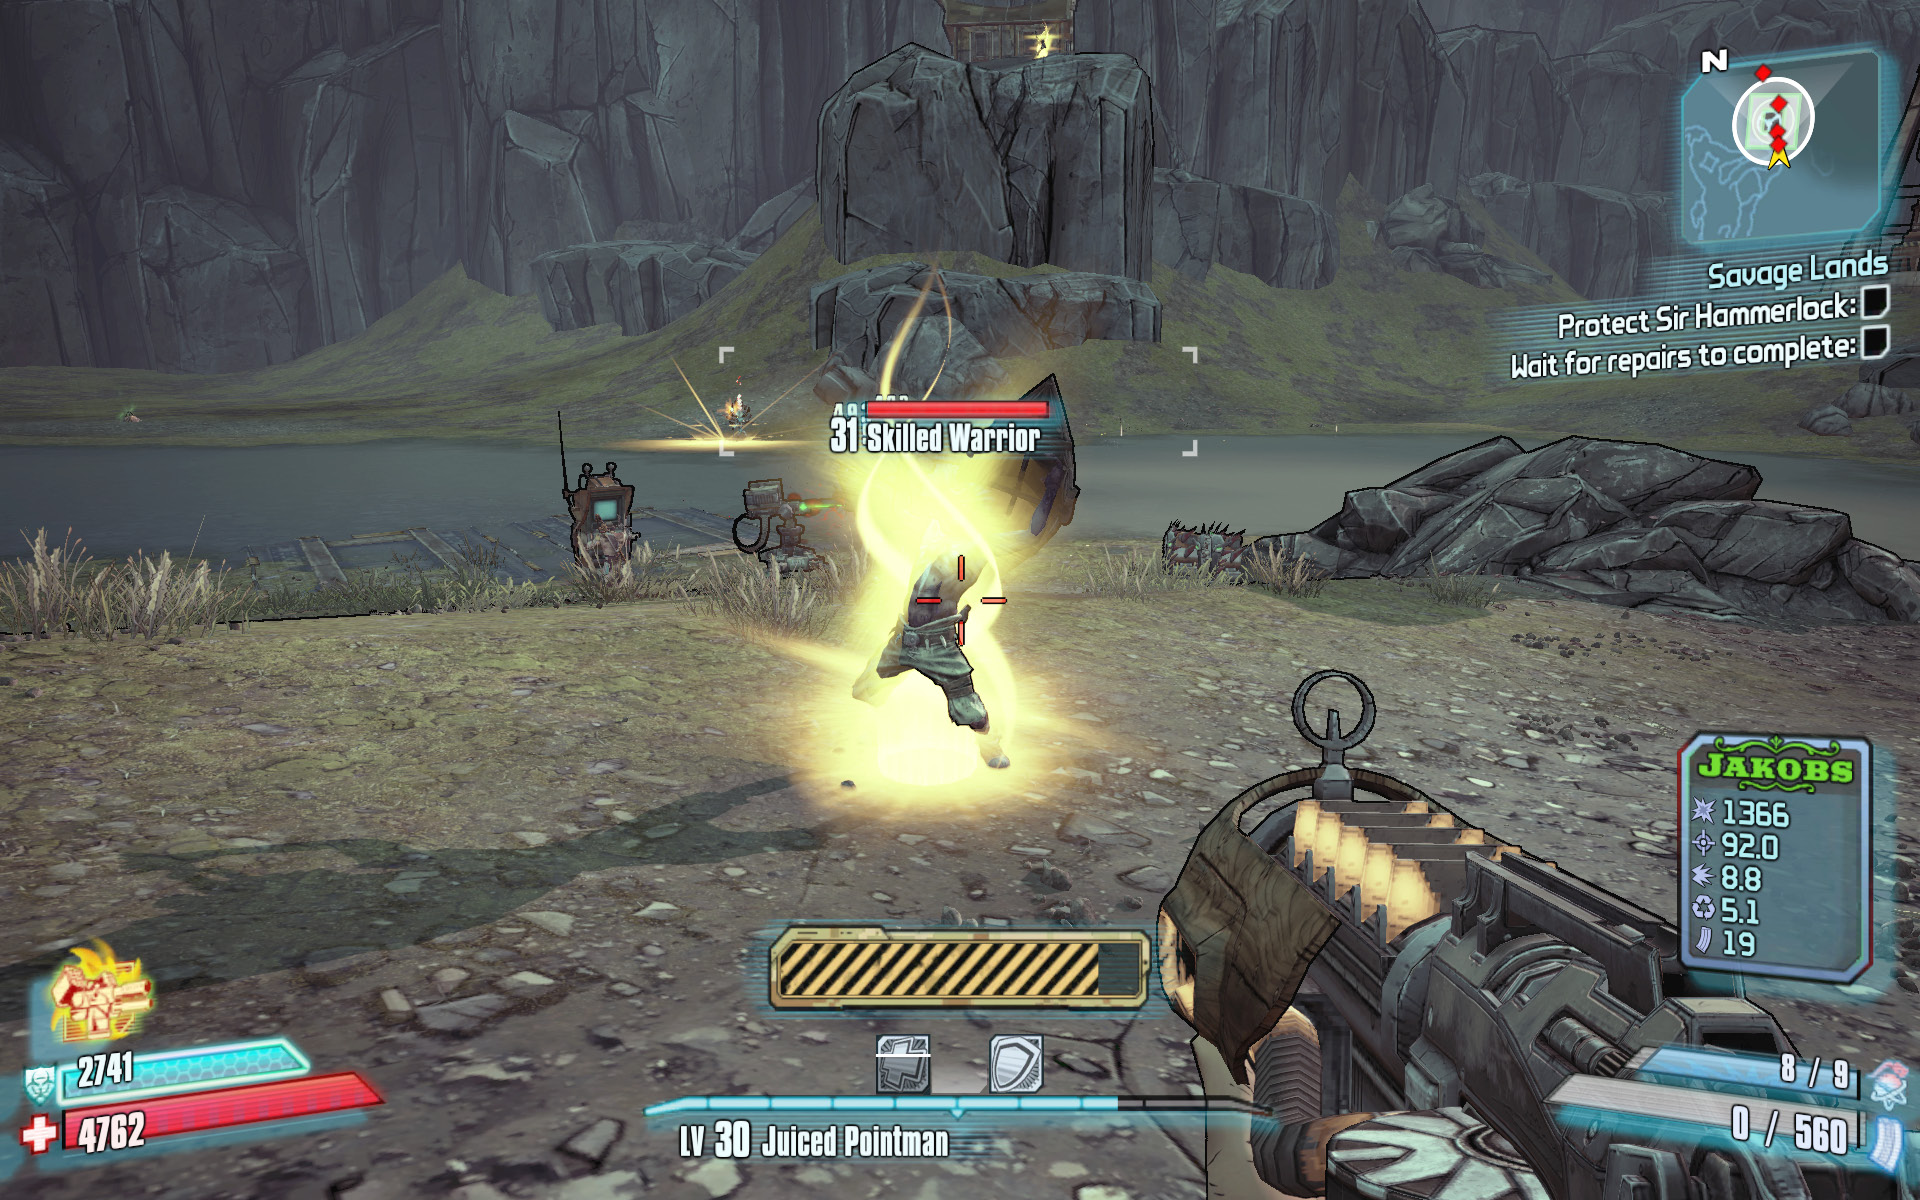
Try to kill any witch doctors in the area to prevent promotions like this.
Hunter’s Grotto
So you’ve made your way to Hunter’s Grotto? Splendid! This mountain-ringed sanctuary is home to some of Pandora’s most exotic wildlife, as well as a breed of savage that has found a way to live alongside them. Hunter’s Grotto has several distinct areas and (as you’ll see) is much larger than it first appears. The main swamps lie between the initial entrance and the sea to the east. Although you can find a path up into a bullymong-infested canyon in the southeast, you’ll need to ride the elevator to explore the southern plateau overlooking the lodge. You can encounter some of the most dangerous creatures beyond the narrow cave to the west. The western frontier is home to numerous savages, boroks, and a pair of monsters that trumps the others.
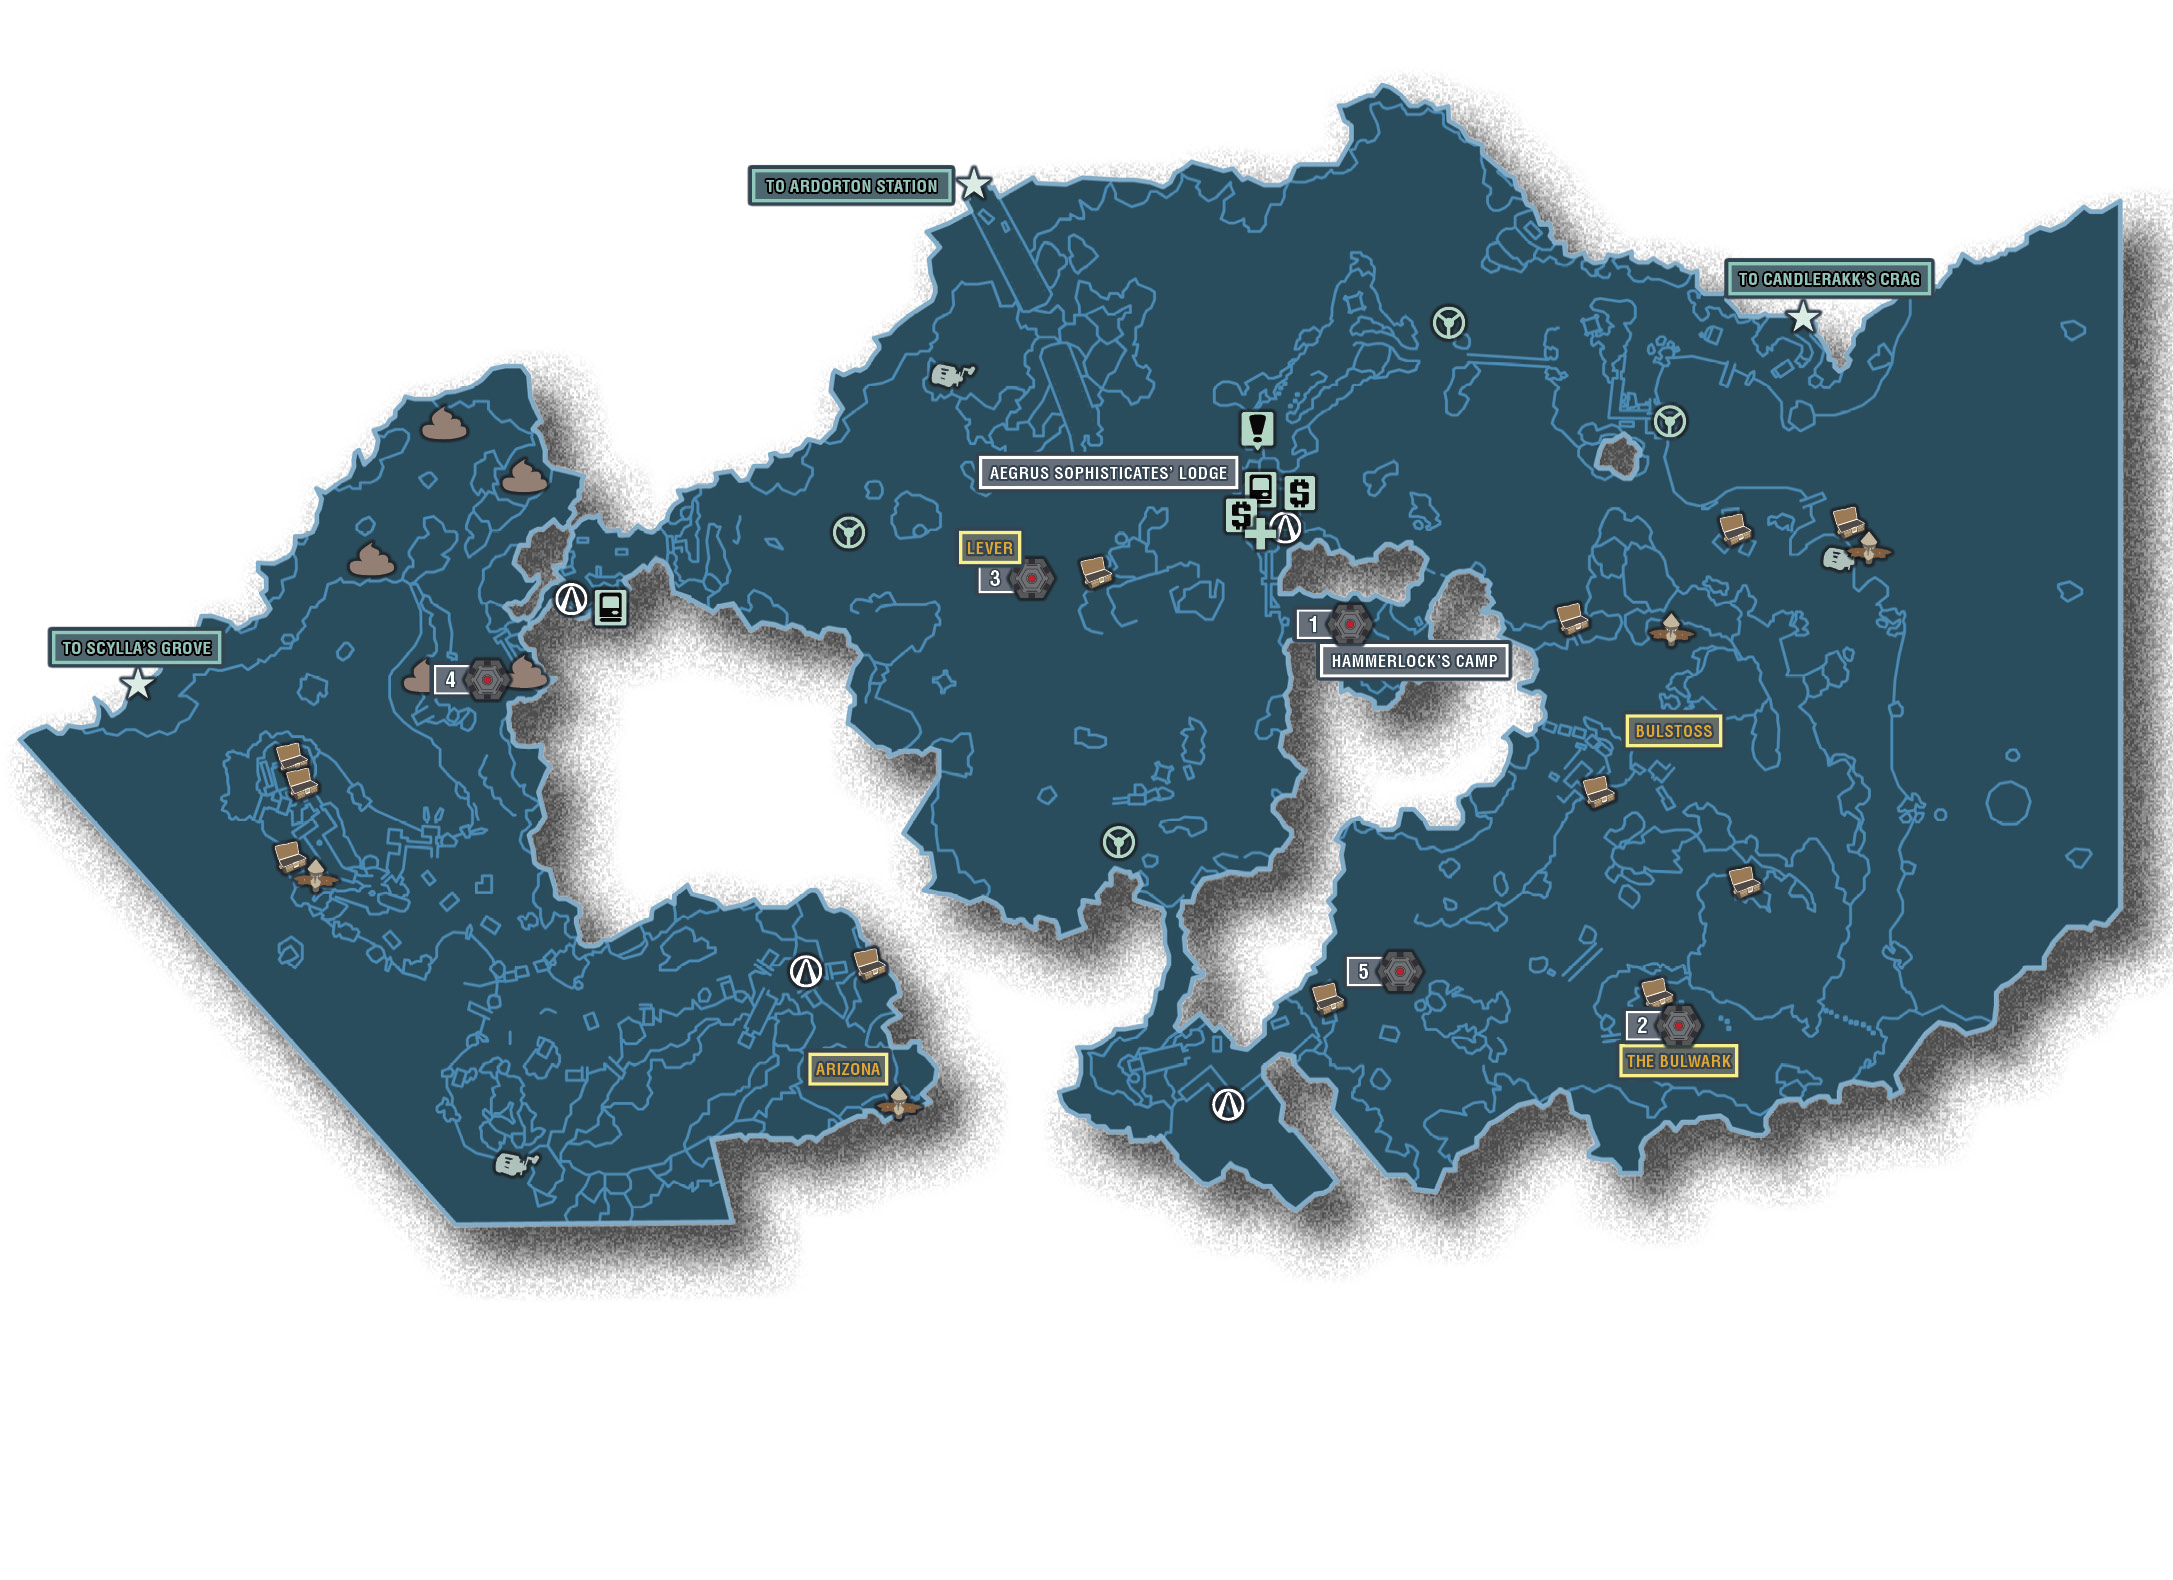
Dangerous Beasts
| Enemy Family |
|---|
|
Drifter |
|
Spores |
|
Witch Doctors |
|
Savages |
|
Boroks |
High Value Targets
| Enemy | Family |
|---|---|
|
The Bulwark |
Bullymong |
|
Bulstoss |
Borok |
|
Arizona |
Drifter |
 Cult of the Vault
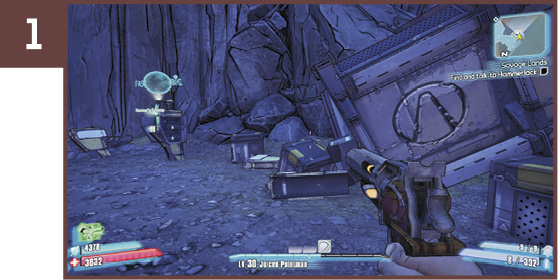
The first Cult of the Vault symbol is right near the Fast Travel station in Hunter’s Grotto. It’s on the side of the Hyperion Container near the station.
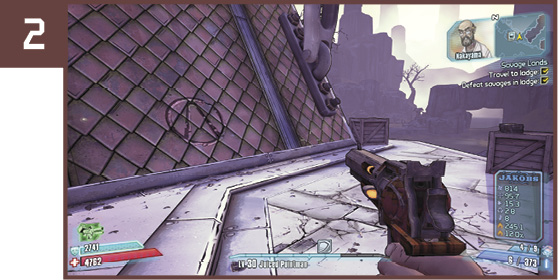
Follow Sir Hammerlock up the stairs and across the walkway to the Aegrus Sophisticates’ Lodge. The symbol you seek is to the right of the door.
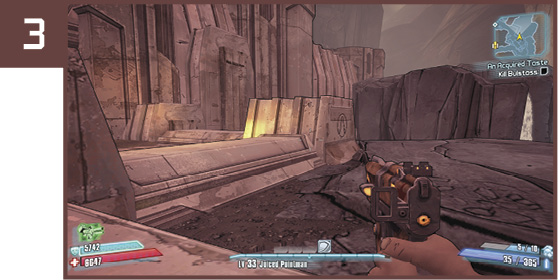
Ride the elevator up to the plateau south of the lodge and jump onto the concrete ledge to the right. The Cult of the Vault symbol is on the outer side of this concrete wall. Run across the rocks to reach it.
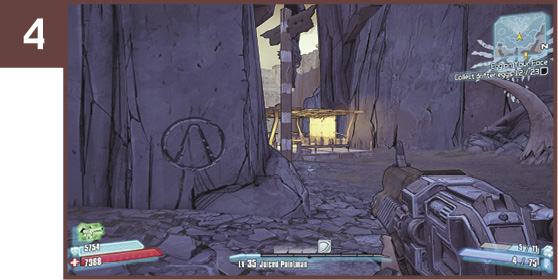
Descend on the elevator in the southwestern end of the map to the cave where Arizona lives during the “Egg On Your Face” mission. The symbol is on the rock pillar in the center of the cave, near the totem.
 It’s a Trap! Kind Of.
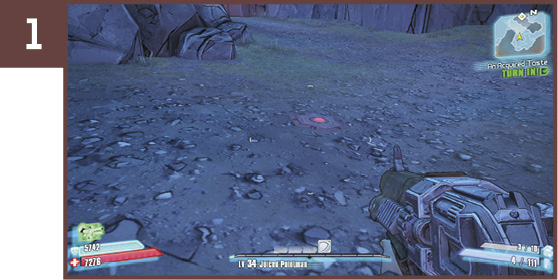
The first of Nakayama’s animal traps is in Hammerlock’s Camp, just steps from where Sir Hammerlock is standing when you first meet him.
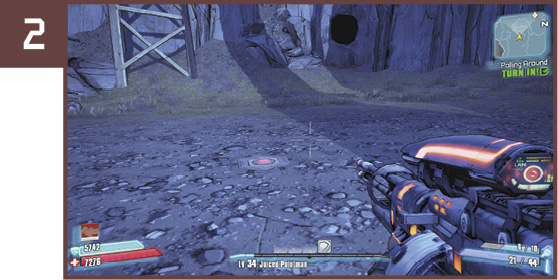
This next animal trap can be found in the bullymong lair where you fight The Bulwark during “Palling Around.”
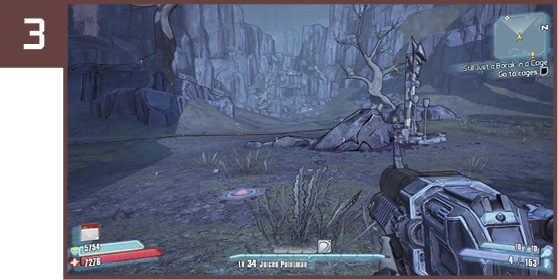
This trap is located out in the open between where you first enter Hunter’s Grotto and the Aegrus Sophisticates’ Lodge.
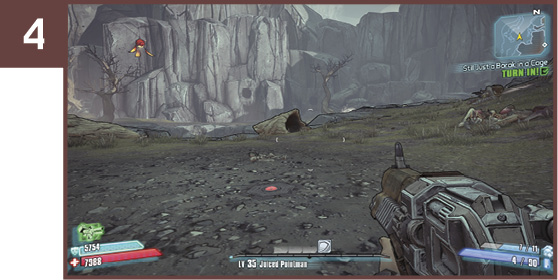
The fourth trap is located in the western end of Hunter’s Grotto, just south of the creek flowing out of the cliffs.
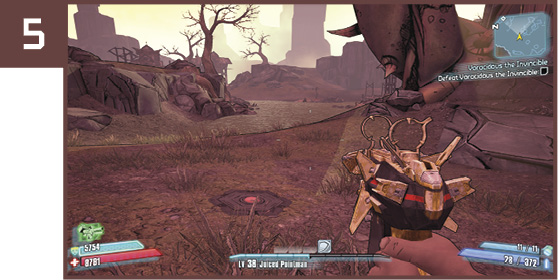
Ride the elevator up to the plateau south of the lodge and proceed due east toward the large spiked tree. The trap is on the ground near it.
Grenade Fishing
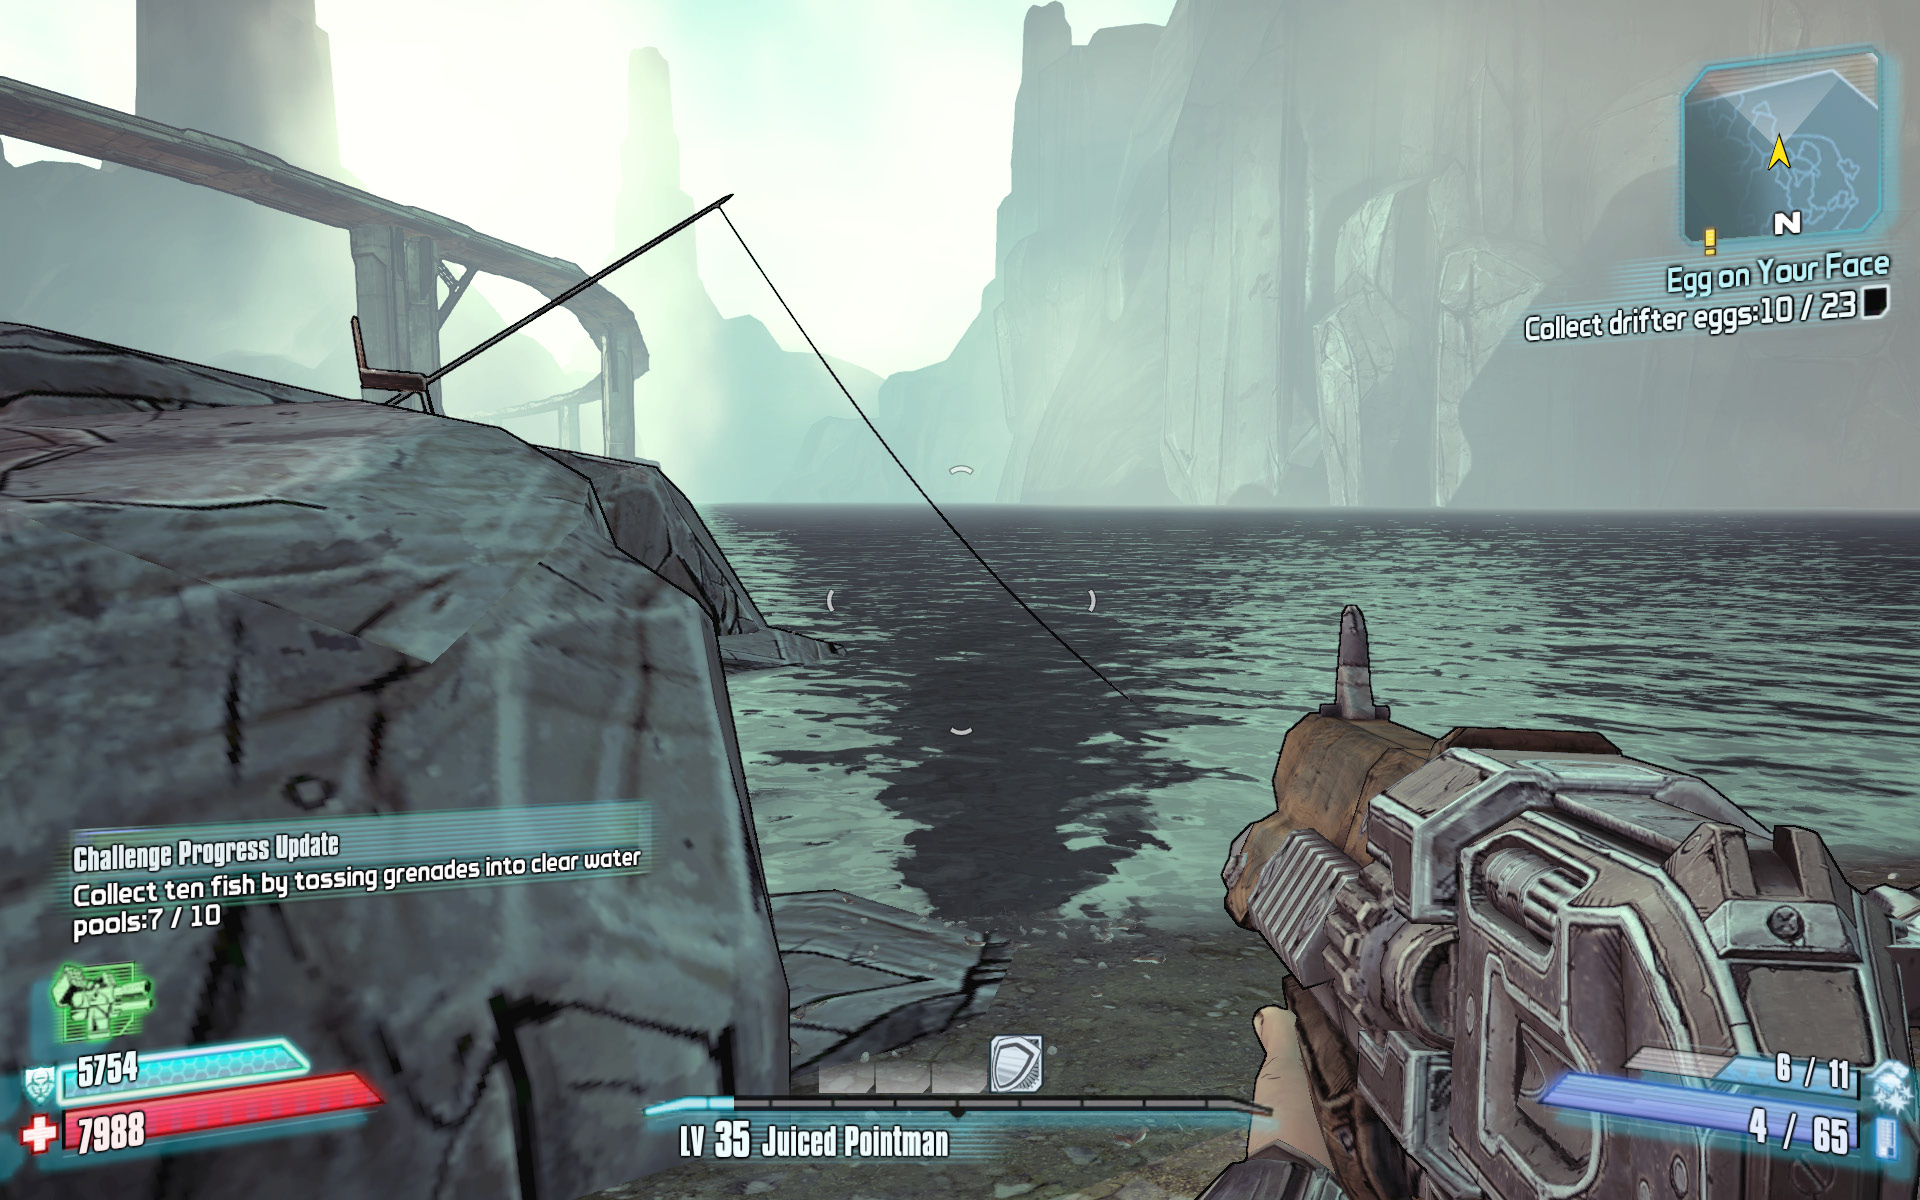
There are three fishing holes scattered around Hunter’s Grotto that you must toss a grenade into to collect the fish. Two of the fishing holes yield three fish each, while another yields four fish. The fishing holes each have a small chair and fishing pole sitting along the bank. This is your cue to toss a grenade in the water near the fishing line, and collect the dead fish that float to the surface. The fishing holes are marked on the map, but they include the following locations: 1) west of the highway overpass, 2) the extreme southwestern edge of Hunter’s Grotto, and 3) on the eastern shoreline.
Stool Sample
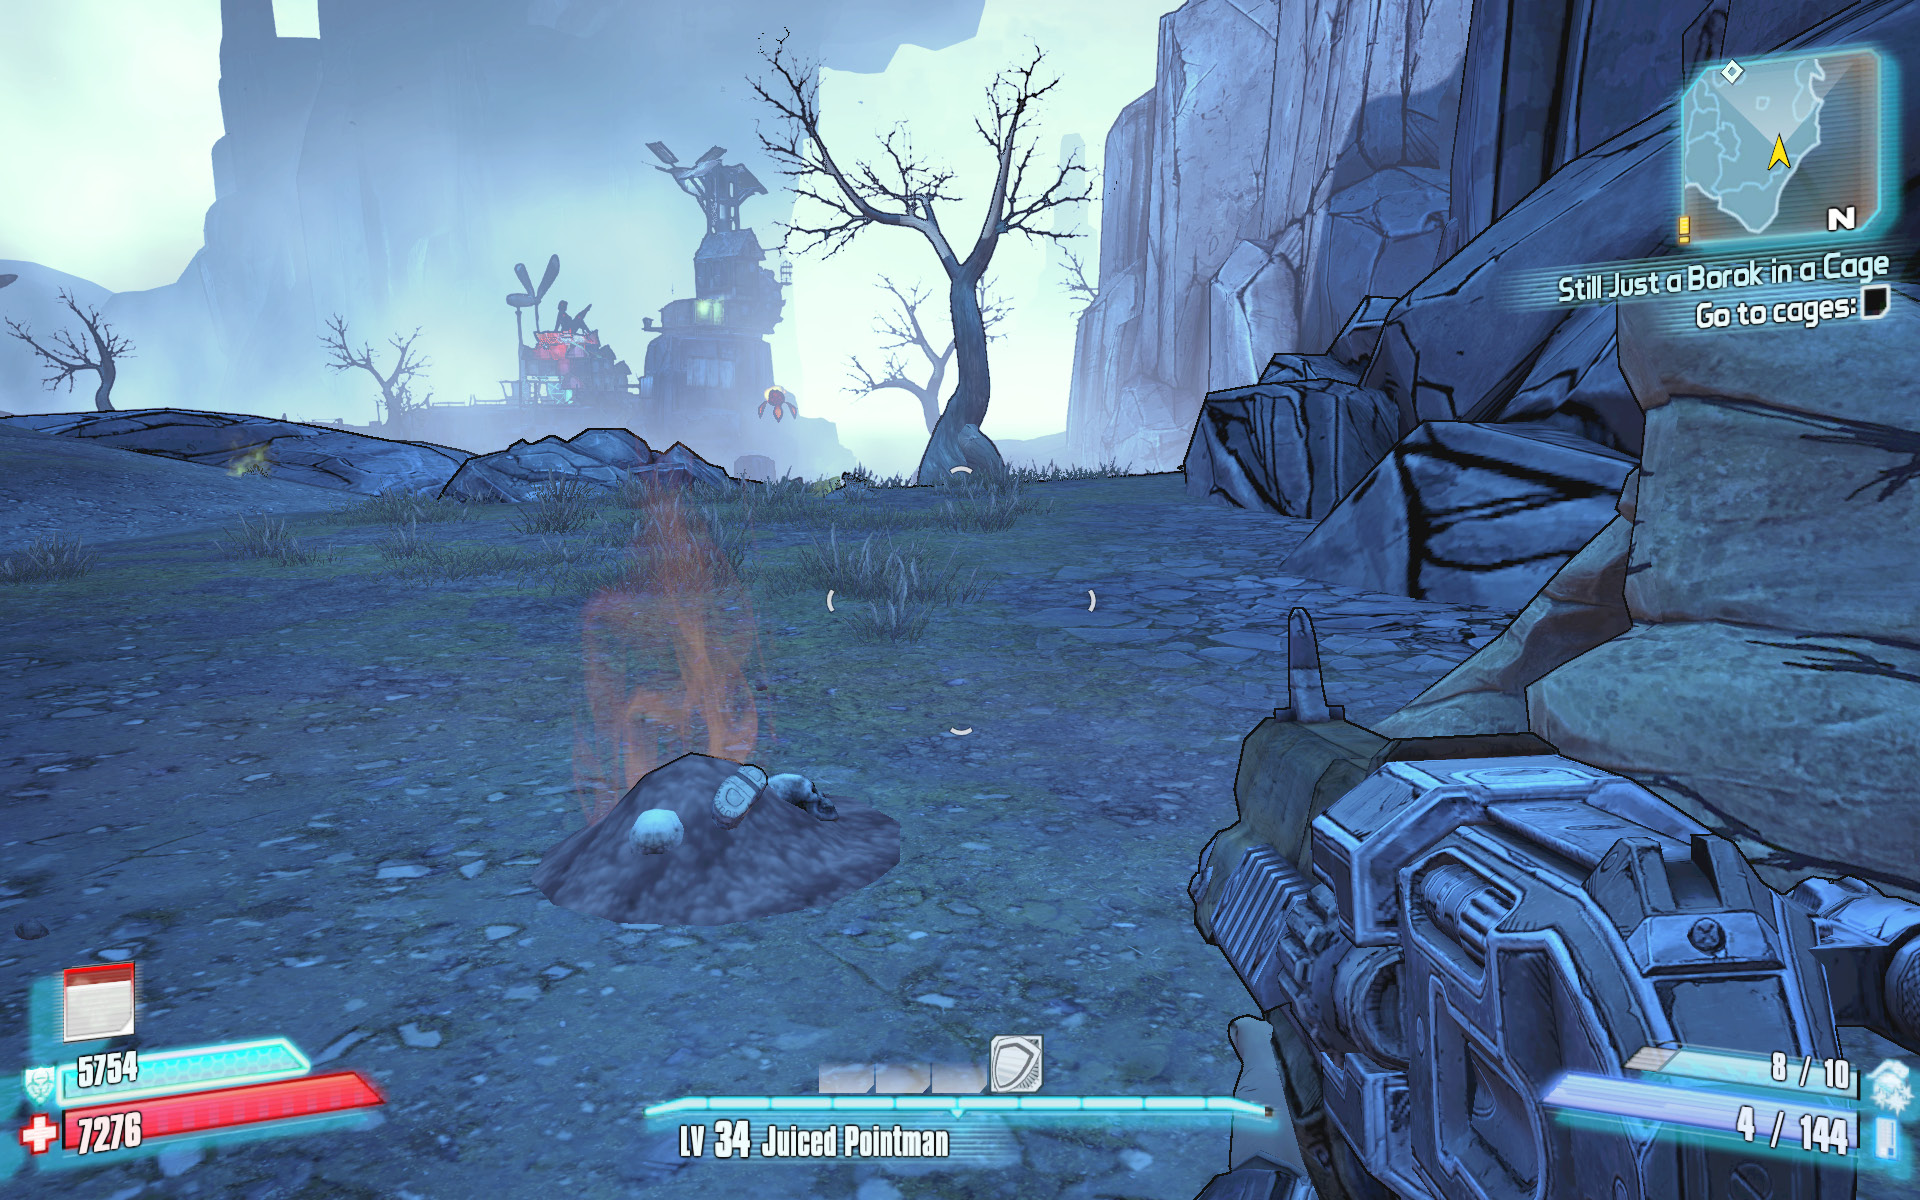
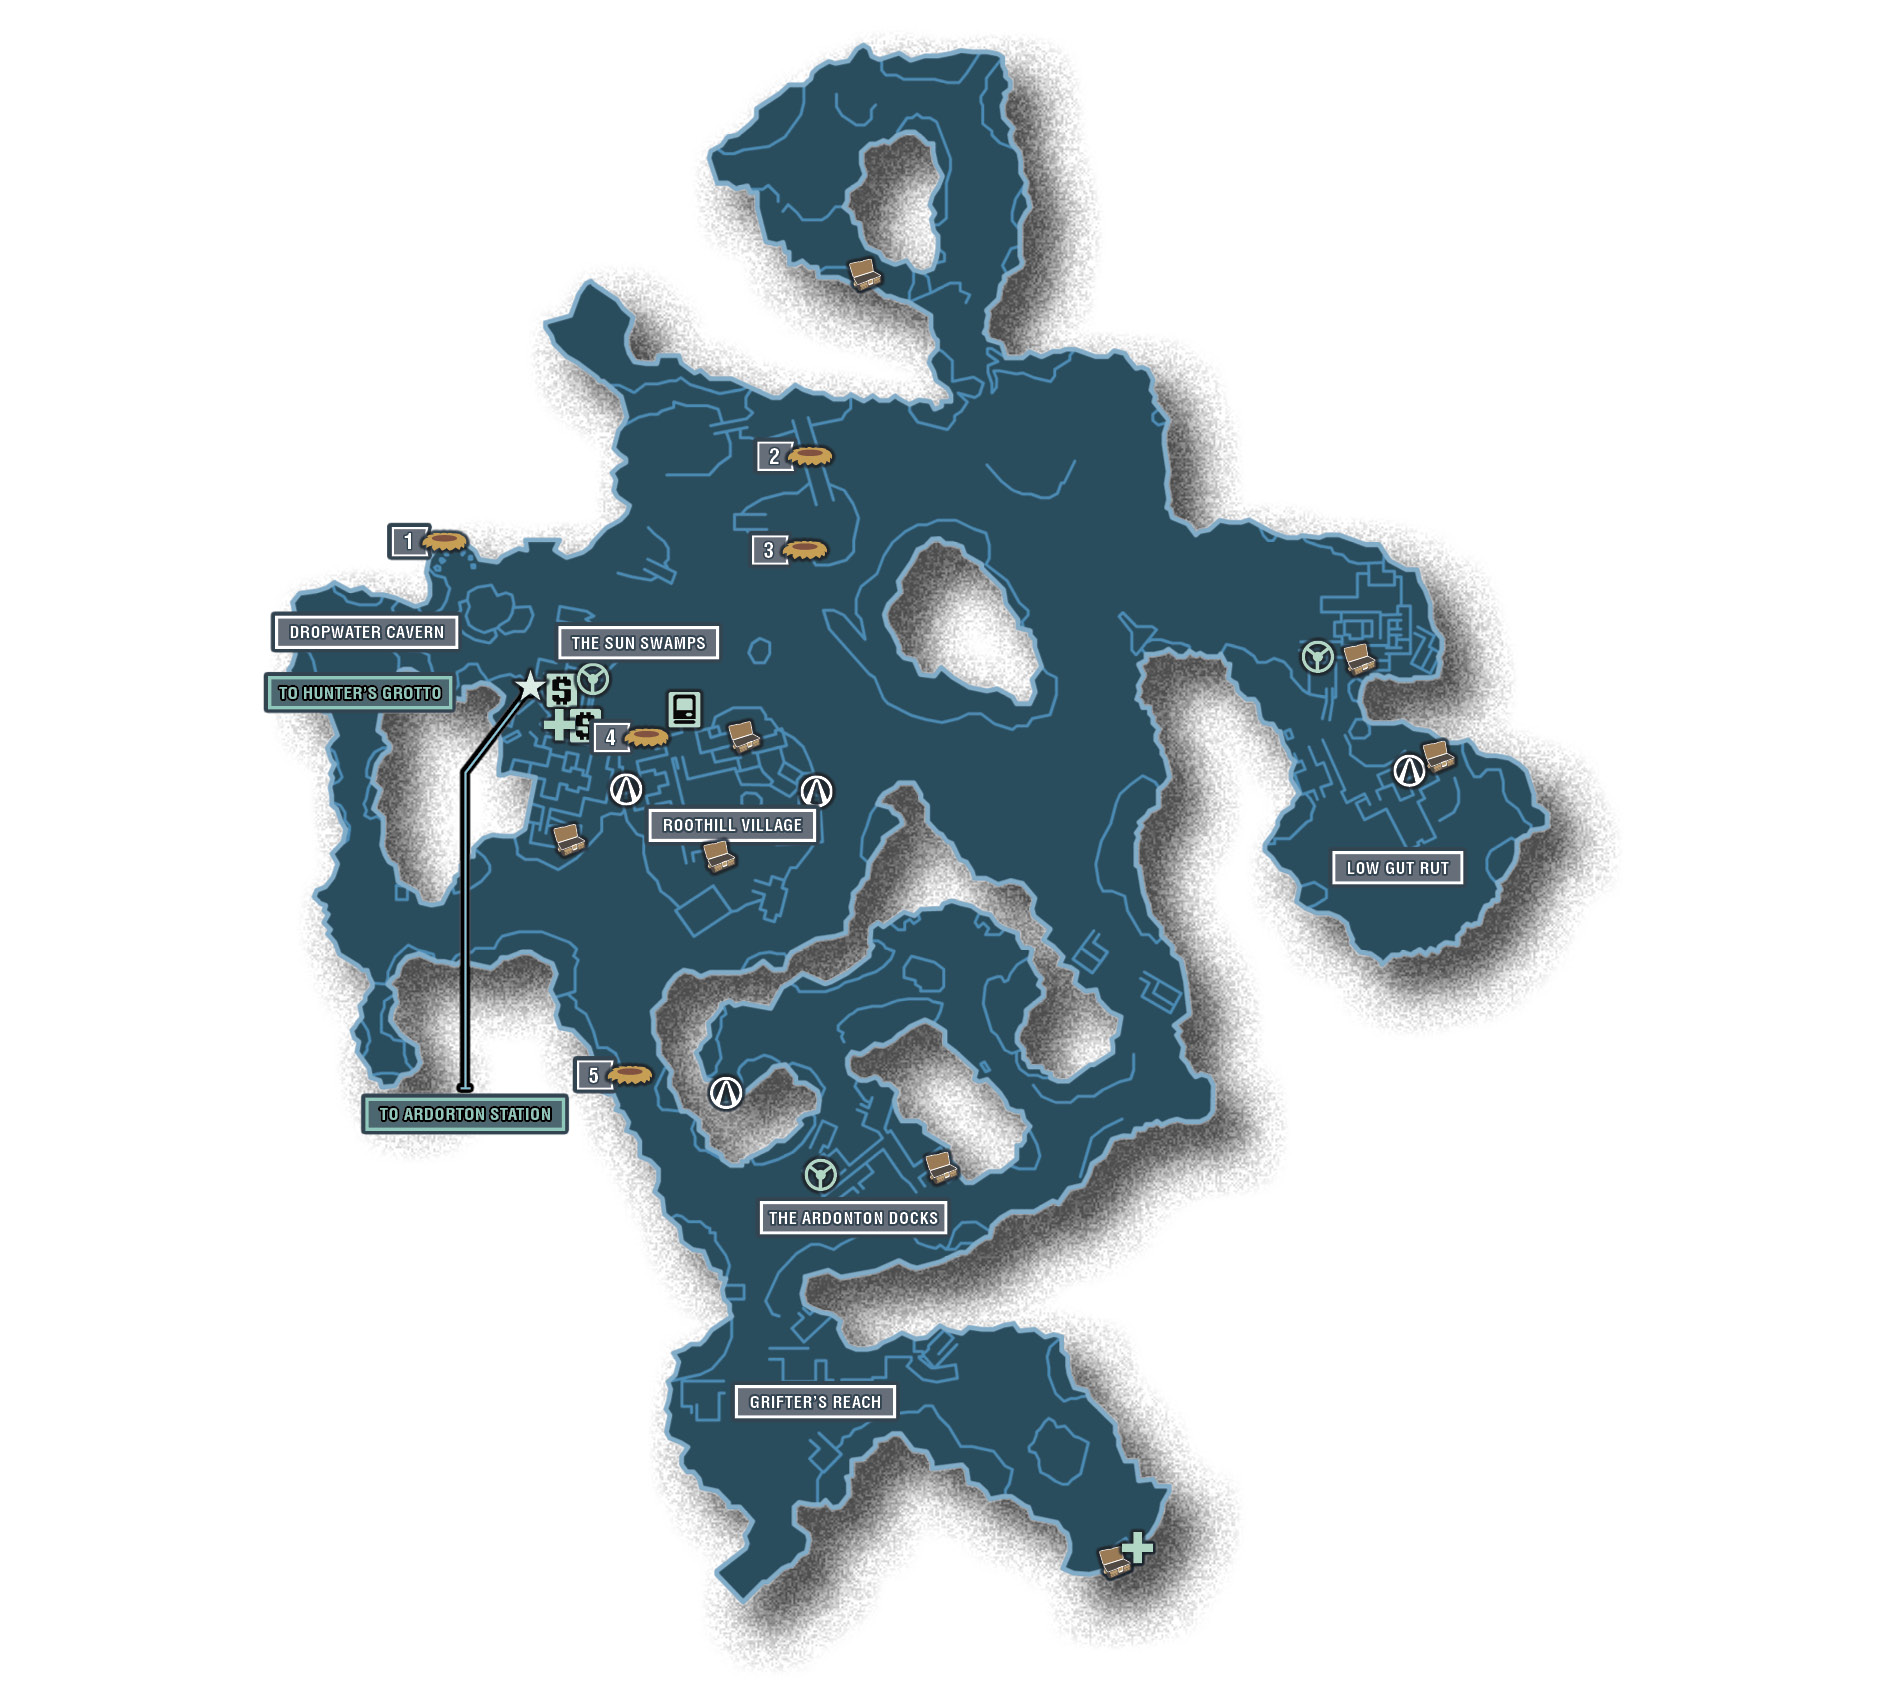
Proceed through the cave beneath the Hunter’s Grotto entrance to explore the western side of the map. This area, particularly near the waterfall and stream, has many piles of borok dung. You can search any of the dung piles for loot, but only the brown ones yield a stool sample. Collect five stool samples from the brown dung piles wherever you spot the boroks. You can only discover each brown dung pile once, but you can find all five in the western end of Hunter’s Grotto, between the village to the south and the entrance to Scylla’s Grove. See the accompanying map for specific locations.
Scylla’s Grove
Welcome to the swamps. There aren’t any drifters in these parts—too much fan boat traffic—but there are numerous savage camps, dozens of witch doctors, and even a village amongst the trees. Legend has it that the inhabitants of Scylla’s Grove worship a mystical single-wheeled deity that keeps them safe from the threatening Rakkanoth. Scylla’s Grove contains numerous water-filled canyons, several dry caves, and a lengthy western tunnel that curves deep below the ground to provide access to Ardorton Station. But perhaps the biggest secret of all lies in the southwestern corner of Scylla’s Grove. That’s where the locals make their sacrifices.
Dangerous Beasts
 Cult of the Vault
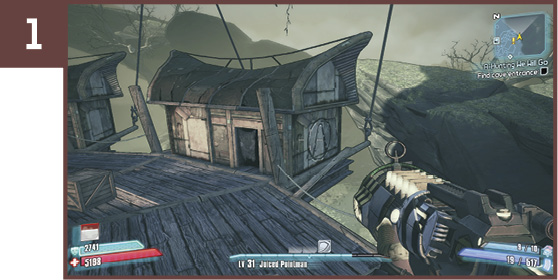
Proceed through the Sun Swamps toward the elevator up to Roothill Village. Turn around near the stairs before the elevator to spot the symbol on the hut nearest the stairs on the right-hand side.
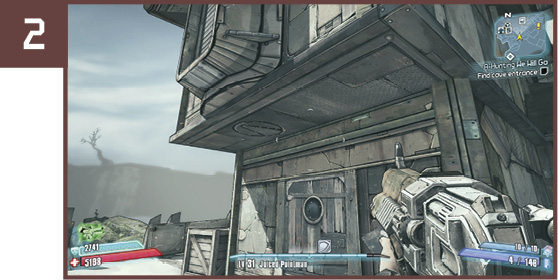
The Cult of the Vault symbol is in Roothill Village, above the door in the westernmost house. This is the lengthy structure due west of the Fast Travel station.
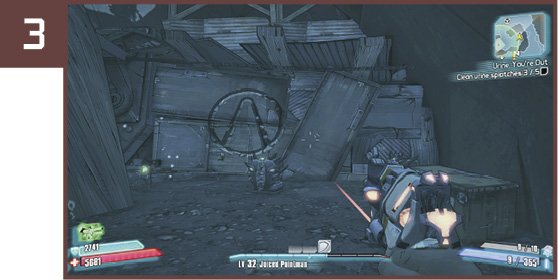
This symbol is in the western end of the skag cave in the center of the map. It’s hard to miss during the “Urine, You’re Out” mission.
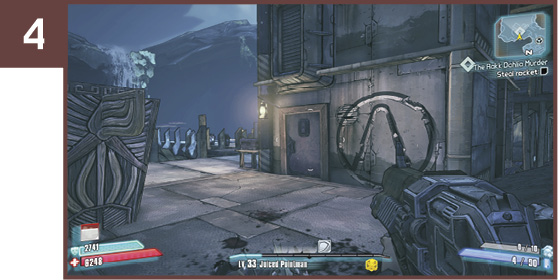
The final Cult of the Vault symbol is located in Low Gut Rut, on the east side of the building, near the fireworks you must collect during “The Rakk Dahlia Murder” mission.
Beware the Clap
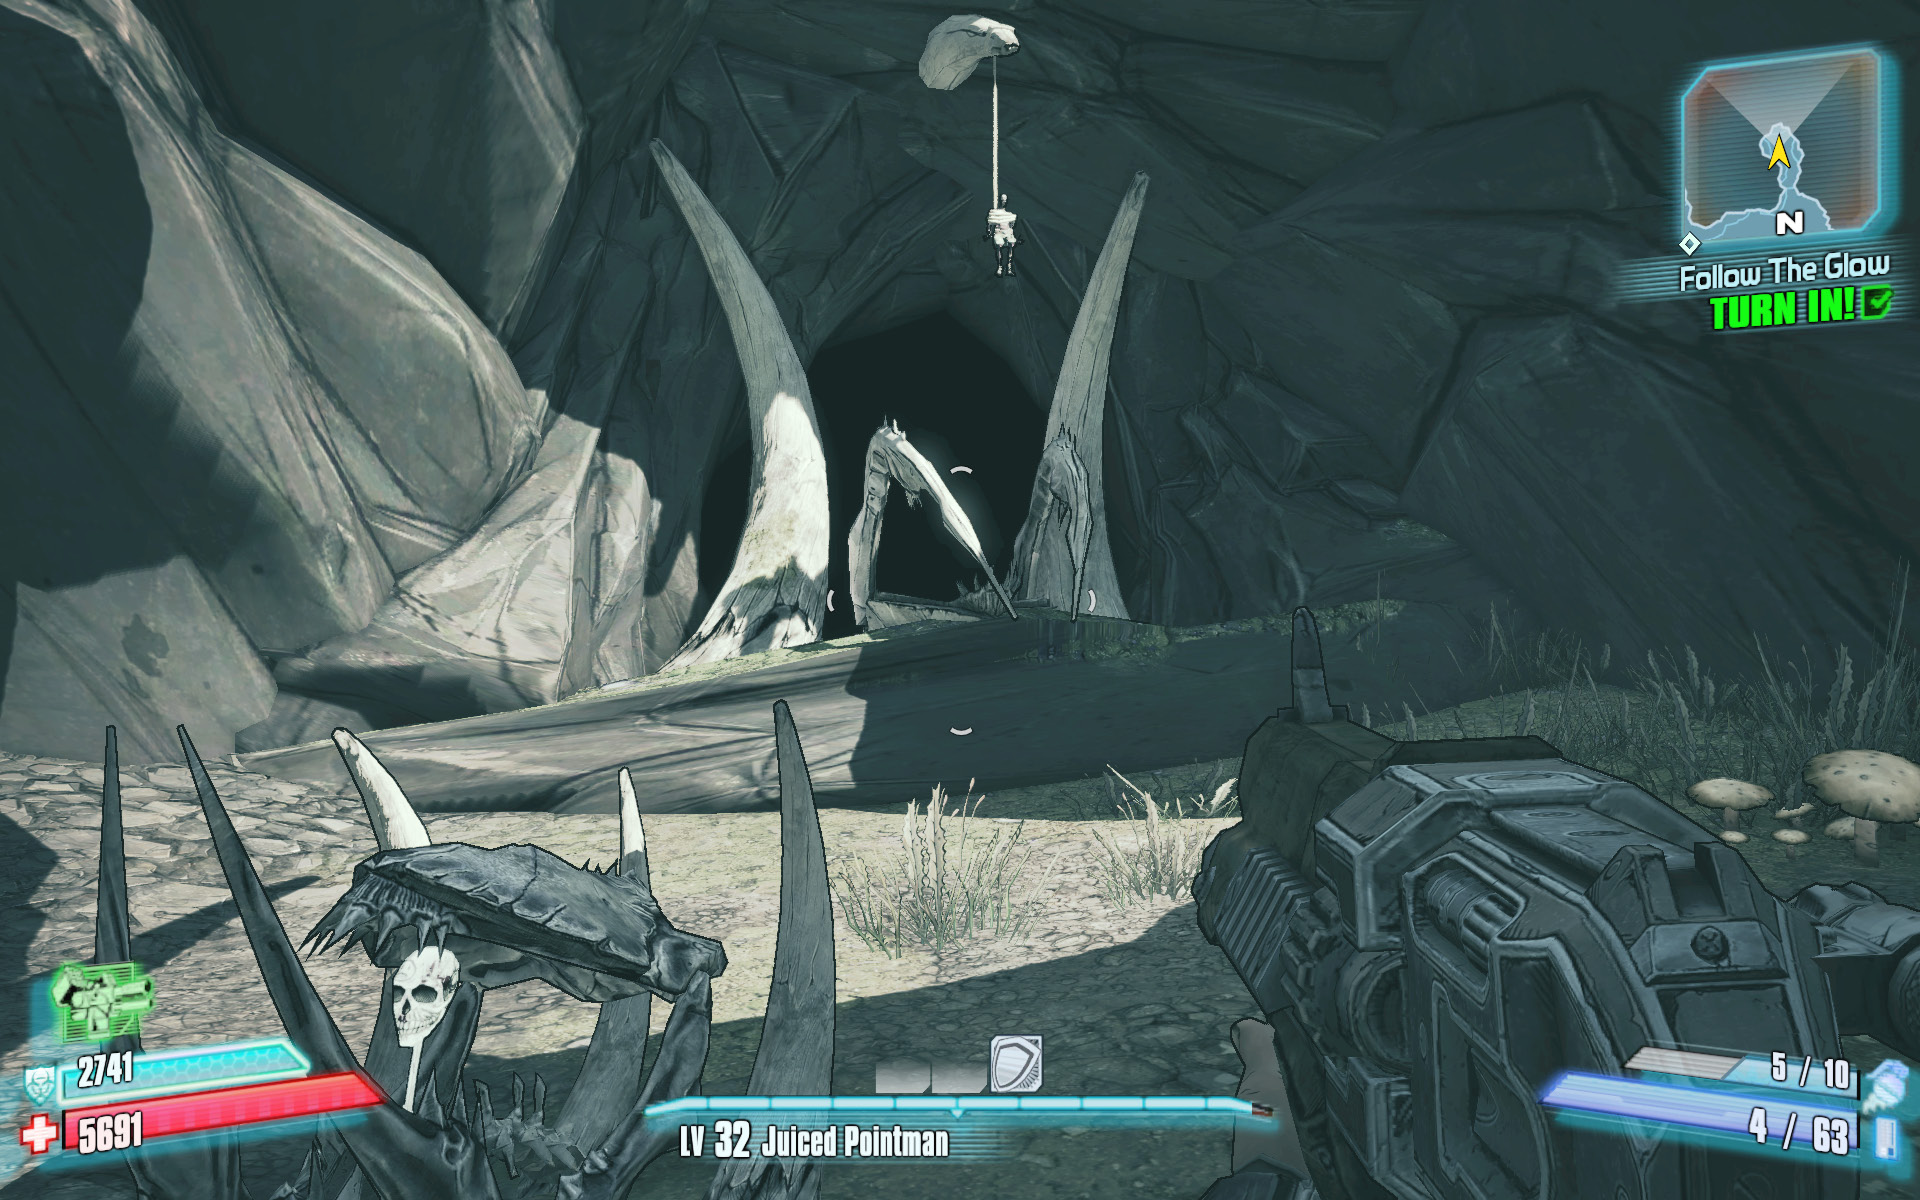
Make your way down the tunnel to Dropwater Cavern, as if heading to Ardorton Station during “A-Hunting We Will Go,” and explore the tiny cave in the very southwest corner of the map. You’ll come across a savage named Sacrifice hanging from a rope. Pull the skull-shaped handle inside the jaws on the floor to summon a giant fire-breathing Claptrap and unlock this challenge.
Human Barbecue
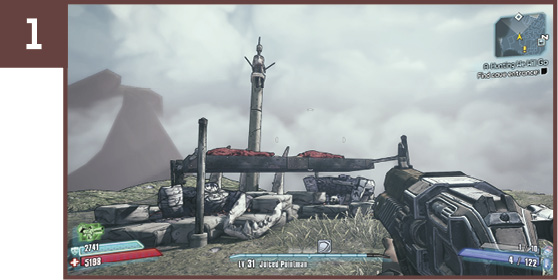
Ride the elevator up to Roothill Village and head to the left. There is a large campfire spit on the western edge where two fires can be set. Light either of them.
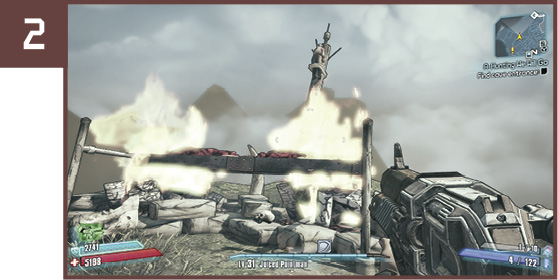
The bonfire in Roothill Village actually contains two fires side by side. Ignite both of them to get credit for lighting two of the four fires.
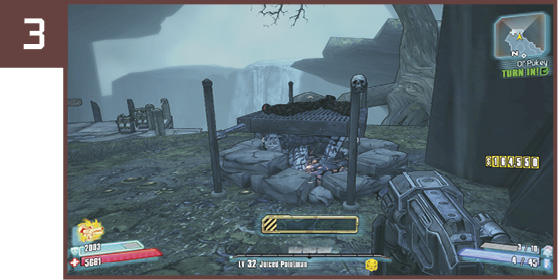
Continue south through Ol’ Pukey’s skag den to the cliff in the distance. The third barbecue spit is near the edge of the cave in the southeast corner of the region.
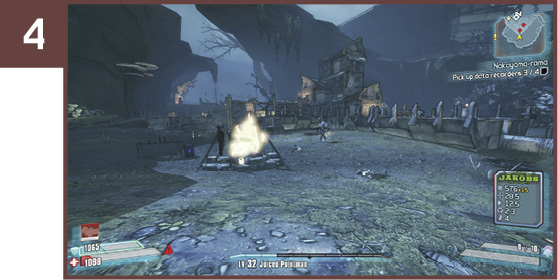
The fourth barbecue spit is located near the center of Scylla’s Grove, near the village just south of the village along the central eastern edge of the map. It’s near the longhouse where you’ll find the fireworks needed during “The Rakk Dahlia Murder” mission.
 Rakk Forest
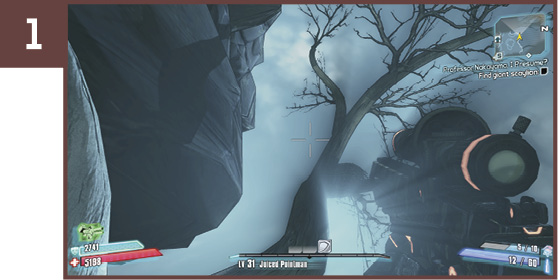
Head due north upon entering Scylla’s Grove, and peer out of the cave at the tree on the left. The rakk nest is in the lower bough of the tree.
Head up onto the bridge in the center of the Sun Swamps, and face due east. The rakk nest is in the top of a distant tree.
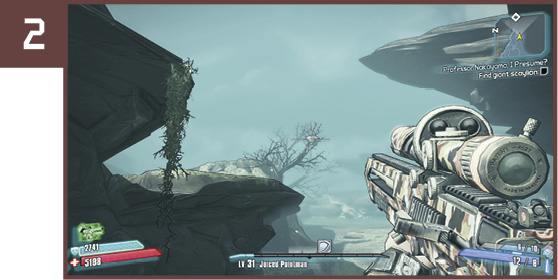
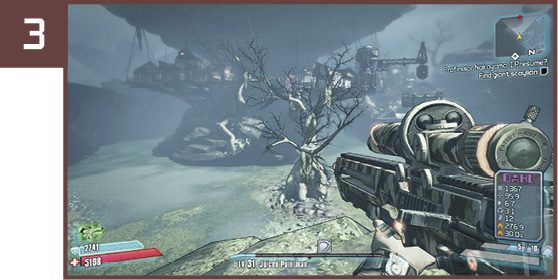
Cross the bridge in the center of the Sun Swamps toward the rock pedestal where the fireworks cauldron is. Face the village to the south to spot the next rakk nest in the nearby tree.
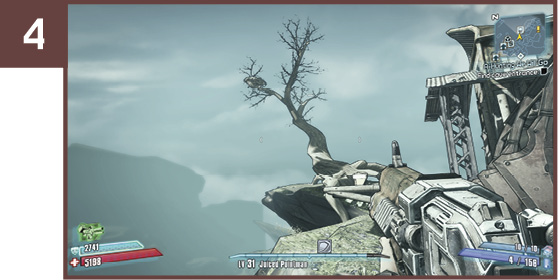
This rakk nest is in the tree nearest the Fast Travel station in Roothill Village. It’s possible to snipe it from down below, but it’s much easier to target from the upper village.
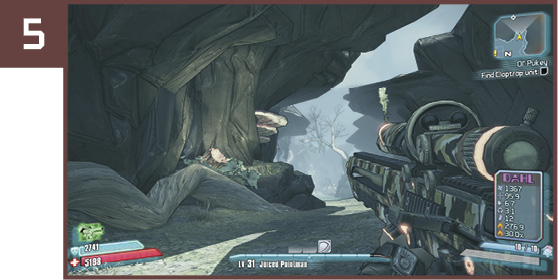
You’ll spot this rakk nest in the southeastern canyon, en route to Ol’ Pukey’s den. It’s in a tree just north of the savage village.