Borderlands 2 Game of the Year Guide Walkthrough
Toil and Trouble
|
 Mission Briefing
| Level | Money | XP | Gear |
|---|---|---|---|
|
25 |
4 Eridium ($785 with Bonus) |
8574 |
— |
*Money and XP may vary based on player’s level at start of mission.
Eridium Blight
The Crimson Raiders suffered a tremendous setback, but the fight for the Vault—and for Pandora—must not be abandoned! Fast Travel to The Dust and snag a vehicle from the Catch-a-Ride at Ellie’s Garage. Head west along the northern edge of The Dust until you see a narrow canyon leading off to the northwest. Follow this gully to the entrance to Eridium Blight.
Arid Nexus lies in the southeastern corner of the map. The most direct way there is to follow the main highway. Make the right just beyond the Jack Statue and Catch-a-Ride, and approach the gate, which opens automatically as you get close. Follow this road all the way through the southern half of the map down the mountain toward the southeastern corner of the region. Unfortunately, you’ll be detected as intruders, and the drawbridge will rise to keep you from driving onward to Arid Nexus. Lucky for you, Brick has a plan! He wants you to steal some explosives for his Slab buddies so they can blow the hoists off the drawbridge and lower the road into position.
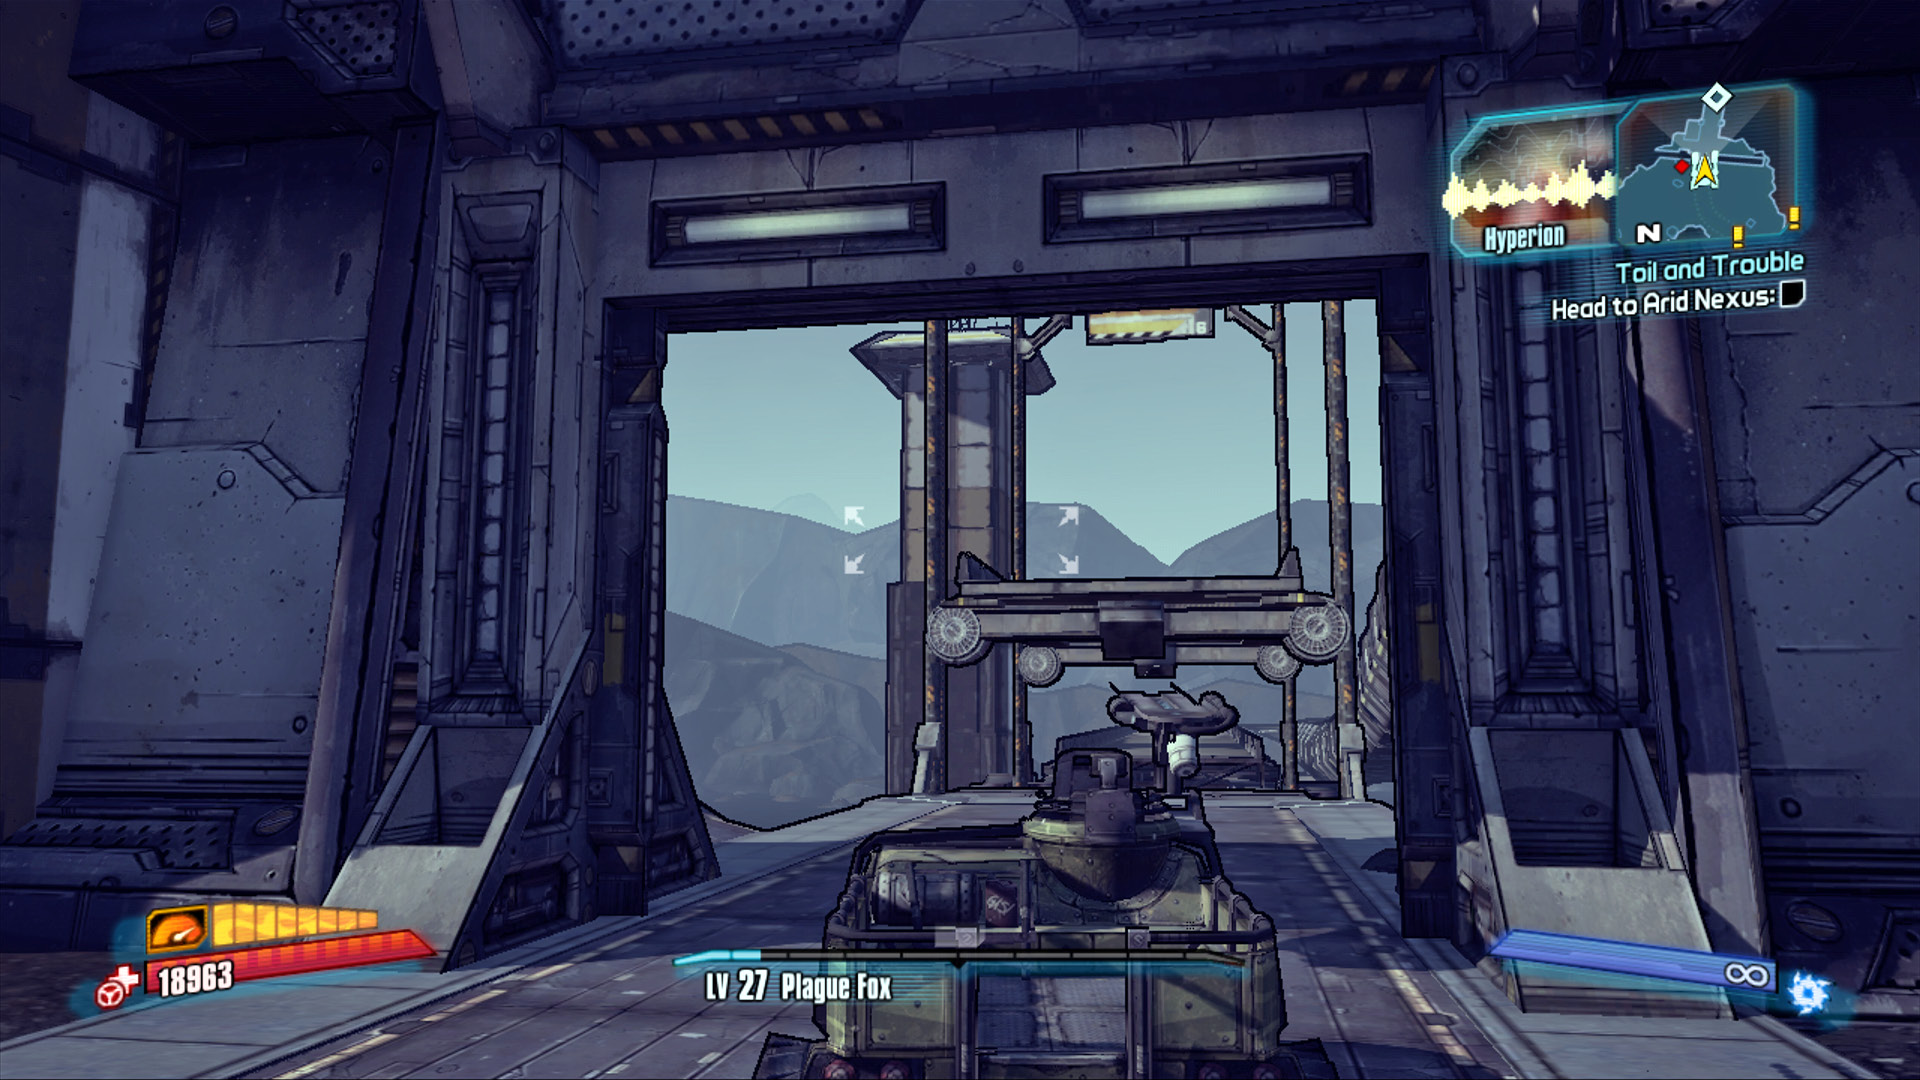
You shall not pass!
The explosives Brick wants you to secure are located in Sawtooth Cauldron, home turf of the Slabs’ rival gang, the Sawteeth. To get to Sawtooth Cauldron, turn around and follow the road back up the hill to the gate you drove through moments ago. Turn right and continue along the main road to the bridge, then cross it and continue straight onto the dirt trail to the left of the lava. Head up the hill toward the exposed break in the overhead pipe, and turn east as you pass underneath it. If you reach the Catch-a-Ride, you went too far. The entrance to Sawtooth Cauldron is beneath this pipe.
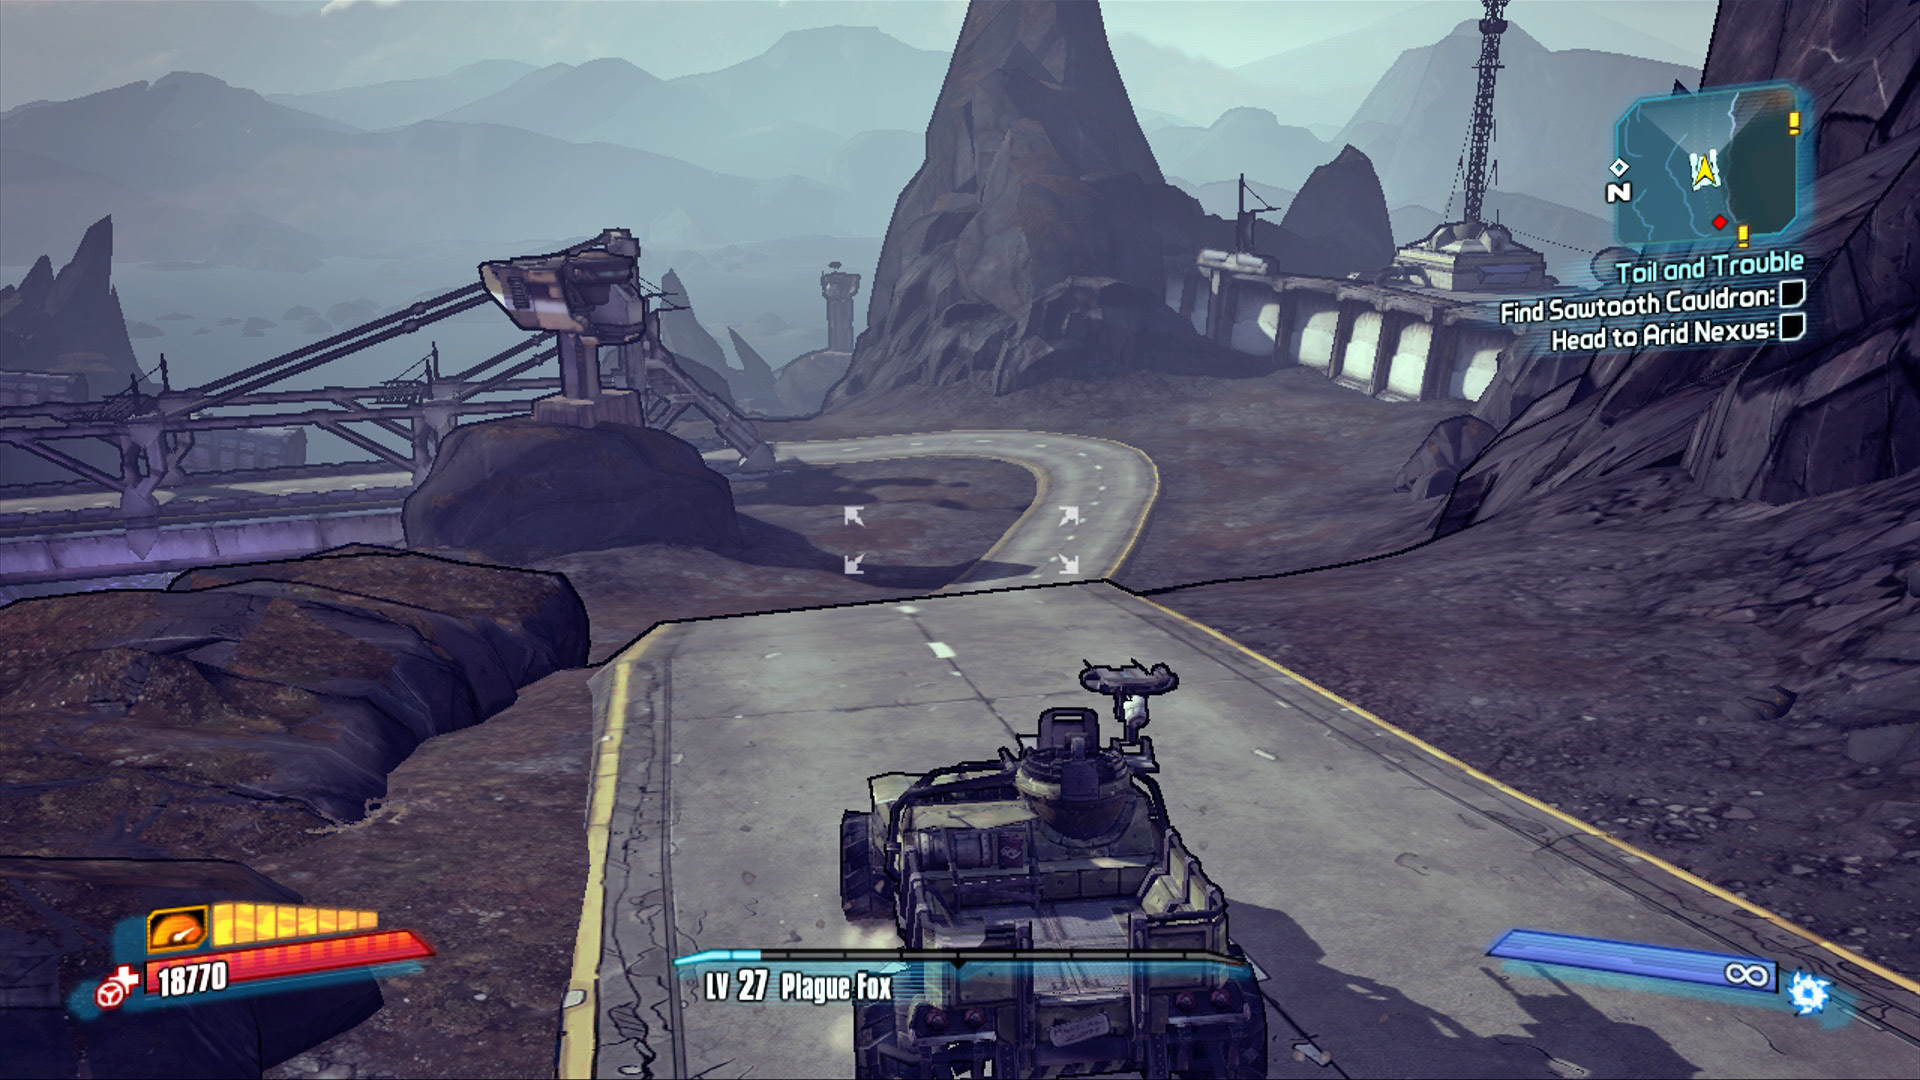
Cross the bridge and continue off-road to the north to find the entrance to Sawtooth Cauldron.
Sawtooth Cauldron
Geographically speaking, the explosives Brick needs you to get aren’t that far from the exit to Eridium Blight. However, reaching them is another thing altogether, being that they’re high atop The Buzzard Nest. To get there, you must traverse Smoking Guano Grotto and gain access to the elevator deep inside the mountain.
The first step is to get to Smoking Guano Grotto. The entrance from Eridium Blight has put you on a narrow ledge directly south of the Sawtooth Stilts district, just east—and 200 or so feet above—the entrance to Smoking Guano Grotto. Though you can fight your way past two dozen bandits and descend the gently sloping trail as it curls its way around the side of the cliffs in a clockwise direction, this is entirely unnecessary. It’s far faster—and easier—to simply jump off the cliff straight ahead and land right near the entrance to Smoking Guano Grotto. Geronimo!
For the quickest way down, walk to the left of the vending machines and approach the cliff. Continue along the rocky ledge to the left and spot the tusks sticking out of the rocks down below near the boardwalk. This is your target! Take a flying leap to the mouth of the cave, and run inside (there is plenty of opportunity to explore the Sawtooth Stilts area later if you so desire).
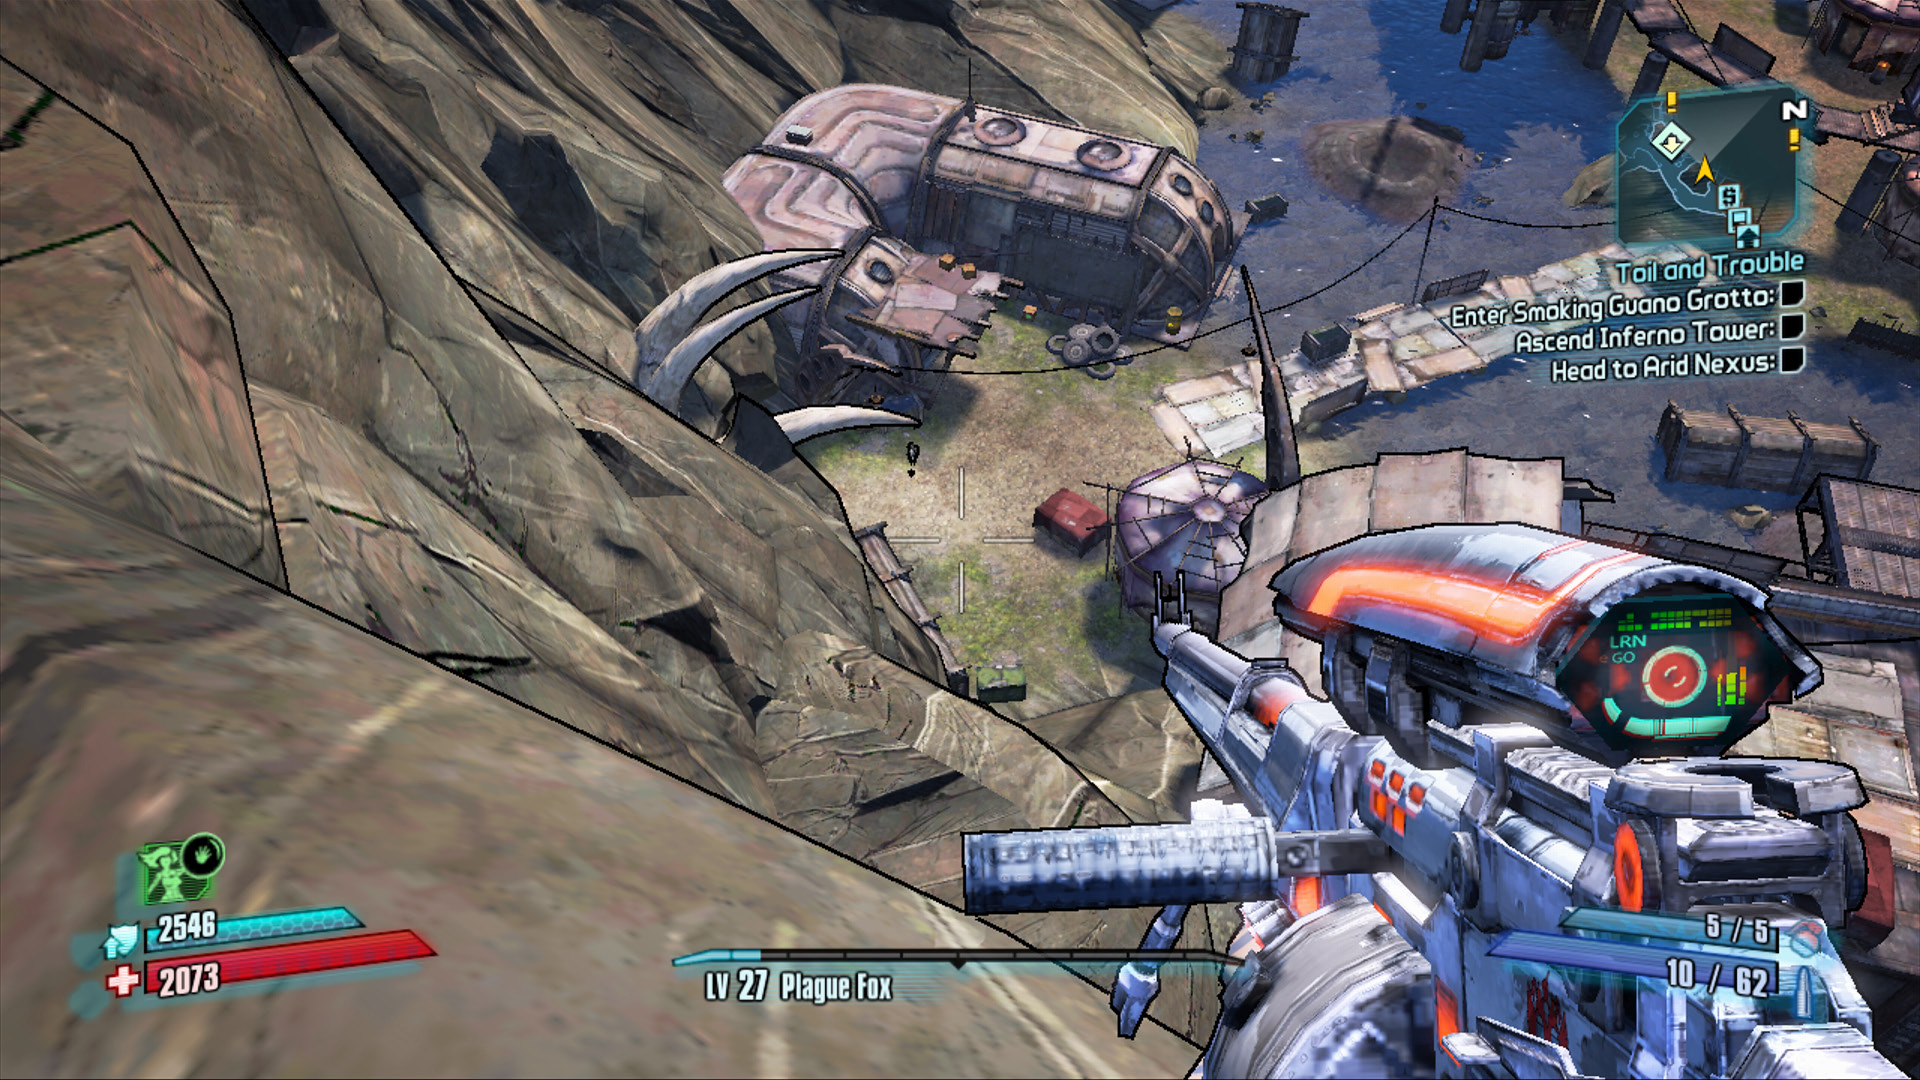
There’s no reason to fight your way down the curving path when you can just make a running leap!
Molten Mountain Elevator
Equip your best Slag and Fire weapons, and enter the cave quickly to escape any gunfire emanating from the exterior area. Immediately set to making your way around the cave in a clockwise direction. Numerous goliaths and marauders attack near the base of the stairs on the left—continue past the multiple flights of stairs that lead up to Main Street Reservoir, and proceed west toward the rear of the grotto. Follow the main path as it loops to the right, and note the large arrow with the white light bulbs on it. That’s the elevator you need to ride up to The Buzzard Nest.
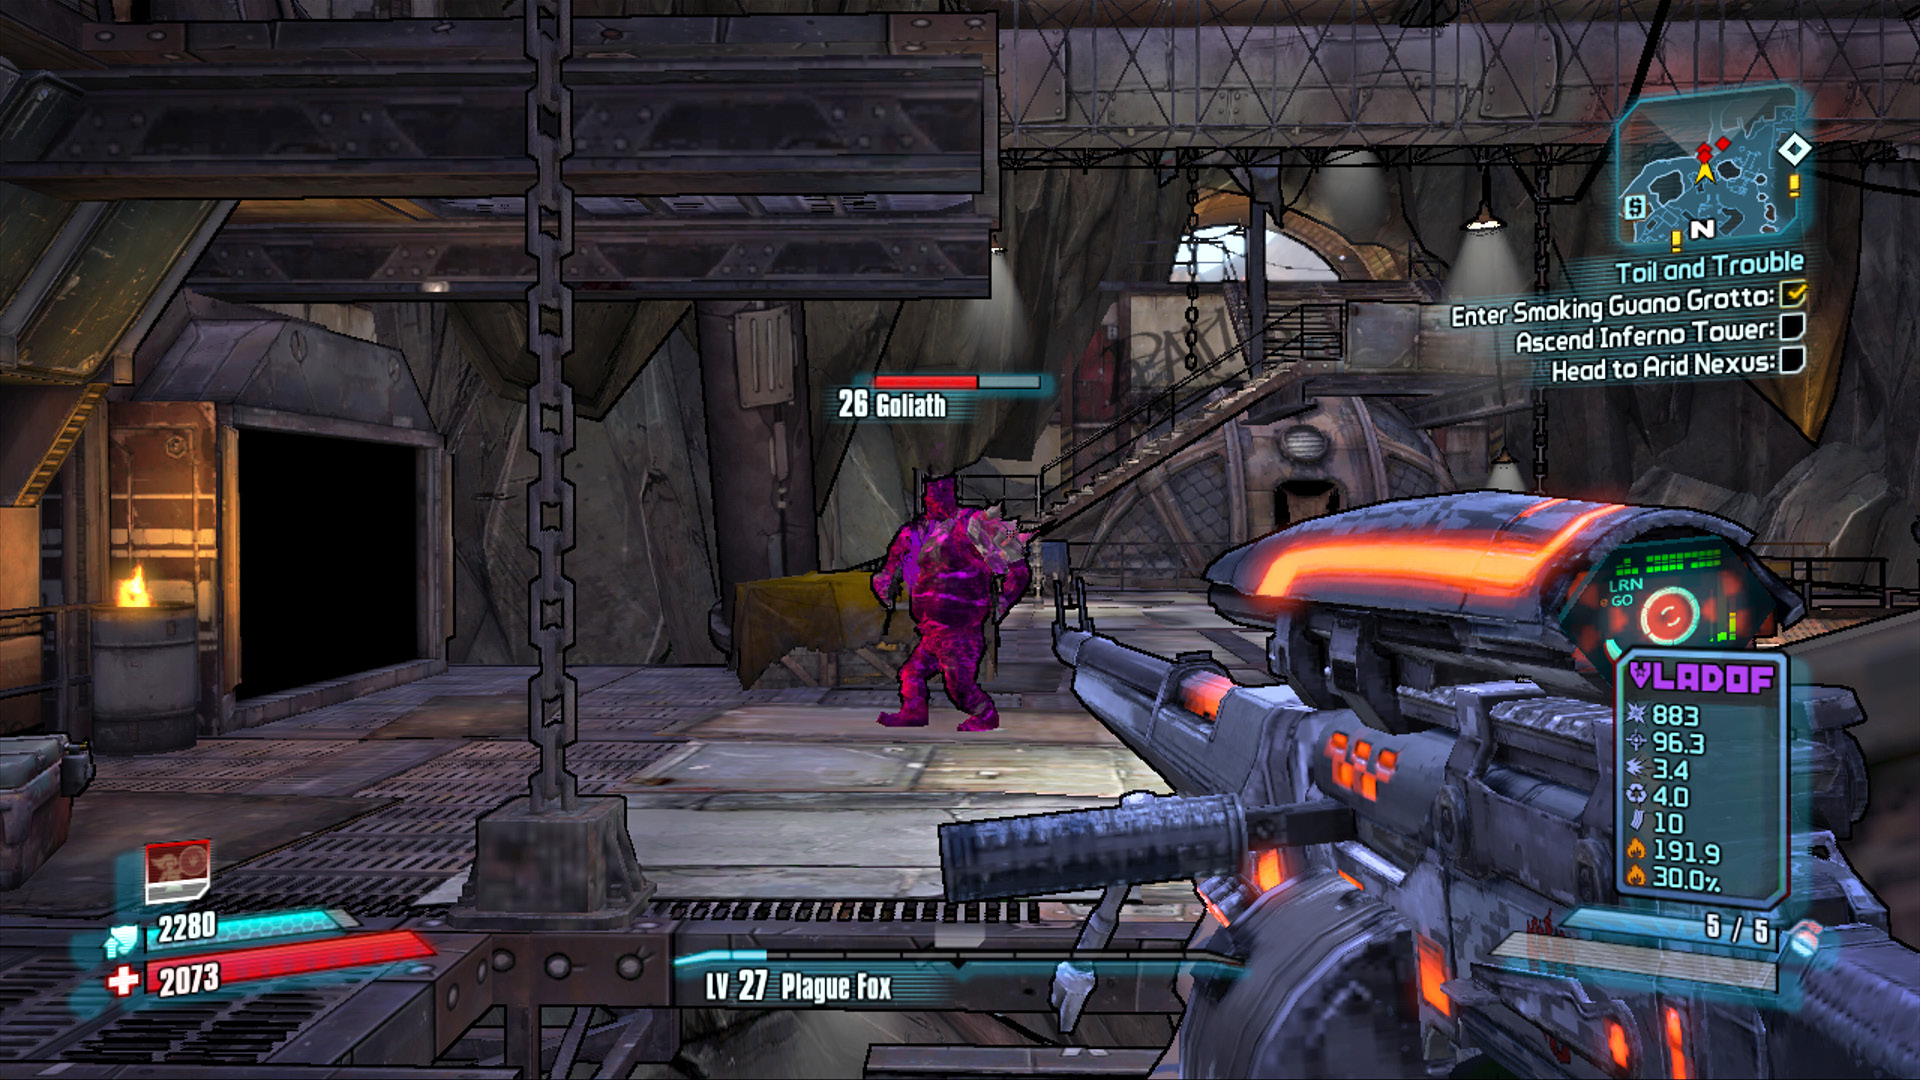
Avoid shooting the helmets off Goliaths in tight spaces with few other enemies: Slag-and-bag ‘em instead!
Mortar, the leader of the Sawteeth, isn’t about to ride the elevator down just to meet with some lowly Slab like yourself. Instead, he’s sending four Ambush Commanders out to attack. Ambush Commanders are essentially nomads with heavy spiked shields and pistols or SMGs. They’d be tough enough to kill if they were alone, but they’re being accompanied by numerous psychos, marauders, and midgets. Making matters more difficult, the Ambush Commanders each emerge from a different nearby shack, effectively surrounding you from the onset of the battle.
Quickly back away from the elevator and retreat to the left in the direction you came from. This gives you some room to maneuver, making it possible to circle-strafe around the large green Hyperion container for cover. This position makes it much easier to keep the enemies in front of you at all times and avoid being caught in crossfire. Use your Action Skill whenever your shields are down, and stay on the move at all times. The Ambush Commanders aren’t too much of a threat if you keep your distance, but the Suicide Psychos can be really troublesome.
Brick isn’t terribly surprised that Mortar isn’t going to ride the elevator down and has a backup plan for just such a situation. He wants you to head over to Cramfist’s Foundry and destroy Mortar’s prized Buzzard, Boombringer. By doing that, Mortar just might get angry enough to ride the elevator down to fight you.
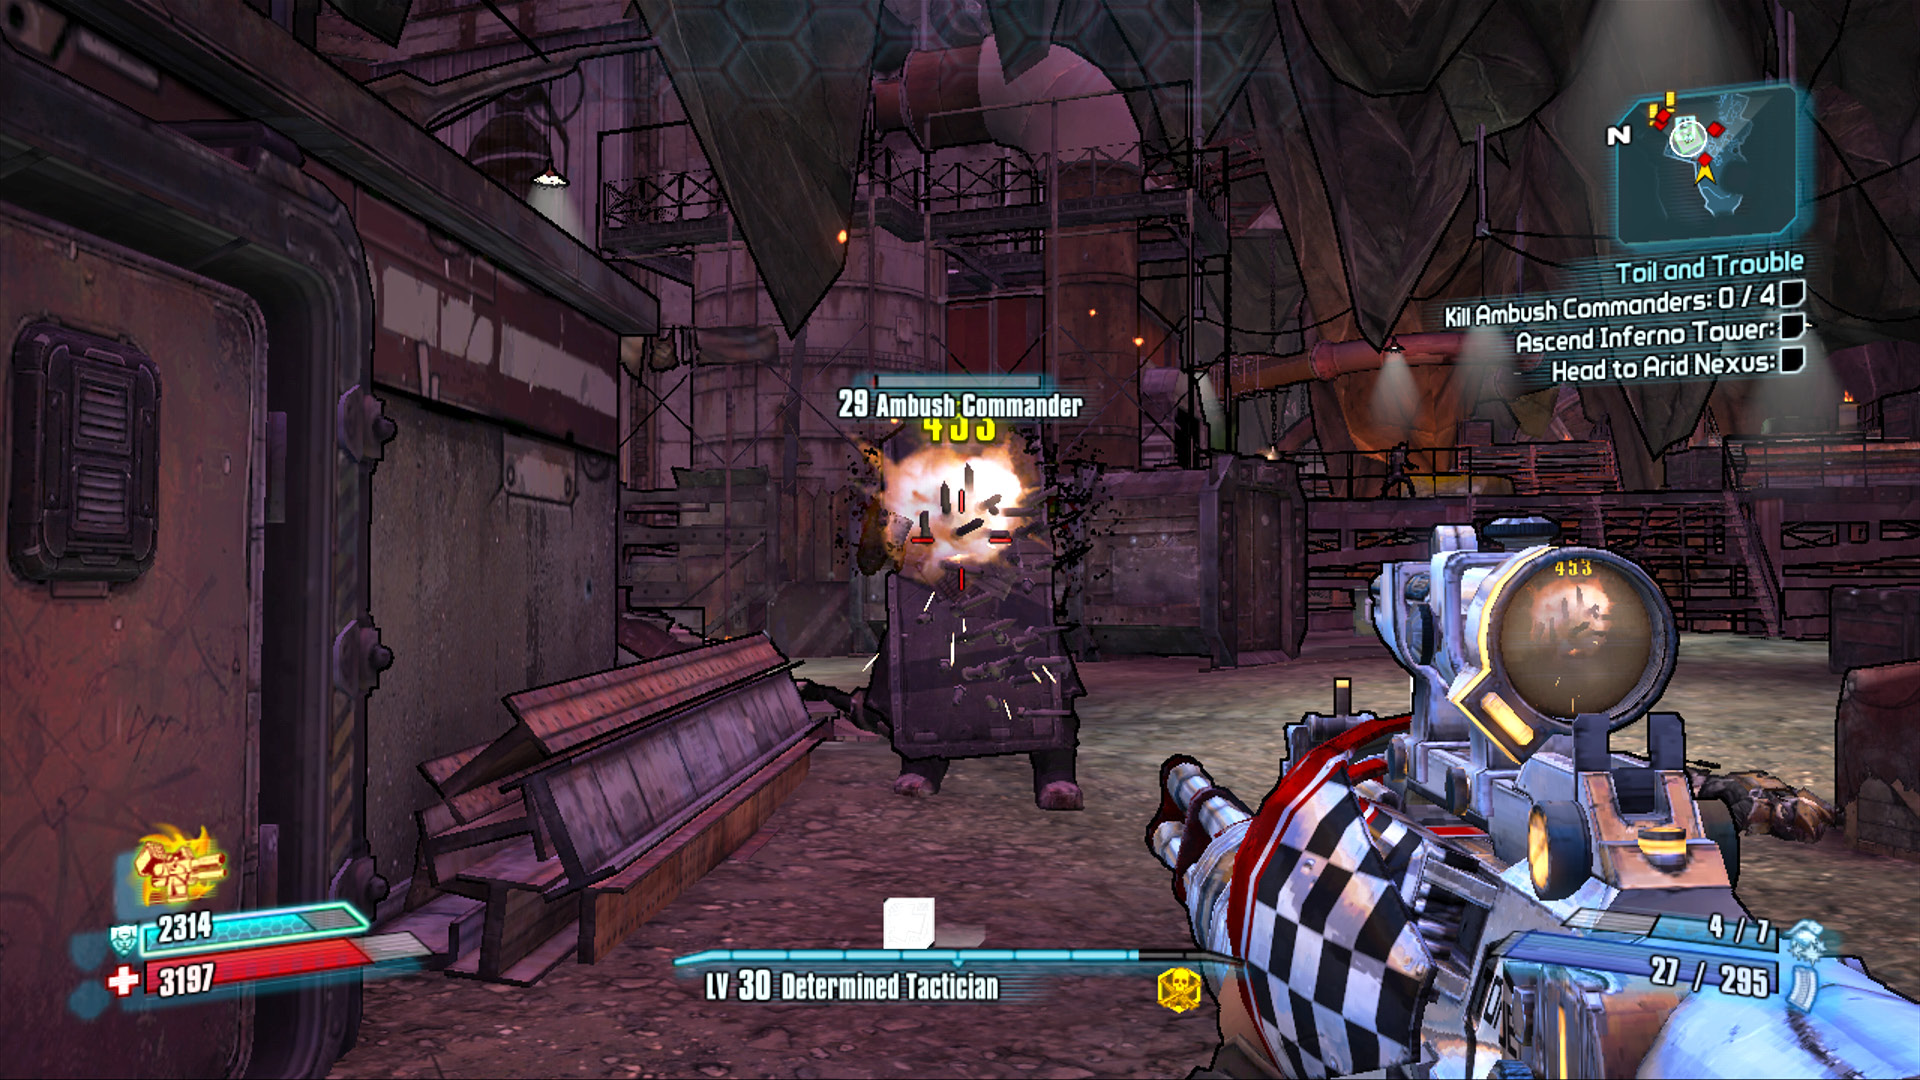
Nothing beats a Torgue for punching straight through the Ambush Commander’s shield with some Explosive rounds!
Bringer of Booms
Boombringer is located at the Buzzard facility in Cramfist’s Foundry, just beyond Main Street Reservoir. To reach it, you must circle back in a counter-clockwise direction to the flights of stairs you passed earlier (the other connection with Cramfist’s Foundry is unidirectional and cannot be traveled in the direction needed). Ascend the multiple flights of stairs to get to Main Street Reservoir.
Main Street Reservoir is comprised of two distinct areas. There’s the actual main street section that features a narrow path leading up the hill between rows of affordable bandit housing. Then there’s the large reservoir and hillside to the west of it. The watery area and grassy hillside at the base of the sloping road are inundated with threshers. And not just any threshers, either! There’s the chance that you may encounter a Badass Pyre Thresher, which is one of the deadliest non-boss enemies on Pandora. For this reason, you should avoid wading out into the shallow waters of the reservoir. It’s actually worth sticking close to the rocks on the left and giving the entire area a wide berth as you loop around to the residential section—far better to take your chances against Caustic Goliaths than a Badass Pyre Thresher.
The charge up the road in Main Street Reservoir is an epic battle filled with dozens of enemies, including all manner of nomads, goliaths, marauders, and psychos. Depending on how direct you want to be, it’s worth knocking the helmet off one or two goliaths and then ducking for cover behind the houses on either side. Utilize advance-and-retreat tactics to keep the enemies in front of you. It doesn’t matter how many adversaries you’re fighting if you can keep them all in front of you! Consider using the metal catwalk on the right-hand side of the road behind the houses to sneak past some of the battle or to move into a flanking position.
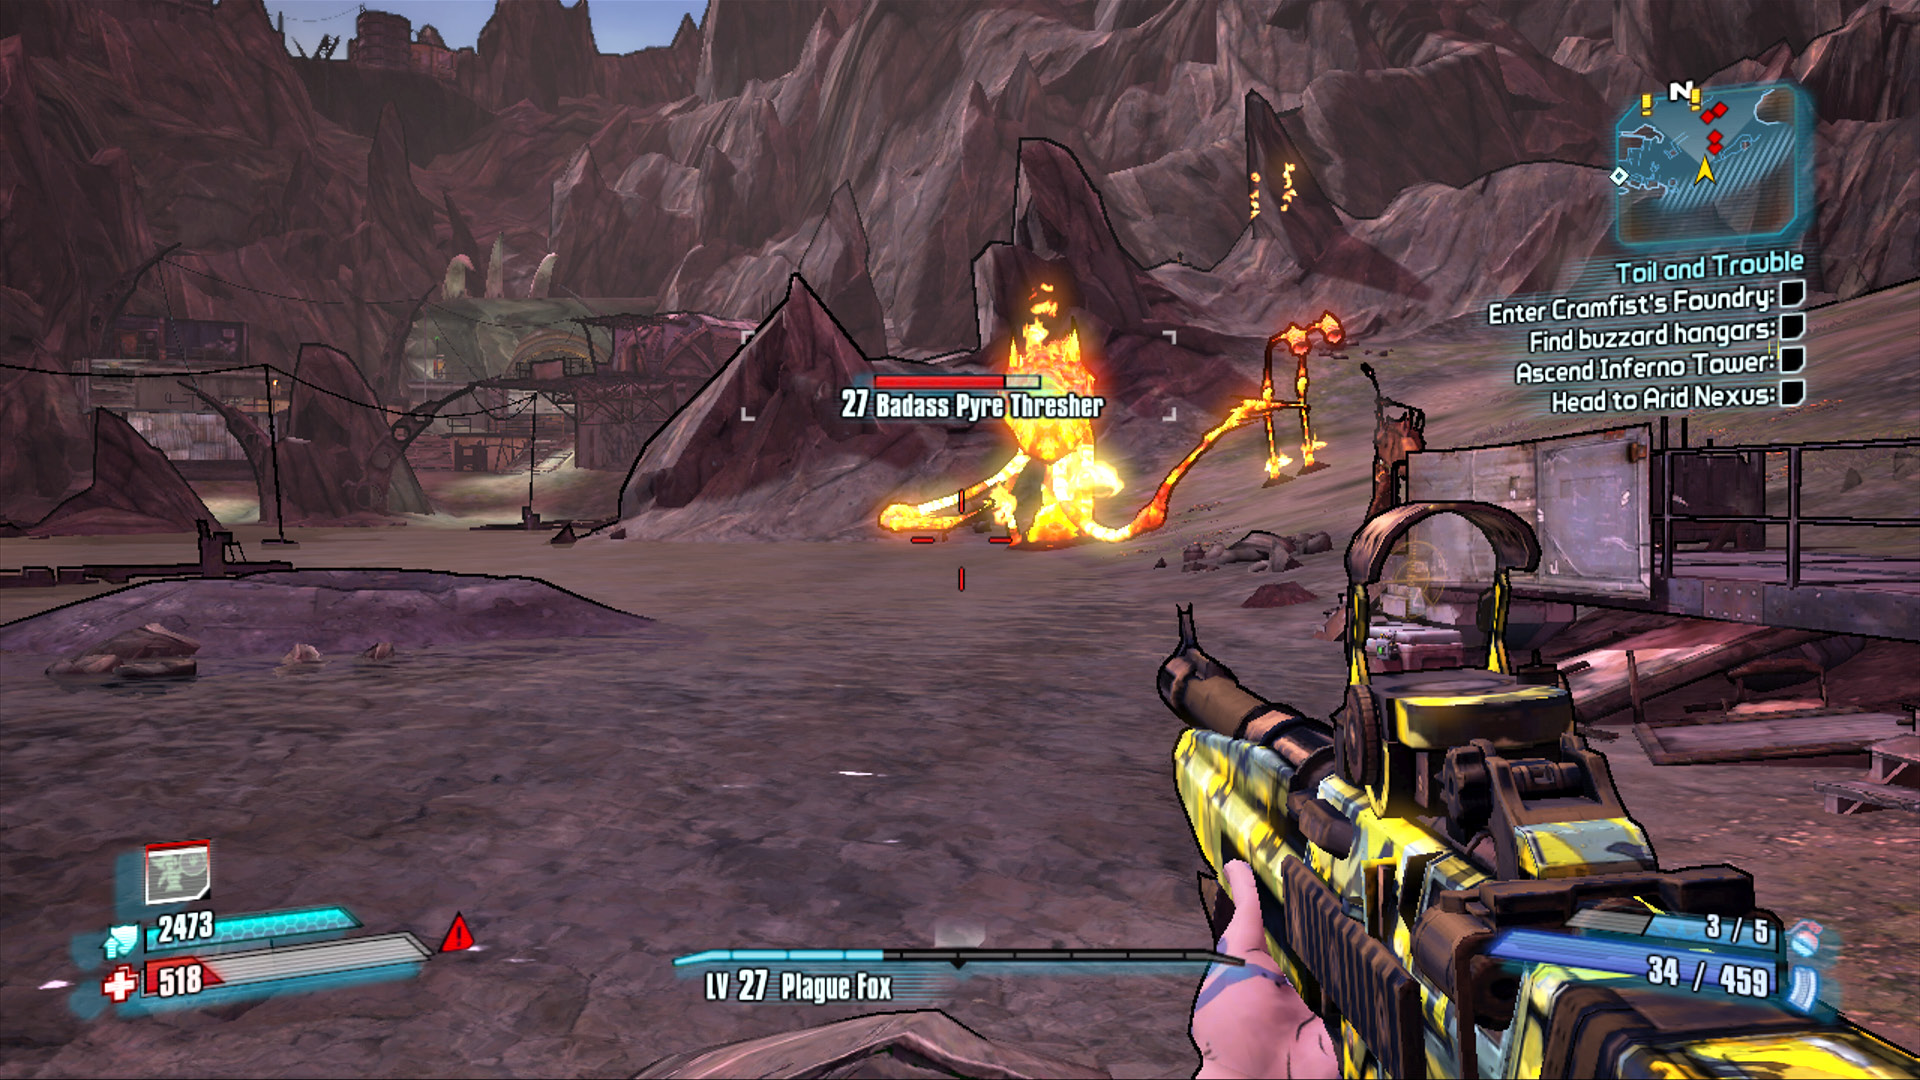
Skirt the watery area quickly to avoid the threshers. With any luck, you can lure the bandits into fighting them!
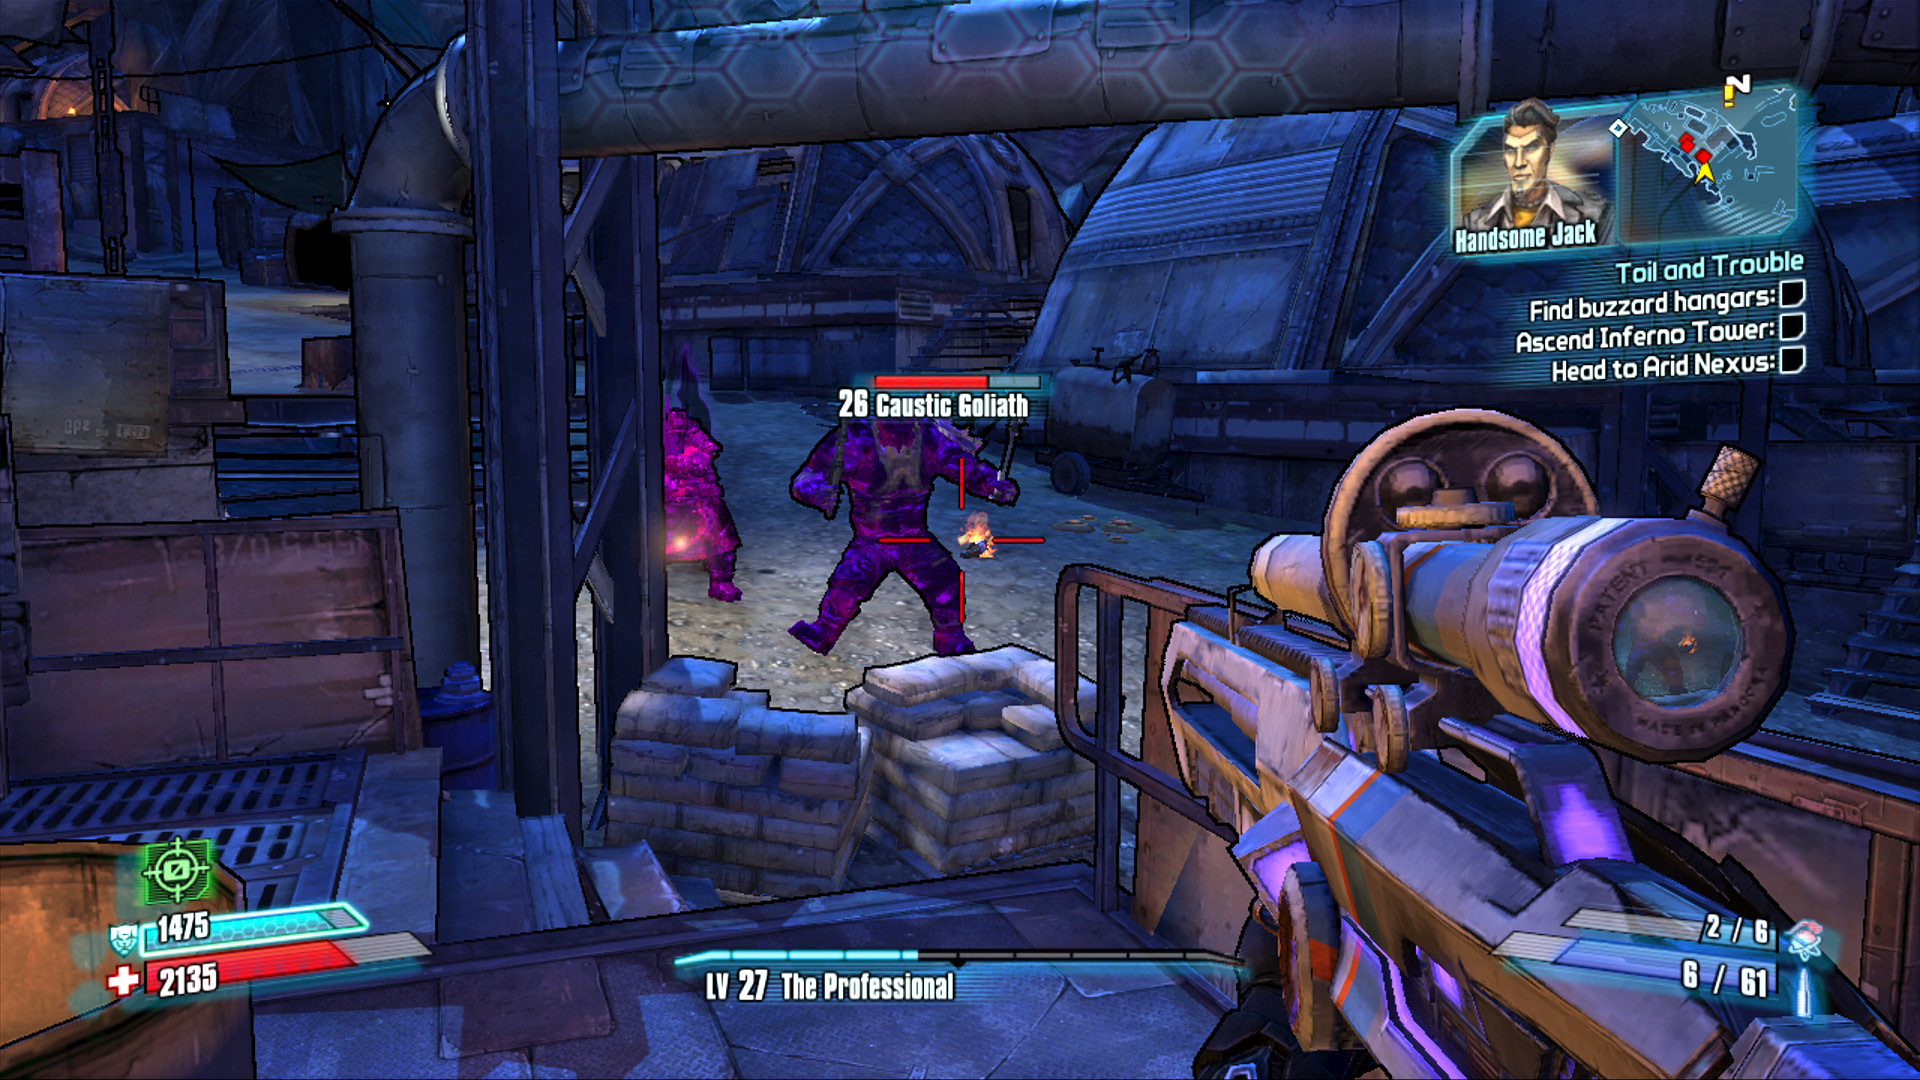
Stick to the sides of the road, and Slag as many of the tougher foes as you can before switching to Fire or Explosive weapons.
Take your time during this battle and give the Caustic Goliaths a wide berth, as they can chew you up with their toxic bile. Continue making frequent use of your grenades and Fire weapons, and keep your eyes open for any Shock Nomads, as they can drop your shield in a moment. Their backpacks can’t be punctured like that of the Pyre Nomad’s, so you’ll have to opt for brute force when dealing with them.
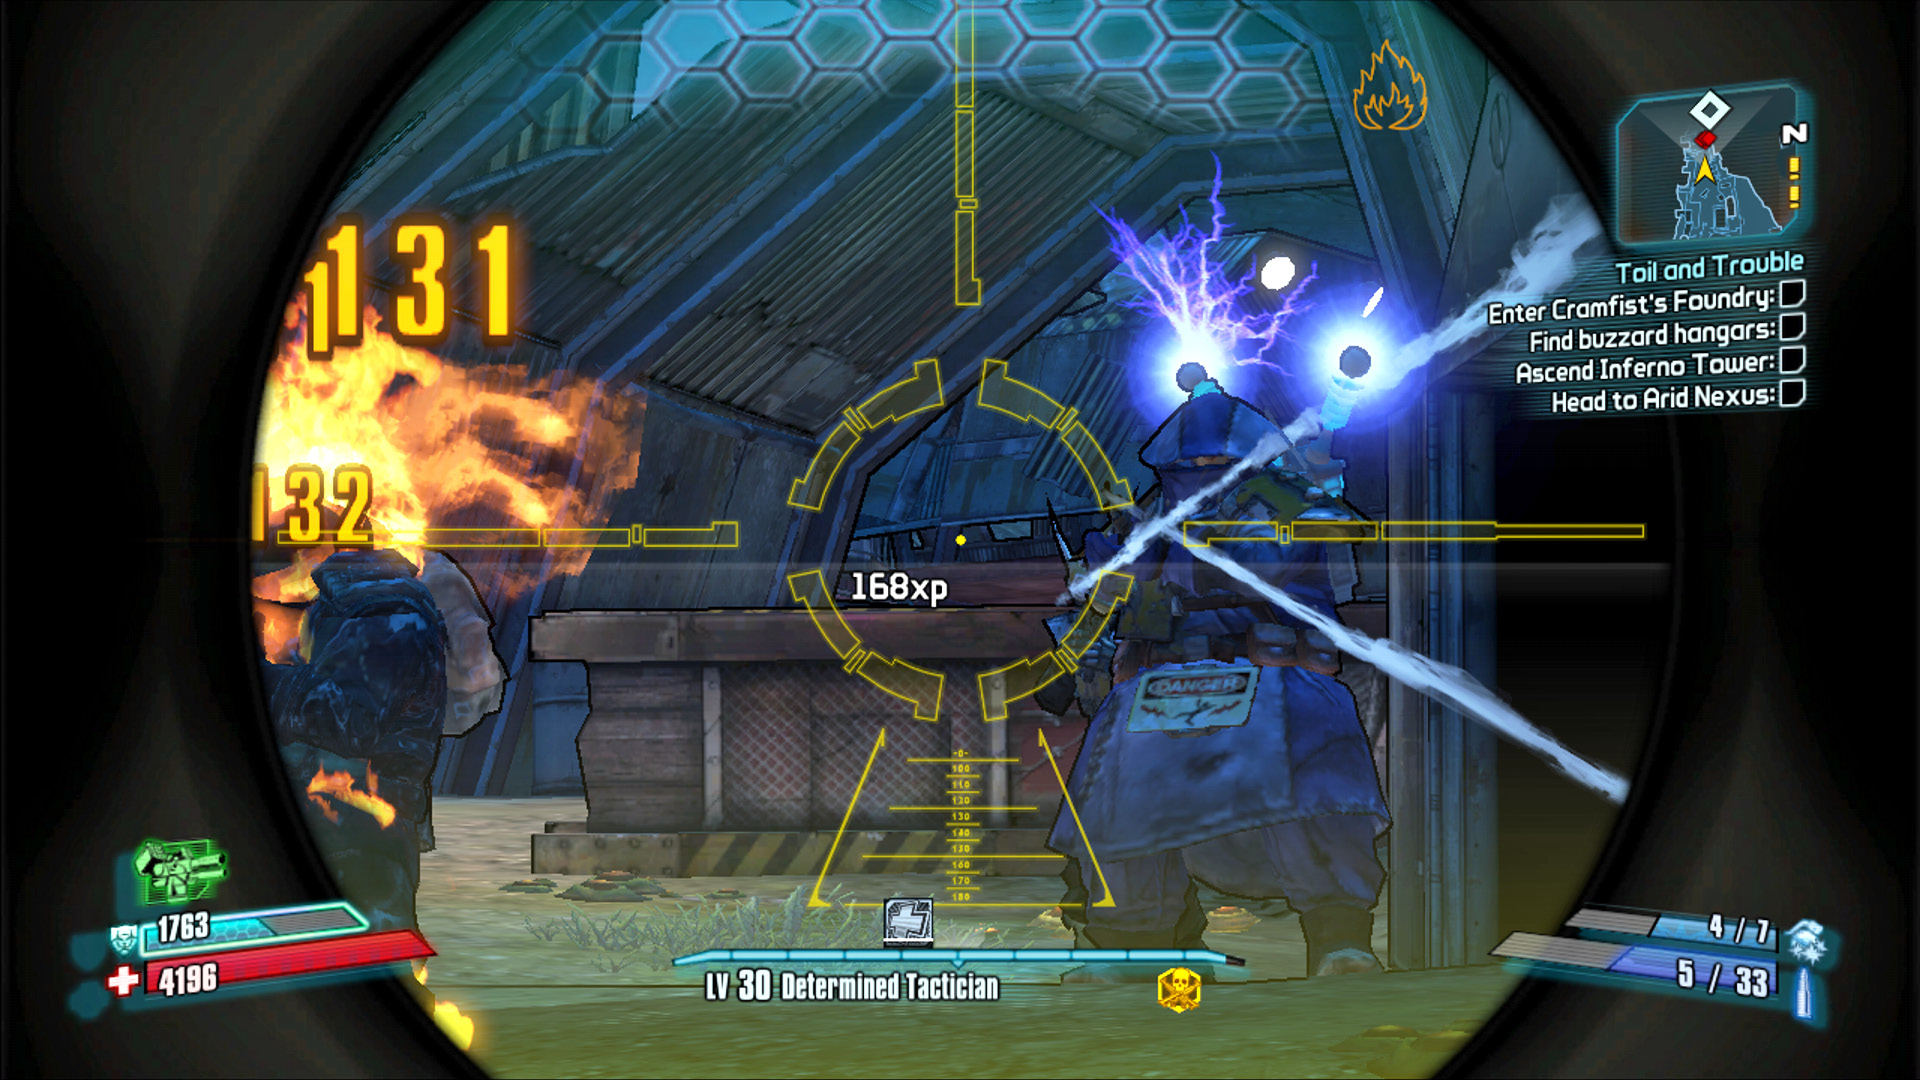
Give the Shock Nomads a wide berth, unless you actually like playing without shields.
Continue up the road as it leads from Main Street Reservoir into Cramfist’s Foundry. The fighting only intensifies in this area as Buzzards join the fray. Seek out overhead cover to shield yourself from the Buzzard’s rockets while you tend to any remaining ground-based threats.
Enter Cramfist’s Foundry area very slowly and spot the red lasers coming from the left. The twin gun turrets guard the entrance to the Buzzard hangars where Boombringer is kept. Ignore the enemies on the ground directly ahead of you, and instead, equip your most potent sniper rifle and take out the two turrets before they can start firing on you. Now, eliminate the smattering of foes patrolling the yard in front of the stairs. The stairs to the south lead up to the Buzzard hangars whereas those to the north descend to the Scalding Remnants area, an area that need only be visited for collectibles and optional missions.
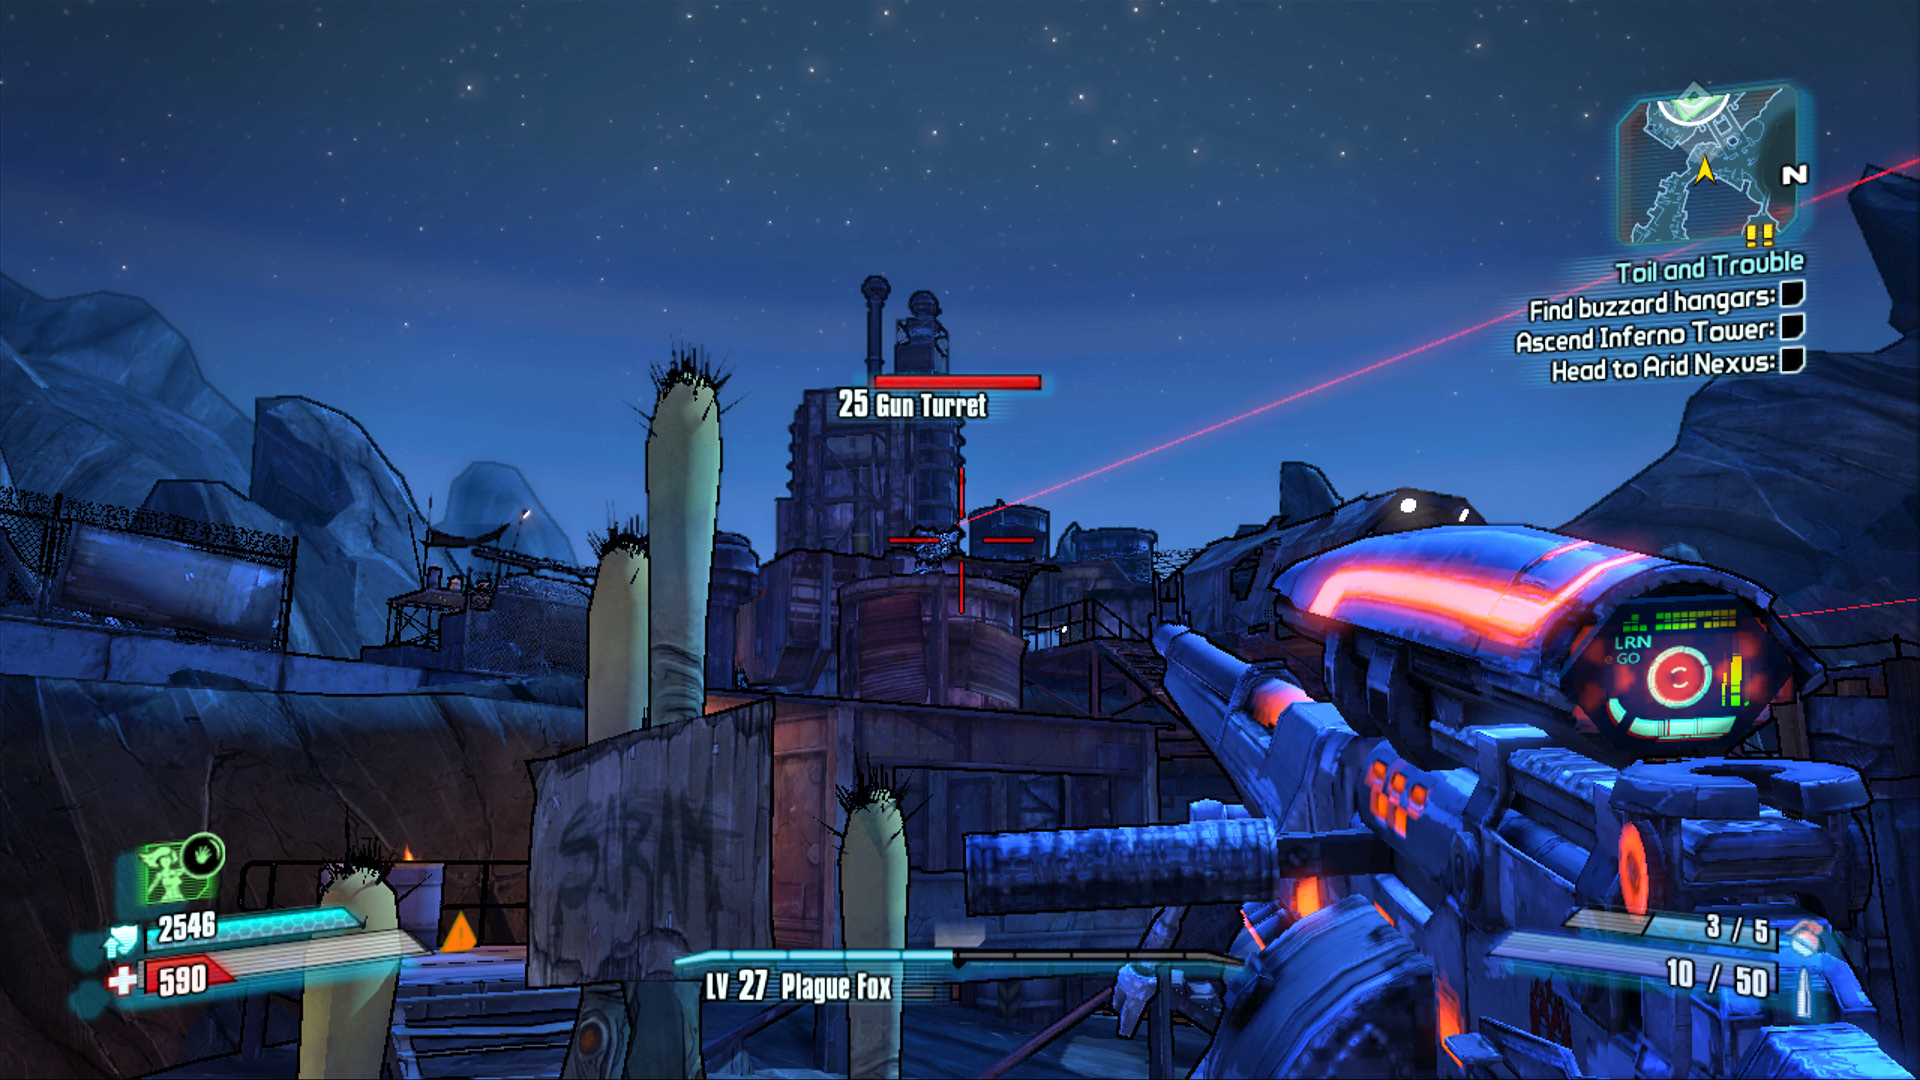
Follow the red lasers to the gun turrets as soon as you enter Cramfist’s Foundry.
Ascend the stairs to the Buzzard hangars, and quickly lob some grenades and put your Action Skill to use in killing the nearby goliaths and nomads. Duck into cover beneath the roof nearest the stairs on the northeast side of the platform, and take out the two Buzzards flying overhead. Buzzards can be taken out with a fast-firing Torgue assault rifle or with a strong burst-fire Dahl sniper rifle. Maya’s Phaselock and Axton’s Sabre Turret also help nicely.
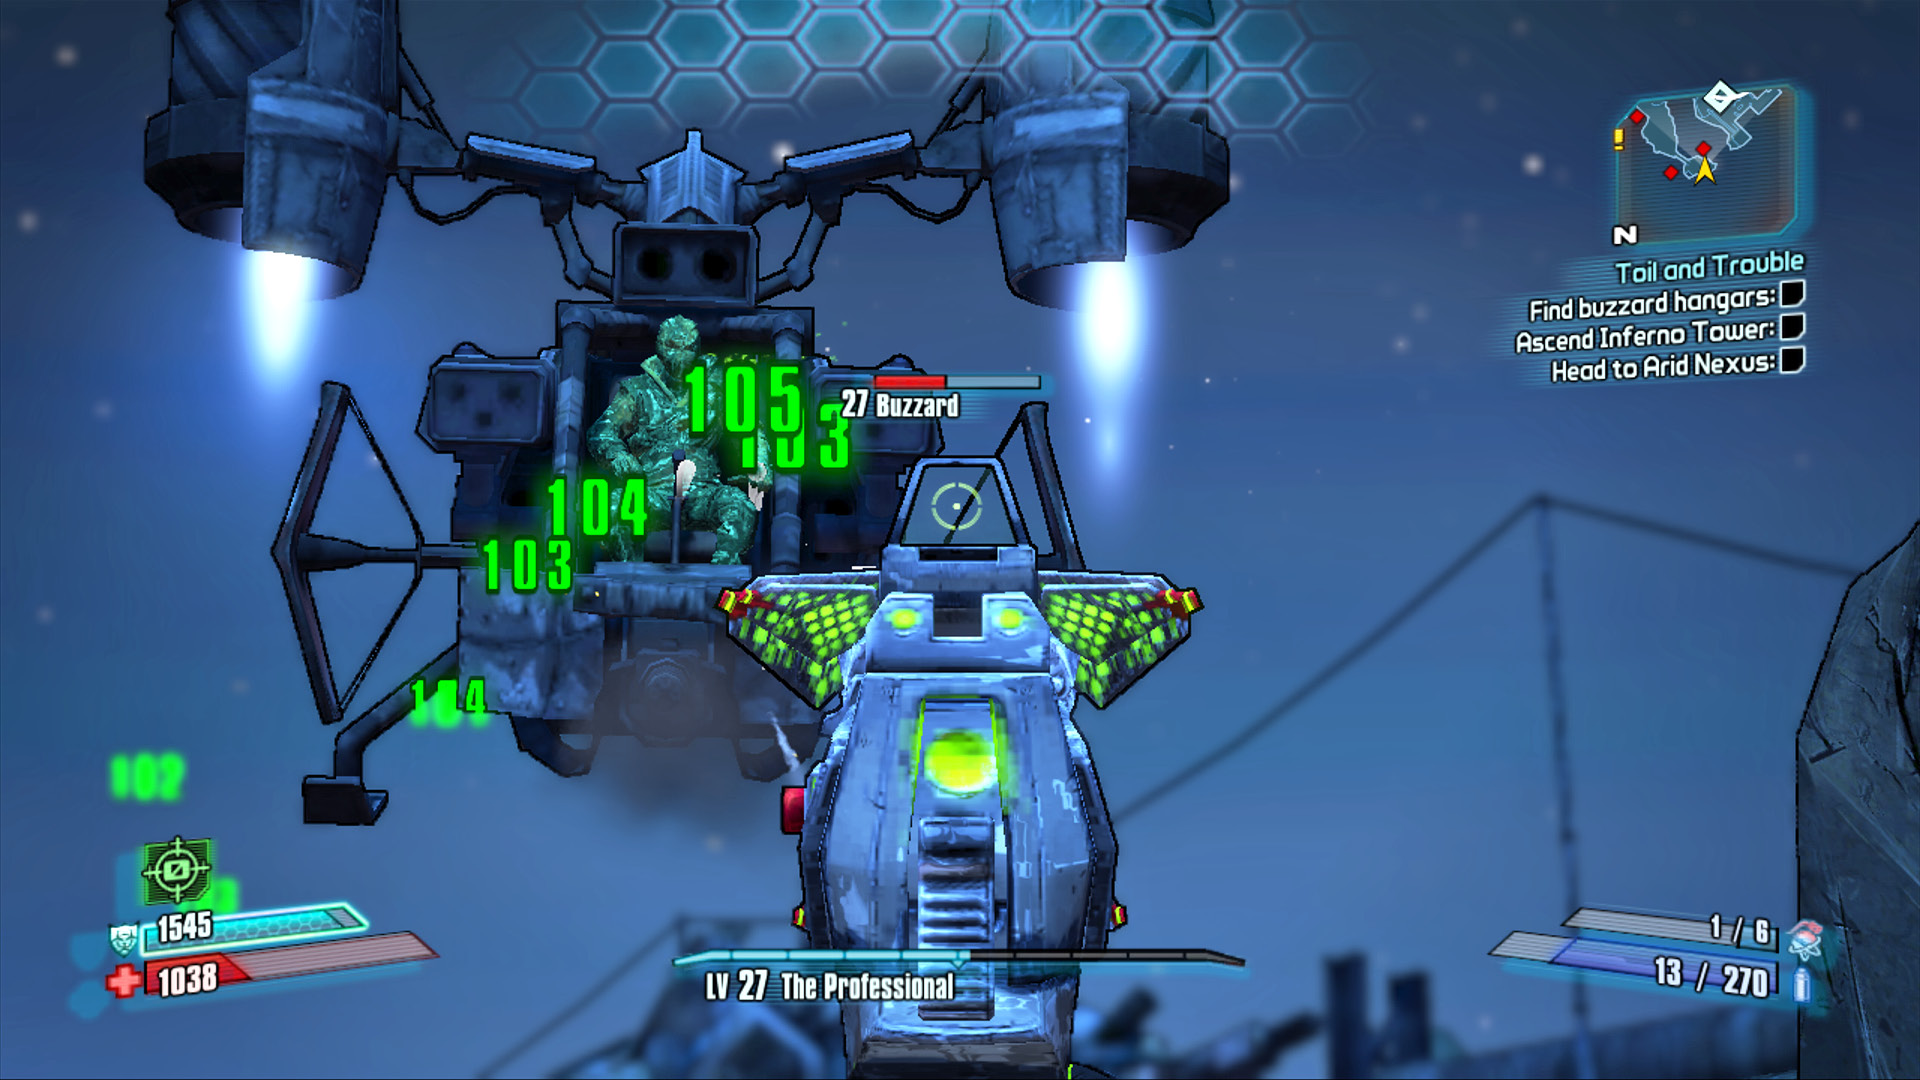
The Corrosive Dahliminator pistol is a certifiable Buzzard killer—complete “The Lost Treasure” to obtain it!
Additional Buzzards soon follow, but you’ll have a brief gap in the action when you can advance across the platform and draw fire from the next gun turrets. Take cover behind the green container and step out from the left, then the right to take out the upper gun turrets. Push back the ground troops that attack, and (depending on how much fire you’re taking from the Buzzards) either advance toward the hangar control panel straight ahead or duck back into the previous shed for cover from the Buzzards.
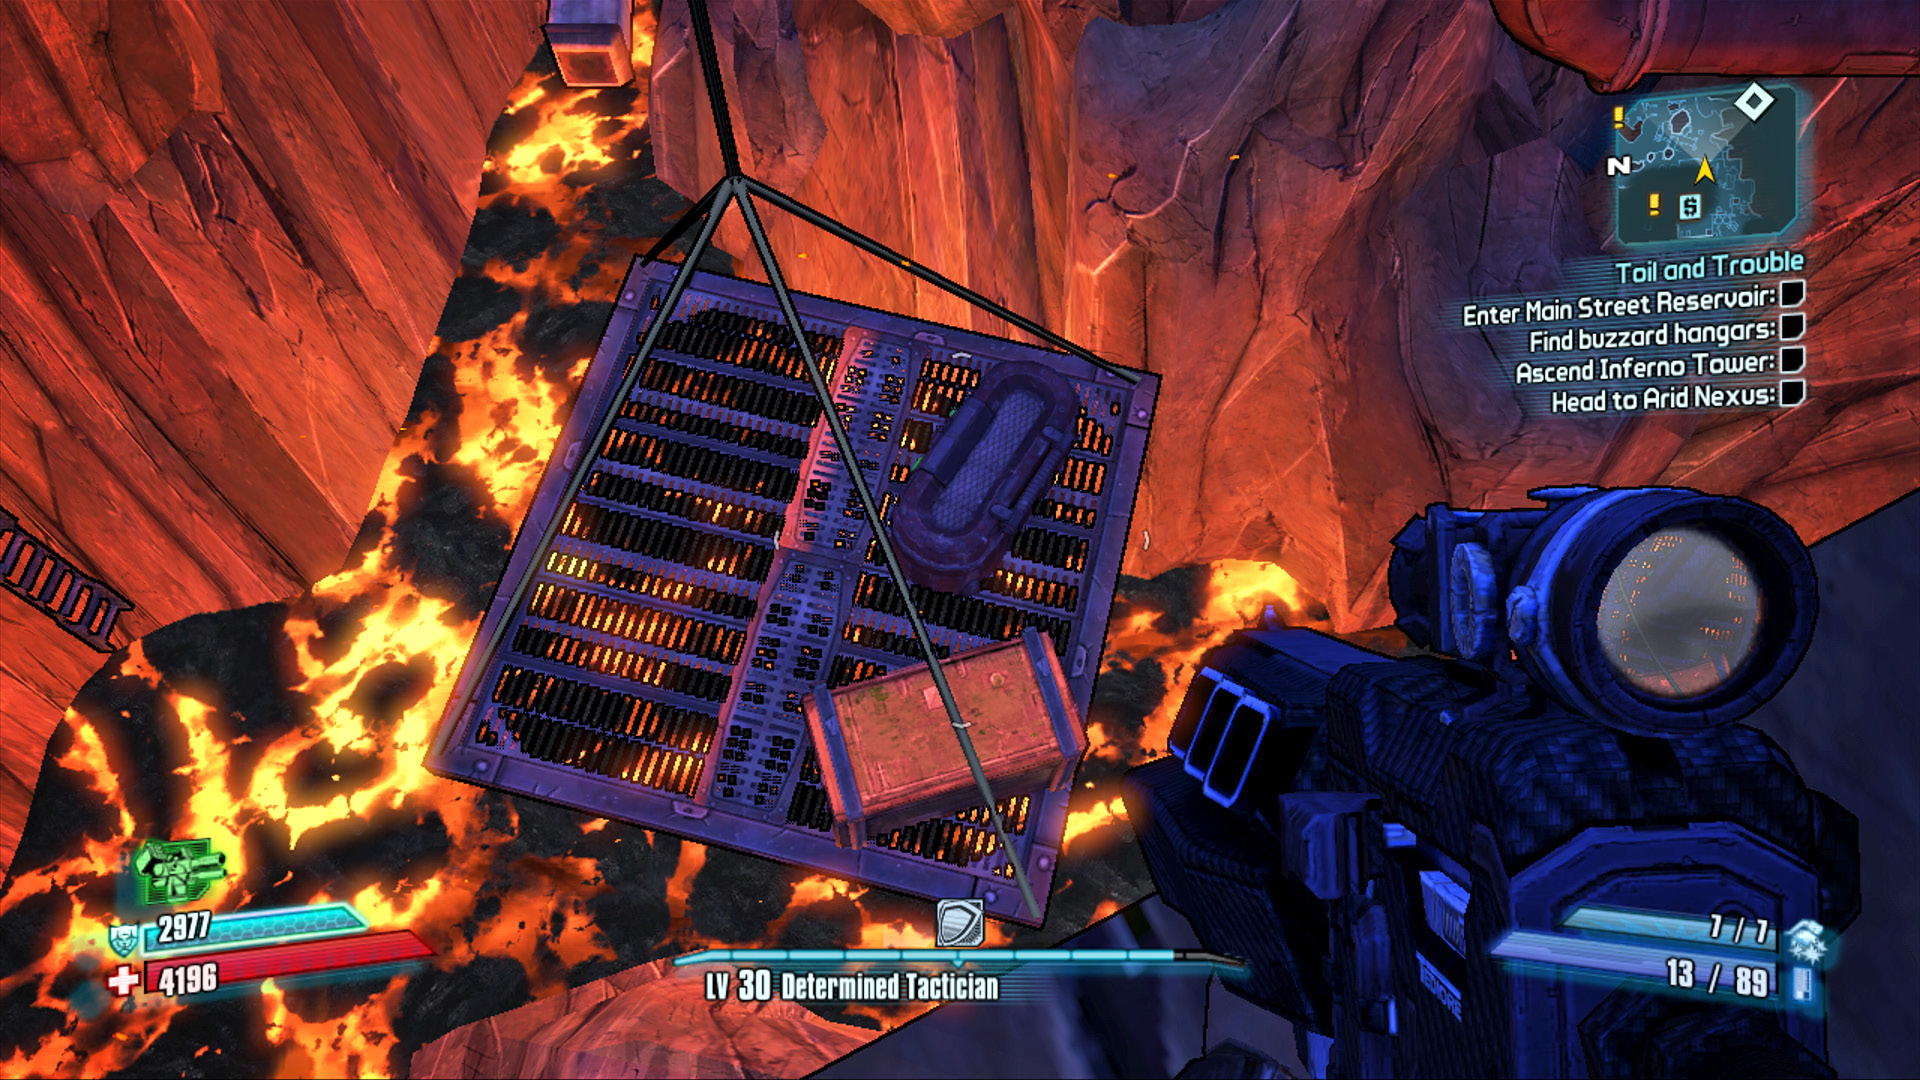
Pull the lever on the control panel to raise Boombringer up from the hangar below. This is Mortar’s prized Buzzard. It’s standing idle with nobody around to man the guns, so enjoy this chance to open fire on such an apparatus without recourse.
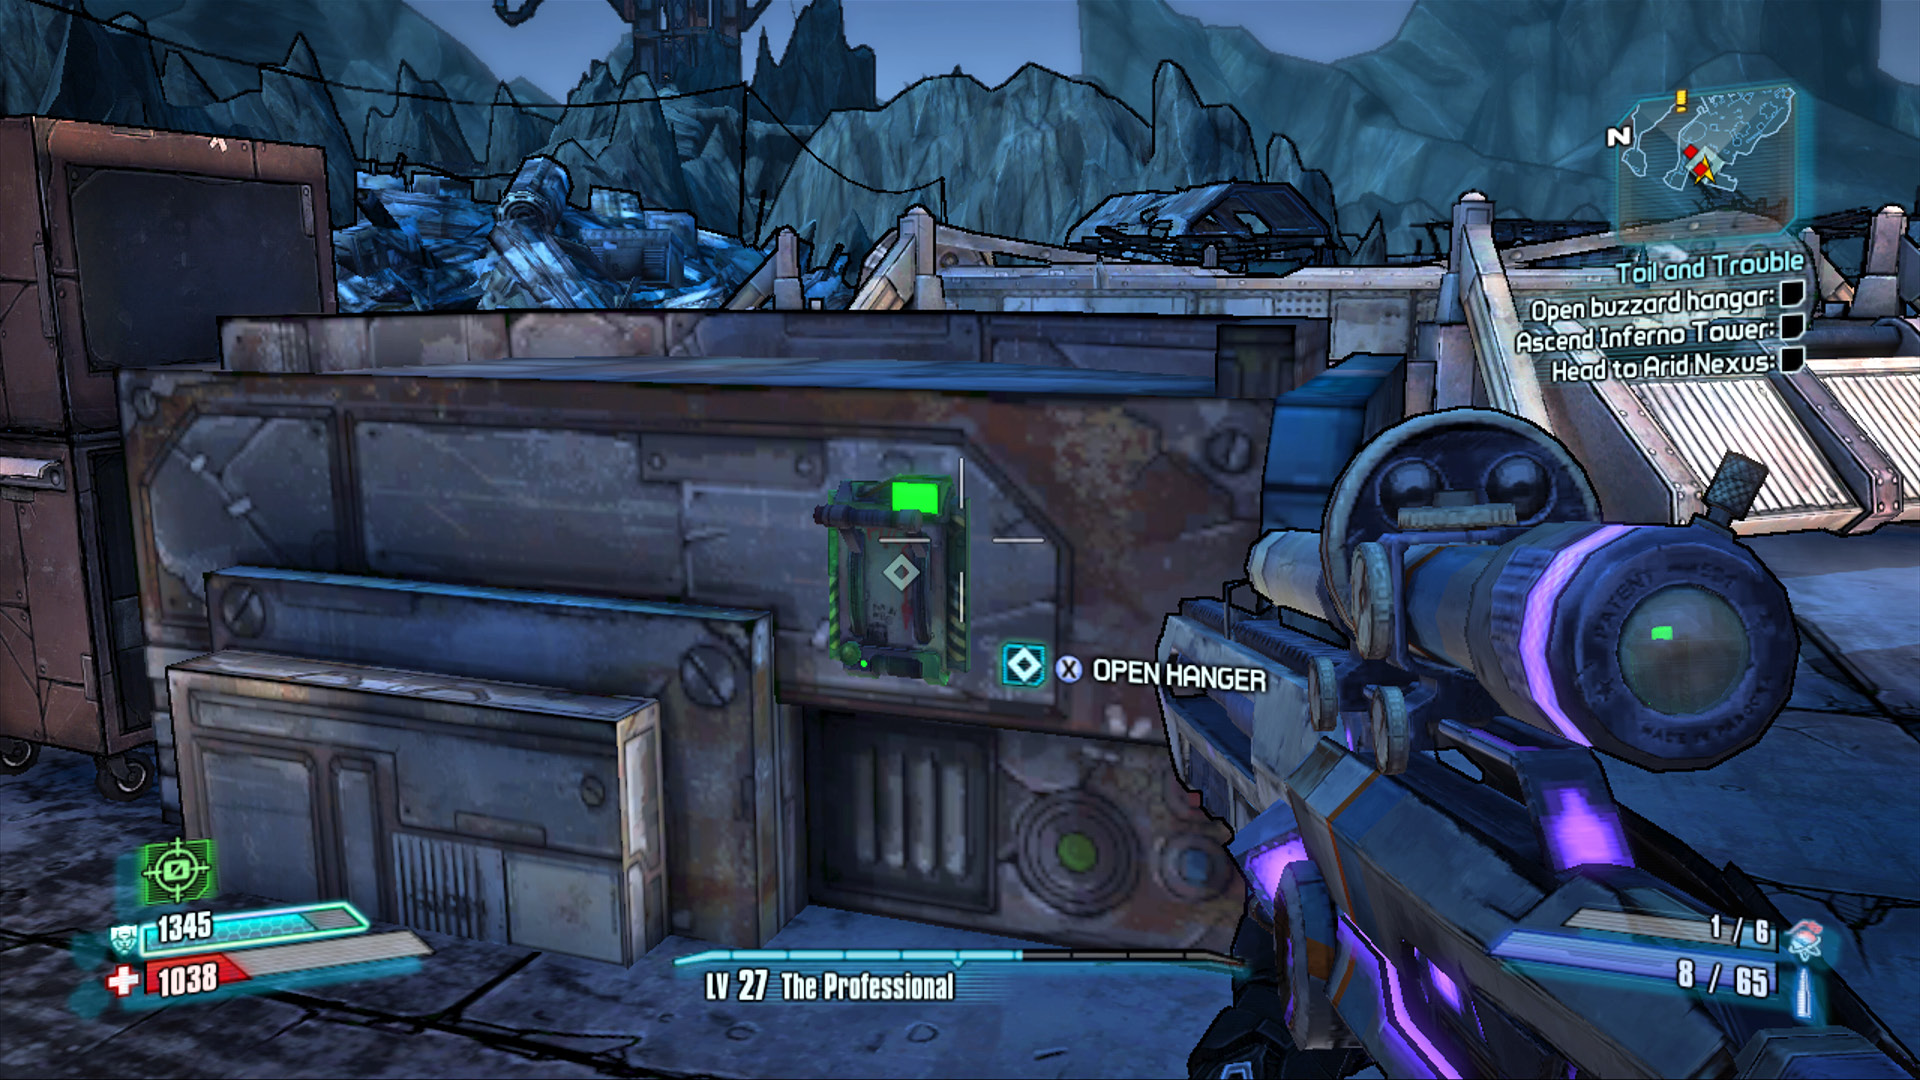
Pull this lever to raise the Boombringer into view.
To the Nest!
With Boombringer destroyed, it’s high time you ascend Inferno Tower and—if you want—kill Mortar. Descend the stairs to Cramfist’s Foundry, and continue straight ahead to find a garbage chute leading down into Smoking Guano Grotto. Ride the conveyor belt down into the cave below, and return to the elevator location on the north side.
Turn left to approach the elevator, but note that Mortar has already ridden it down and is set to attack. Be careful! Mortar, a rat, is armed with a shotgun and supply of grenades and immediately sets to launching a barrage of highly explosive grenades at you. Stay on the move and circle around his attempts at grenading you, then set him ablaze with Fire weapons while also putting your Action Skill to use. Mortar may carry a big gun, but it often takes him several seconds to reload. You needn’t kill him; you could just jump into the elevator and ride it up, but Mortar has a chance to drop a legendary weapon (and killing him earns you bonus money). Use the container west of the elevator for cover from his grenades, and finish him off!
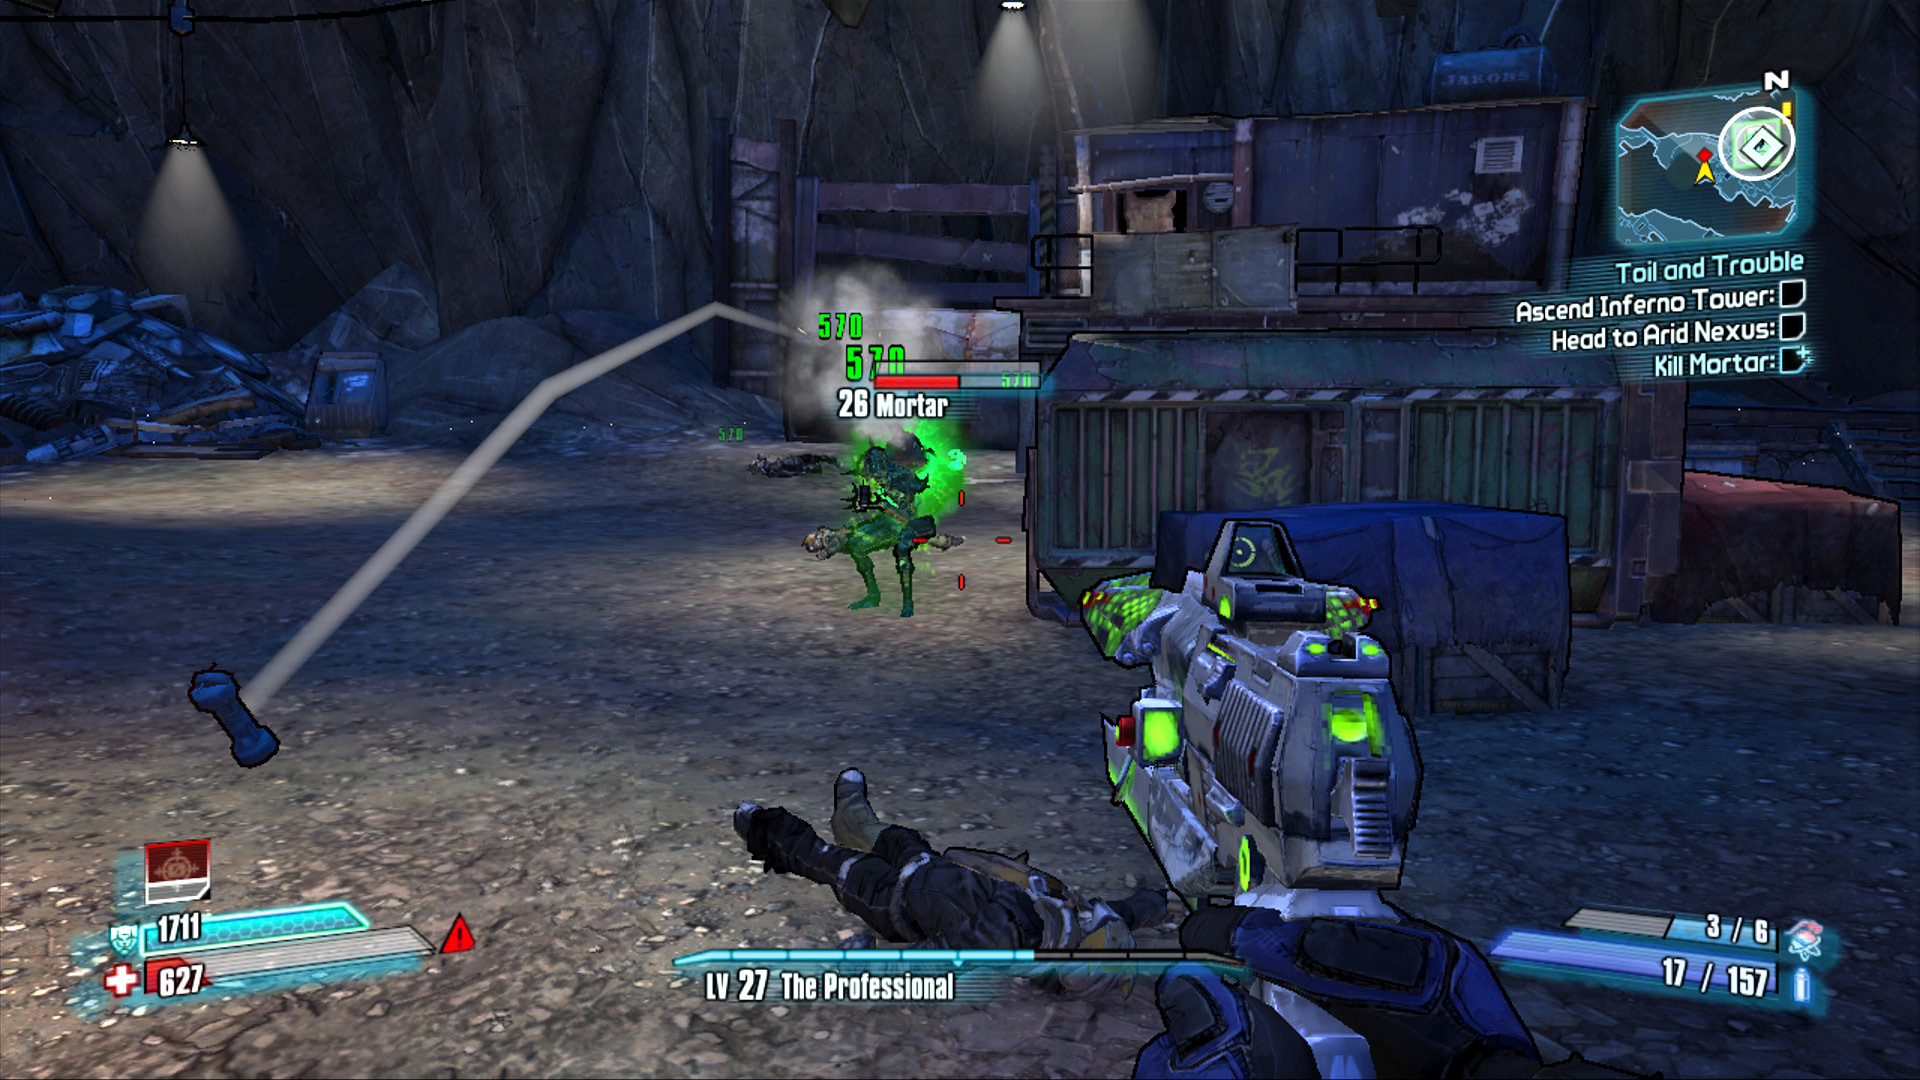
Circle-strafe around Mortar to avoid his grenades, and open fire with elemental attacks.
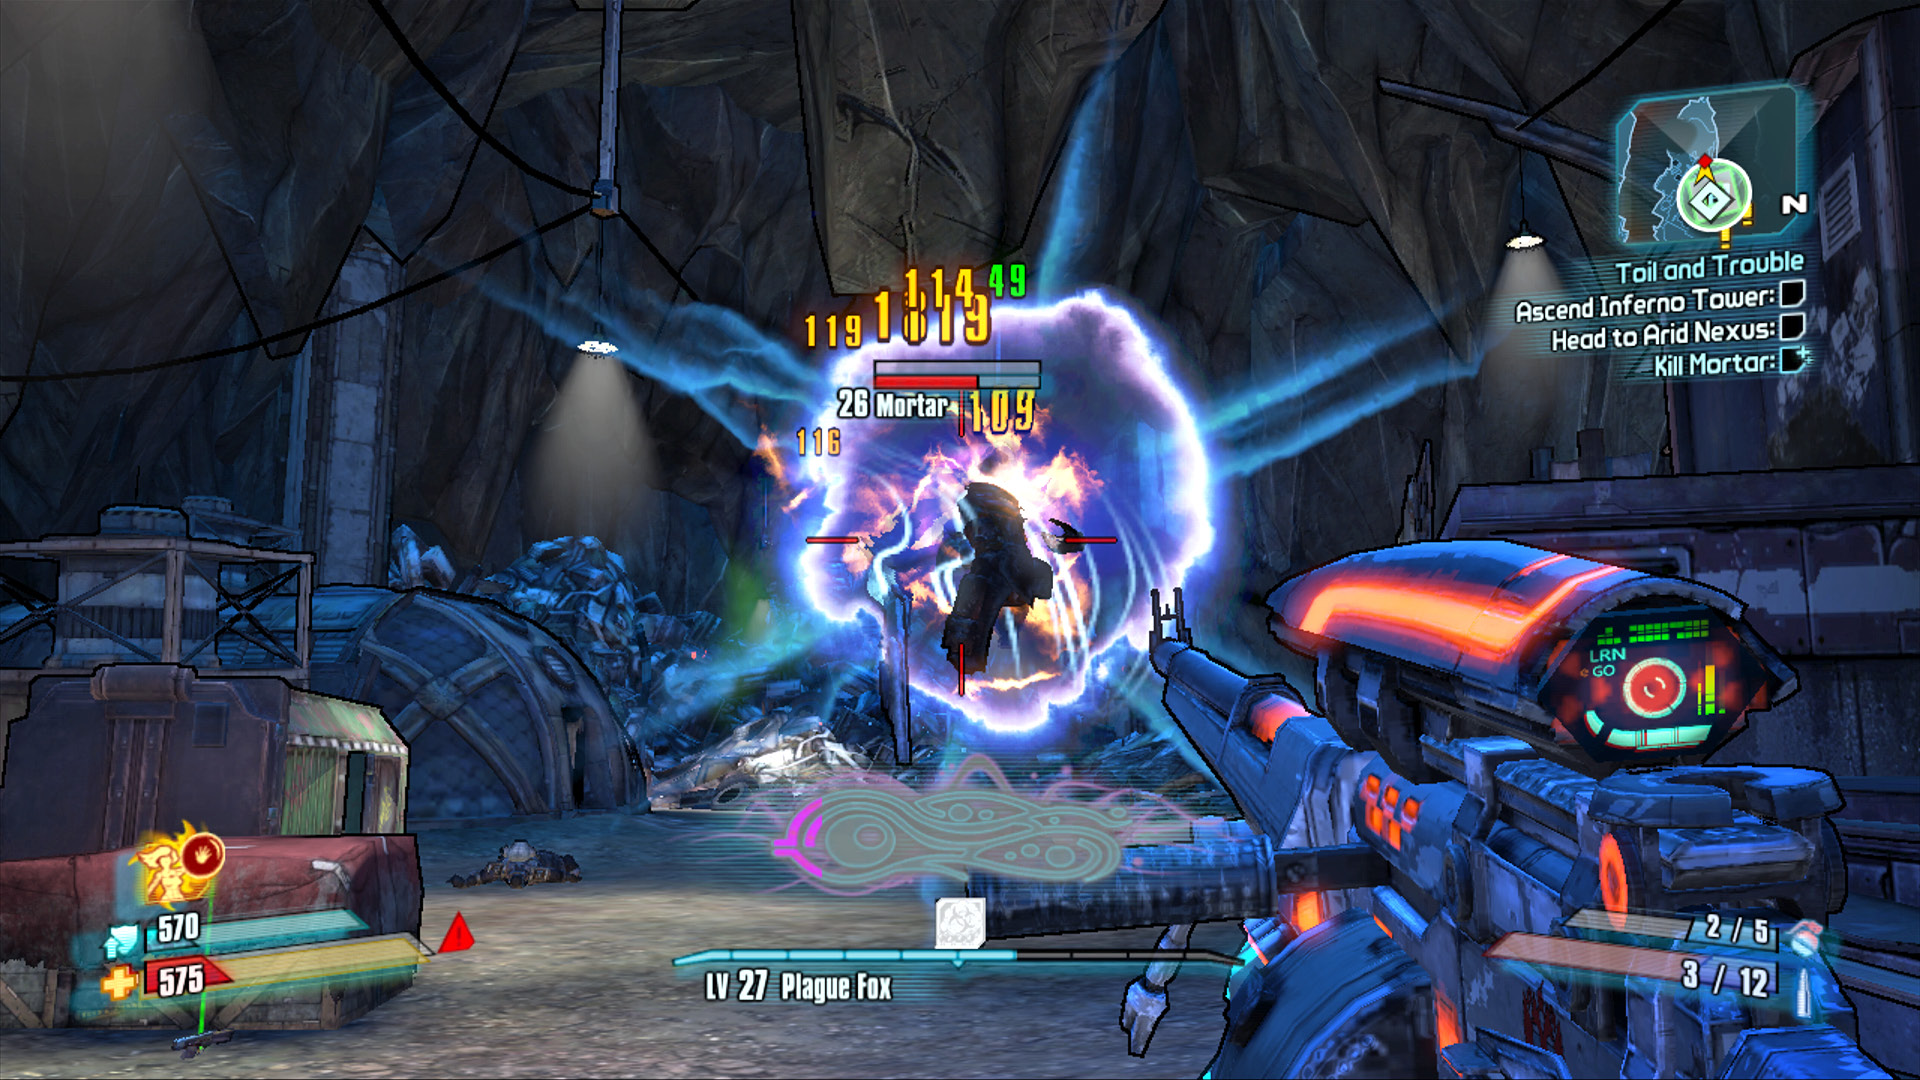
Mortar is certainly worthy of an Action Skill. He’s an optional objective, but he gives a ton of XP!
Exit the elevator atop The Buzzard Nest, and quickly lob a grenade at the nomad and any other enemies you see nearby. Five Buzzards immediately take flight: you must clear the skies so Brick’s buddies can swoop in and steal the explosives.
Use the elevator shack for cover, and take out the Buzzards just as you had done near Cramfist’s Foundry. Use an assault rifle or sniper rifle, preferably with Corrosive or Explosive rounds. Maya’s Phaselock and Axton’s Sabre Turret are just as effective here as they were below. And Zero’s Deception skill can certainly be used to increase the firepower of a single bullet—aim for the pilot or the engines!
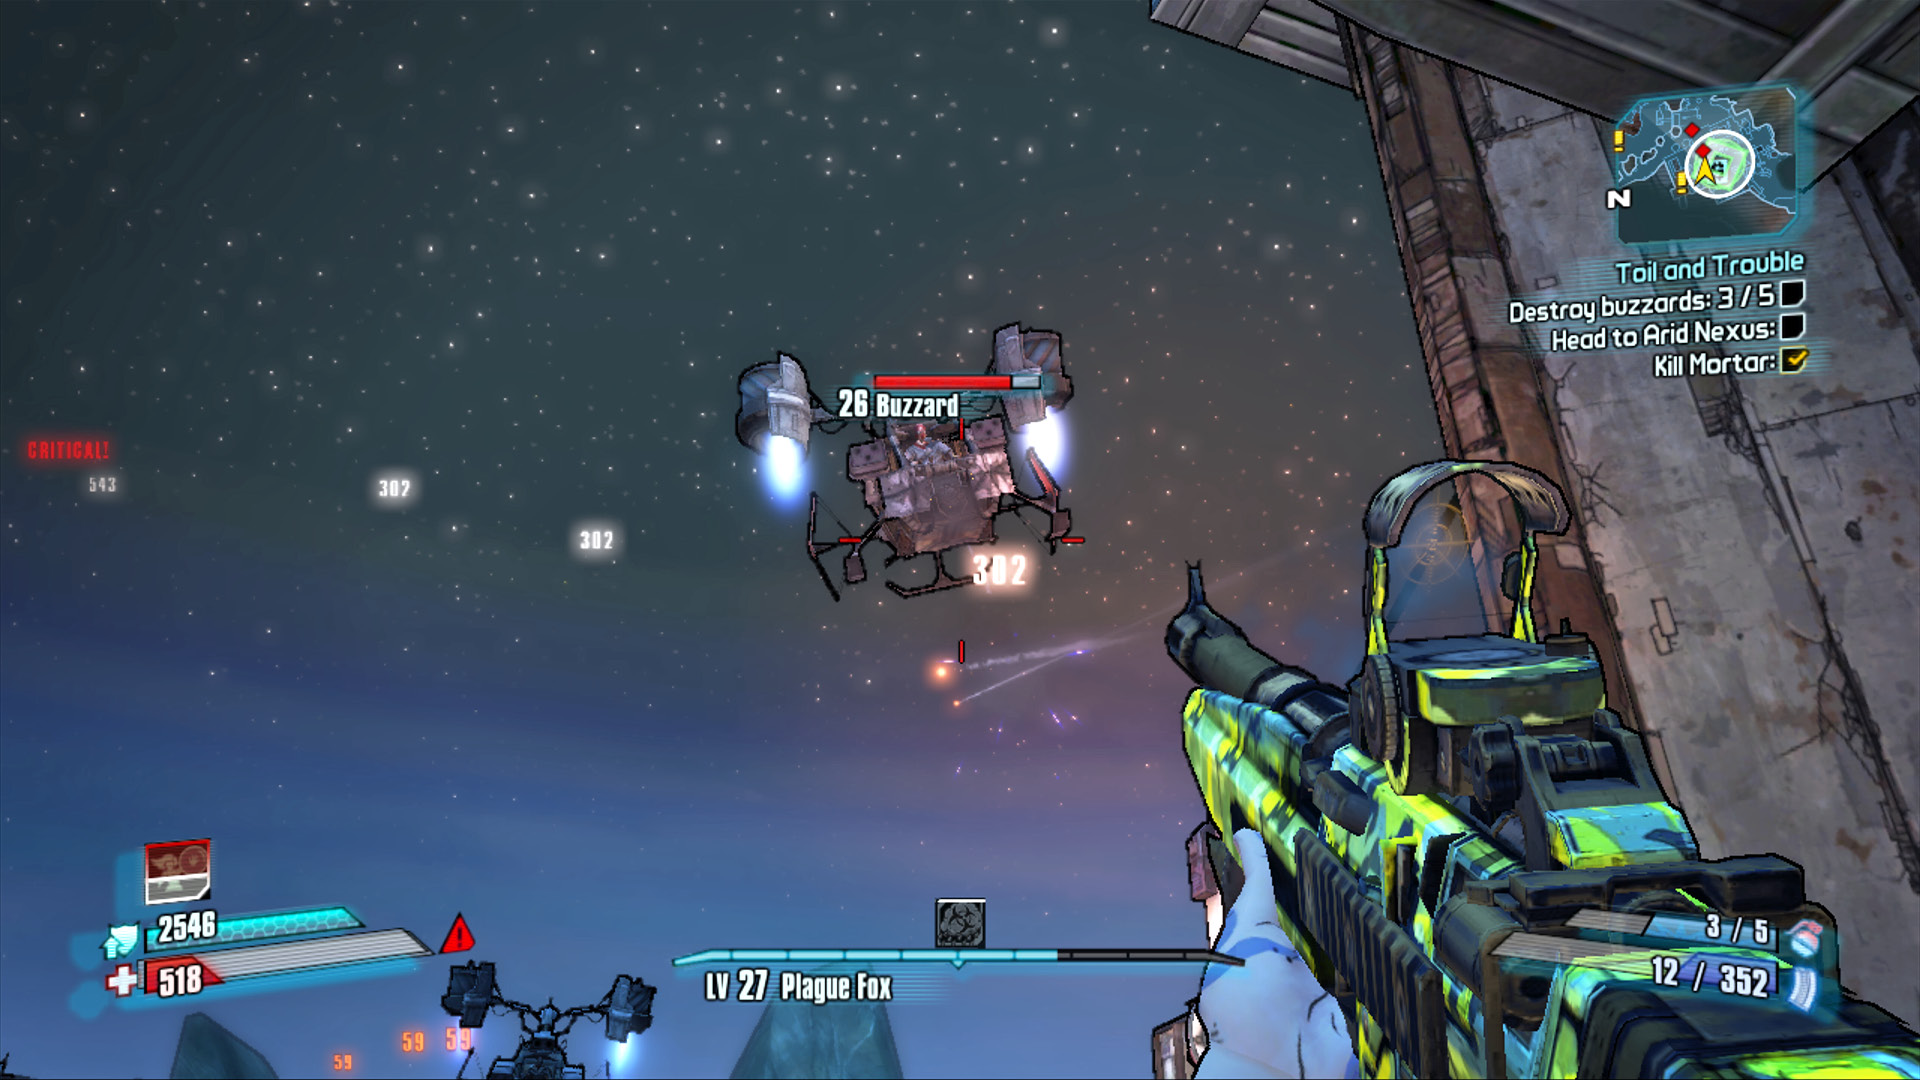
Seek overhead cover when fighting the Buzzards, especially if you don’t have a homing weapon like the Dahliminator handy.
With the five Buzzards defeated, it’s time to mark the crates with beacons so the Slabs know which ones to grab. There are two on the western platform, one on the south, and one on the east. Mark the five of them to effectively finish your work here.
The fastest way back to Eridium Blight is by leaping from the east side of The Buzzard Nest. Aim your jump just right, and you can even land directly on the path that leads right to the Fast Travel station. Use it to travel back to the Catch-a-Ride station in Eridium Blight. Once there, get a vehicle and drive back along the highway to the southeastern corner of the area just in time to see the Slabs use their explosives to drop the drawbridge. Drive across the bridge to Arid Nexus Boneyard. Exit the car, and approach the holographic intercom to turn in the mission to Mordecai.
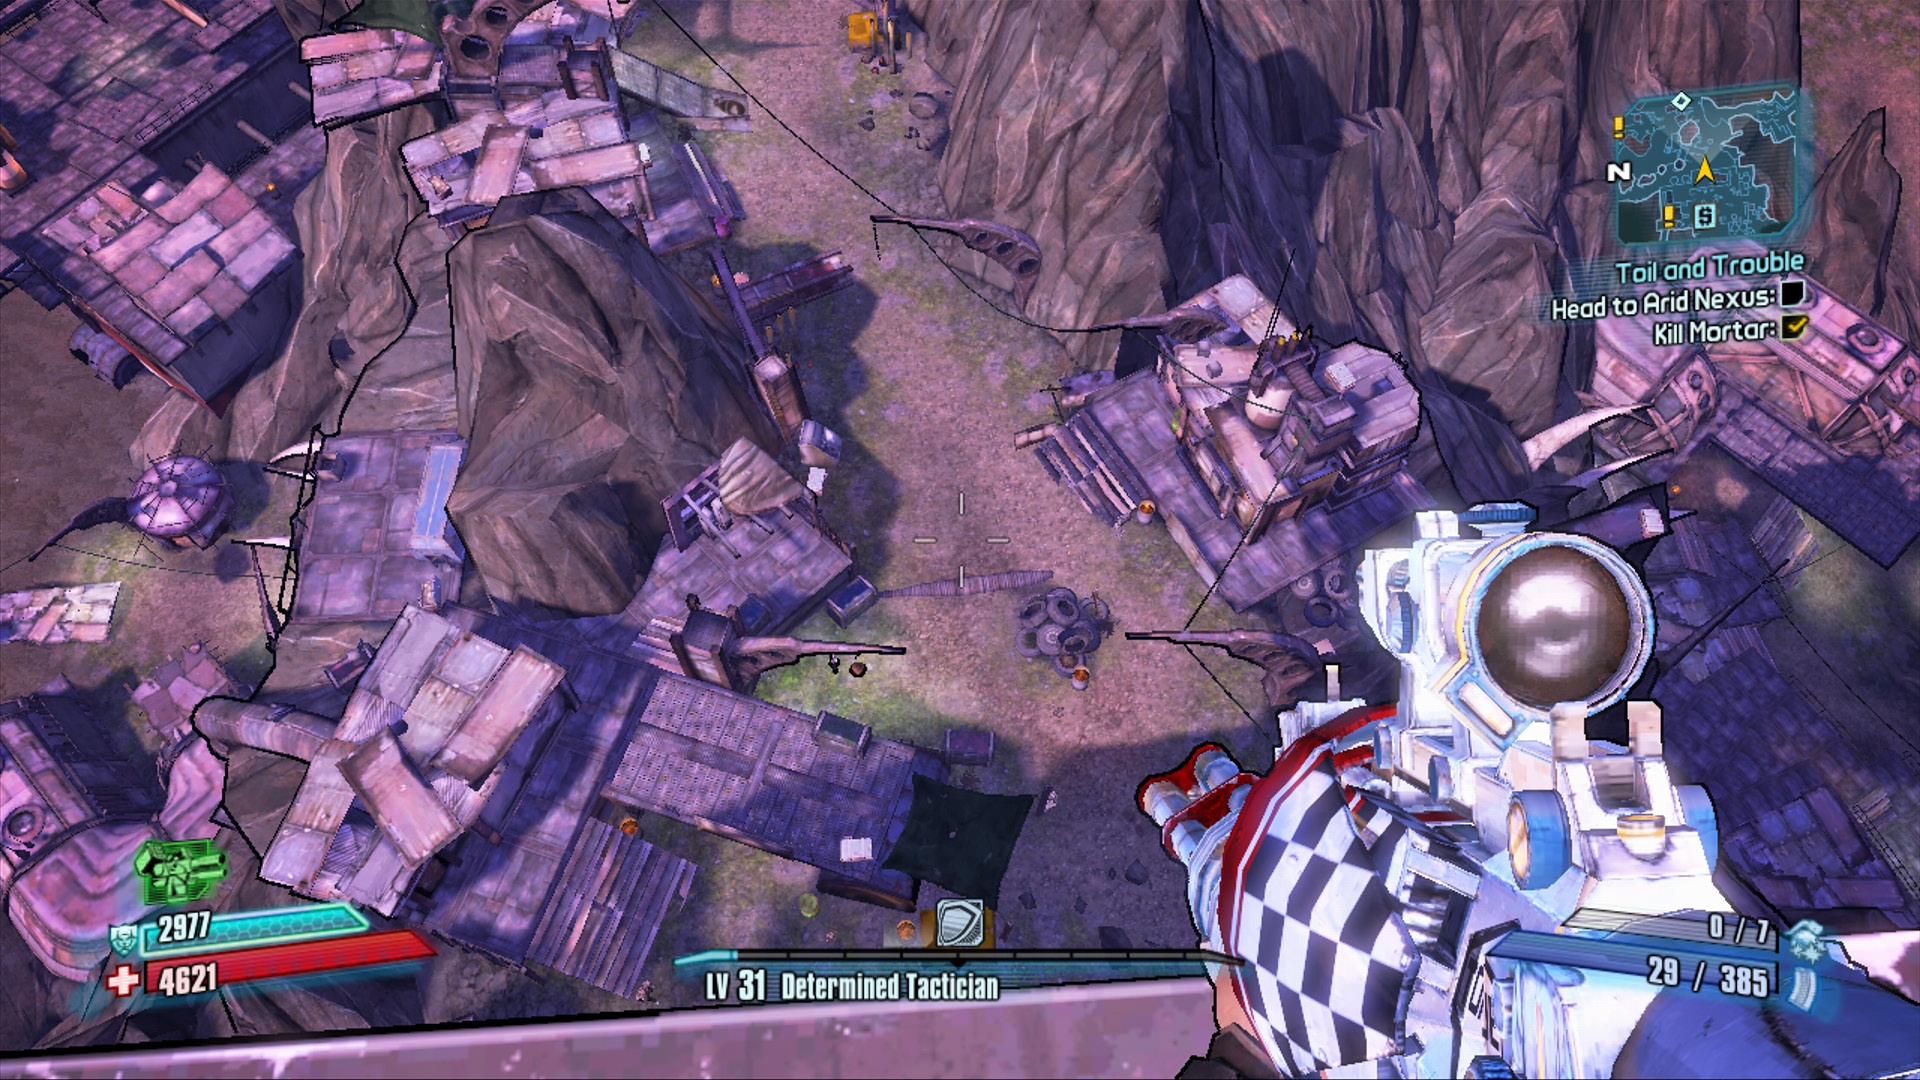
Leap from the eastern edge of The Buzzard Nest, and sprint up the path to the Fast Travel station.
Arid Nexus Boneyard
Welcome to the Boneyard, a sandy desolate plain all but featureless if not for the Eridium pipeline that crosses it. Other than the three pumping stations scattered to the corners of the area, all feeding a regulator station to the north, the only other structure holding much interest is a radio station dedicated to the spreading of lies and mongering of fear. Visitors to this land are extremely rare, so this may be the place where Hyperion’s defenses are thinnest. That is, unless you brazenly signal for reinforcements on their behalf.
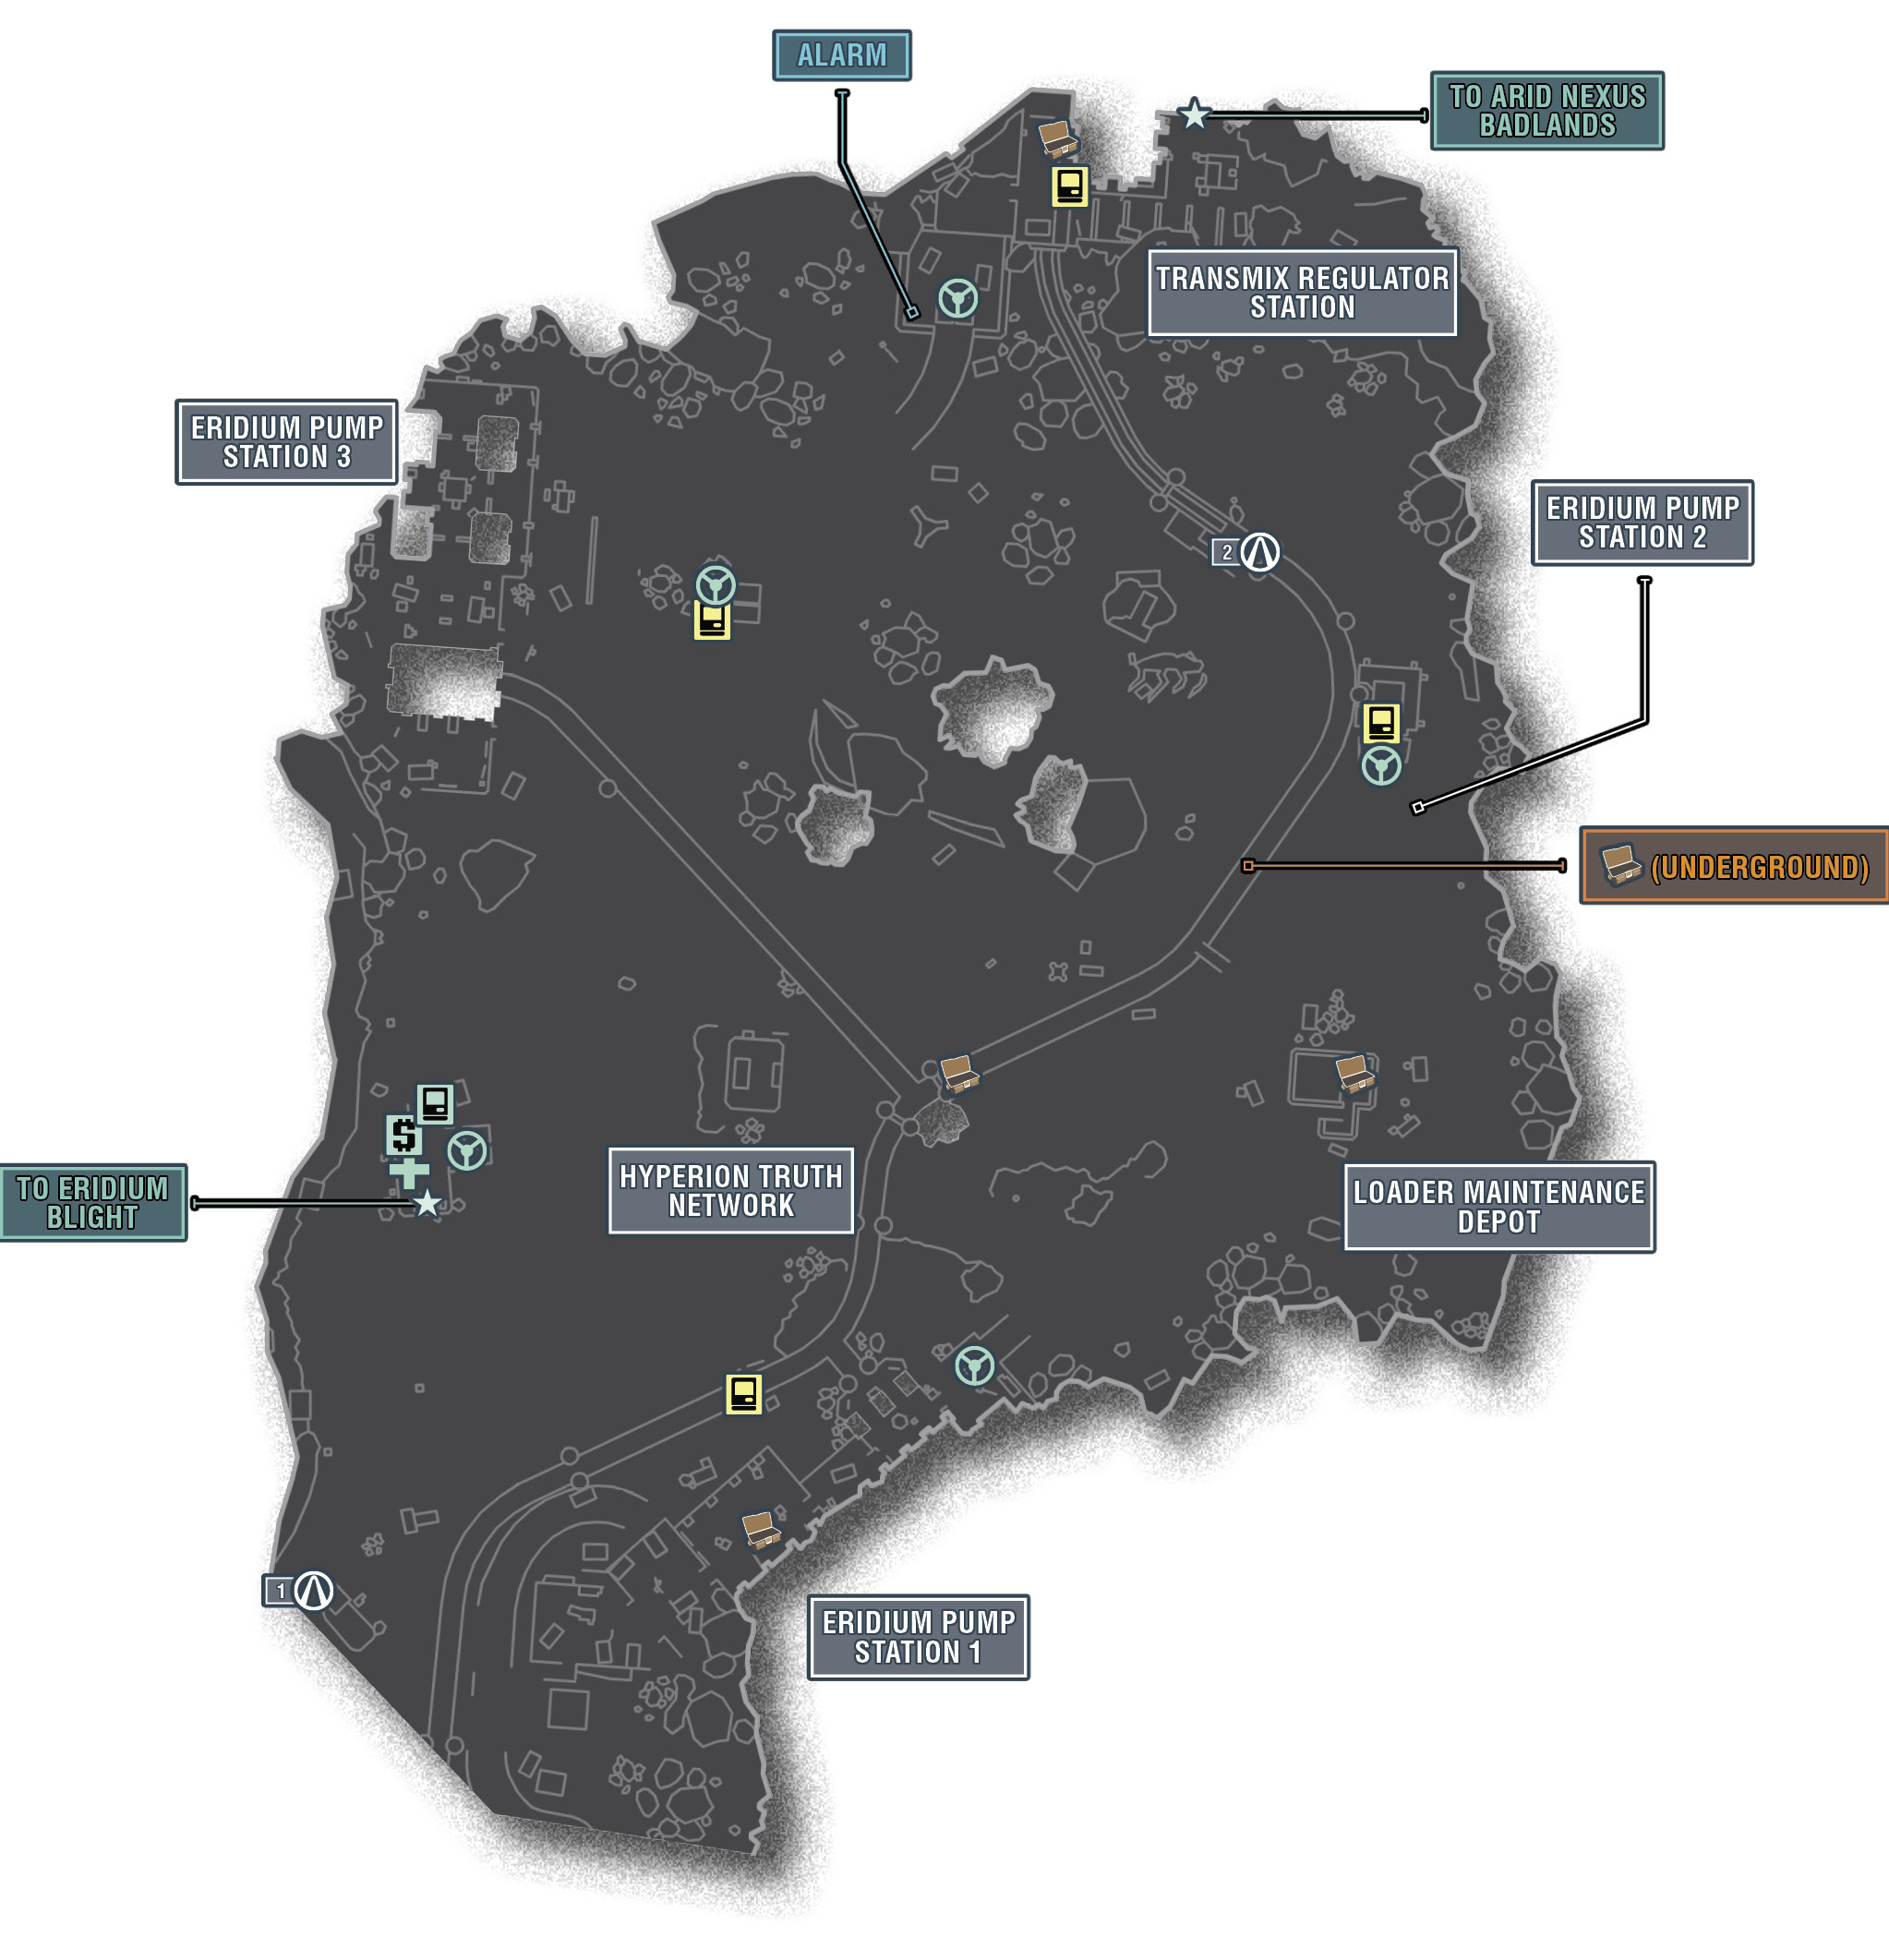
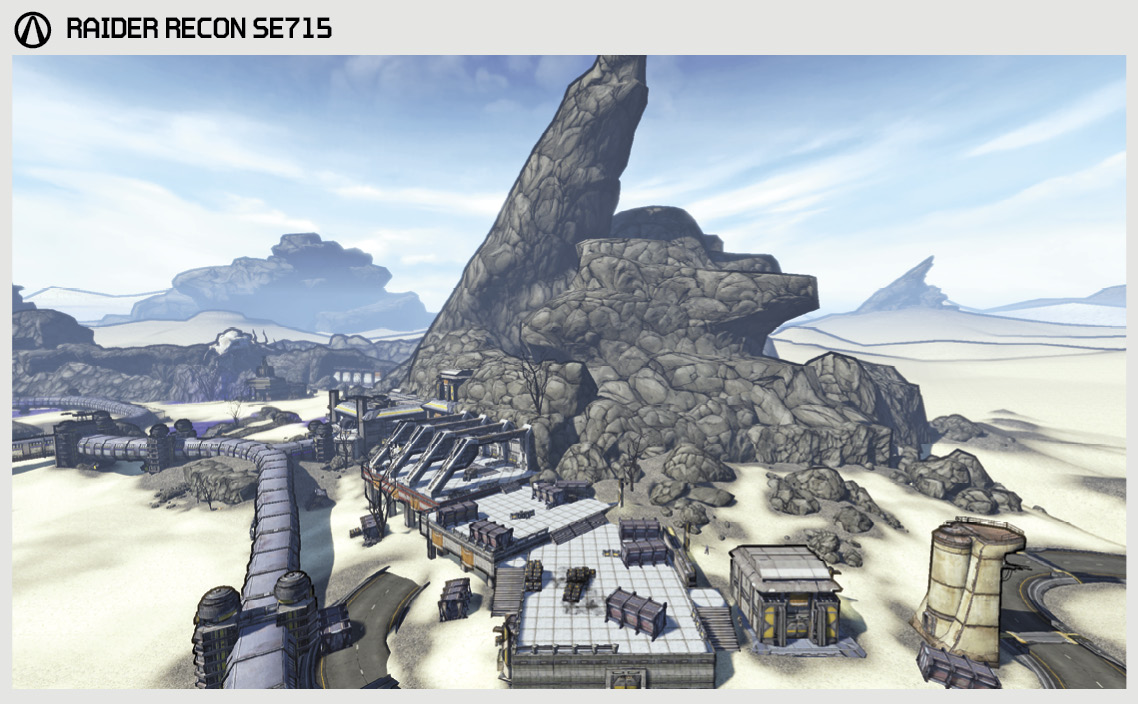
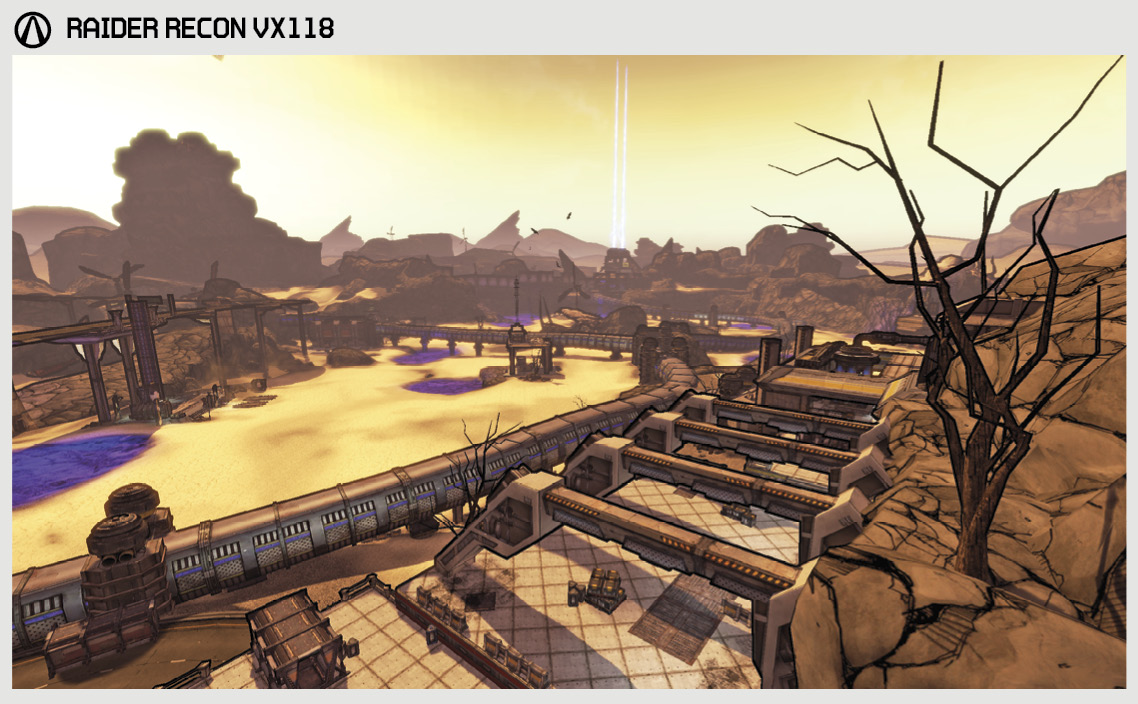
The Districts of Arid Nexus Boneyard
| Locale | Limited Access? | First Visit |
|---|---|---|
|
Hyperion Truth Network |
No |
“This Just In” optional mission. |
|
Loader Maintenance Depot |
No |
Free exploration. |
|
Eridium Pump Station 1 |
No |
“Data Mining” story mission. |
|
Eridium Pump Station 2 |
No |
“Data Mining” story mission. |
|
Eridium Pump Station 3 |
No |
“Data Mining” story mission. |
|
Transmix Regulator Station |
No |
“Data Mining” story mission. |
Dangerous Beasts
High Value Targets
| Enemy | Family |
|---|---|
|
DJ Hunter Hellquist |
Engineer |
 Cult of the Vault
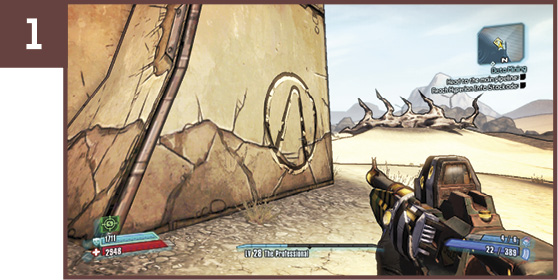
Drive due south from the entrance to this region toward the very edge of the map, where laser-sighted gun turrets threaten you to back up. Round the corner of this structure to the right to spot the Cult of the Vault symbol.
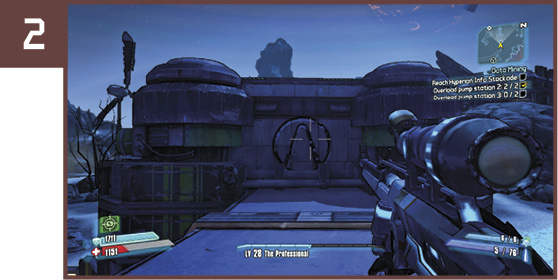
Run up the ramp on the eastern side of the pipeline near the Loader Maintenance Depot, and head north along the pipeline to the next structure. The Cult of the Vault symbol is on the wall, above the pipeline to the north. While you’re up here, head the other way to access a weapon chest.
Under Pressure
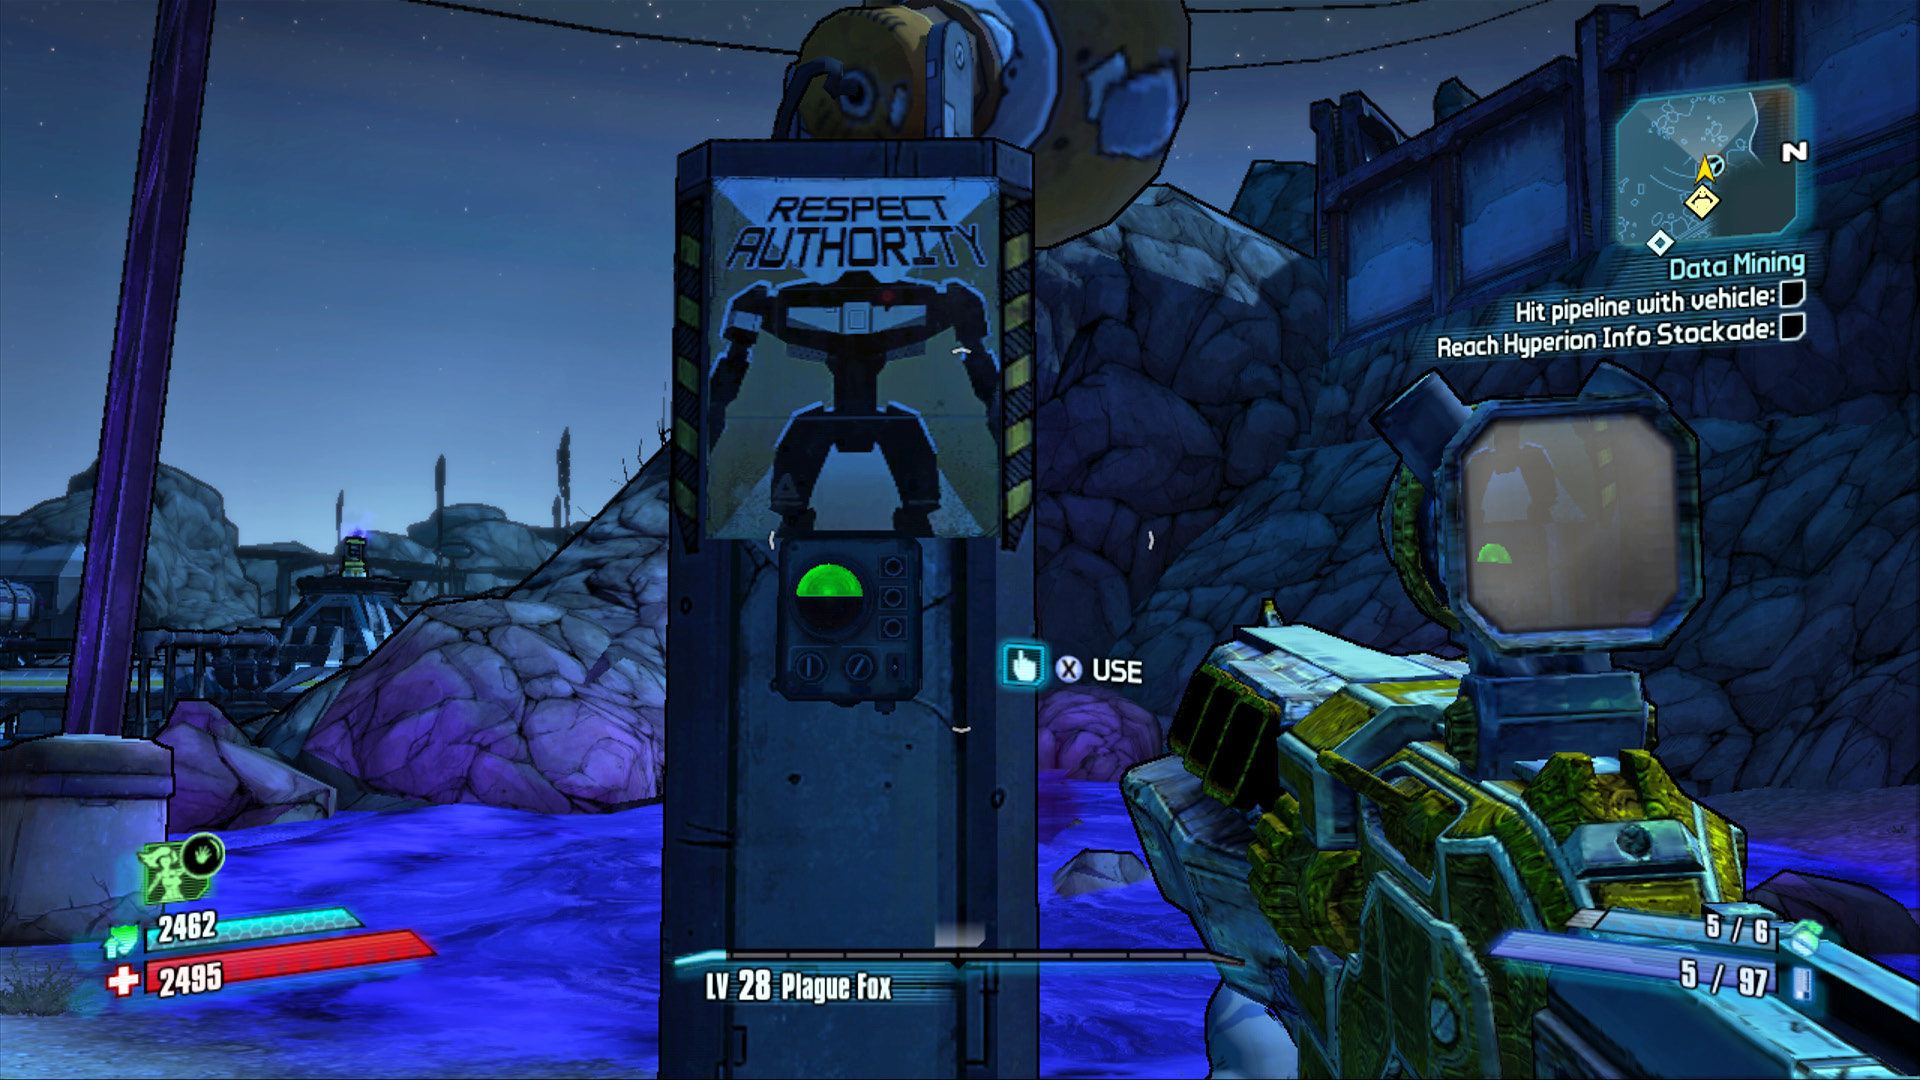
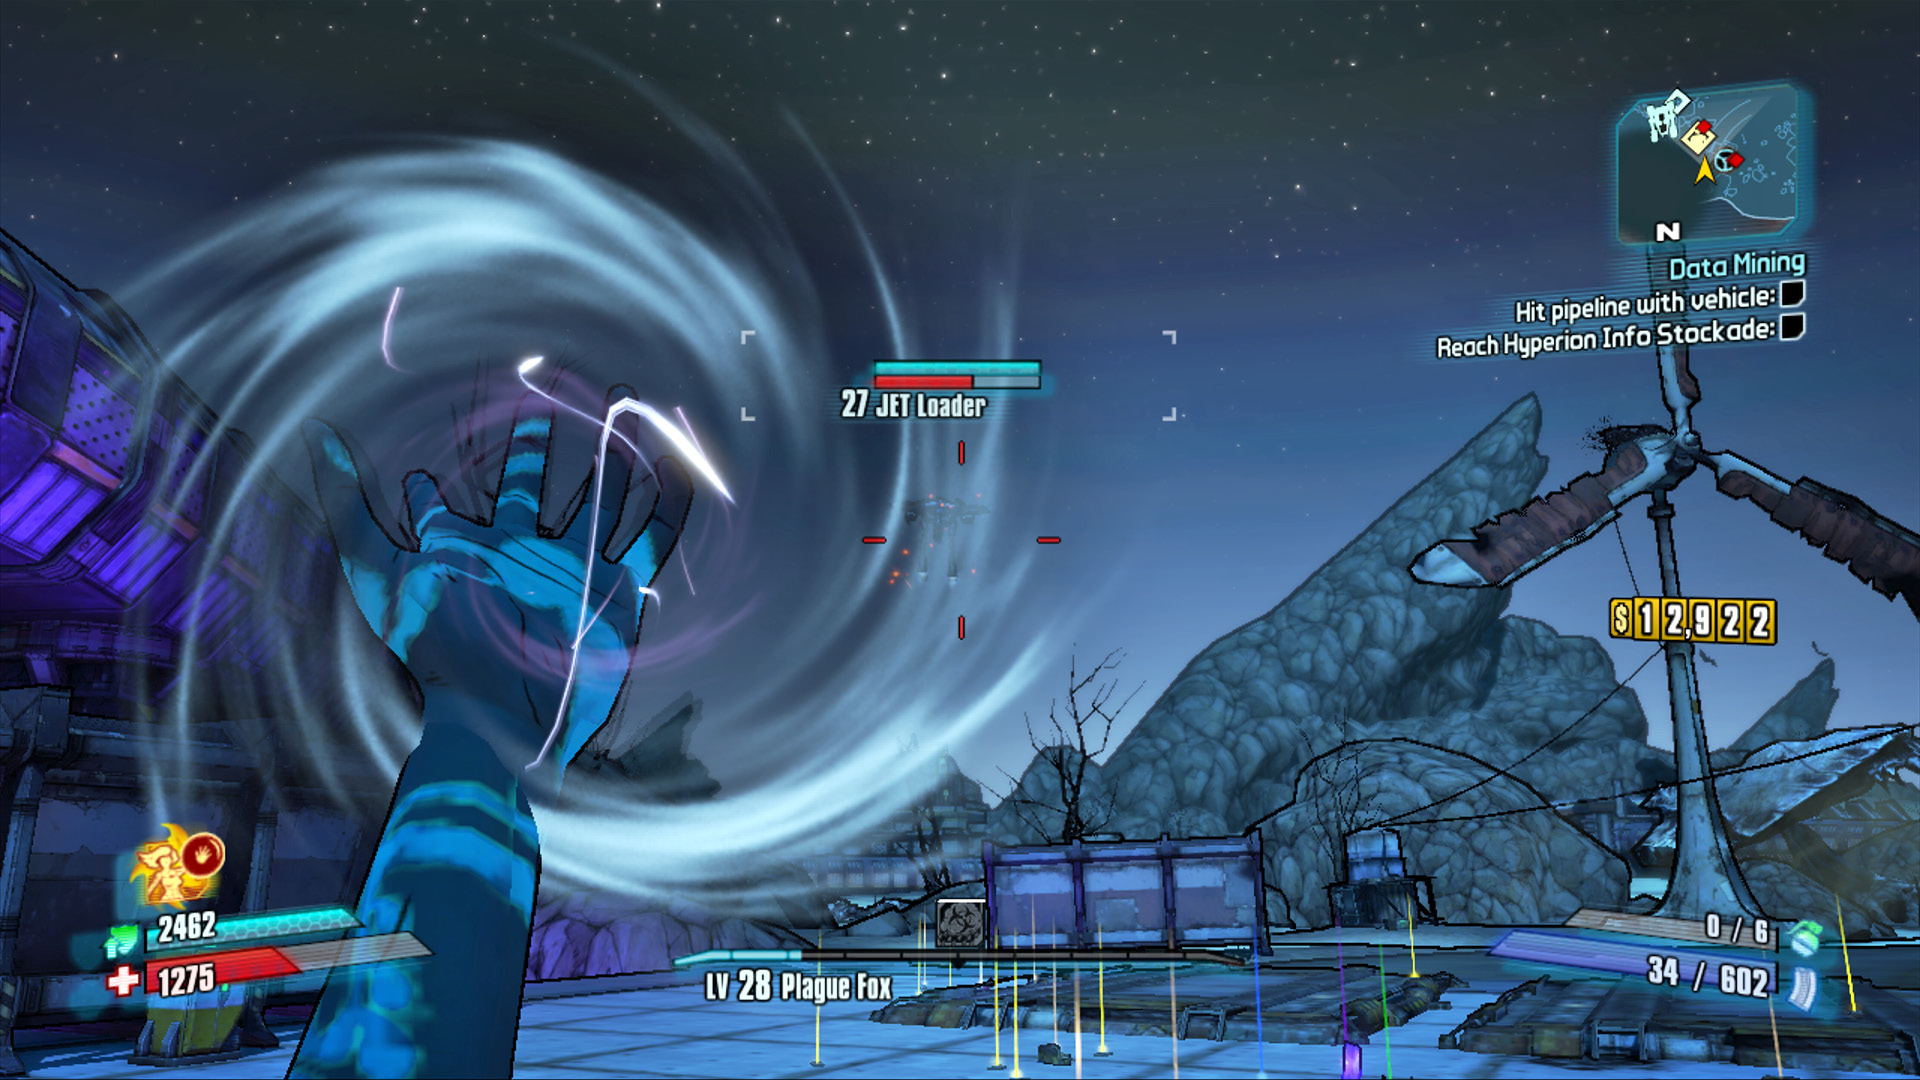
Drive north across the Arid Nexus Boneyard toward the Transmix Regulator Station, and veer slightly west toward the Catch-a-Ride station nearby. Assuming you have plenty of ammo and a quiver of Corrosive weapons, exit the vehicle and press the button under the “Respect Authority” sign showing a loader and a bullhorn. Pressing this button summons a Badass Constructor at extremely close range, along with EXP, JET, and RPG Loaders. Immediately put some distance between yourself and the Badass Constructor, and take cover. ION and Super Badass Loaders serve as the second wave and attack as soon as the Badass Constructor is destroyed. Do not take this battle lightly, as it is undoubtedly one of the most difficult skirmishes you’ve faced to this point outside of the “Hyperion Slaughter” arena battles.
Additional Challenges
Dead Air: Kill DJ Hunter Hellquist while his portable radio is switched off (see “This Just In” optional mission for details).
Arid Nexus Badlands
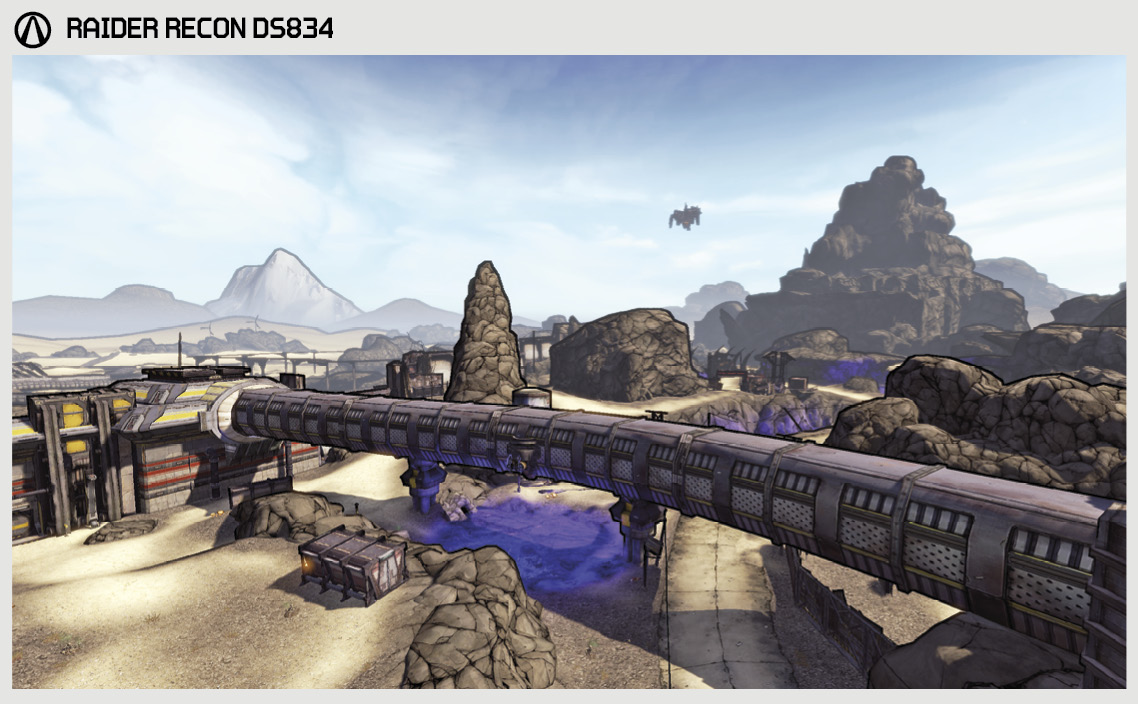
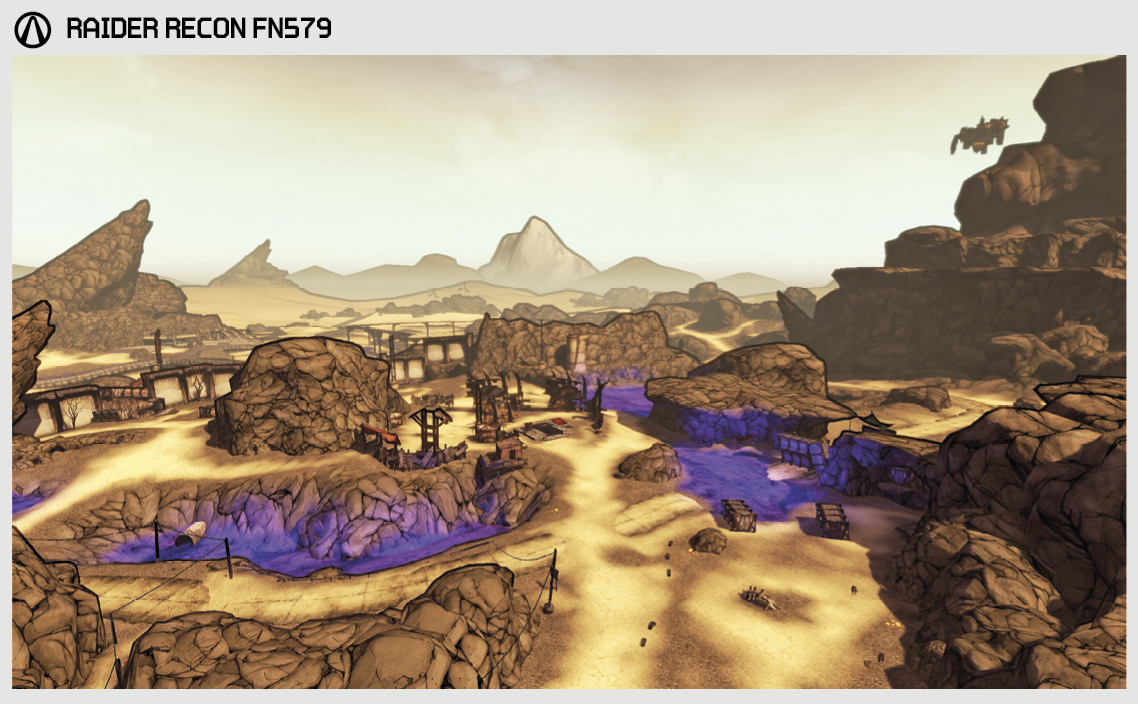
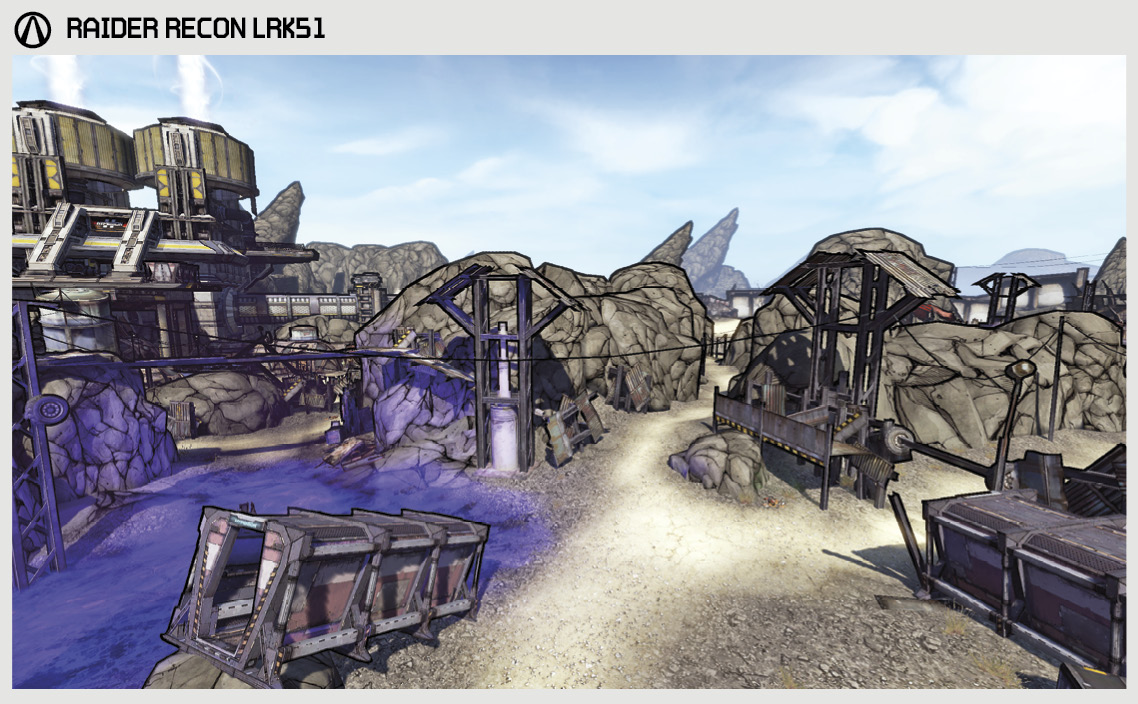
The former home of Pandora’s most well-known bus stop, the Arid Nexus and its surrounding desert have become one of the most impenetrable Hyperion strongholds on the planet, the Hyperion Info Stockade. This is where Jack keeps his most prized information, including the current whereabouts of the Warrior. If we are going to have any hope at destroying Handsome Jack, taking the Arid Nexus is an absolute must. Unfortunately for us, the land is absolutely filthy with Skags and JNK Loaders. To make matters worse, we’re hearing unconfirmed reports of a new Hyperion experimental weapon—a WAR Loader of stupidly absurd proportions—that Jack’s got defending the entrance to his Info Stockade.
The Districts of Arid Nexus Badlands
| Locale | Limited Access? | First Visit |
|---|---|---|
|
Fyrestone |
No |
“Talon of God” story mission. |
|
Hyperion Info Stockade |
Yes |
“Talon of God” story mission. |
|
T.K. Baha’s House |
No |
“Uncle Teddy” optional mission. |
Dangerous Beasts
High Value Targets
| Enemy | Family |
|---|---|
|
Saturn |
Loader |
 The Beginning of the End
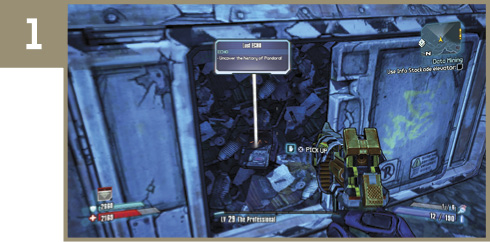
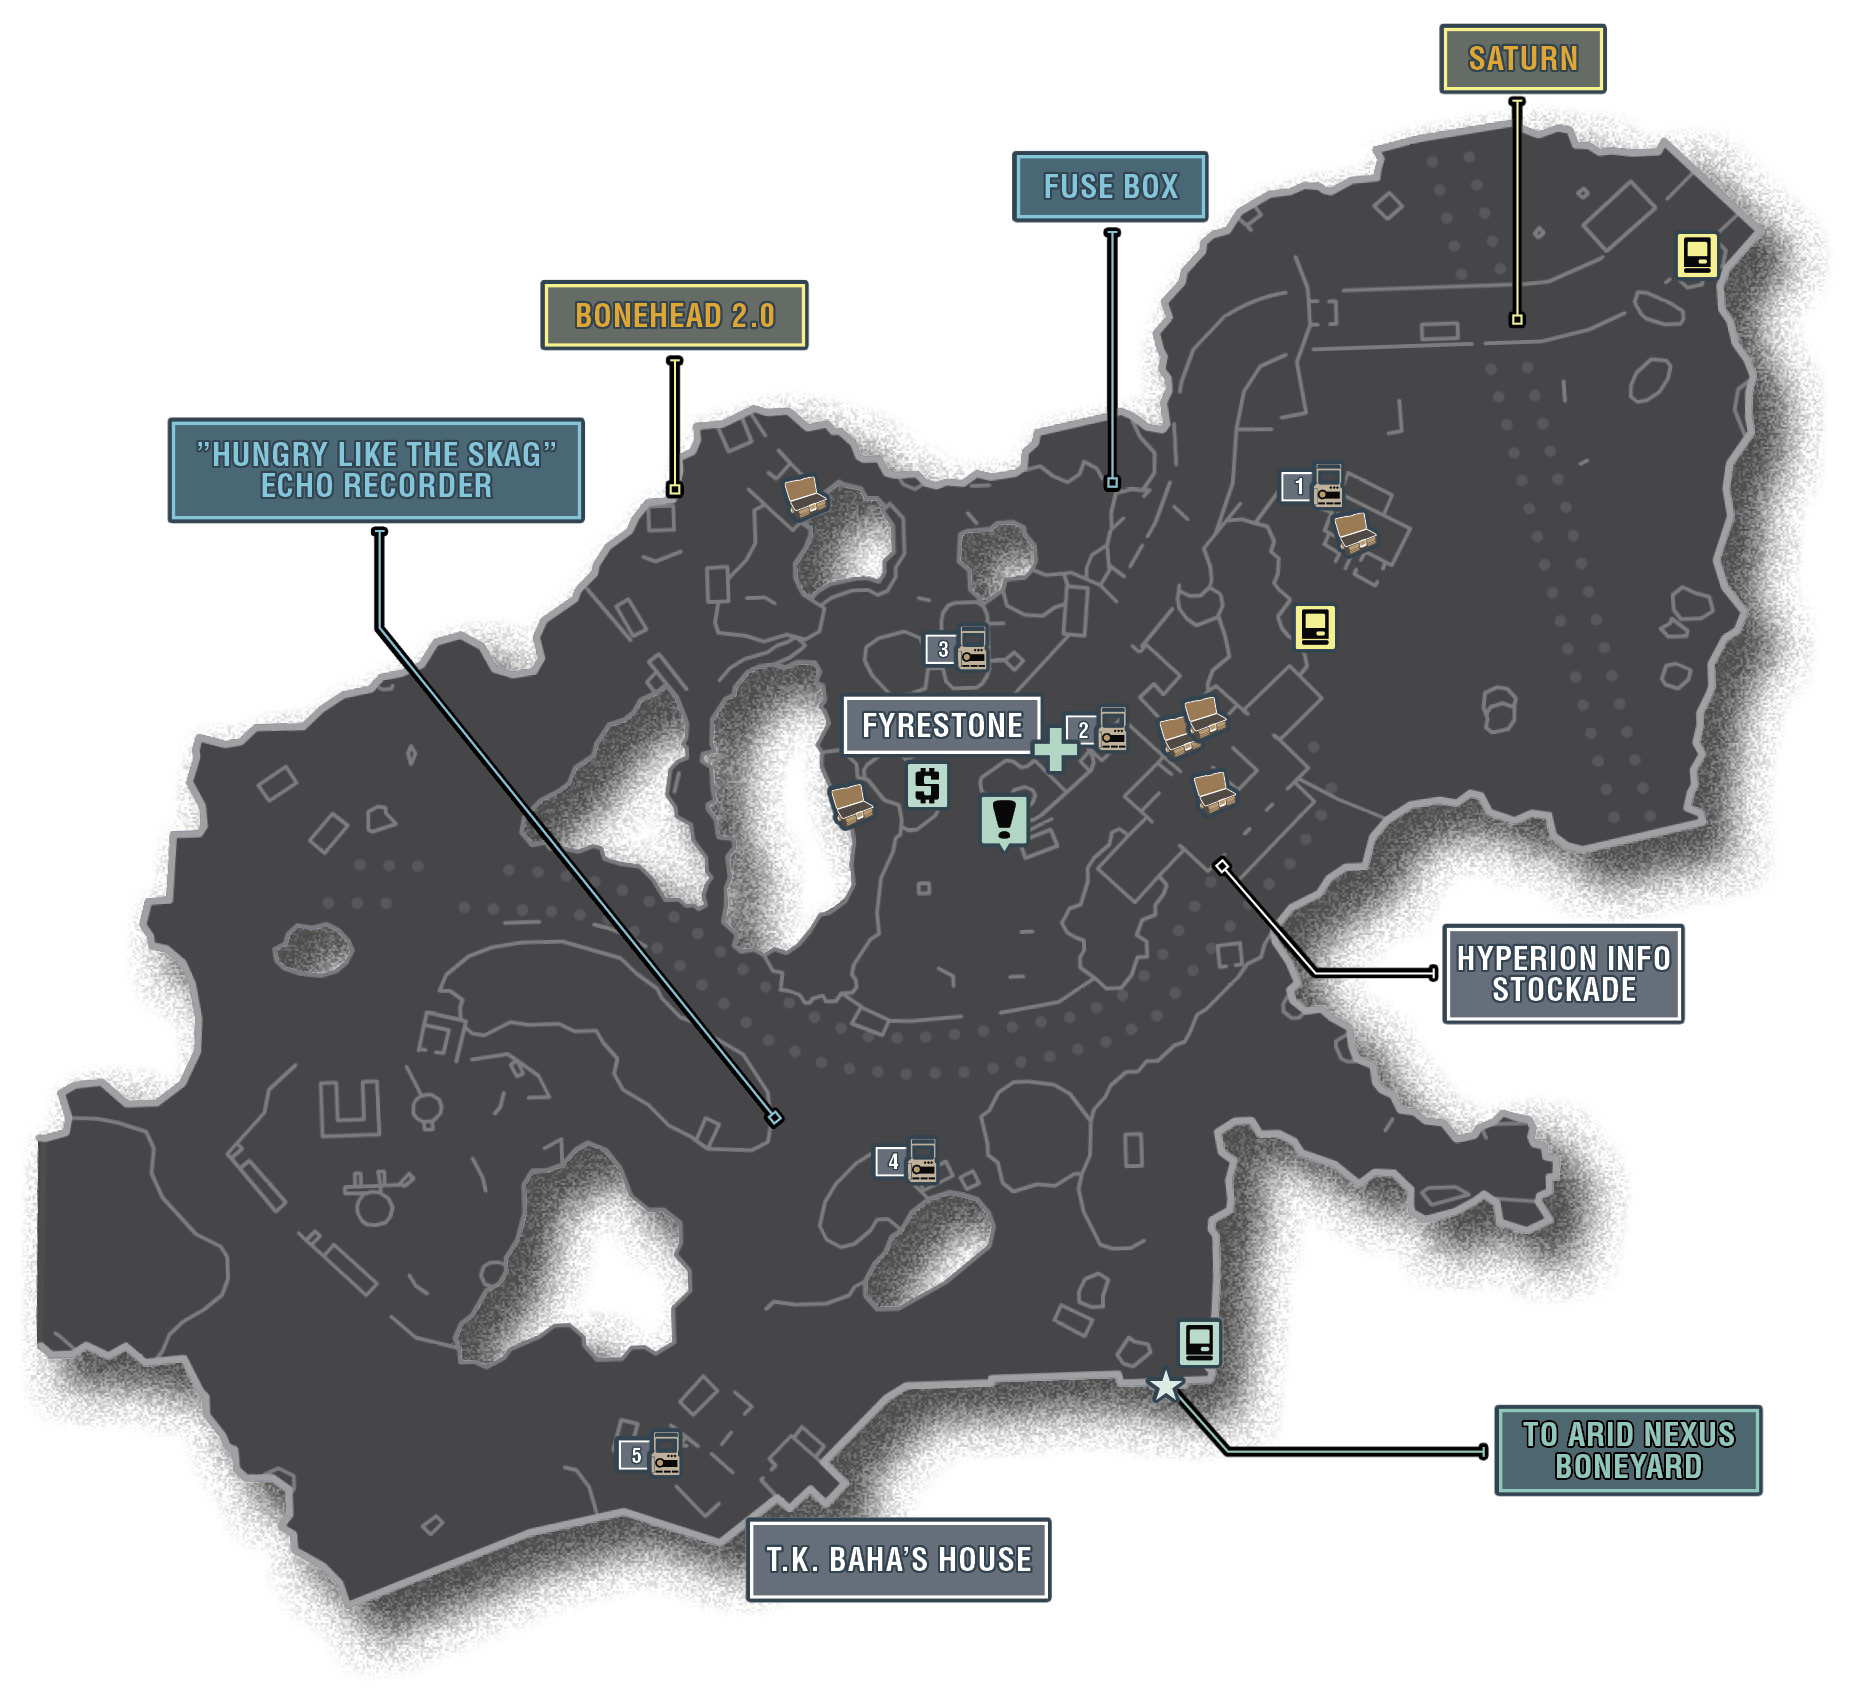
Grab this ECHO Recorder on your way to the lift leading up the highway. It’s in the dumpster beside the old Fyrestone motel and bus stop.
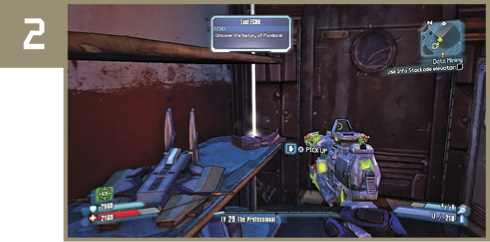
Shoot the electrical fuse box to kill the electric barrier to the building in town, and head inside to find this ECHO Recorder on a shelf in the back.
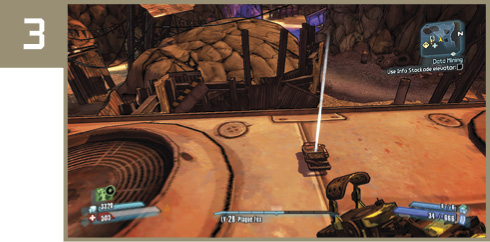
Make your way up onto the rooftop of the larger structure in Fyrestone to find this ECHO Recorder. You can also reach it by leaping down from atop the highway.
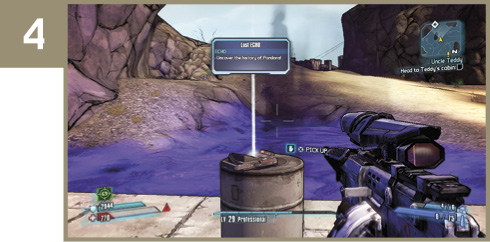
This ECHO Recorder is atop a barrel near a Slag pond northeast of T.K. Baha’s House. It’s quite close to the entrance to Arid Nexus Boneyard.
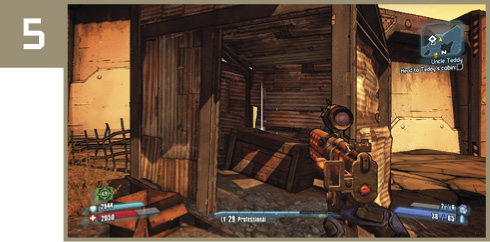
The final ECHO Recorder is in a shack out behind T.K. Baha’s House. It’s on the southwestern edge of the map, not far from the wall.
Hey! Over Here!
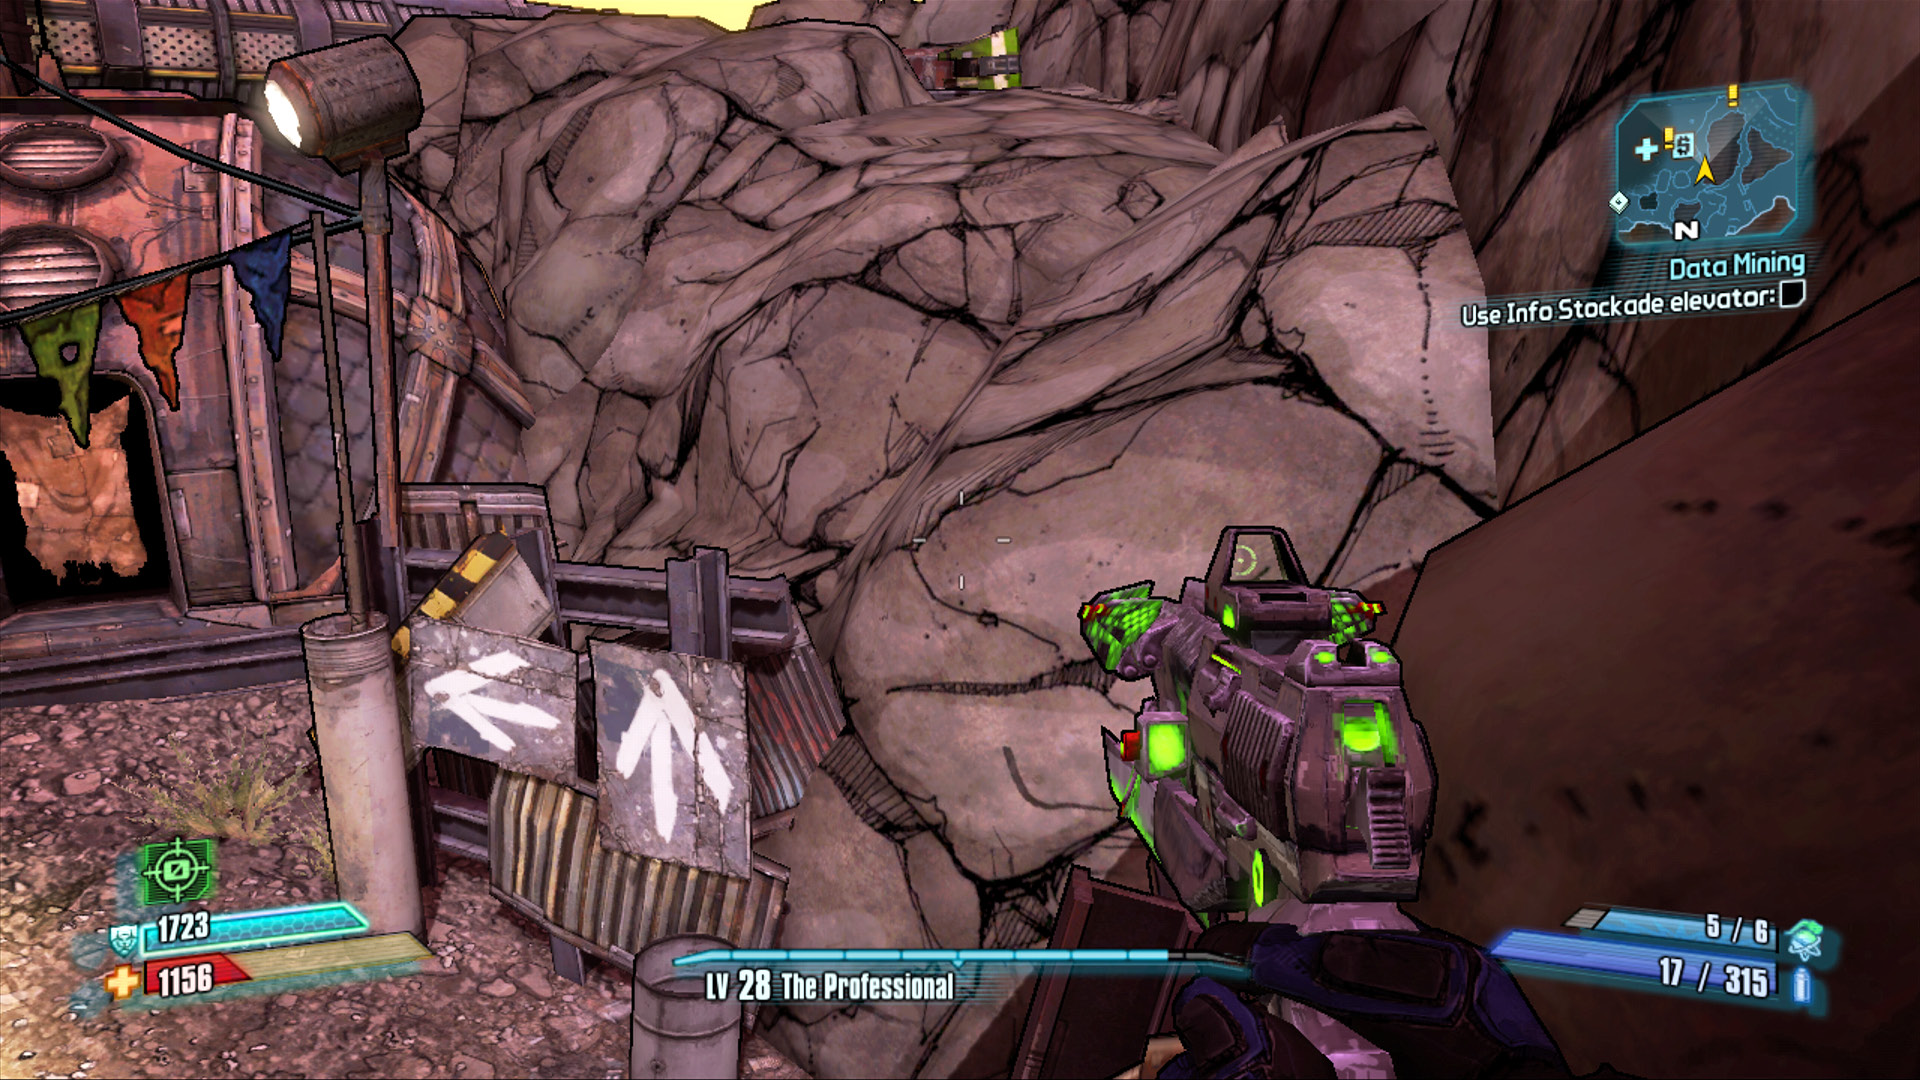
Can you find the hidden, defunct Claptrap in Fyrestone? It’s on the rocks above the two hand-painted arrow signs near the multi-colored flags. Leap onto the metal debris to the right, then make a running jump for the rocks above the arrows. Scramble up the rocks to find a weapons chest and this missing Claptrap. If he were alive, he’d probably tell you that there are missions available at the Fyrestone Bounty Board. Which there are. Really. You ought to check them out.
Boned
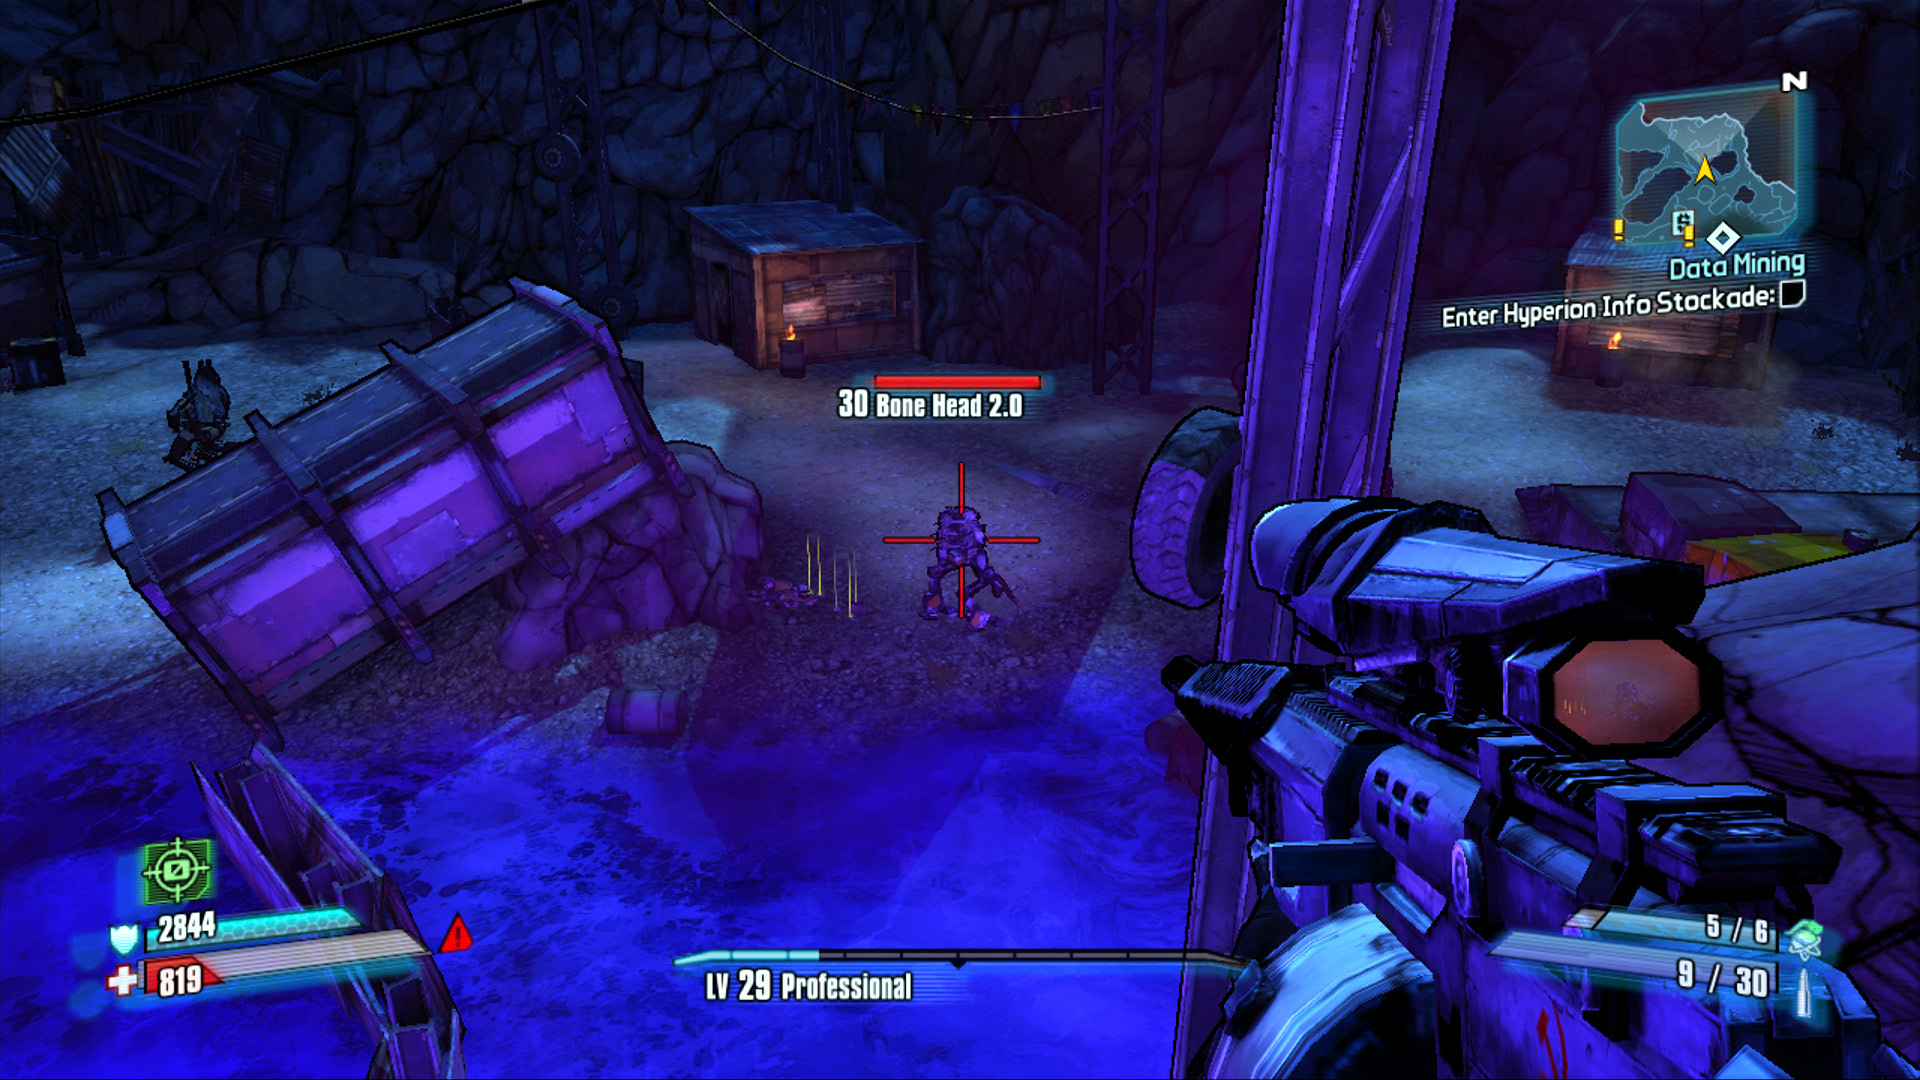
Bone Head 2.0 is a unique JNK Loader that lurks amongst the Slag ponds on the north side of Fyrestone. Though he has greater health than a typical JNK Loader, there’s not much that’s particularly intimidating about him. Well, aside from the skag skull he wears for a head. Open fire on him with Corrosive weapons for a quick kill and a chance at a unique weapon, and to unlock this Challenge.