
Borderlands 2 Game of the Year Guide Optional Missions
Creature Slaughter: Round 2
|
 Mission Briefing
| Mode | Level |
|---|---|
|
Normal |
25 |
Mission Reward: Cabrera
| Mode | Money | XP | Gear |
|---|---|---|---|
|
Normal |
$1530 ($2295 with bonus) |
2858 |
— |
The Natural Selection Annex
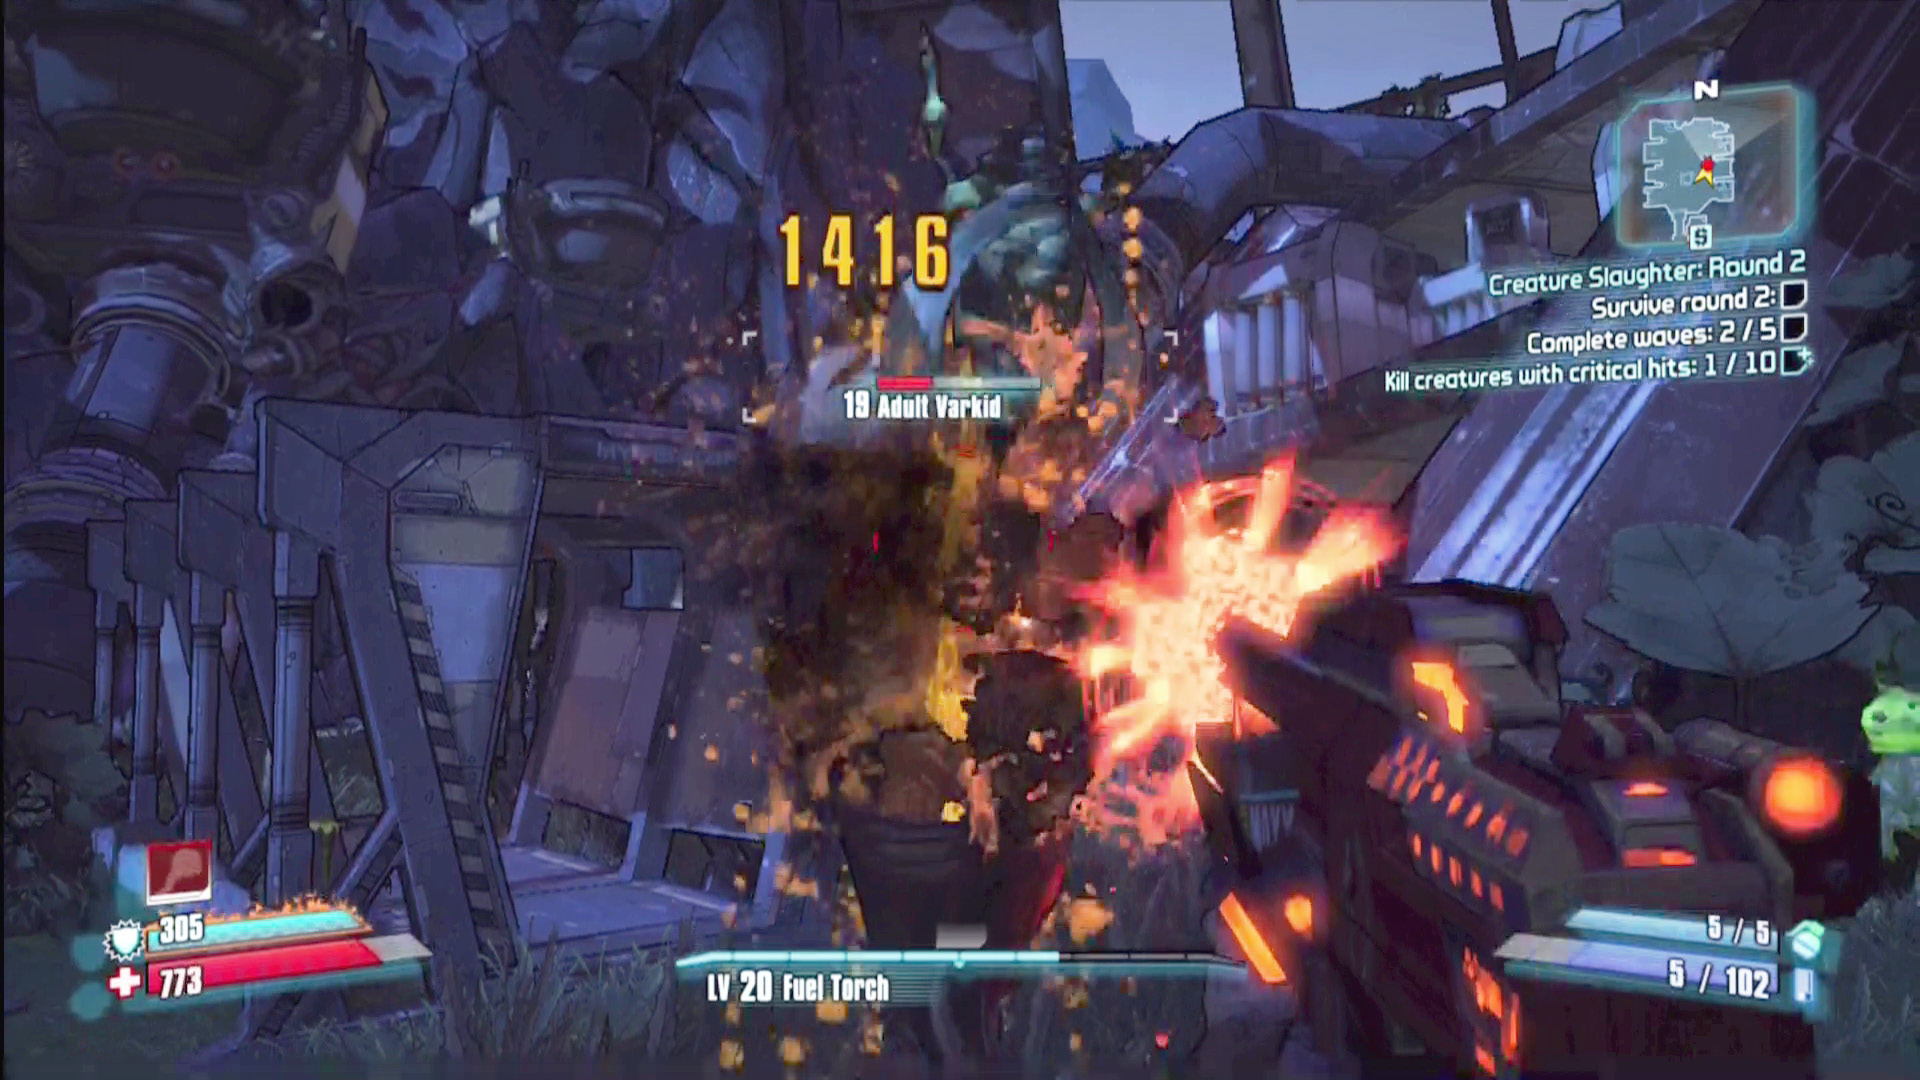
It can be difficult to see the pods of evolving varkids at night. Look for a red glow at ground level.
Round 2 adds a bunch of varkids to the skag and spiderling mix in the early waves, which necessitates a change in your strategy. Begin each wave in your favorite cell (the one in the southeast still works great), and prepare to shotgun-blast the few lesser varkids and skags that are capable of finding you. Then, as soon as you see that there are no red dots on the map coming your way, break cover and hunt down the survivors at close range; that’s the best way to catch the varkids as they build their pods. Smash them for easy kills before they can evolve.
Wave 3 is a short one, led by a Badass Varkid. Pop the Necrophage for some free corrosion, then run away from the varkid as you shoot it, or create a distraction with your Action Skill.
Wave 4 is led by a Super Badass Varkid with an annoying habit of burrowing underground and popping up directly at your feet. Stand on the metal platform with the button (or the one with the elevator) so the varkid can’t emerge beneath your feet, and try to nail it with elemental effects (preferably fire) so that you can still deal damage while it’s hiding underground. Don’t be in a hurry to kill its Pup Skag companions; you’ll want to keep a few around for easy Second Winds.
If you’re having trouble finding all the foes in the final round, look to the skies; the Ultimate Badass Varkid sometimes likes to soar far overhead. Ignore it while you pick off the other varkids (as you don’t want them evolving), then unload on it with everything you have. Aim for the glowing orange spots on its body to earn Critical Hits.