
Borderlands 2 Game of the Year Guide Sir Hammerlock's Big Game Hunt
A-Hunting We Will Go
|
 Mission Briefing
| Level | Money | XP | Gear |
|---|---|---|---|
|
31 |
$754 |
8361 |
— |
*Money and XP may vary based on player’s level at start of mission.
Just Say No to Cloning
Ardorton Station lies beyond Dropwater Cavern, a water-filled and scaylion-infested cave beneath the Sun Swamps. To reach it, descend the elevator after speaking with Claptrap, and leap off the walkway to the south. Locate the narrow cave entrance in the southwest corner of Scylla’s Grove, and follow it as it curves around to the right to an area directly beneath where you first entered from Hunter’s Grotto. Use the vending machines just inside Ardorton Station, and head out onto the grass up ahead.
Claptrap has pinpointed three DNA samples: you must destroy all three of these samples in order to stop Professor Nakayama’s plan to clone Handsome Jack. The order in which you destroy them doesn’t matter, but it’s best to locate the one in Ardo Farm first, then the one in Psycho Surgery, and finally, the one at Offal Overlook.
Shoot your way past the savages and witch doctors in Bone Metal Camp, and ascend the stairs to the upper floor, exiting via the small door to the east. Take a moment to explore the interior of the Morgue for loot, then turn to the southeast and head up the stairs to the Ardo Farm area. This area is crawling with witch doctors and savages. Stay close to the cliff face on the left to draw the savages through the narrow openings of the huts. Funneling them toward your position makes it a lot easier to cut them down, particularly with the help of Axton’s Sabre Turret.
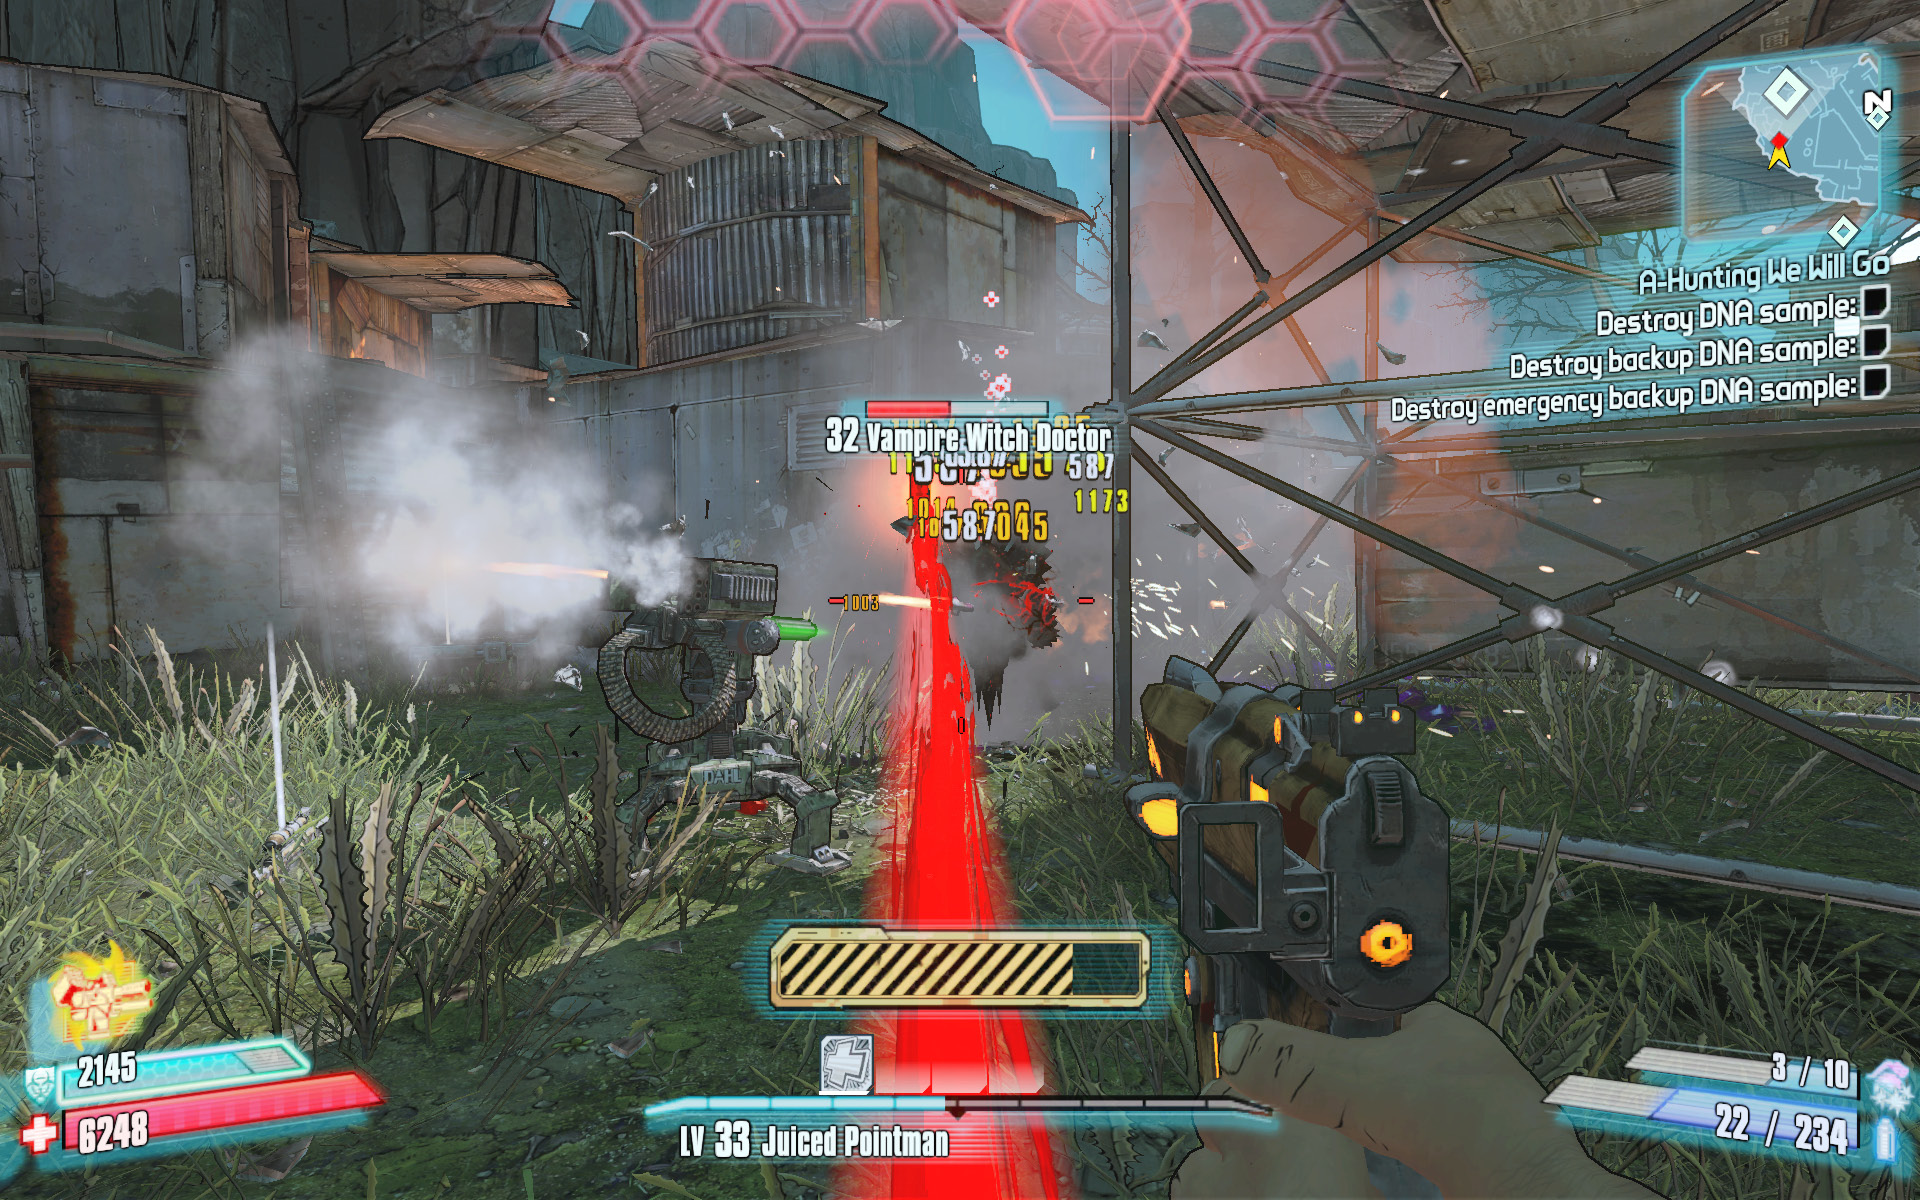
Hug the southern cliffs of Ardo Farm to funnel the savages toward your position through the shacks.
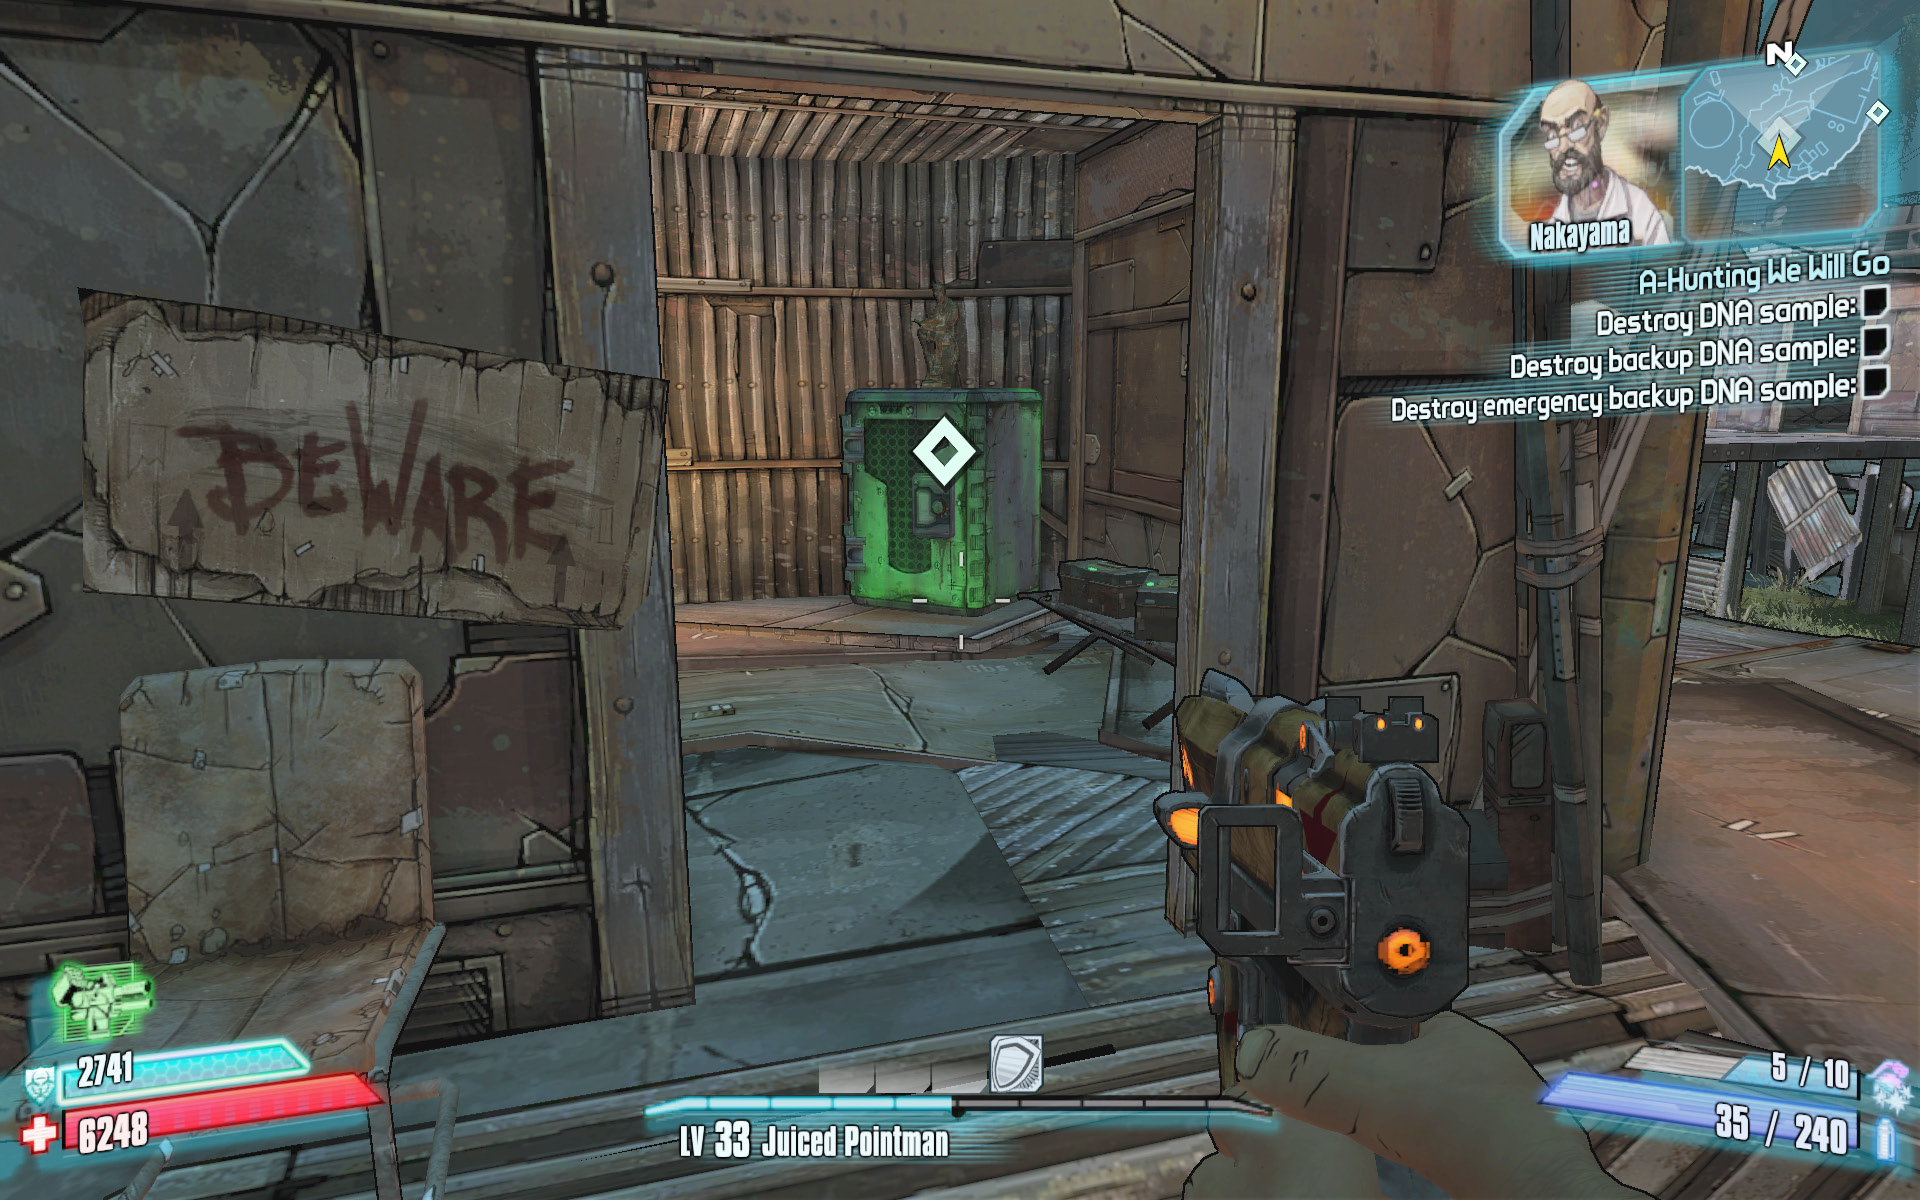
The “backup DNA sample” is in the hut in the southwest corner of Ardo Farm.
Enter the hut in the southwest corner of Ardo Farm, above the grassy field where the boroks attacked when you first entered Ardonton Station. Smash open the safe, then demolish the vial of Jack’s DNA inside it. Return the way you came, to the area near the Morgue, and continue past Psycho Surgery to the stairs leading up to the Skin-Chop Chop Shop.
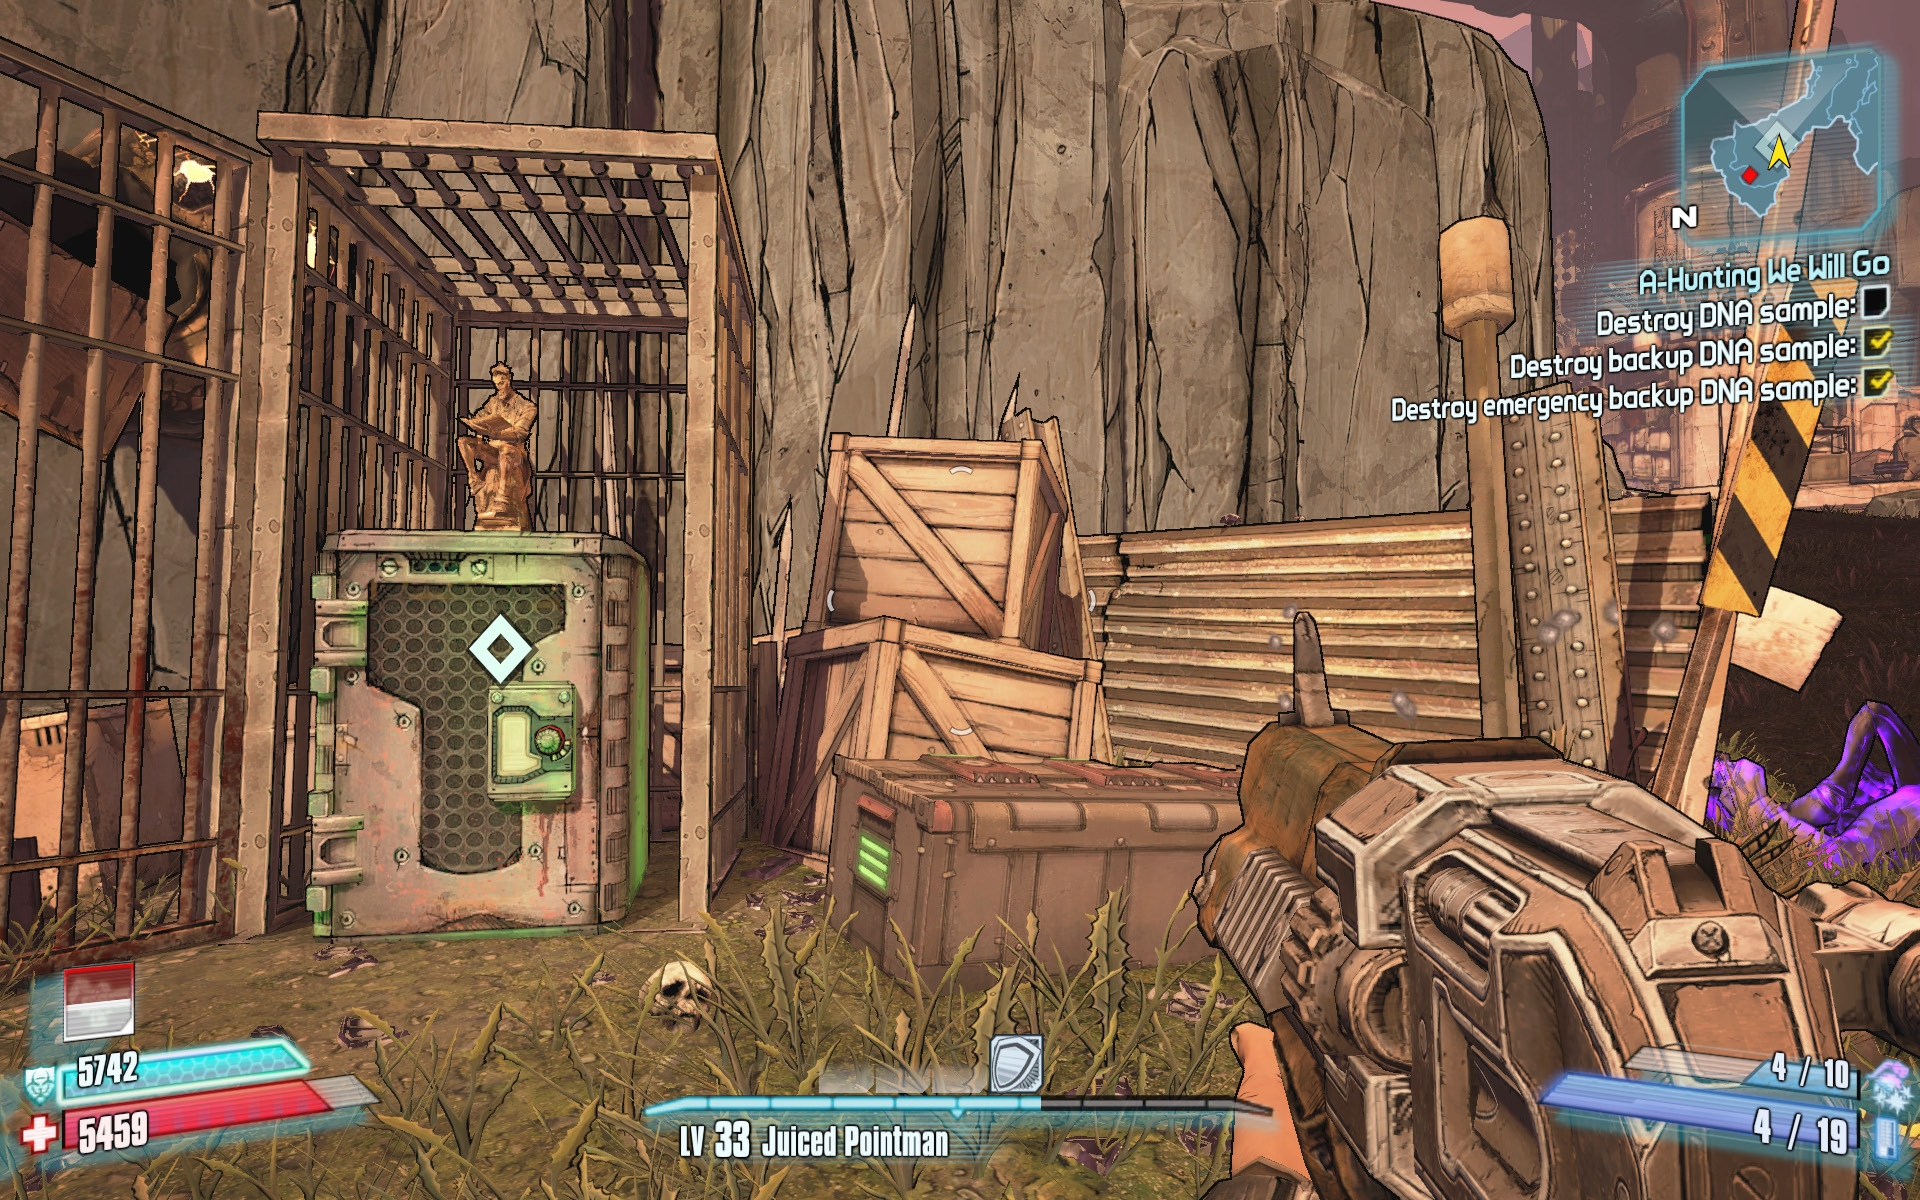
Beat a path through the scaylions to reach the safe containing the third DNA sample.
Even though the in-game map suggests there is more to this area east of your current position, you can’t access it just yet. Leave the Skin-Chop Chop Shop, and head due north across the grass to Offal Overlook. The overlook is crawling with scaylions, including several Slagged Scaylions and a Scaylion Queen. It also contains the third and final DNA sample. The safe containing the DNA sample is behind the metal barrier just north of the campfire.
The large metal door at the east end of the Skin-Chop Chop Shop has been opened. Kill the two Badass Savages coming down the stairs, then proceed through the door to the Iron Rail Rotunda area. Gather up ammo from the containers around the courtyard, and continue north toward the purple glow emanating from the creature lab. Descend the stairs to the door leading to the Infernal Machine. Pull the green-glowing switch that Claptrap alluded to.
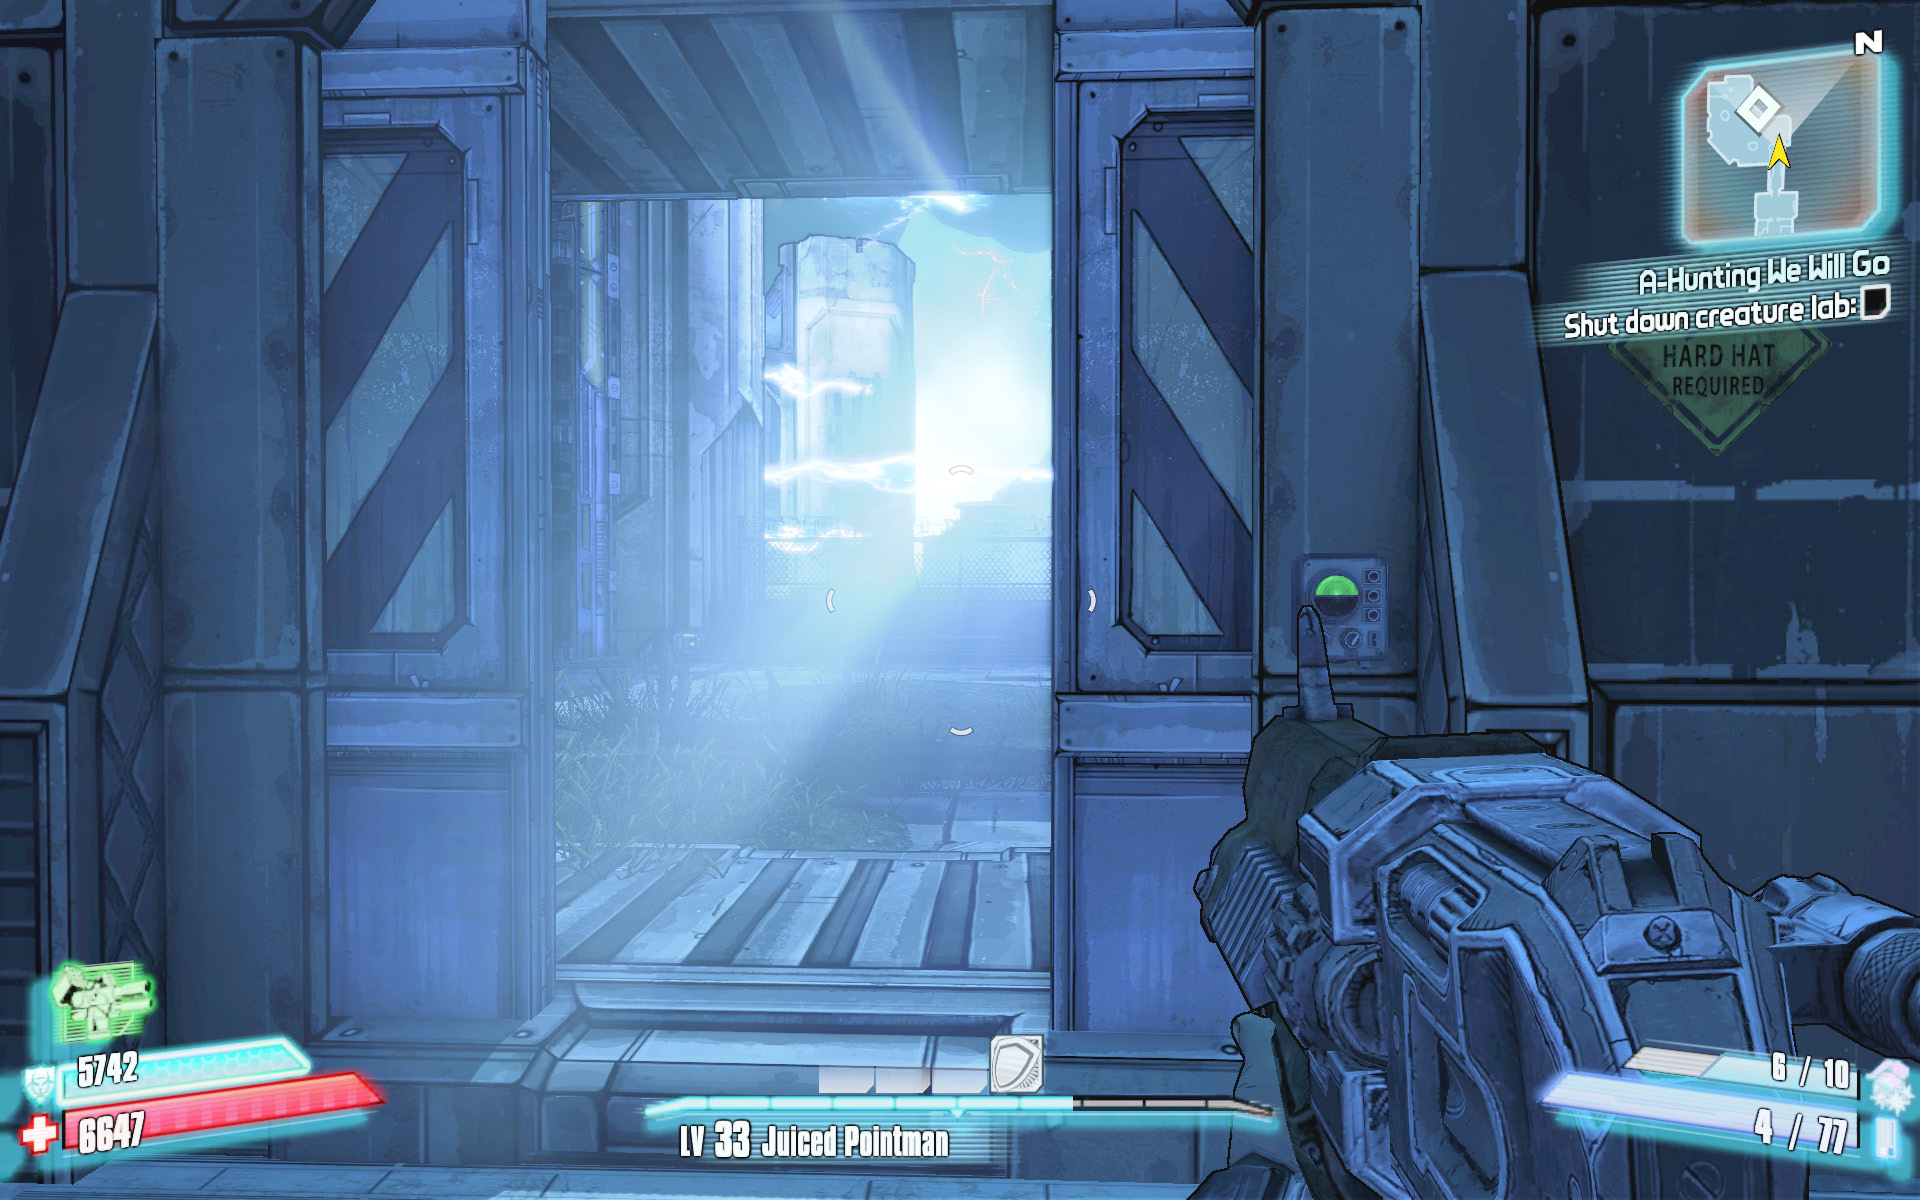
Professor Nakayama’s Infernal Machine awaits.
Head up the stairs to the large rectangular Skin-Chop Chop Shop. Stick close to the entrance, and begin targeting the various barrels throughout the area to soften up the savage warriors and witch doctors here. Use the available cover near the door to snipe any foes near the stairs to the south, then cross the floor of the area and ascend the stairs to the walkway where the safe containing the “emergency backup DNA sample” is located.
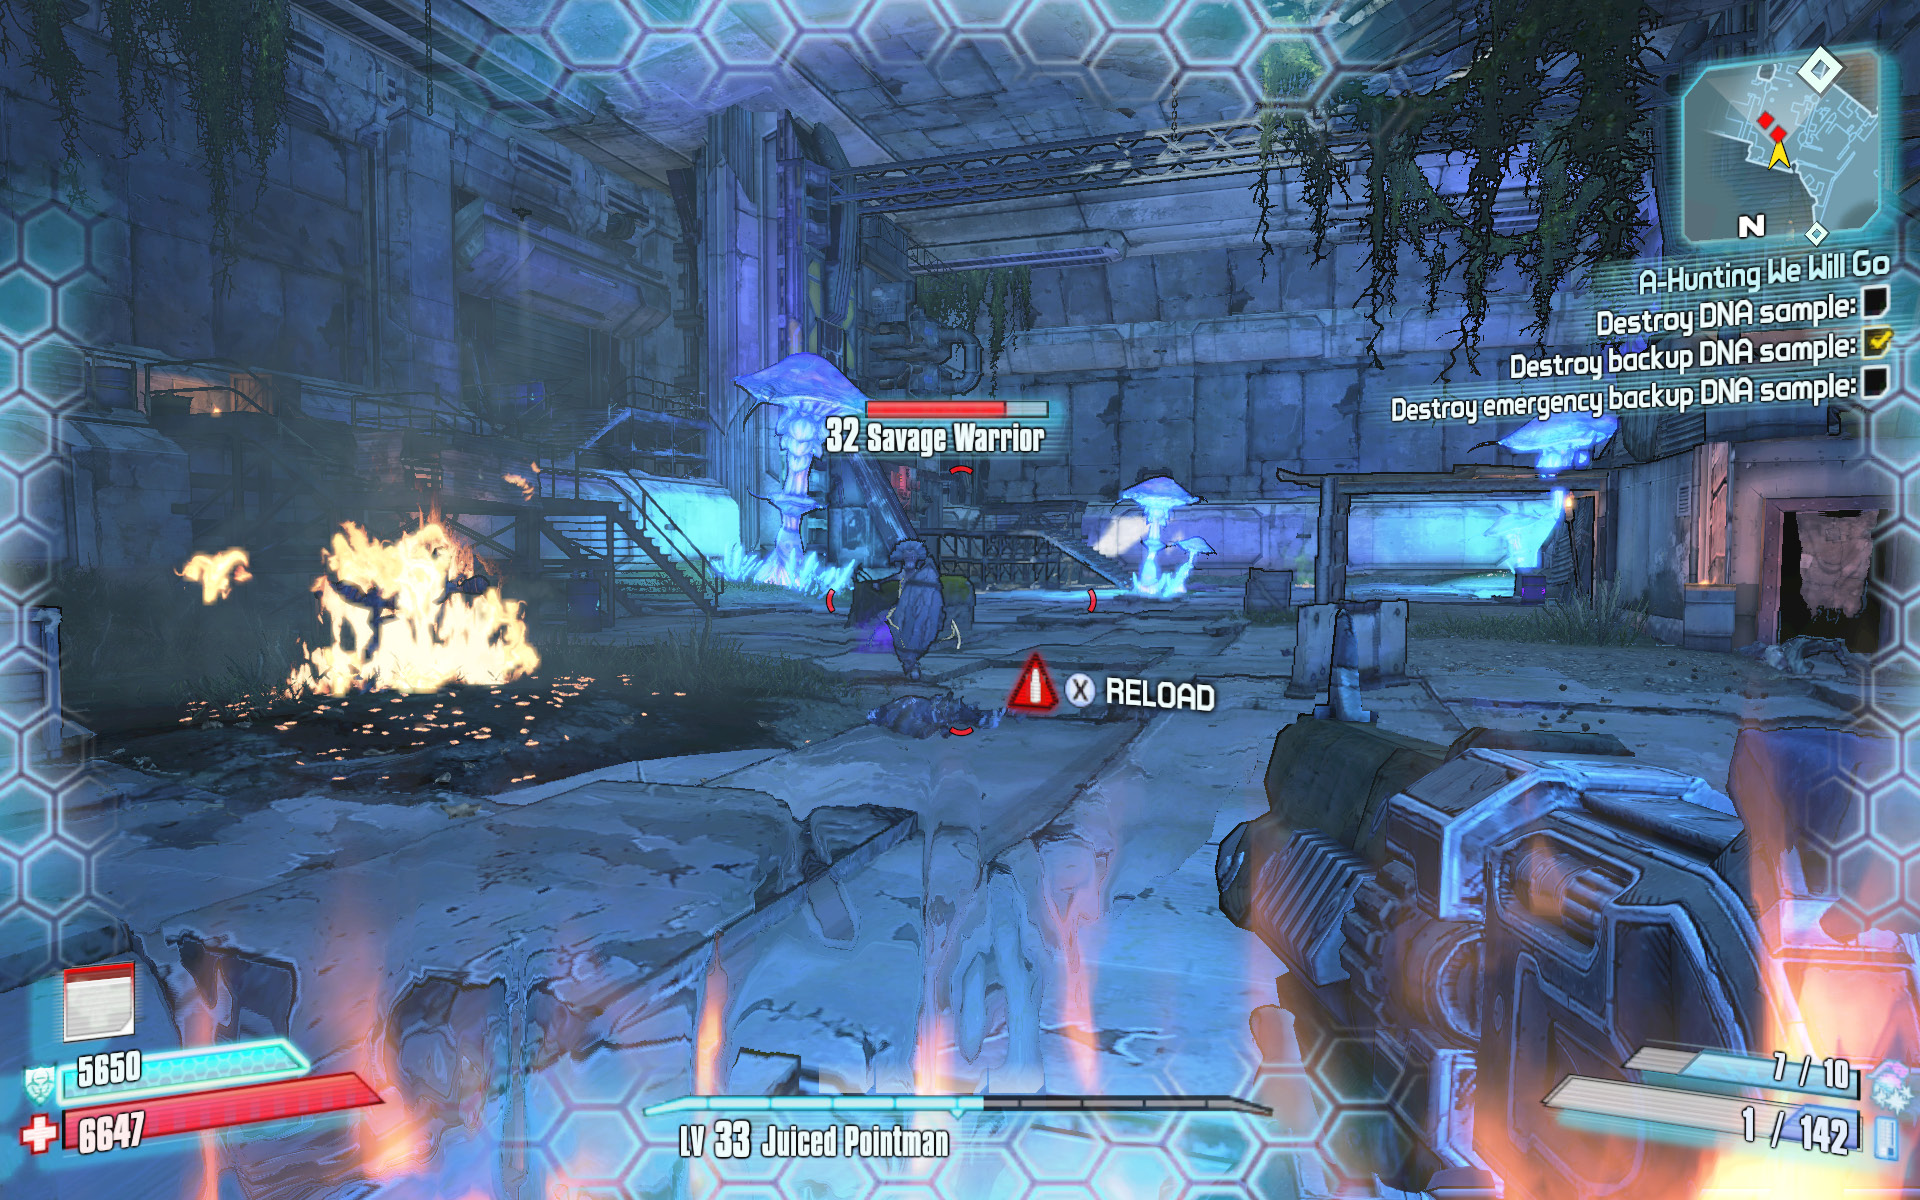
Detonate the barrels, then snipe any remaining enemies across the room.
Ardorton Station
Professor Nakayama’s research station is a sprawling complex not unlike Handsome Jack’s Wildlife Preservation Center. It has its fair share of local savages and man-eating fauna, but one look at the Psycho Surgery and Morgue is all it takes to realize what Professor Nakayama is up to. But enough about that madman. Visitors to this area will find it crawling with many of the rarest species of creatures—Slagged Spores, Pink Boroks, and even Tailless Scaylions. Indeed, it is a prime hunting spot for those in pursuit of the most elusive creatures. And the metal-infused creations of one of the most dangerous…
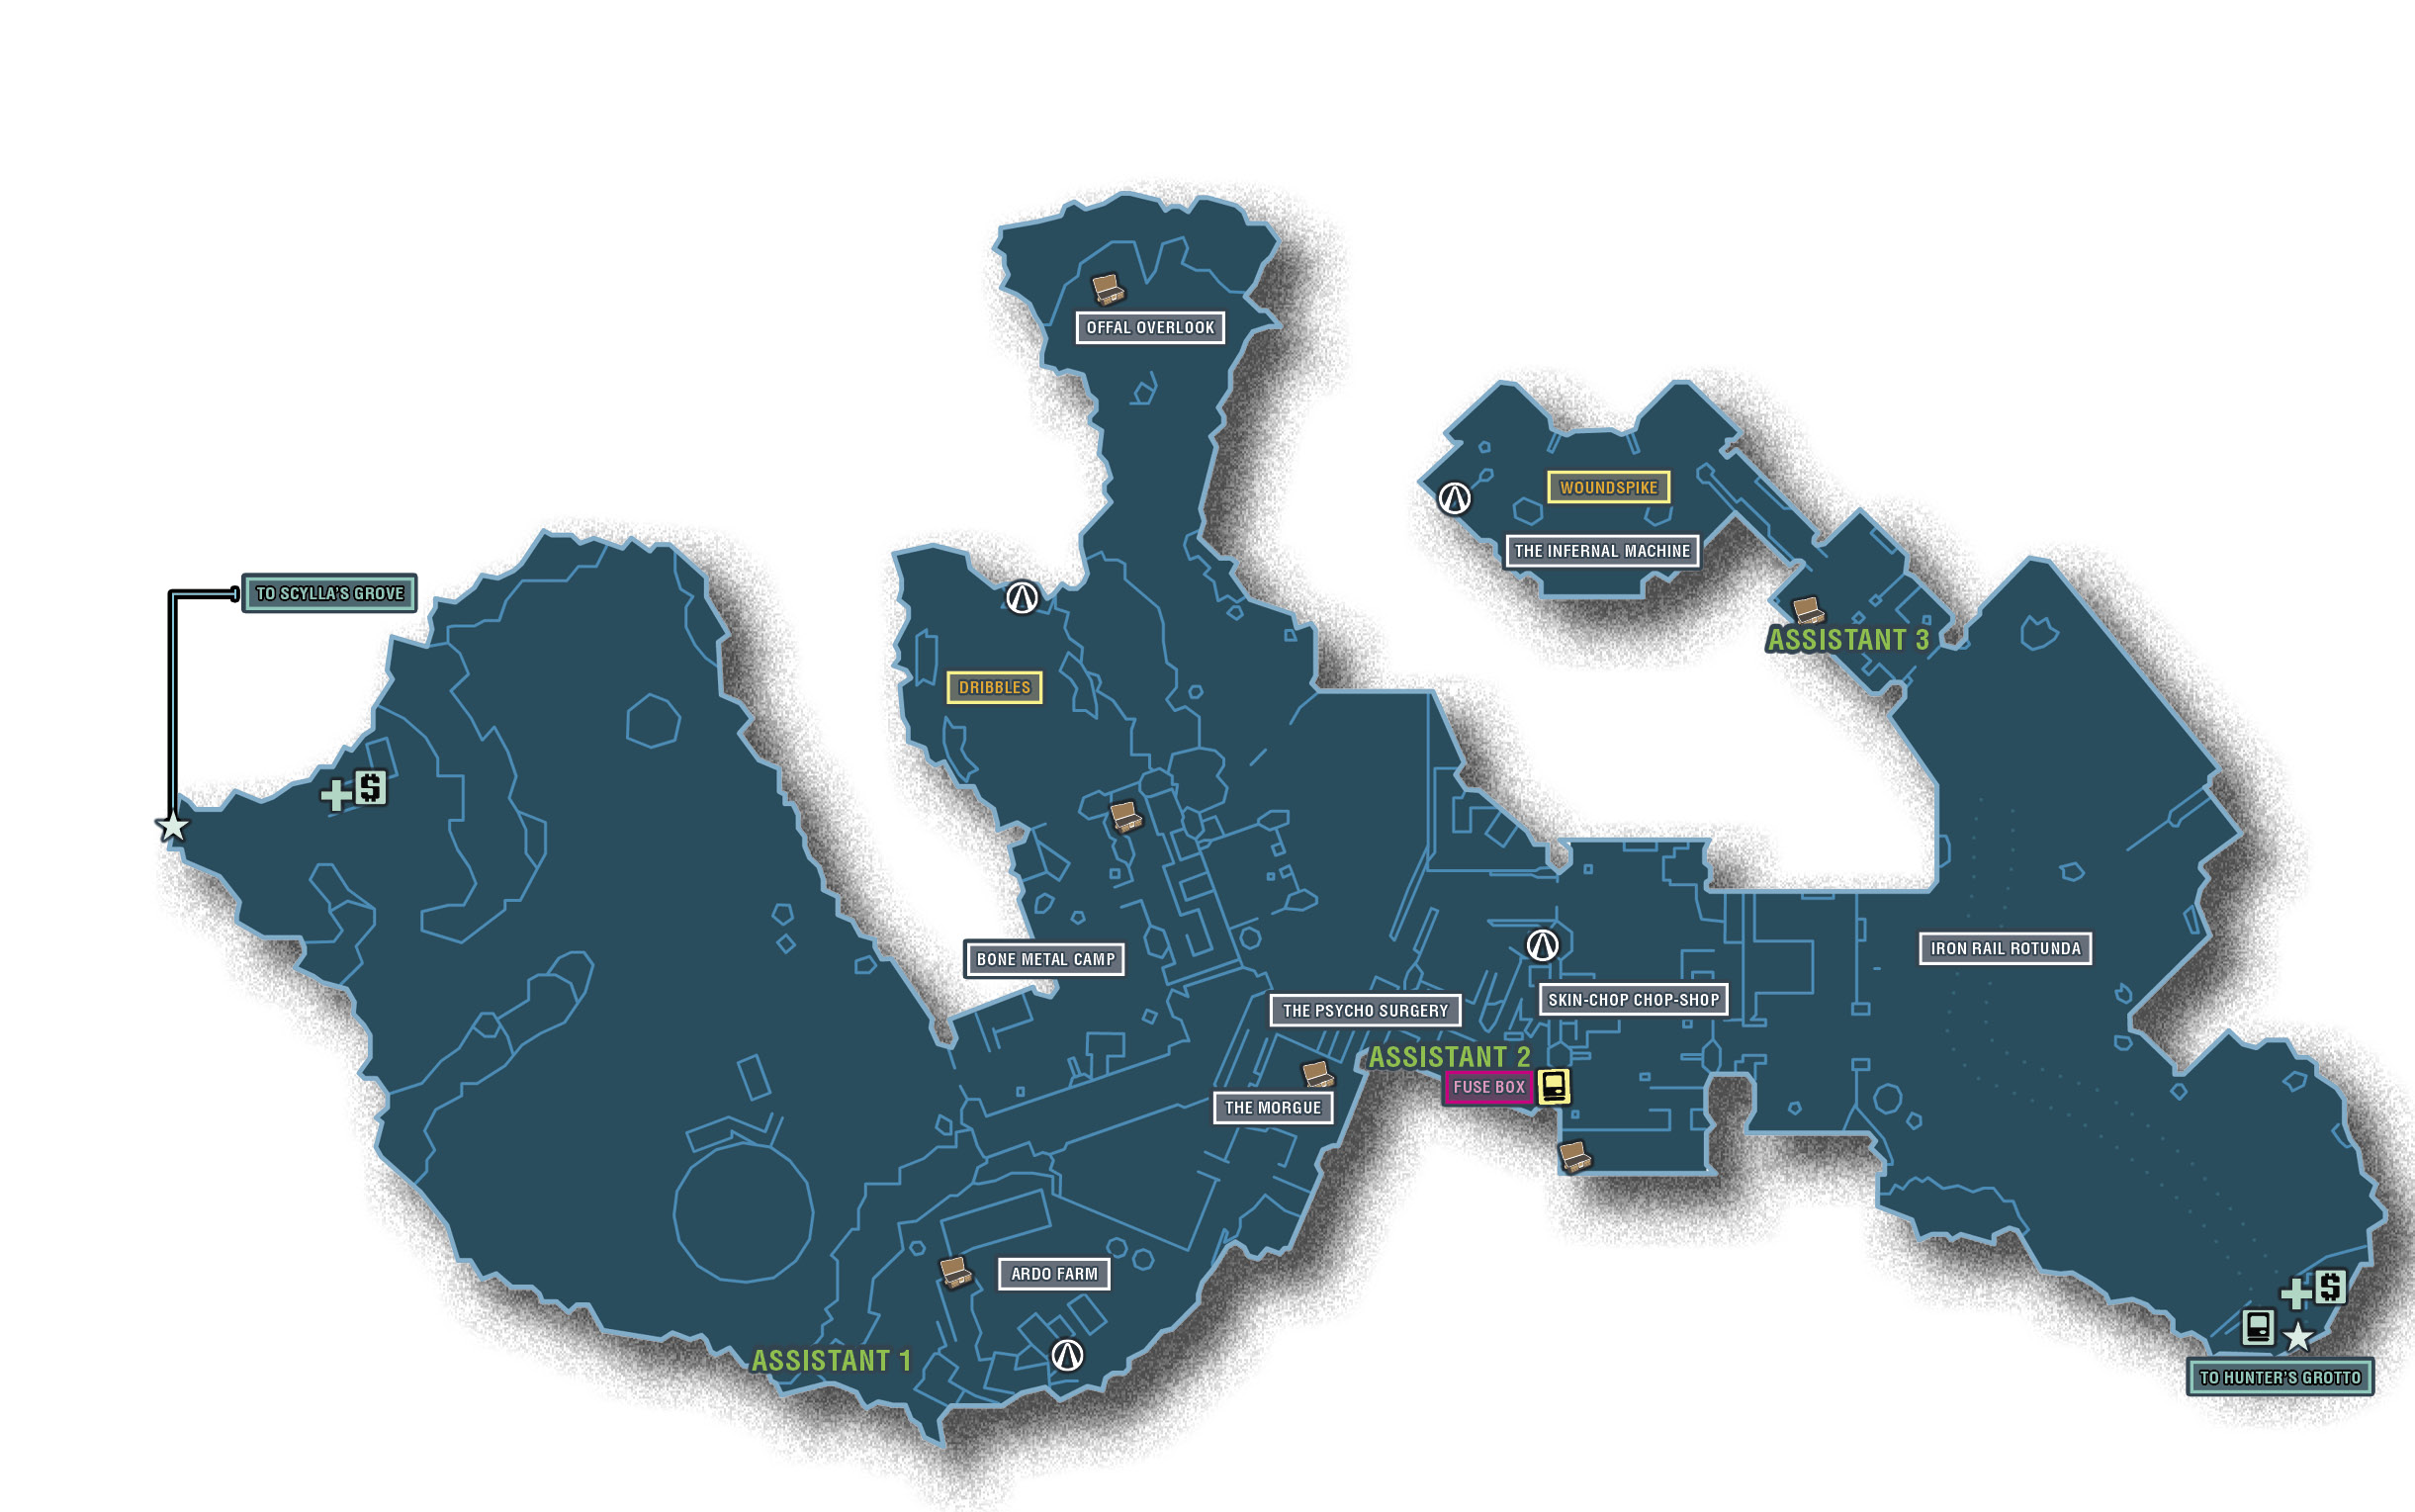
Dangerous Beasts
| Enemy Family |
|---|
|
Boroks |
|
Spores |
|
Witch Doctors |
|
Savages |
|
Scaylions |
High Value Targets
| Enemy | Family |
|---|---|
|
Dribbles |
Skag |
|
Woundspike |
Borok |
 Cult of the Vault
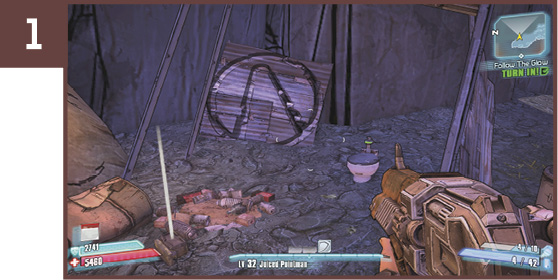
Proceed through the Bone Metal Camp area to the skag den to the north. This is the area where Dribbles is located during the “Follow the Glow” mission. The symbol is near a toilet inside a metal shack on the right.
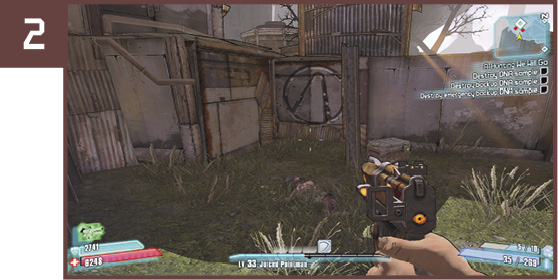
Enter the Ardo Farm area and follow the cliff face on your left to find the next Cult of the Vault symbol behind the shacks.
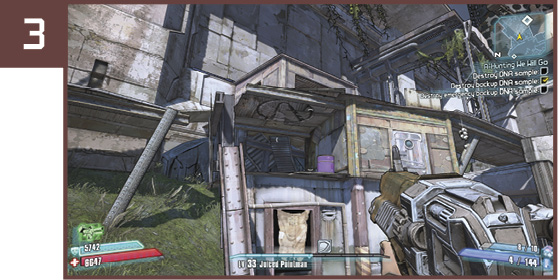
Approach the large staircase leading up to the Skin-Chop Chop Shop, and turn toward the shacks to the right. The Cult of the Vault symbol is on the underside of the roof of the second-level hut. Leap off the metal girders to reach it.
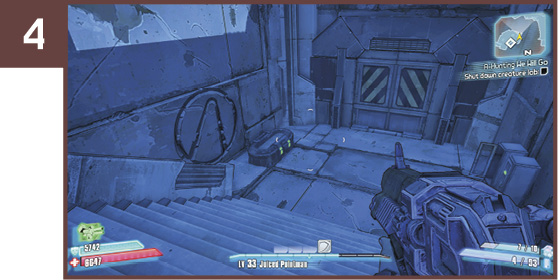
Proceed through the Iron Rail Rotunda to the Infernal Machine area, and explore the back left-hand corner. The symbol is down the stairs, near a weapon chest.
Horrible Assistants
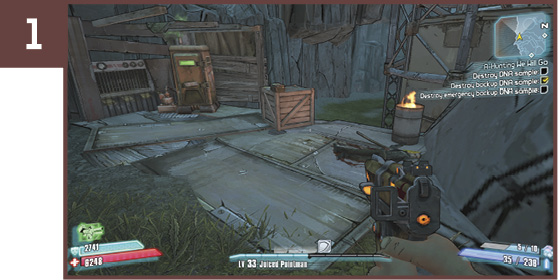
The first of Nakayama’s assistants is on a ledge in the southwest end of Ardo Farm. Nakayama’s assistant is next to an Hyperion outhouse.
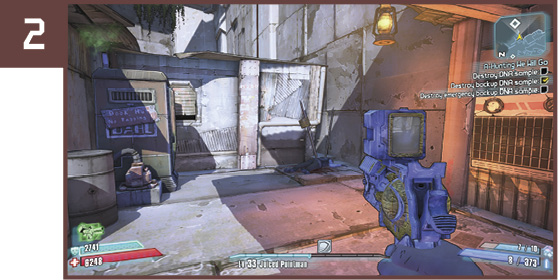
You’ll find this assistant near the “dook hut” outside the Skin-Chop Chop Shop. It’s on the lower level, against the southern wall, beneath the fuse box for the “Power High” challenge.
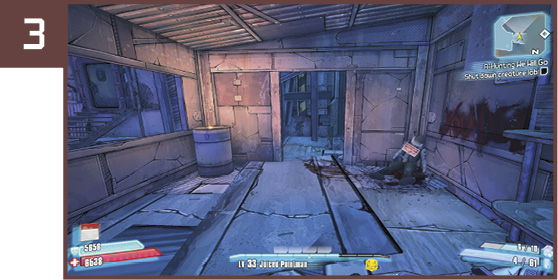
The final assistant is located in a shack up the stairs to the north from the Iron Rail Rotunda. It’s on the south side of the area before you descend the stairs to the Infernal Machine area.
I Promised to Kill You Last
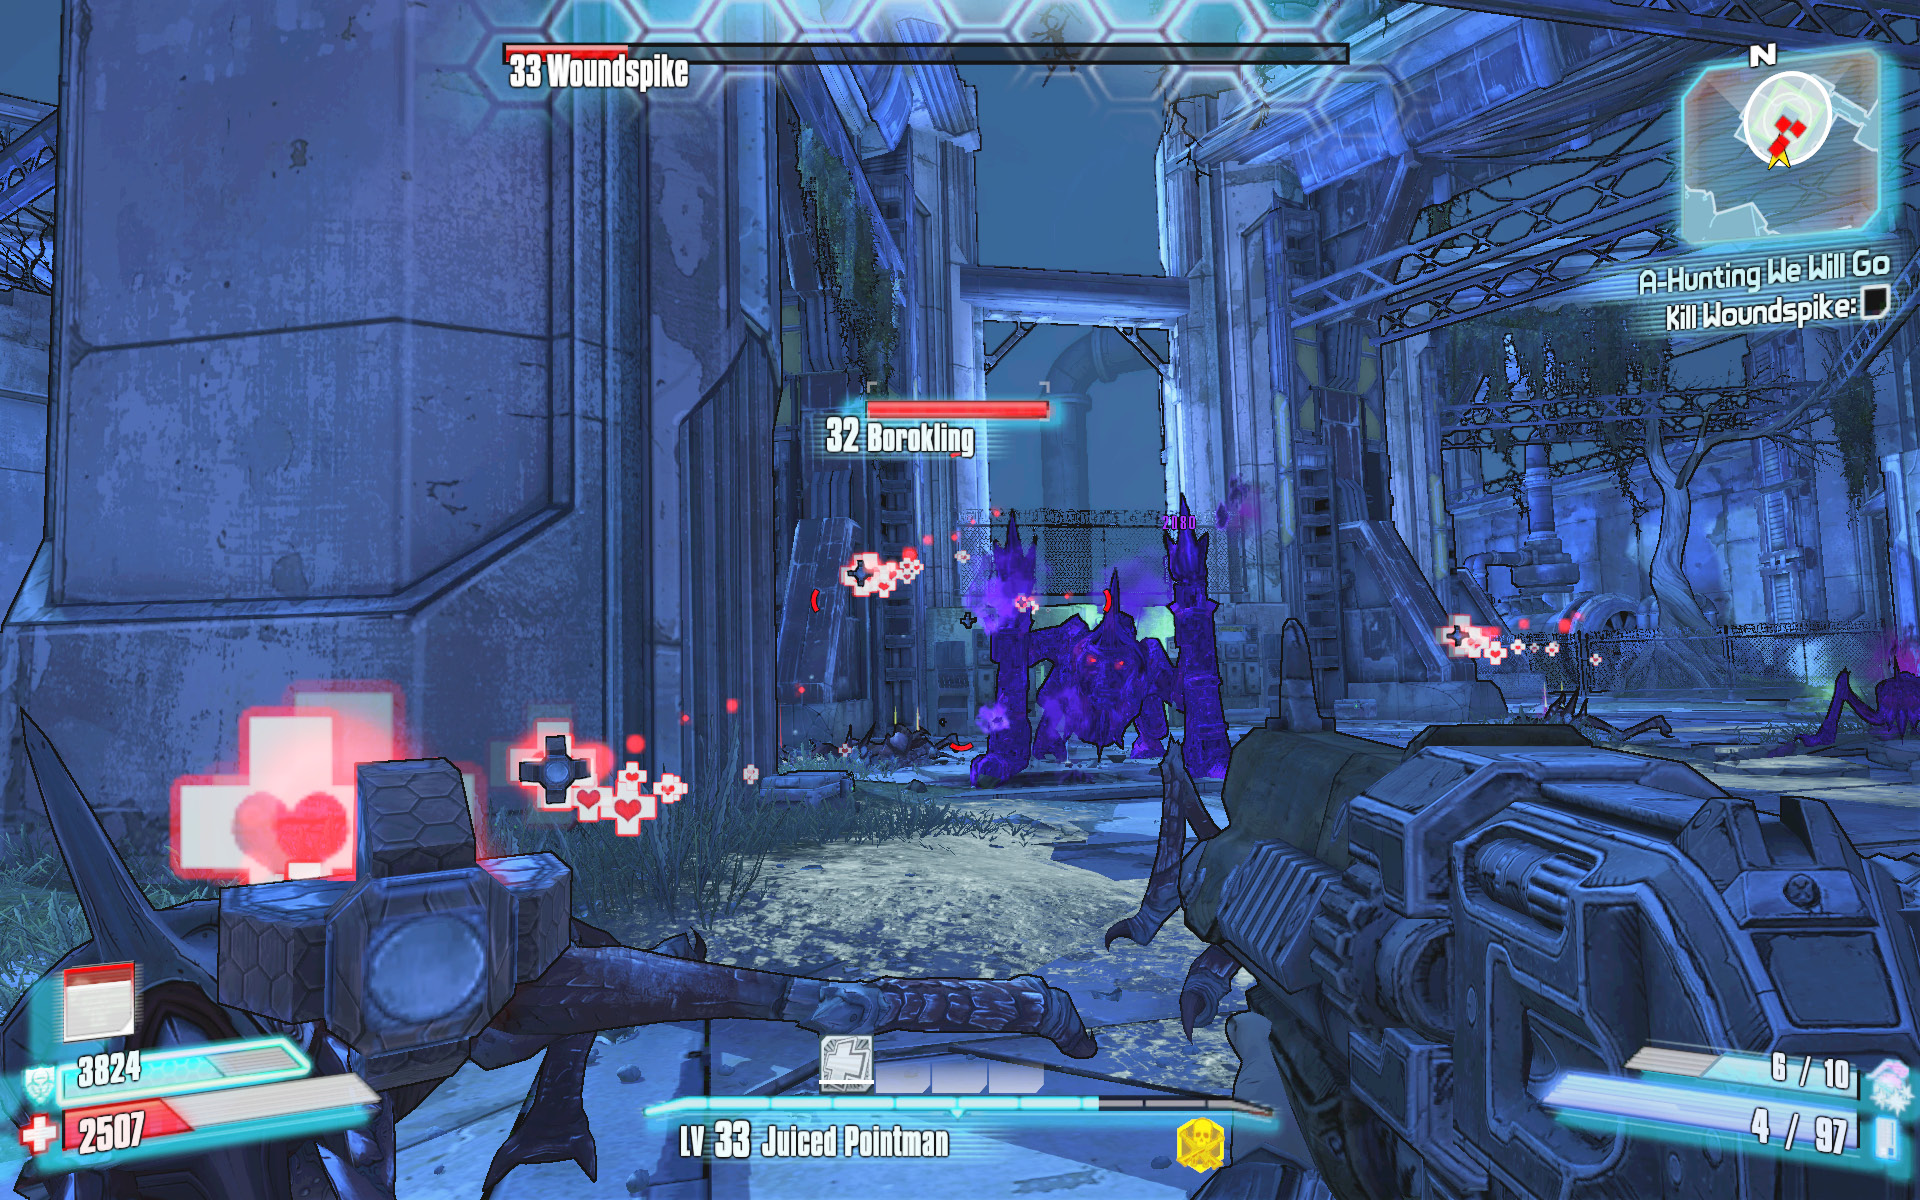
You can only complete this challenge during the battle with Woundspike. Take care to avoid inflicting fatal damage on the rather soft-skinned Woundspike until after you’ve slain all of the Borokling minions in the area. It’s okay to destroy the Hyperion Turret on Woundspike’s back, but don’t shoot his body until he’s the only remaining red blip on the mini-map.
Power High
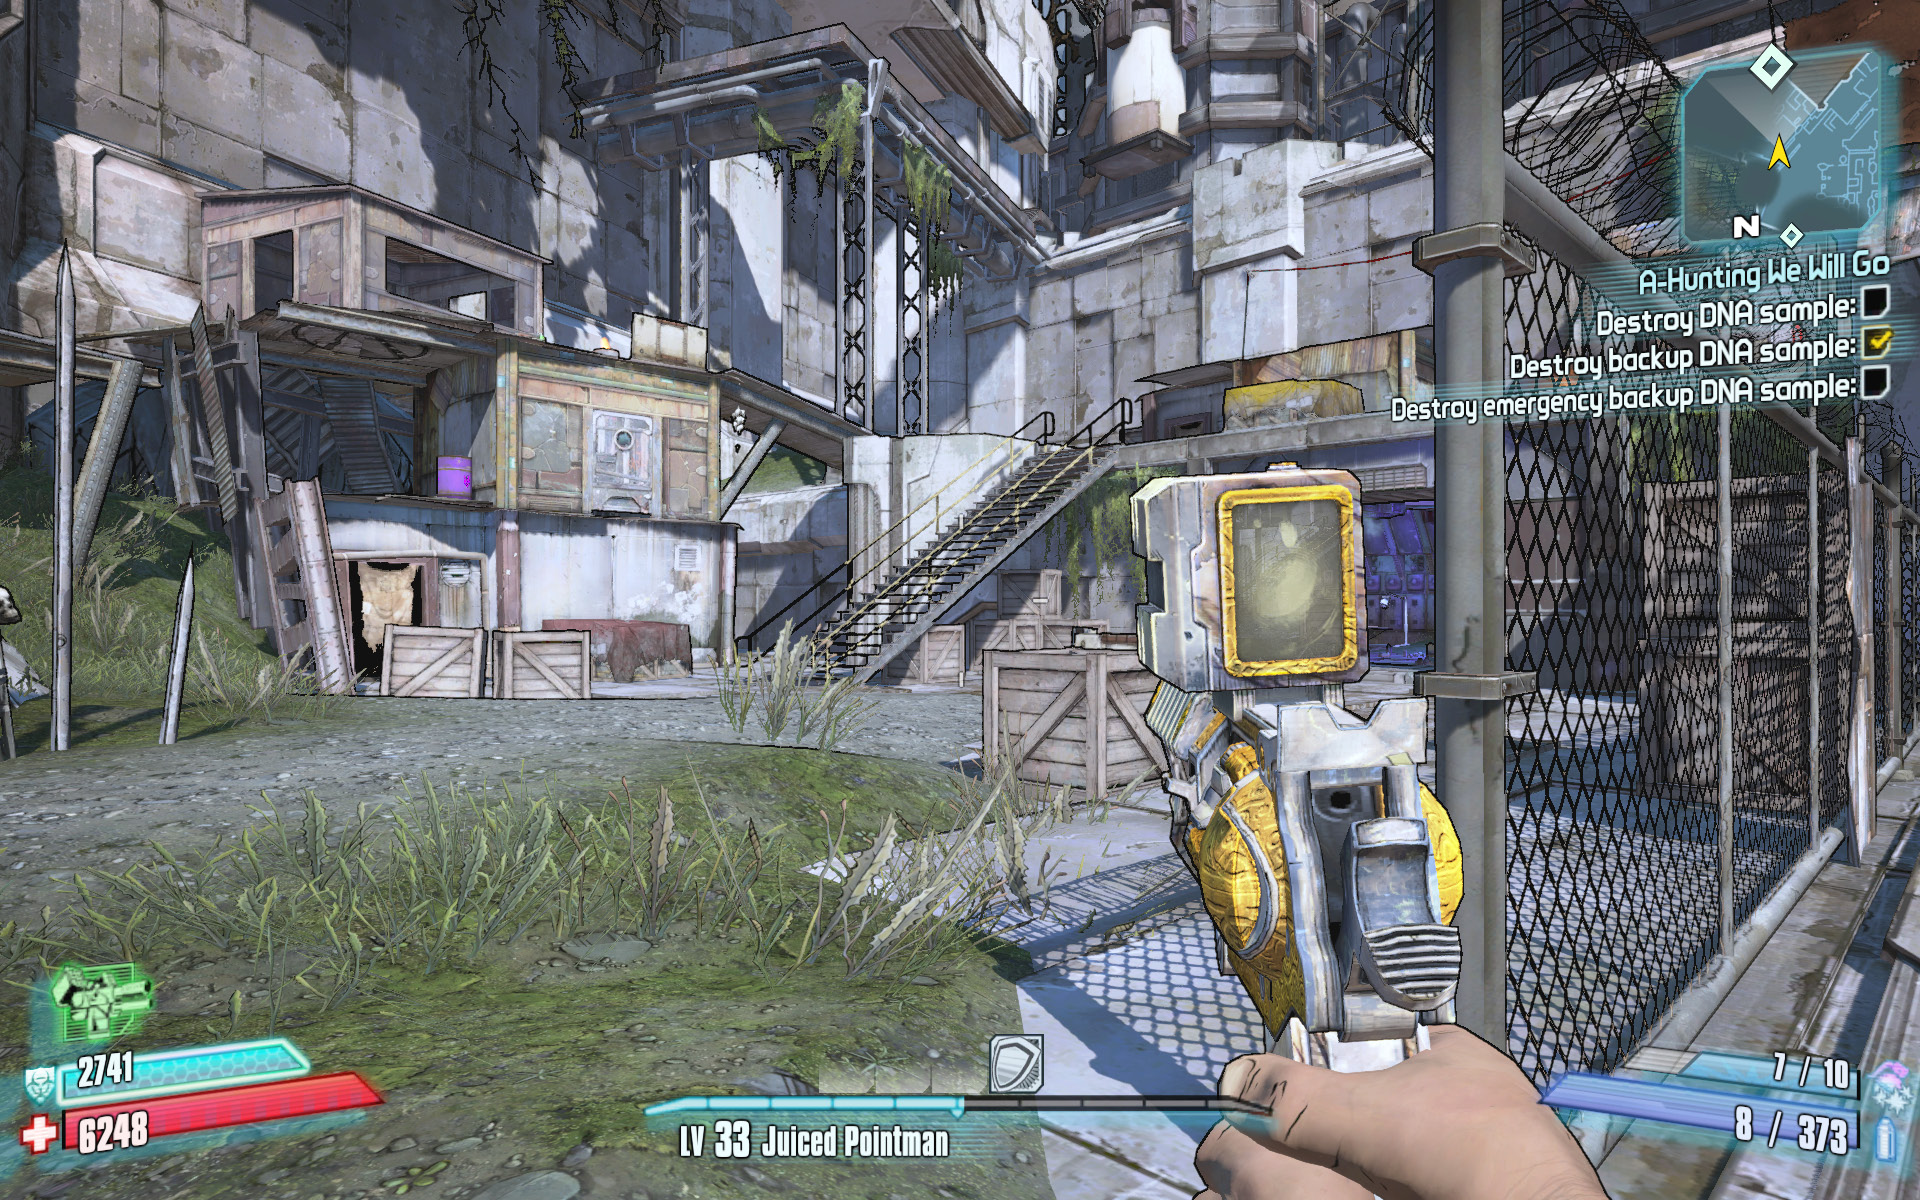
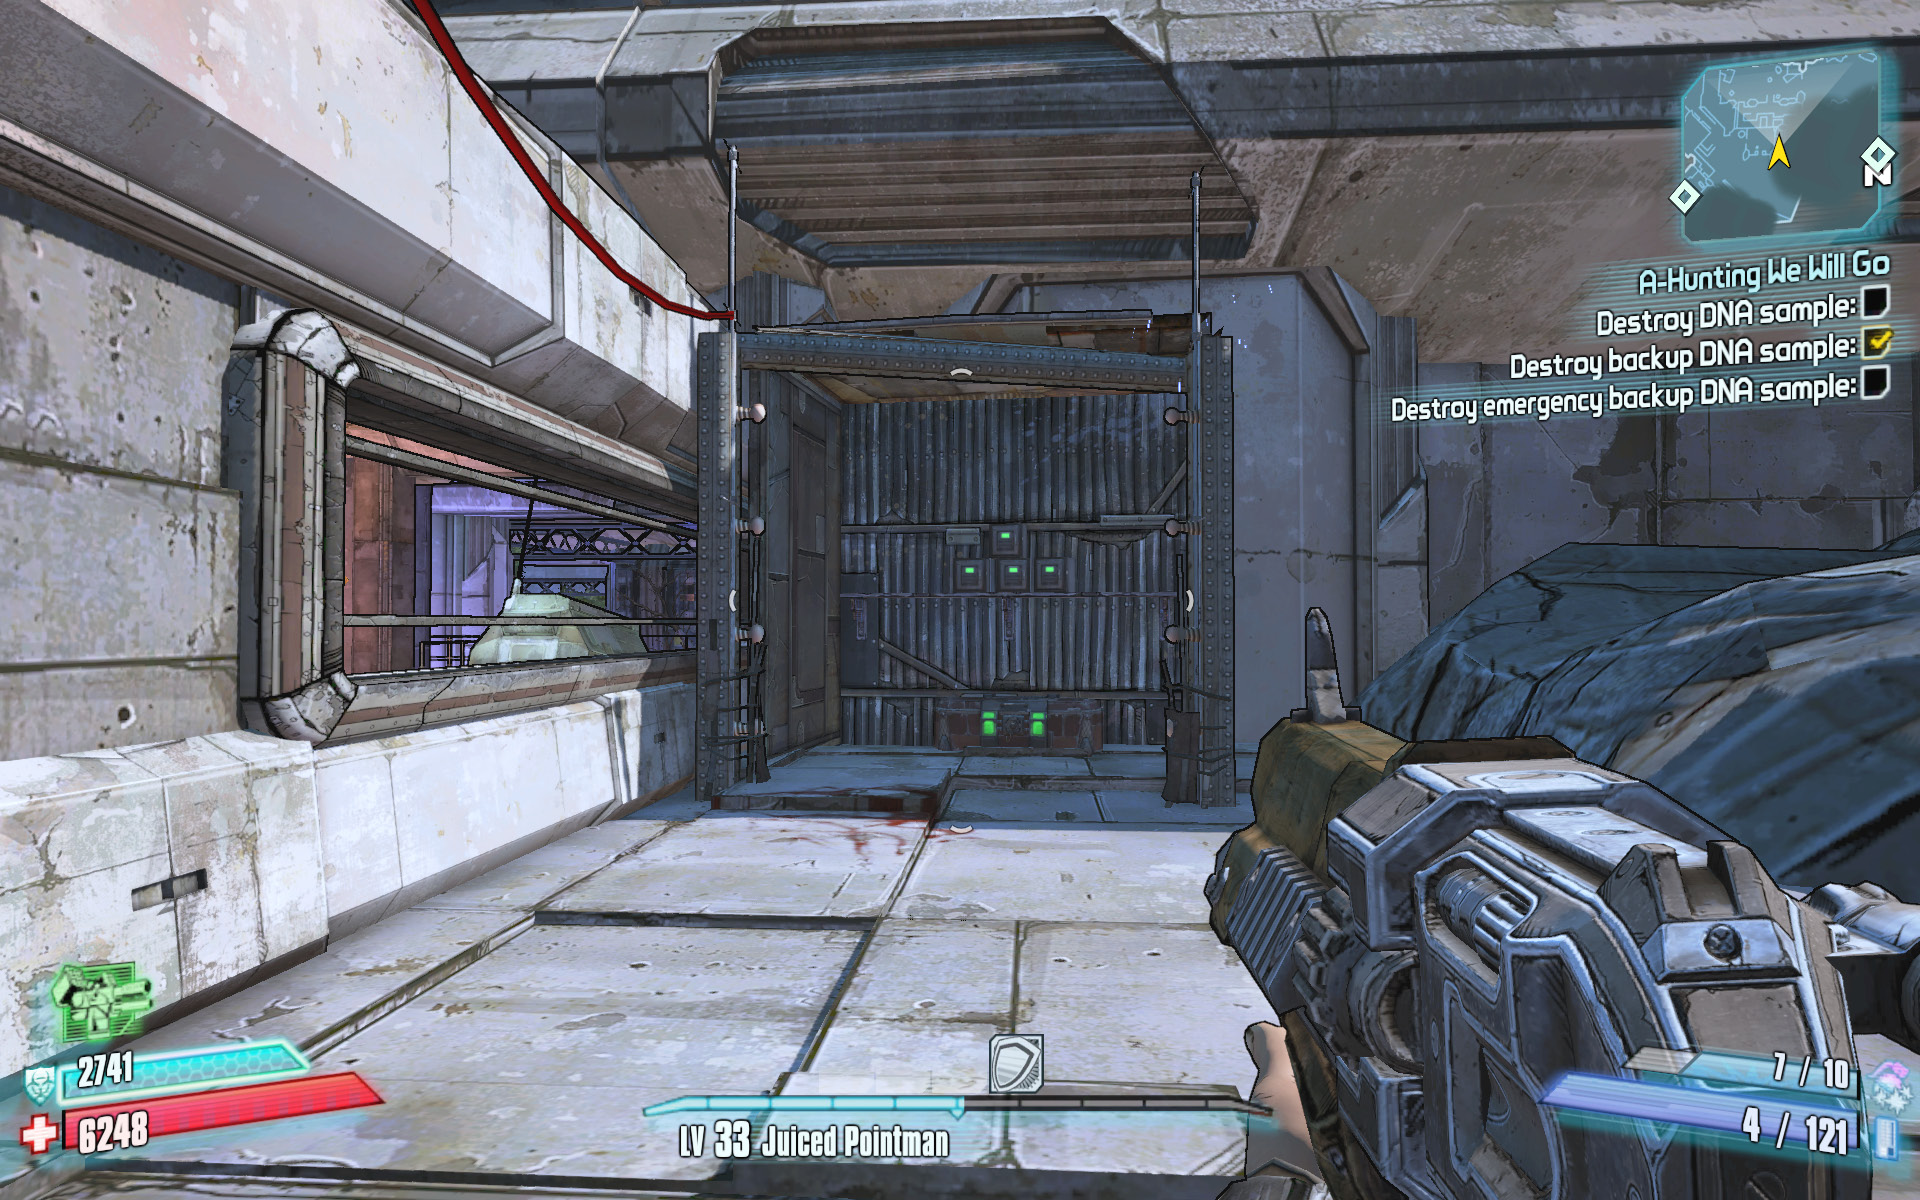
You’ll likely hear the crackling electric forcefield as you make your way through Bone Metal Camp. To get the treasure chest inside, you must first find the electrical switch. Follow the red wire in a southeasterly direction to locate the electrical fuse box atop the stairs near Psycho Surgery, on the upper level outside. Skirt past Bone Metal Camp to access the chest in the compartment just north of it. The secret area is directly outside the louvered window near the New-U Station in Bone Metal Camp.
Woundspike
Woundspike’s Vitals
| Health Multiplier | Shield Level | Damage Multiplier | XP Value | Critical Areas | Weakness/Resistance |
|---|---|---|---|---|---|
|
12 |
1 |
1.6 |
Badass |
— |
|
 /—
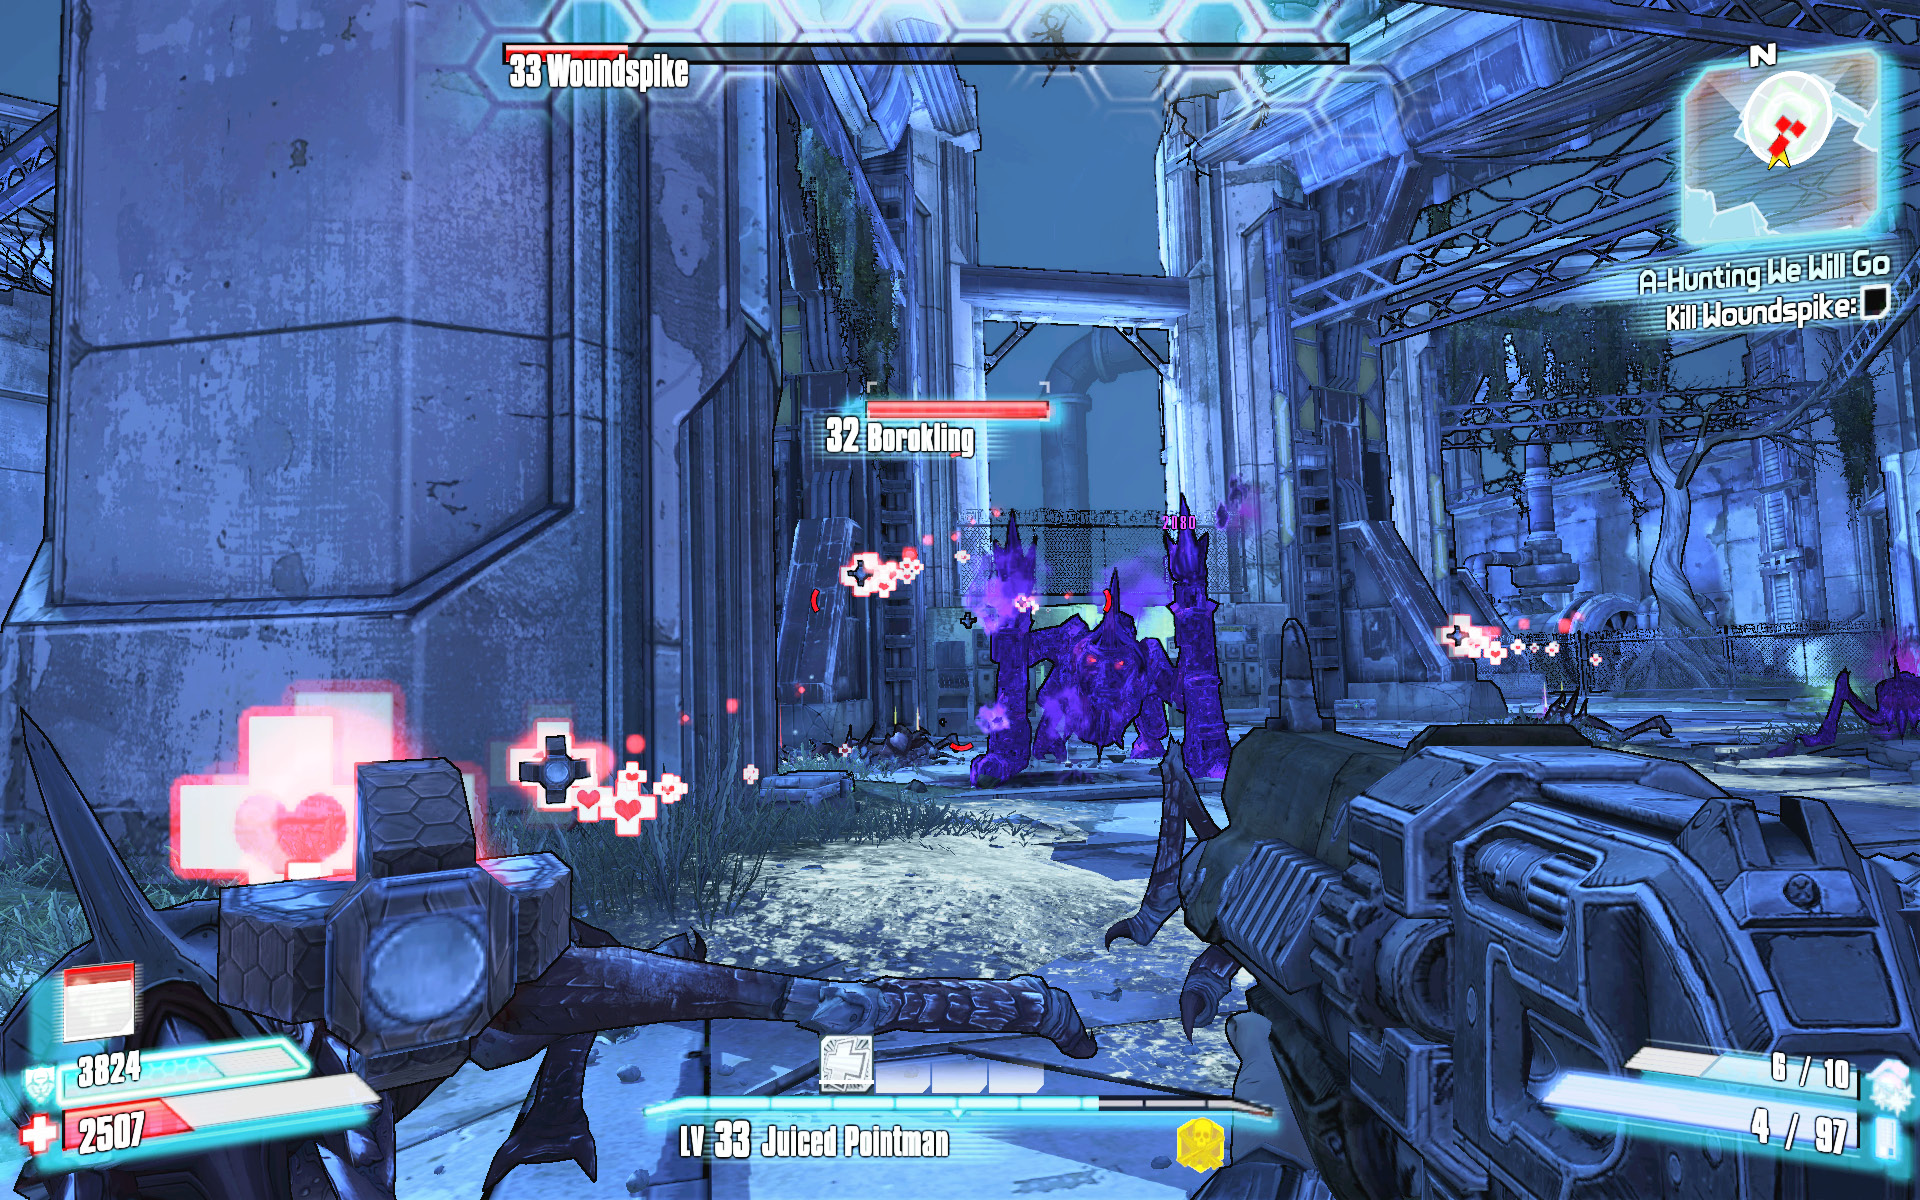
/—Professor Nakayama has no choice but to release several Boroklings and his prized beast, Woundspike. Woundspike is a large borok that seemingly has Handsome Jack’s face grafted onto it. What sets Woundspike apart from an ordinary Armored Borok is that it has a Hyperion Turret strapped to its rear. Target this turret first (it has its own life bar) to significantly reduce Woundspike’s offensive capabilities. Ignore the Boroklings as best you can, unless you need a Second Wind. Of course, those wanting to complete the “I Promised to Kill You Last” challenge should destroy all of the Boroklings before killing Woundspike.
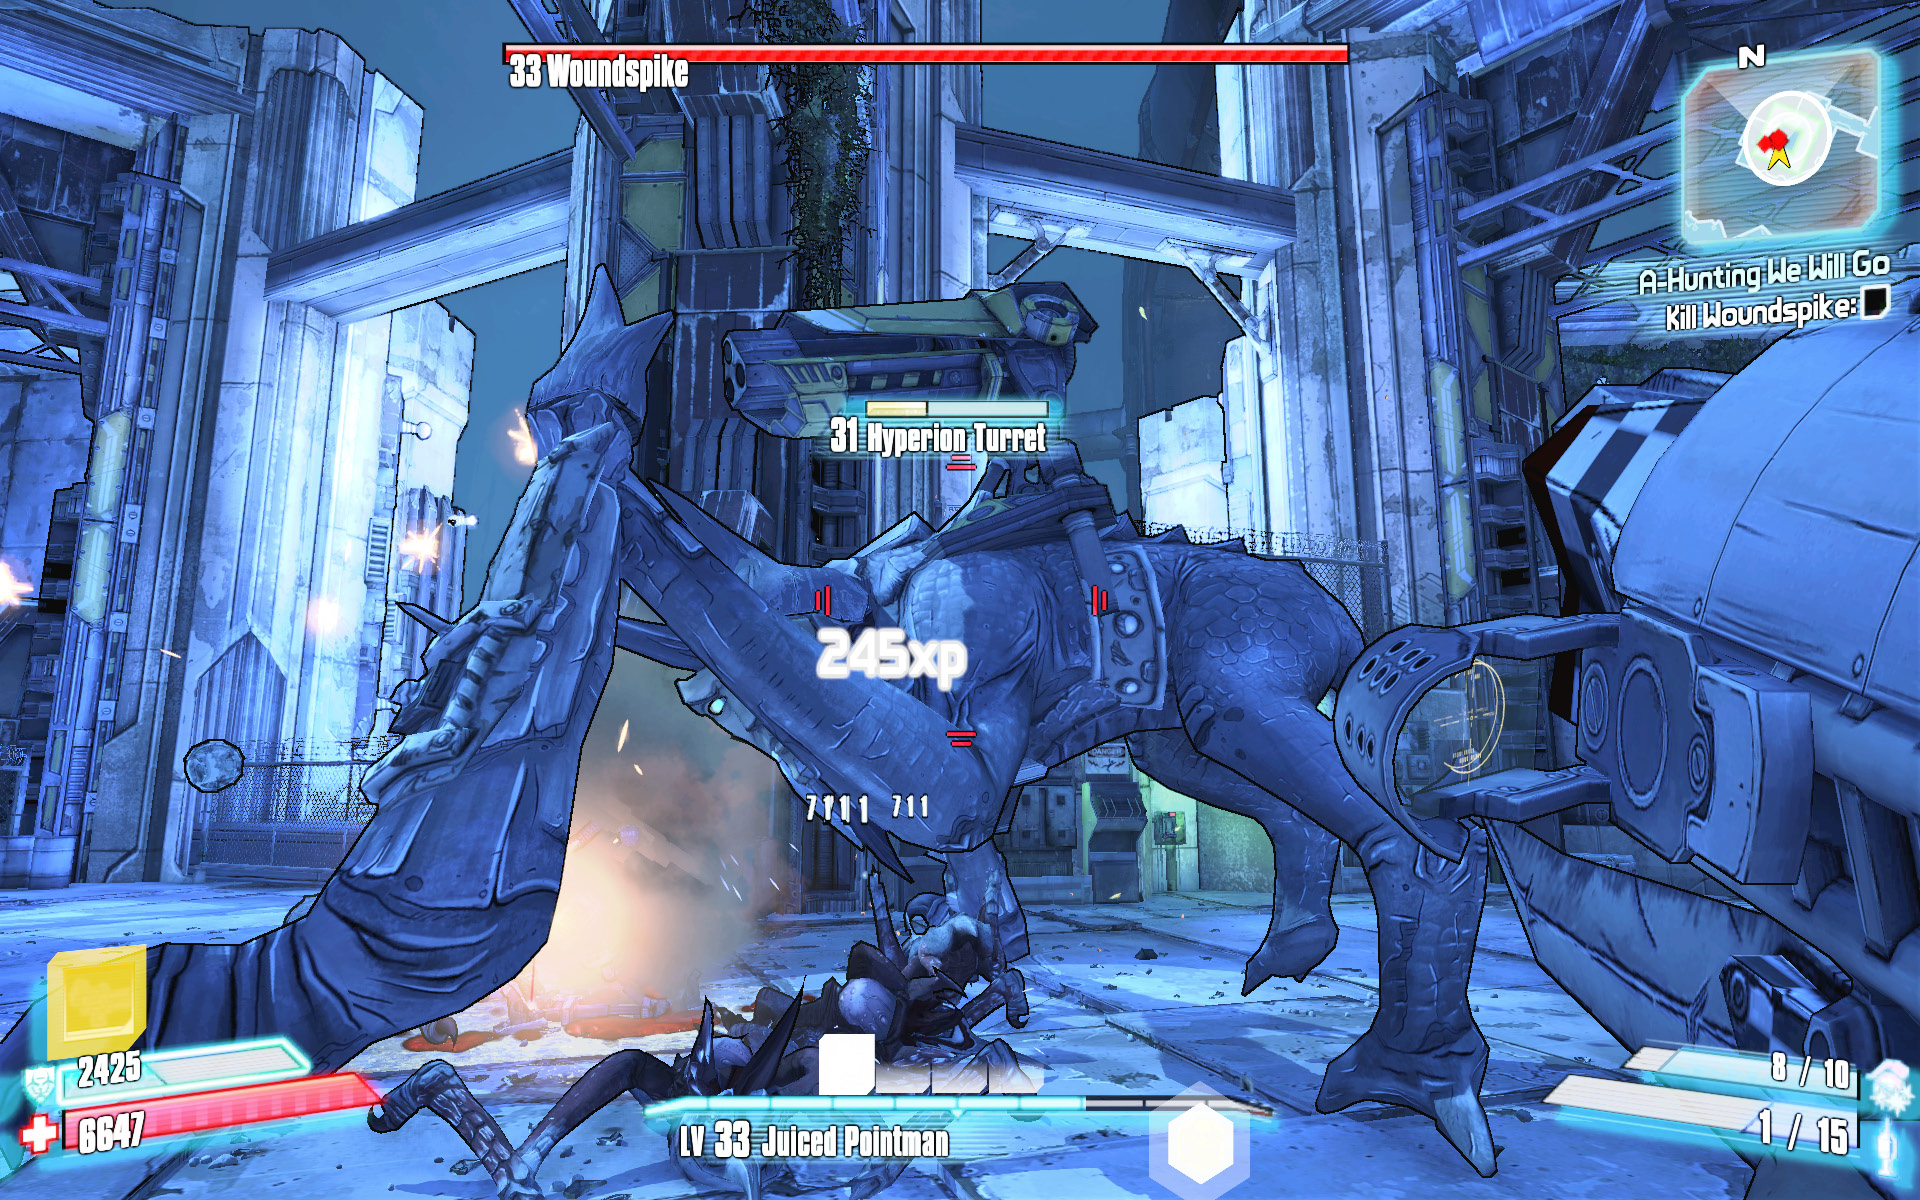
Woundspike doesn’t have a shield, and without its Hyperion Turret, it is far easier to kill than Professor Nakayama realized, a fact that terrorizes the mad scientist. Open fire on Woundspike with any weapon you have while continuing to lob grenades at it. Despite its size—and ugliness—Woundspike is a complete pushover and can be slain with relative ease, especially with transfusion grenades that help offset the bites and scratches you’ll suffer from the Boroklings swarming around.
Return to the Iron Rail Rotunda, and follow the concrete path southward to the vending machines and Fast Travel station. Exit the area through the gate to Hunter’s Grotto, where you ultimately emerge atop an otherwise unreachable highway overpass. Leap down, and return to Sir Hammerlock in the lodge.
An Acquired Taste
Lure out the hungry borok, and defeat it.
Optional Mission Rewards
| Level | Money | XP | Gear |
|---|---|---|---|
|
30 |
$1348 |
7890 |
— |
*Money and XP may vary based on player’s level at start of mission.
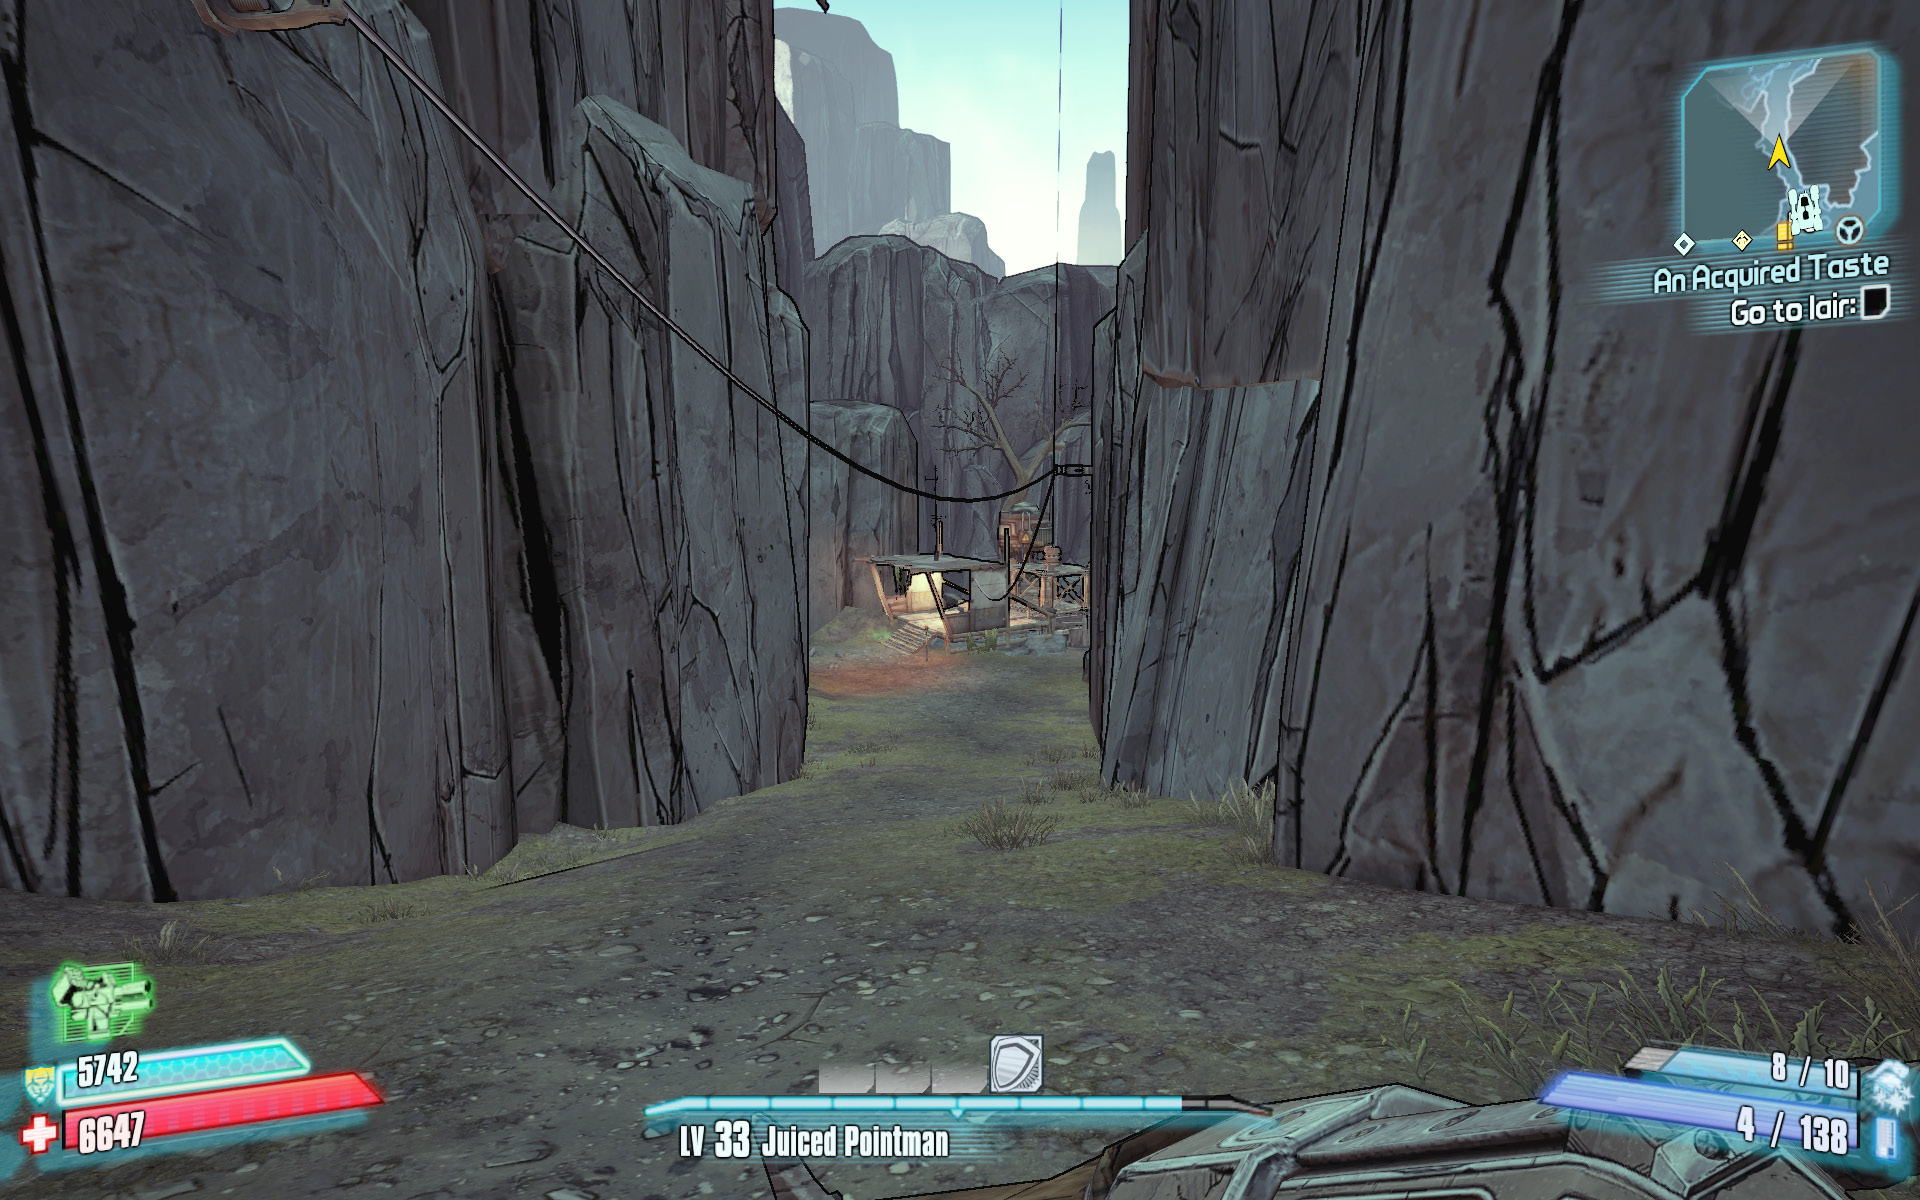
The hungry borok lies to the southeast of the Aegrus Sophisticates’ Lodge, but accessing it isn’t as straightforward as you might believe, since the borok resides atop a plateau high above the grotto. To reach it, you must use the elevator south of the lodge. Pull the lever near the Catch-a-Boat station due south of the lodge to lower the gate and access a narrow path in the mountain. This leads to the elevator. Ride the elevator to the top of the concrete structure and head northeast, across the plateau, to the village in the distance.
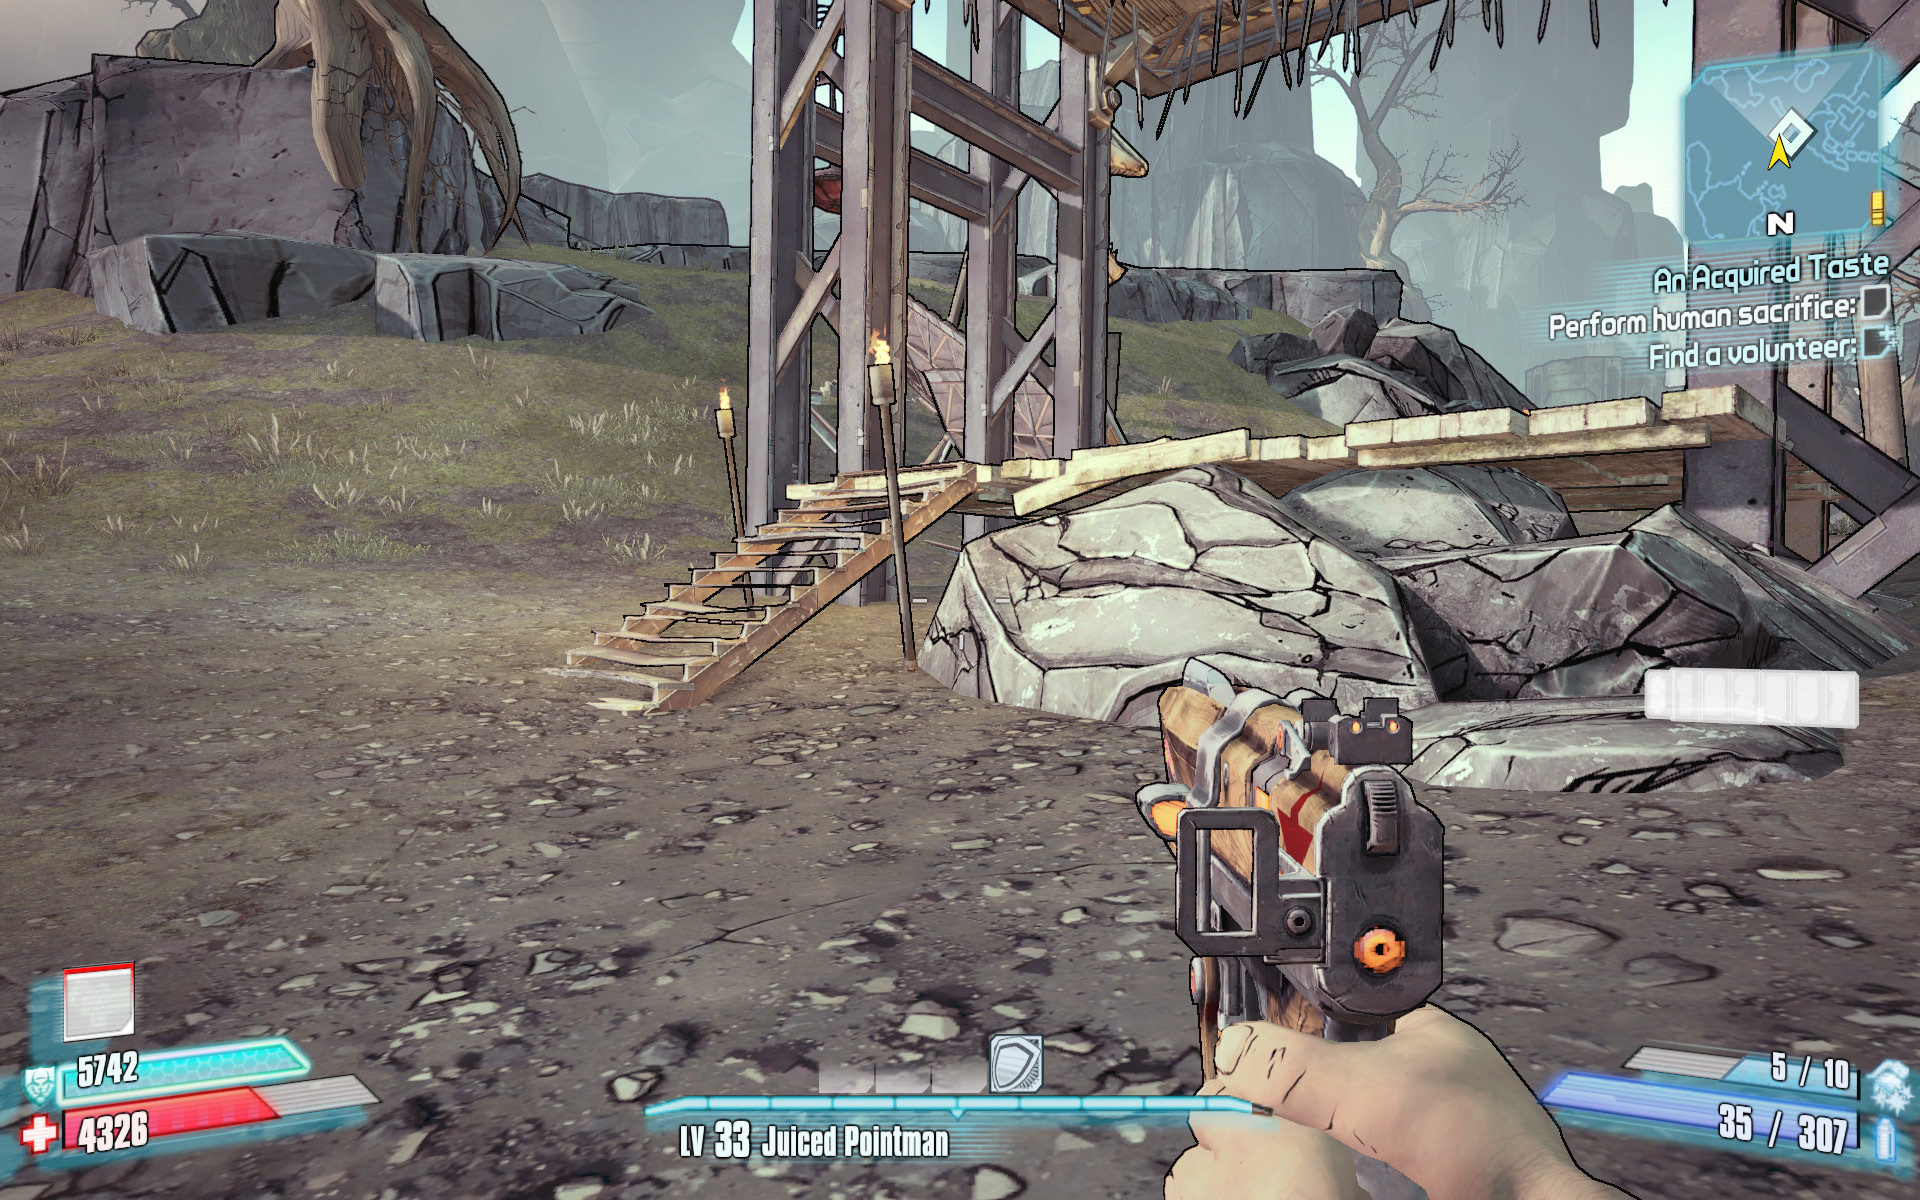
The hungry borok resides in the cave, with its large fangs protruding from the ground. The only way to lure it out is to put the smell of blood into the air via the crushing device set up in front of the cave. You can lure the savages into the trap and pull the lever from outside the structure to harm them, or you can pull the lever with yourself in the trap. Doing so instantly downs you, but there are enough savages and Boroklings nearby that you should have little trouble getting a Second Wind, provided you have a rocket launcher on hand.
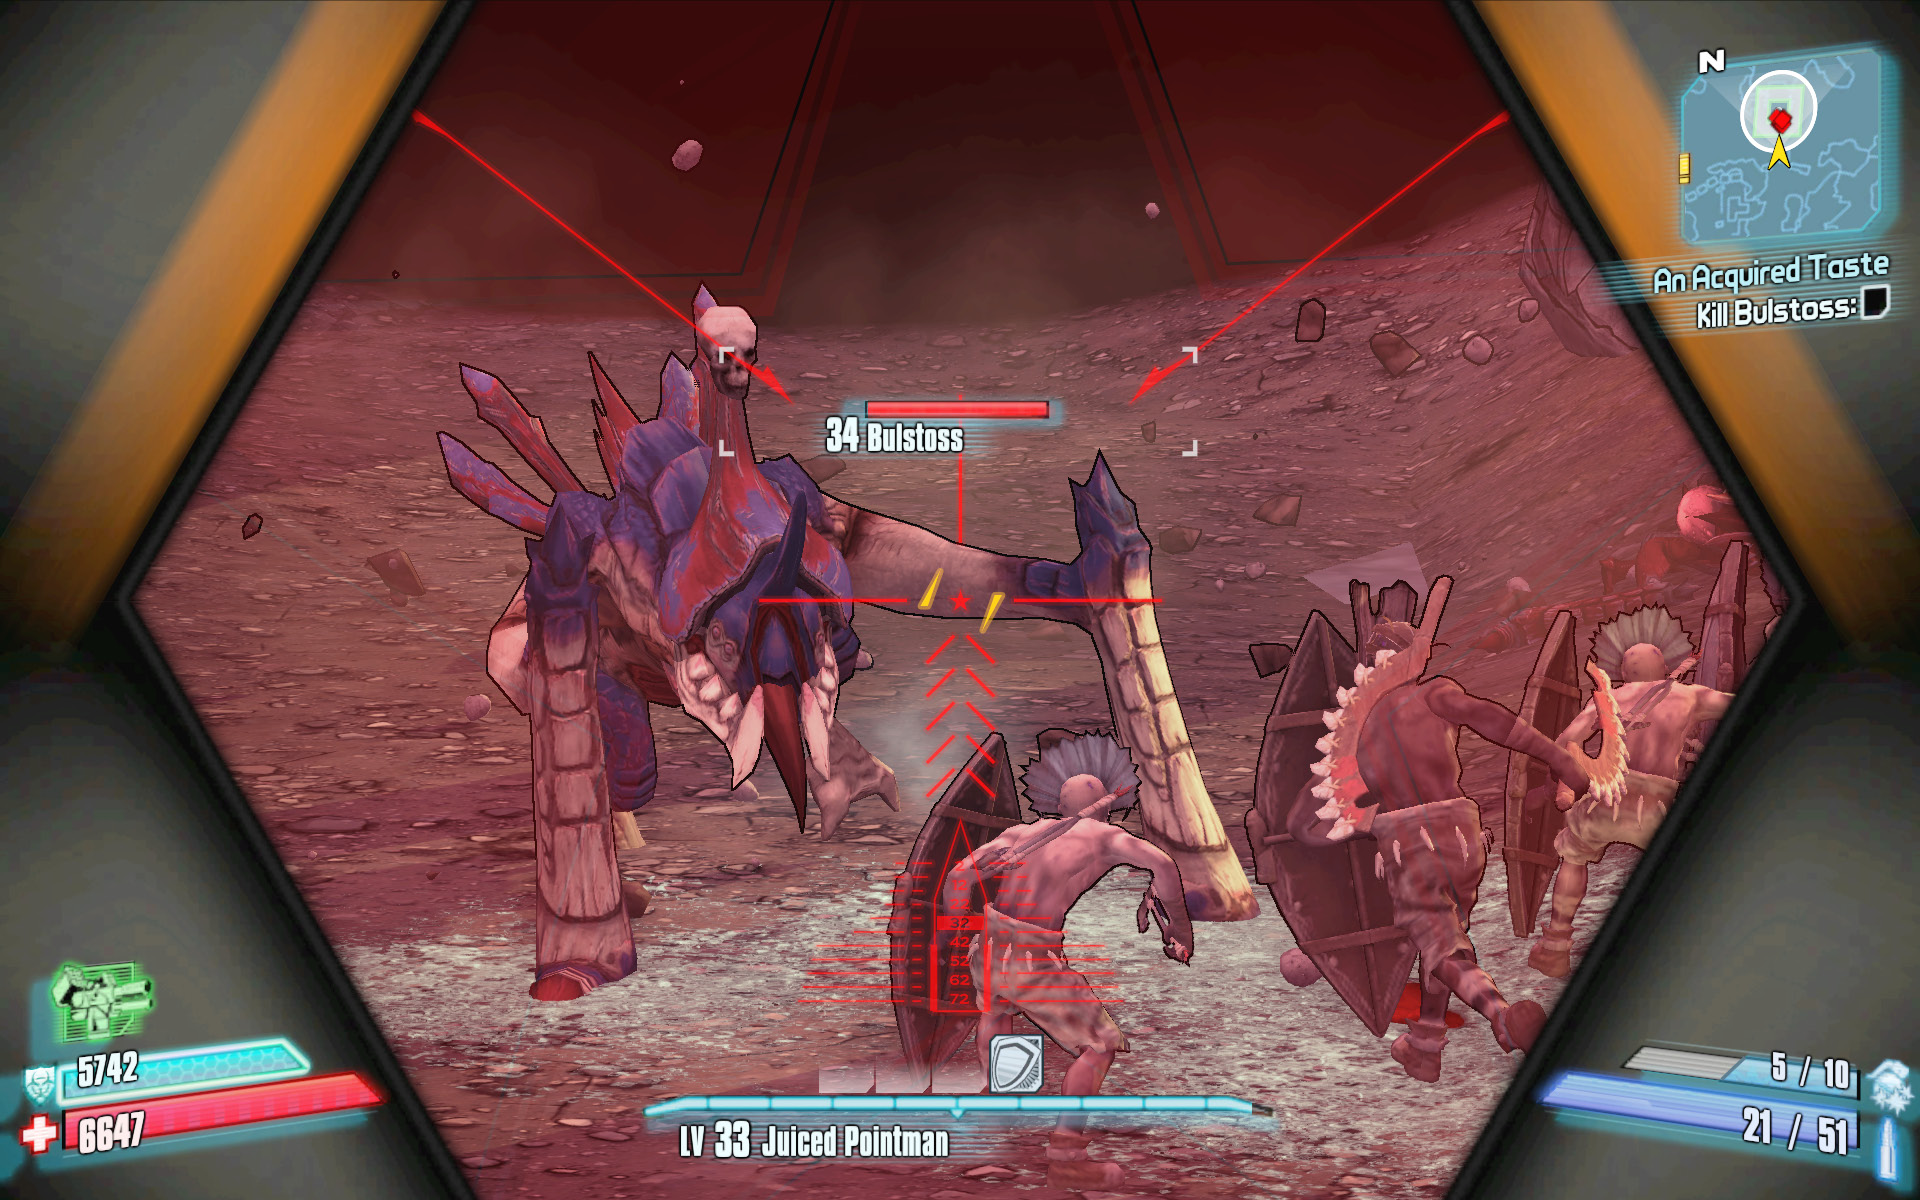
Bulstoss is a powerful borok that is both feared and worshipped by the savages of the area. Its appearance draws many savage warriors and Badass Savages into combat, as they attempt to chase it back to its den. Fortunately for you, these other savages distract Bulstoss, allowing you to sit back and snipe at the beast from afar. Bulstoss periodically spits up Partially Digested Head Hunters, which serve as his minions. Ignore the Partially Digested Head Hunters while you continue to ignite Bulstoss with incendiary weapons, as Bulstoss is susceptible to fire attacks. Bulstoss attacks with its claws and powerful ground-pound attack, but it likely leaves you alone, provided there are other savages in the area.
Palling Around
Kill the bulletproof bullymong.
Optional Mission Rewards
| Level | Money | XP | Gear |
|---|---|---|---|
|
33 |
$1894 |
9341 |
Shotgun (green) |
*Money and XP may vary based on player’s level at start of mission.
Exit the lodge and climb aboard a fan boat for the ride out to the open water to the east. Follow the coastline to the southeast, toward the fence of tusks rising from the ground. The bullymong lair is up the hill behind this porous barrier. Take a few moments to kill the Bedrock Bullymongs that emerge from the wall sphincters, but try to leave the Bedrock Monglets intact in case you need them for a Second Wind.
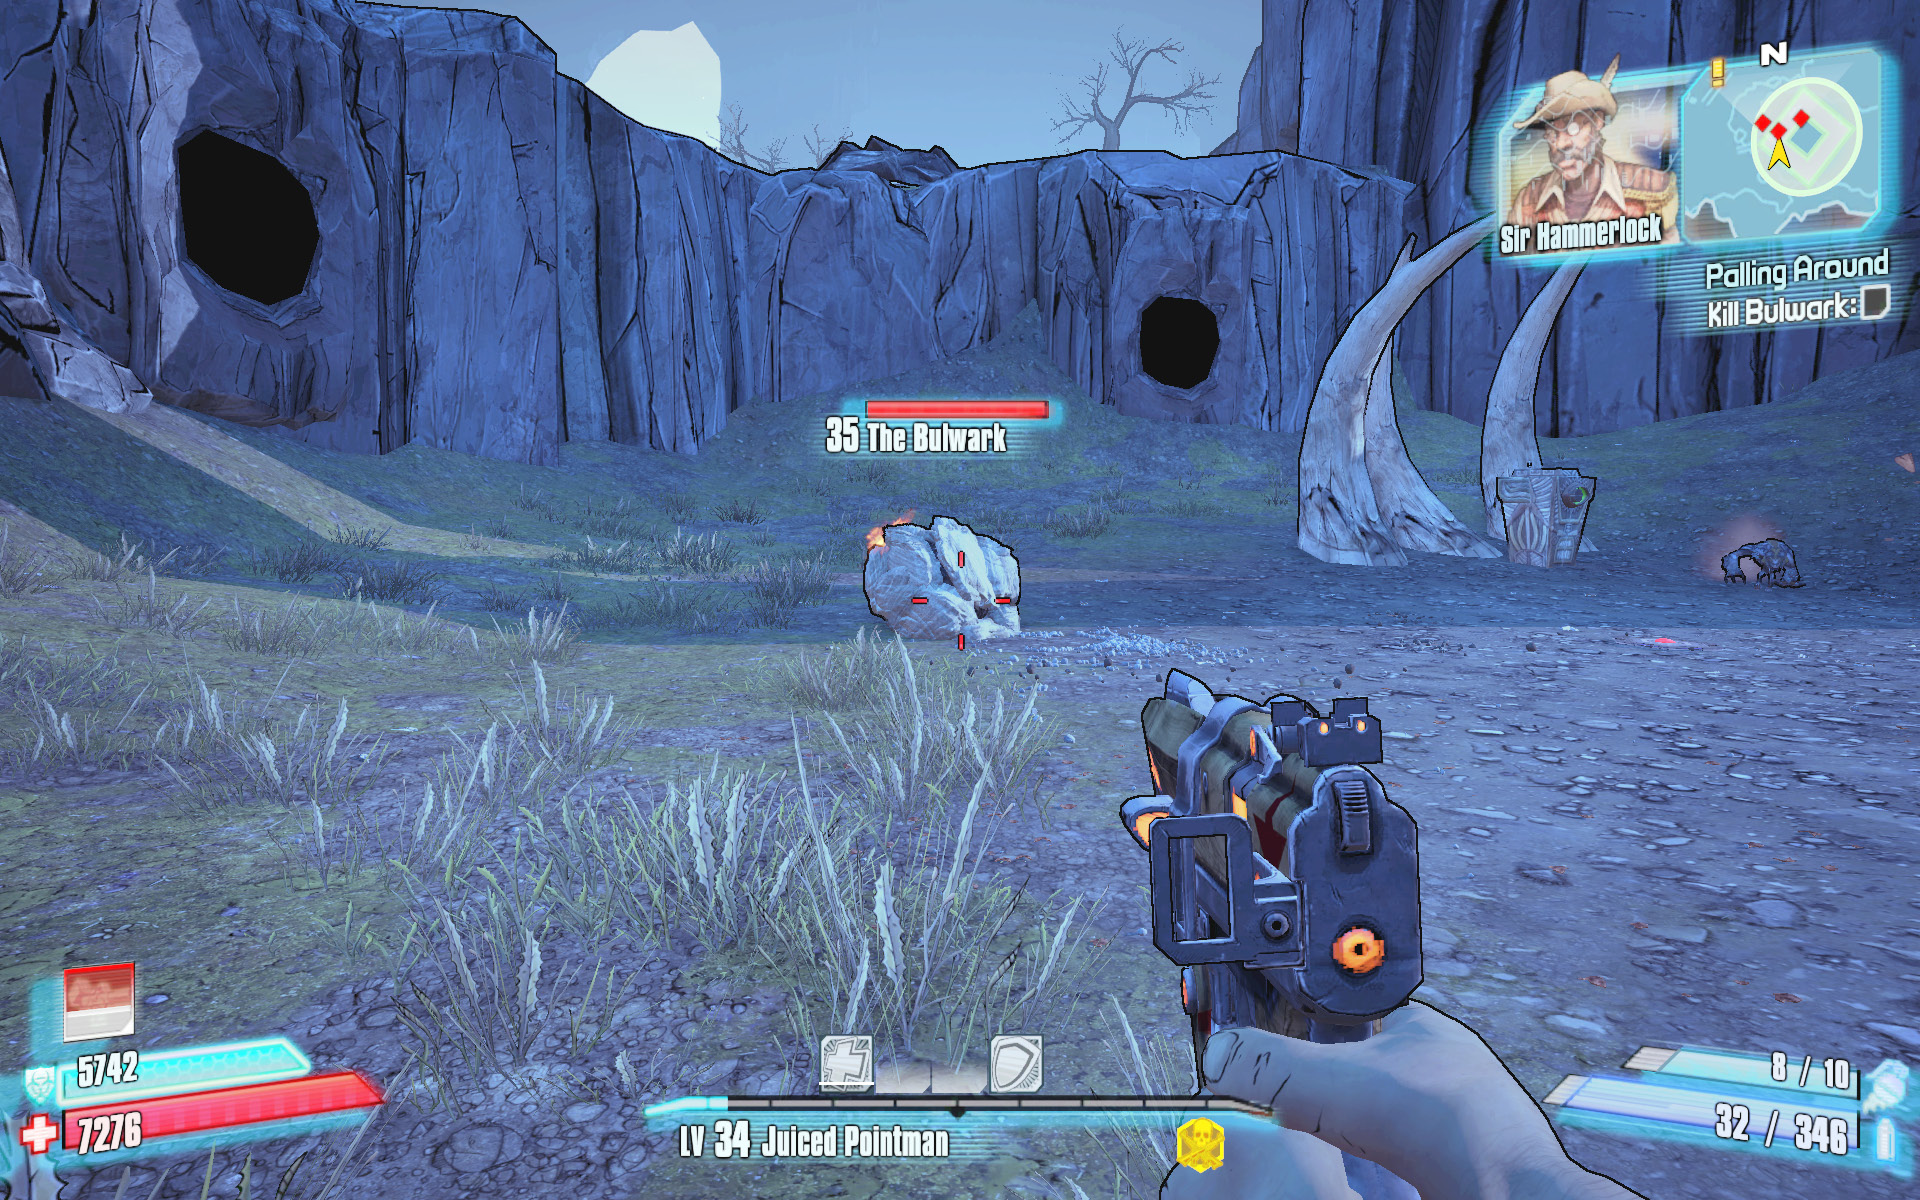
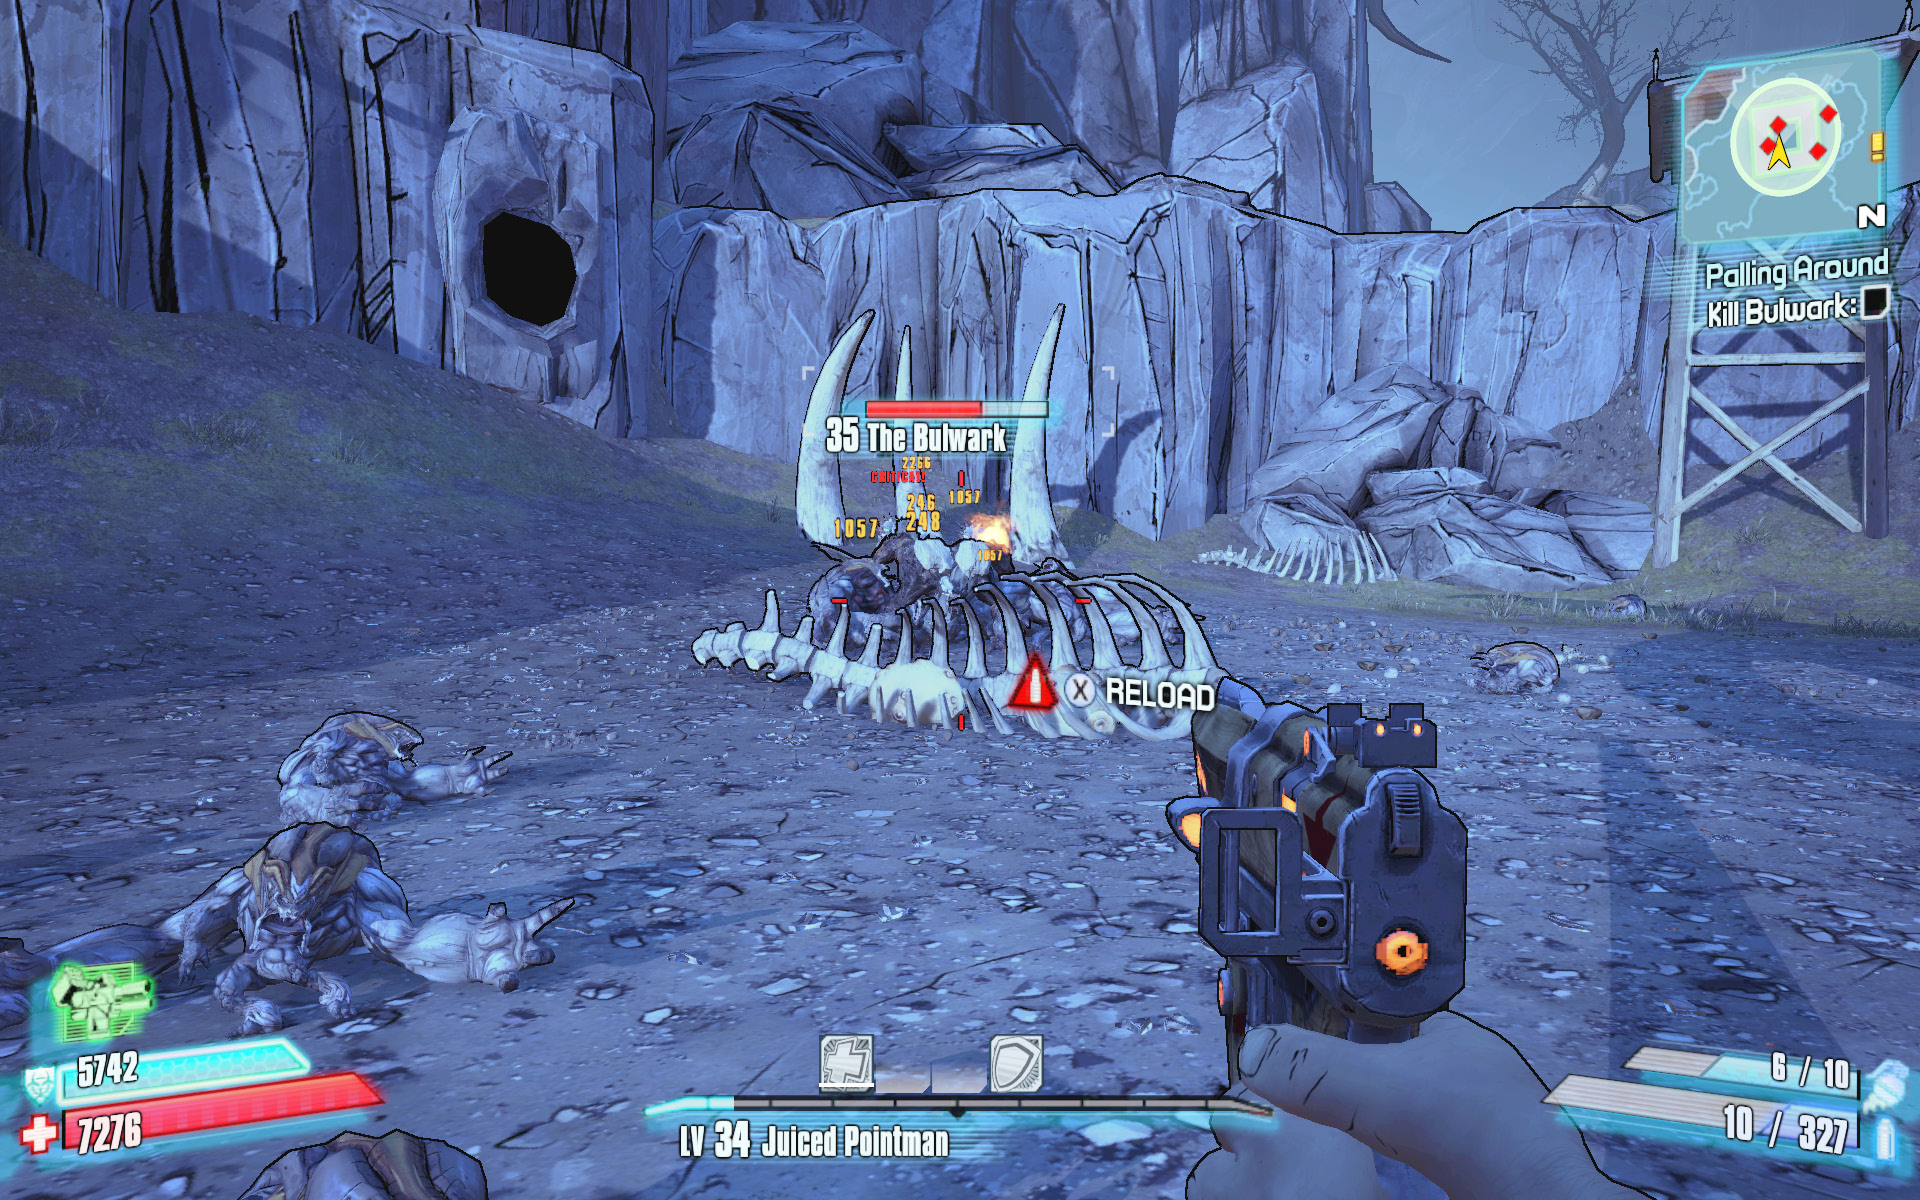
A bullymong by the name of The Bulwark soon emerges. This creature has the ability to curl up in a bulletproof ball that looks and behaves like a boulder. Don’t bother shooting it in its boulder form, as your shots will merely bounce right off it. The key is to stop firing at it and back away so as to trick it into thinking the coast is clear. As soon as it unfolds from its protective stance, quickly ignite it with incendiary weaponry or hit it with a sticky grenade.
Now You See It
Lure Bloodtail out of hiding with pheromones, then kill it.
Optional Mission Rewards
| Level | Money | XP | Gear |
|---|---|---|---|
|
33 |
$1894 |
9341 |
Rocket Launcher (green) |
*Money and XP may vary based on player’s level at start of mission.
Take the bottle of pheromones from off the bar in the lodge and leave the lodge. Follow the northern cliffs eastward to the entrance to Candlerakk’s Crag. You’ll need to visit Candlerakk’s Crag during the final mission “The Fall of Nakayama” and, in fact, some of the objectives for that mission will be checked off during “Now You See It” as you proceed to Bloodtail’s lair. Those who prefer to visit new areas for the first time during story missions should ignore this mission for now and continue with the main story.
Bloodtail’s lair is located far to the east in Candlerakk’s Crag, well beyond the narrow ledge along the cliffs. Fight your way past the smattering of Savage Warriors who exit their teepees to attack near the waterfall and follow the trail as it curves south toward Elite’s Crossing. If this is your first visit to the area (and you have “The Fall of Nakayama” active), Professor Nakayama unleashes an army of Elite Savages on you. These bladed melee assailants guard the rope bridge across the chasm and are well-protected behind their shields. They behave much like Badass Savages, but they have even more health. Hit them with fire and explosive weaponry as they run across the bridge single-file.
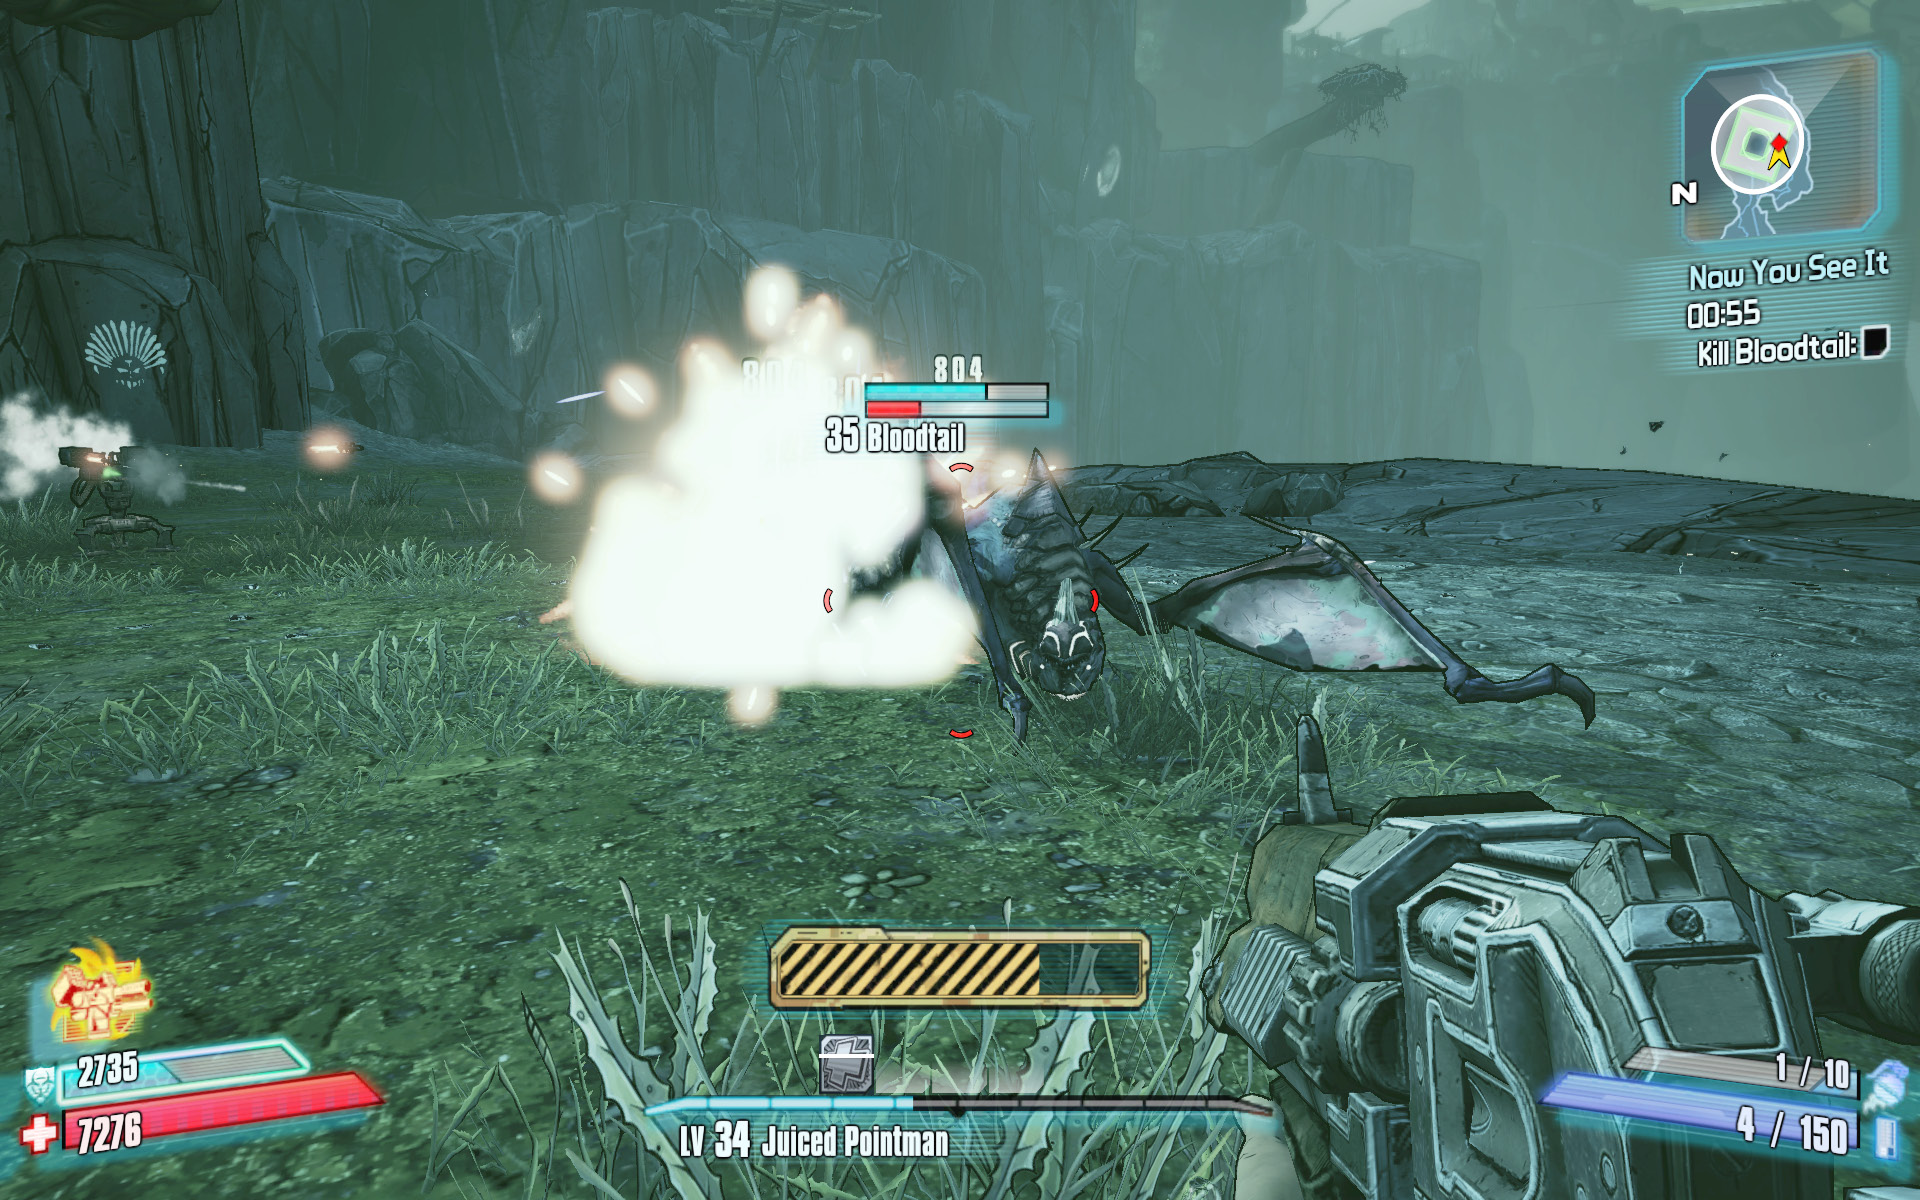
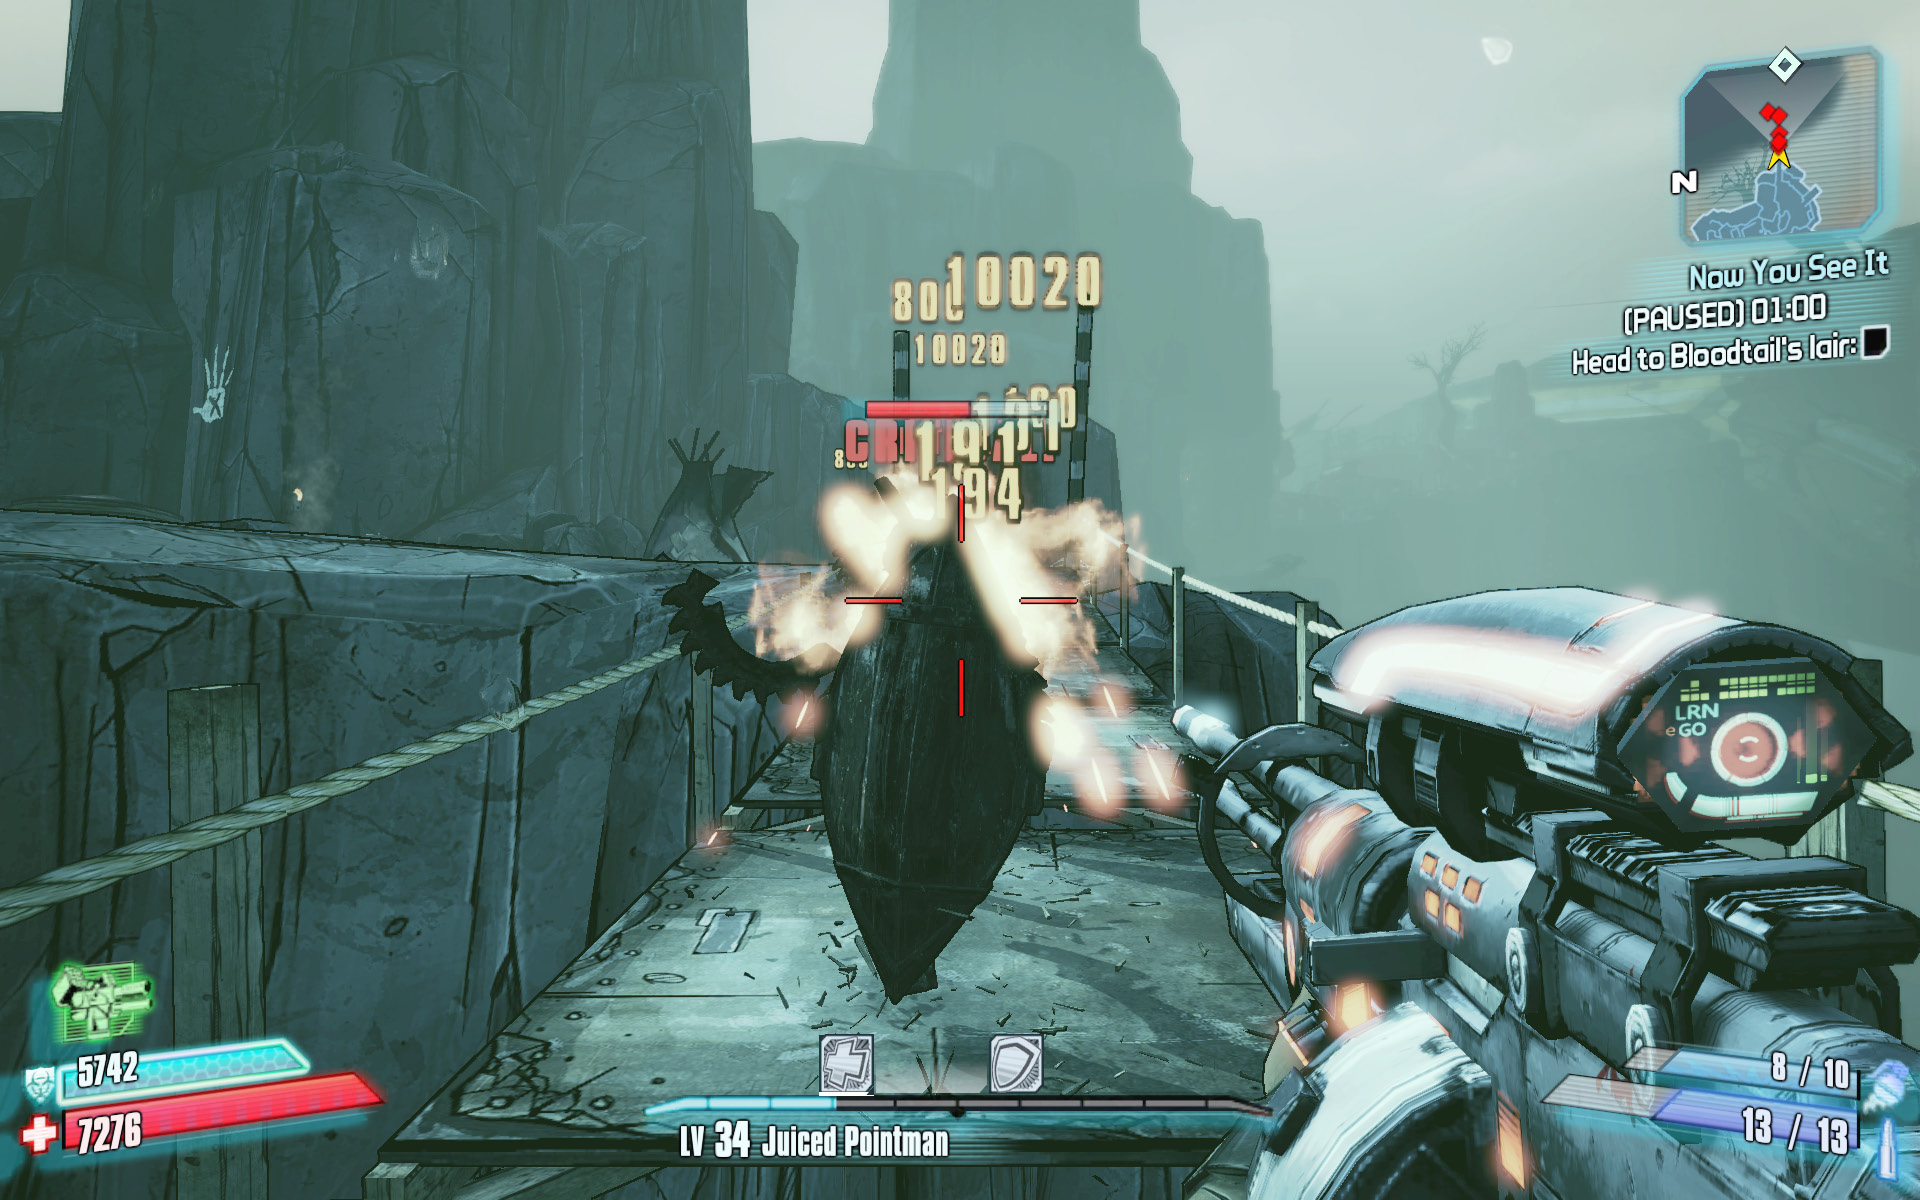
Fight your way across the bridge, and follow the rocky path up the slope to the right to the Lower Bluff area. Place the vial of pheromones on the rock as shown, then smash it to draw Bloodtail out of hiding. You only have 1:00 to kill the well-shielded Bloodtail stalker, so make sure your guns are loaded and your Action Skill is ready to go. Hit Bloodtail with shock-based weaponry as soon as it appears so you can quickly drain its shields and keep it from turning invisible. Bloodtail uses its disappearing ability to hide from you, but tends to not travel very far while invisible. Pan your crosshairs over the area where you last saw it, and watch for them to turn red. Continue to pummel Bloodtail with explosive and shock weapons until you defeat it. Bloodtail emerges from its lair with half of its health already depleted; don’t be tricked into thinking you inflicted that much damage with your first shot.
Big Feet
Track and kill the big-footed beast.
Optional Mission Rewards
| Level | Money | XP | Gear |
|---|---|---|---|
|
33 |
$947 |
9341 |
— |
*Money and XP may vary based on player’s level at start of mission.
Return to Candlerakk’s Crag and follow the trail along the cliffs to the large set of tusks emerging from the ground on the right. Head up the trail beyond these tusks to an area crawling with scaylions. Fend off the scaylions, then set about inspecting the footprints in the ground. These tracks represent the big-footed beast’s trail. Look for the first track (the one nearest the narrow trail leading up from the tusks) and interact with it to complete the objective.
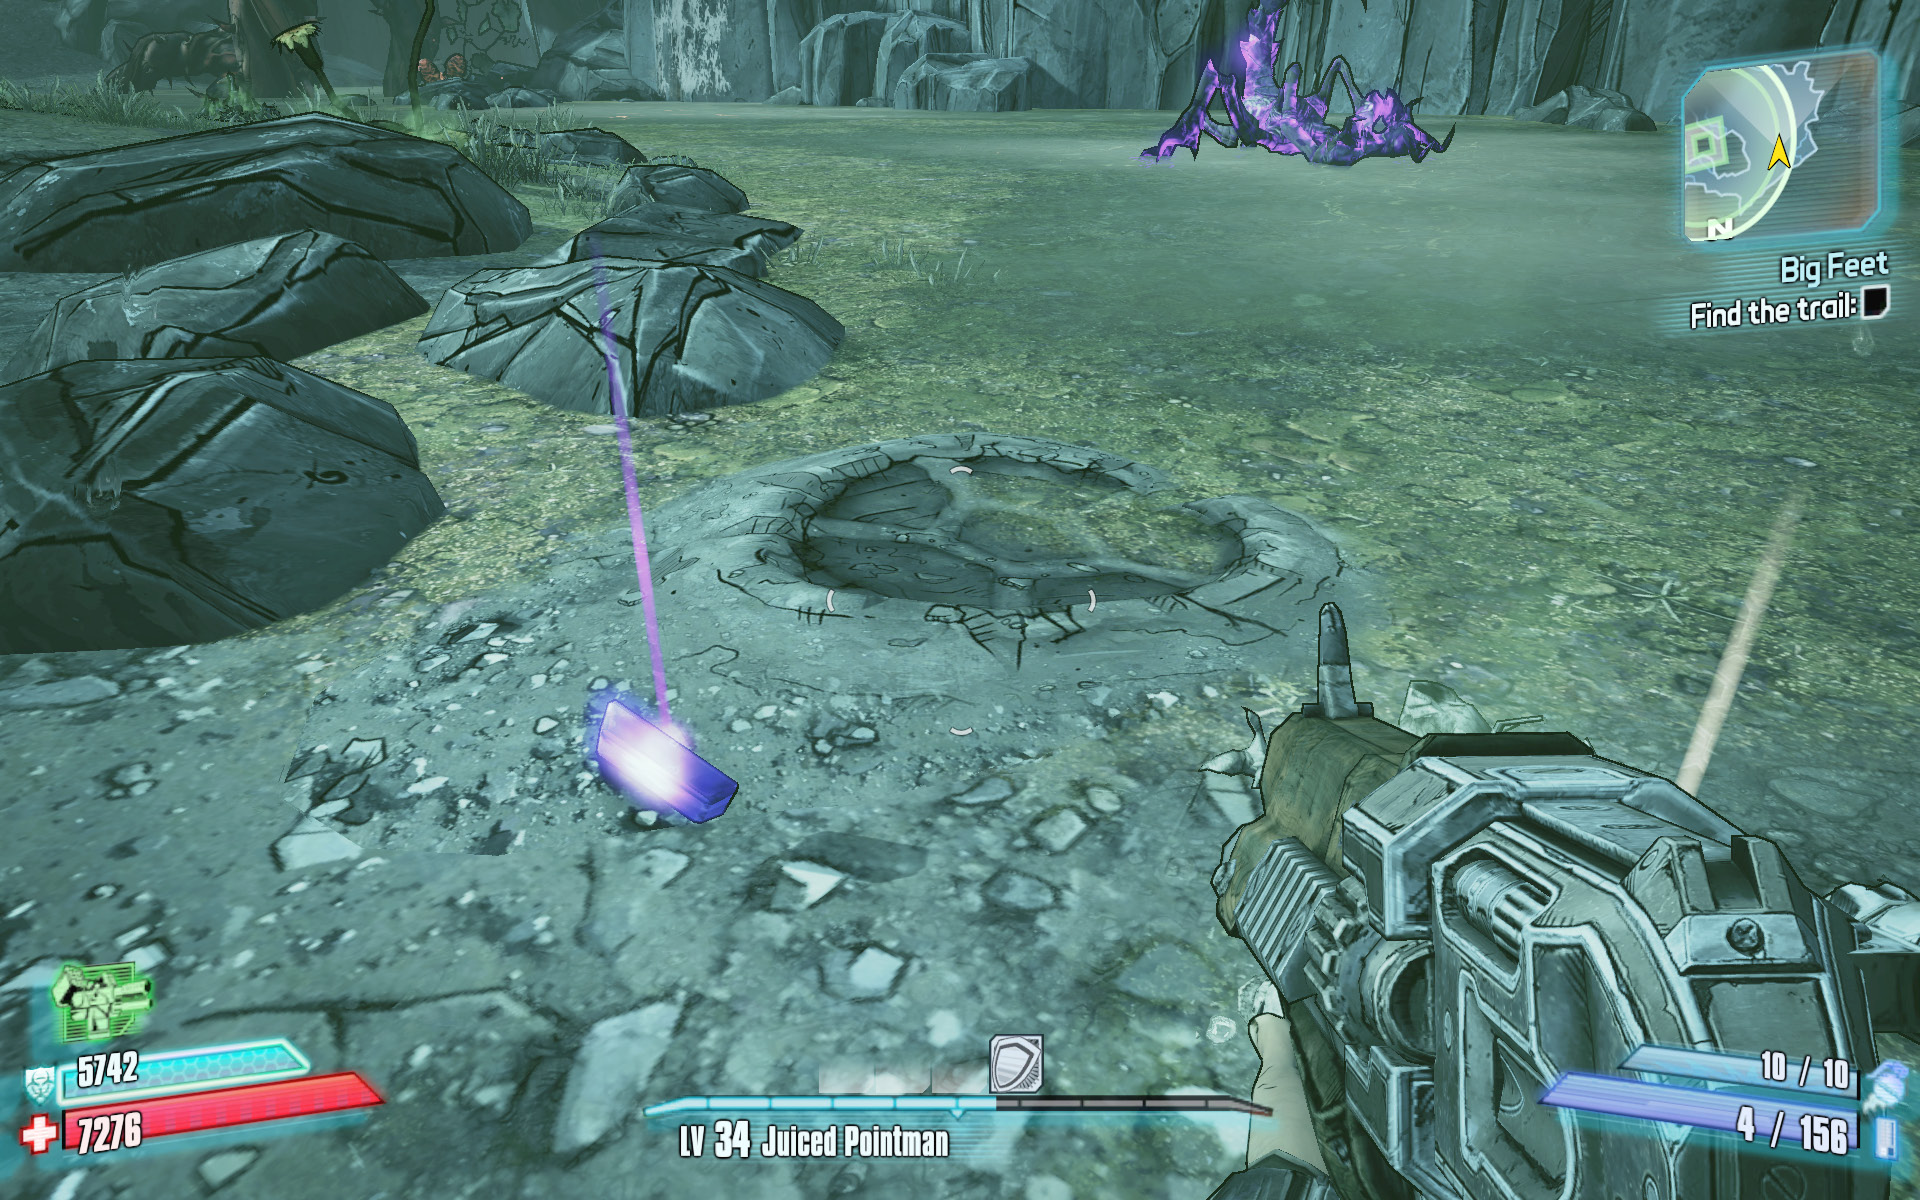
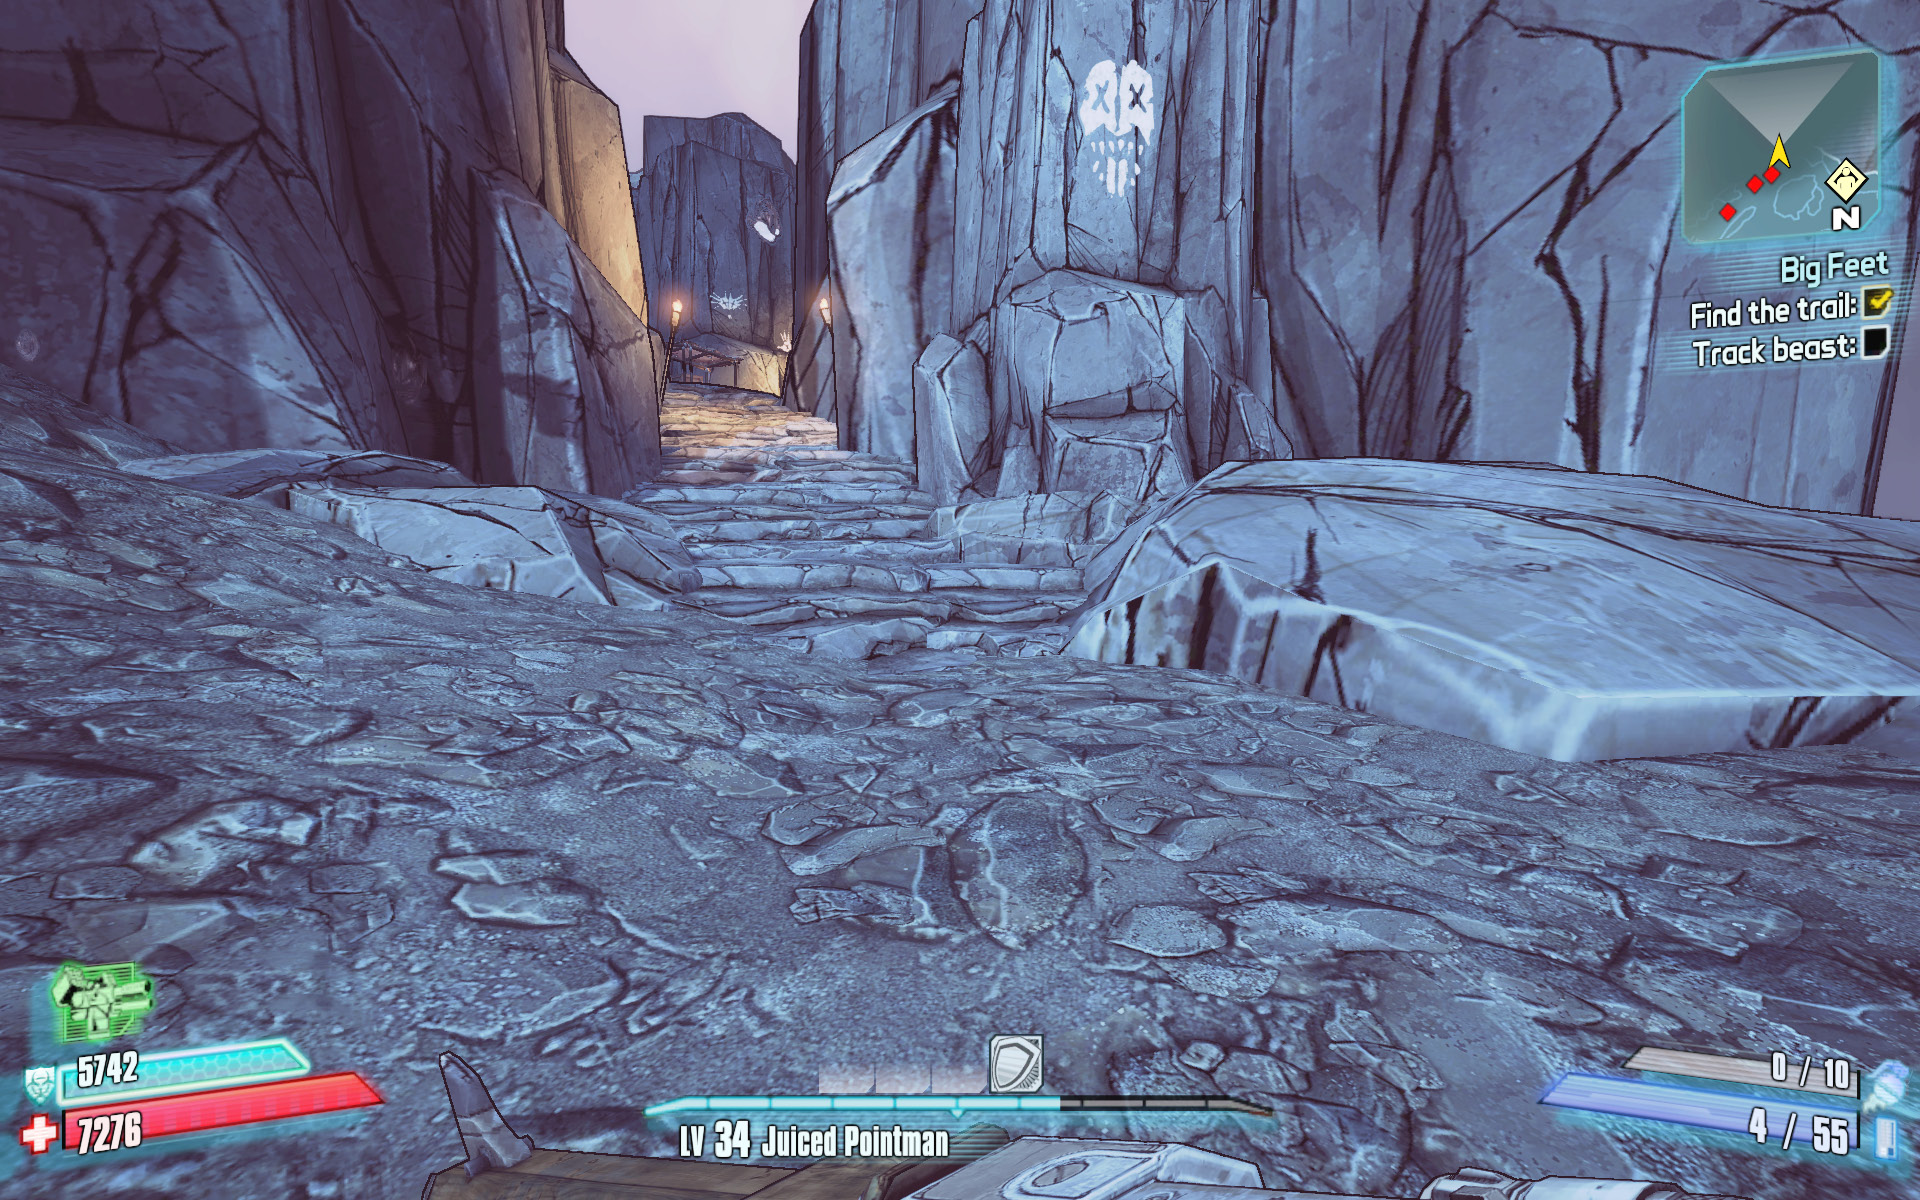
Follow the tracks up the hill to many more scaylions and a waterfall. The trail seems to disappear in this clearing, but the creature you’re tracking is actually located higher up the mountain. Turn south and proceed up the torch-lit staircase near the tribal graffiti. This leads to the Big Bluff area and Rouge, the massive crystalisk you seek. Rouge is a distant relative of Blue, the large crystalisk located in Caustic Caverns.
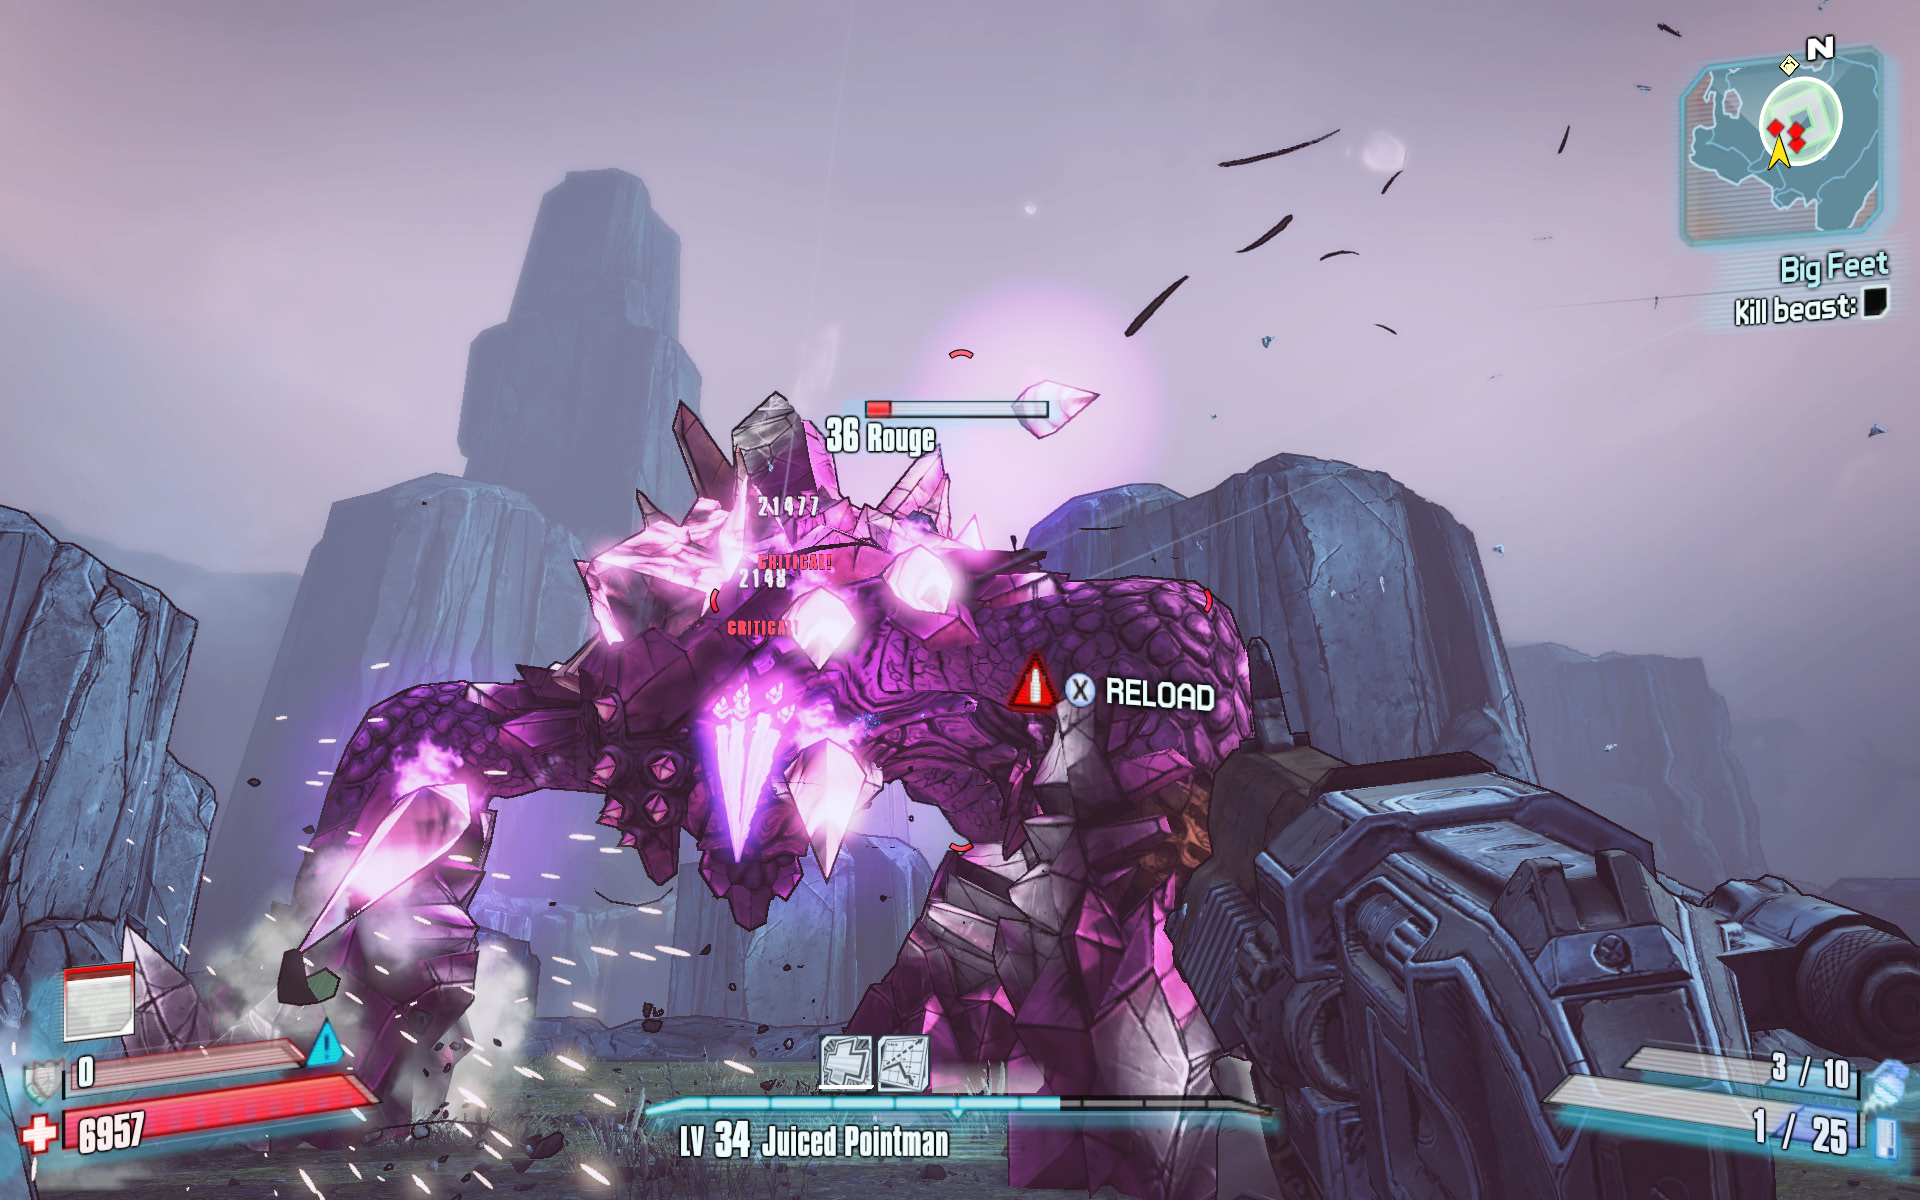
Circle Rouge, taking aim on each of its legs with a high-powered shotgun or Torgue weapon dealing explosive shots. As with other crystalisks, the only way to truly harm it is by destroying the large crystals that grow from its body. Rouge has three large crystals on its legs and also three on its body. Take out the crystals on its legs while circling it, then aim at the smaller, harder to hit crystals atop its body. Rouge periodically spawns Mini Rouge Crystalisks, which charge forward and detonate like the small bombs that the common crystalisks fire at you. Do not ignore these Mini Rouge Crystalisks, because they can bring you down in a hurry if you let them get too close.
Still Just a Borok in a Cage
Capture Der Monstrositat.
Optional Mission Rewards
| Level | Money | XP | Gear |
|---|---|---|---|
|
34 |
$2121 |
9849 |
— |
*Money and XP may vary based on player’s level at start of mission.
The amateur documentarian Dietmar Von Heinrichzimmerschneit wants you to find and capture a creature he has named “Der Monstrositat” so that he may provide commentary as he films you doing so. The first step is to locate the cages set up in the village on the west side of Hunter’s Grotto. Make your way through the cave west of the lodge (beneath the area where you first entered), and head south to the village with the neon-lit “Undercarriage” sign. There is a large cage near the water; this is where you must lure Der Monstrositat. Take a moment to investigate the cage so you’re familiar with the location of the button to close the cage (between the crates in the rear of the cage). You’ll close the cage from the inside, then flee up the crates to escape.
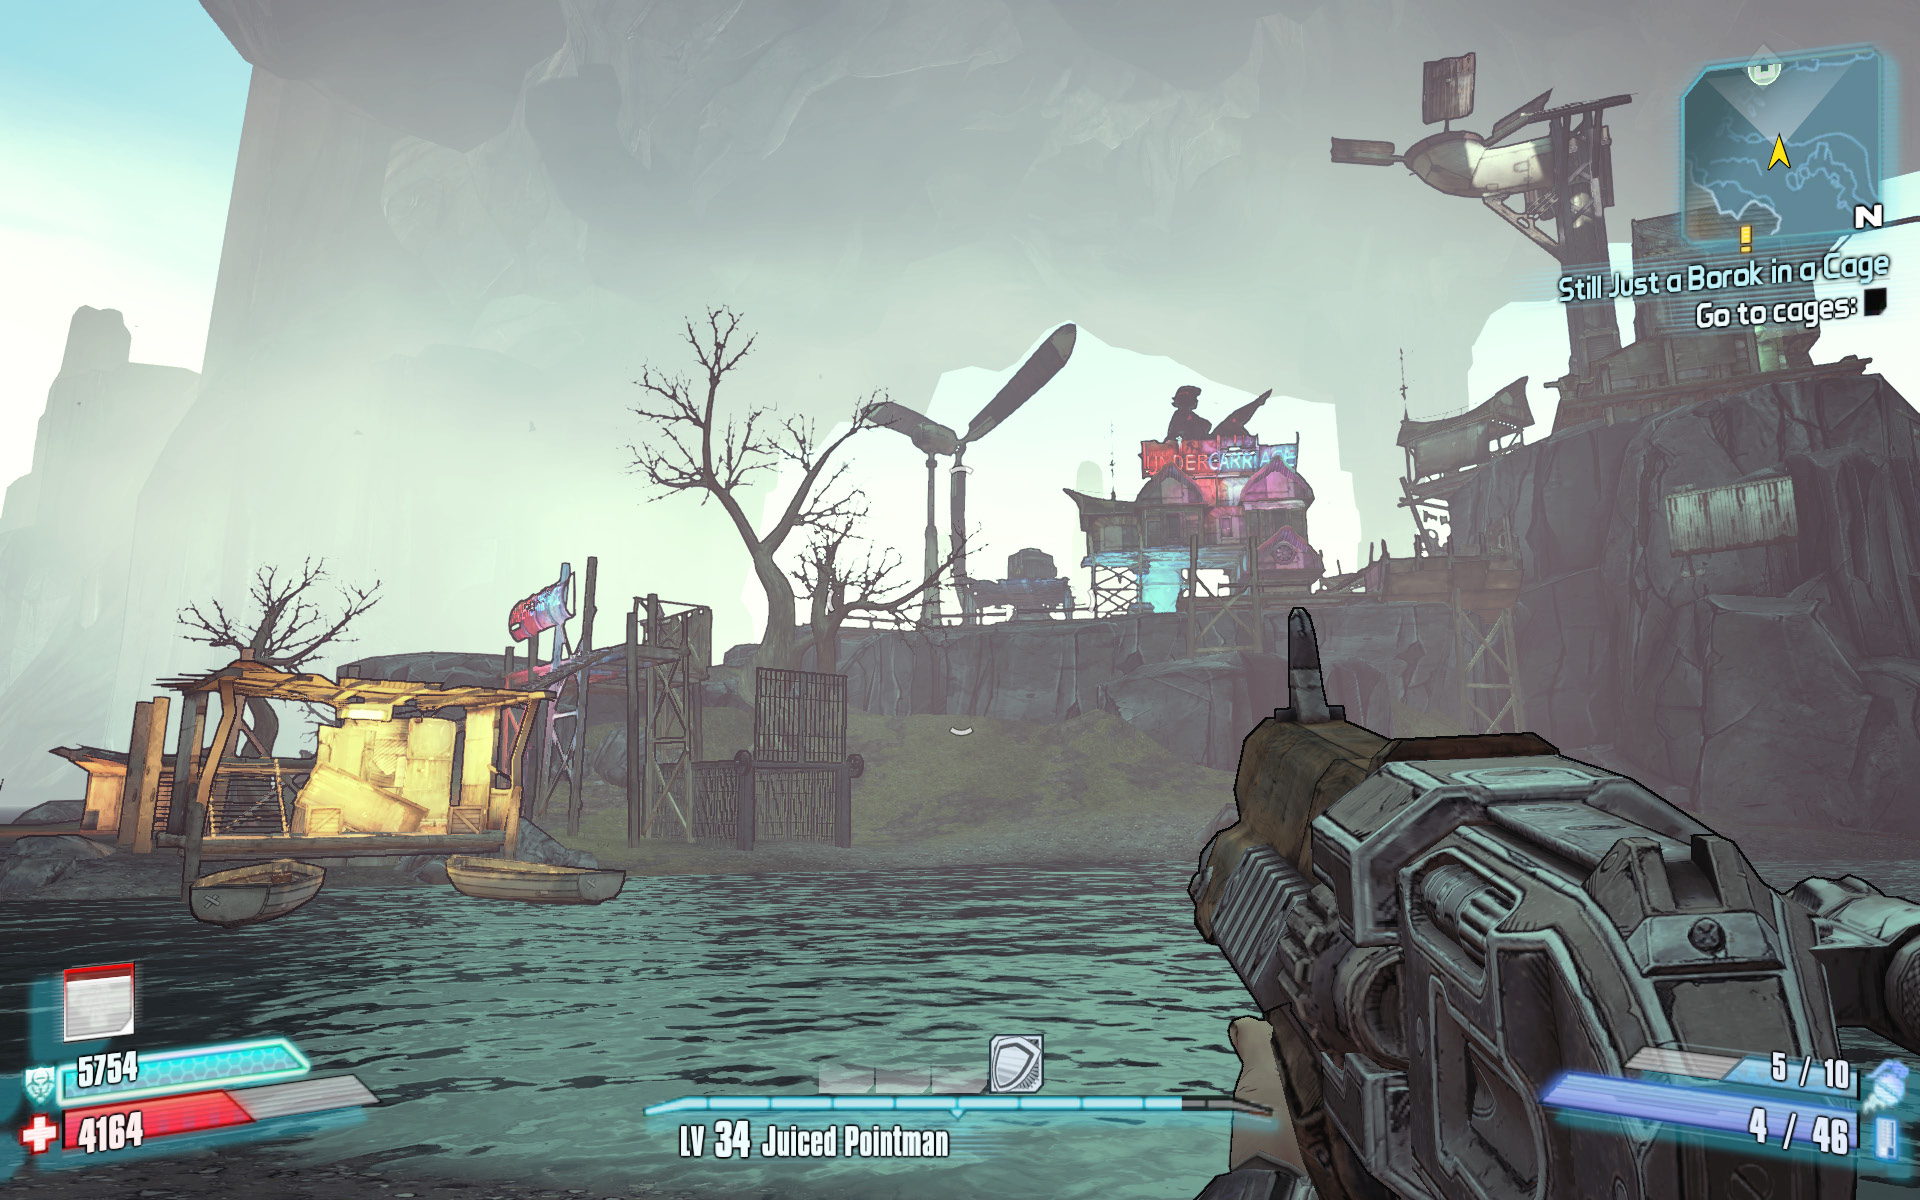
Turn your back to the cage, and proceed due north past the waterfall to the large hole in the cliff. This is where Der Monstrositat resides. Der Monstrositat has a lot of health, but he can still be slain if you shoot at him too much or allow the boroks or savages to attack him. Get his attention, then back away while luring him toward the cage. Lead him across the creek at the base of the waterfall and down the sloping path into the lake, toward the cage. Der Monstrositat has a vicious claw attack and can inflict tremendous damage if you turn your back to him. It’s best to face him and back away so you are sure he’s still following you. Lead him into the cage, press the button to trap him, then flee out the top.
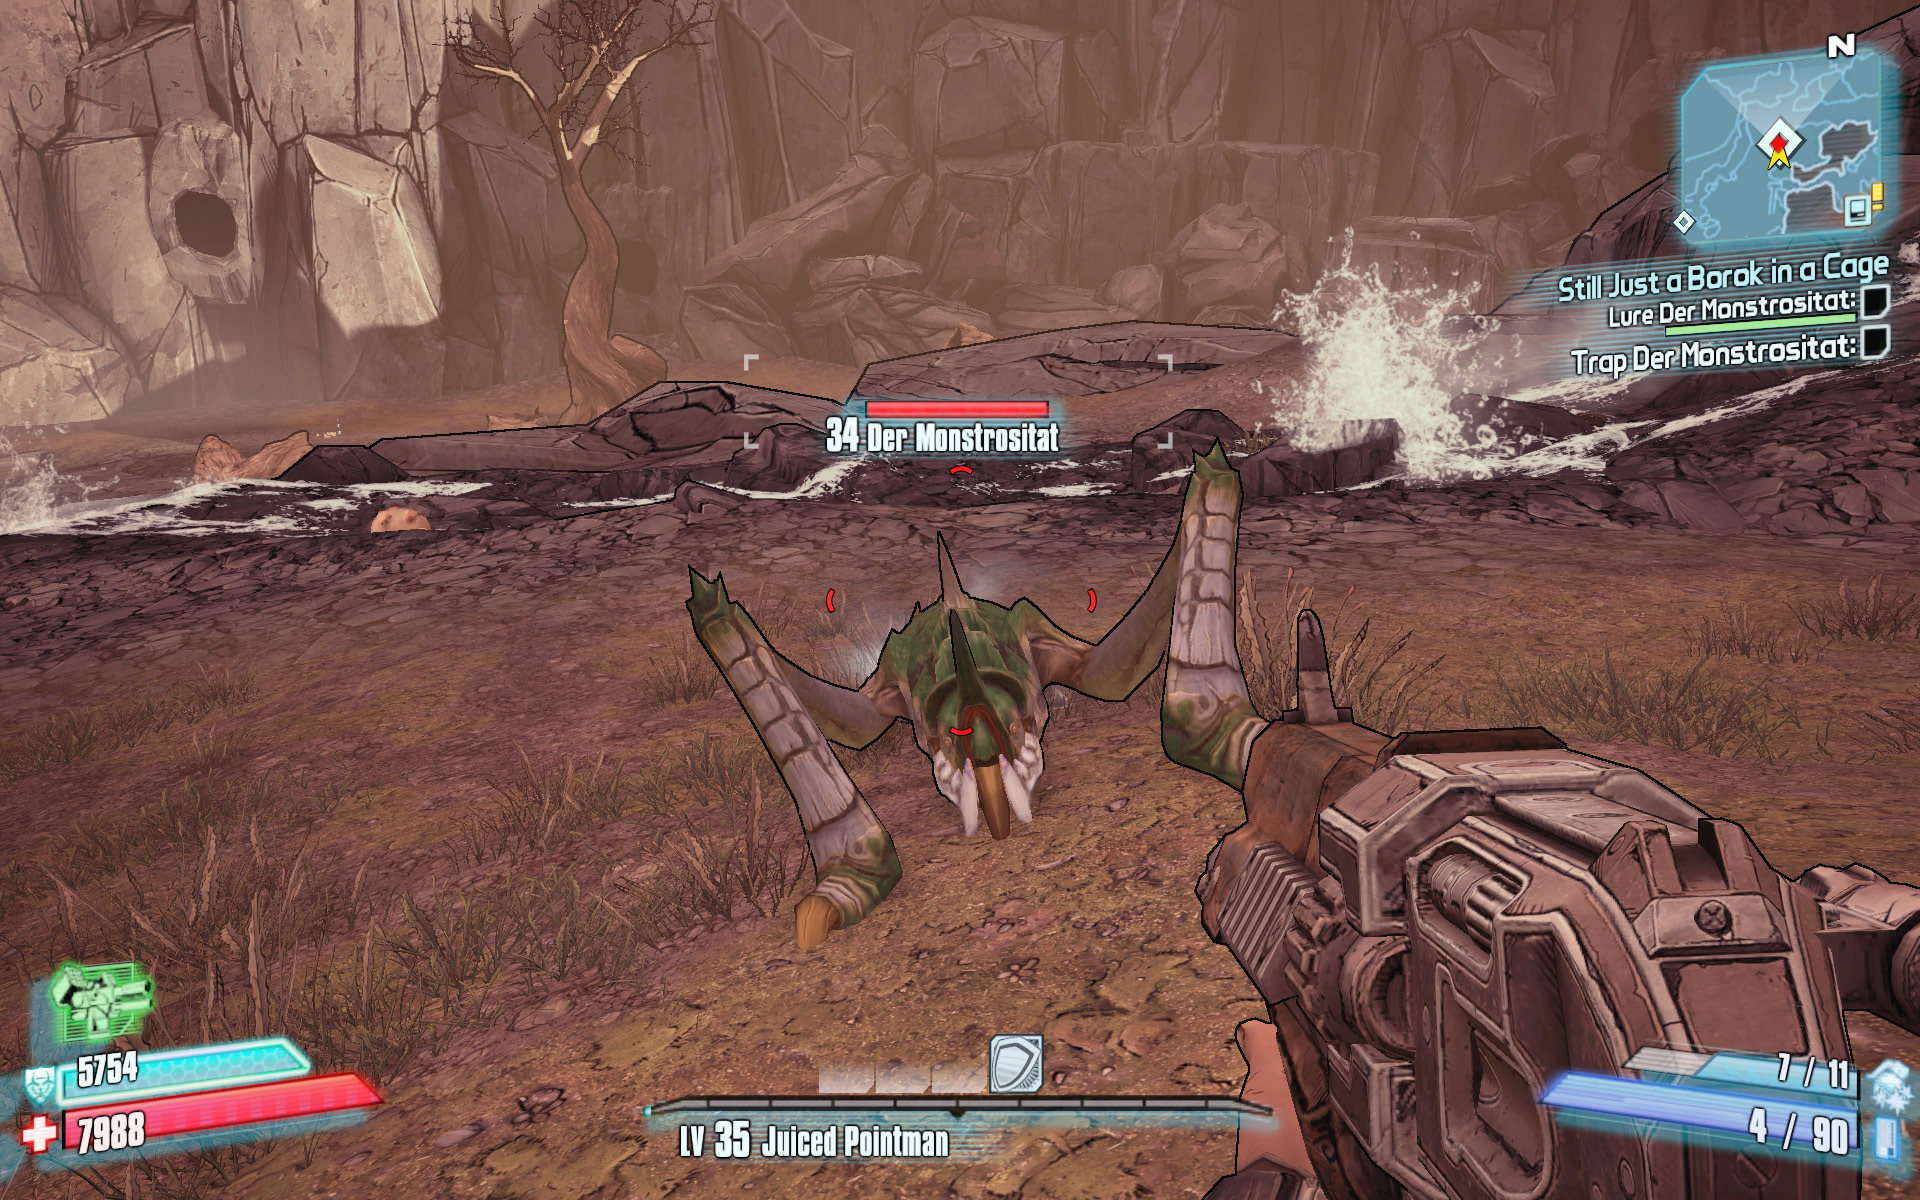
Any delay in climbing the crates to the exit can result in Der Monstrositat downing you. But, provided that you already closed the cage and trapped him, you needn’t worry about keeping him alive. Draw your rocket launcher and blast away. Return to the Bounty Board to collect your reward.
Egg on Your Face
Find eggs for Dietmar Von Heinrichzimmerschneit.
Optional Mission Rewards
| Level | Money | XP | Gear |
|---|---|---|---|
|
34 |
$2121 |
9849 |
— |
*Money and XP may vary based on player’s level at start of mission.
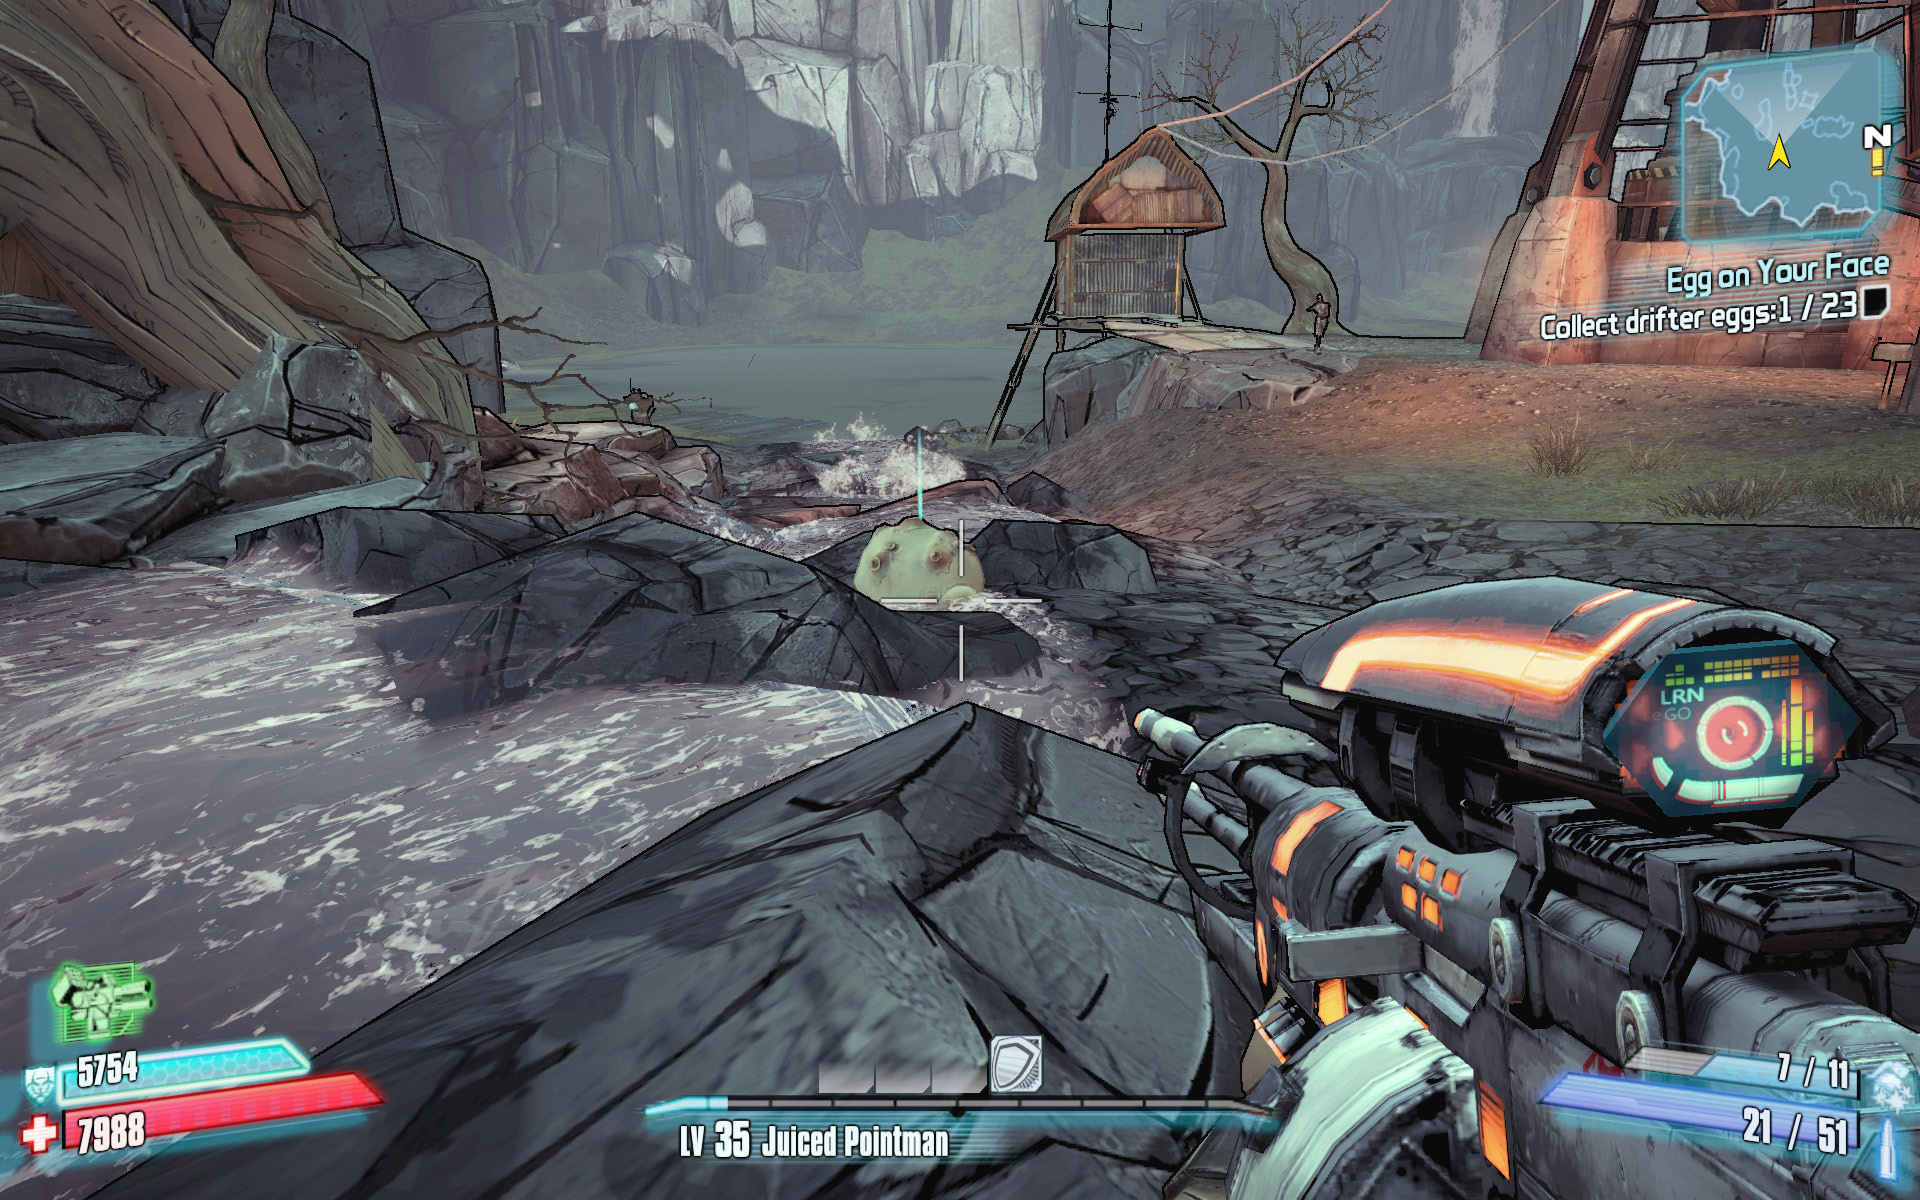
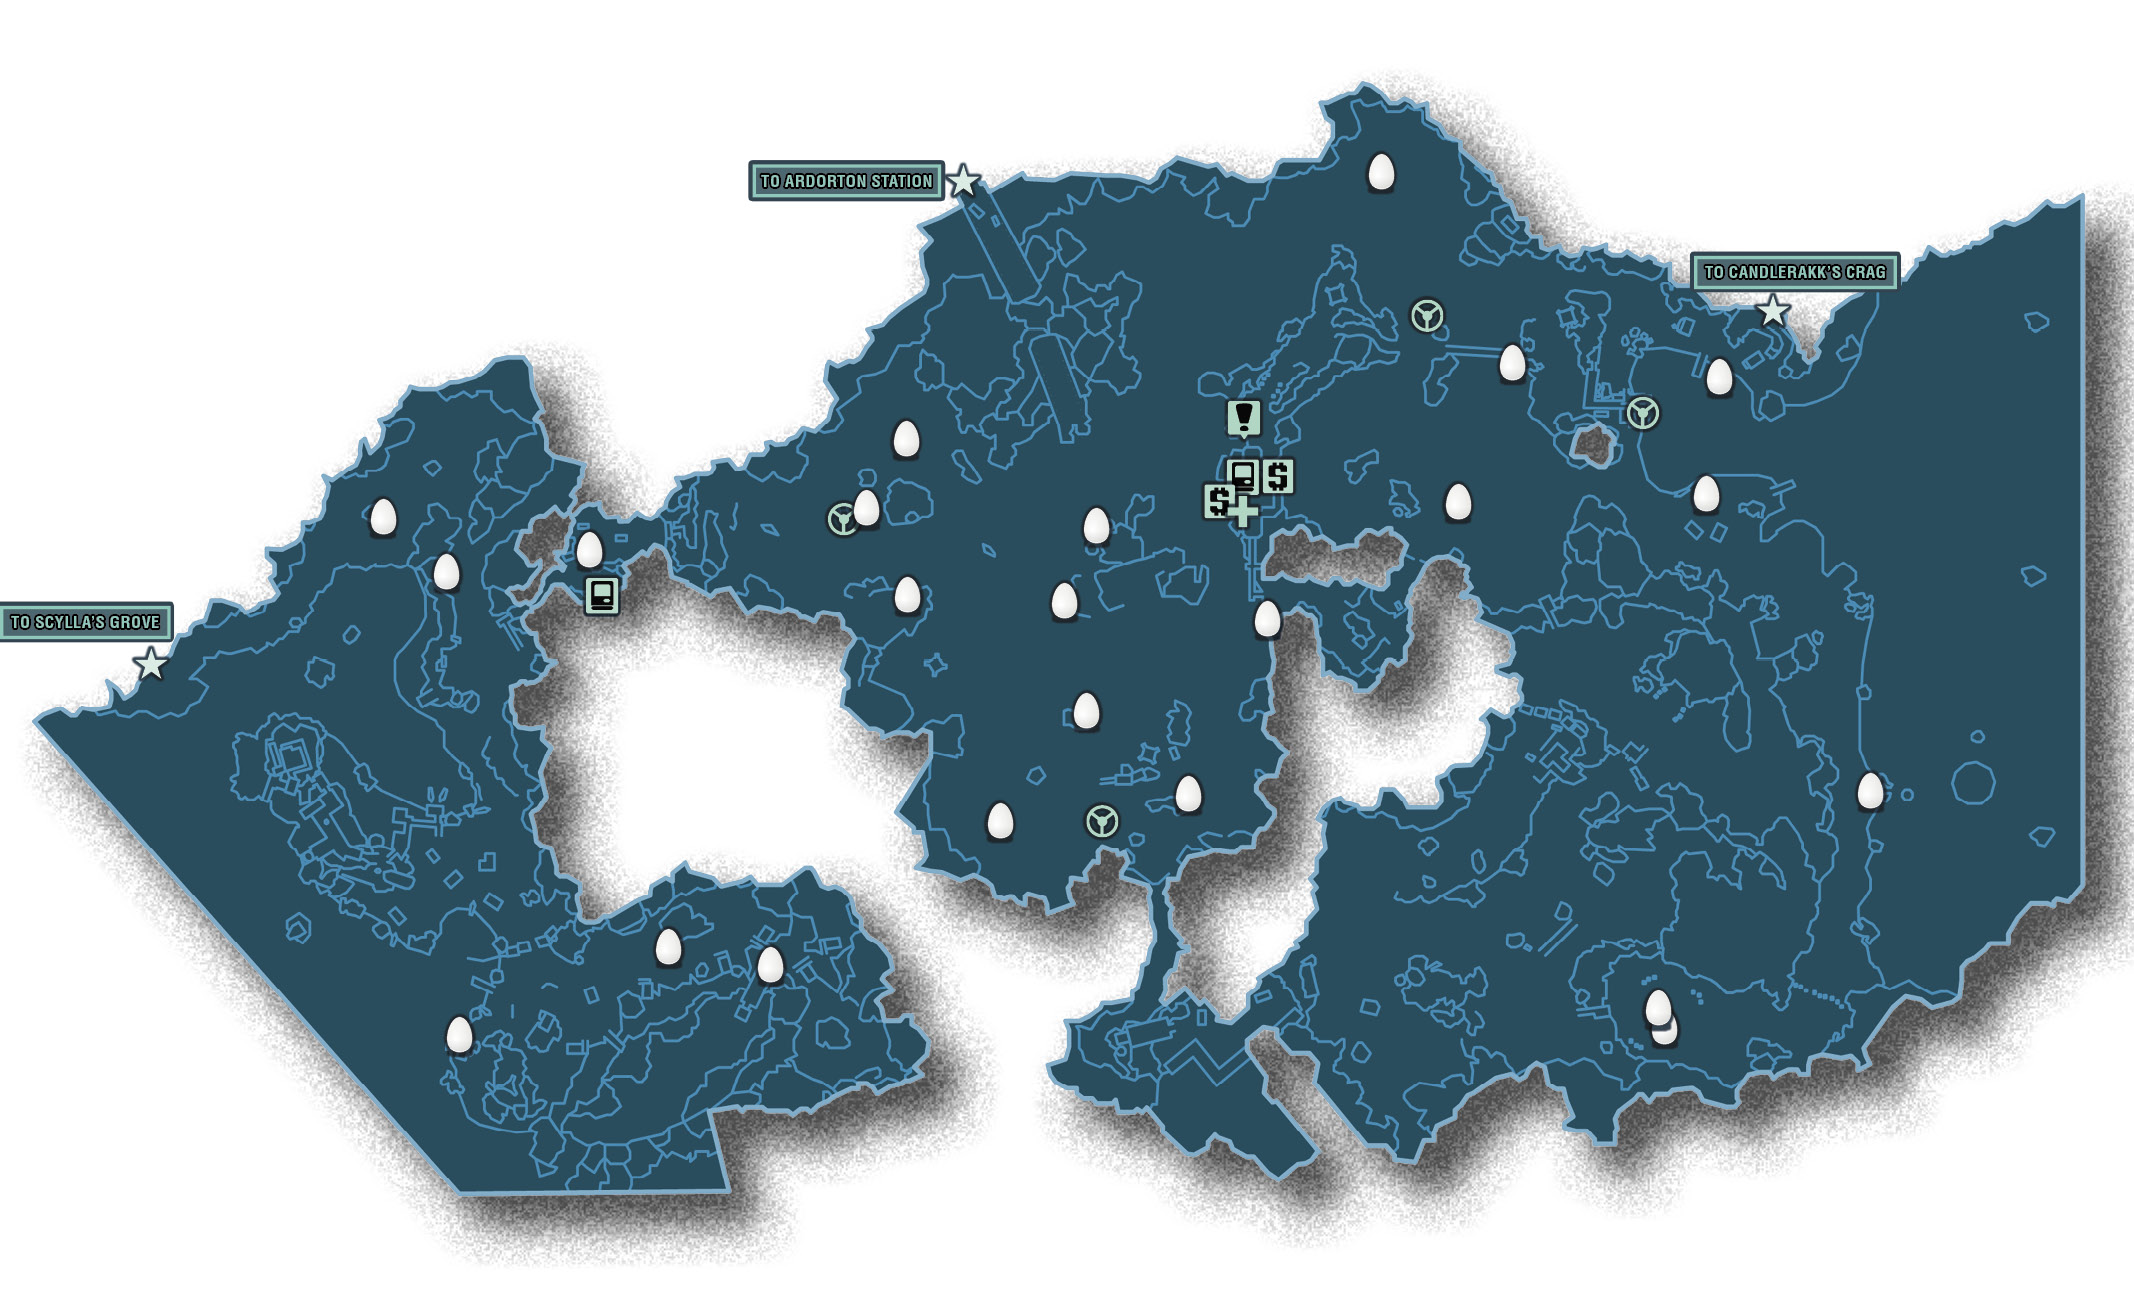
The documentarian would now like to film you locating the 23 drifter eggs that are scattered throughout the whole of Hunter’s Grotto. The eggs are quite large, roughly twice the size of a human head, and emit a blue beam of light to make locating them easier. The accompanying map contains all 23 egg locations. Since this mission involves more than just collecting the Drifter eggs, you should start at the eastern end of the area and sweep your way westward during your search. This helps expedite what comes next…
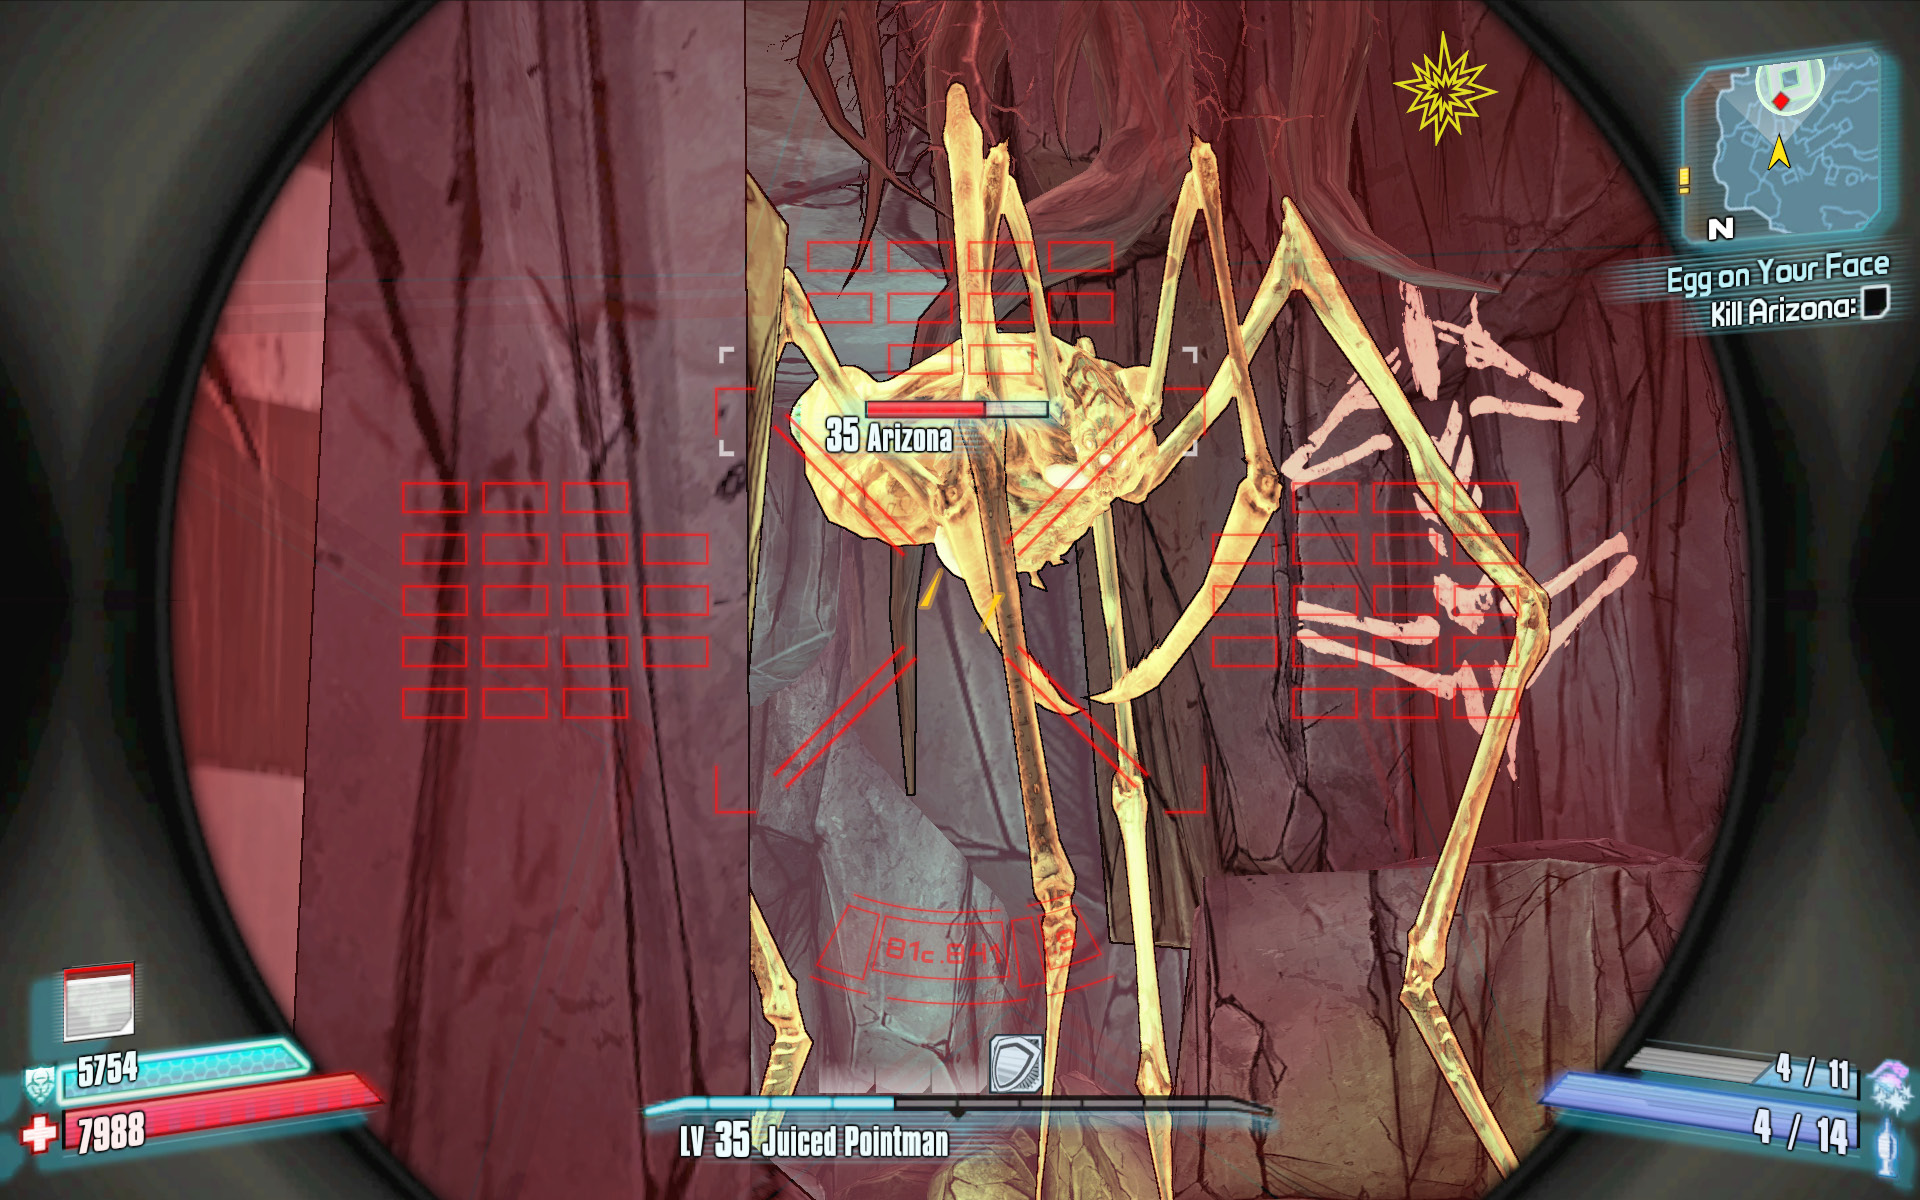
Taking 23 eggs was bound to anger the mother of any species, but you really did it this time. Arizona, a monstrous fire-spewing drifter, is going to wreak havoc on the entire region if you don’t kill it. Arizona resides in a cave beneath the southwest plateau. Finish collecting all of the 23 eggs, and ride the elevator down into the cave just beyond the village with the neon-lit “Undercarriage” sign in the southwest area. The “Keep Clear” warnings painted on the side of the elevator let you know you’re in the right spot.
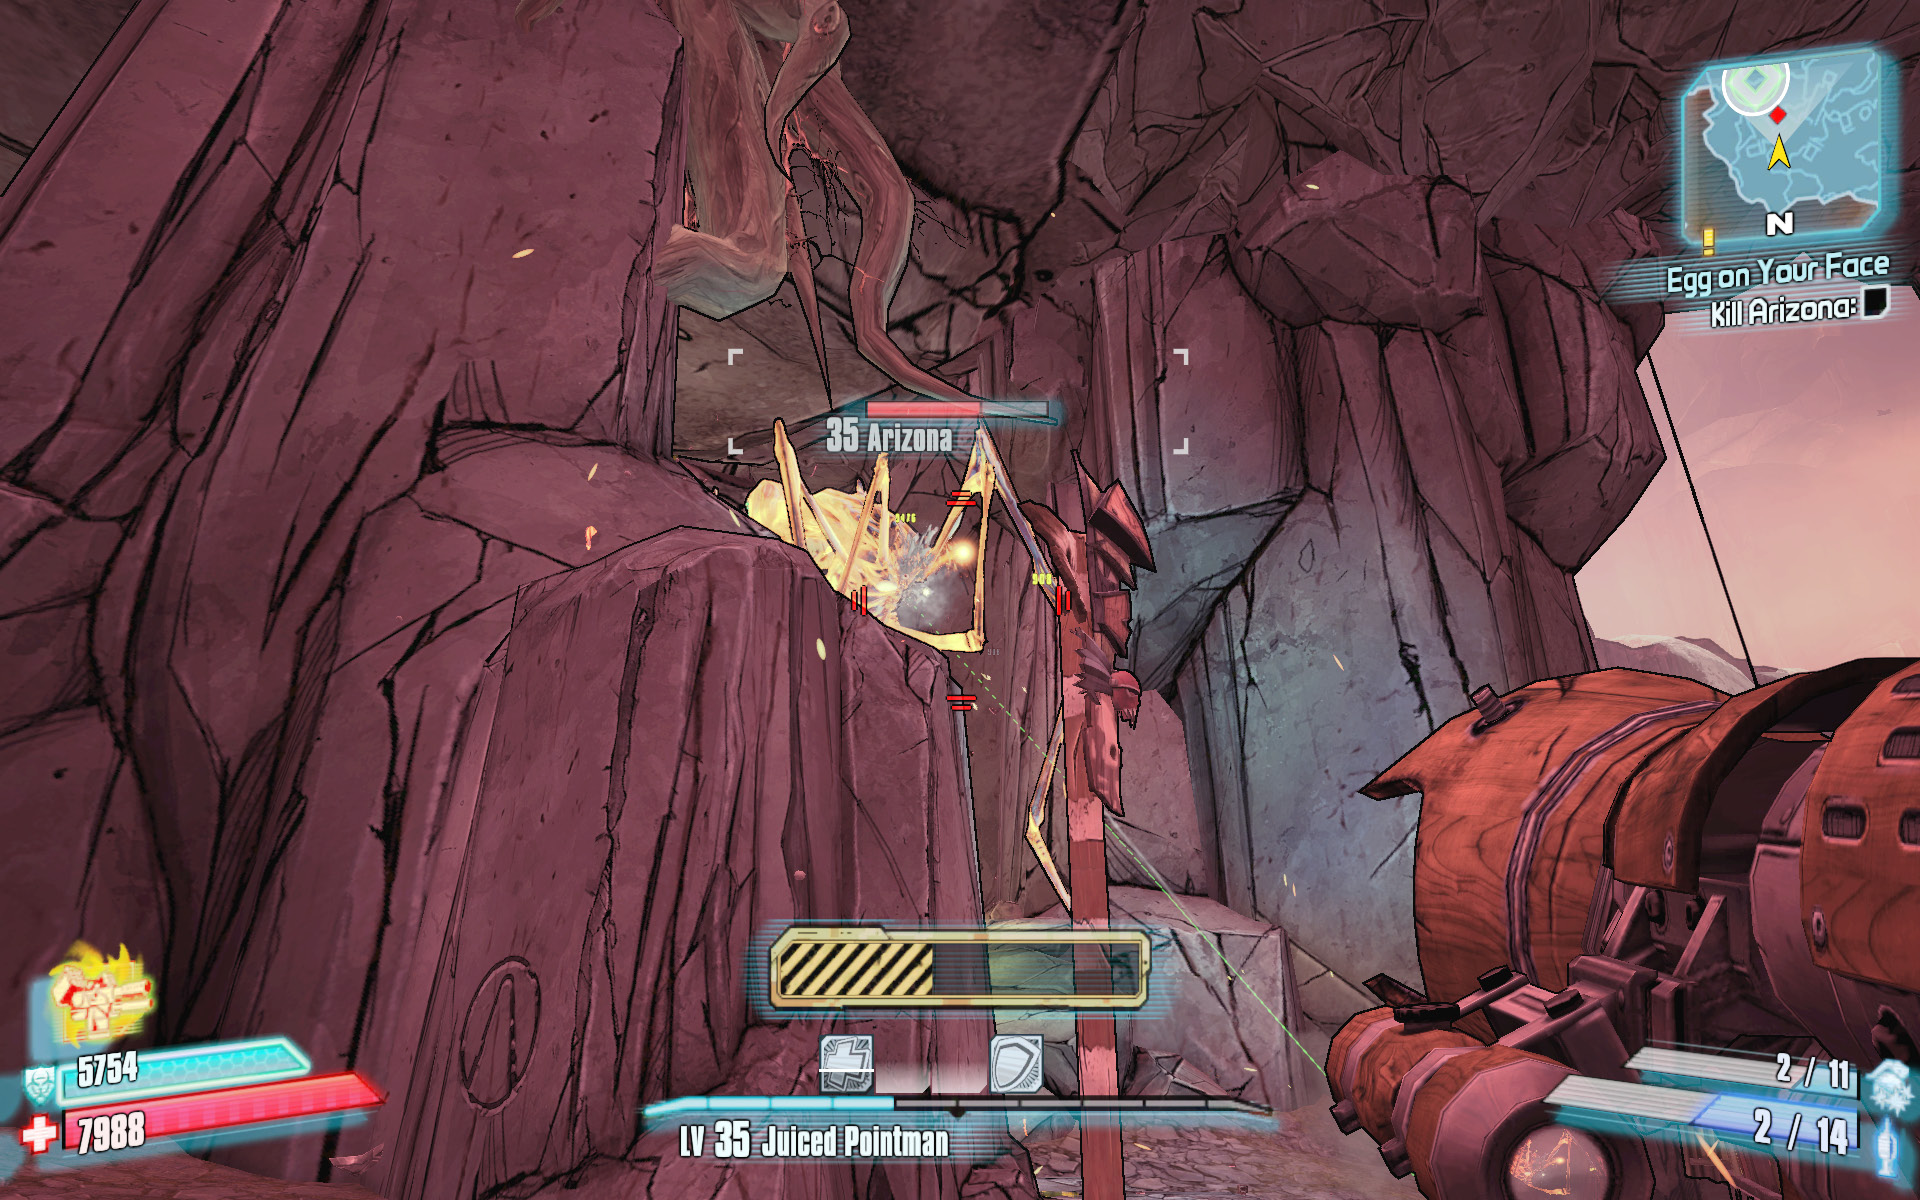
Arizona has a massive amount of health and is extremely resistant to damage. Its leg stabs and bomb-like sputum attacks are also very hazardous, the latter of which can destroy a Sabre Turret in an instant. Fortunately, Arizona is confined to the southern portion of the cave and can’t advance beyond the rock pillar in the center. It’s possible to take cover on the elevator platform and employ hit-and-run tactics, but it’s even easier to simply strafe in and out of cover on the north side of the rock pillar. Lure Arizona northward on the right-hand side of the pillar, then take a few steps toward the Cult of the Vault symbol to the left, and fire at it over the rocks near the totem pole. Aim for the glowing nodules on its body, but don’t aim at its legs. Pepper it with explosive rounds, be patient, and be sure not to get downed, since there’s nothing to kill to achieve a Second Wind.
I Like My Monsters Rare
Kill rare, randomly appearing creatures for Thirstblood.
Optional Mission Rewards
| Level | Money | XP | Gear |
|---|---|---|---|
|
33 |
$3788 |
9341 |
Player Skin (blue) |
*Money and XP may vary based on player’s level at start of mission.
Check the Bounty Board in Hunter’s Grotto and accept this mission as soon as you can; any of the rare creatures you kill before accepting this mission do not count toward the tally. The goal in this mission is to kill a number of rare variants from each major creature family living in Hunter’s Grotto and its surrounding zones. Although random, some spots are better than others for farming each of these rare species. One of the fastest way to farm these creatures is to Fast Travel to Ardorton Station and run the area in reverse, from atop the highway overpass back to Scylla’s Grove. If you enter an area and don’t see any of these creatures, simply save your progress, exit the game, and reload it to force the enemies to respawn faster.
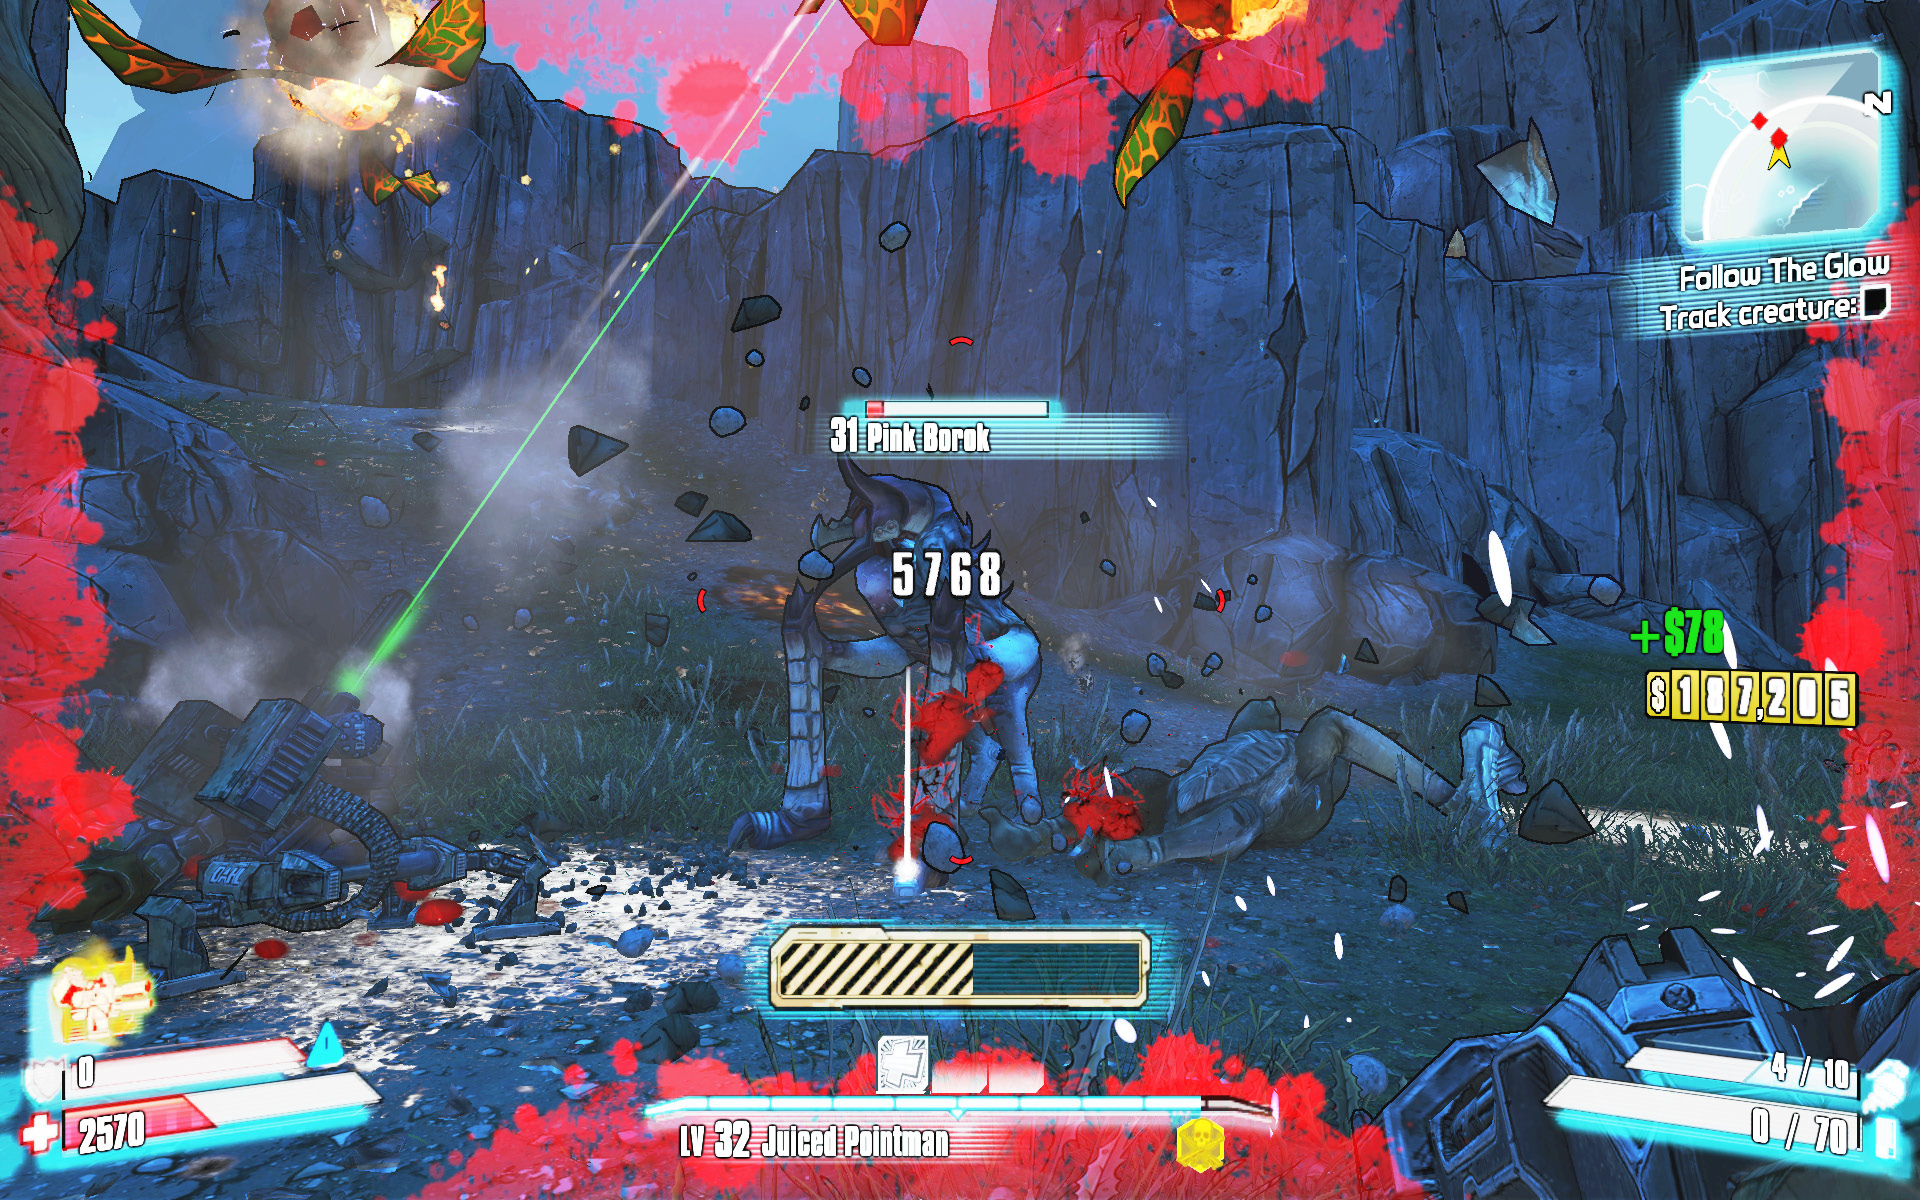
Pink Boroks (8): These are located beyond the cave leading to the west of Hunter’s Grotto, near the waterfall. They also frequent the grass in Ardorton Station, before reaching Bone Metal Camp.
Tailless Scaylions (8): Perhaps the most common of the rare creatures, Tailless Scaylions can be found in Ardorton Station and Candlerakk’s Crag.
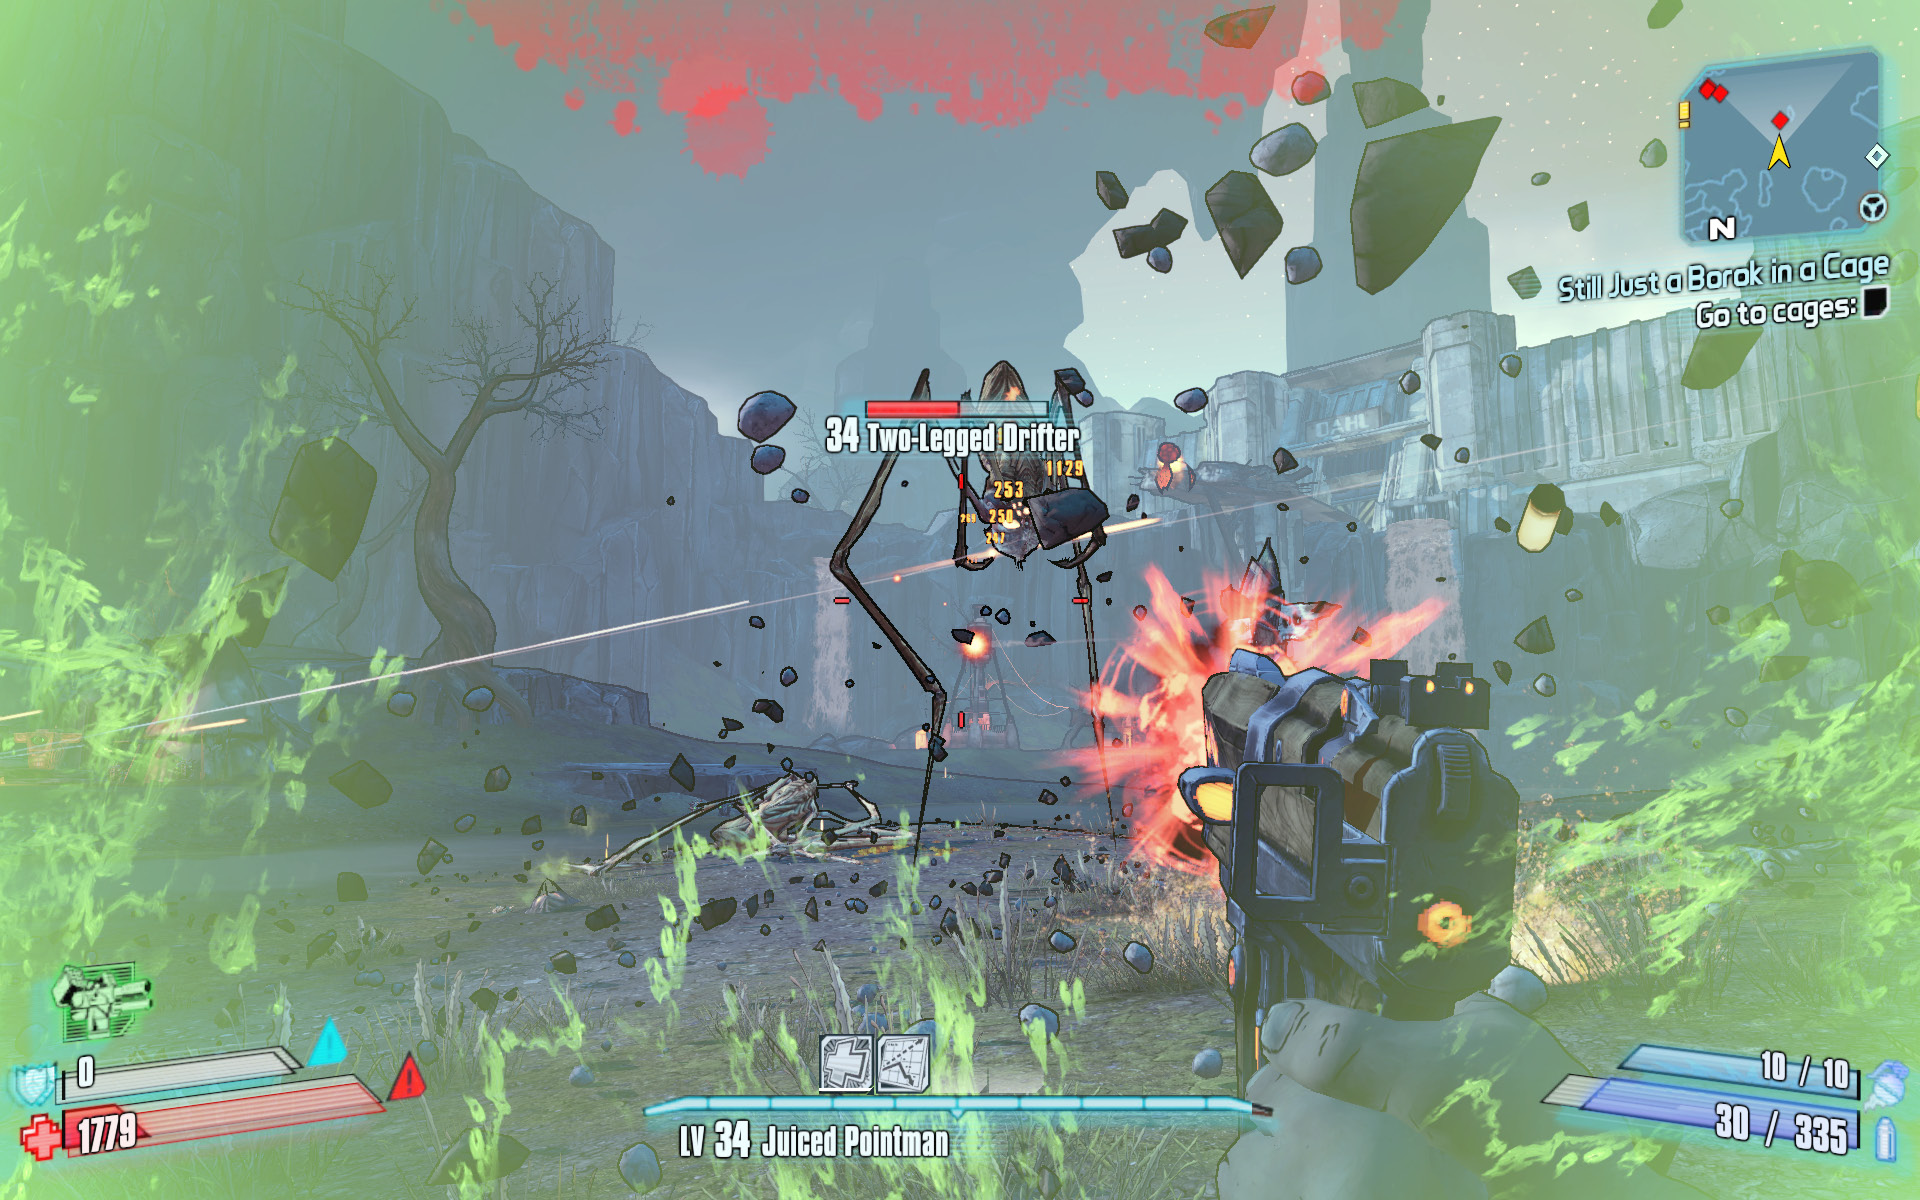
Two-Legged Drifters (6): These strange drifters aren’t as rare as one might expect. Search the area around the Aegrus Sophisticates’ Lodge in Hunter’s Grotto for them.
Albino Skags (5): There are a few skags roaming in Ardorton Station, but the most likely place to encounter an Albino Skag is in the caves of Scylla’s Grove.
Slagged Spores (4): These very rare creatures dwell in Hunter’s Grotto, Ardorton Station, and Candlerakk’s Crag, but you’re going to need luck on your side.
Candlerakk’s Crag
Candlerakk’s Crag is a rocky mountaintop locale where a Hyperion ship crash-landed long ago. Professor Nakayama now uses that ship to house his most diabolical creation yet, but just reaching it is half the challenge. Not for those with a fear of heights, Candlerakk’s Crag is comprised of a series of narrow trails carved into the side of a mountain. Savage camps dot the edges of the mountain, and unique monstrosities lurk on the bluffs to the south. Whether you’re hunting man or beast, you’ll need to be careful where you step in Candlerakk’s Crag, as one wrong move can be your last.
Dangerous Beasts
| Enemy Family |
|---|
|
Savages |
|
Witch Doctors |
|
Spores |
|
Scaylions |
High Value Targets
| Enemy | Family |
|---|---|
|
Rouge |
Crystalisk |
|
Bloodtail |
Stalker |
 Cult of the Vault
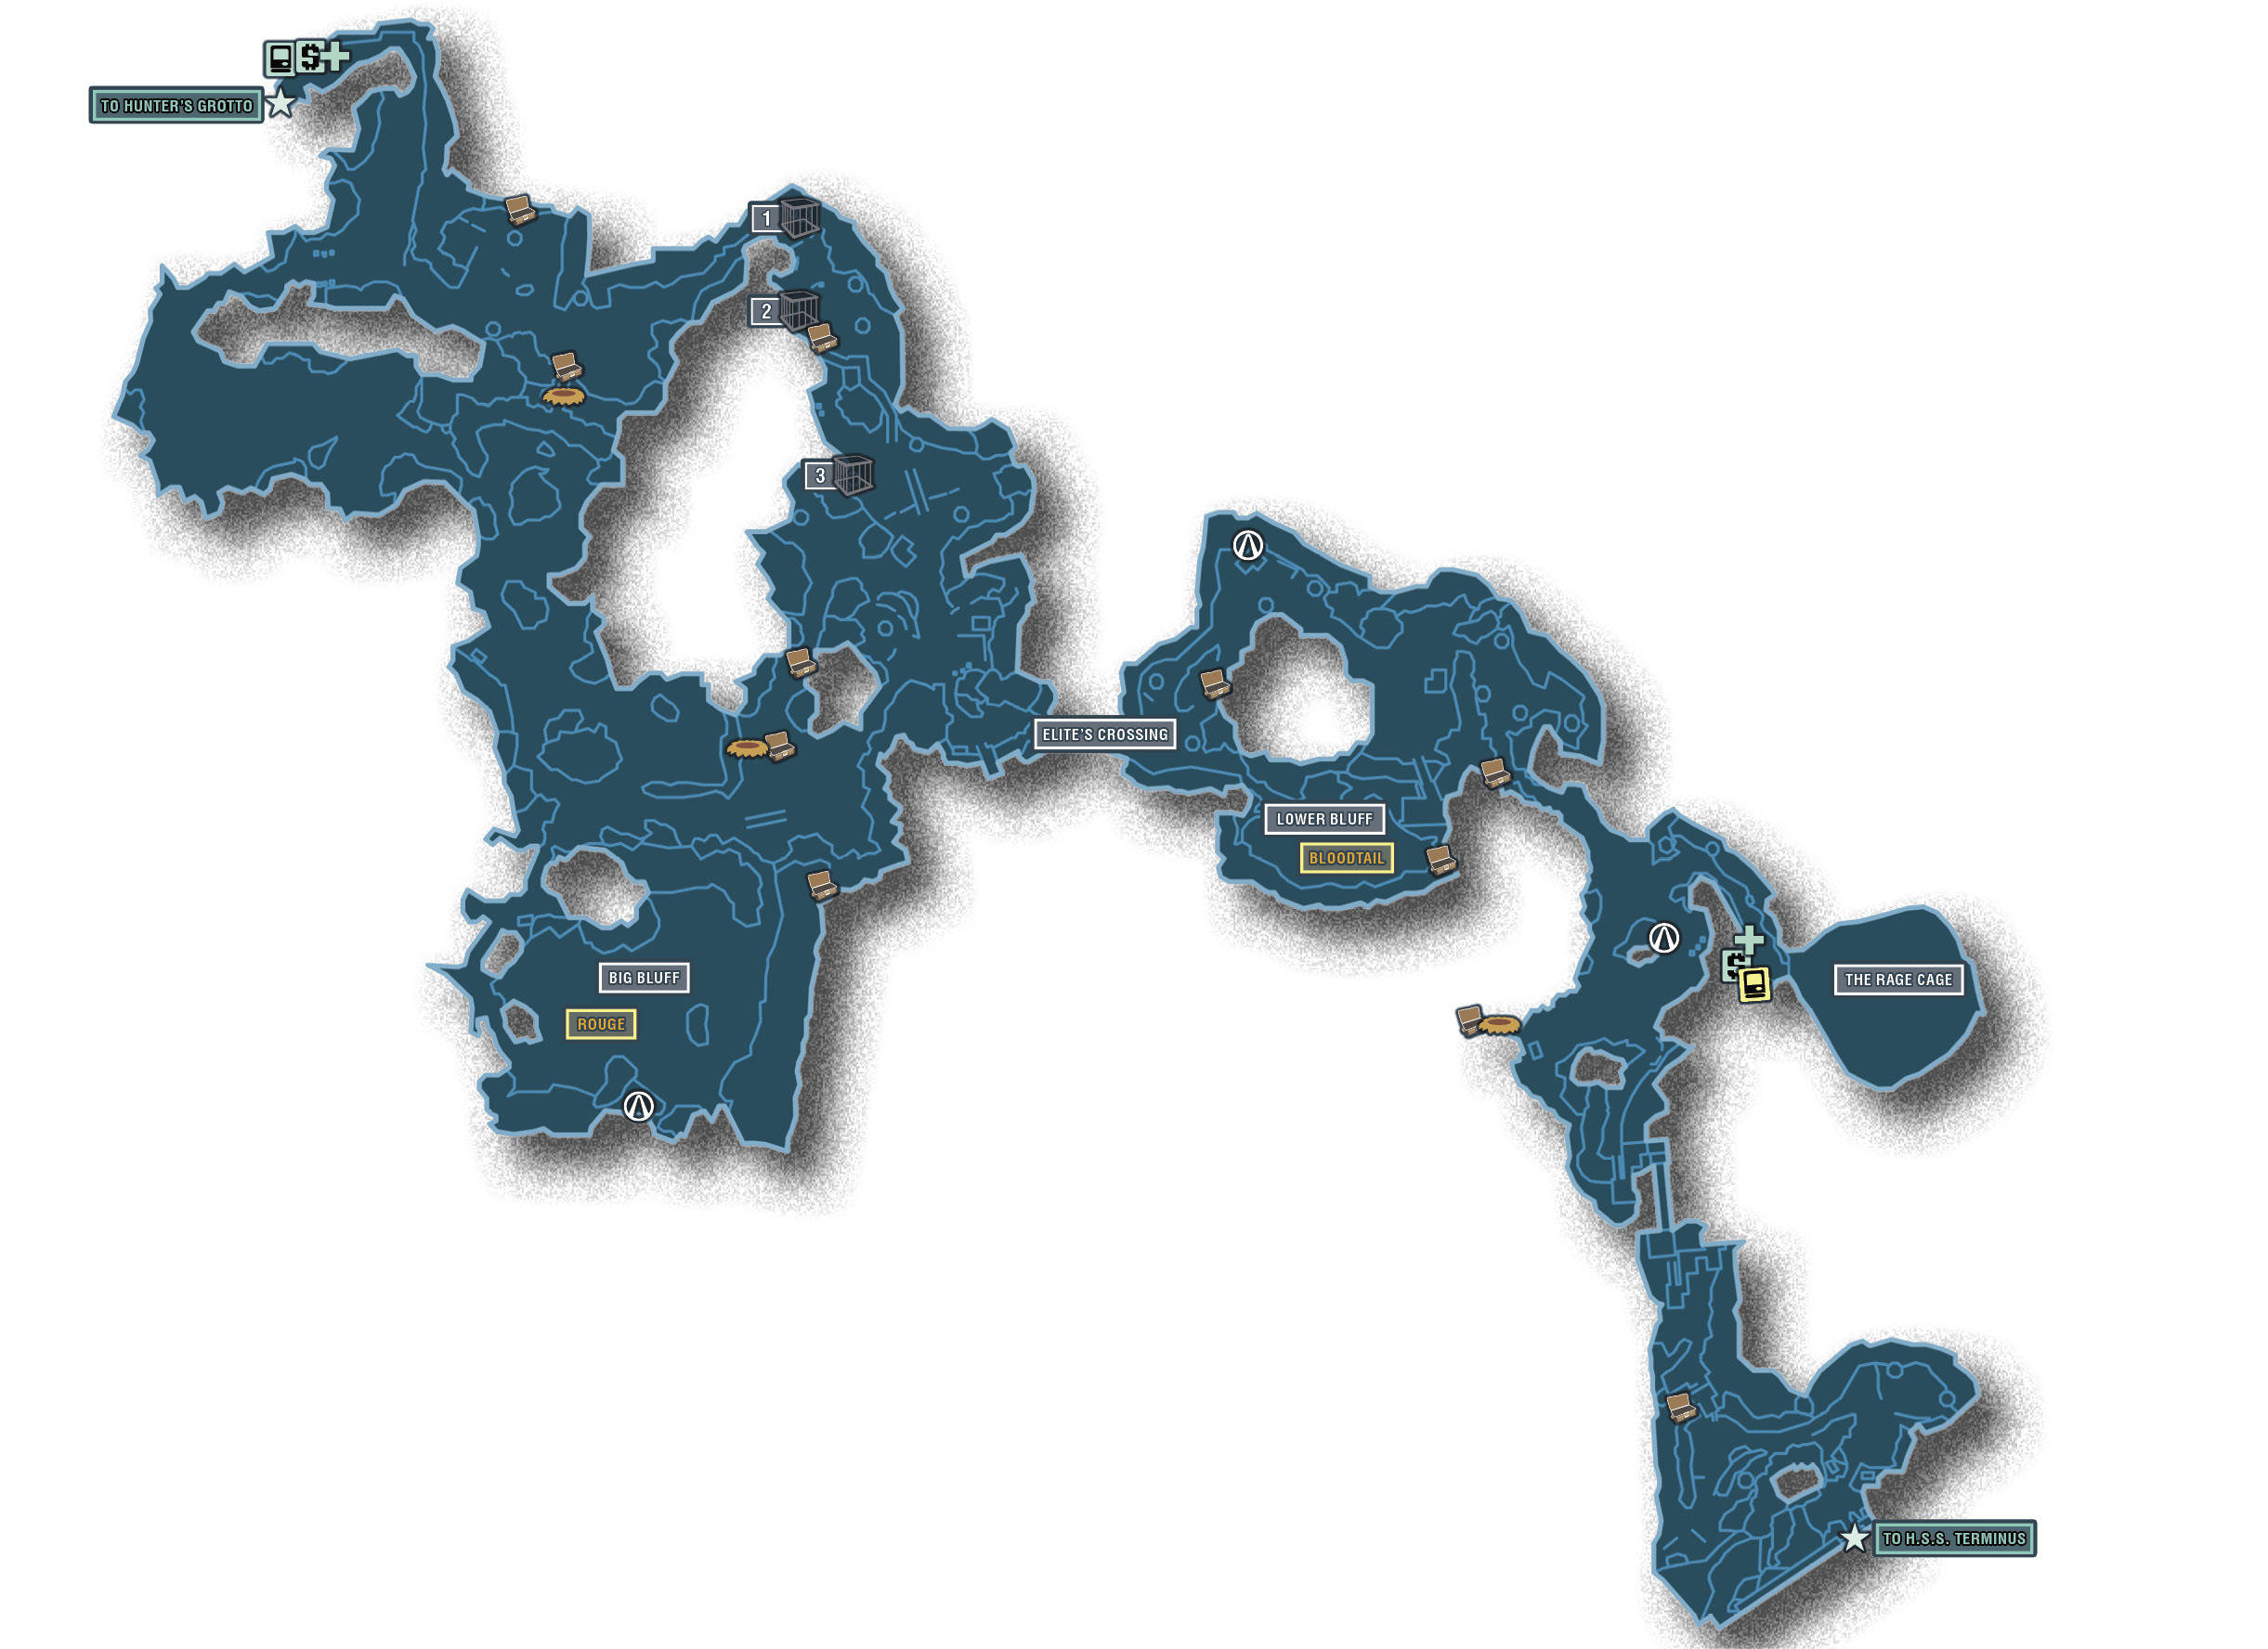
Make your way to Big Bluff in the southern portion of the region, where Rouge is located during the “Big Feet” quest. The symbol is to the right of the waterfall.
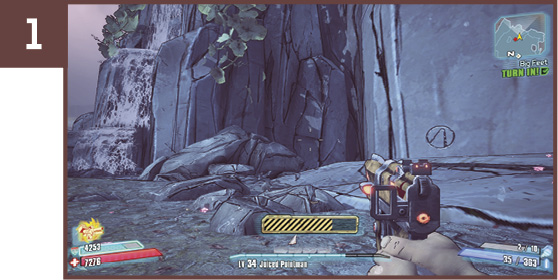
Cross the bridge at Elite’s Crossing, and head toward the large house to the left, near the cliff. The symbol is on the north side of the house.
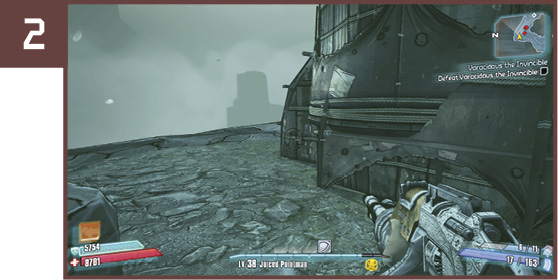
This Cult of the Vault symbol is on the eastern side of the large rock pillar in the center of the cave nearest The Rage Cage (where Voracidous lives) and the path leading to the H.S.S. Terminus.
 Cage Free
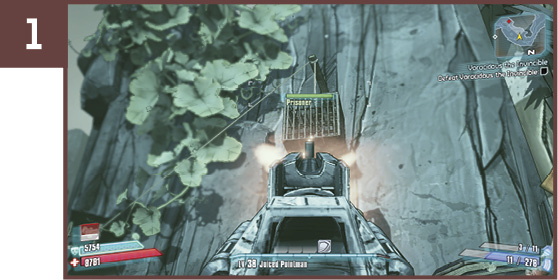
Follow the northern path up the very narrow ledge beyond the first village to the second. Shoot the bottom of the cage dangling above the hole in the cliff.
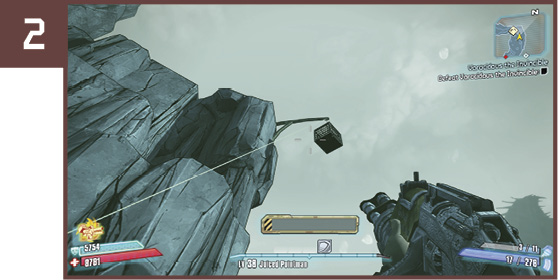
After shooting the first cage, turn around to spot a second one high above you to the north. It’s easy to walk past this one because it’s so high.
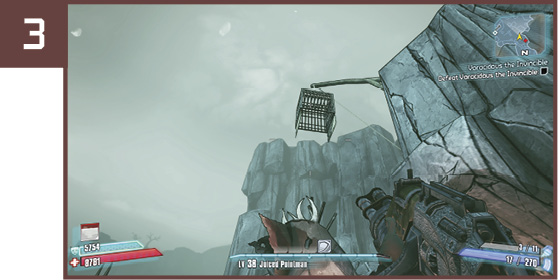
The final cage is just past the first two. It’s high above a village with a wooden bridge over the creek.
Nest Egg
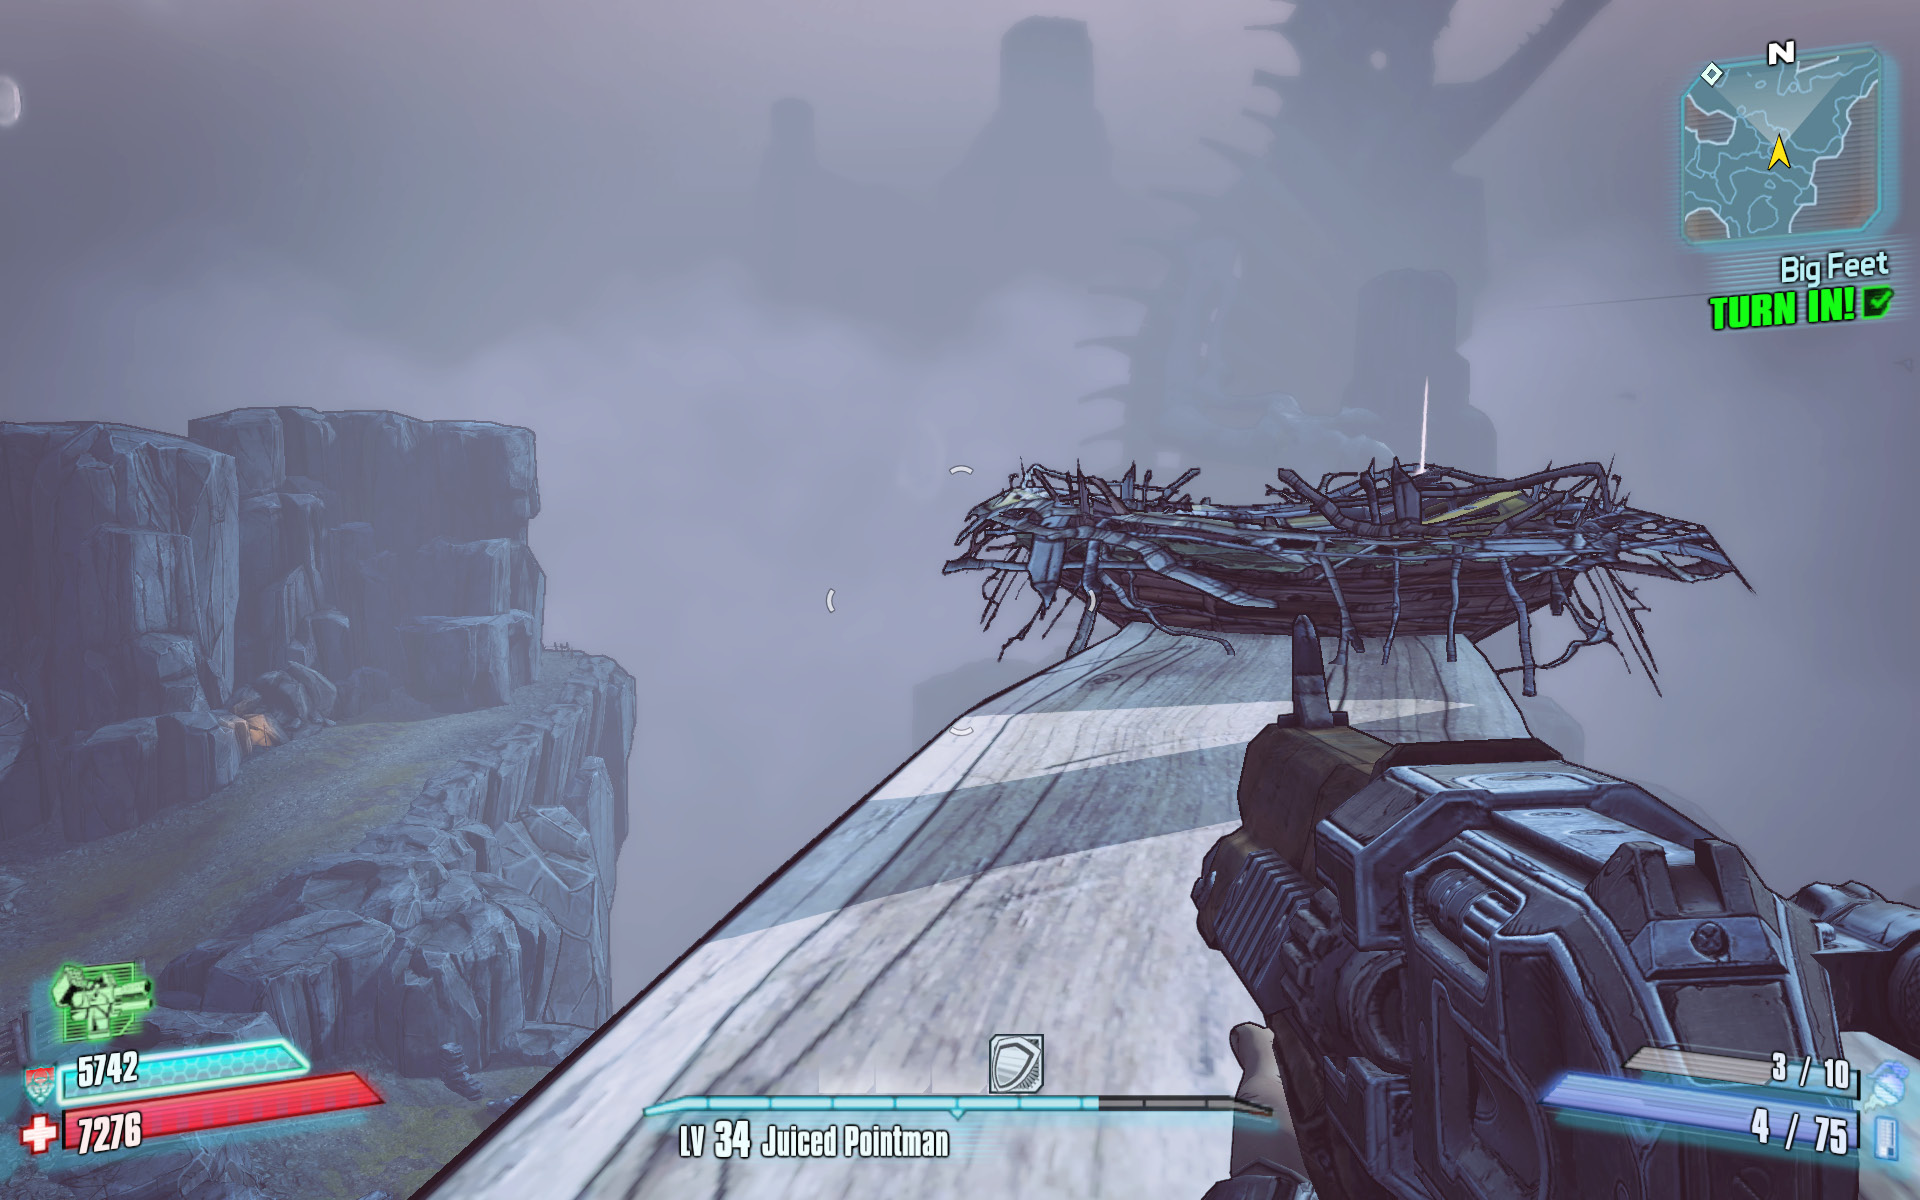
There are three massive bird nests perched on lengthy wooden logs in Candlerakk’s Crag. Locate each nest, walk out to it via the wooden path, and open the weapon chest inside. One is located in Lower Bluff, another is near Elite’s Crossing, and the third is closer to the Terminus, in the east. Each nest’s location is marked on the accompanying map.
H.S.S. Terminus
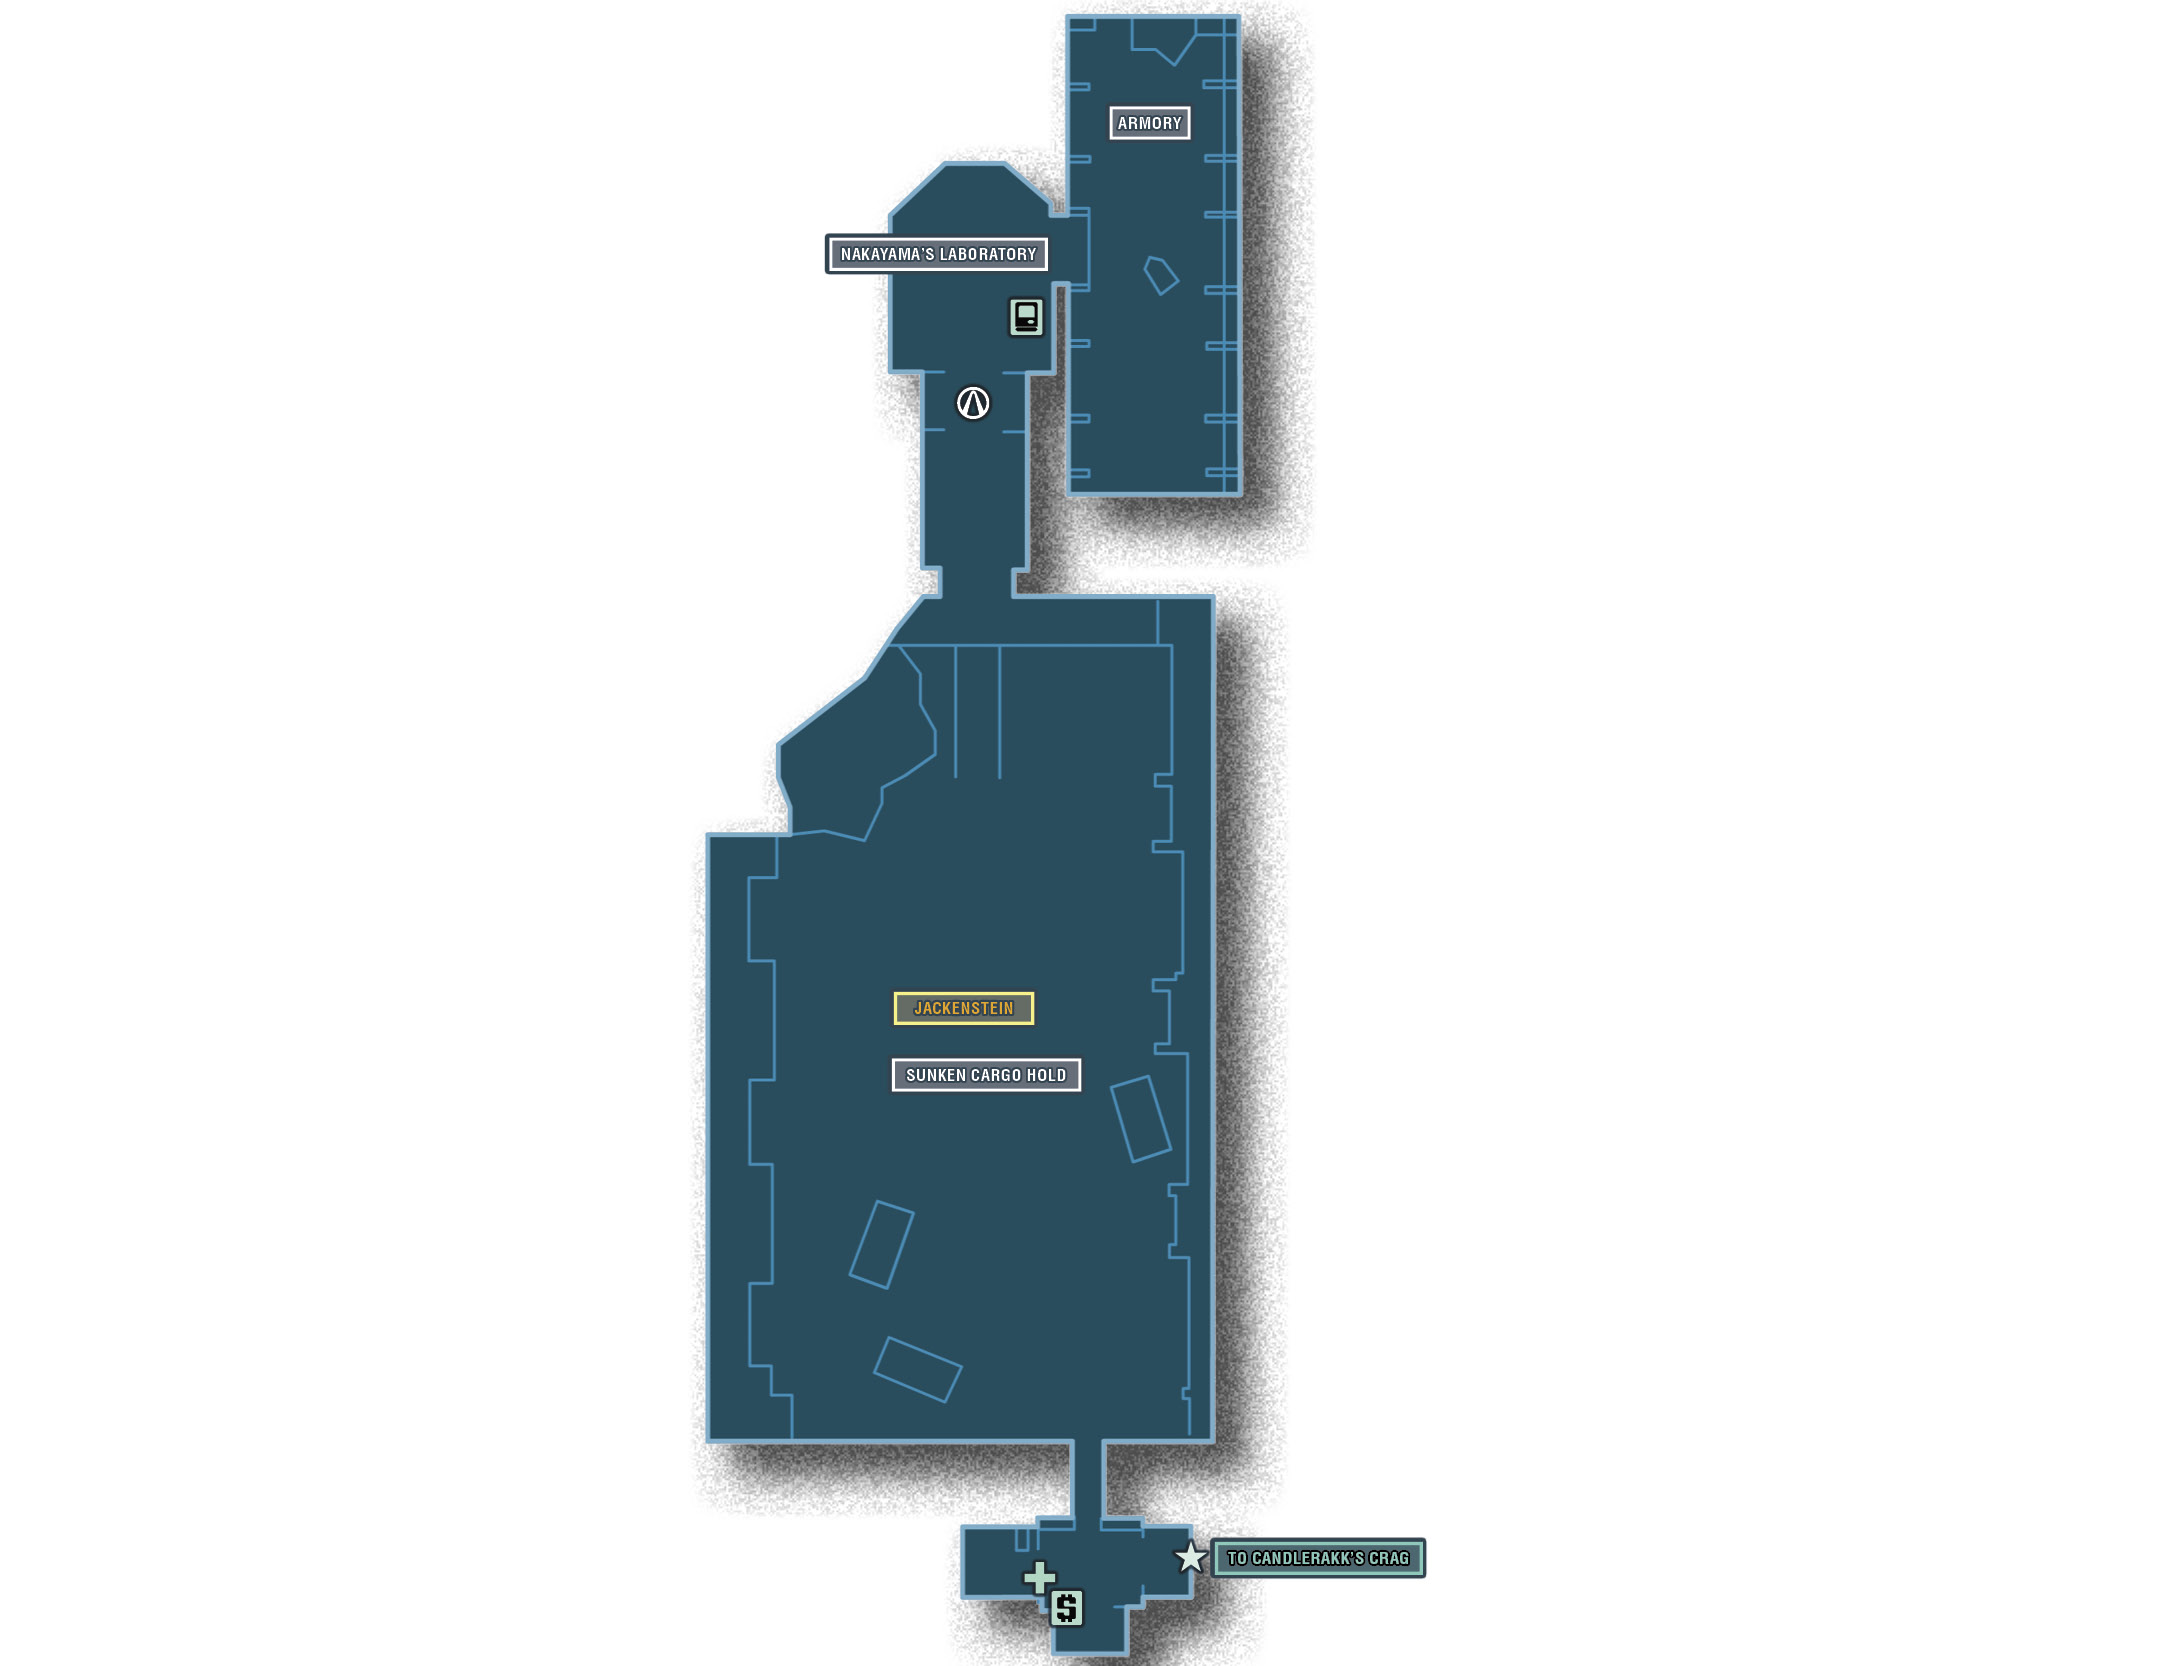
The H.S.S. Terminus is a crashed Hyperion ship, which Professor Nakayama now uses as a laboratory. The Sunken Cargo Hold is home to his most special creature, a genetically engineered abomination that stands between Nakayama’s foes and the valuable loot contained in the Armory. The ship isn’t large, but the risk and reward for those who enter it certainly are.
Dangerous Beasts
| Enemy Family |
|---|
|
Loaders |
High Value Targets
| Enemy | Family |
|---|---|
|
Jackenstein |
N/A |
 Cult of the Vault
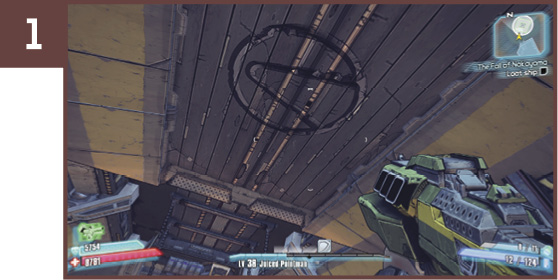
Ascend the stairs after killing Jackenstein, and start down the hallway toward the Armory. The Cult of the Vault symbol is on the ceiling in the hall as you enter Nakayama’s Laboratory.