
Borderlands 2 Game of the Year Guide Tiny Tina's Assault on Dragon Keep
The Sword in the Stoner
|
 Mission Briefing
| Level | Money | XP | Gear |
|---|---|---|---|
|
32 |
— |
8845 |
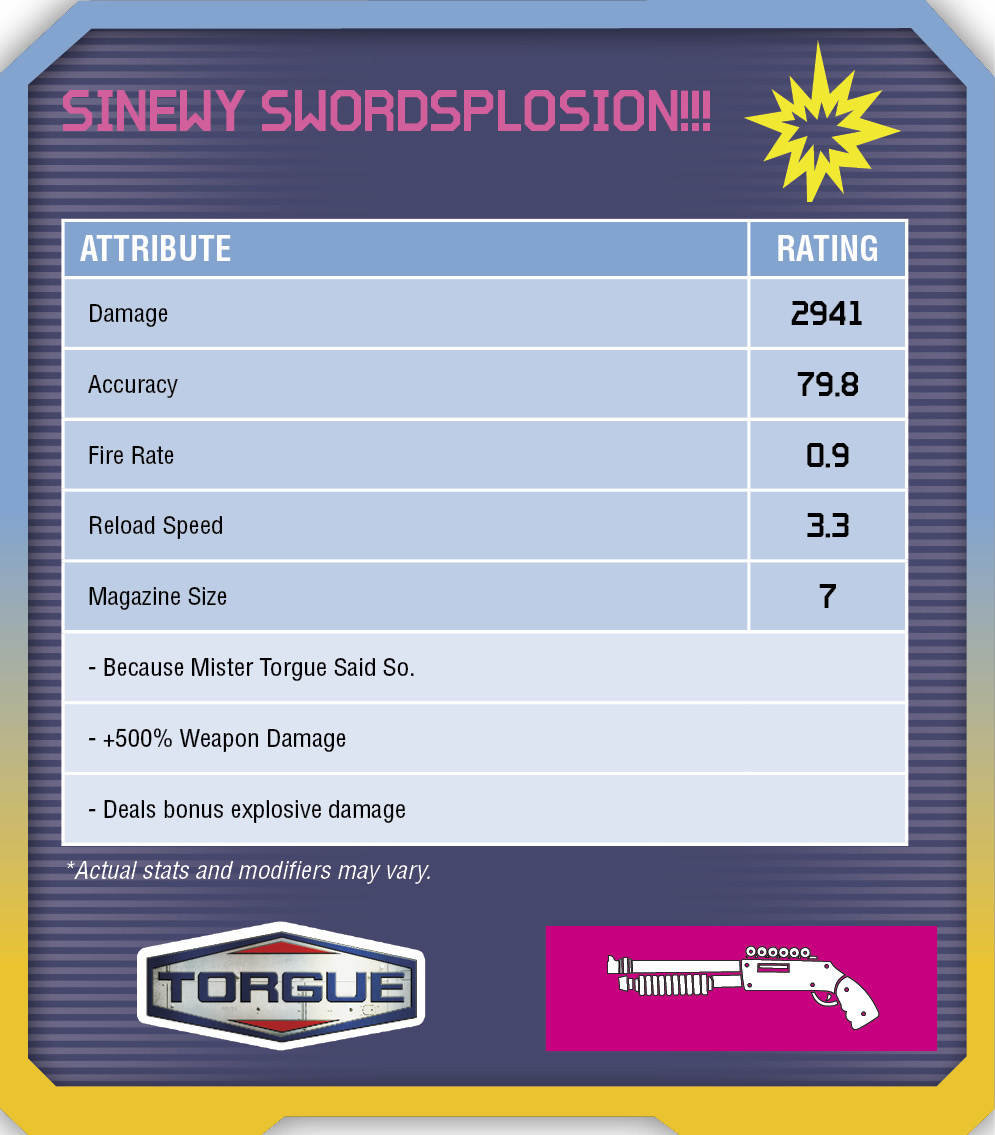
SWORDSPLOSION!!! (Magenta Shotgun) |
*Money and XP may vary based on player’s level at start of mission.
The Once and Future King
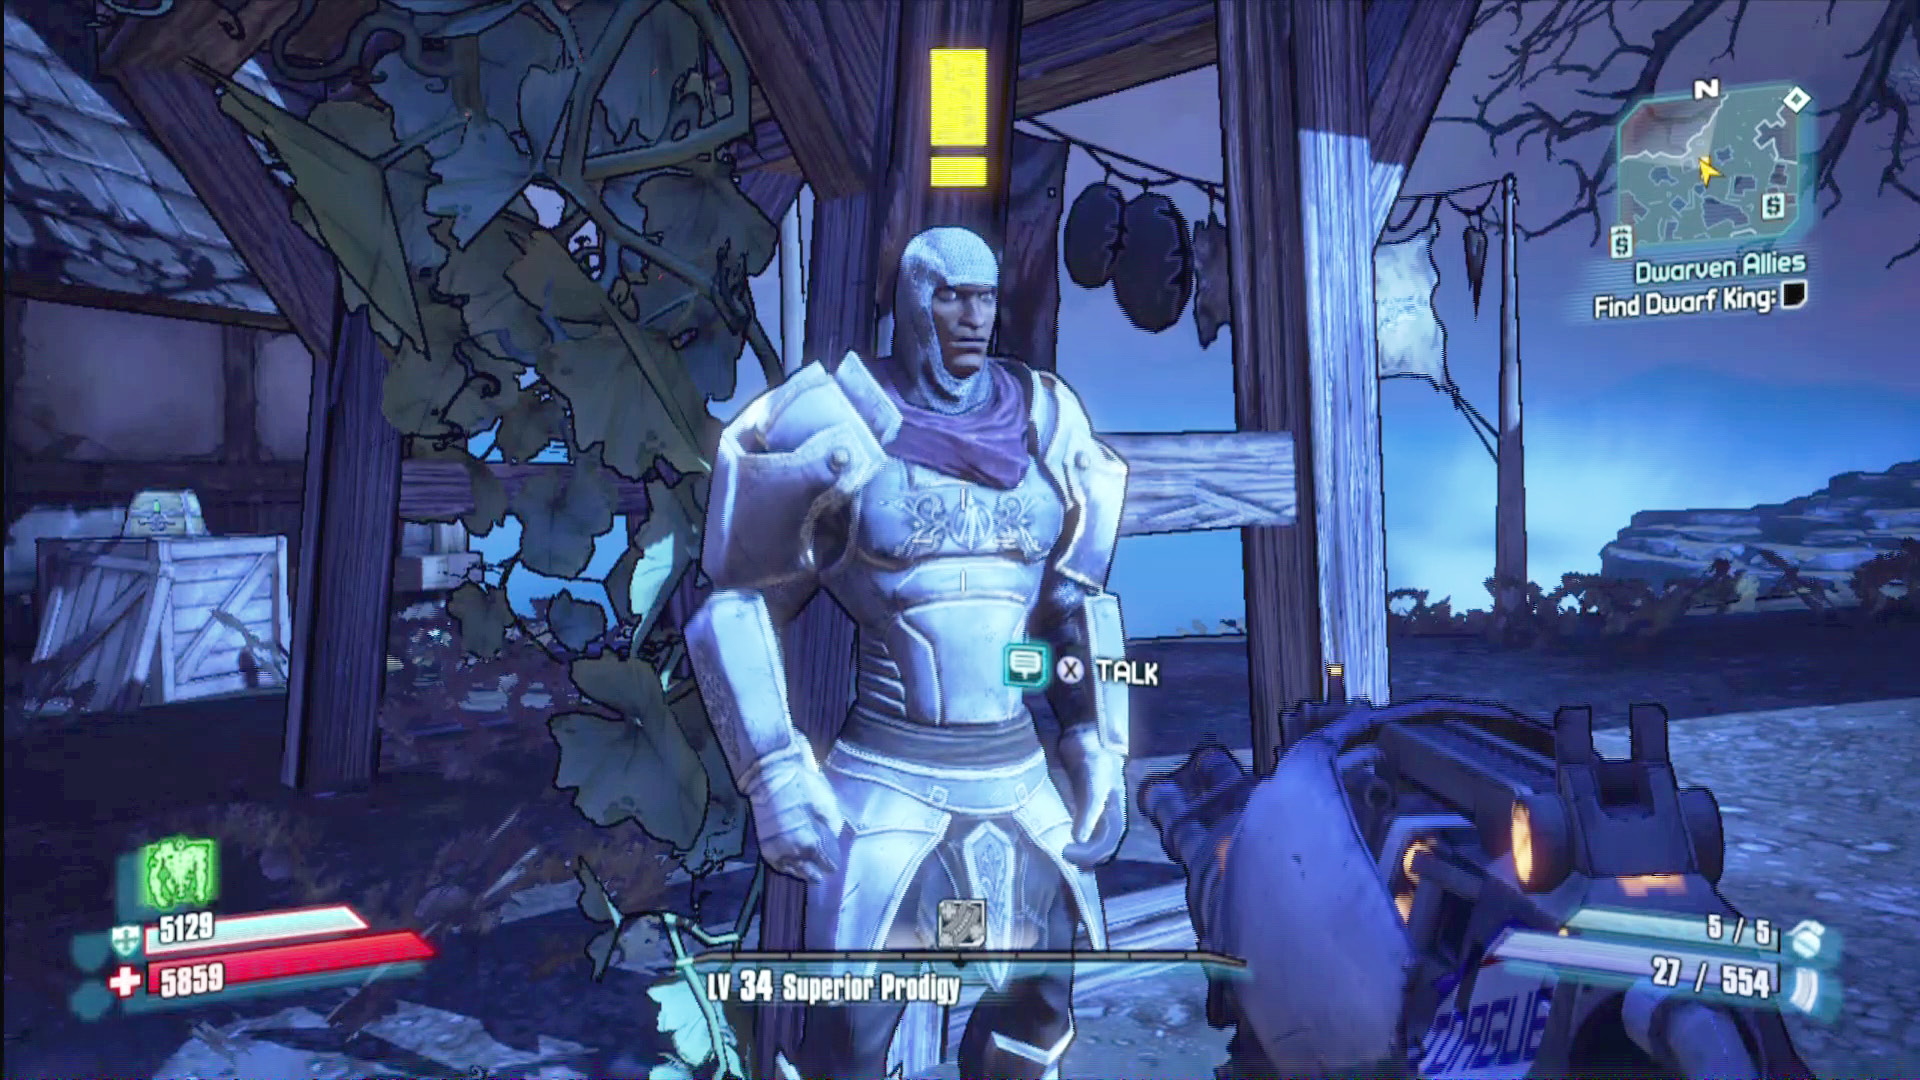
You can find Roland hanging out halfway between Moxxi’s Grog & Girls and the entrance to The Forest.
Technically, this should probably be covered in the next section, as this quest isn’t accessible until Roland returns to Flamerock after kicking off the “Dwarven Allies” mission. But the reward for this quest could make a big difference in the challenges ahead, so it’s worth putting “Dwarven Allies” on hold and warping back to Flamerock as soon as you arrive at the Mines of Avarice.
The Unmotivated Golem is resting as a pile of rubble in front of the Temple of Unwarranted Self-Importance, in the southern part of the Unassuming Docks. When you pull the sword, the golem comes alive and attacks. Beat it down, and you’ll have another brief window to pull out the sword before the golem rises again. Repeat the process of knocking it down, pulling the sword out a little bit farther, and resuming the fight until the sword is all the way out.
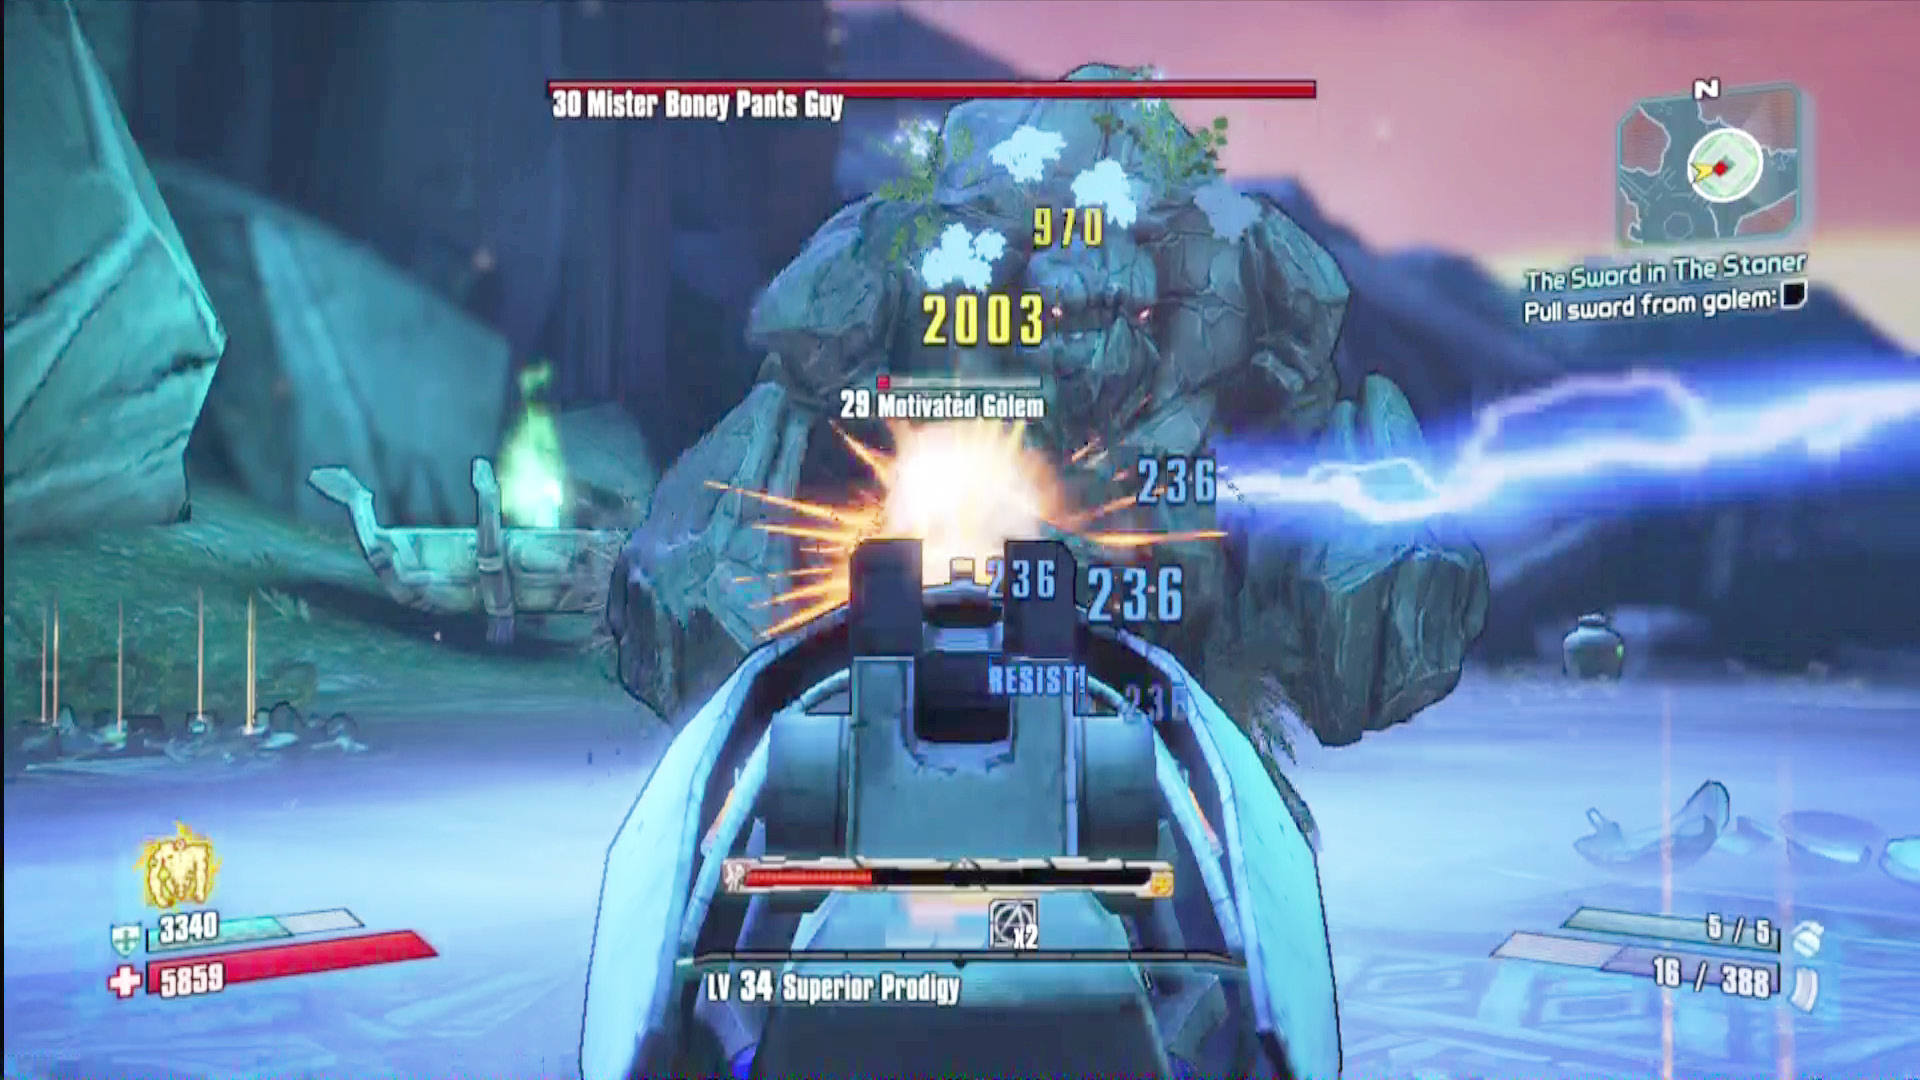
The golem is highly resistant to shock and incendiary damage. Explosive and corrosive guns work best.
Each time you pull the sword, the golem becomes more upset, transforming from a Motivated Golem to a Perturbed Golem to an Enraged Golem. The evolutions make it faster, but its projectile attacks are always easy to dodge at long ranges, and it’s never quite fast enough to keep up with you. Just make sure to dash toward it as soon as it begins to fall so you won’t miss the chance to grab the sword. Once you’ve successfully yoinked the sword, you’ll need to return it to Roland before it transforms into a truly worthy reward.
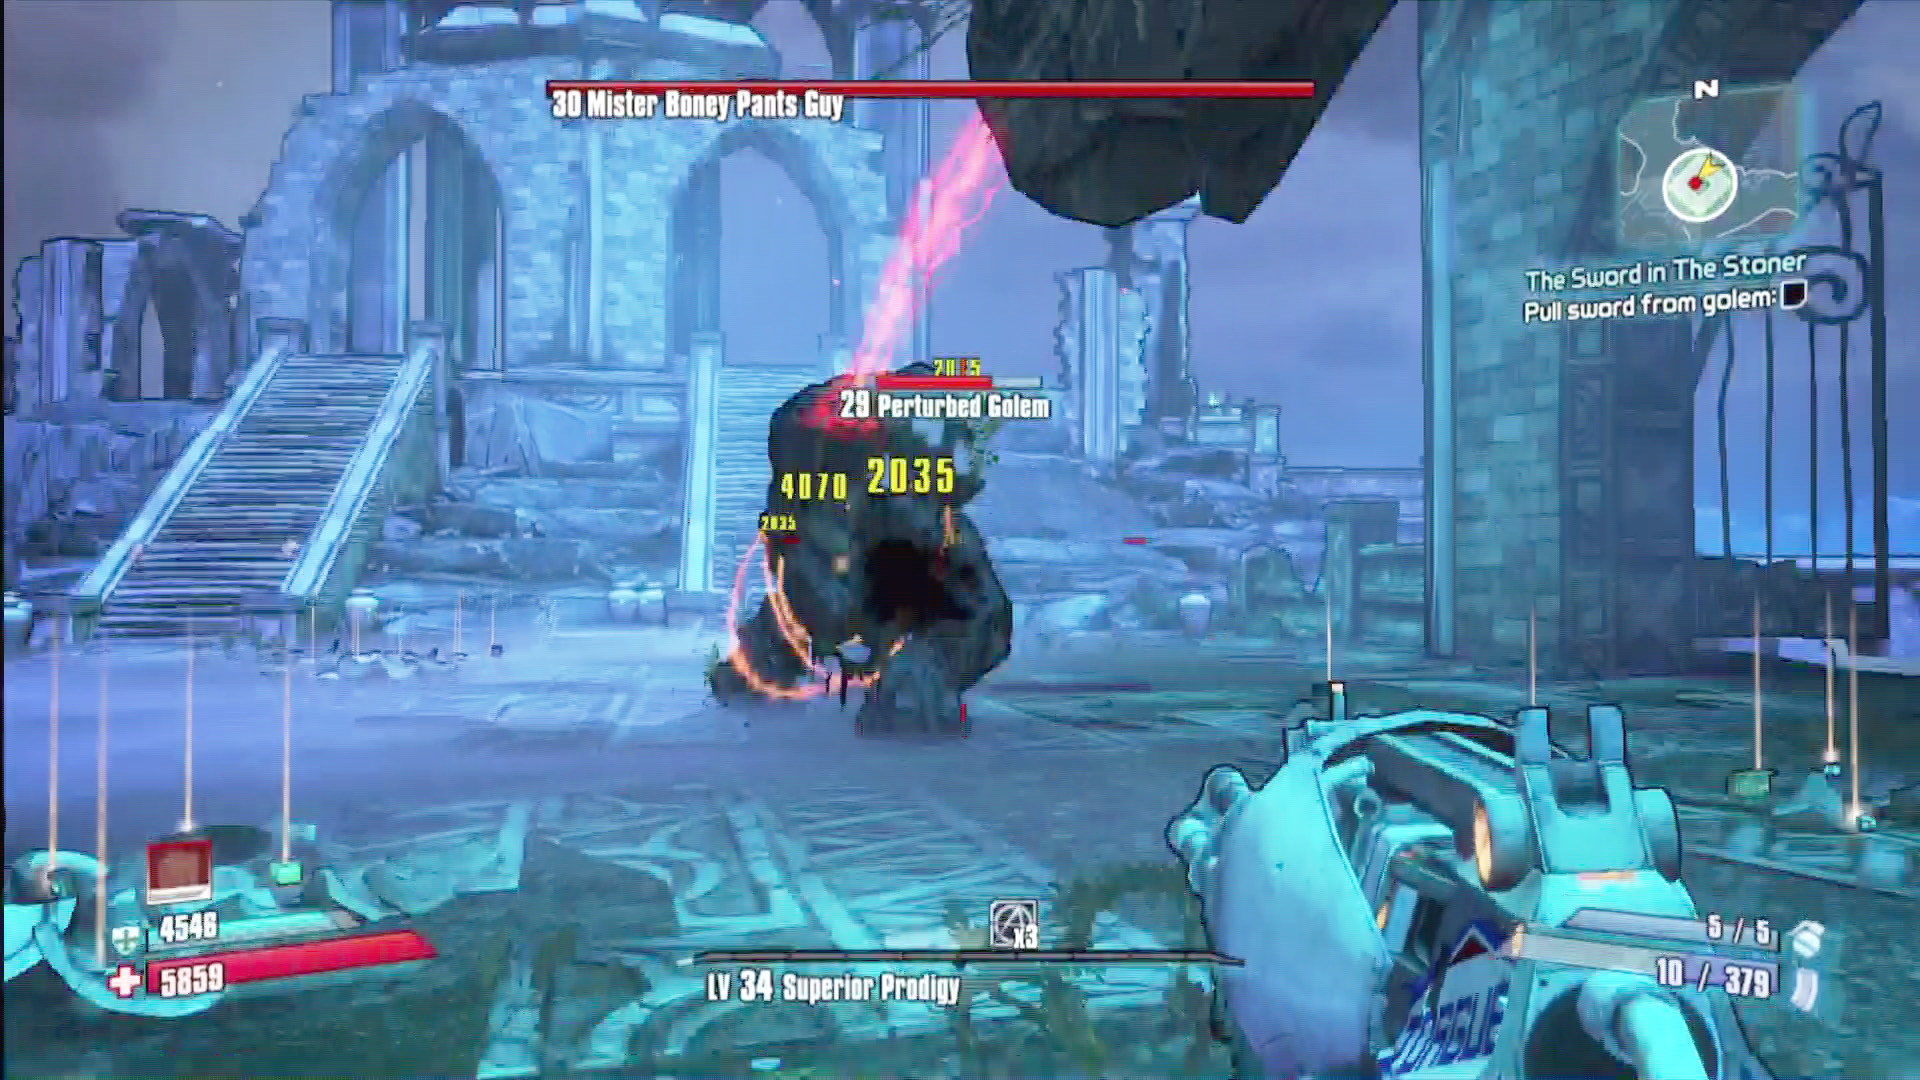
If you fight from a safe distance and are always ready to jump away from the golem’s ranged attacks, it will be hard-pressed to land a hit, no matter how enraged it is.
Mines of Avarice
The proud and tireless dwarven people work themselves to death in the Mines of Avarice, ever plotting their rebellion against the Handsome Sorcerer who has imprisoned them there. You’d think they’d make for a potentially valuable ally, but…*sigh* At least the mines still have plenty of things to shoot. And, hey, Claptrap!
Dangerous Beasts
| Enemy Family |
|---|
|
Dwarves |
|
Orcs |
|
Spiders |
|
Golems |
High Value Targets
| Enemy | Family |
|---|---|
|
Warlord Turge/Duke of Ork |
Orcs |
 Cult of the Vault
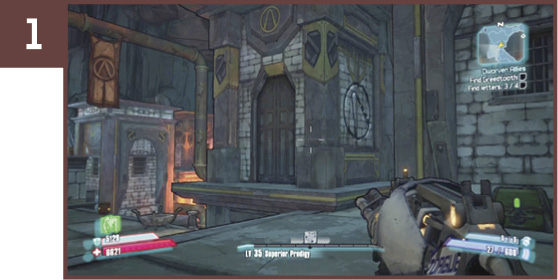
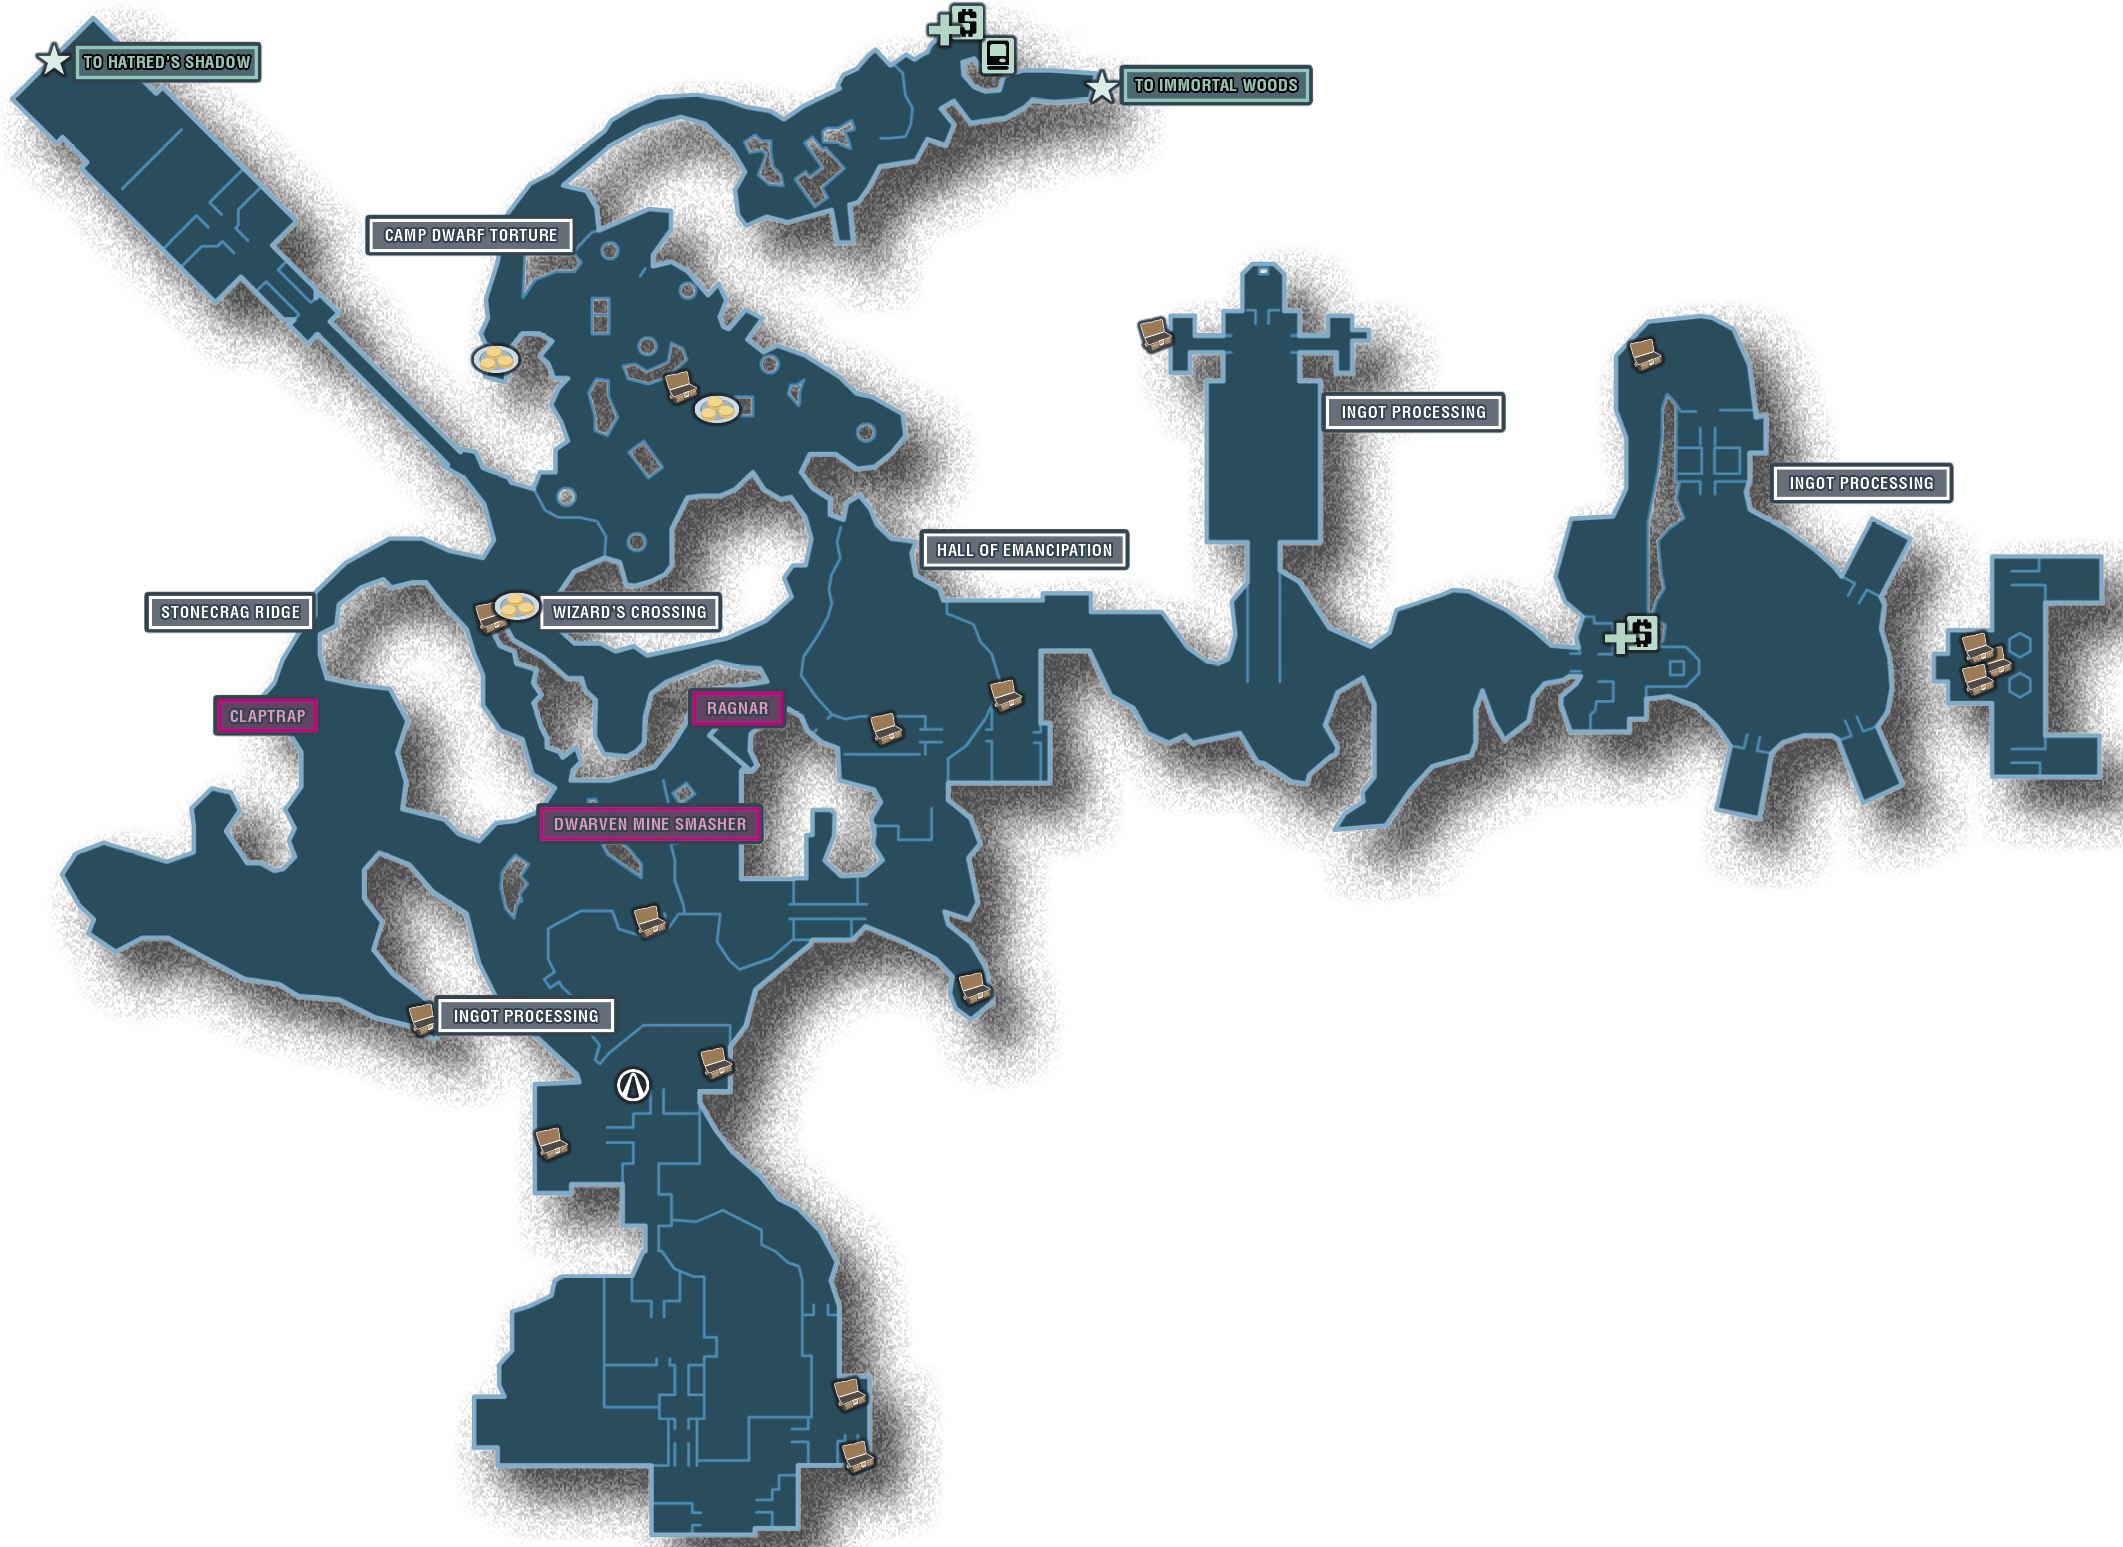
On your way to the second dwarven rune, pass through the stone arch into a dwarven compound. A small staircase to the left leads to a loot chest at the edge of the map. The vault symbol is between two buildings directly across from the chest.
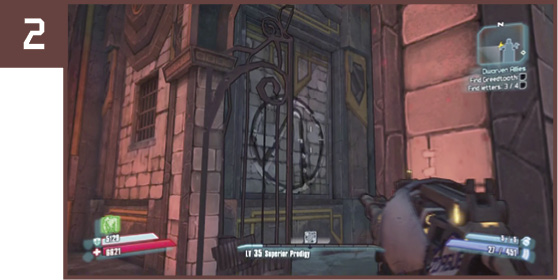
If you successfully solve the puzzle to earn the third dwarven rune (without punching it), you can find the vault symbol in the room with the dice chest. However, there’s a bit of a glitch here, so it may not appear if you weren’t online to download a temporary patch when you started your gameplay session.
The final vault symbol is in the area where you fought the Gold Golem, on the wall behind the northern building that juts out into the lava.
 Crumpets
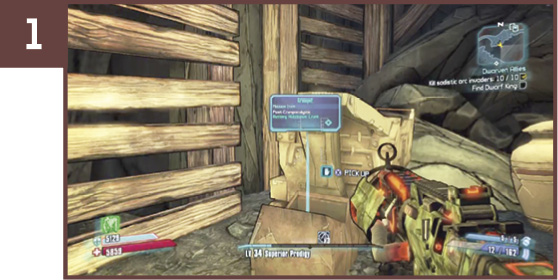
There’s a mine cart at the west end of the curved path that leads from the entrance to the mines to Camp Dwarf Torture. When you approach the mine cart, it rolls down the tracks toward the entrance of the area before finally crashing and allowing you to claim its crumpety cargo.
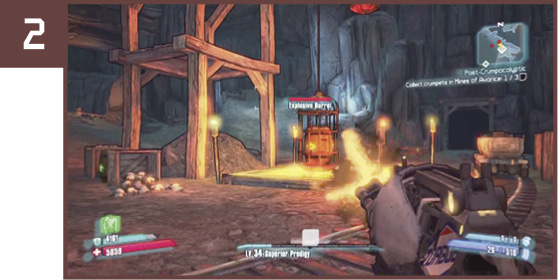
In the center of Camp Dwarf Torture, there’s a pulley system with a cage on either side. Shoot the explosive barrel in the heavier cage to equalize the weight and lower the cage full of crumpets.
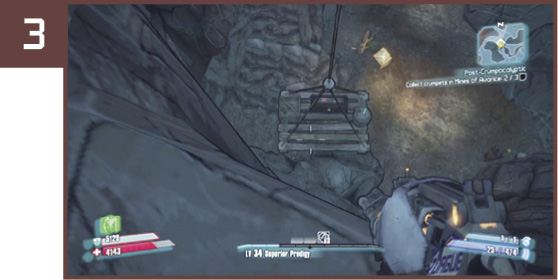
The final crumpet is in Wizard’s Crossing. If you follow the map, you may not see it at the marked location—that’s because it’s suspended on a platform high overhead, along with a dice chest. To reach it, you’ll need to circle west around the cliff and drop down on it from above.