Borderlands 2 Game of the Year Guide Optional Missions
Safe and Sound
|
 Mission Briefing
| Level | Money | XP | Gear |
|---|---|---|---|
|
17 |
$308 ($616 with Bonus) |
2903 |
Relic (Blue) |
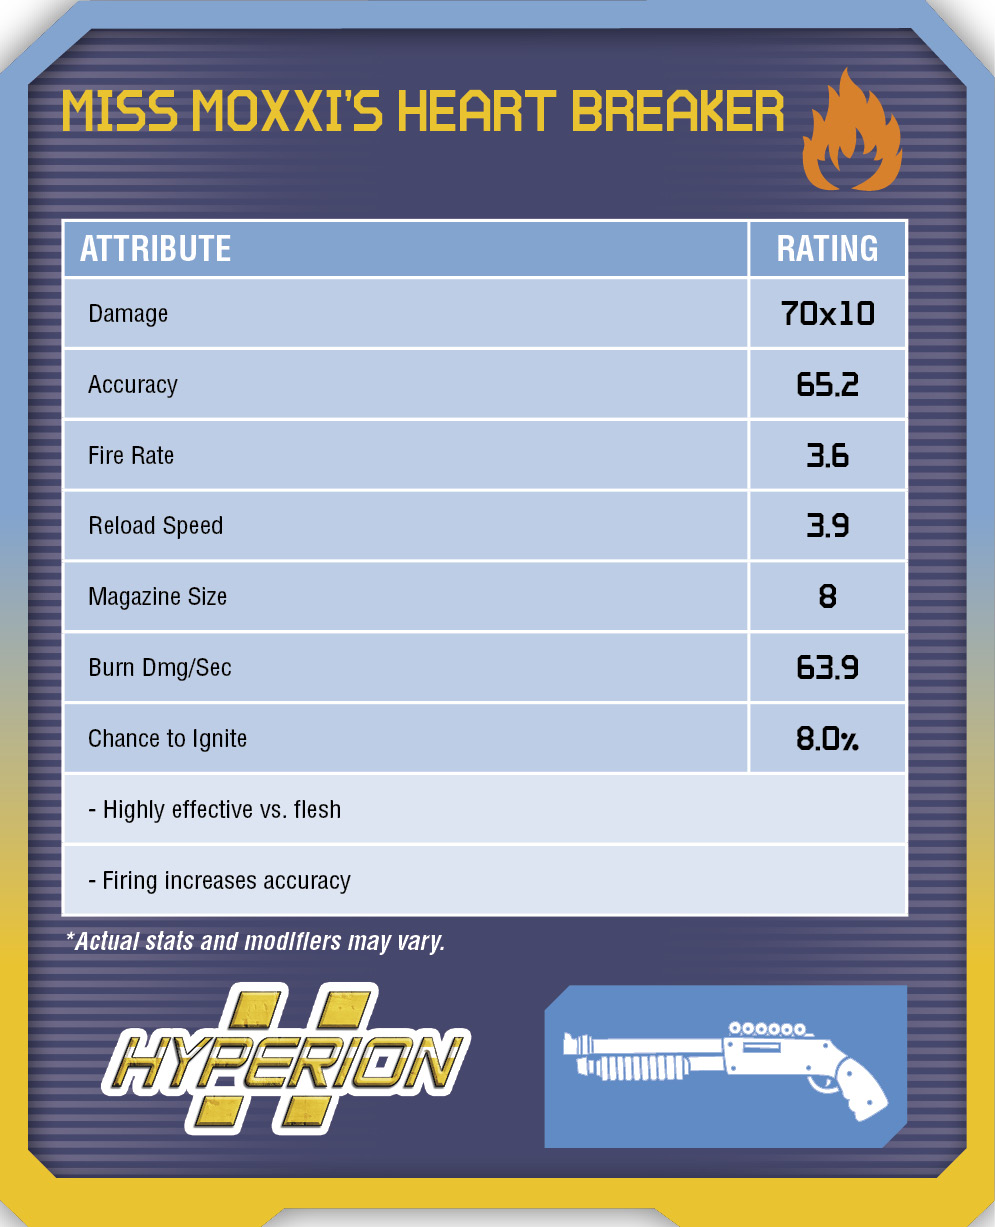
Mission Reward: Moxxi
| Level | Money | XP | Gear |
|---|---|---|---|
|
17 |
$308 ($616 with Bonus) |
2903 |
Shotgun (Blue) |
Sanctuary Hole
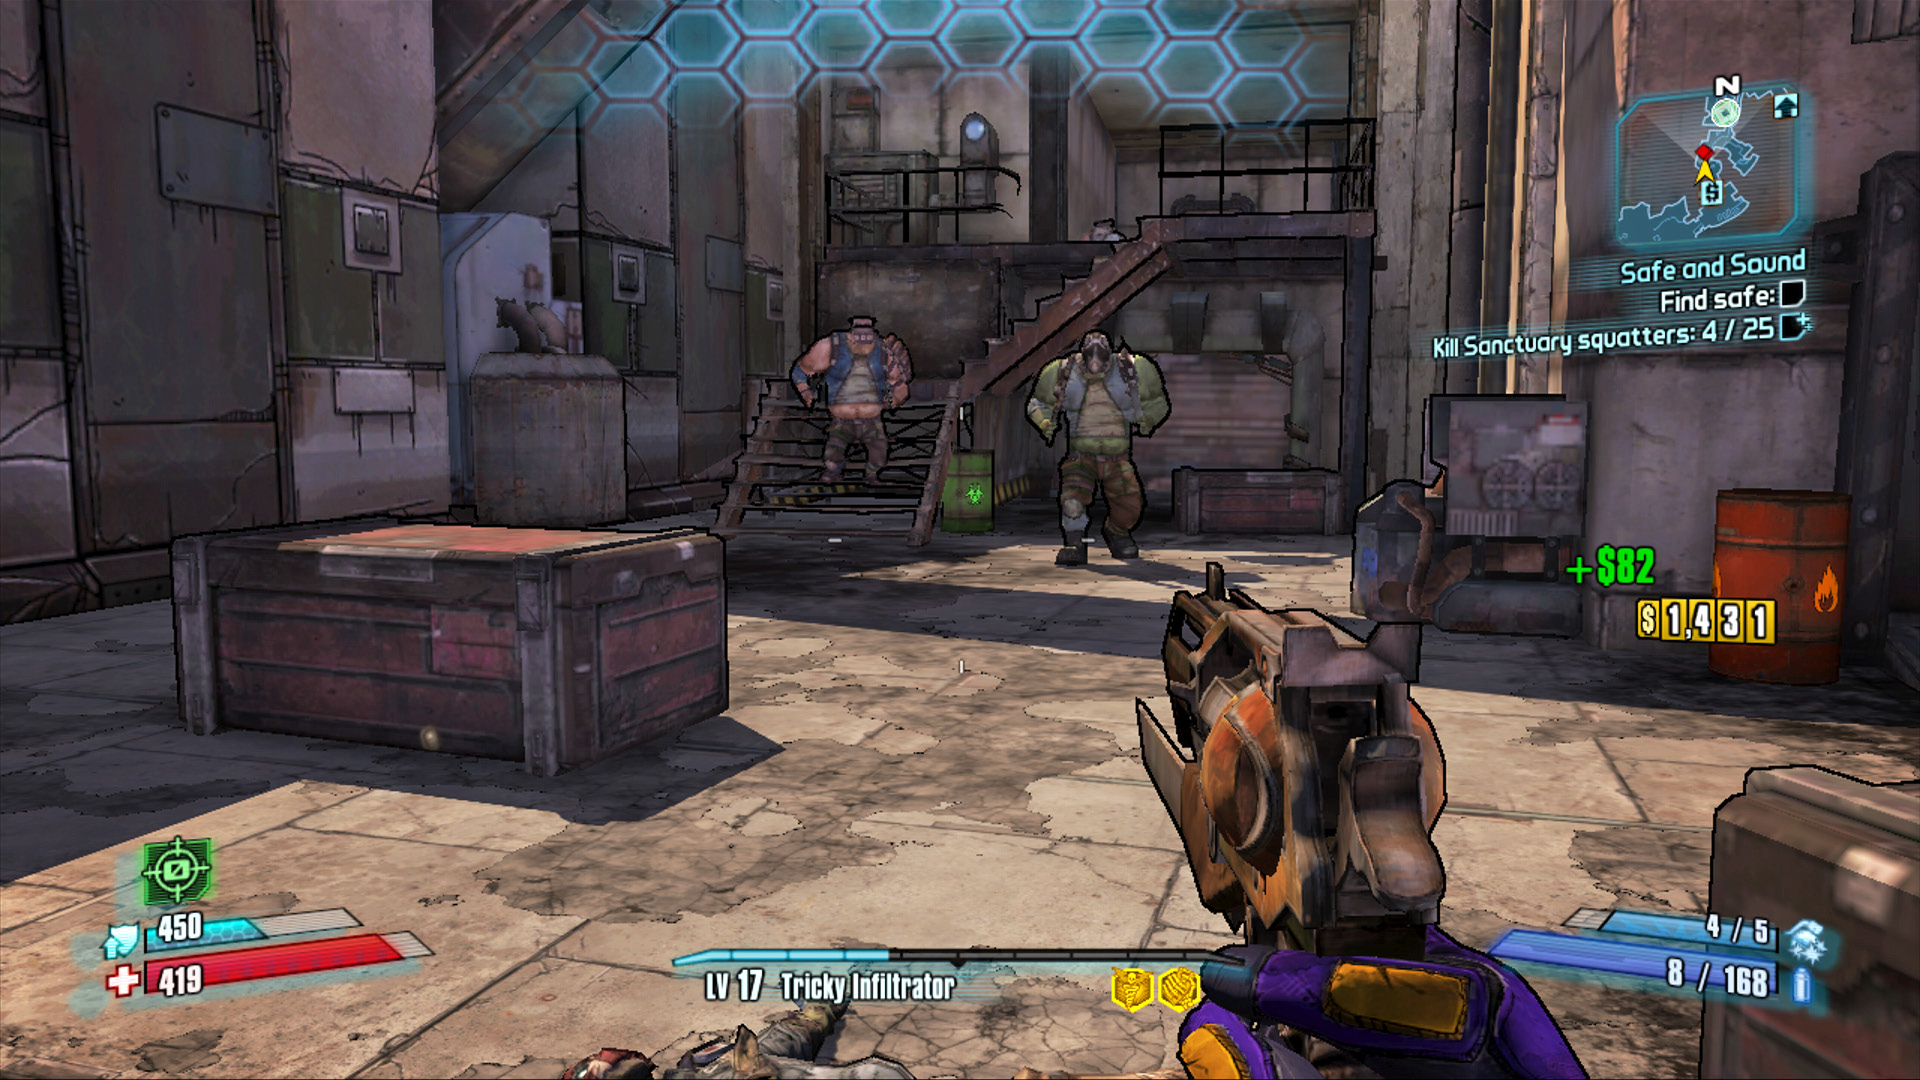
There’s not a lot of room to outmaneuver a Goliath at Sanctuary Hole. Consider using the barrels to kill them without sending them into a rage.
Marcus needs you to return to the former site of Sanctuary, now known as Sanctuary Hole, and explore the area in search of his missing safe. To get there, head to Three Horns Divide and drive east to the old city gates. Enter on foot to discover Sanctuary Hole and head north along what’s left of the sidewalks and catwalks to where the squatters are located. Numerous Goliaths and Marauders have taken up residence where the city once stood. Marcus will double your cash payout if you manage to kill 25 of them while exploring the city—Marcus is always willing to pay top dollar to see his guns at work.
Sanctuary Hole’s northern end contains two elevators that not only work, but also can be used to help you reach a valuable weapons cache inside a secure room near a New-U station. Hunt the remaining Marauders and other squatters in the area, and ride the elevator (or leap) down to the walkway near the transition to Caustic Caverns. Marcus’ missing chest had fallen farther than he thought, so you must descend into one of the deadliest places in all of Pandora to fetch it.
Caustic Caverns
Caustic Caverns is, as its name implies, a toxic, sprawling region filled with all manner of deadly beasts ranging from varkids to threshers to crystalisks and more. The entrance is near a garbage-laden varkid nest on the shores of the speckled Oozing Discharge region. Battle past the varkids and take a running leap over the pools of corrosive ooze to the stepping-stone islands leading the way eastward. The many Volatile Crystalisks in this area have a tendency to attack as a group if one of their members is provoked, so it’s often best to avoid engaging them out on the smaller islands. As with the Volatile Crystalisks in The Fridge, it’s possible to take them out with three quiet critical melee strikes, but circling around them is far trickier here given the limited real estate and poisonous fluids. It’s best to run past them.
Proceed eastward across the smaller islands and past the remnants of the overhead train tracks to a large landmass. This larger island is circular in shape, but the safe’s location can’t be reached from a clockwise approach; you’ll have to continue east and make your way in a counter-clockwise direction.
The safe has fallen onto the back of a massive crystalisk named Blue. As with the smaller Volatile Crystalisks, Blue is virtually indestructible aside from the crystals on his legs. Don’t give him a chance to attack: grab your rocket launcher and open fire on each of his legs. If necessary, switch to a fast-firing Jakobs pistol or Dahl or Torgue assault rifle and finish him off with a flurry of gunfire.
It turns out that Marcus’ prized possession was actually a collection of lewd photos of Moxxi, something she would like back. Moxxi is willing to give you a unique shotgun for your troubles if you bring the photos to her. Not wanting to miss out, Marcus promises you a Relic if you bring them to him. The choice is yours.