
Borderlands 2 Game of the Year Guide Optional Missions
Splinter Group
|
 Mission Briefing
| Level | Money | XP | Gear |
|---|---|---|---|
|
13 |
— |
1820 |
Shotgun (Blue) |
Bloodshot Stronghold
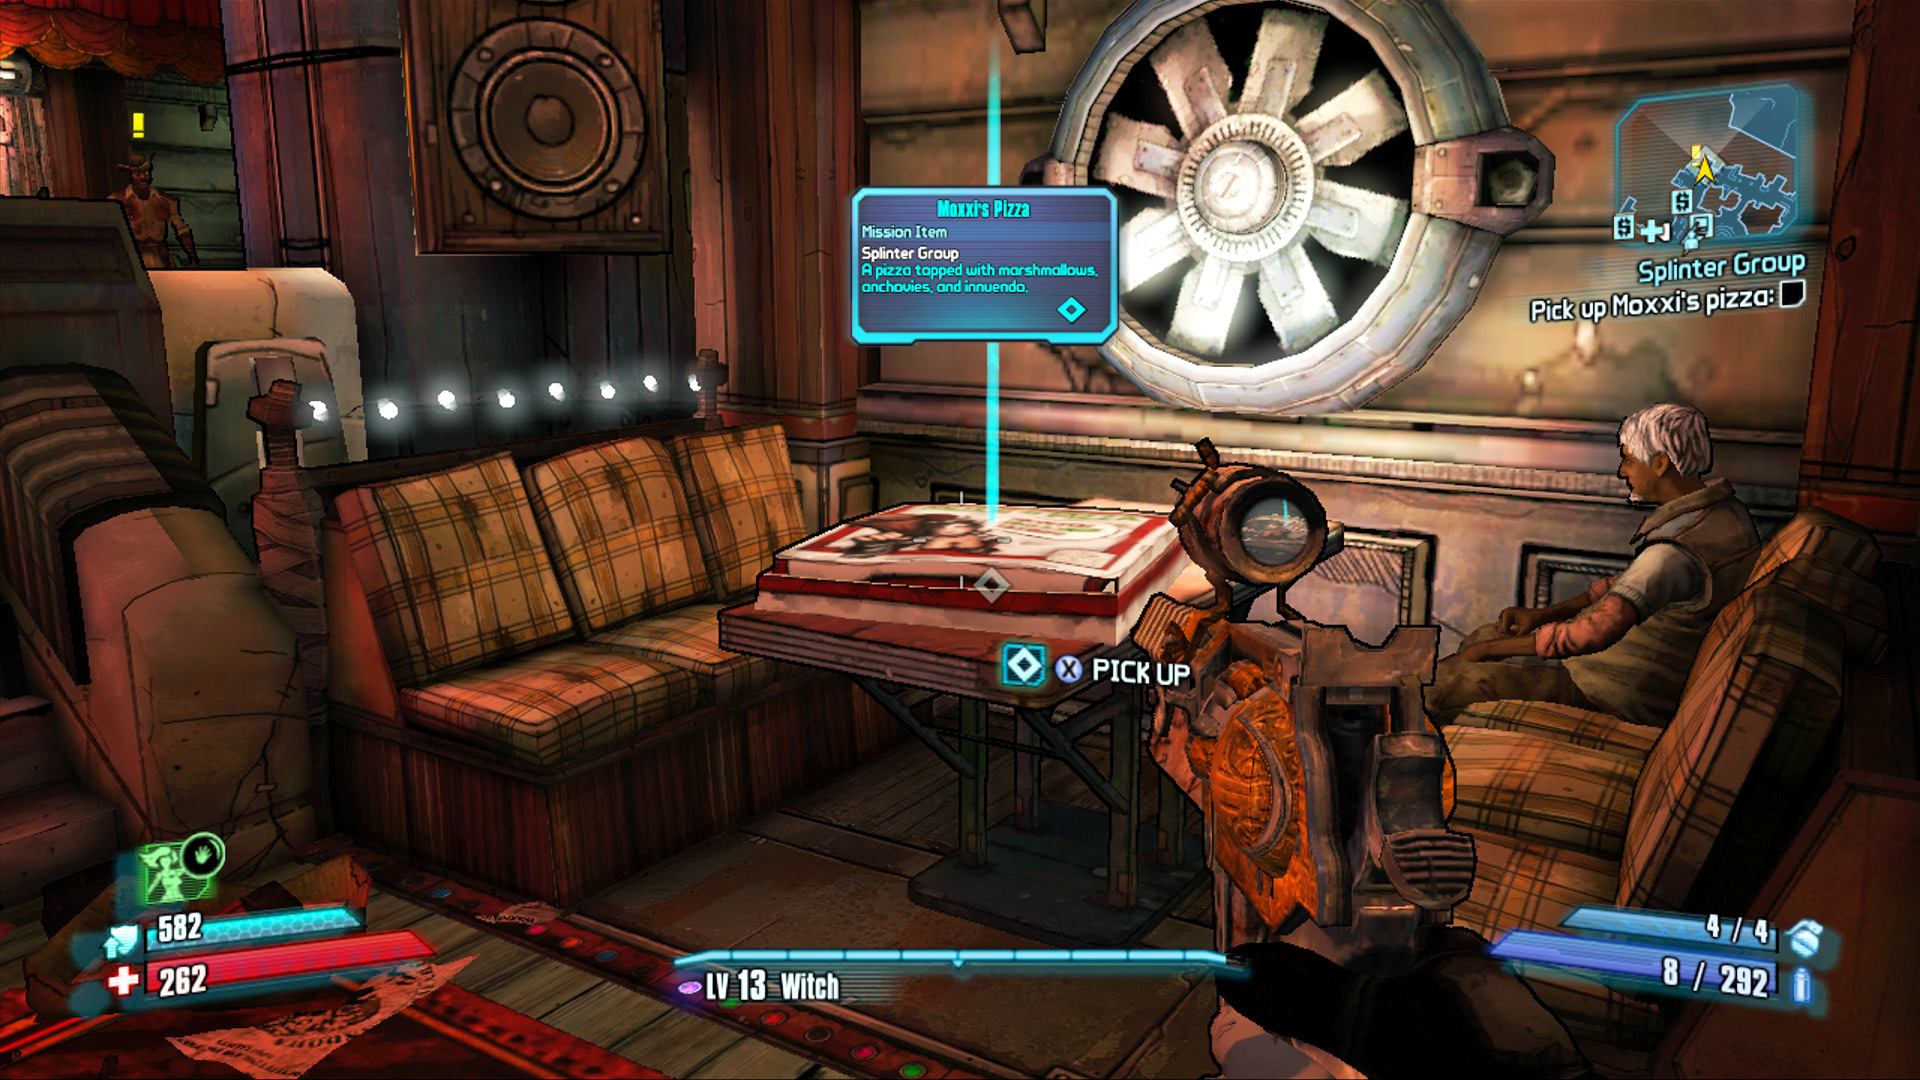
Cheese pizza: warming mutant hearts since 1987.
Patricia Tannis not only knows where the mutant escapees have fled to—the sewers under Bloodshot Stronghold—but she also knows the only way you can enter the area is by impersonating a pizza delivery person. Head over to Moxxi’s Bar and collect the pizza from the table. Use the Fast Travel station to return to Bloodshot Stronghold.
Fight your way north past the Nomads and Badass Psychos through the first series of rooms to where the doors to the second large room are, just beyond the table with the first ECHO Recorder on it. This next section of the facility contains a large sewer trench running through the middle of the room from left to right—you likely splashed your way through the watery trench on the right during your initial visit to this area. Follow the sewer trench westward to an area that was previously off-limits.
Climb the ladder to exit the trench, and head north through the middle section of Bloodshot Stronghold. You’ll soon begin to encounter Field Rats, a wily form of mutant creature that resembles a rat in appearance but has the cunning of a far more intelligent being. Field Rats and Tunnel Rats move quickly and utilize cover far better than most humans you’ve encountered. Although you can often snipe their heads with a well-aimed shot, it’s often worth using an Action Skill, grenade, or nearby barrel to flush them out of hiding.
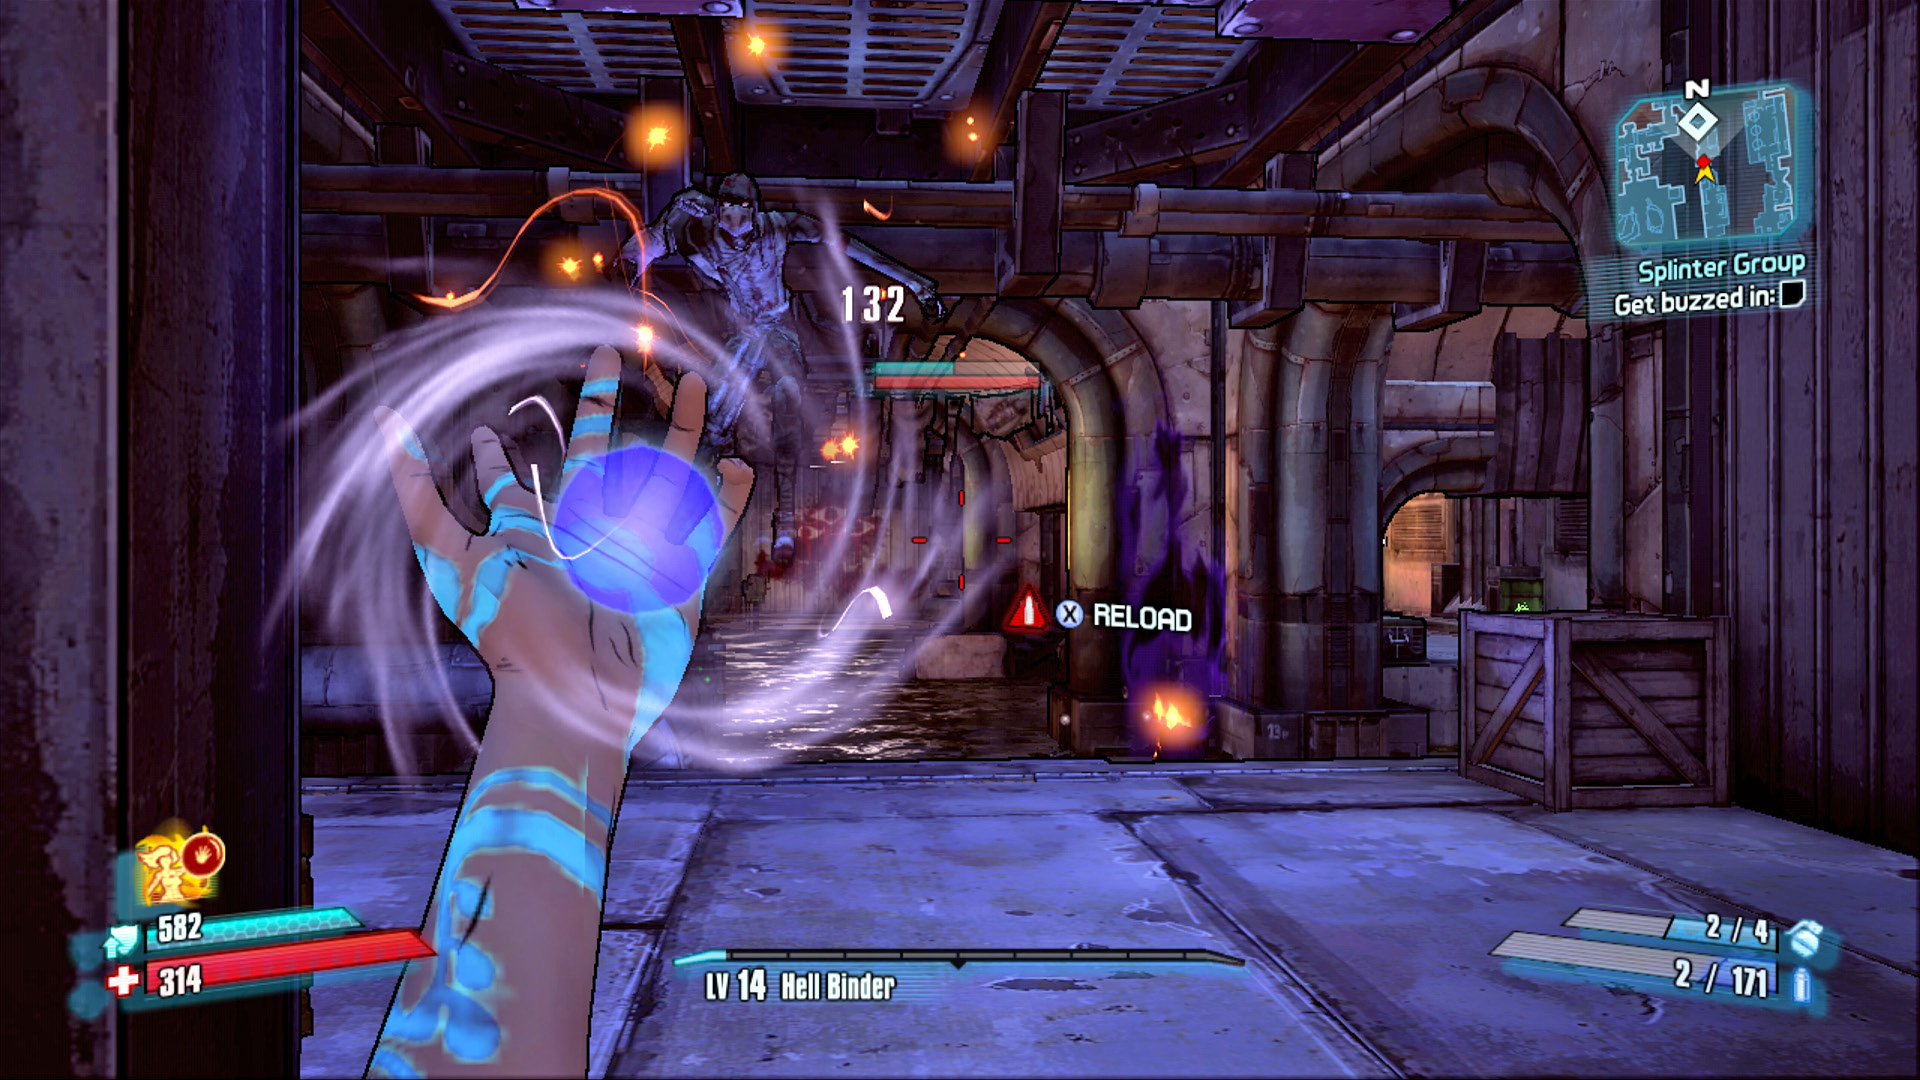
Maya’s Phaselock is excellent for yanking a Field Rat out of cover!
Continue north to the intercom and press the button to get buzzed in. The leader of the mutant escapees soon opens the hatch to their underground lair. Leap into the hole to reach the Rat’s Nest area down below, and continue north to the table in the distance. Place the pizza on it to draw the mutants out of hiding.
Cut ‘Em No Slack
Complete this challenge by killing the mutant escapees in the exact order that they appear: Lee, Dan, Ralph, then Mick. This assigned order was assigned long before they had undergone mutation in the sewers, err… Wildlife Exploitation Preserve. Provided you aren’t over-powered and kill them as they appear, they will survive to the group attack. At this point, it’s important to focus your fire with controlled weaponry—no grenades or rocket launchers—and definitely don’t deploy Axton’s Sabre Turret while going for this Challenge. Track which enemy you’re on, and give chase! The others will be lobbing grenades, firing pistols, and attacking with all manner of bladed weapons, perhaps even katanas and sais!
The four mutant escapees—Lee, Dan, Ralph, and Mick—enter the den one by one, giving you plenty of time to inflict heavy damage on each of them before being surrounded by all four.
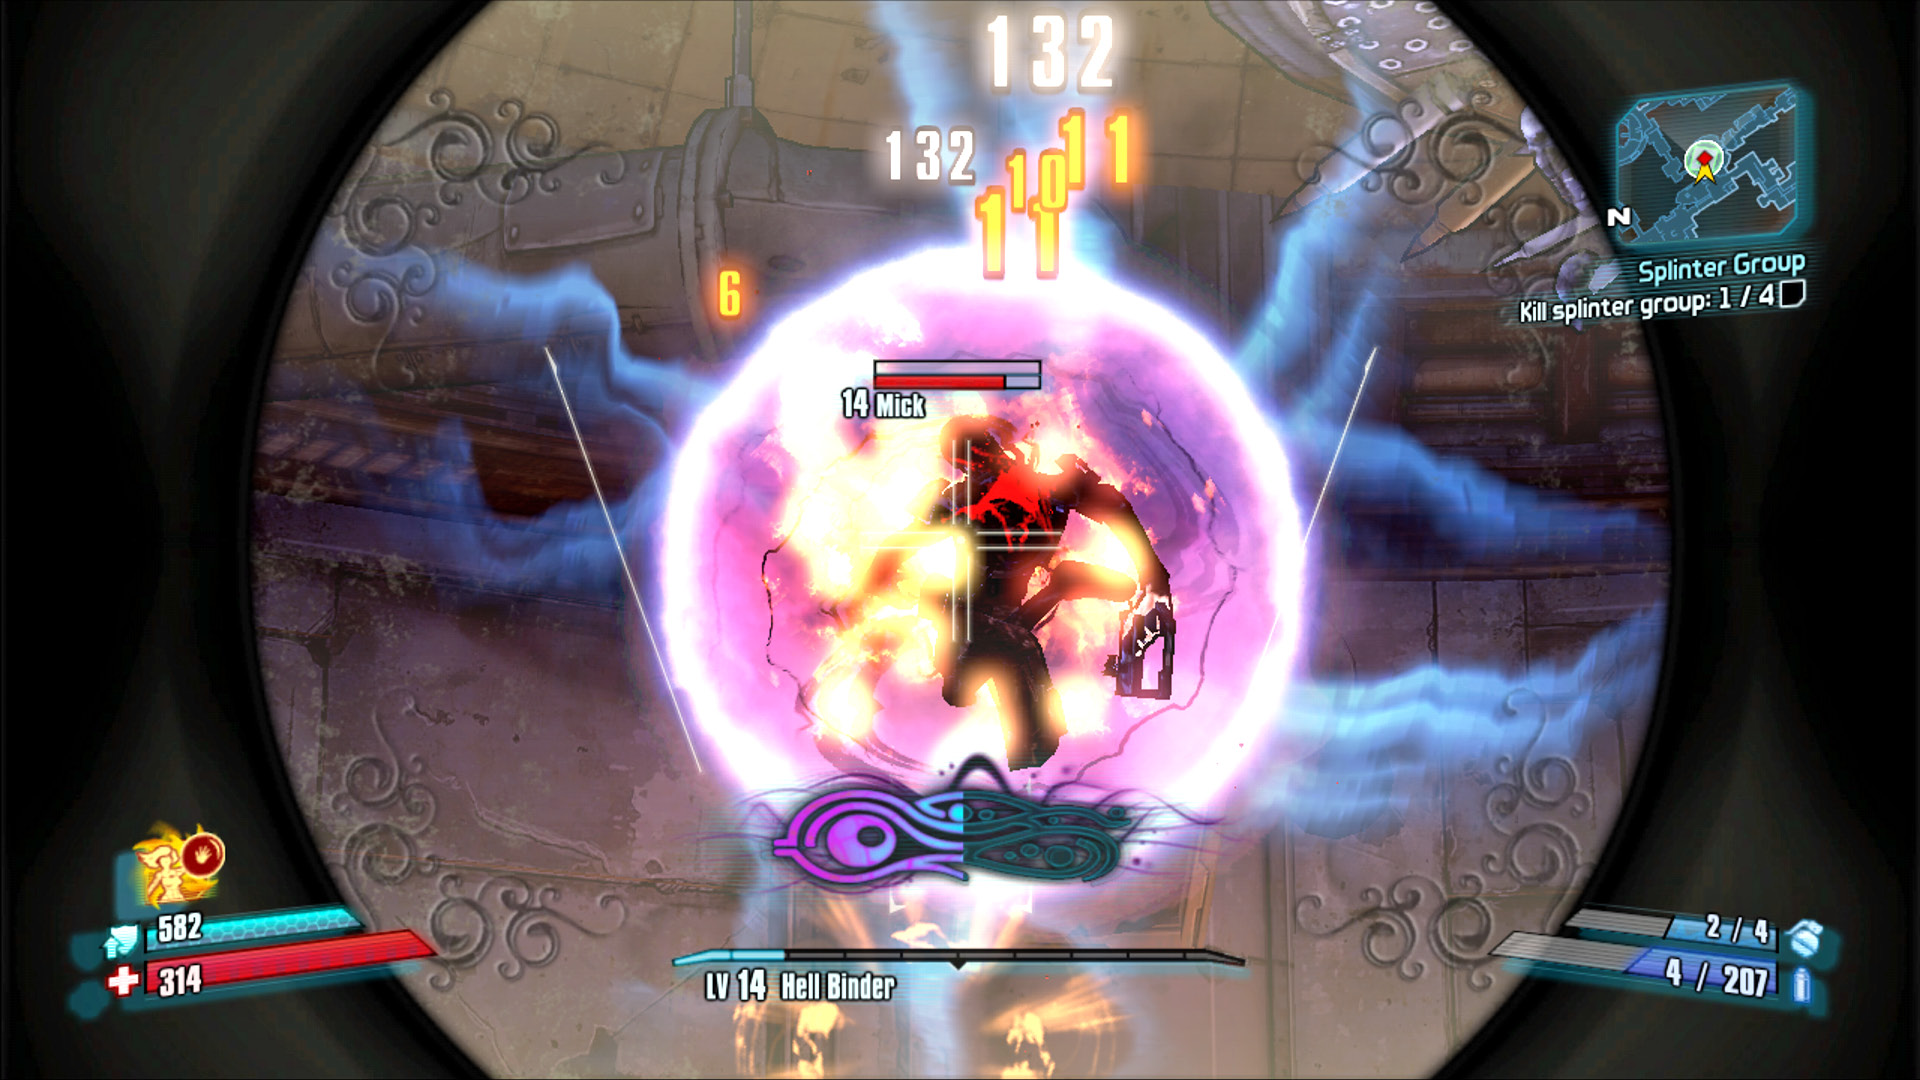
Take advantage of their desire to appear one at a time, and wipe ‘em out.
It’s completely possible to even kill the mutants as quickly as they appear, leaving them no opportunity to gain the upper hand. Axton’s Sabre Turret and Maya’s Phaselock abilities are particularly useful in this regard, provided you also have a good enough gun. If you don’t kill them quickly, they disappear after losing their shield and being depleted of half of their health.
Flinter’s Secret
Exit through the rear of the den and continue down the hall to the room with the large chest. Help yourself to the loot in the chest, as well as inside the numerous containers in this area. This room also contains four switches: a valve, a television, a floor level, and a wall switch. With each interaction, these switches cycle through a pattern of red and green lights on the wall above the chest. The lights are initially red, but there’s a surprise awaiting you if you can turn them all green.
The way this puzzle works is that each of the four switches cycles through three defined patterns. A fourth pull of the switch sets it back to its initial state. As you pull different switches and levers, the patterns stack on top of one another to either turn the light red or green. Red lights are non-additive in that they do not turn a previously green light red. On the other hand, a green light added to a green light actually turns it red. They cancel out. Consider the following example:
Turning the valve once reveals the following pattern: G-G-R-R-R
A single push of the button on the television reveals this pattern: G-R-G-G-R
If you were to combine these two interactions, you’d get the following pattern: R-G-G-G-R
This is because the first lights, both green, would cancel each other out, but the other green lights would remain active since a red light in the pattern doesn’t cancel out a green. Two reds, unfortunately, do not create a green.
Now that you know how the puzzle can be solved, feel free to take notes and solve it on your own. Or, if you’d like, you can simply pull various levers and switches until the lights all turn green—it is entirely possible to stumble onto the solution. If, on the other hand, you simply want to know the solution, several options are outlined below. Each of the four solutions can solve the puzzle, assuming you’re starting with all red lights (zero state).
Interact with the specified switch the number of times shown.
| Valve | Television | Floor Lever | Wall Switch |
|---|---|---|---|
|
2 |
3 |
3 |
3 |
|
0 |
1 |
3 |
2 |
|
1 |
2 |
0 |
3 |
|
1 |
3 |
2 |
0 |
These solutions are only applicable to an all-red initial state.
Solving the puzzle draws the leader of the mutant escapees out of hiding: Flinter! Flinter behaves similarly to the other escapees, but he has a better shield and is more aggressive with his gunfire. Don’t hesitate to open fire as soon as he appears. Stay close to the end of the room from which you entered to cut off any chance of escape (though he may back into the tunnel leading to Satan’s Suckhole).
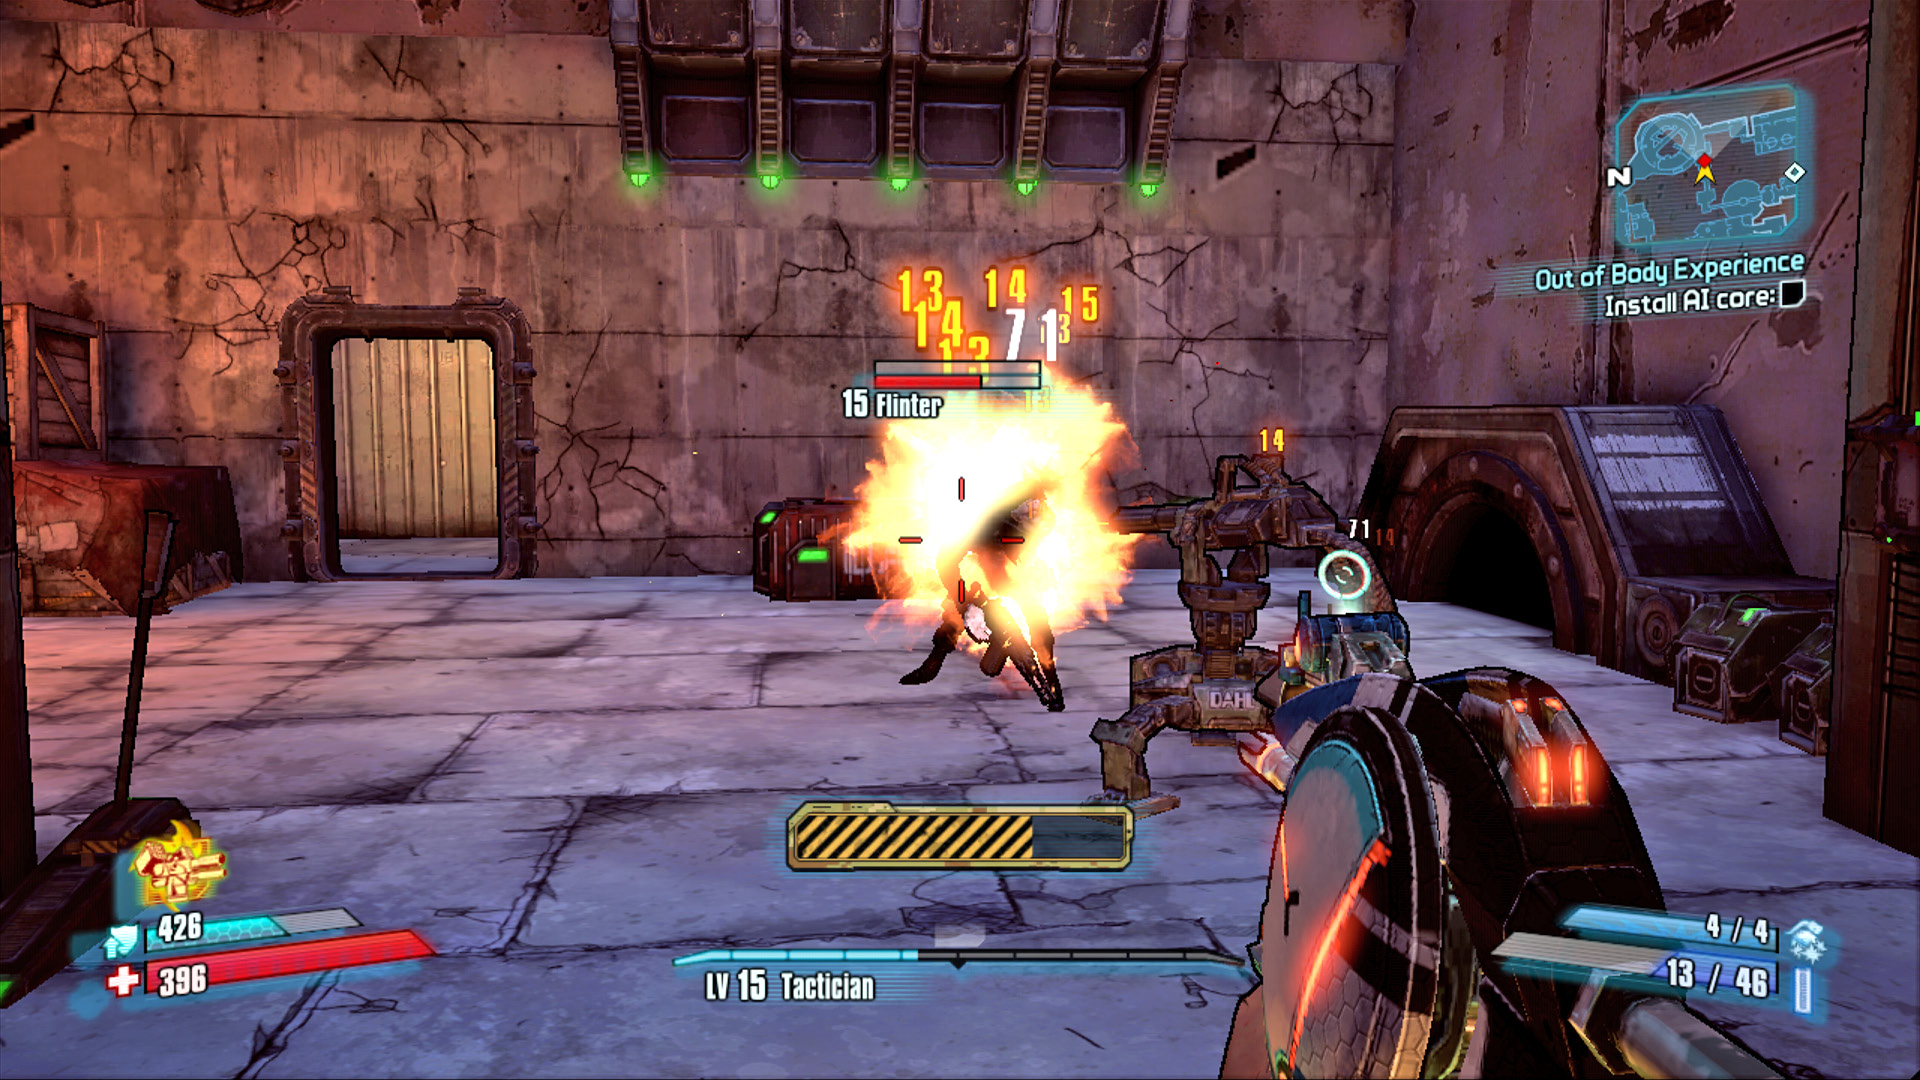
Pepper Flinter with headshots and set him aflame as soon as he appears. He just might drop some good loot!