
Borderlands 2 Game of the Year Guide Optional Missions
Bandit Slaughter: Round 3
|
 Mission Briefing
| Level | Money | XP | Gear |
|---|---|---|---|
|
18 |
$692 ($1038 with Bonus) |
1604 |
— |
Fink’s Slaughterhouse
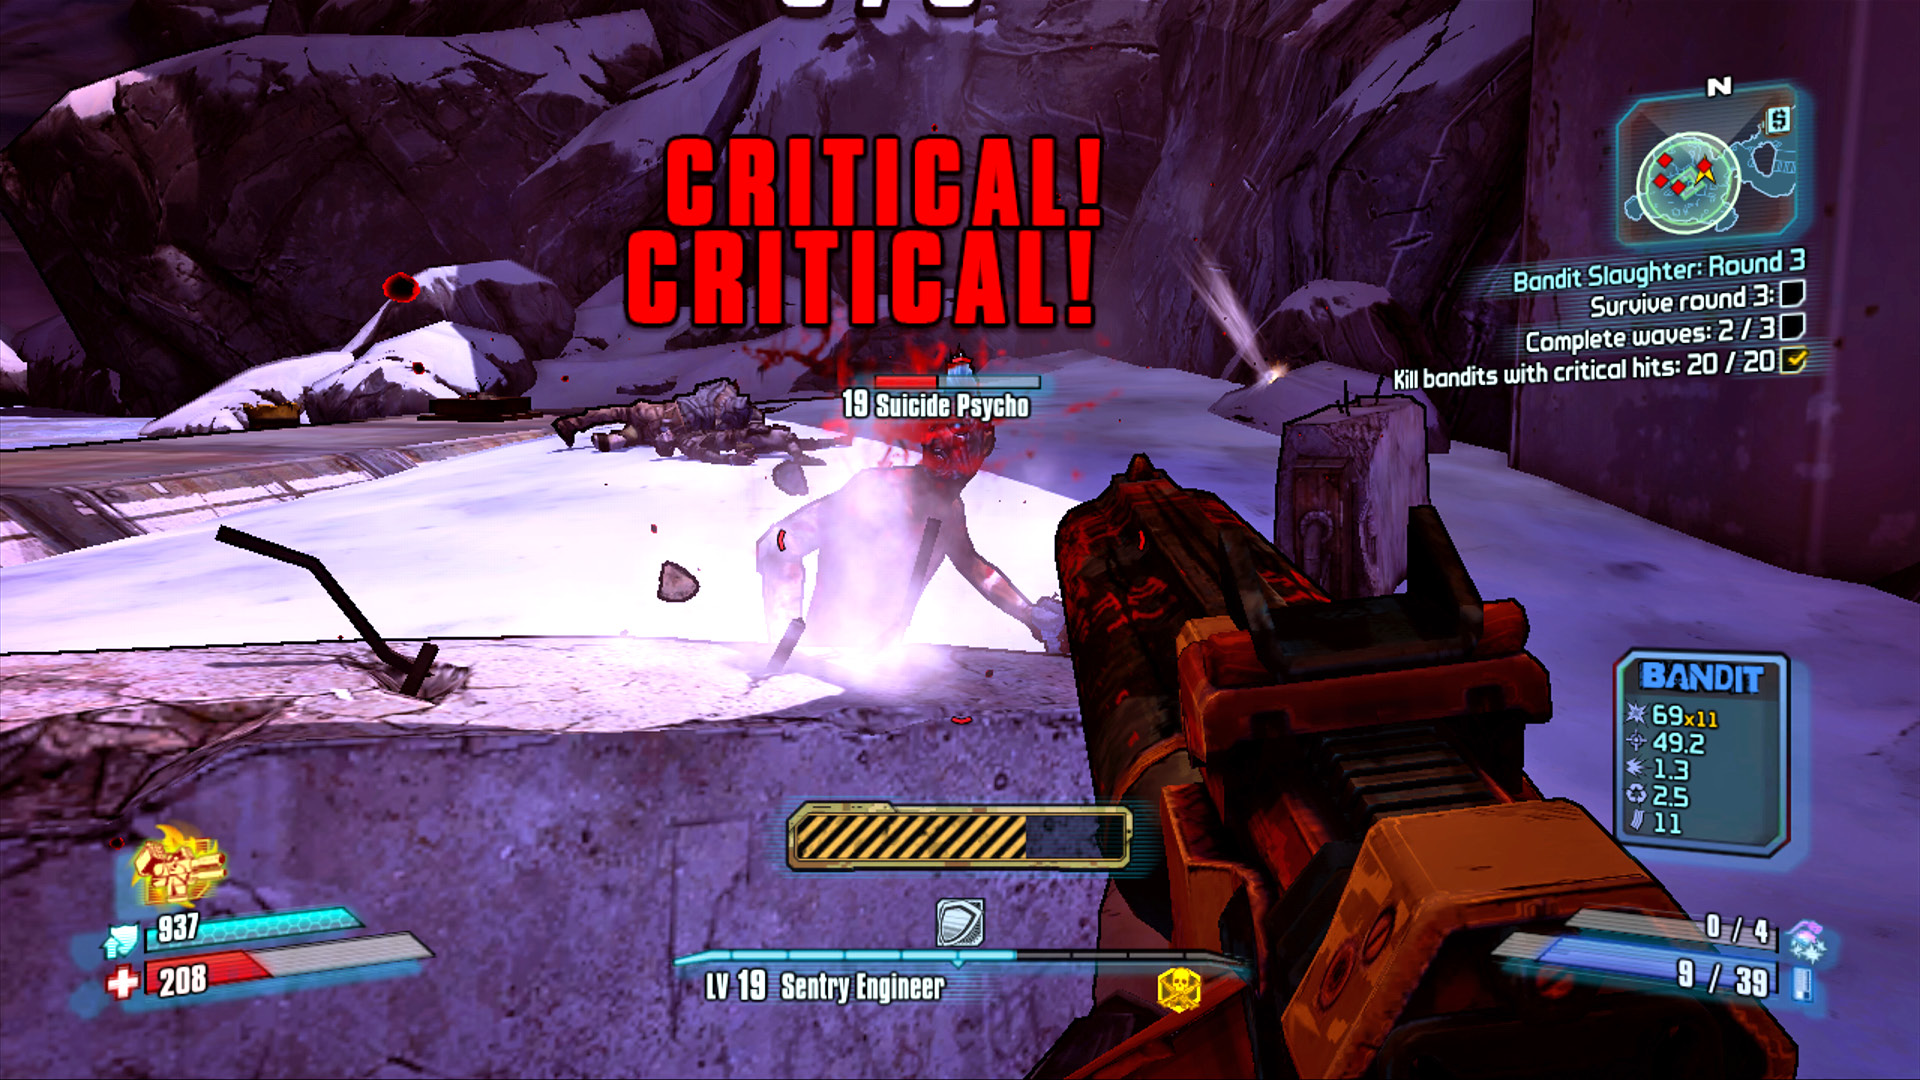
Shotguns are perfect for scoring Critical Hit kills against Psychos.
The third round of Bandit Slaughter is likely to have more Goliaths and Badass level enemies than the earlier rounds, but it also has many Psychos and Rats. It’s going to become more important for you to stay on the move, as the number of enemies spawning from multiple corners of the map makes it difficult to camp one spot of the map. Fortunately, not all of the adversaries are as fast as others are. Since the slower foes are typically deadlier—Suicide Psychos aside—it’s relatively easy to sprint and jump between the different elevations of the map to avoid the Lab Rats and Nomads. This allows you to thin the number of Psychos, Rat Thieves, Tunnel Rats, and Marauders so you’re not being constantly encroached upon.
Though the number of enemies is increasing, so is the requirement for the bonus objective. Sniper ammo is going to start to become an issue in the third round, particularly if you’re using a Dahl sniper rifle that fires in burst whenever using the scope. Remember that you can always aim high with a shotgun, pistol, or any other weapon and still score a Critical Hit.
The bi-level design of Fink’s Slaughterhouse makes it possible to use the elevation changes to your advantage. For starters, it often helps for Axton to deploy a Sabre Turret either on the central platform or down below it, whichever is opposite where he’s standing. This allows him to shoot from another angle and effectively catch enemies in crossfire (this technique also works well for co-op play). You can also use the elevation to trap enemies as they ascend the stairs. A big part of succeeding in the final rounds lies in your ability to effectively use the landscape against your attackers. The slow-moving Lab Rats are perfect for this.
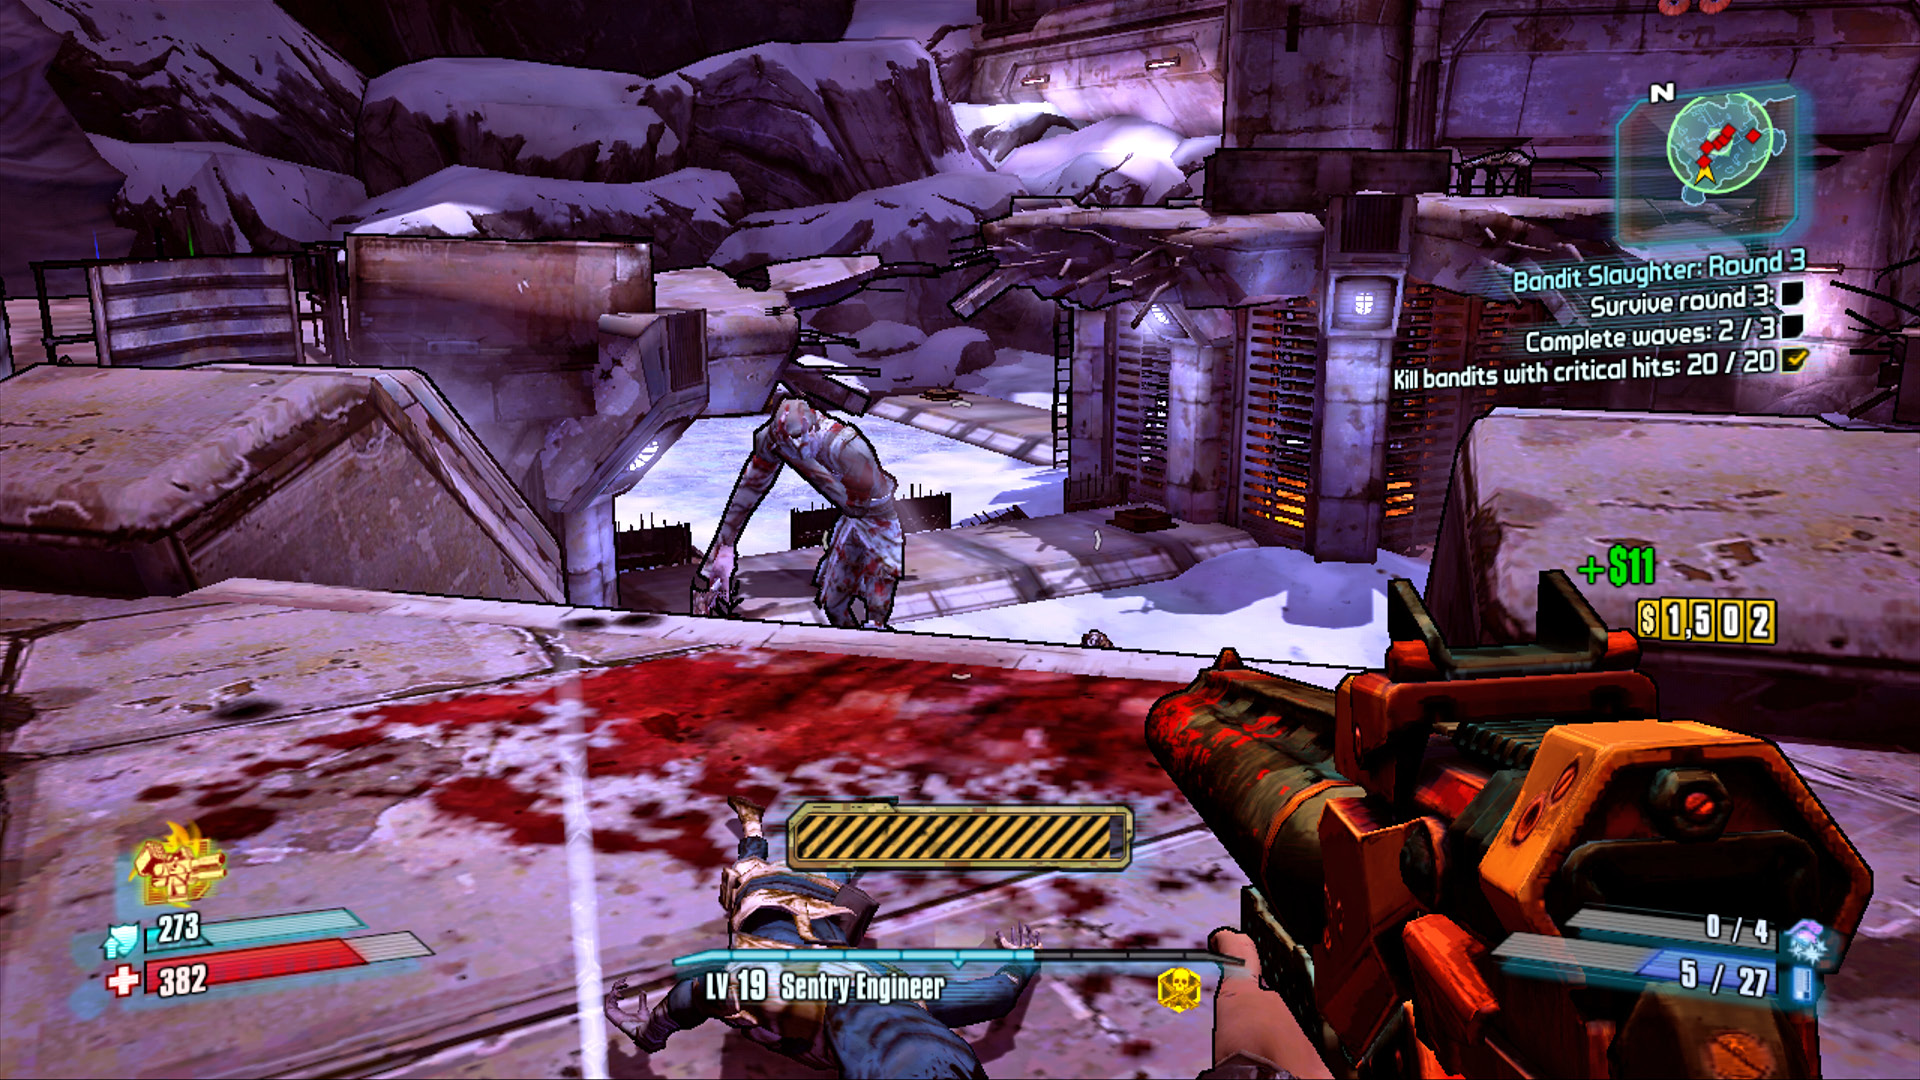
Guide the Lab Rats around the lower level, then wait for them atop the stairs and fire away!