Borderlands 2 Game of the Year Guide Optional Missions
The Lost Treasure
|
 Mission Briefing
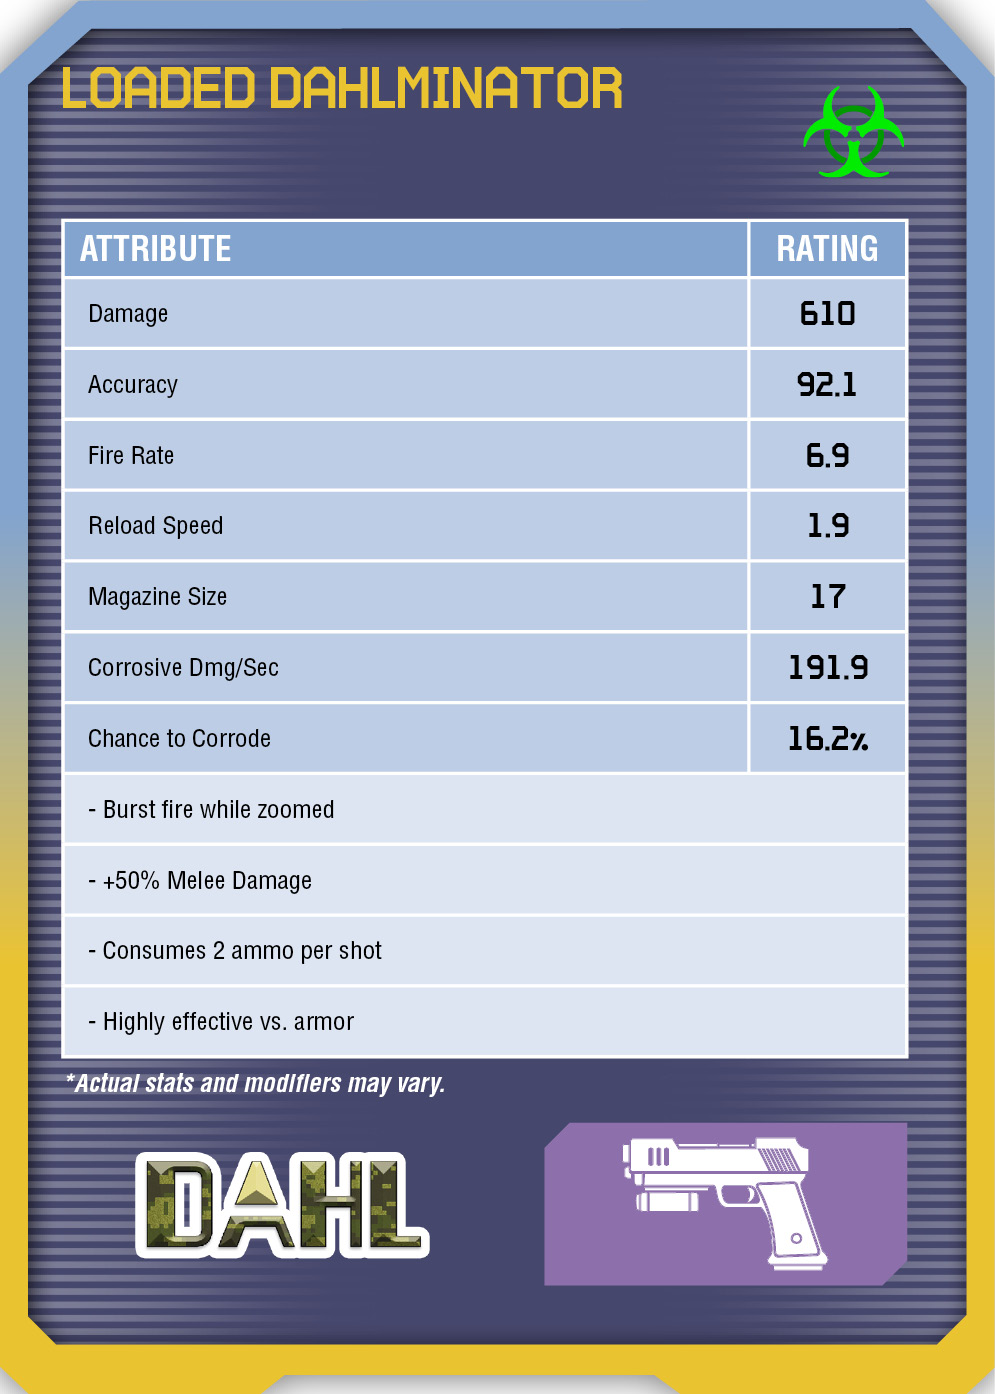
| level | Money | XP | Gear |
|---|---|---|---|
|
28 |
$856 |
6126 |
Pistol (Purple) |
Sawtooth Cauldron
Hike up the trail to the campsite high above Sawtooth Stilts in the northeast corner of Sawtooth Cauldron to find a suspicious box containing an ECHO Recorder. The recording speaks of a great treasure, a lost map, and the whereabouts of the remaining map pieces. The only way to find The Lost Treasure is by unleashing a vicious assault on the bandits of Sawtooth Cauldron. Each section of the map reveals a very important clue to the whereabouts of the treasure—you need all four pieces of the map to have any chance at finding the treasure.
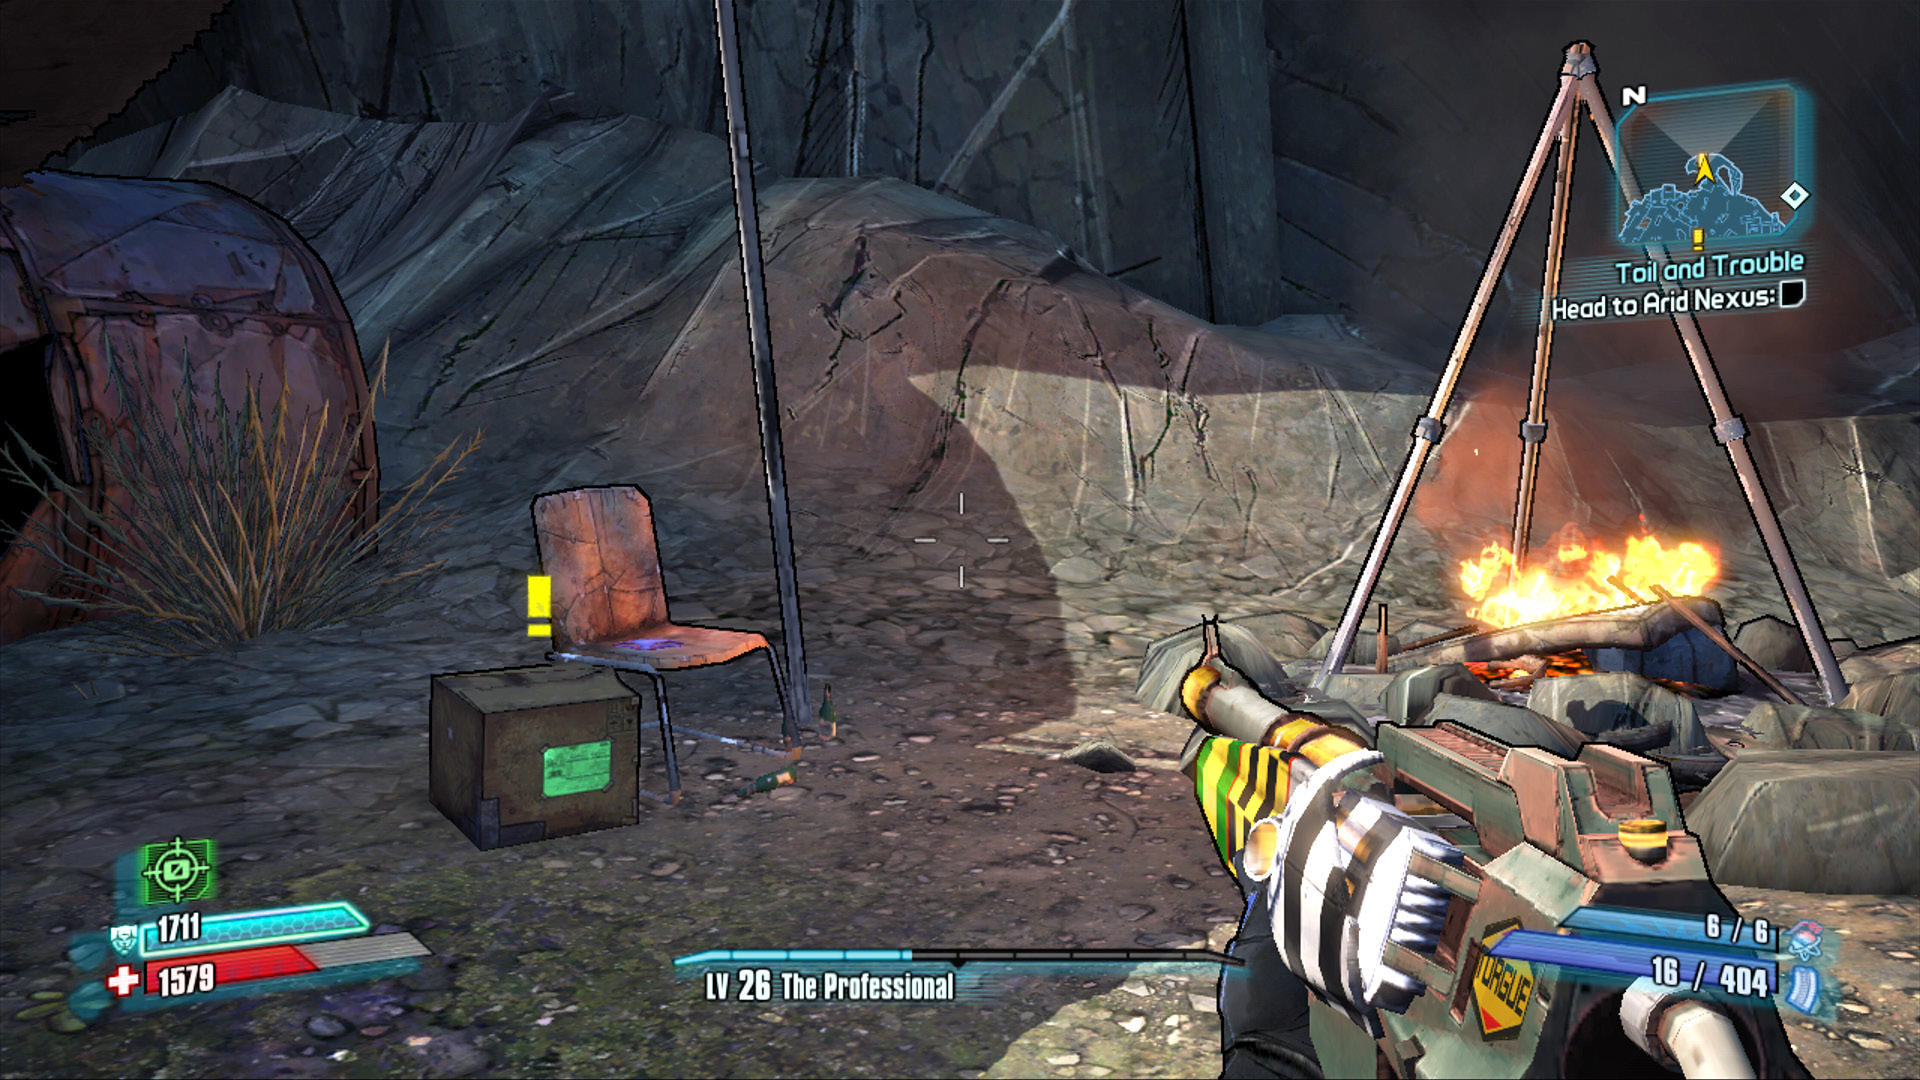
Drop into Sawtooth Stilts and hike up the narrow path in the northeast corner to find the ECHO Recorder that contains this mission.
One look at the size of the area waypoint on the in-game map is all you need to know that the clues can be anywhere. Every Marauder, Goliath, Psycho, and other assorted bandit in Sawtooth Cauldron has a chance—a small one—to drop one of the four clues. The only way to find all four is to perform a complete sweep of the area. Start in the lower area of Sawtooth Stilts and proceed to Smoking Guano Grotto. Clear out the cavern in search of additional clues, then make your way to Main Street Reservoir and Cramfist’s Foundry. There’s no need to wade into the dangerous waters of Scalding Remnants, as you’re only going to find threshers in that corner of Sawtooth Cauldron. Locate all four clues, then make your way to the Fast Travel station and head for Caustic Caverns at once. If you hadn’t yet been to Caustic Caverns, consider first completing the “Safe and Sound” mission before proceeding with this mission. It also helps to have already completed “Minecart Mischief.”
Caustic Caverns
The four clues each correspond to a lever that you must locate somewhere in Caustic Caverns. Though the descriptions may seem obvious to those who know their way around Caustic Caverns well, finding the levers you need to pull can still be tricky. Head out in a counter-clockwise direction toward Oozing Discharge, and make your way across the toxic sea to the second island.
Under the acid-soaked railway: This lever is on the south side of the central bridge support for the elevated railway. Run up and pull it quickly before the Volatile Crystalisks target you with their potent attacks.
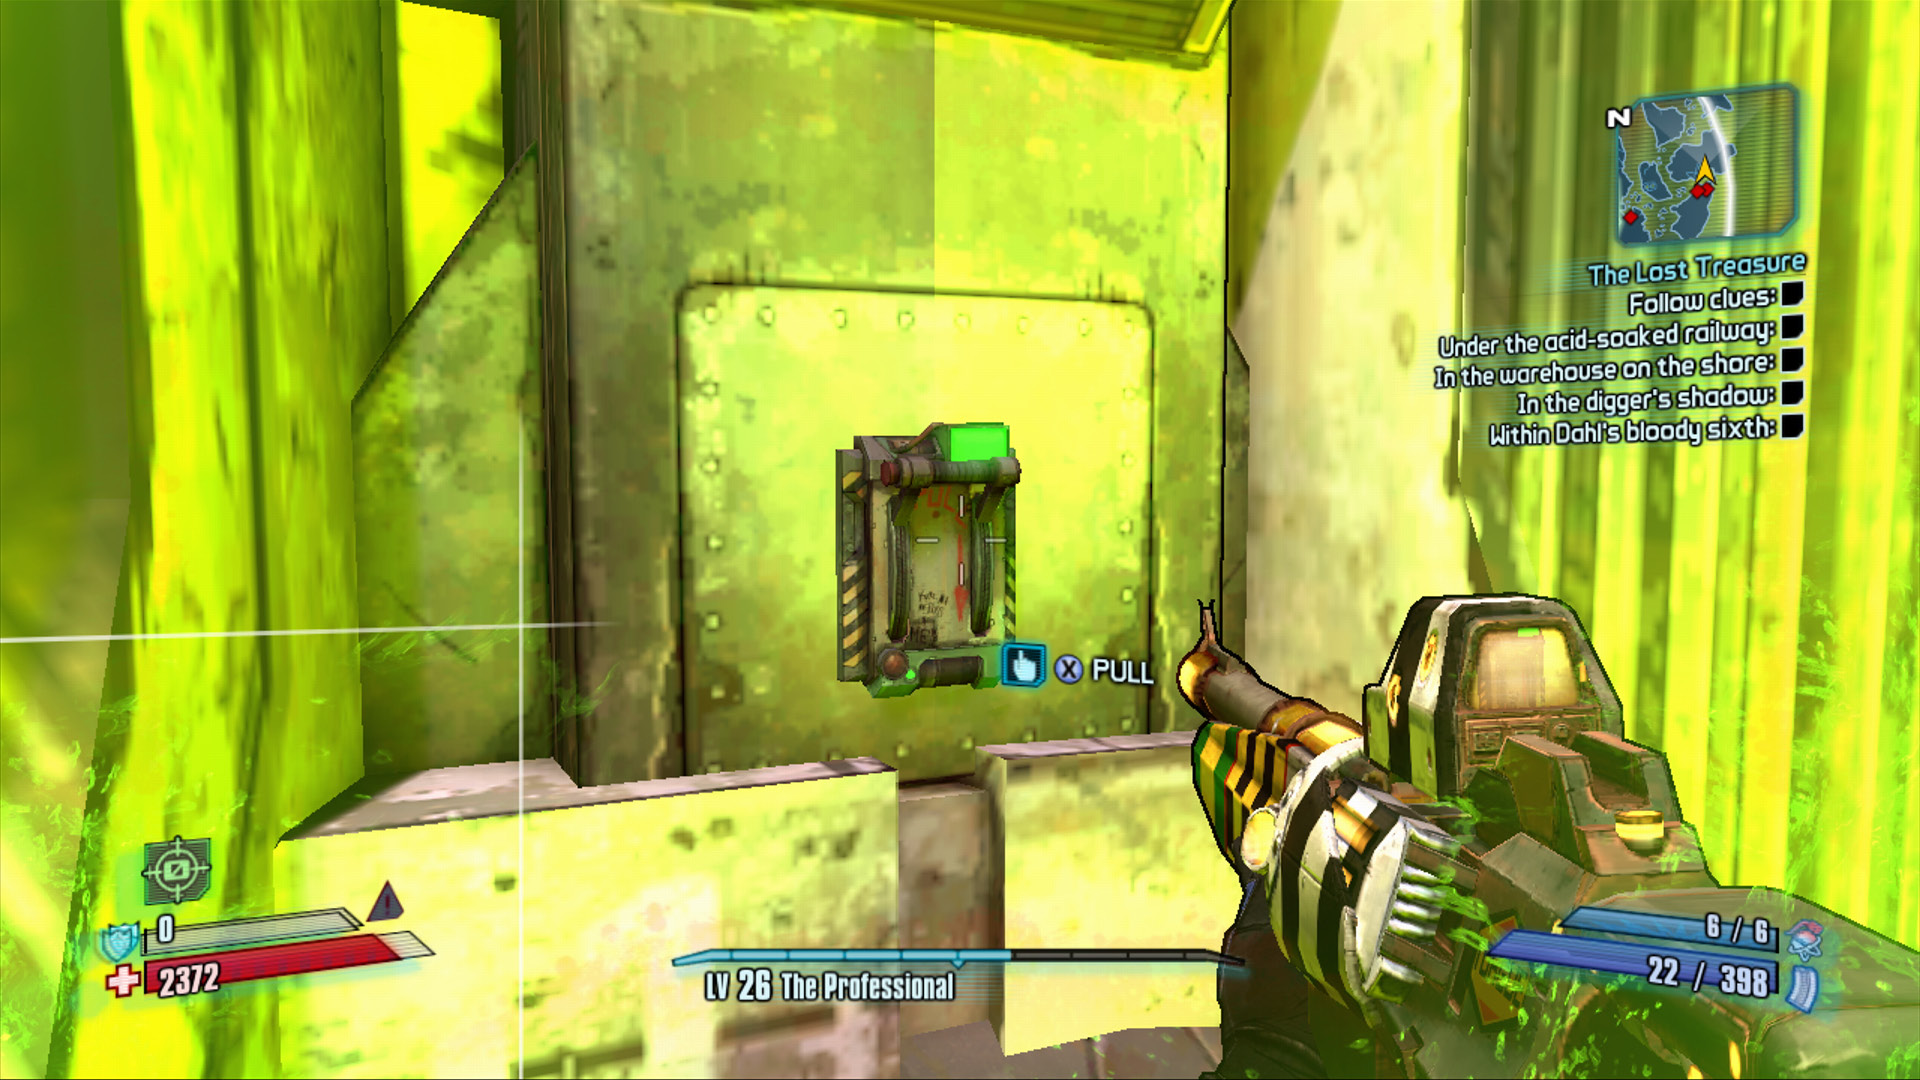
In the warehouse on the shore: Continue in a counter-clockwise direction from Oozing Discharge, past the Rumbling Shore, and into the Infested Warehouse area. This next lever is on the north side of the Infested Warehouse. Beware the varkids!
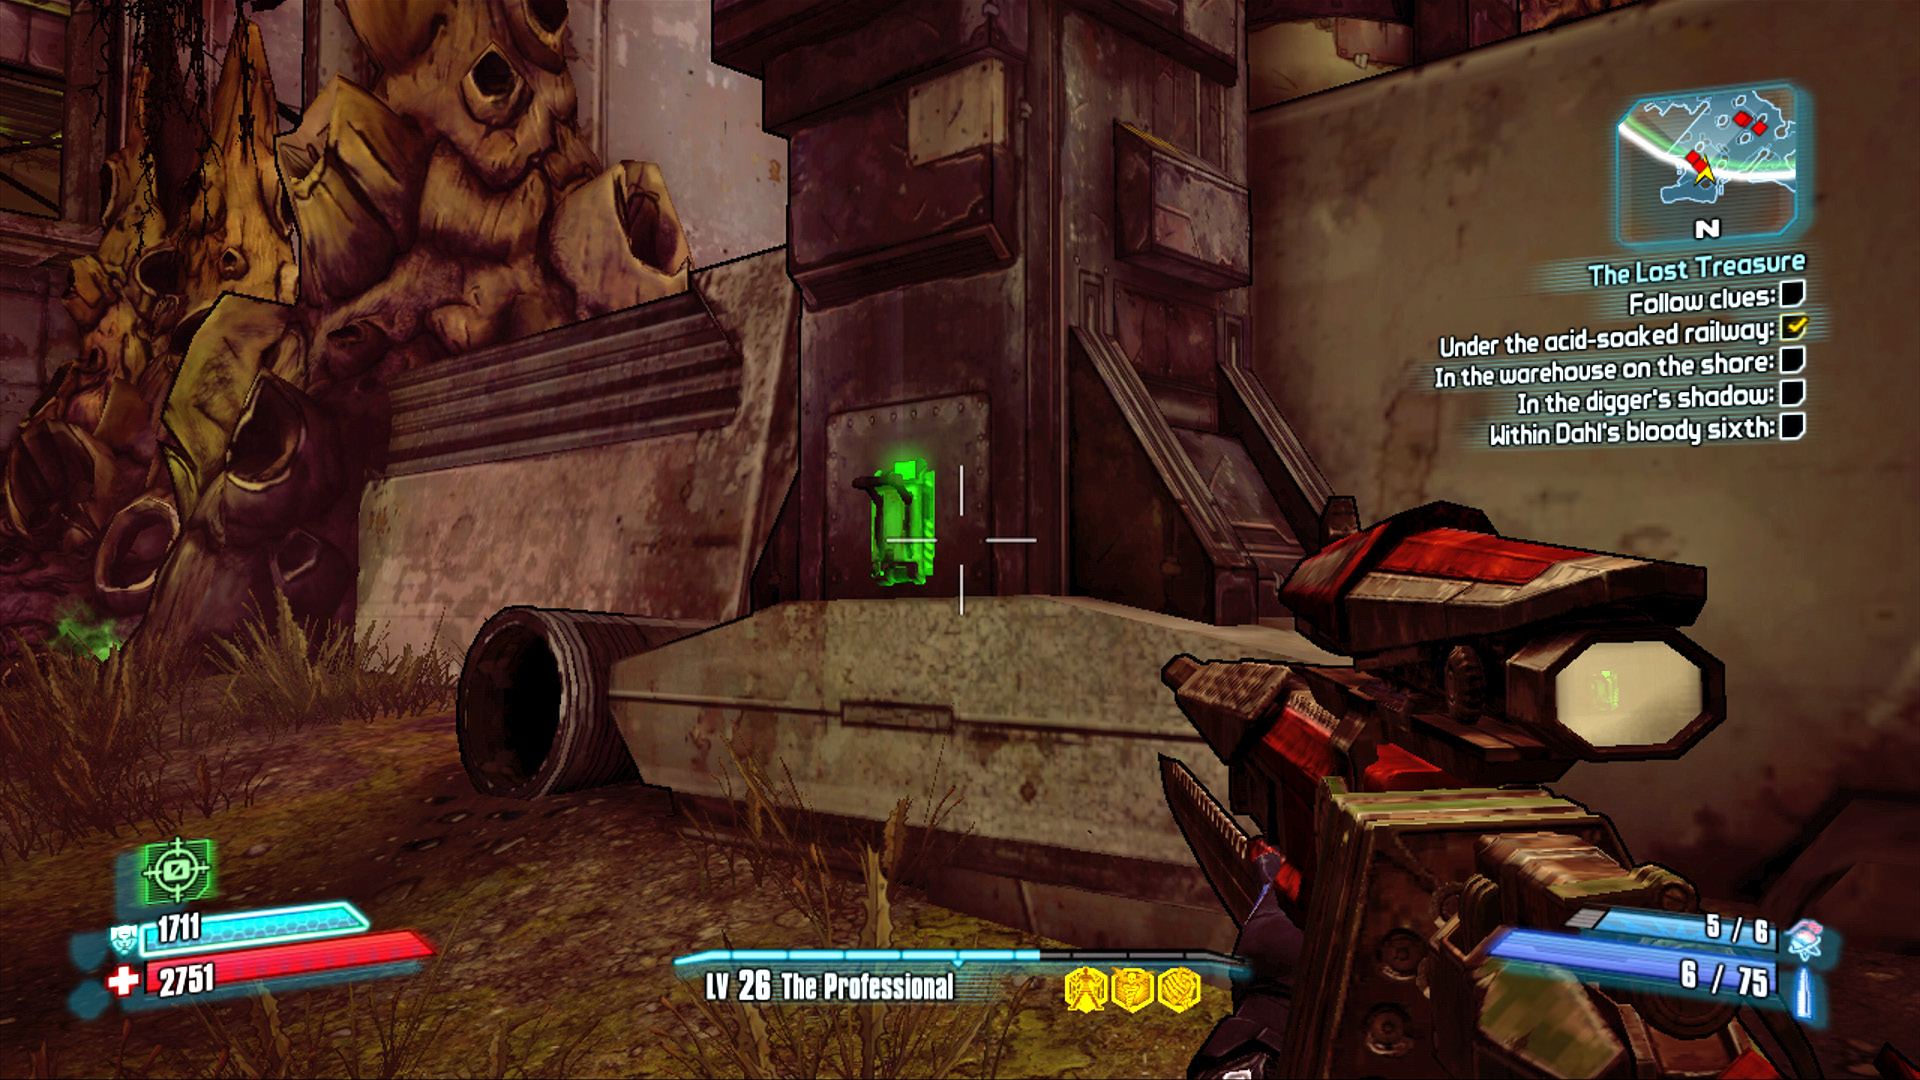
In the digger’s shadow: Proceed to the western side of Caustic Caverns where a massive piece of mining machinery can be seen casting a lengthy shadow across the Abandoned Mining Site. The next lever is on the western side of a mining shack directly in the shadow of the overhead digger.
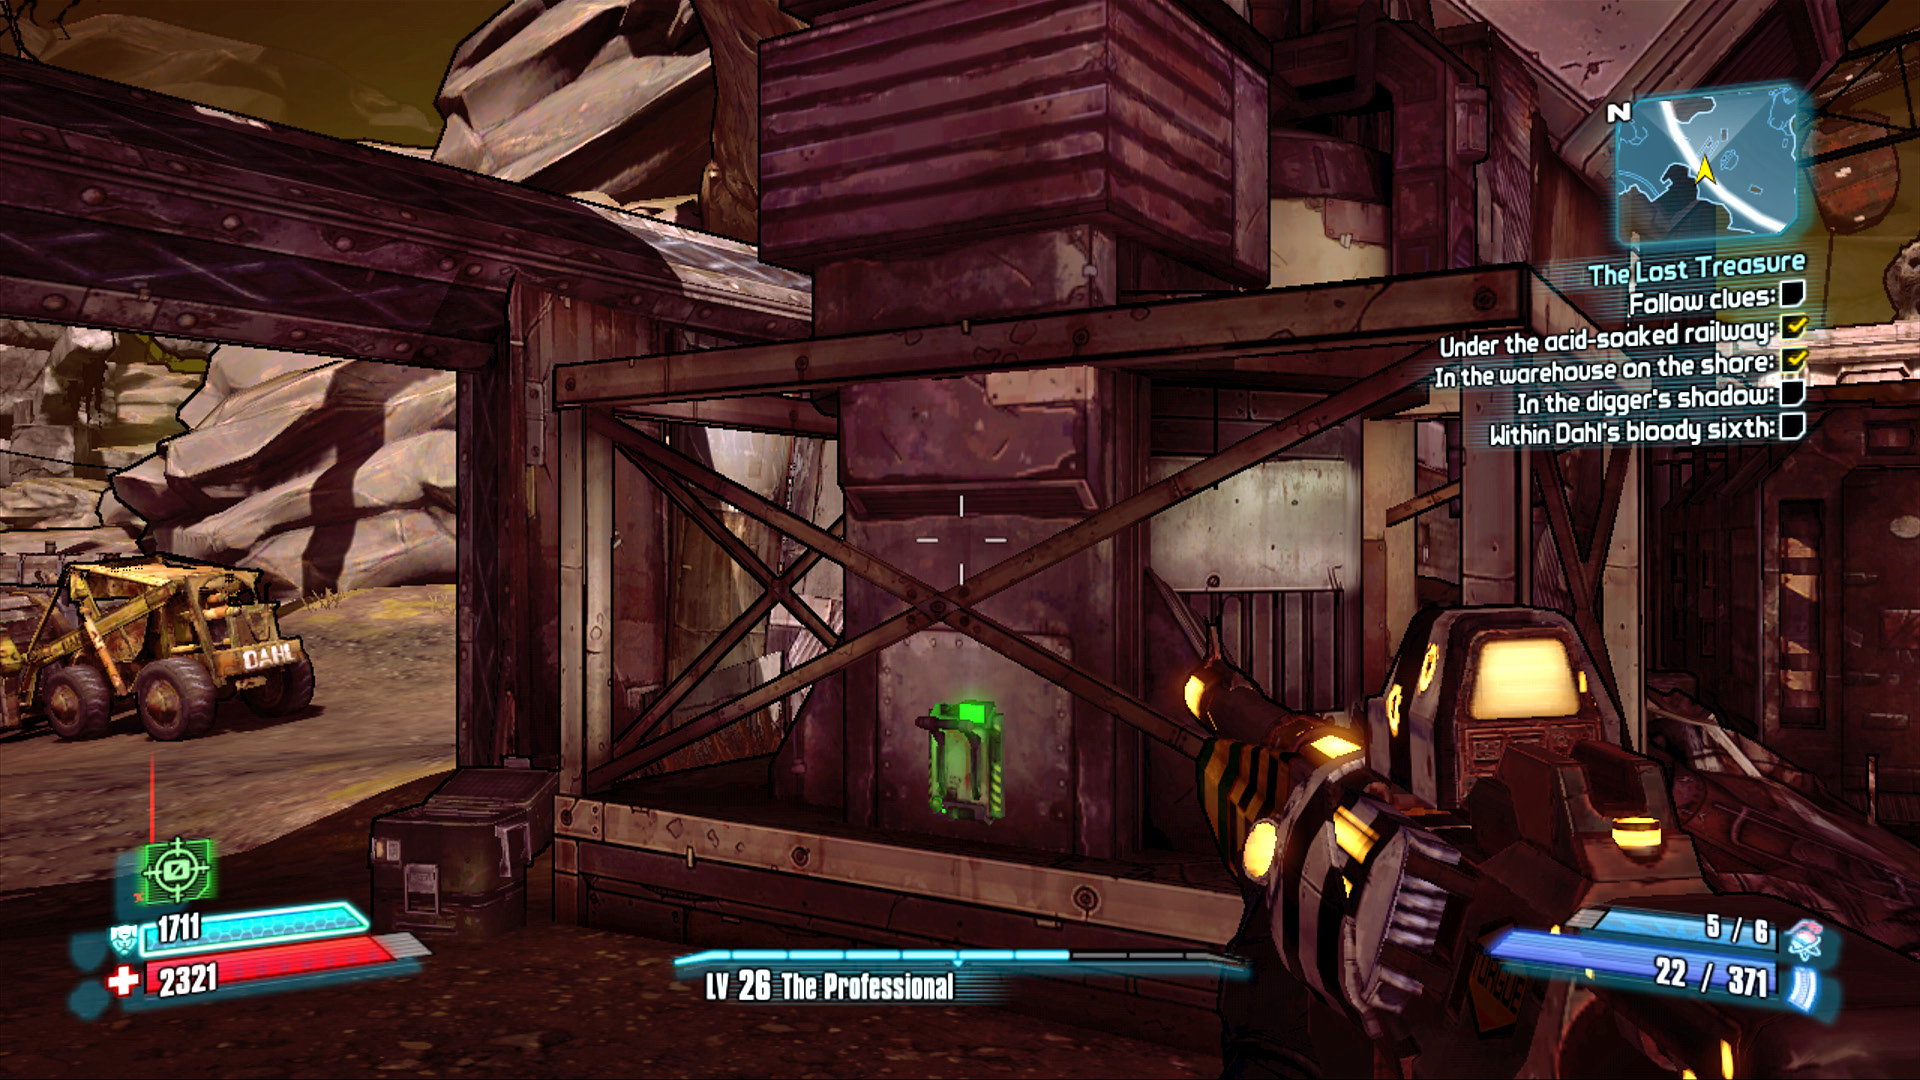
Within Dahl’s bloody sixth: Enter the Infested Warehouse from the western side via the control wheels on the sides of the minecart tracks. Proceed through the warehouse, past the crusher, to the entrance to Dahl Deep Core 06. The lever is on the wall in the blood-splattered room near the ladder.
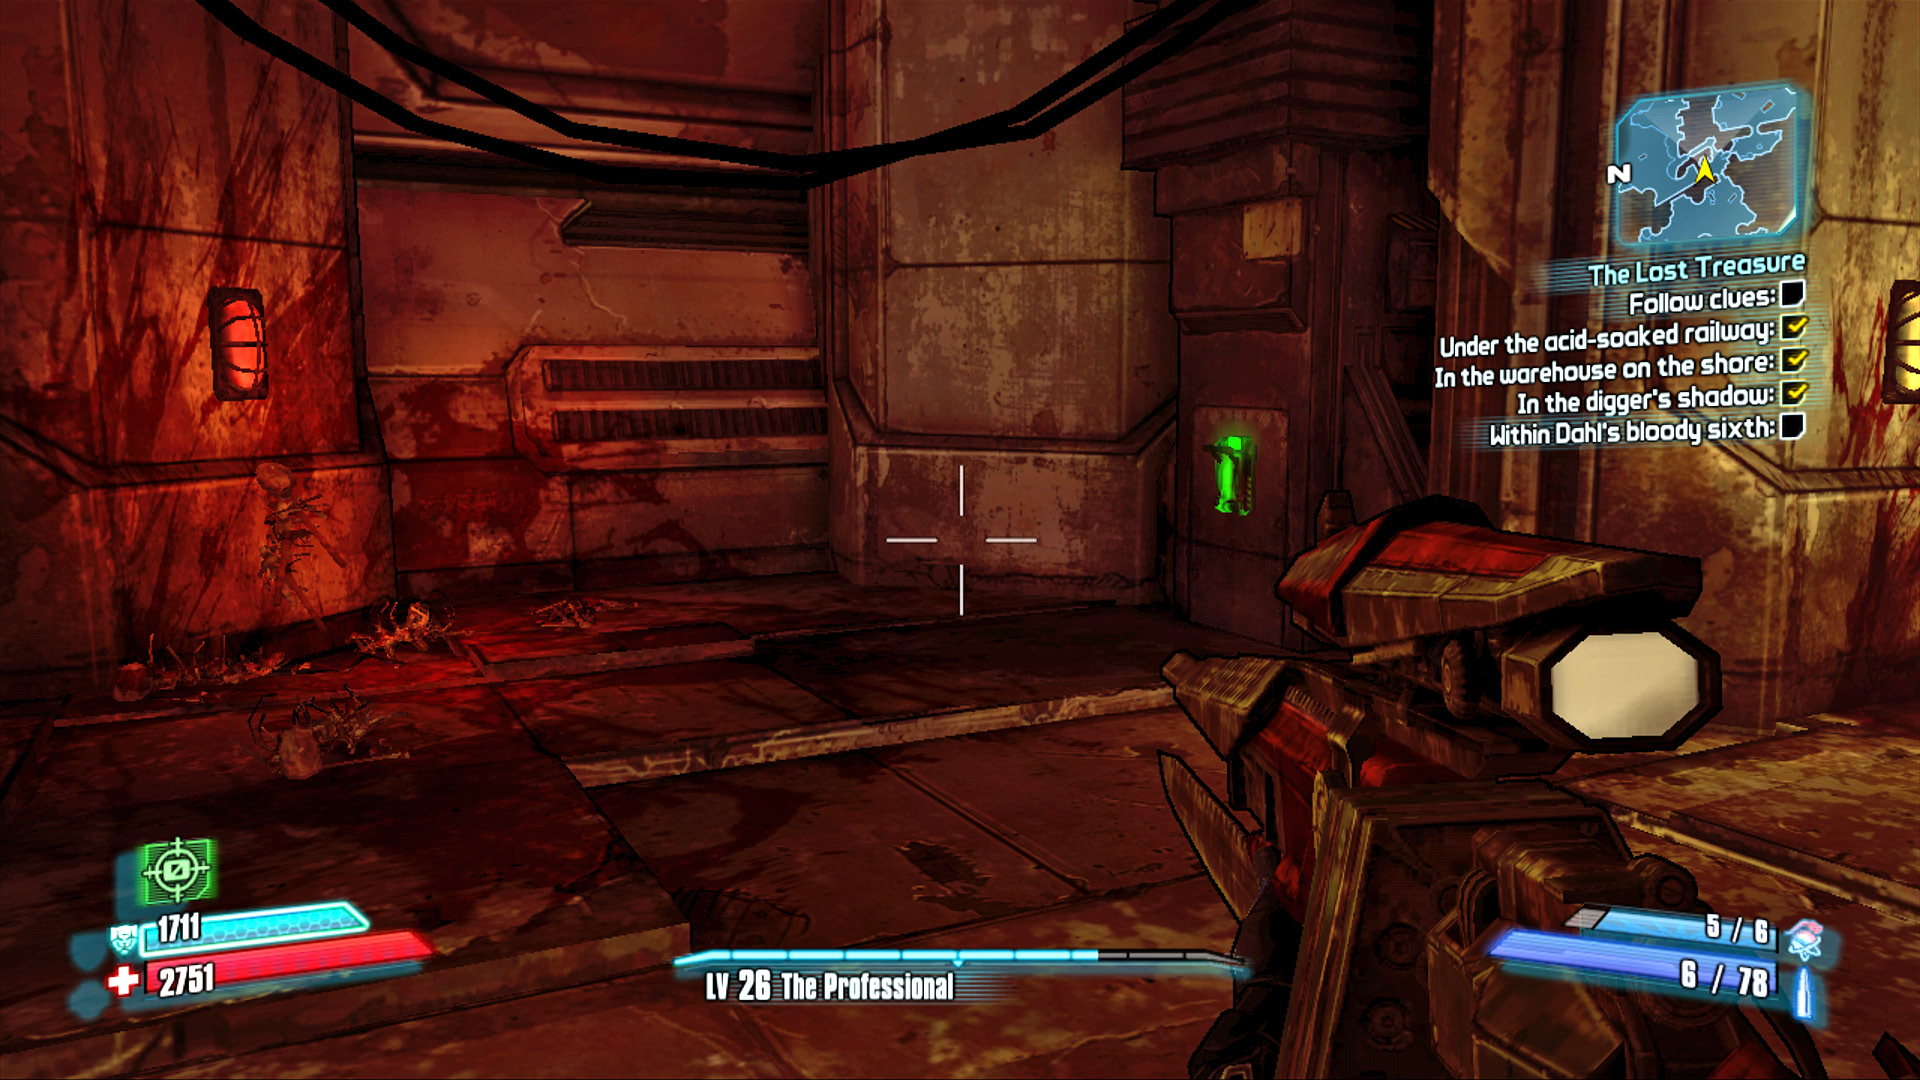
With all four levers pulled, you’re now able to ride a massive lift up the side of the central facility to reach the roof, also known as Varkid Ramparts. Return back through Dahl Deep Core 06 and the Infested Warehouse to the Abandoned Mining Site, and locate the lever on the concrete platform south of the minecart tracks. Pull this lever to start the lift up the side of the building. Be cautious of an impending unfriendly welcome from several Badass Varkids on the roof.
There is but one way to proceed once on the Varkid Ramparts, and that’s through a gauntlet of varkids and spiderants. Fortunately, spiderants hate varkids just as much as Vault Hunters do. It’s quite possible—and entertaining—to watch the spiderants and varkids attack one another while you lob grenades and occasional gunfire from the periphery.
Keep in mind that the Varkid Ramparts area isn’t home to either species’ peons. Expect to encounter numerous Spiderant Knights and Badass Varkids in this area. It truly pays to have a gun that can Slag enemies on hand, then quickly switch to a Fire or Explosive weapon to magnify the results.
Pull the lever to turn in the mission and reveal a hidden weapons cache. Help yourself to the contents, then head southeast along the elevated bridge and leap down to return to the Fast Travel station.
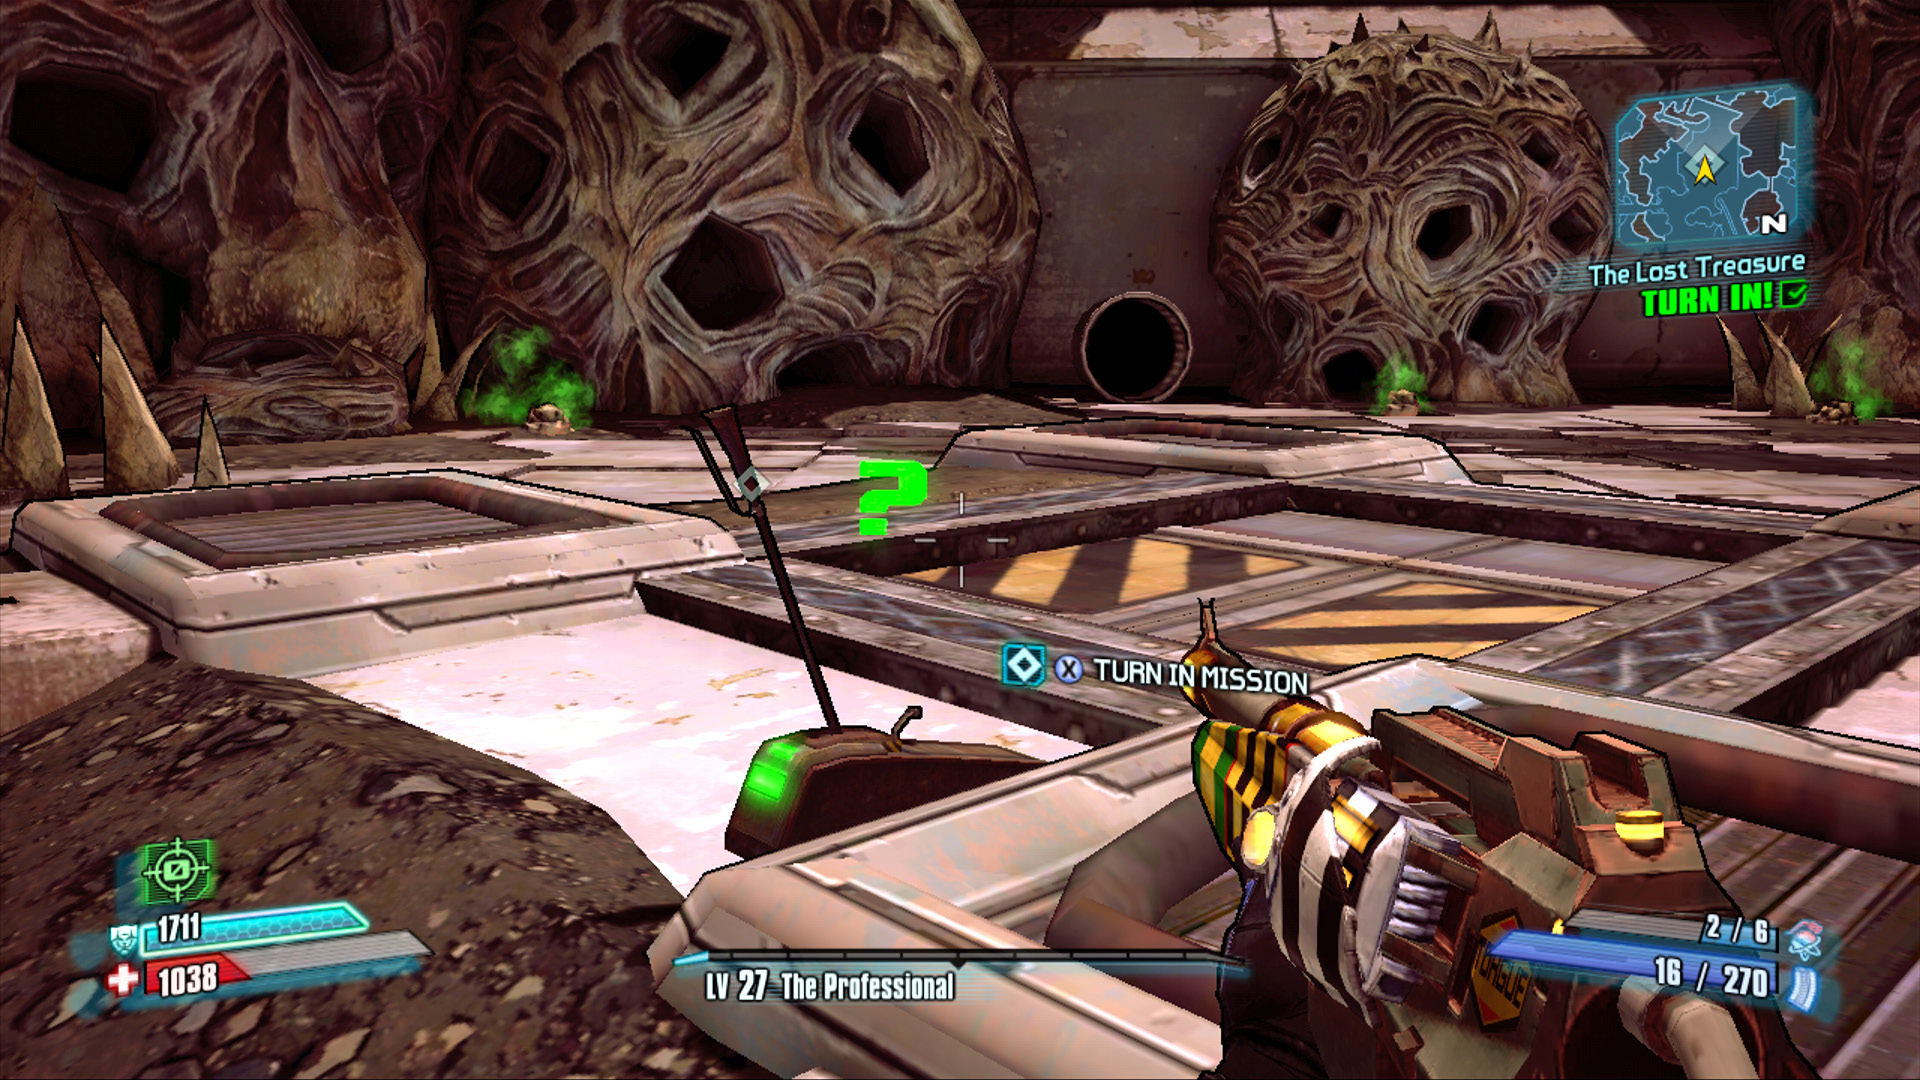
Fight your way to the lever atop the Varkid Ramparts to turn in the mission and gain access to a weapon with homing capabilities!