Borderlands 2 Game of the Year Guide Captain Scarlett and Her Pirate's Booty
Let There Be Light
|
 Mission Briefing
| Level | Money | XP | Gear |
|---|---|---|---|
|
19 |
8 Eridium |
3527 |
— |
*Money and XP may vary based on player’s level at start of mission.
Leave the Light On
Meet Captain Scarlett on the upper deck of her ship and take the compass piece she’s been holding onto. Now, use the table on the left to assemble the four pieces into a complete compass. Pick up the assembled compass, then take a sandskiff westward to the Riptide Reef area of Wurmwater, as the pirate camp located there conceals the entrance to Magnys Lighthouse. Shoot a path past the pirates in the area, and climb the ladder on the left-hand side of the camp to activate the gate. Jump down and exit to Magnys Lighthouse.
Cross the wooden bridge northward toward the lower section of the pirate settlement. The actual lighthouse is located high atop the massive spire in the center of this barren island, well-removed from the sprawling multi-level pirate camp at the base. In order to reach the lighthouse, you’re going to have to fight your way through a densely populated pirate camp on both sides of the mountain and ride a lift up from the other side.
Magnys Lighthouse contains enemies known as Harpooners. They’re similar to Anchormen in heft, but instead of reeling you in like Anchorman do, they throw explosive harpoons at your position. Shoot the pirates on the dock from behind cover to draw as many of the Harpooners and Swabbies out of hiding as you can. Continue gunning them down from afar before you begin searching the Spire Town Docks for loot.
Locate the ladder near the shacks by the boathouse on the right, and climb up it. Leap up to grab hold of the second ladder, and climb to the rooftops. There is another weapon chest out of sight atop the rooftop nearby.
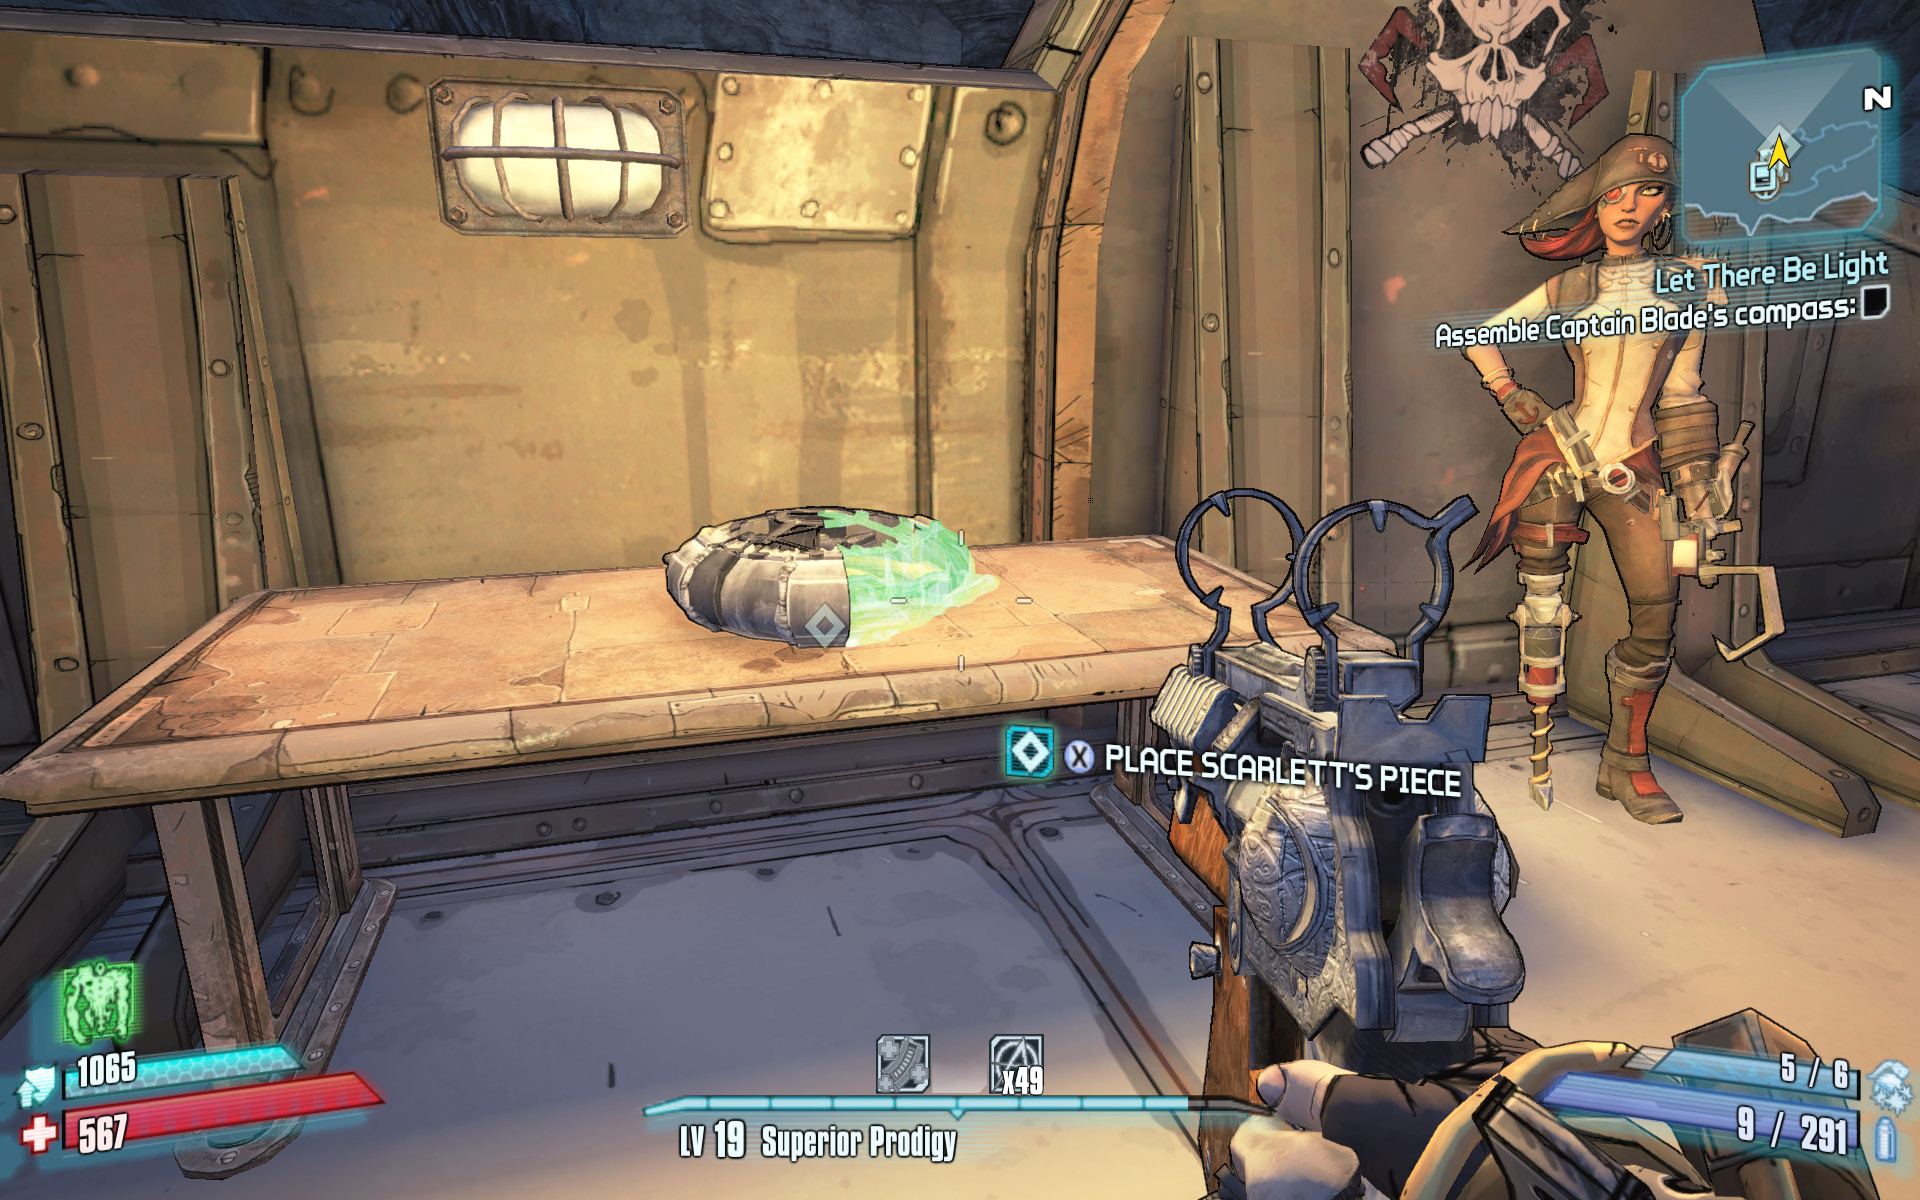
Assemble the compass piece by piece, then take it with you to Magnys Lighthouse.
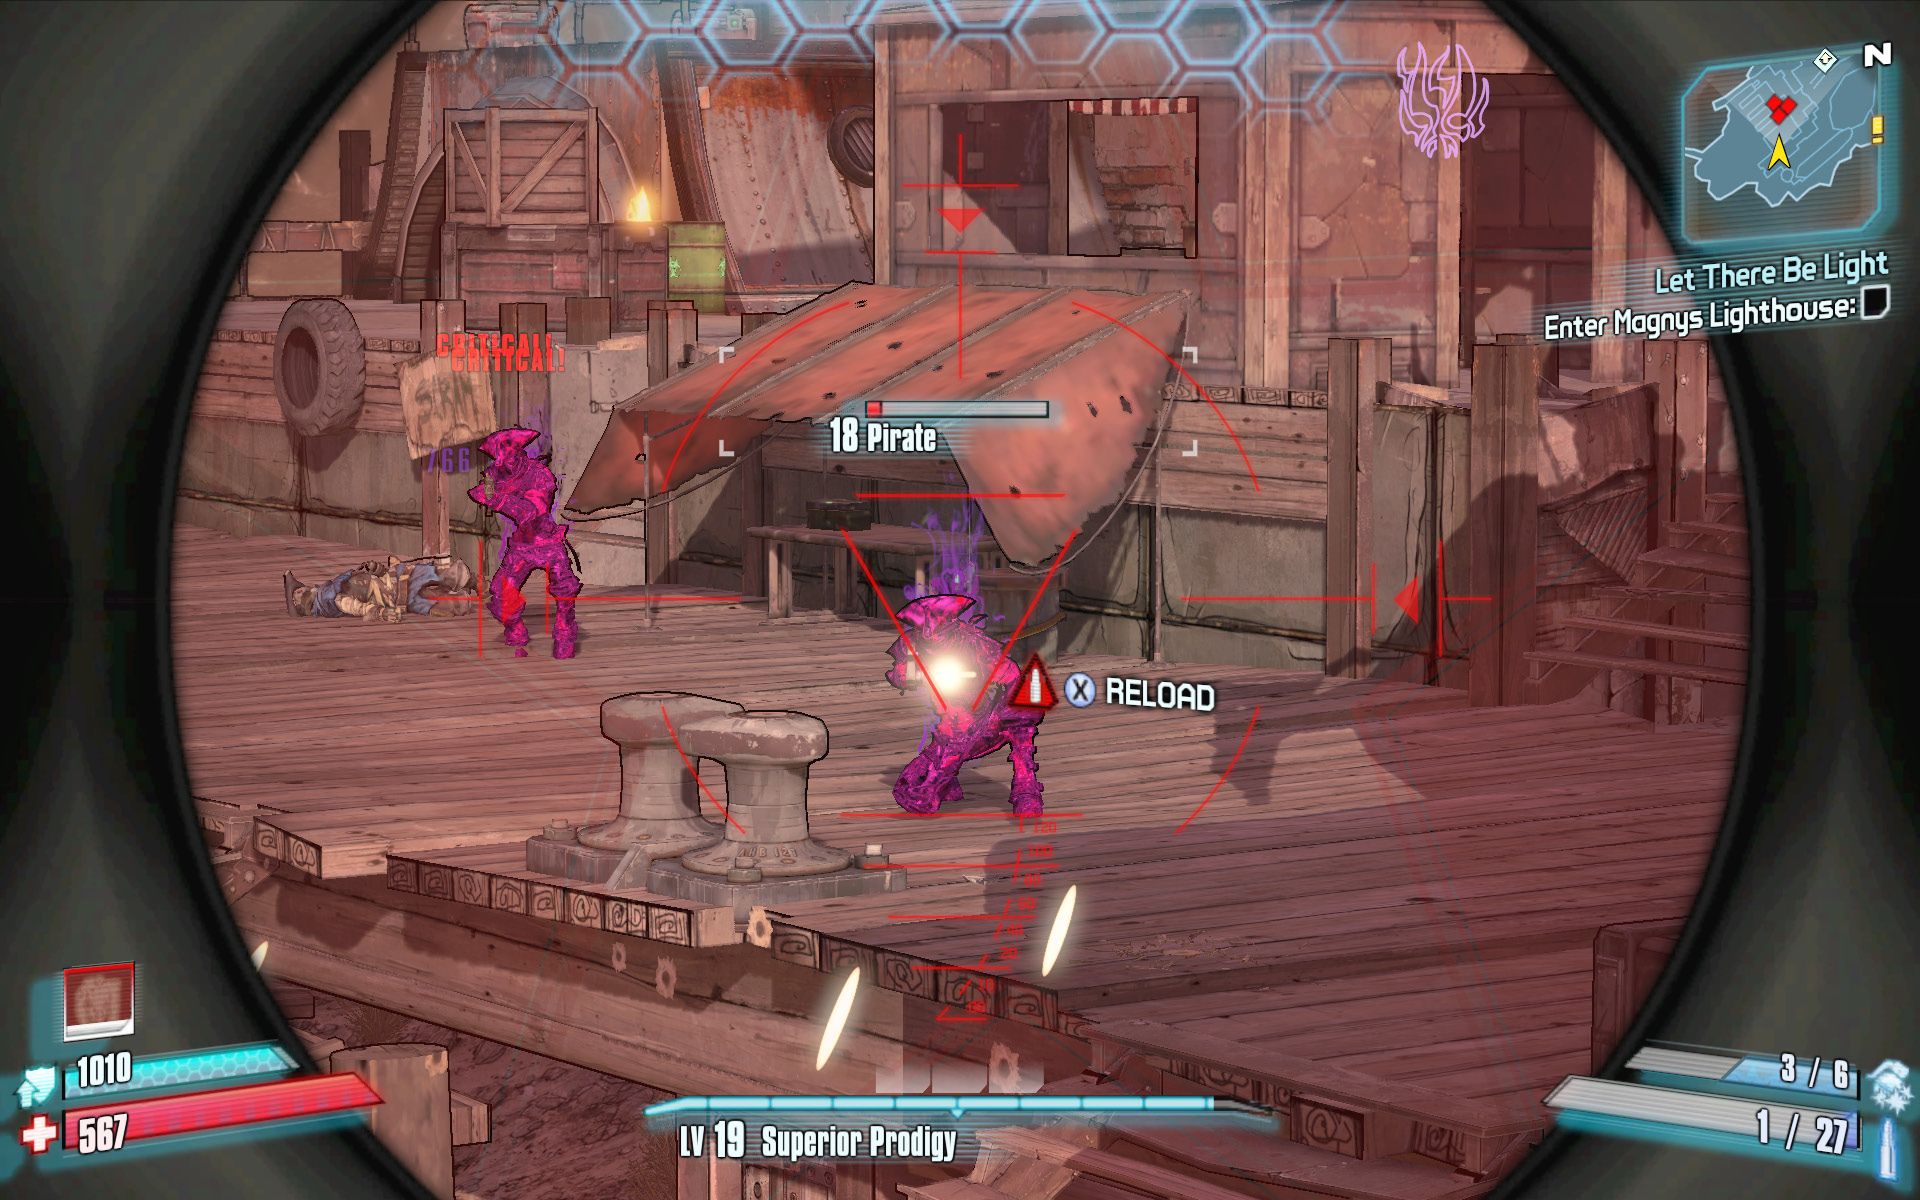
Take cover near the boathouse on the east side of the Spire Town Docks, and snipe the pirates on the docks.
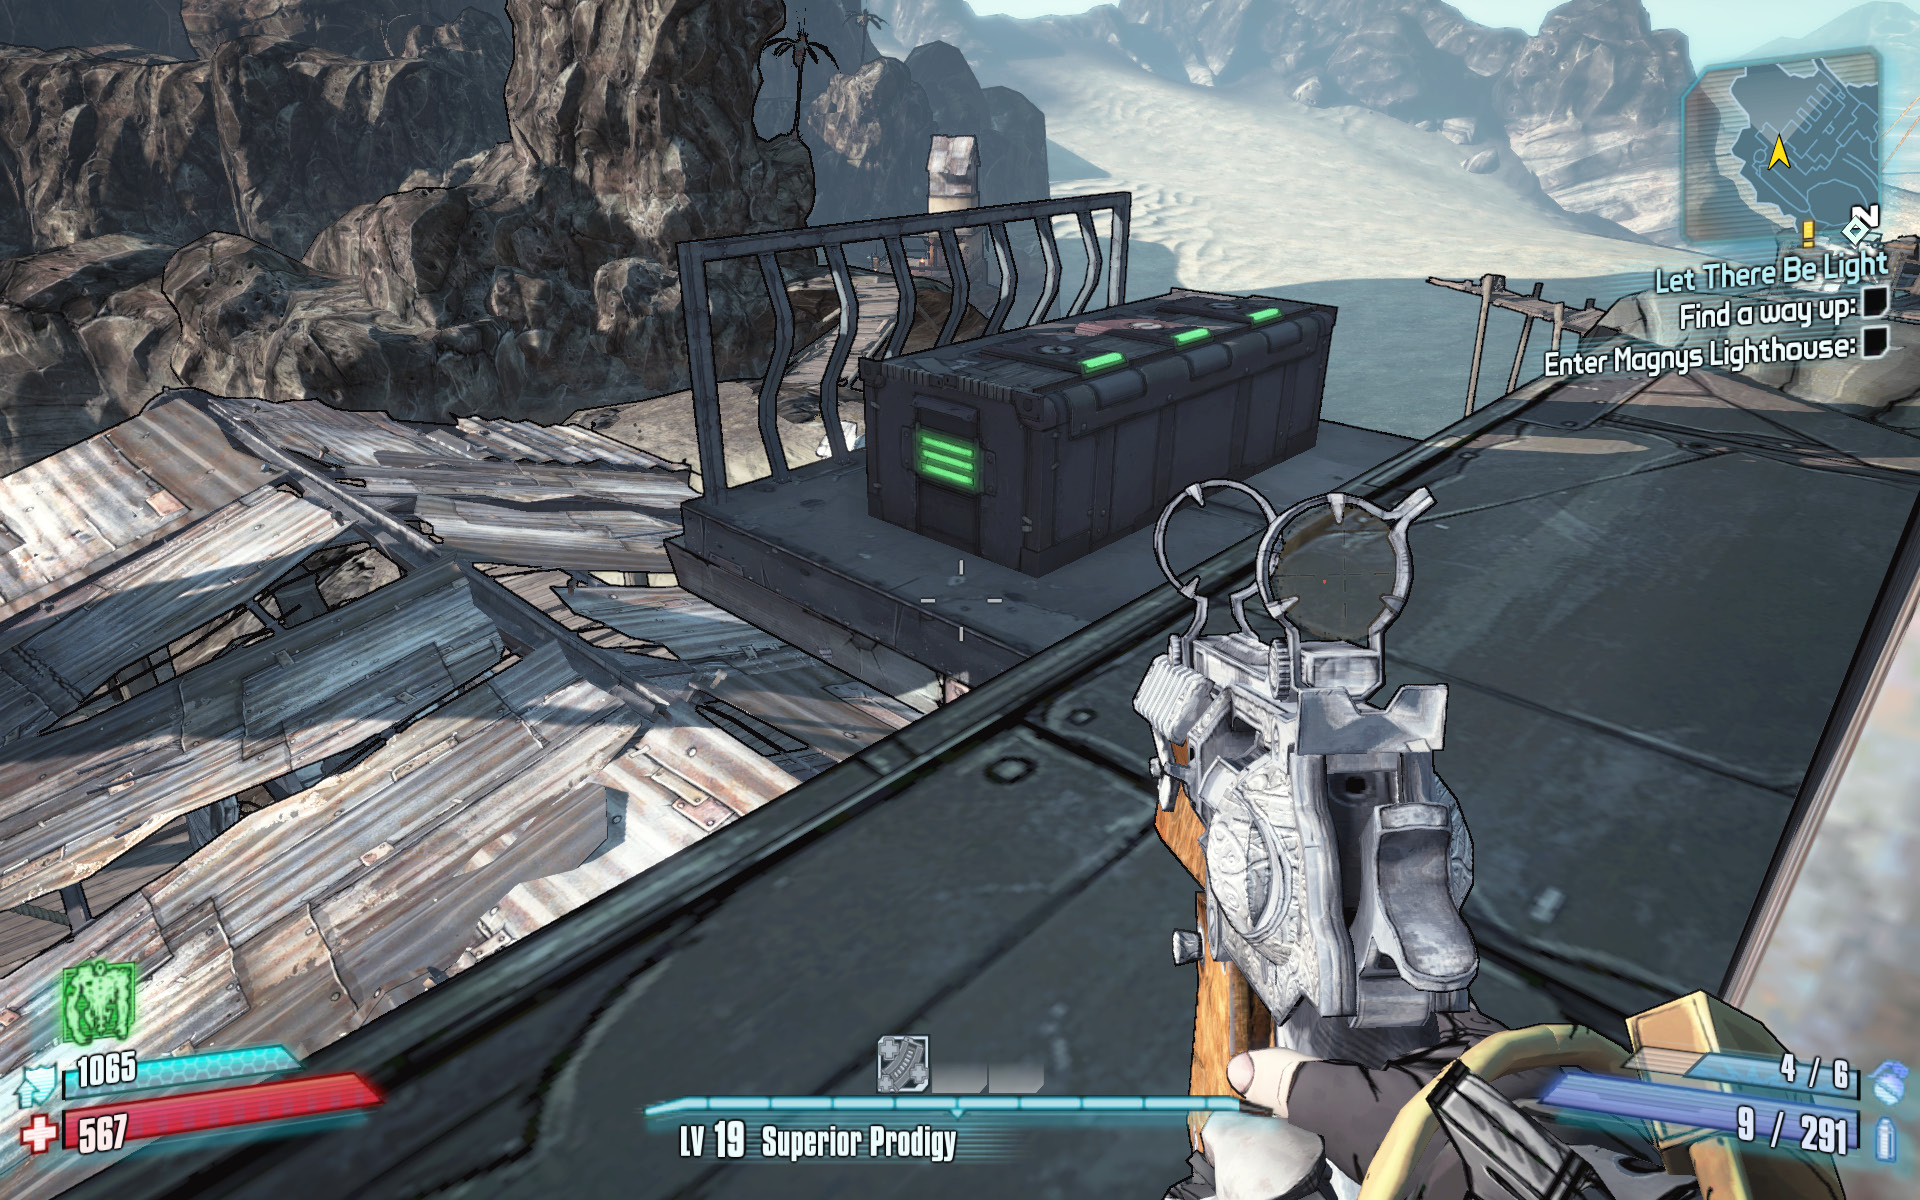
Don’t miss out on this weapon chest above the boathouse in the southeast corner of Spire Town Docks.
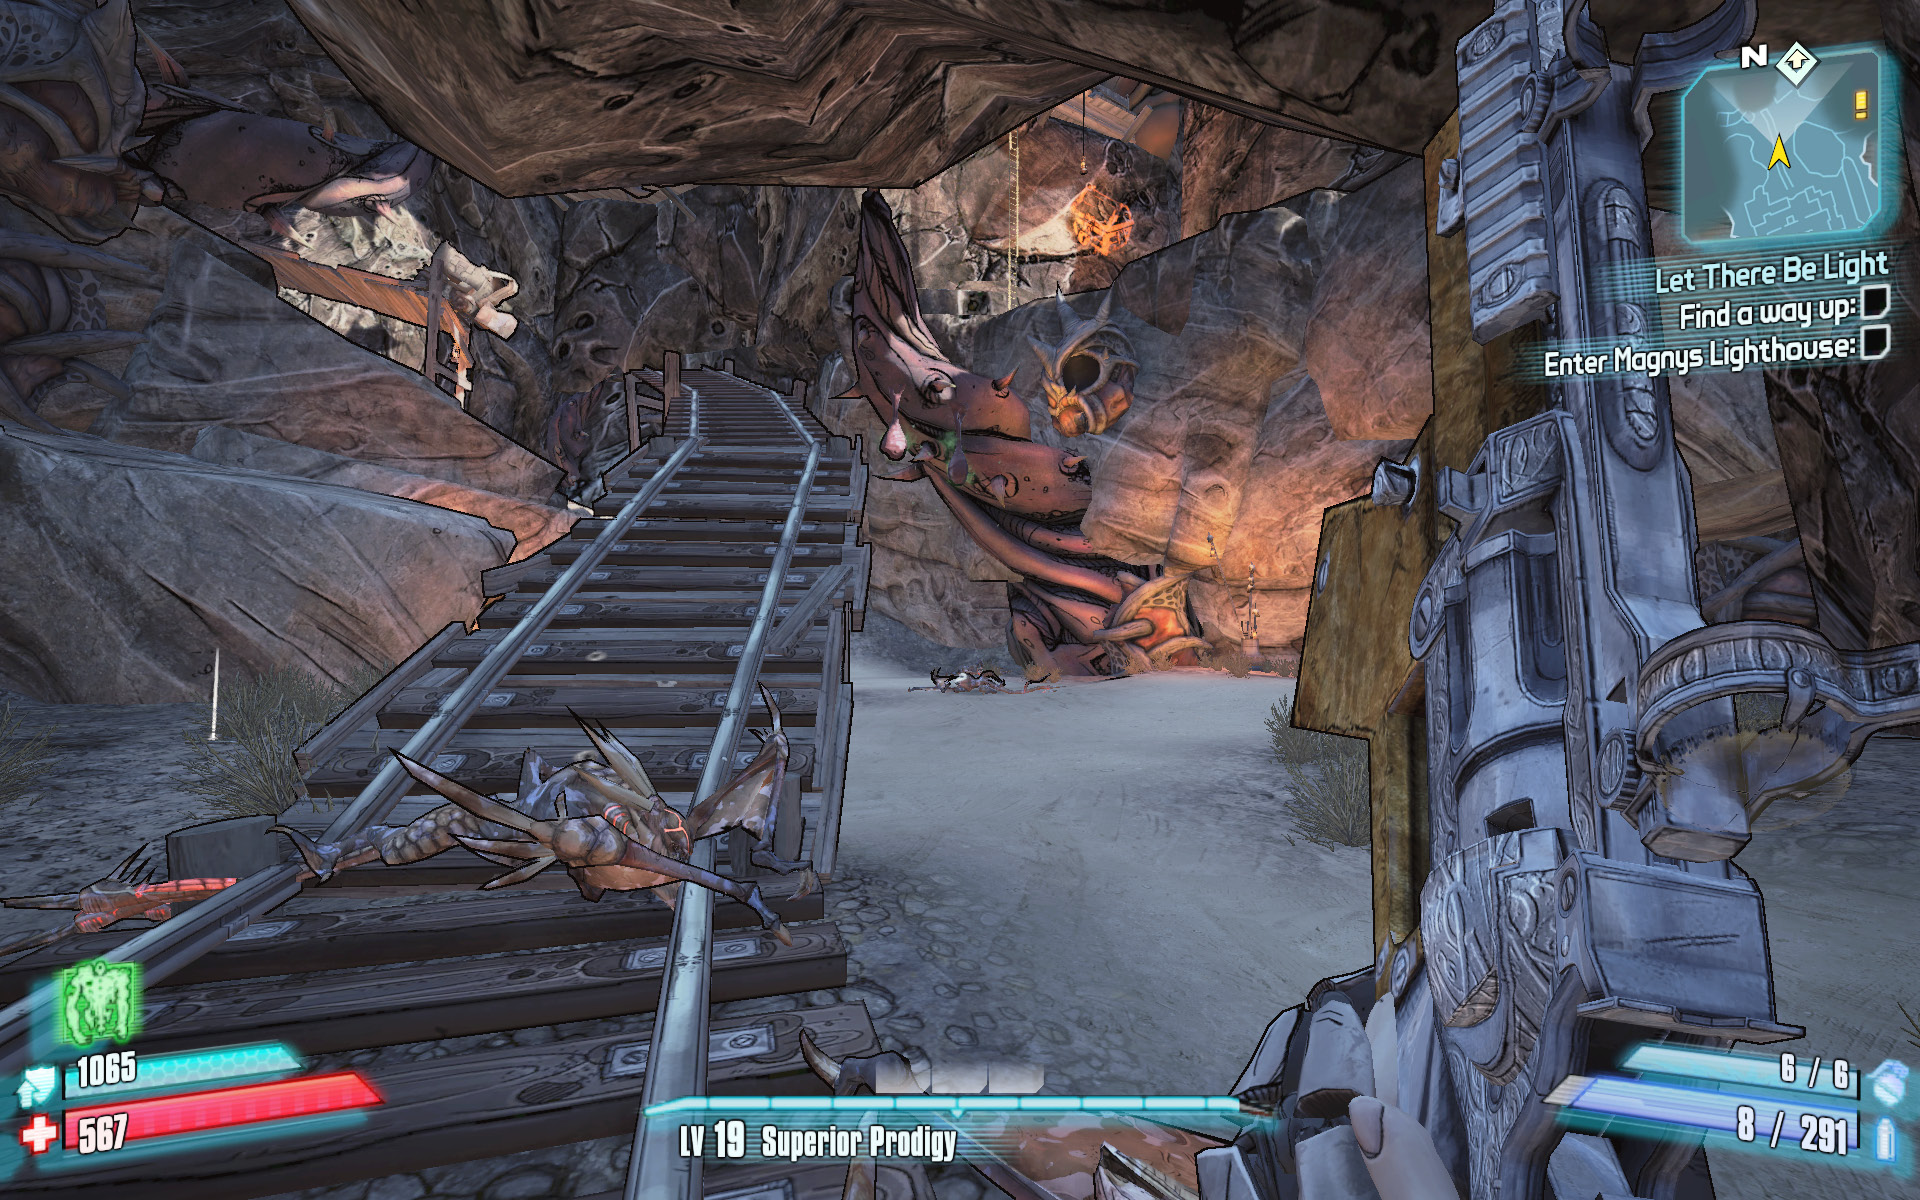
Leap from the railroad tracks to the vine, then climb the ladder if you want to take a shortcut. Otherwise, follow the sandy path up the hill on the left.
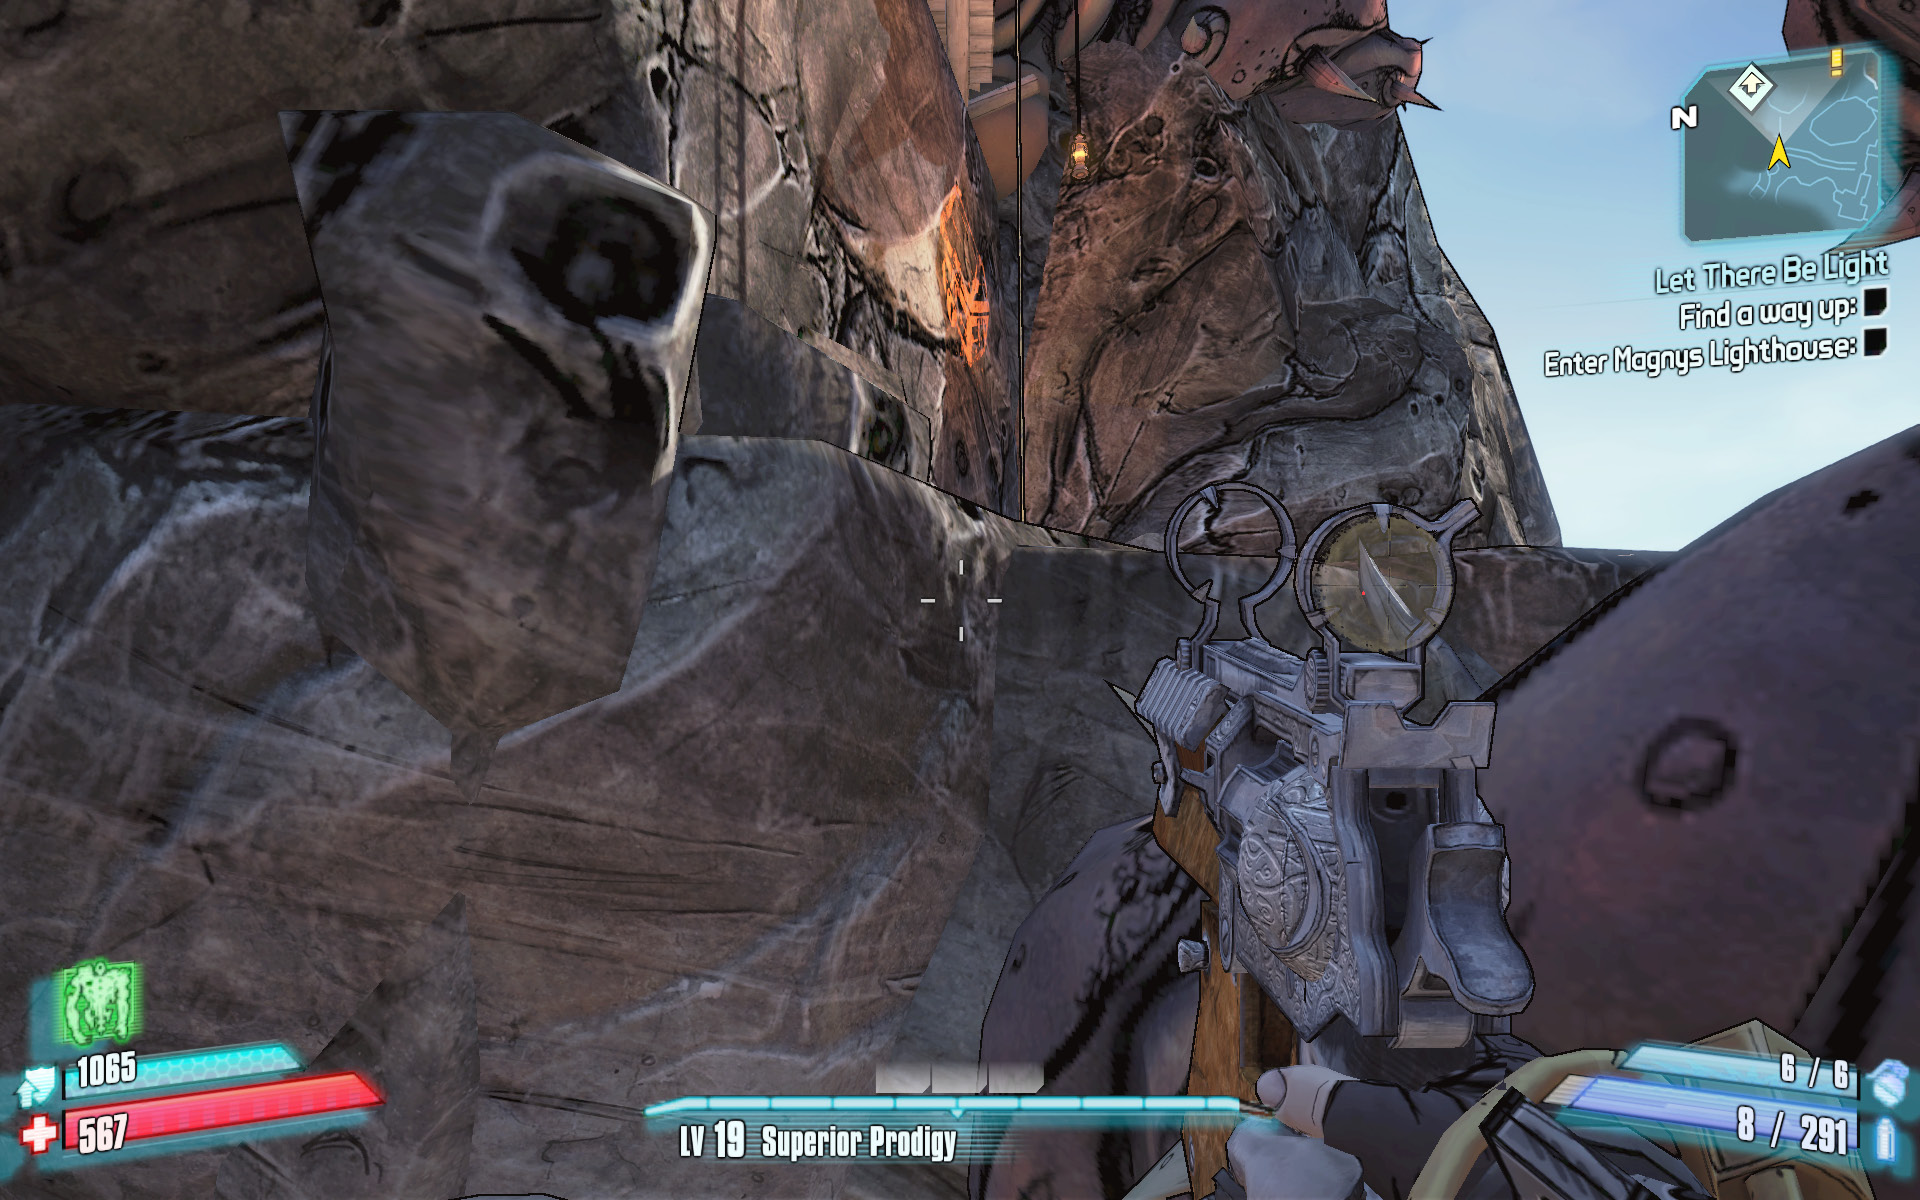
Head up the hill and into the cave to the north, near the sign that warns you of stalkers. Equip a shock grenade, and use it to drain the Tri-tail Stalkers of their shields. Clear out the cave, then stand back and survey the area. It’s possible to reach the ladder high above the cave, near the orange graffiti of a treasure chest. To do so, run up the broken railroad track, and leap to the purple vine on the right. This is one way to reach the lost bottle for the final “Message in a Bottle” quest, as well as another weapon chest. From there, you can climb the ladder to the upper settlement. For now, and since this is probably your first visit to Magnys Lighthouse (and you’ve perhaps already accepted the “F**k Censorship” quest), stick to the floor of the cave and walk up the sloping, sandy path.
Continue through the stalker cave to the northern side of the island, heading to an upper part of the pirate settlement. This area contains several more pirates, but it also hosts a number of pirate chests scattered throughout the area, on boardwalks, under houses, and across the bridge on AM-FM Isle. Scout the area for loot, then continue the clockwise ascent through the settlement and back through the center of the mountain to an area with a lift.
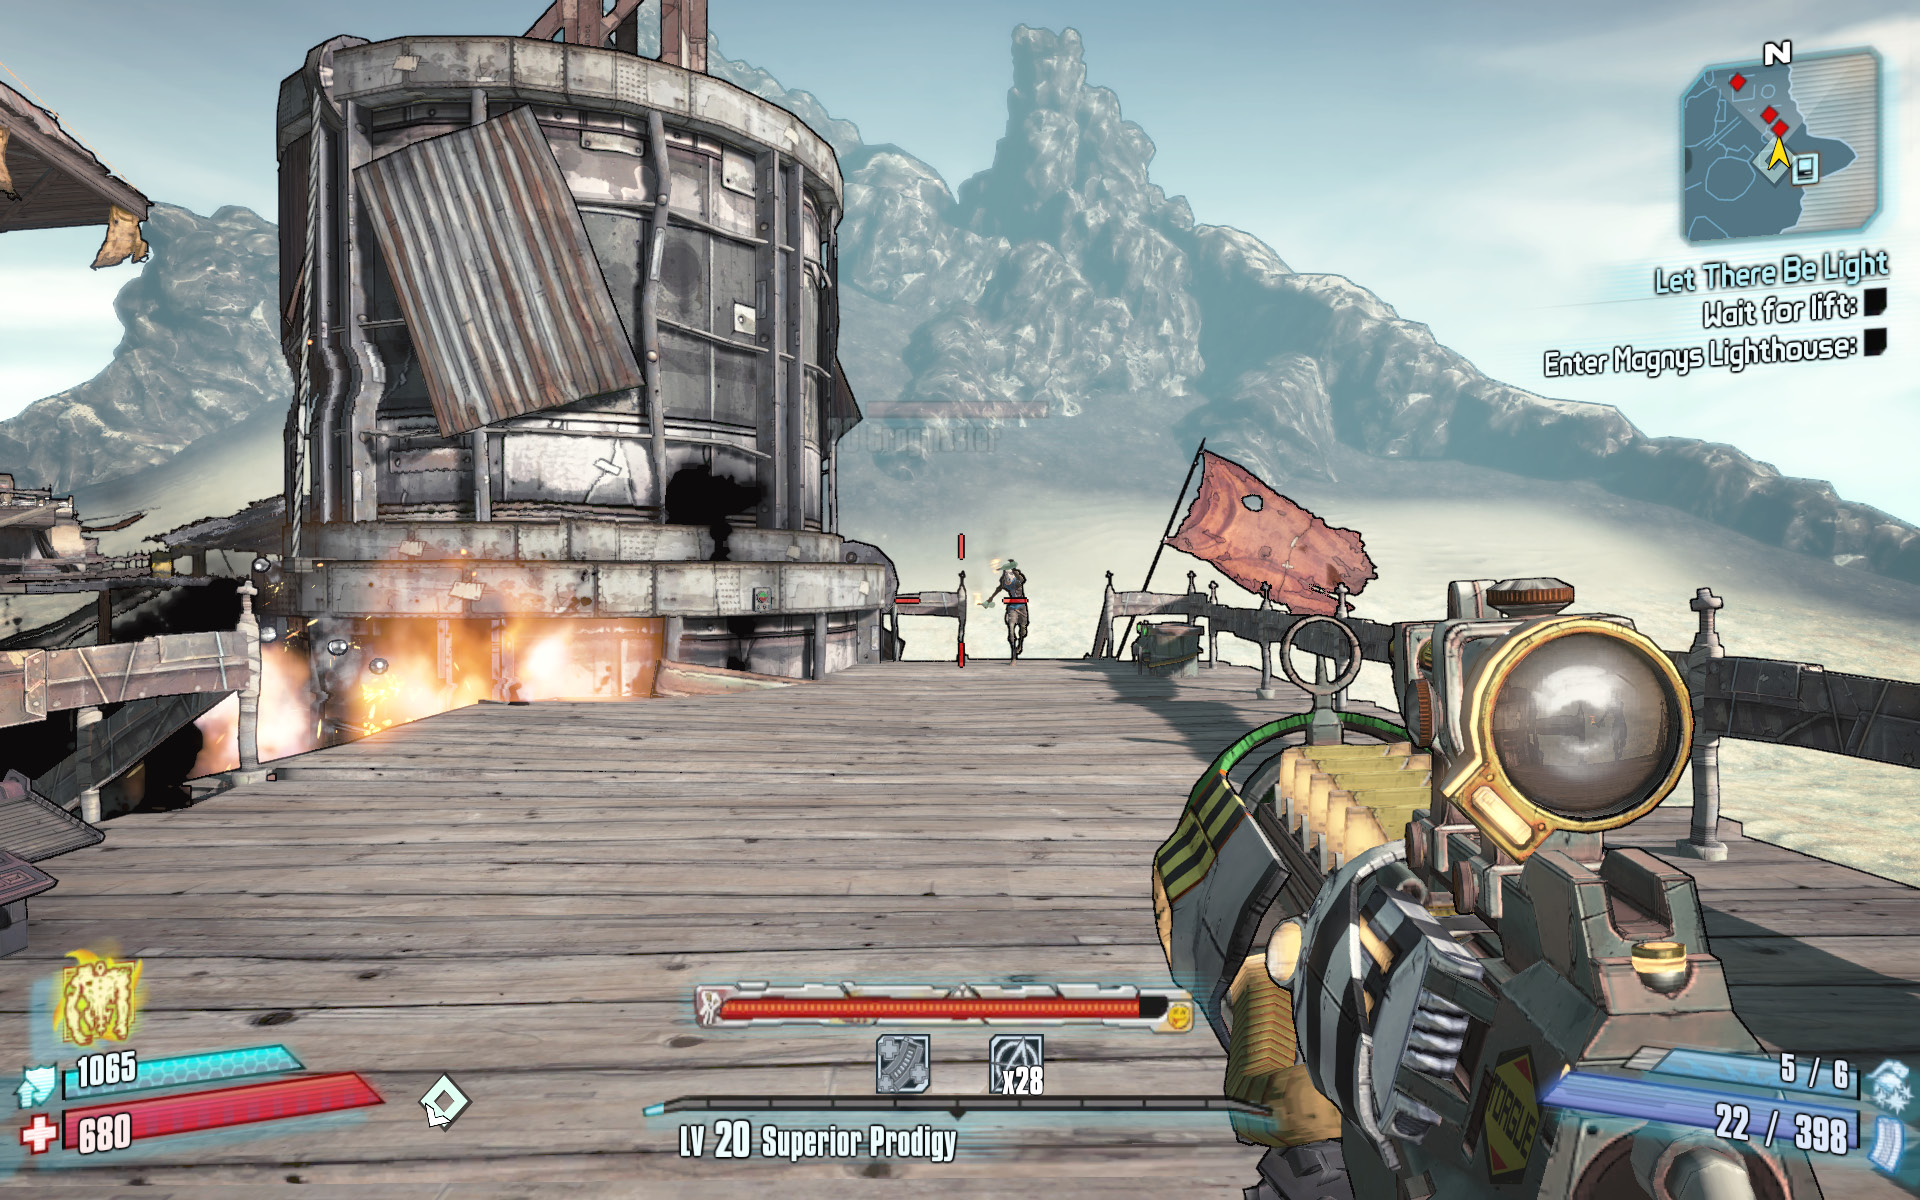
Stand your ground, or run over to the metal tower and press the green button to swing the turret into position.
Make your way to the large boardwalk overlooking the southern edge of the island, and pull the lever to call for the lift. Defend your position from the Corsairs, Grogmasters, and other pirates who attack (or use the turret and complete the “N00b Cannon” challenge). Stand in the center of the lift and ride it to the upper part of the island, where the lighthouse is located.
Enter the lighthouse and ride the lift to the upper level, where you can find two easily accessible treasure chests. Insert the compass into the lamp, then activate the beacon. Activating the beacon reveals the location of the Lost Treasure of the Sands and concludes this quest.
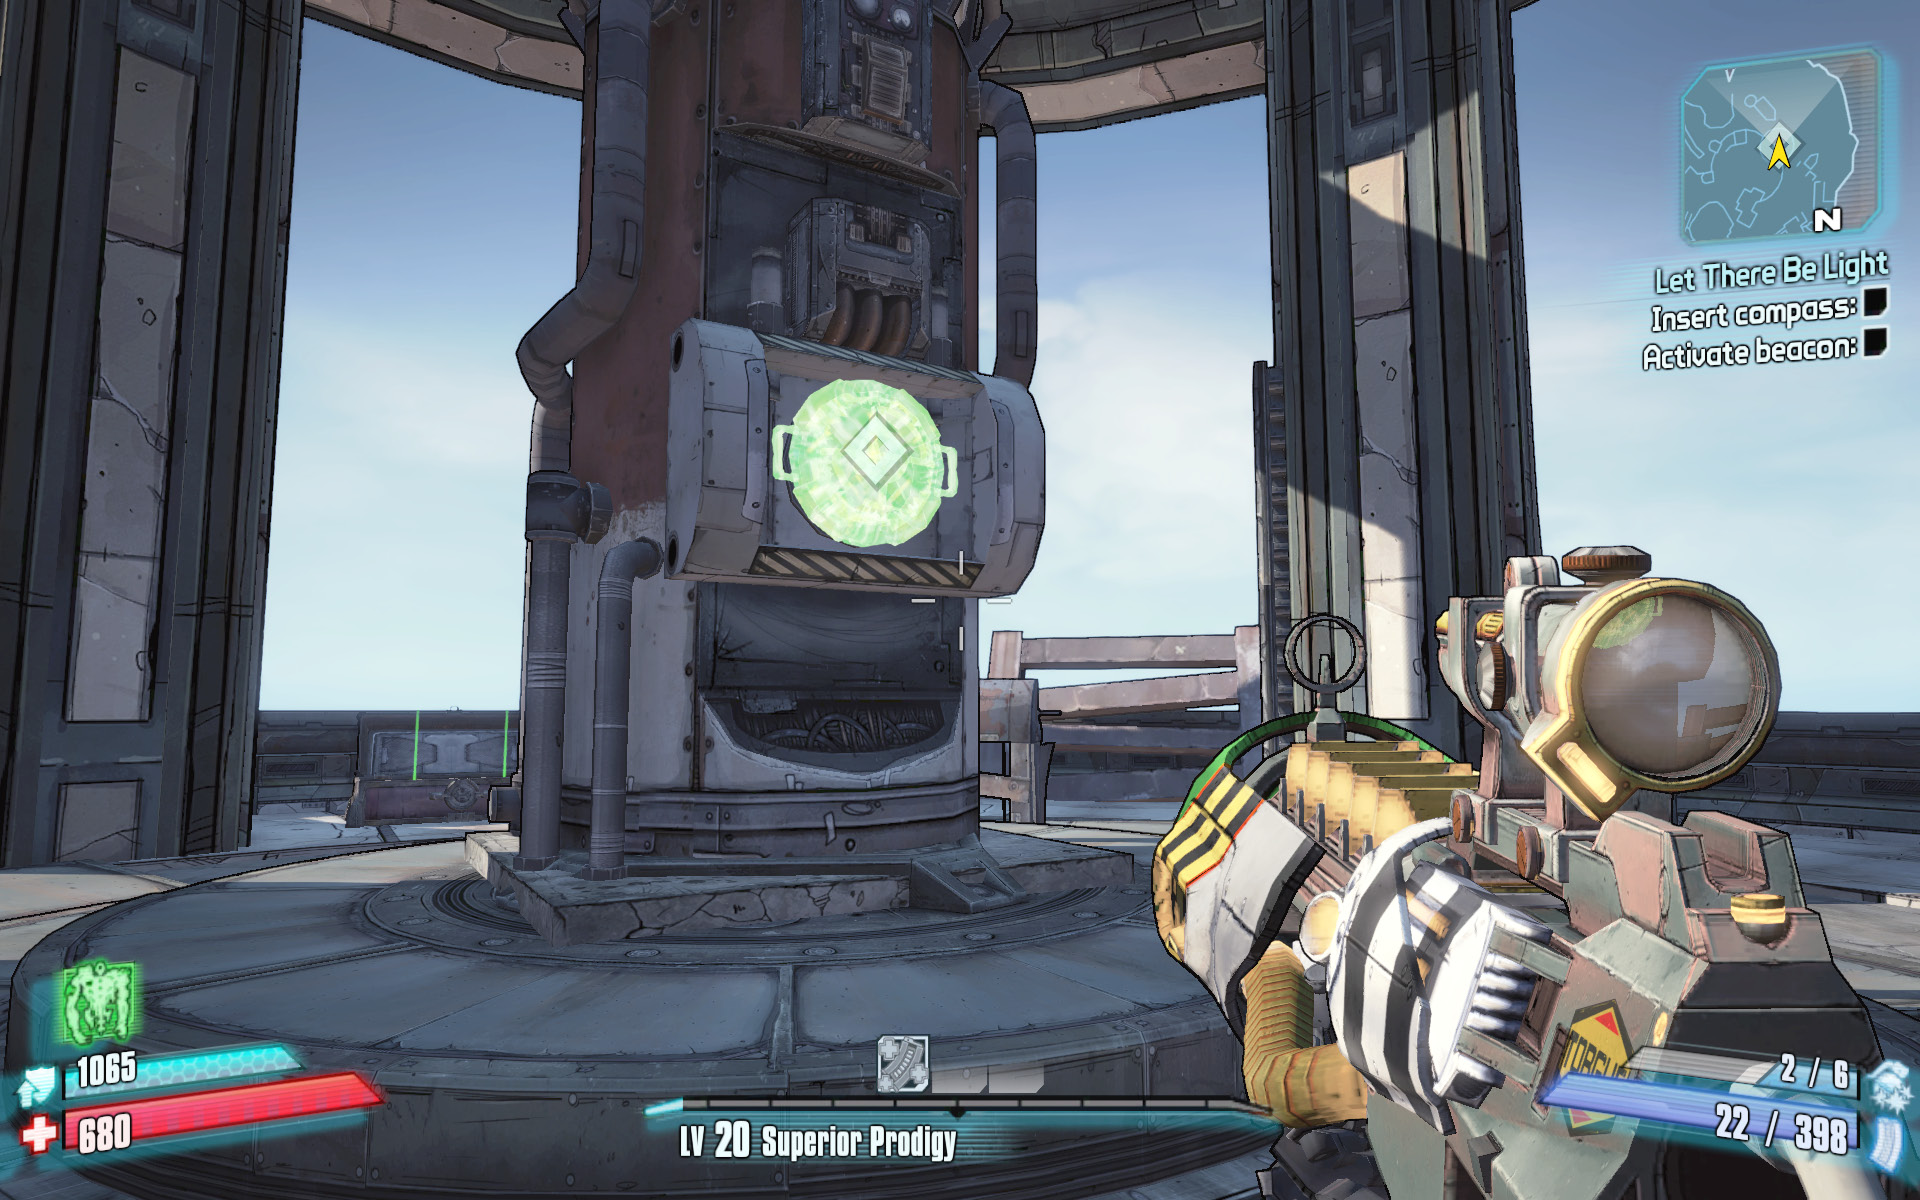
Prepare to be shown where the treasure is!
Freedom of Speech
F**k censorship.
Optional Mission Rewards
| Level | Money | XP | Gear |
|---|---|---|---|
|
19 |
4 Eridium |
3527 |
Grenade Mod (green) or Rocket Launcher (blue) |
*Money and XP may vary based on player’s level at start of mission.
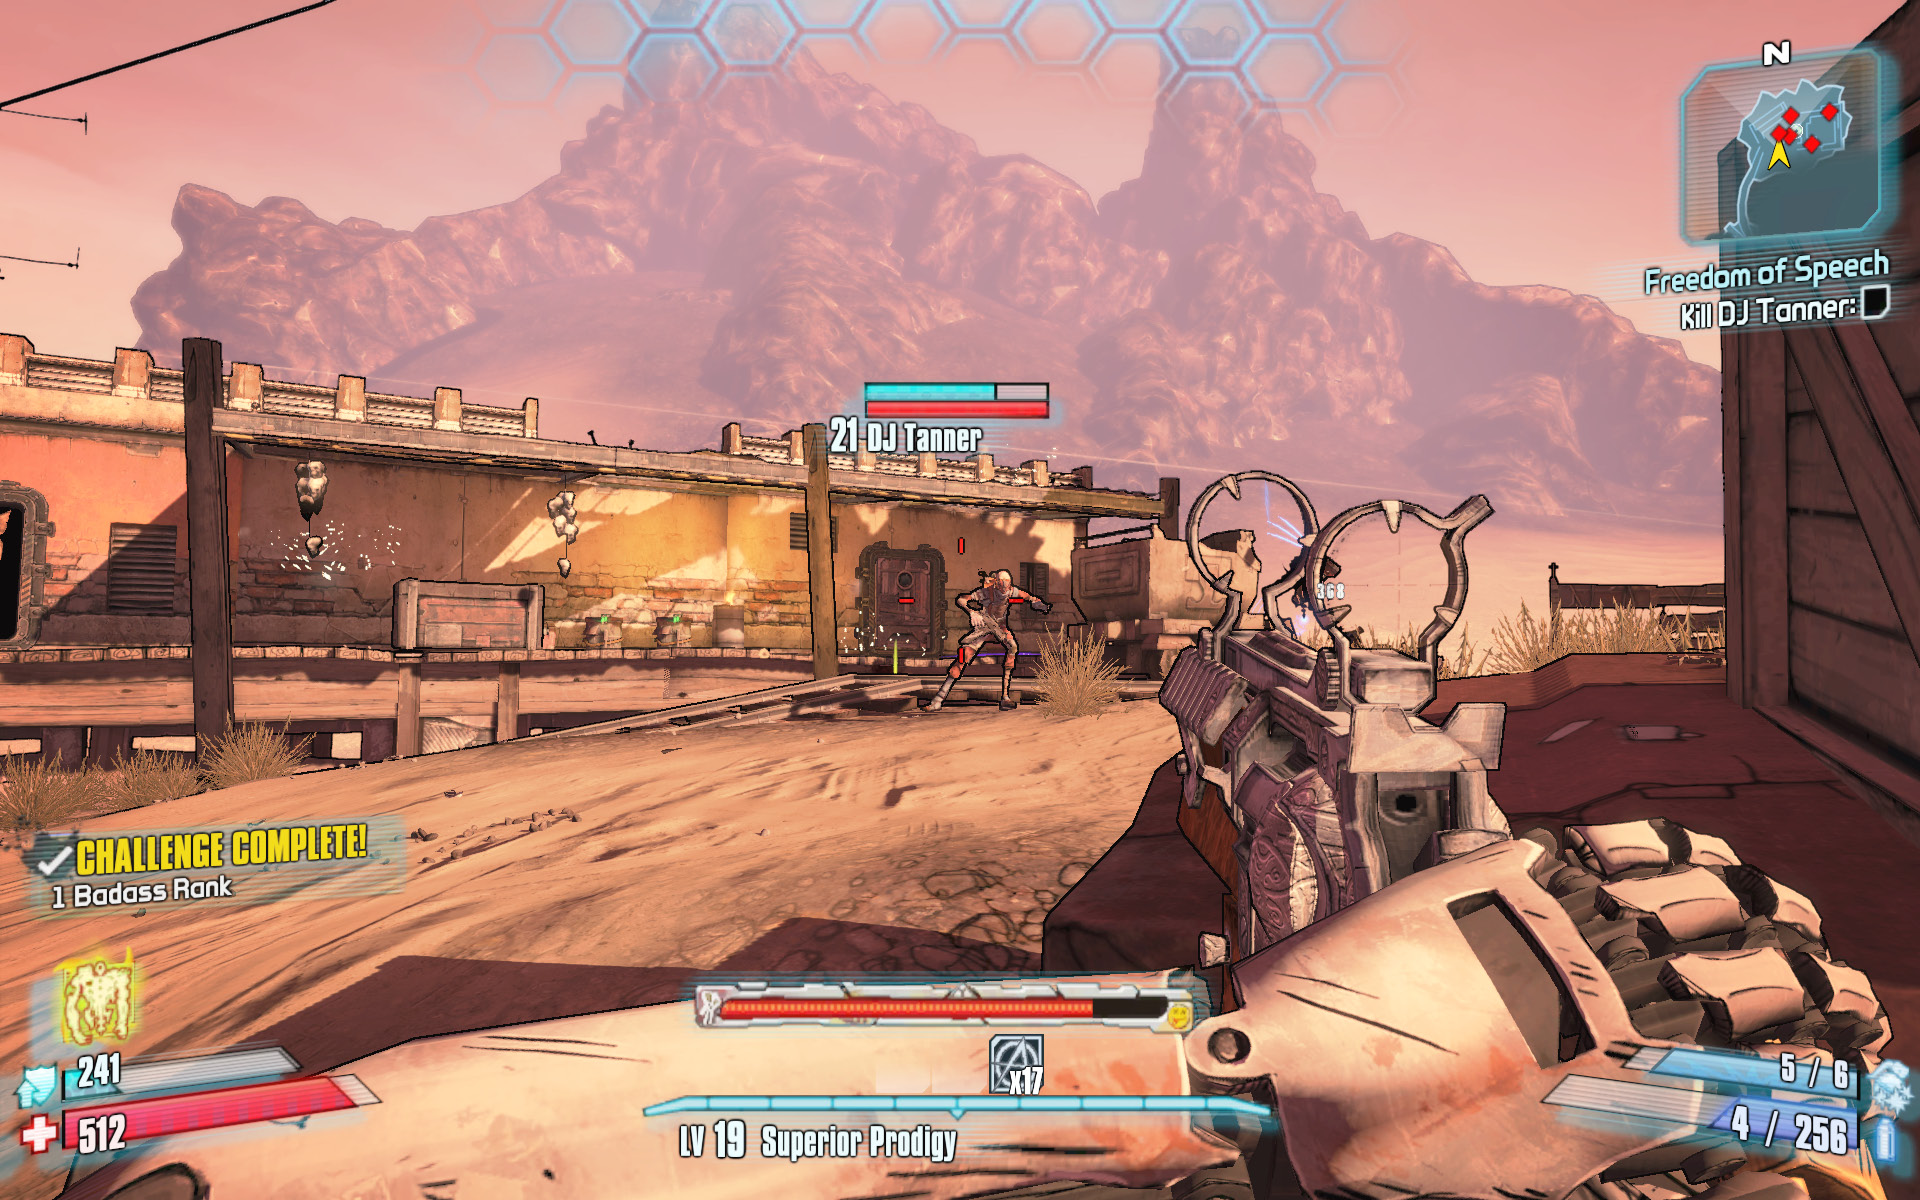
You’ve been tasked with the assignment of killing DJ Tanner over on AM-FM Isle in Magnys Lighthouse. To reach him, you must fight your way up the Spire Town Docks and through the stalker cave to the north side of the area. From there, follow the rickety railroad tracks to the island north of the pirate settlement. DJ Tanner has a shield and returns fire, but he’s not a significant threat. Lob a shock grenade at him to take out his shield, then rip off a few rounds at his head to down him.
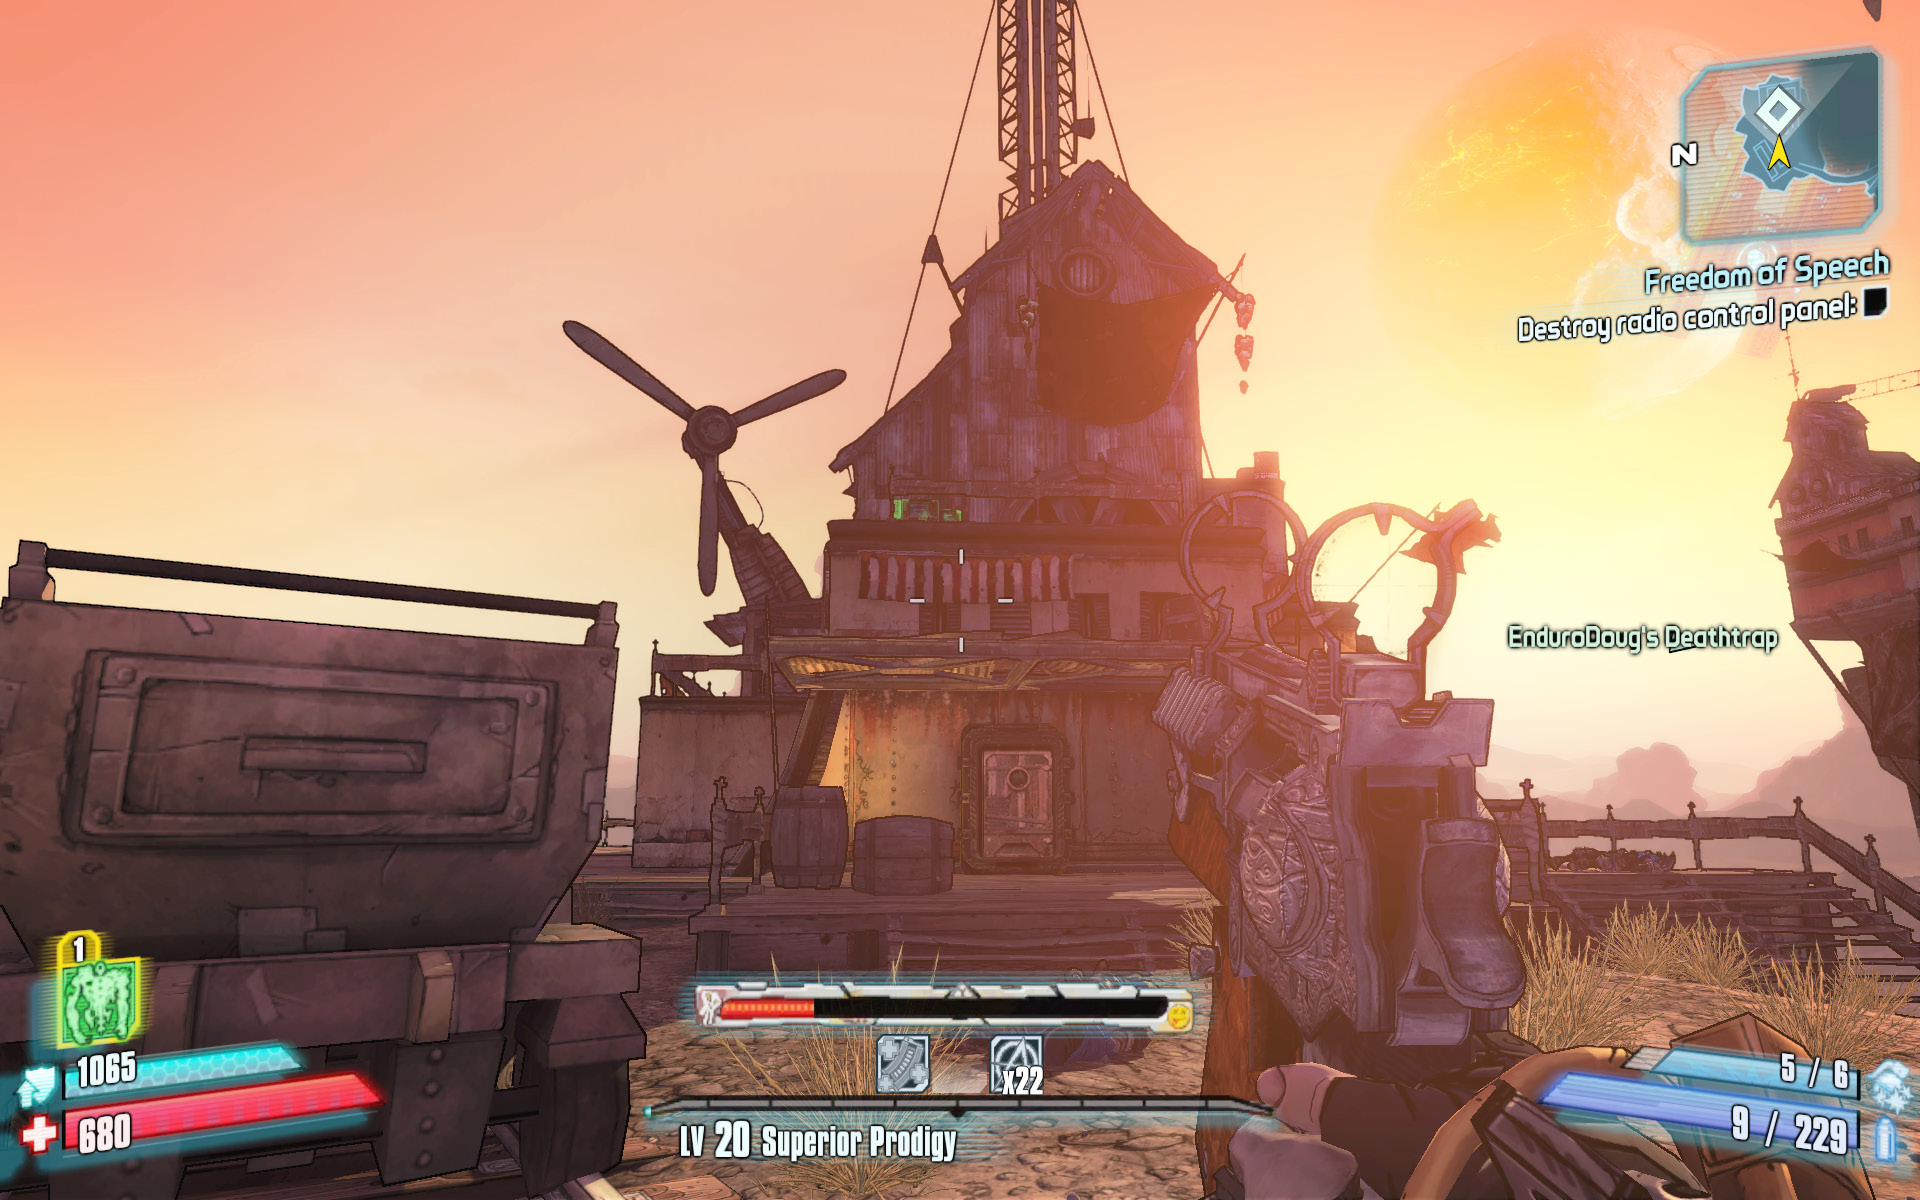
Killing the foul-mouthed DJ isn’t enough for C3n50r807; he wants you to destroy the radio control panel, too. Head around the north side of the large building with the antenna, and climb the ladders to the upper roof. Melee the green-lit radio control panel to destroy it. Return to C3n50r807 the next time you’re in Washburne Refinery to collect your reward.
Message in a Bottle (5 of 5)
This bottle was probably cast out to sea back when this area actually had water. And literacy.
Optional Mission Rewards
| Level | Money | XP | Gear |
|---|---|---|---|
|
19 |
$775 |
352 |
Grenade Mod (blue) |
*Money and XP may vary based on player’s level at start of mission.
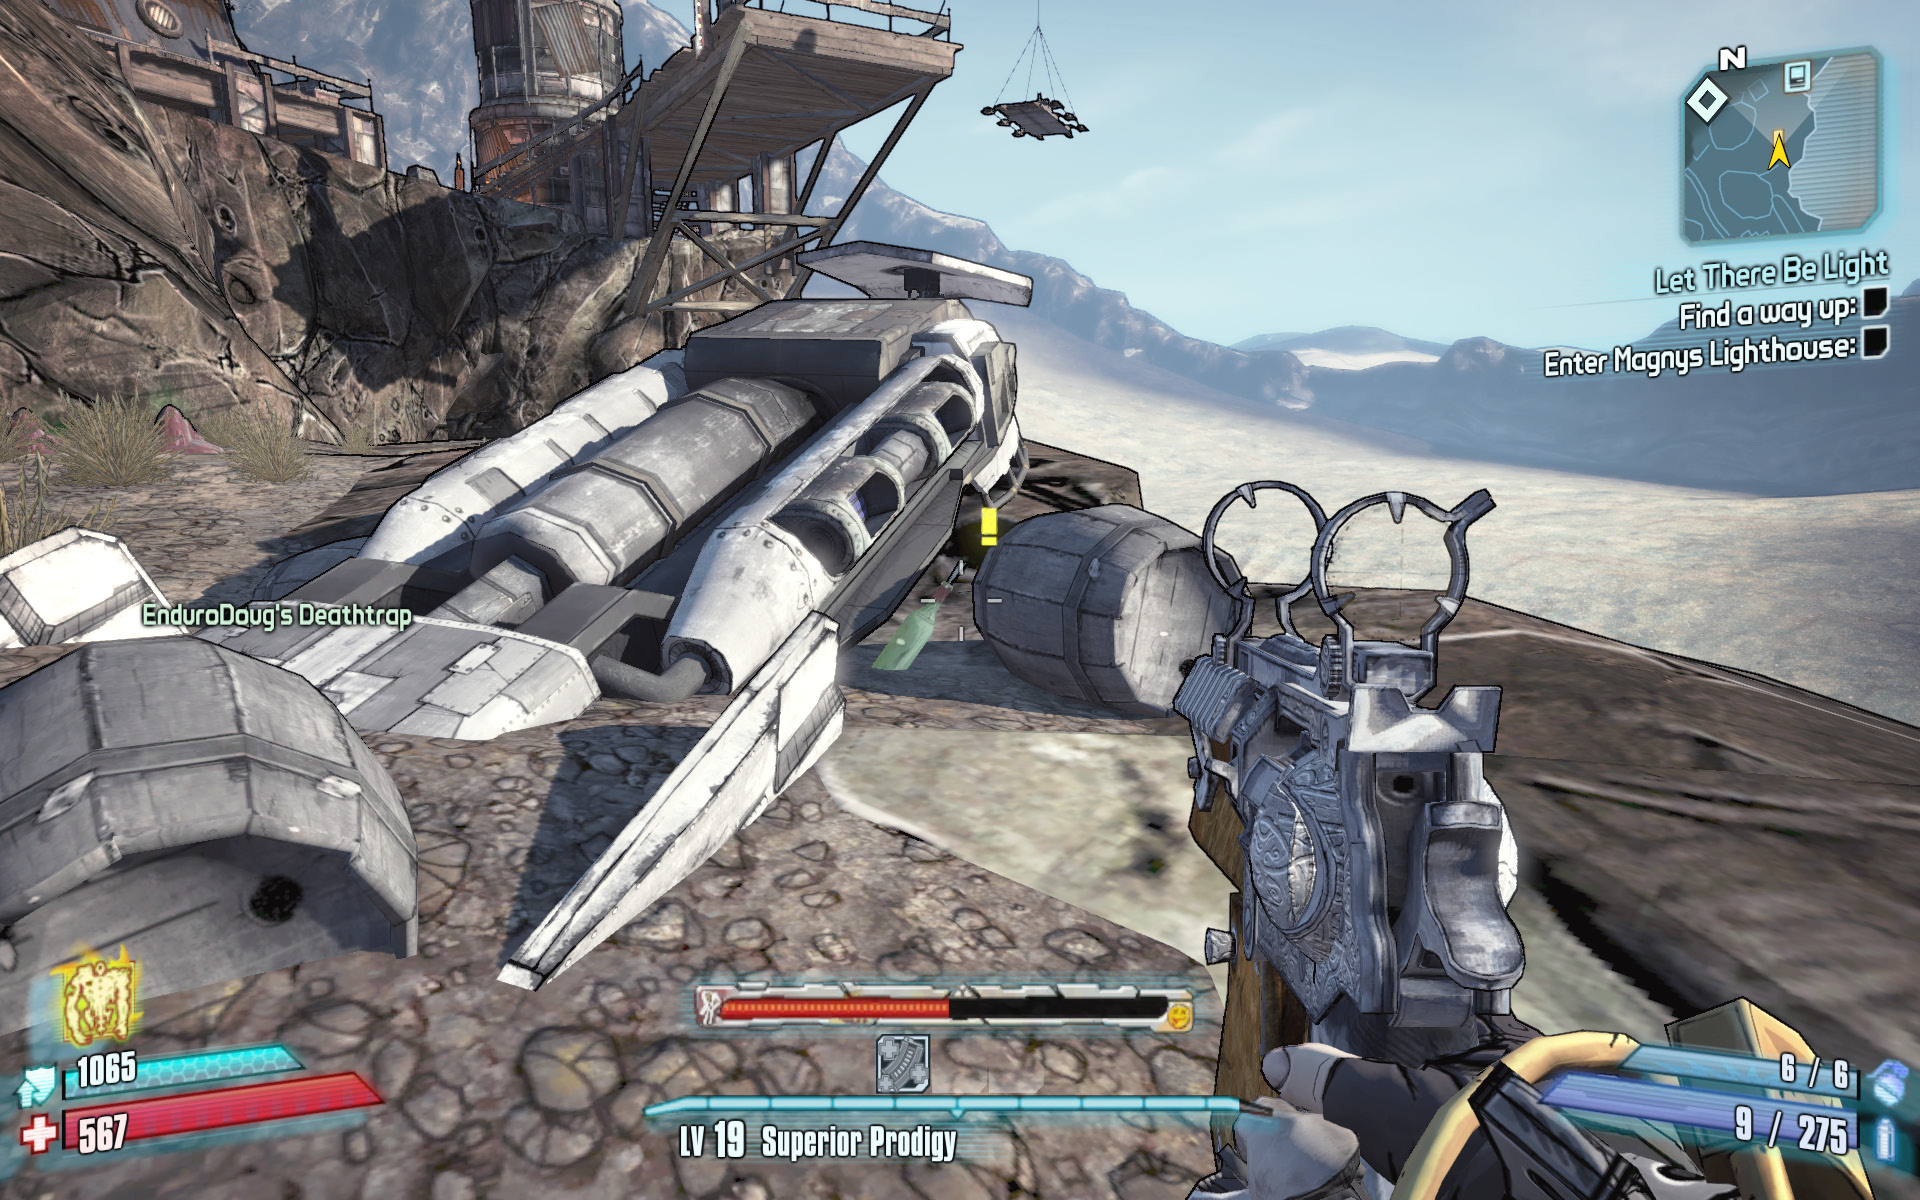
The fifth and final one of Captain Blade’s treasures has the trickiest bottle to find and the most challenging of his buried chests to locate. To find the lost bottle, make your way to the stalker cave beyond the Spire Town Docks. Note the ladder and orange graffiti high on the rocks, just above a ledge. The bottle is on the ledge, off to the right of the ladder. There are two ways to reach it: it’s possible to leap from the railroad tracks to the large spiked vine protruding from the wall and from there, hop up to the ledge. This is possible but difficult. The other way to reach the ledge is by continuing beyond the cave and through the settlement on the north side of the island. The main path leads you to the top of the ladder in this cave. Either way, the lost bottle is stuck in the ground beneath a partially buried sandskiff high on the mountain.
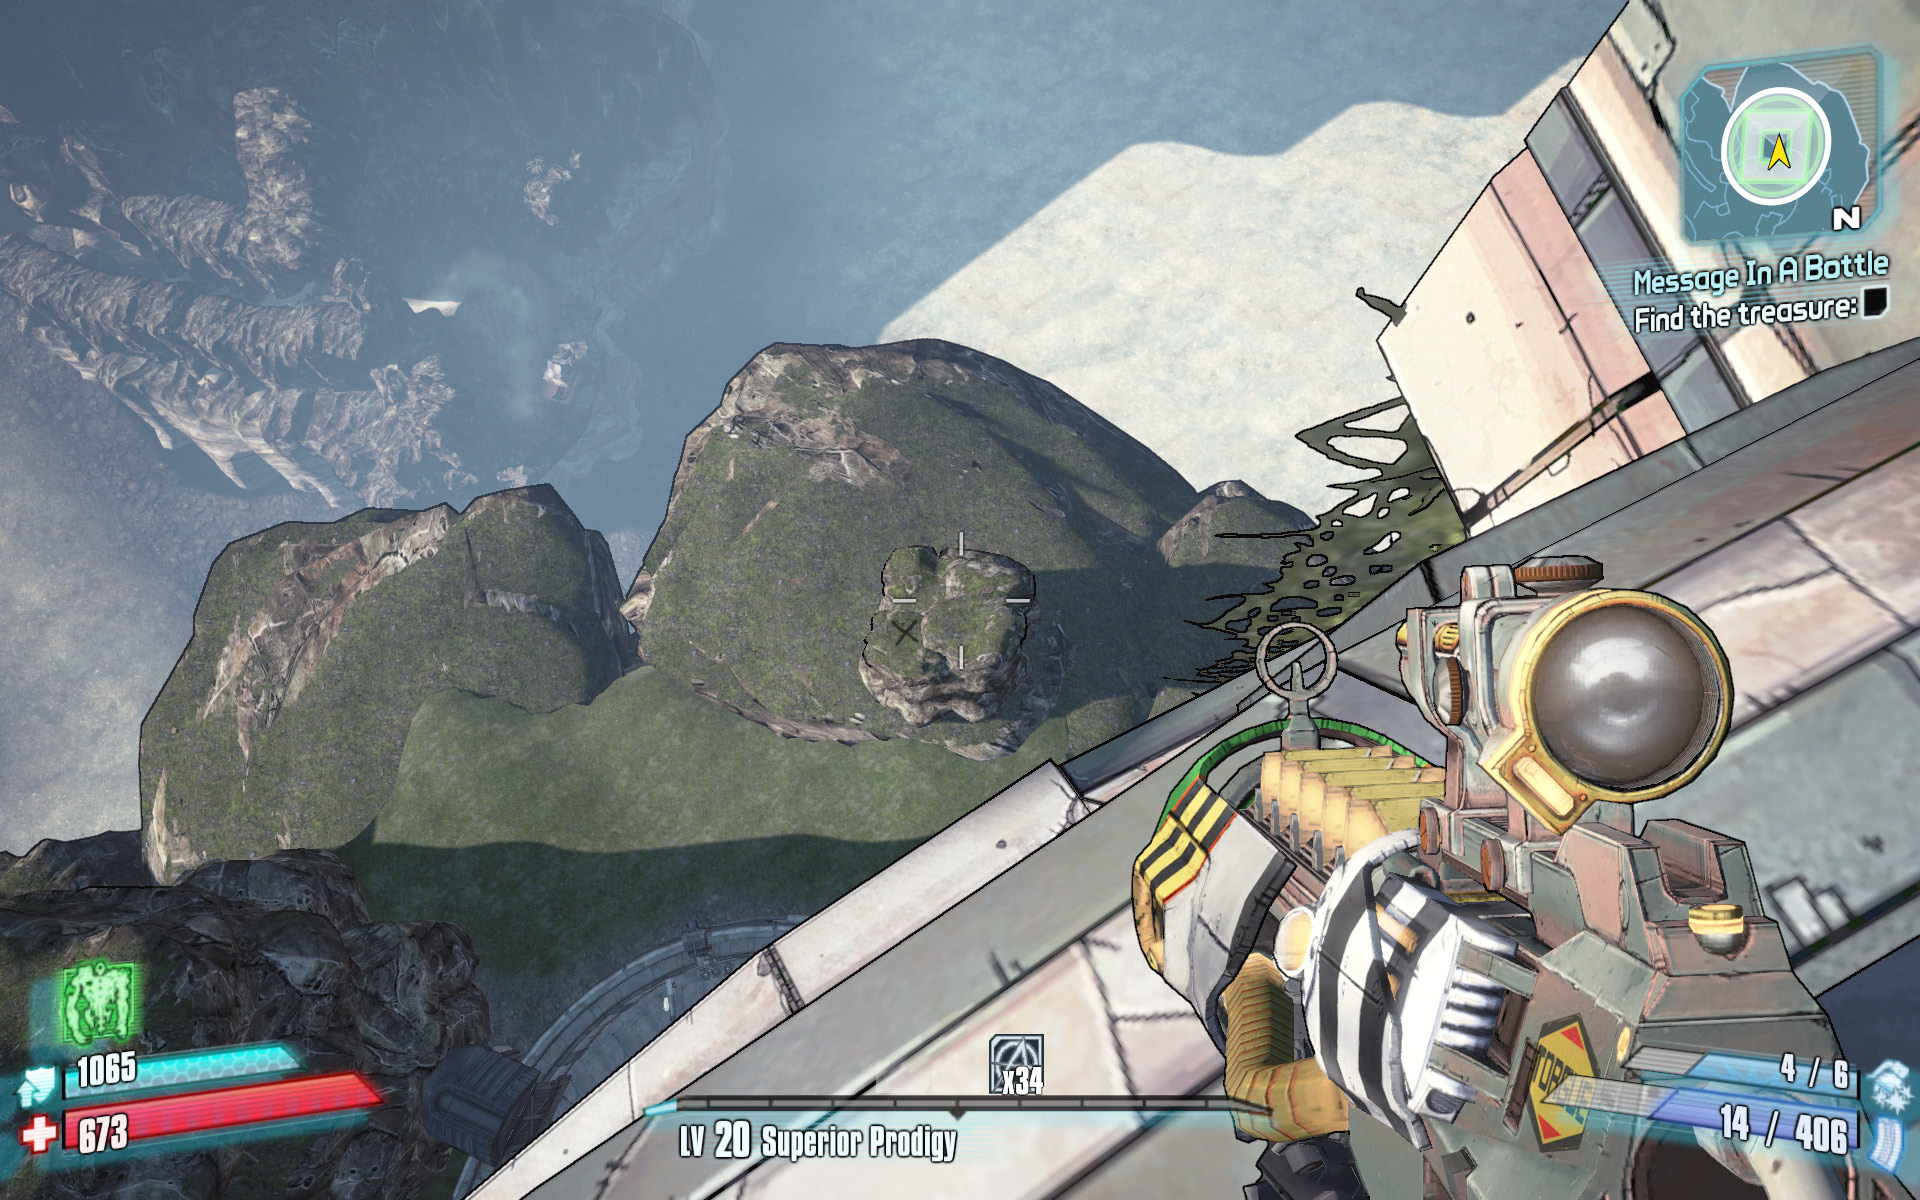
Pick up the bottle and make your way to the top of the lighthouse. Ride the elevator inside the lighthouse as though you were going to place the compass and light the beacon. The “X” marking the buried treasure is atop a very rocky boulder down below on the southwest side of the lighthouse. The only way to reach it is by leaping out of the window at the top of the lighthouse on the proper side. The “X” is clearly visible from the top of the lighthouse. Leap off the lighthouse to land on the rock, and dig up Captain Blade’s Midnight Star. This dangerous grenade mod spawns five child grenades when thrown, one of which is guaranteed to fly right back at you! Behold the Curse of the Cackling Designer!