
Borderlands 2 Game of the Year Guide Walkthrough
Bright Lights, Flying City
|
 Mission Briefing
| Level | Money | XP | Gear |
|---|---|---|---|
|
16 |
$55 |
3917 |
Storage Deck Upgrade (Purple) |
*Money and XP may vary based on player’s level at start of mission.
The Fridge
Enter The Fridge and note the location of the vending machines on the right and the entrance to Fink’s Slaughterhouse on the left. If you don’t have any Fire weapons on hand, this is a prime time to buy one. Turn the wheel to open the heavy gate to Frigid Cleft as the Guardian Angel tries to explain away her recent actions.
Draw your sniper rifle (preferably one that deals Fire damage), and take aim on the various rats inside The Fridge. The rats not only live in this frozen region, but also love to feast on humans, so keep your distance. As a species, Rats are among the most crafty, using speed and agility in combat, burrowing in the ground to hide, and even stealing your money right from your wallet. Some even hoard the loot that gets dropped onto the battlefield.
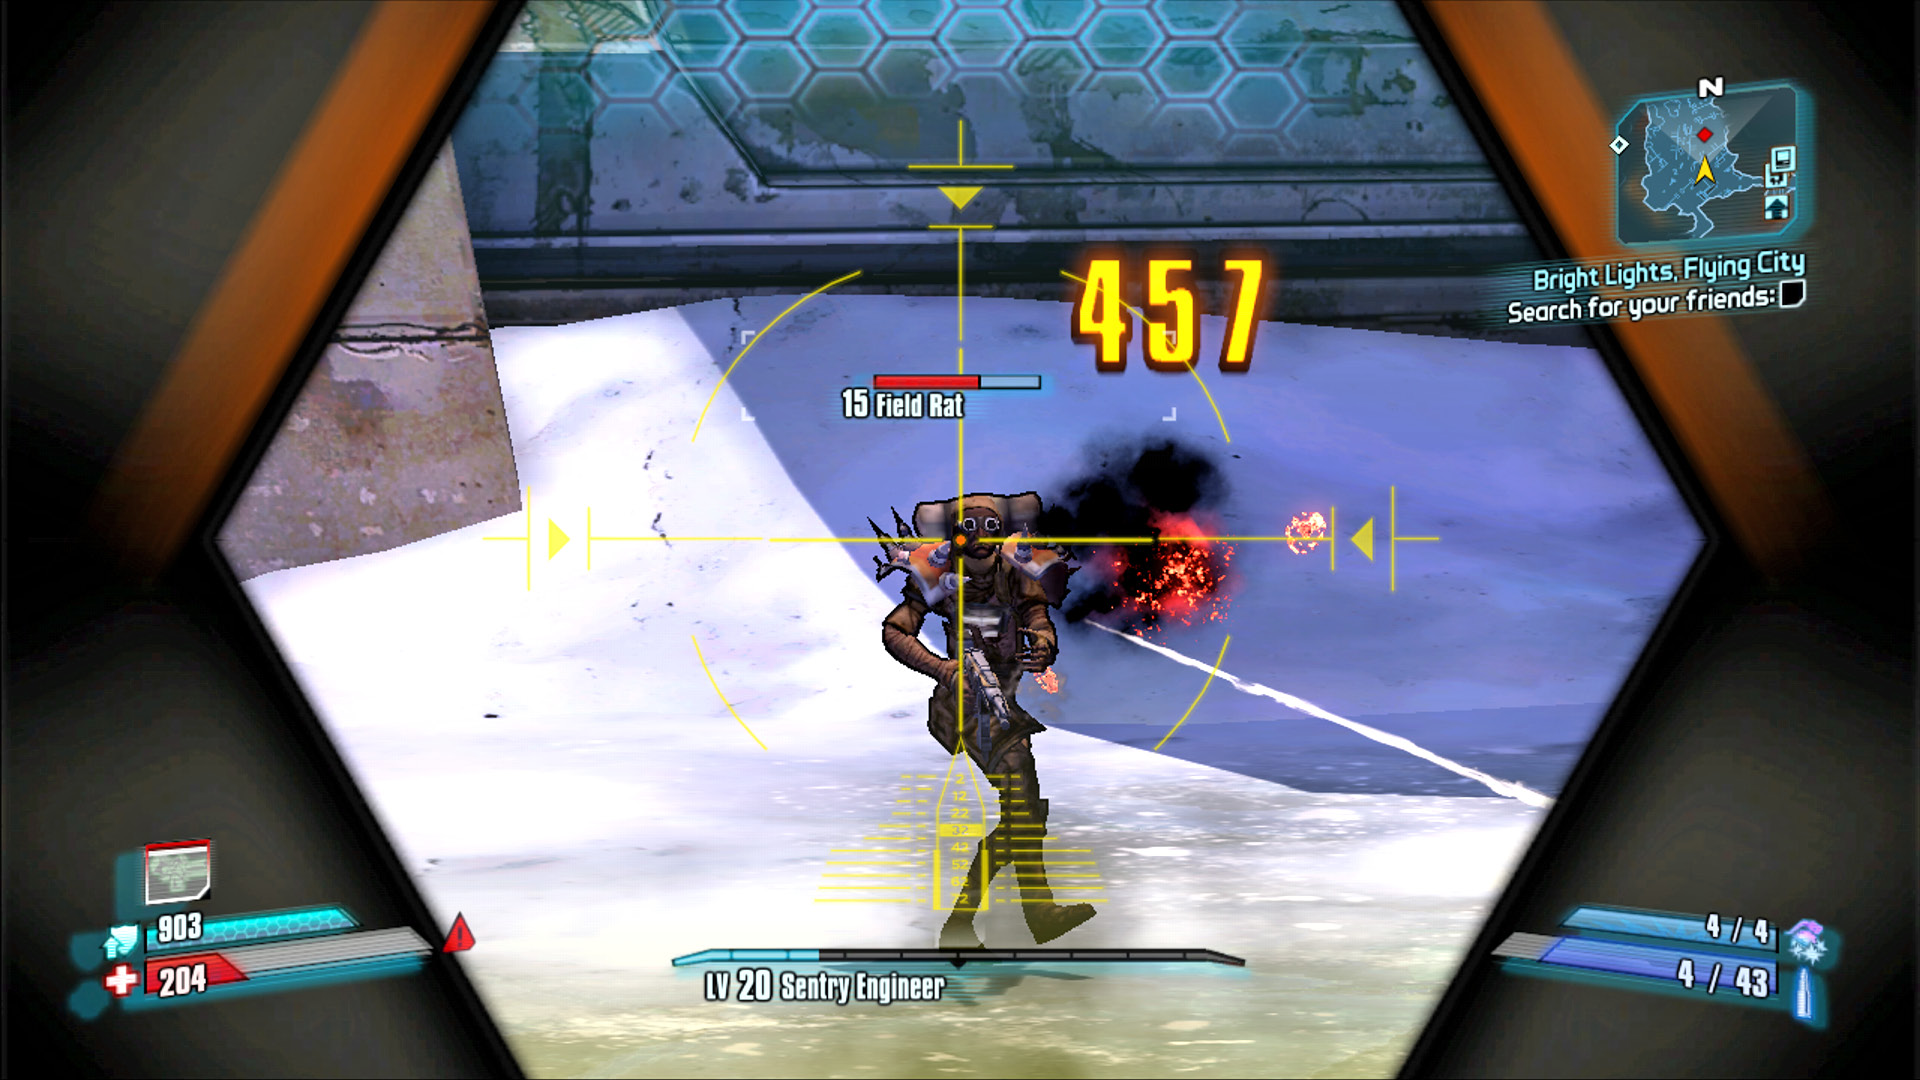
No better way to take out a rat than with a long-range Fire bullet right to the head!
Hang out in this narrow area to keep the quick-moving rats in front of you. Don’t hesitate to swap to a shotgun if they get close, especially Midget Rats. Climb the ladder on the left to reach the roof of the shed and maintain the elevated advantage as you proceed north toward the blown-out highway bridge in the distance. Drop to the road surface, and fight past the rats to the chest on the edge of the highway overlooking Icemaw Grotto down below.
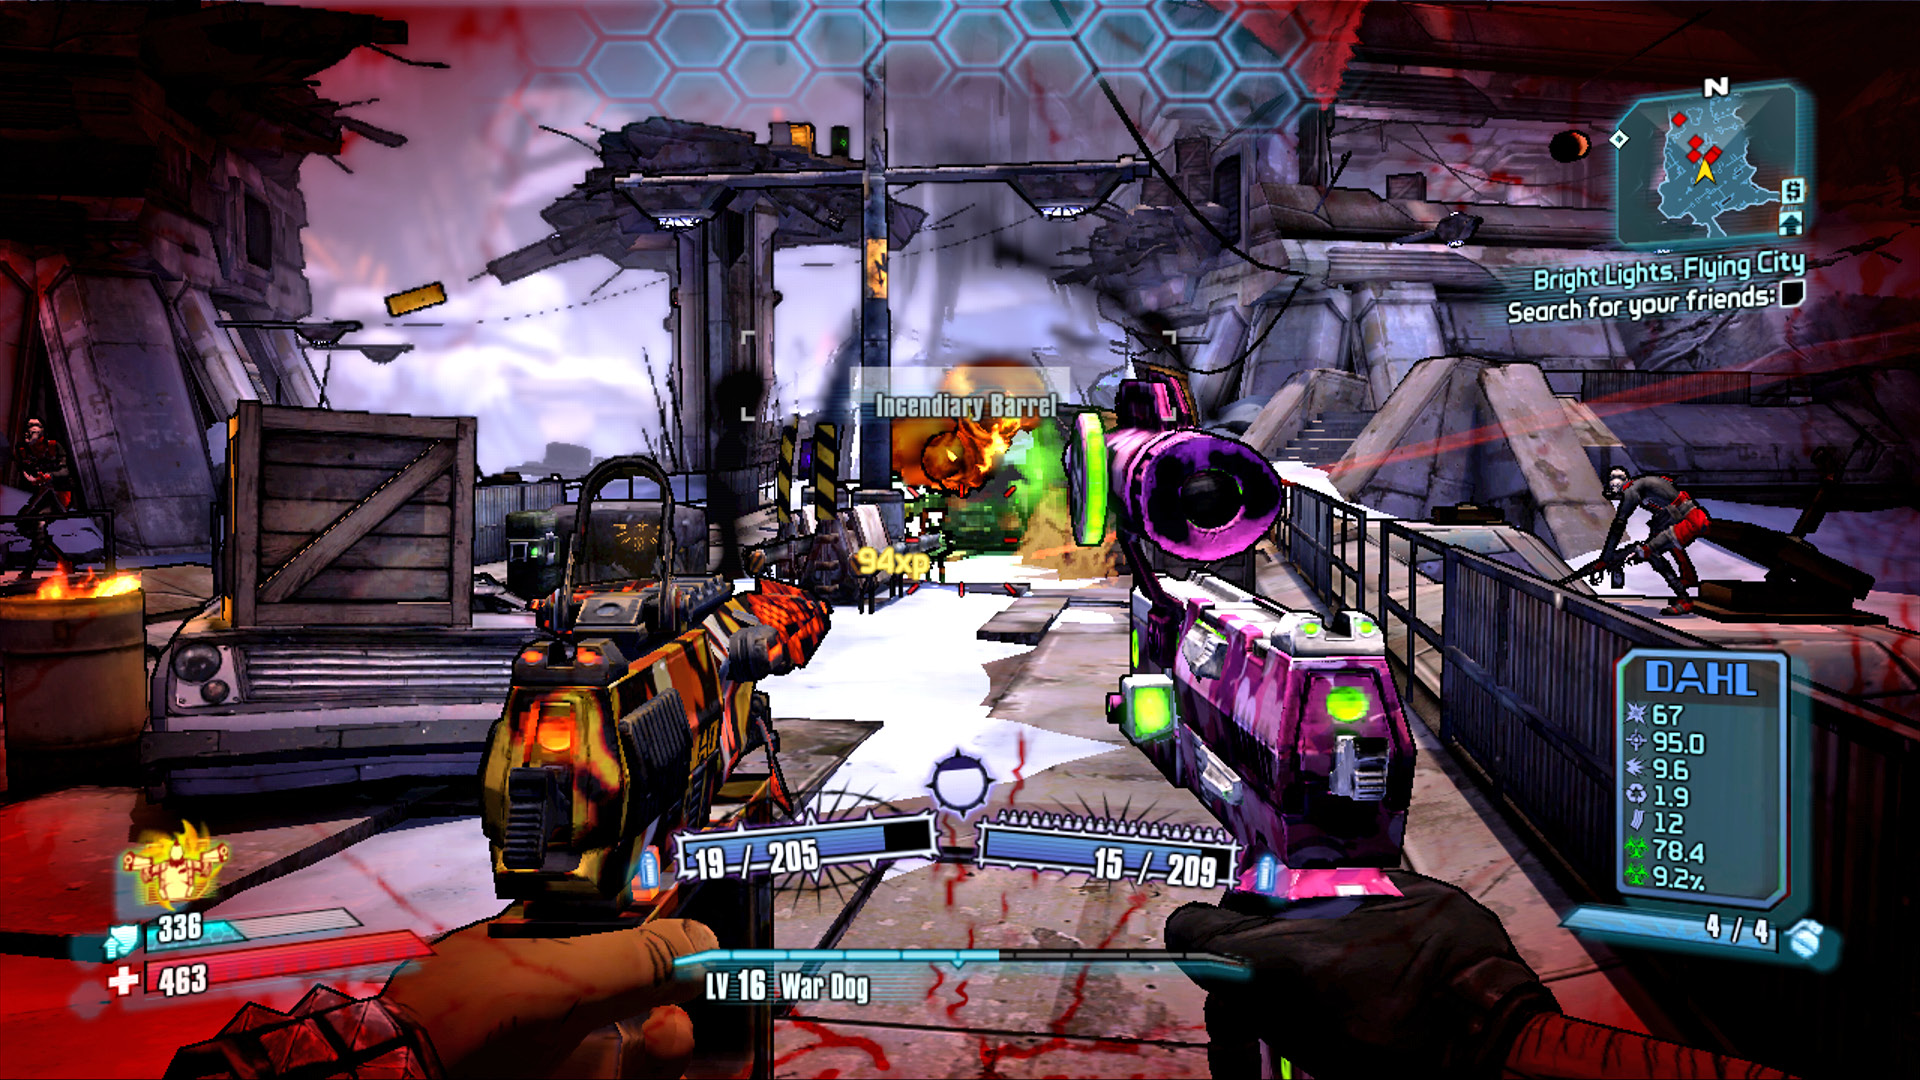
Tunnel Rats and Field Rats are the most aggressive of the rat species—utilize the numerous barrels on the road to keep them on the run!
As you make your way north, you soon reach the end of the road and can continue on the far left, off the ice and onto the concrete structure, straight to the waypoint. Numerous rats lurk amongst the tattered banners and wooden crates in this area. Another option is to veer off the road and out onto the ice where the Volatile Crystalisks and rakk are located. If you opt for the latter, it’s worth descending the stairs in the bunker-like building on the far right to gain extra ammo. Icemaw Grotto winds its way around the map to the north in a clockwise direction through a cave positively crawling with Volatile Crystalisks, but you need not explore that area right now. Your goal is the large gate in the far-left corner.
The massive Volatile Crystalisks stomp their feet and knock you back as you get near, but they also have multiple highly explosive ranged attacks. The only way to damage them is to destroy the large crystalline mass on each of their legs. They’re quite skilled at rotating in such a way to hide their third leg once the first two have been damaged. You can circumvent this by charging forward to melee them. It’s possible to shatter the crystals on their legs with a one-hit melee strike, especially if you have a weapon that deals bonus melee damage. Circle-strafe while swinging your weapon to destroy all three crystals, then quickly back away to avoid their massive death explosion.
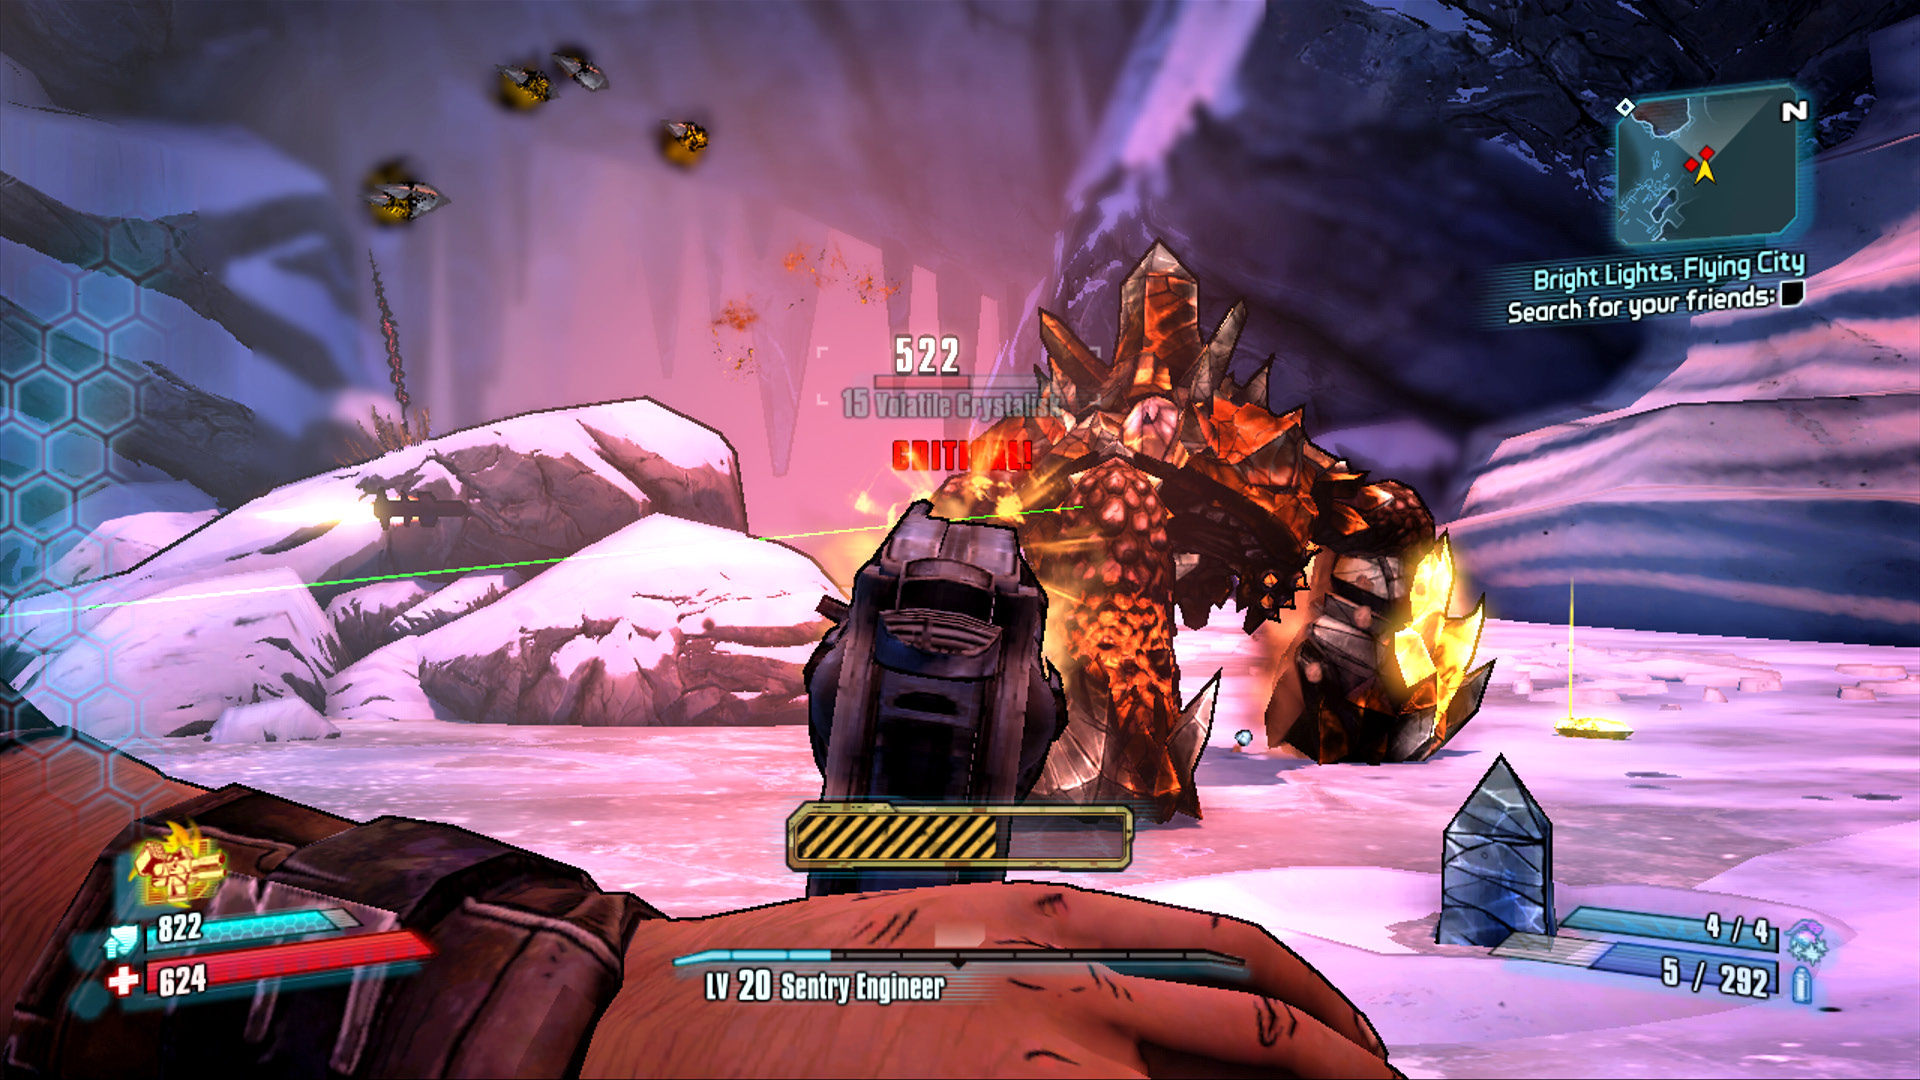
Fire on their crystals as you approach, then get in close and melee each leg to bring about a quick death!
Kill a few crystalisks as you make your way west, but don’t head into the icy cave. Instead, veer off to the left to where the rats are, and approach the massive door with the black and yellow striping. This is the way out of The Fridge, and it’s very easy to miss if you don’t know what to look for.
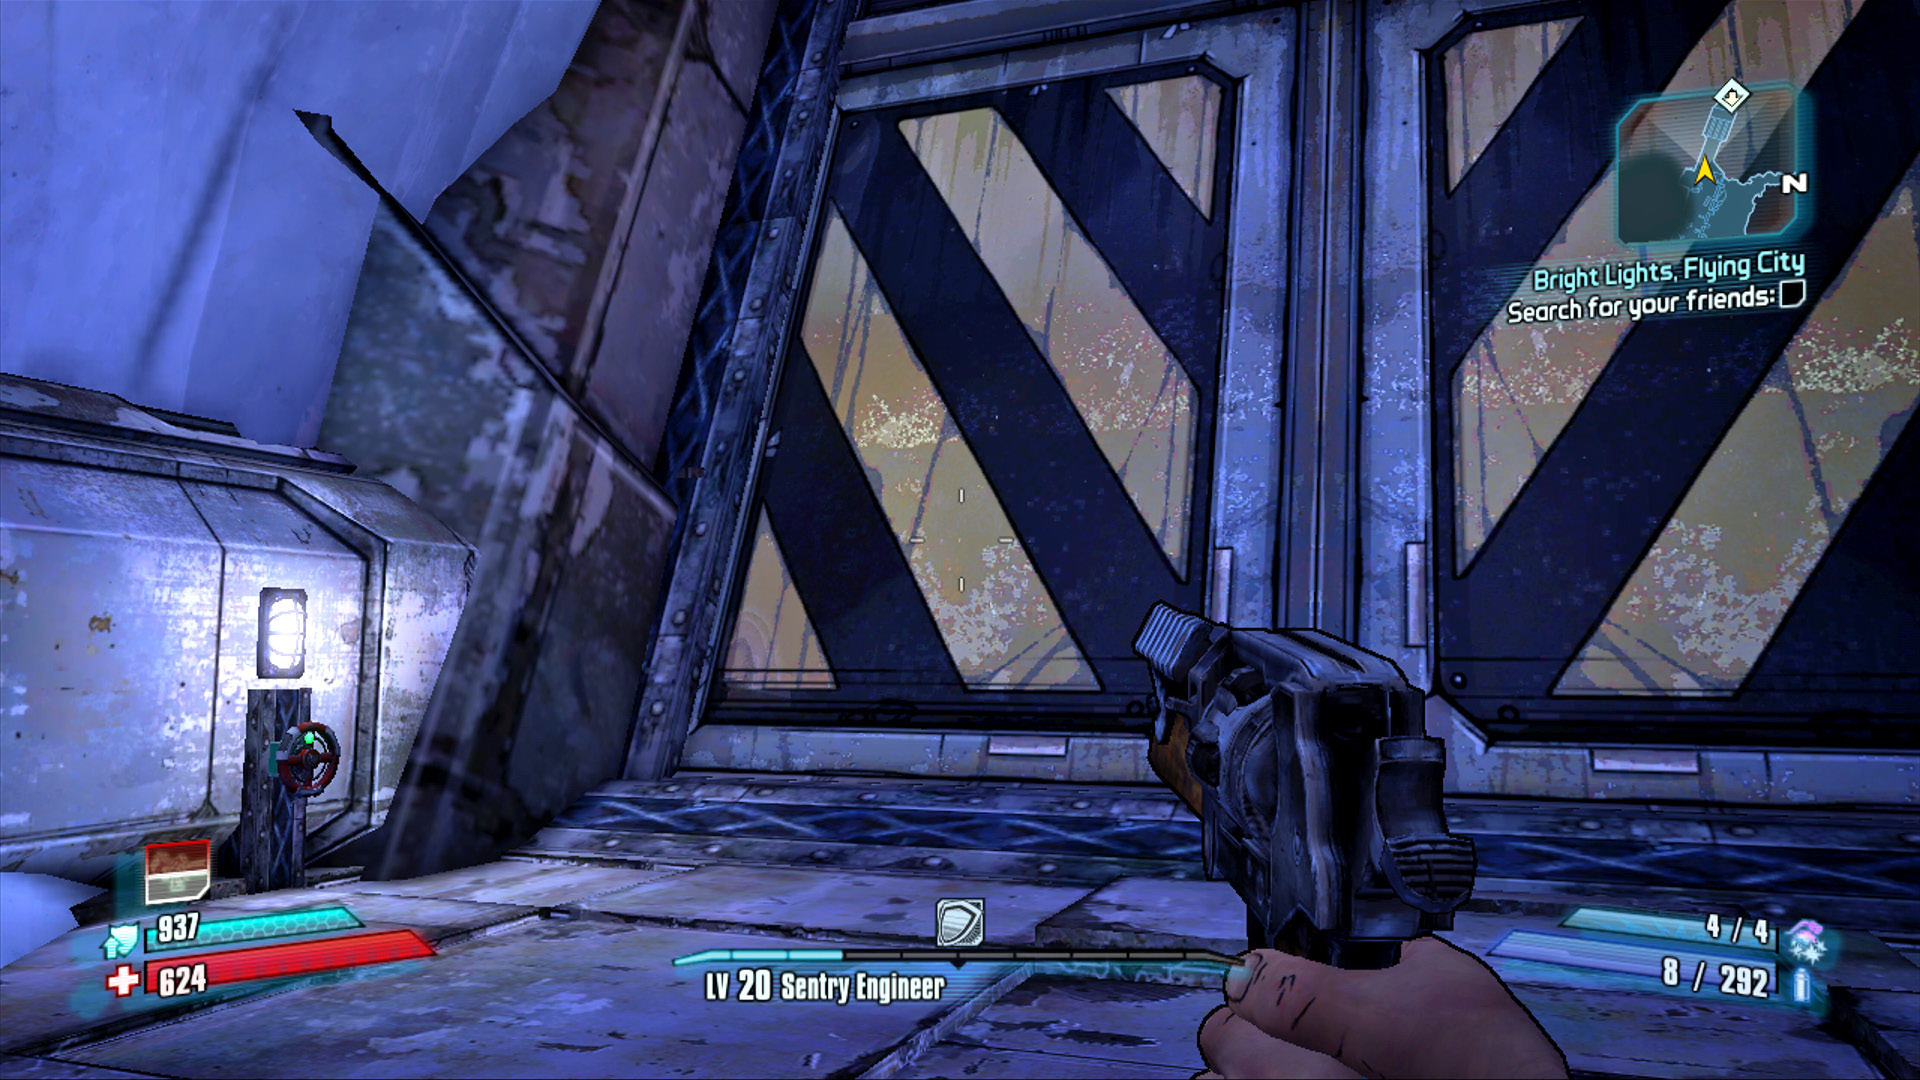
Turn the valve on the left to open the gate, then pull the handle to ride the lift down.
Highlands Outwash
You made it to The Highlands Outwash just in time to see Lilith phase the city back into view. It’s far away, but you’re close. They can’t wait to see you back in Sanctuary—Roland has been busy formulating another plan, and you’re a big part of it!
The Guardian Angel wants you to use the Fast Travel station near the vending machines on the left to return to Sanctuary right away, but it’s just not possible. Sanctuary got taken off the network during the Phasing. Fortunately, Angel lets you know that you can utilize a supply beacon to get Sanctuary back on the network. There’s one near the Hyperion Extraction Plant not far from here.
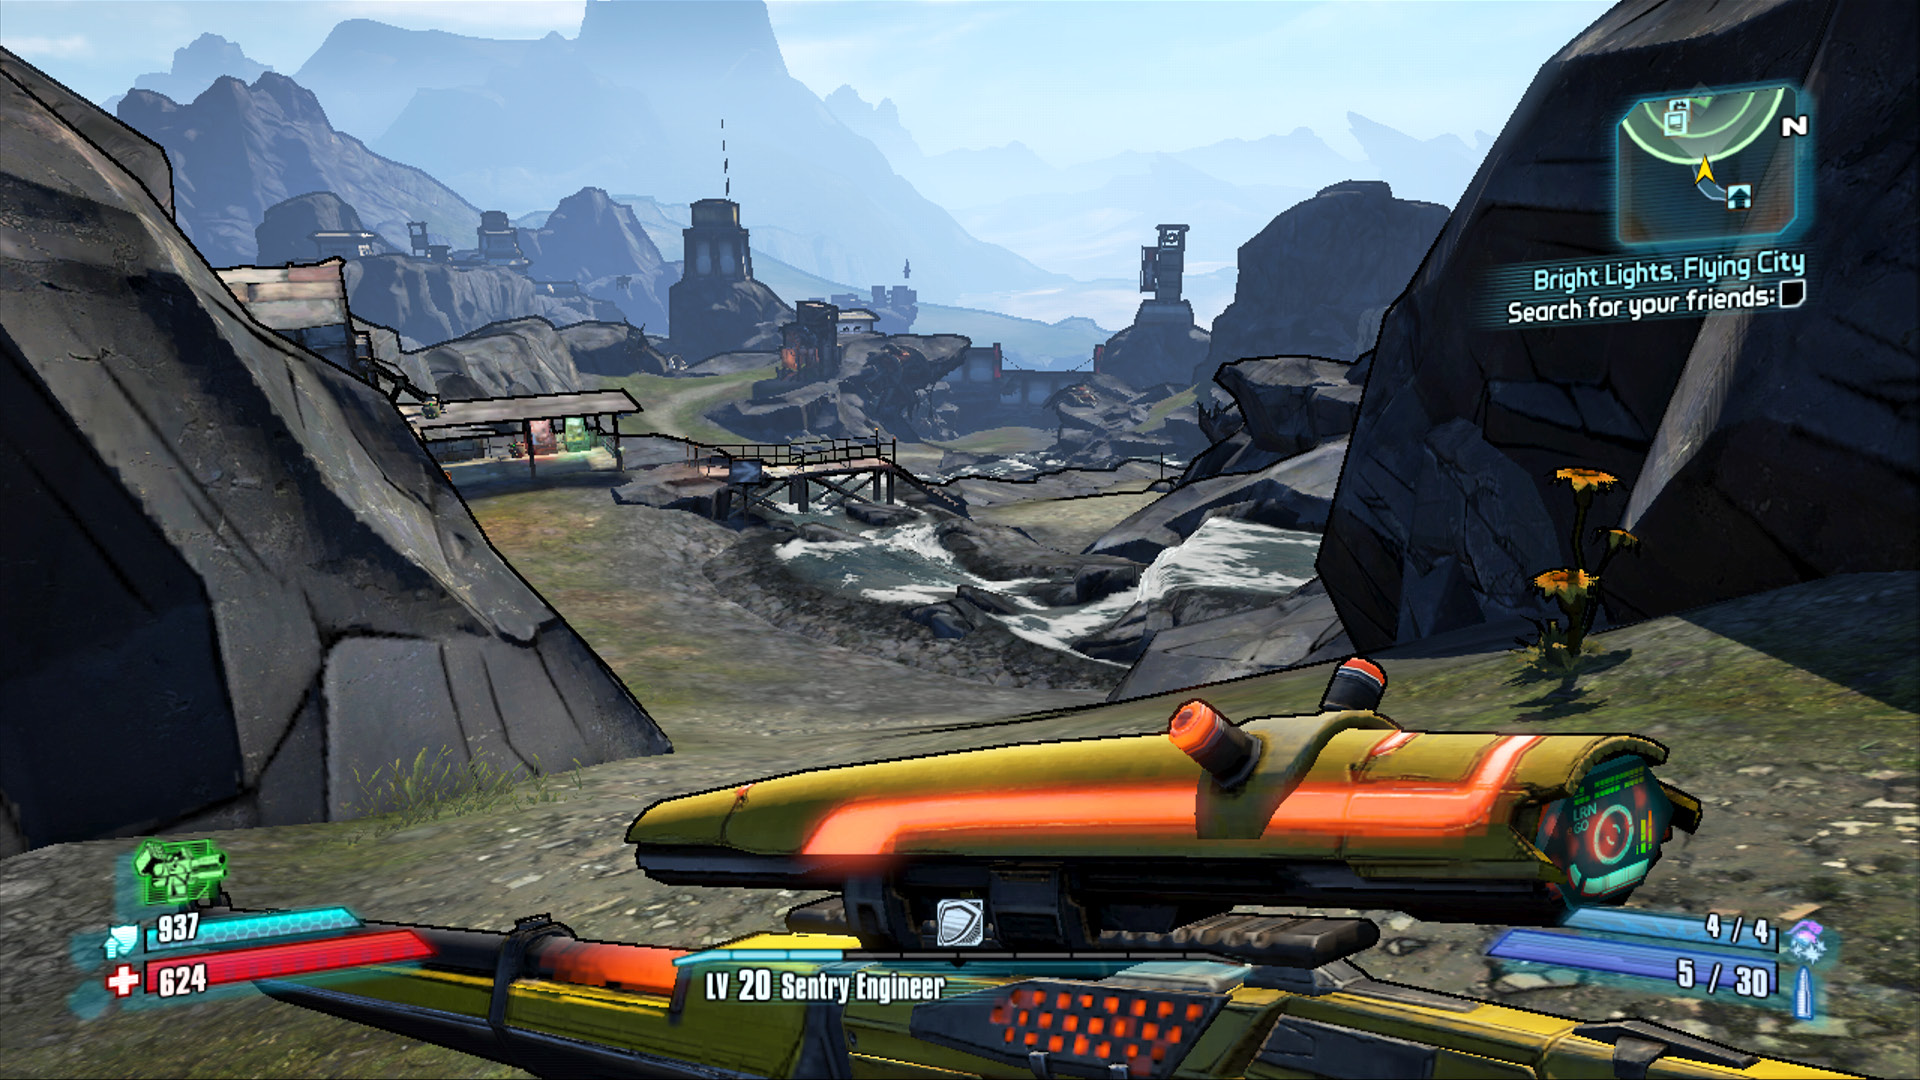
Flowers? Grass? Is this still Pandora?
Make your way down the hill to the west where a new species of creature is located. These reptilian scavengers are one of the most infuriating creatures to appear on Pandora. They’re fast, they’re vicious, and they possess a cloaking ability that all but turns them invisible. Fortunately, it only takes a few hits with a trusty Shock weapon to drain their shield and render their cloaking ability unusable. It’s important to kill the stalkers as you go—do not allow them to continue after you as you’re about to run into some HOT Loaders.
There’s no way through the large wall in the northwest, so continue south to the road alongside the lake. This road leads north to one of two entrances to The Highlands, but heading there now won’t help you get any closer to Sanctuary. You need the survey beacon first, which is located in the southwest corner of Highlands Outwash.
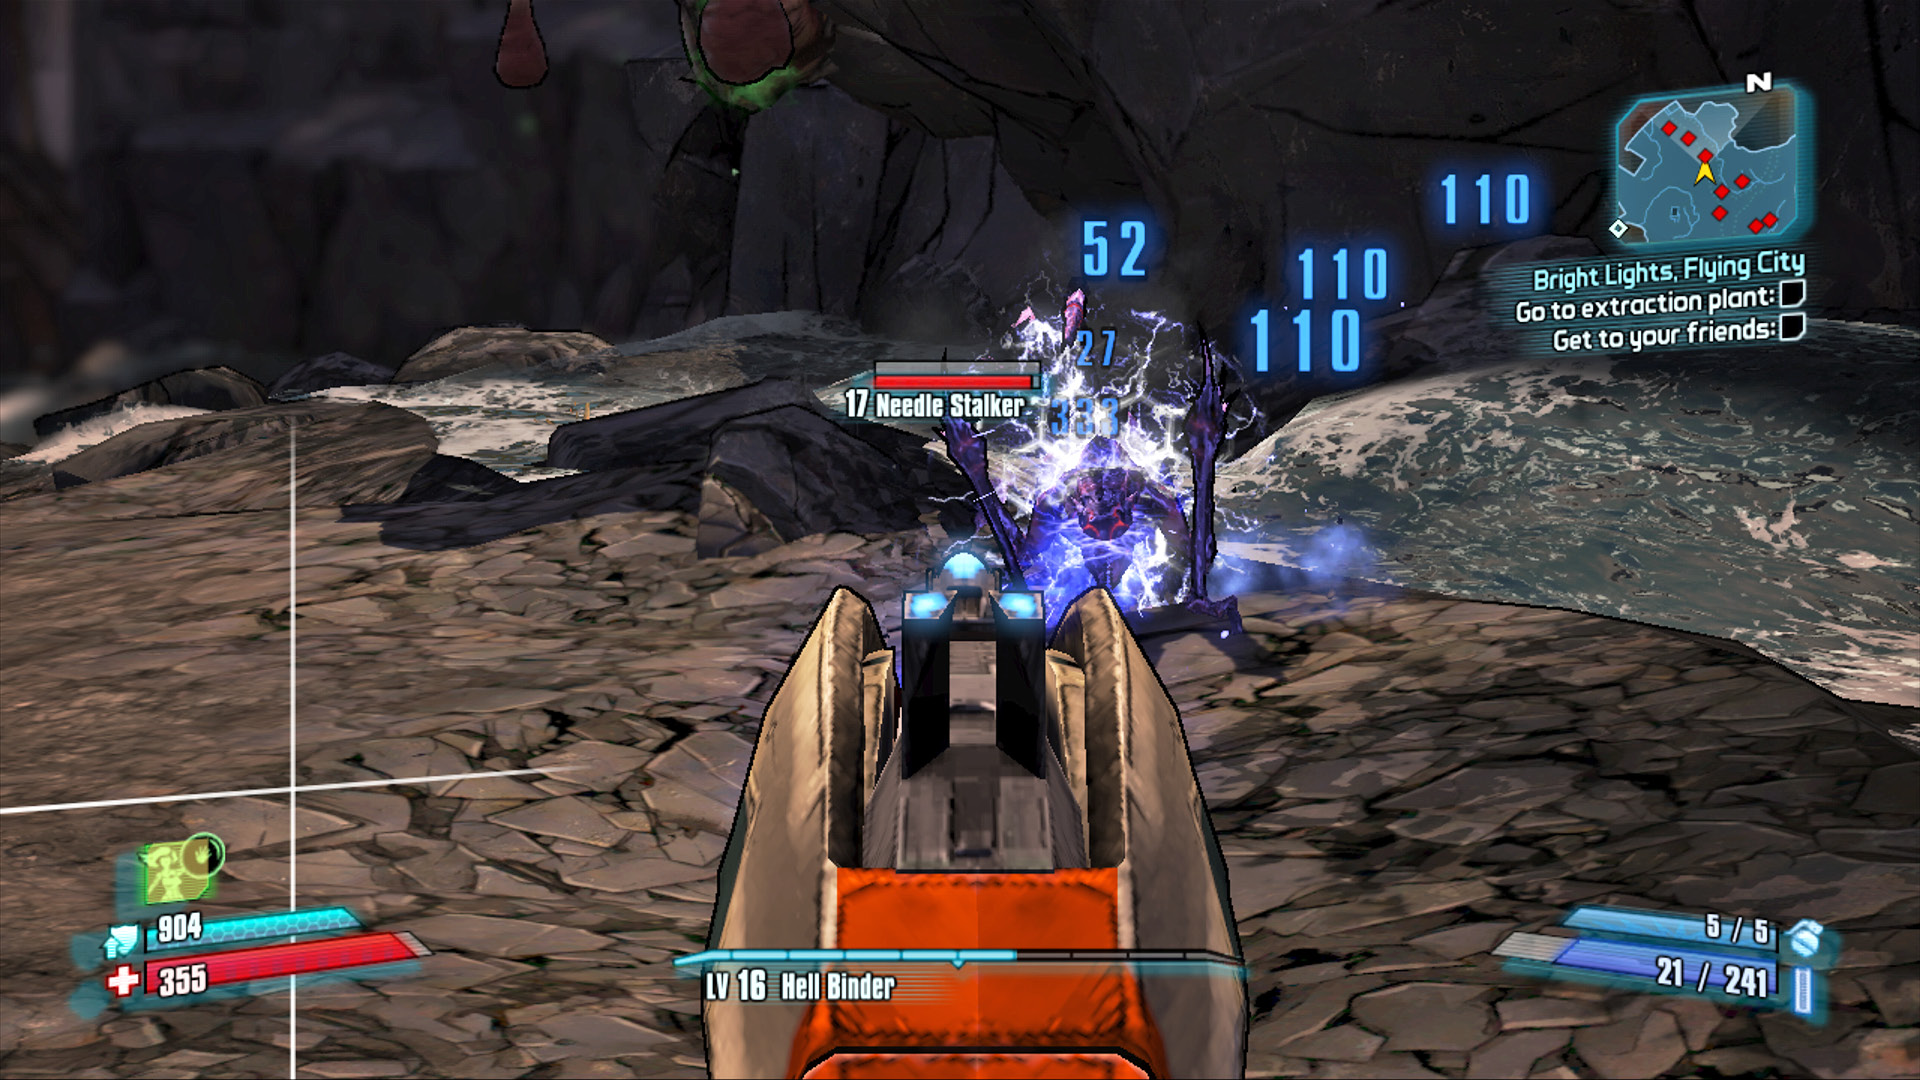
Keep a Shock weapon handy to drain their shields and keep them from cloaking.
A Bridge over Hyperion Waters
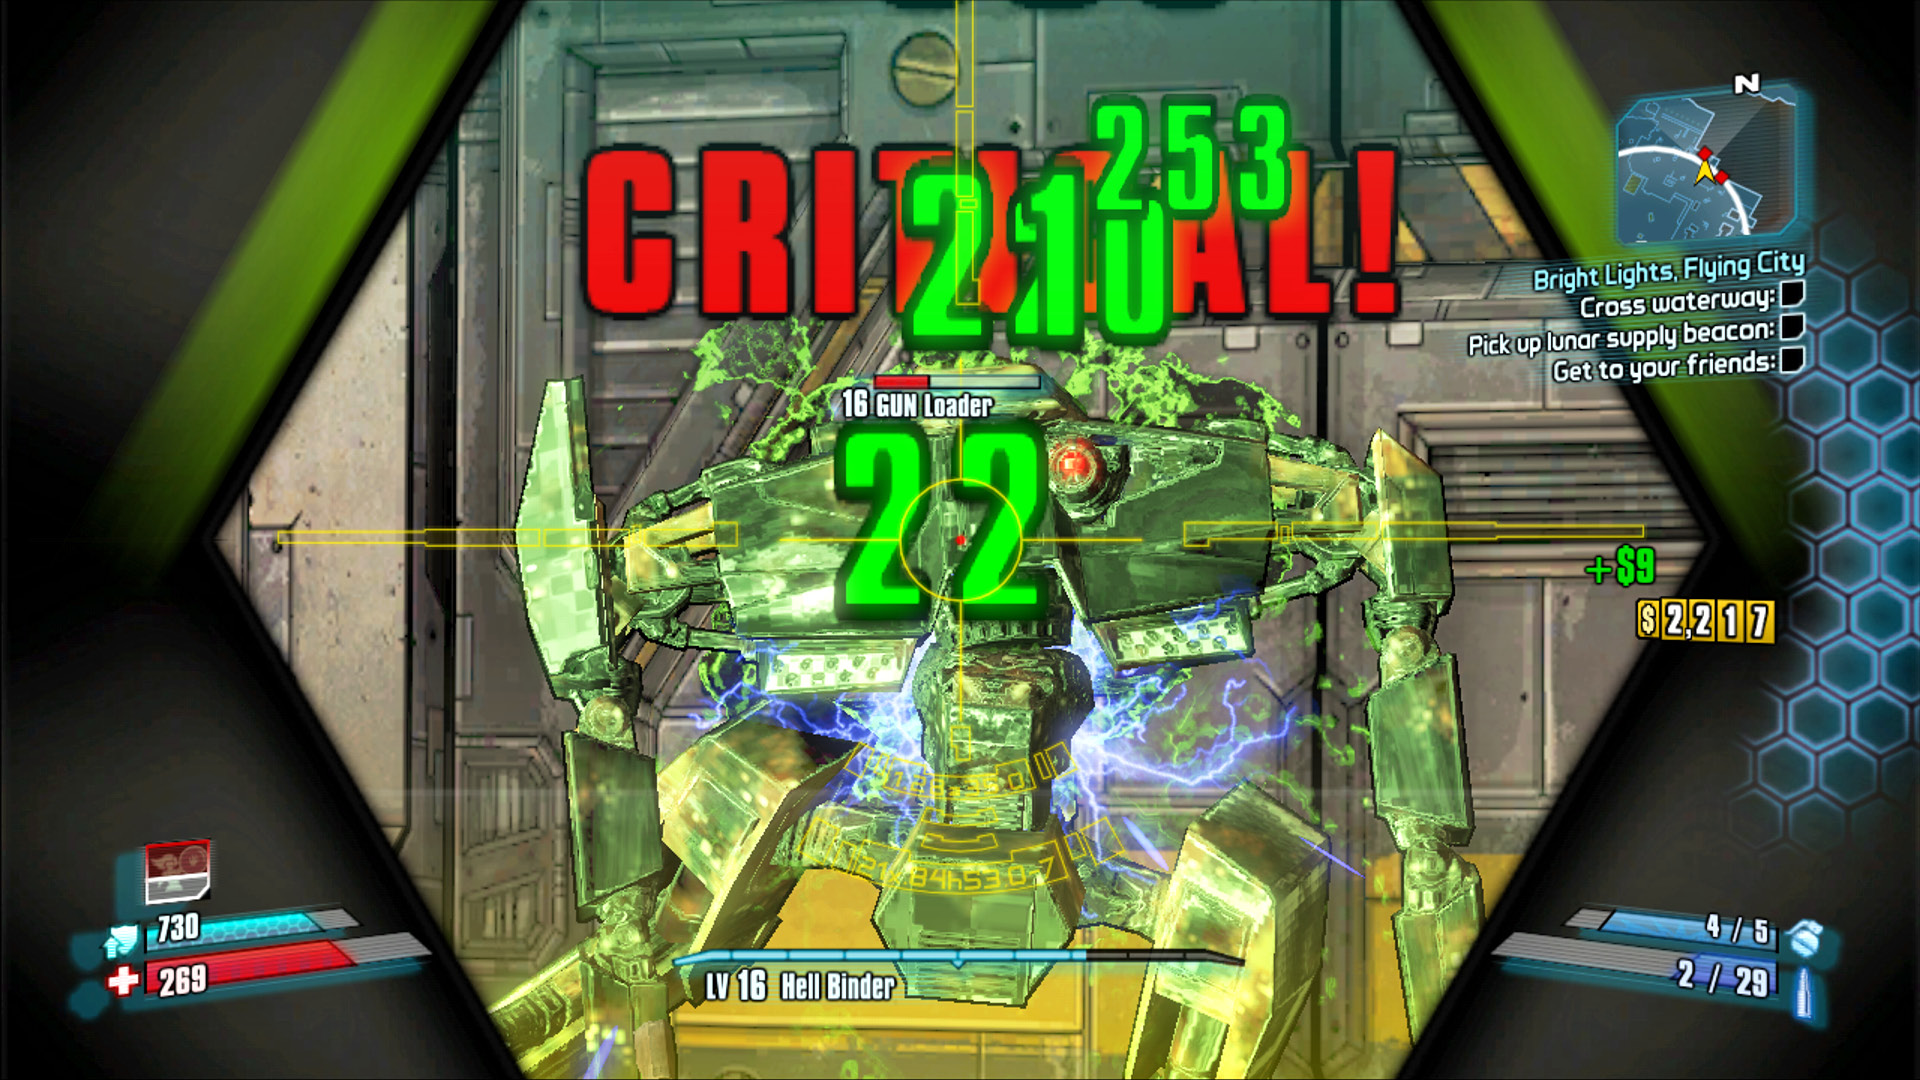
It’s been said that a Corrosive sniper rifle is the little black dress of vault hunting.
Make your way to the Hyperion Extraction Plant, and equip your favorite Corrosive weaponry, preferably something like a sniper rifle and SMG. There are a lot of Loaders and Engineers in this area, but they’re no match for a Vault Hunter who’s properly armed. Raid the many yellow lootable containers scattered about the area, and work your way south toward the bridge across the waterway. There aren’t any ladders leading out of the giant reservoir on the south side, but you can reach a valuable chest via a waterlogged ladder on the north side.
An EXP Loader quickly emerges and runs toward the bridge controls as you approach. You can’t do anything about it: he quickly gets into position to blow the bridge controls up, which causes the bridge to rise. Don’t let this distract you, as another EXP Loader quickly appears alongside it—and this one is coming for you!
The only way across the moat is to use the cargo loader you see ferrying containers across the water on the right. Return the way you came and climb the stairs to the tower on the north side of the cargo loader’s track. Hit the button to order the cargo mover back toward your position, then jump on and ride the loader across to the other side.
A Constructor Bot immediately appears near the gates to Orbital Receiving and Processing. Quickly open fire on it, and hit the bridge control button in front of it so that if you do end up getting killed, you won’t have to ride the cargo mover back across the waterway a second time. The Constructor focuses primarily on building GUN Loaders. Leave one or two standing so you have something to target if you need a Second Wind. Focus your attacks on the Constructor’s eye for critical damage. Watch out for its laser and missiles, and be extra careful if it raises the back panel and launches a nuke—it will down you!
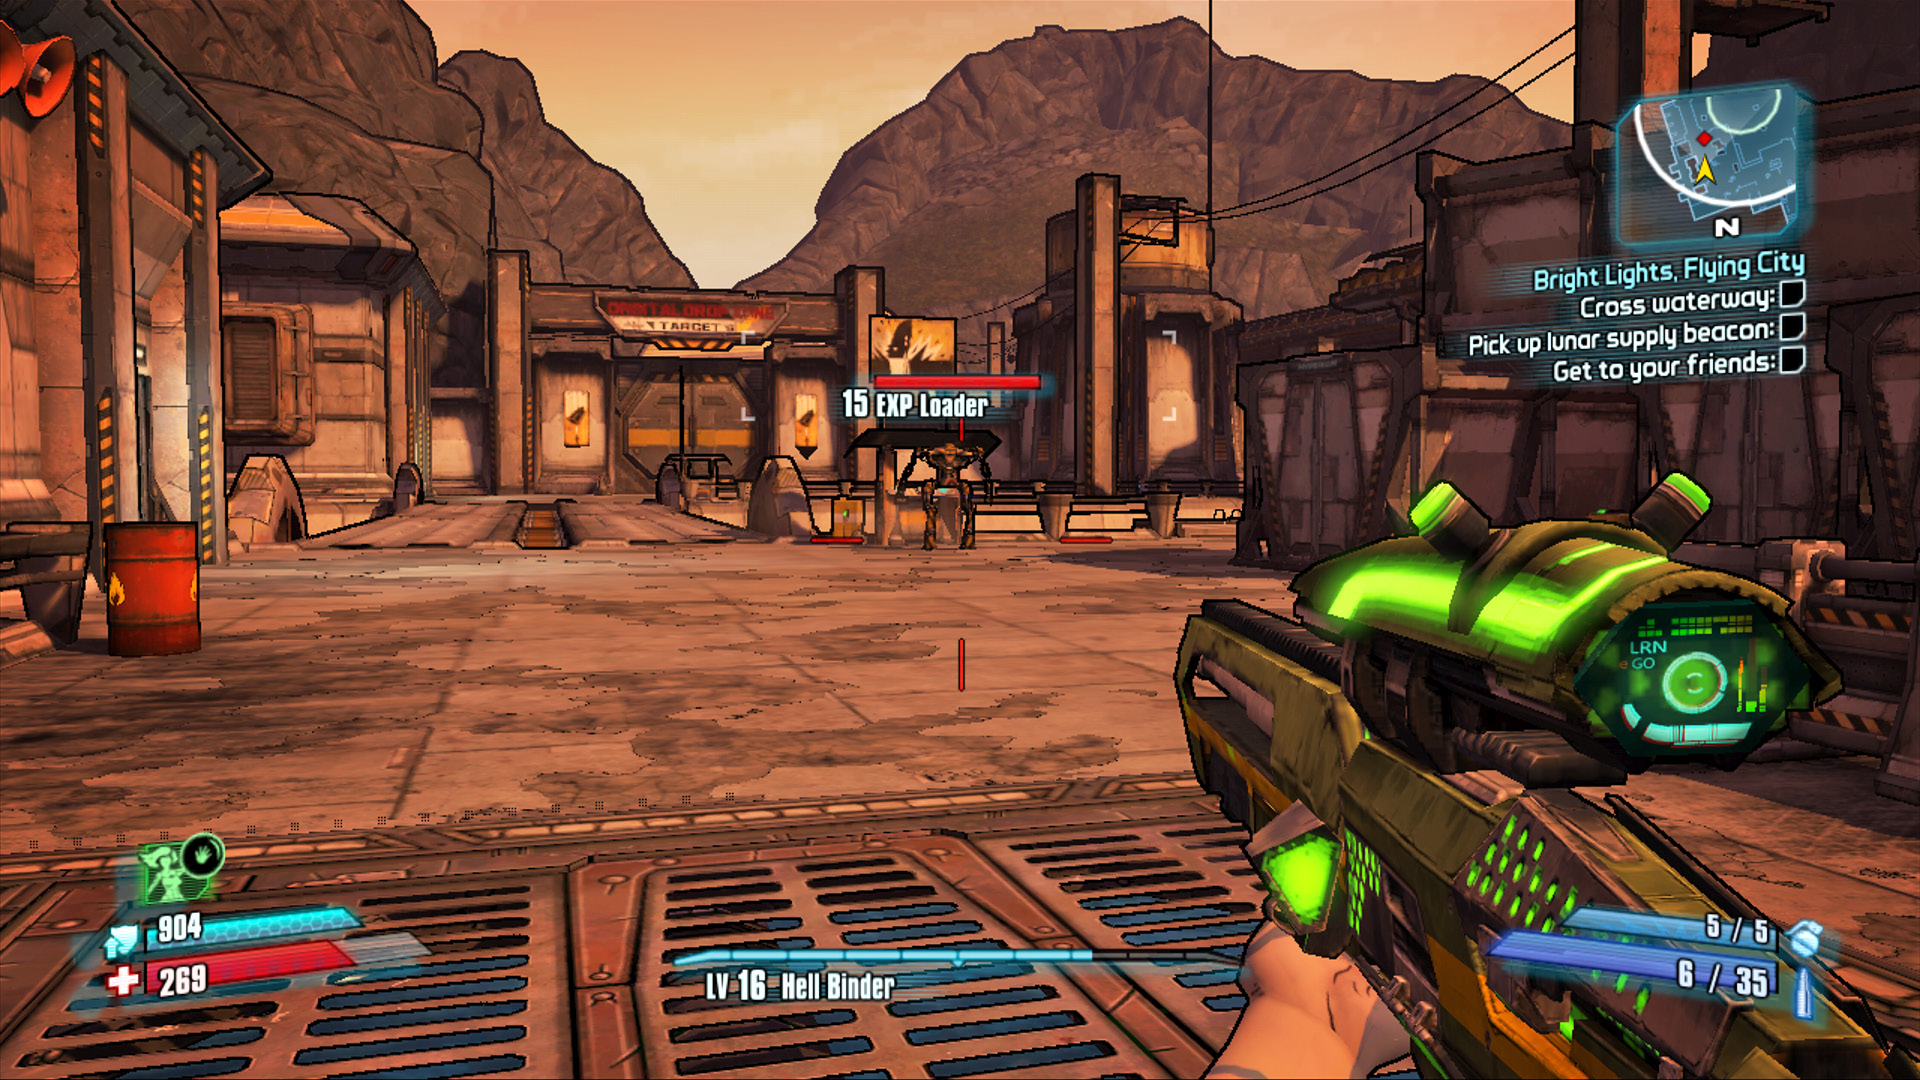
You can’t stop this EXP Loader from blowing the bridge controls, so save your ammo.
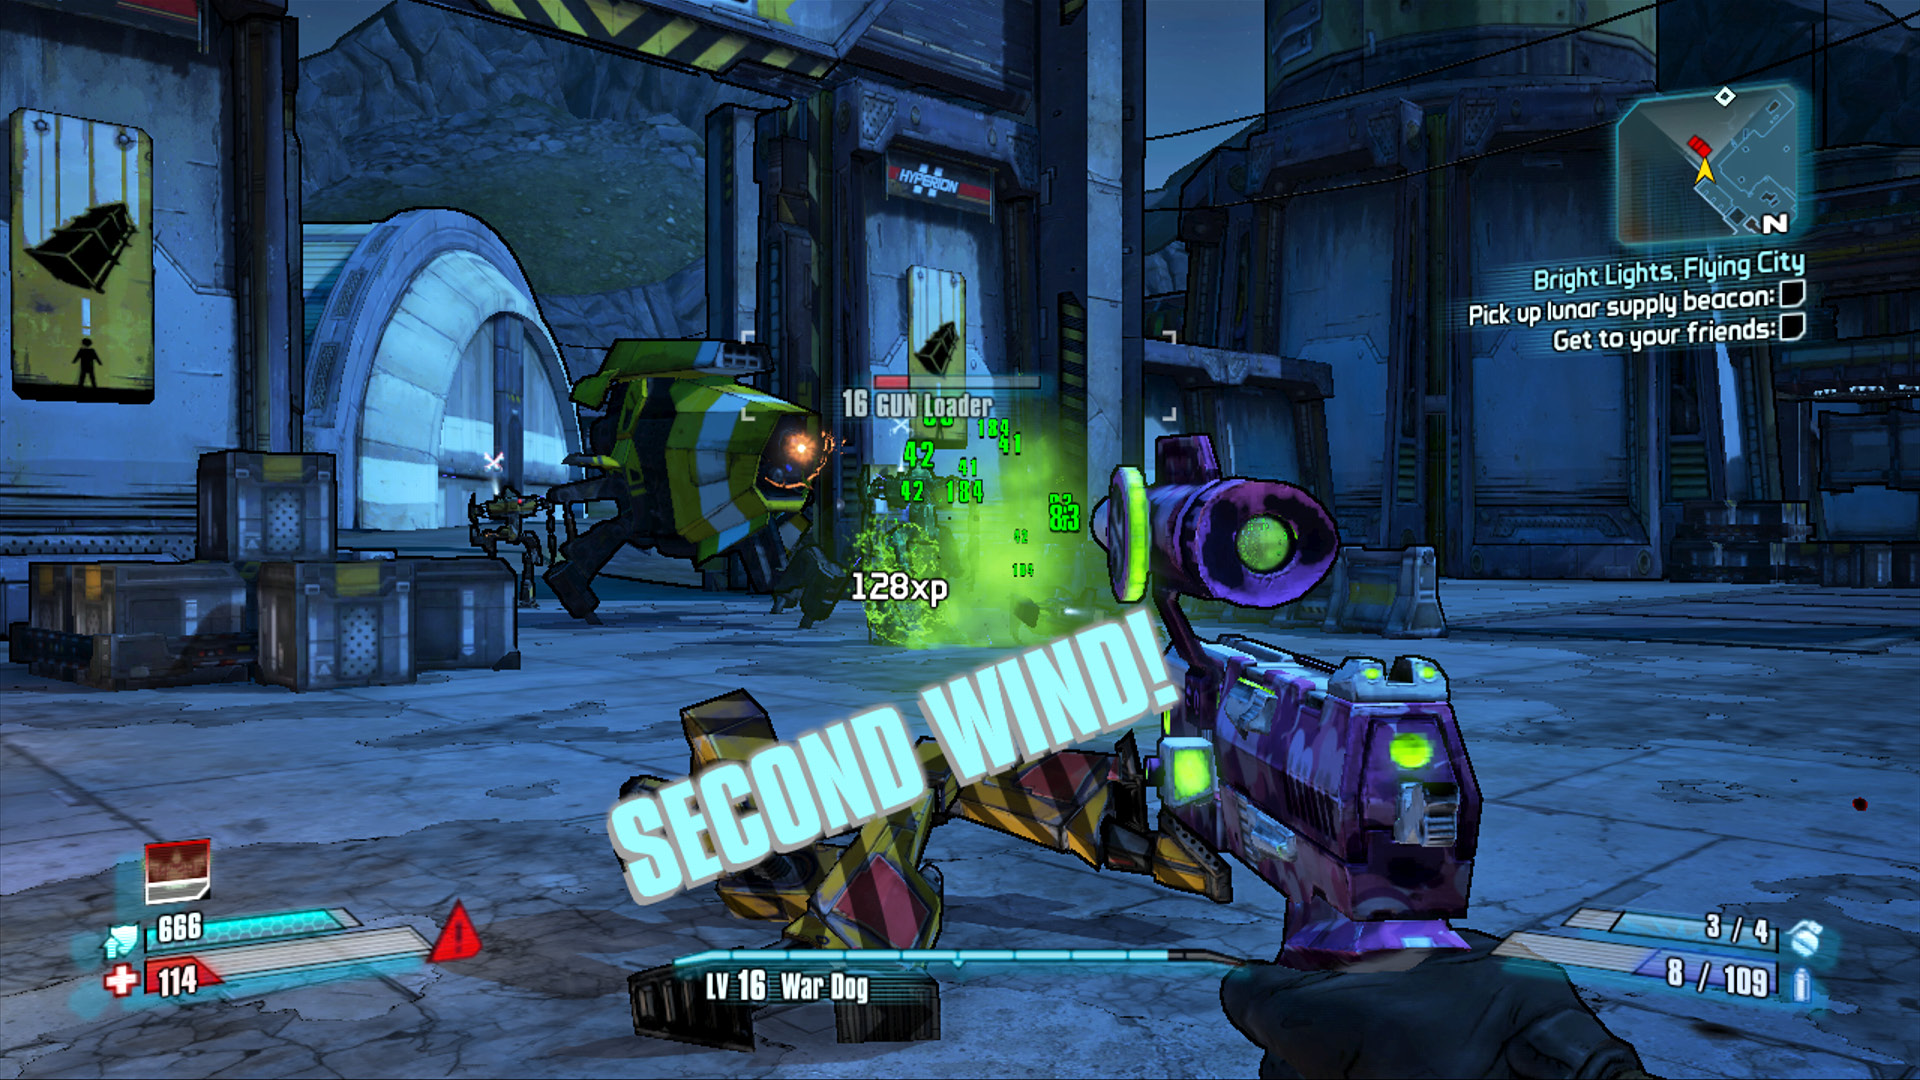
Aim for the Constructor’s eye, and target any GUN Loaders it builds only when you need a Second Wind.
Securing the Beacon
The lunar supply beacon isn’t far, but it’s not quite accessible either. A Gluttonous Thresher rises from the ground and swallows the beacon just as you get near it. Threshers burrow through the ground and attack with their numerous tentacles, as well as any unique abilities that particular variety of thresher has. The Gluttonous Thresher’s specialty is its enormous appetite and very strong shields.
Immediately open fire on it with the Shock weapon you used against the stalkers. If no such weapon is currently available, reach for a Fire or Explosive weapon instead. The Gluttonous Thresher is your primary target in this battle, but several Loaders also arrive on the scene in an attempt to get the beacon for Hyperion. Keep a Corrosive weapon equipped and swap to it whenever you get downed and need to Second Wind off a loader.
The Gluttonous Thresher turns blue and regenerates its shields whenever it’s not taking damage, so it’s important to hit it with status effects, even if they’re not as ideally suited as a Fire attack is. Aim for the yellow orbs on the side of its head and tentacles, as these eye-like protrusions represent a thresher’s critical hit region.
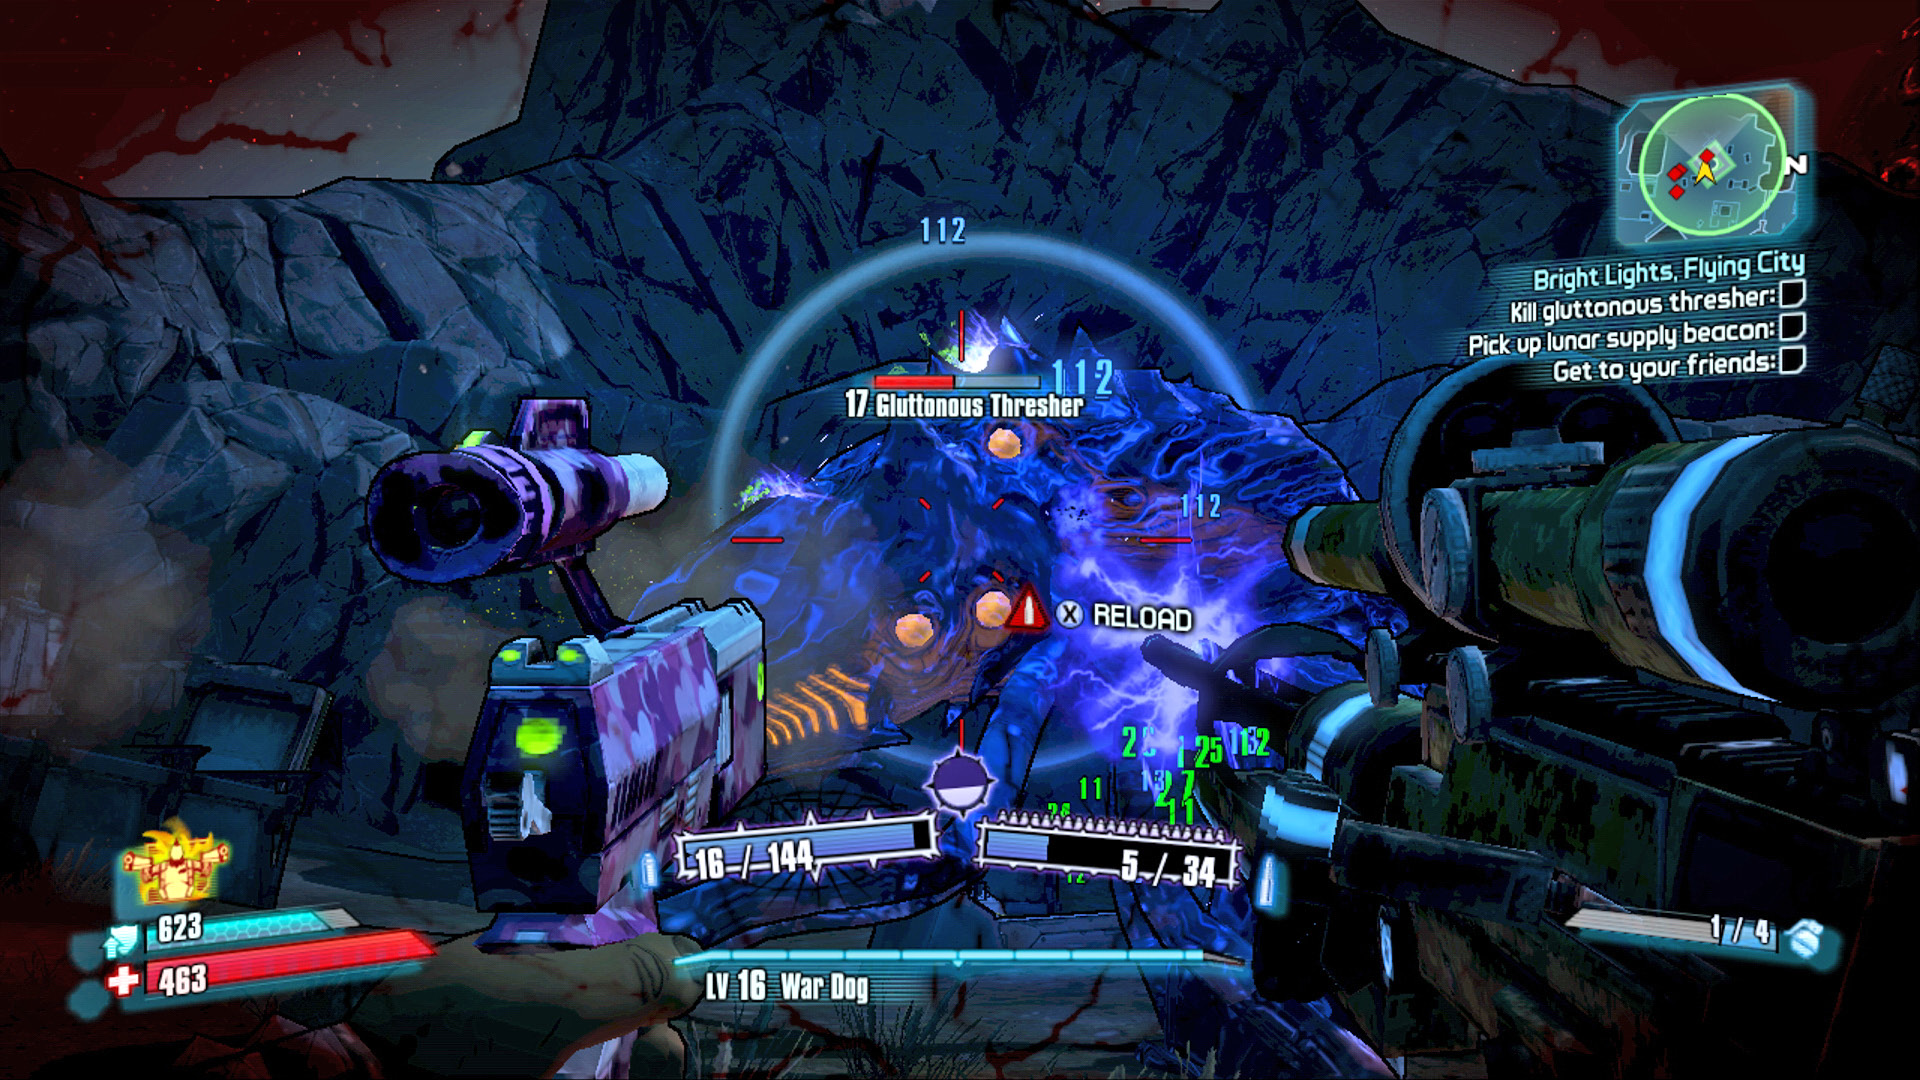
Gunzerking with a Slag weapon and a Shock weapon—getting it done on Pandora.
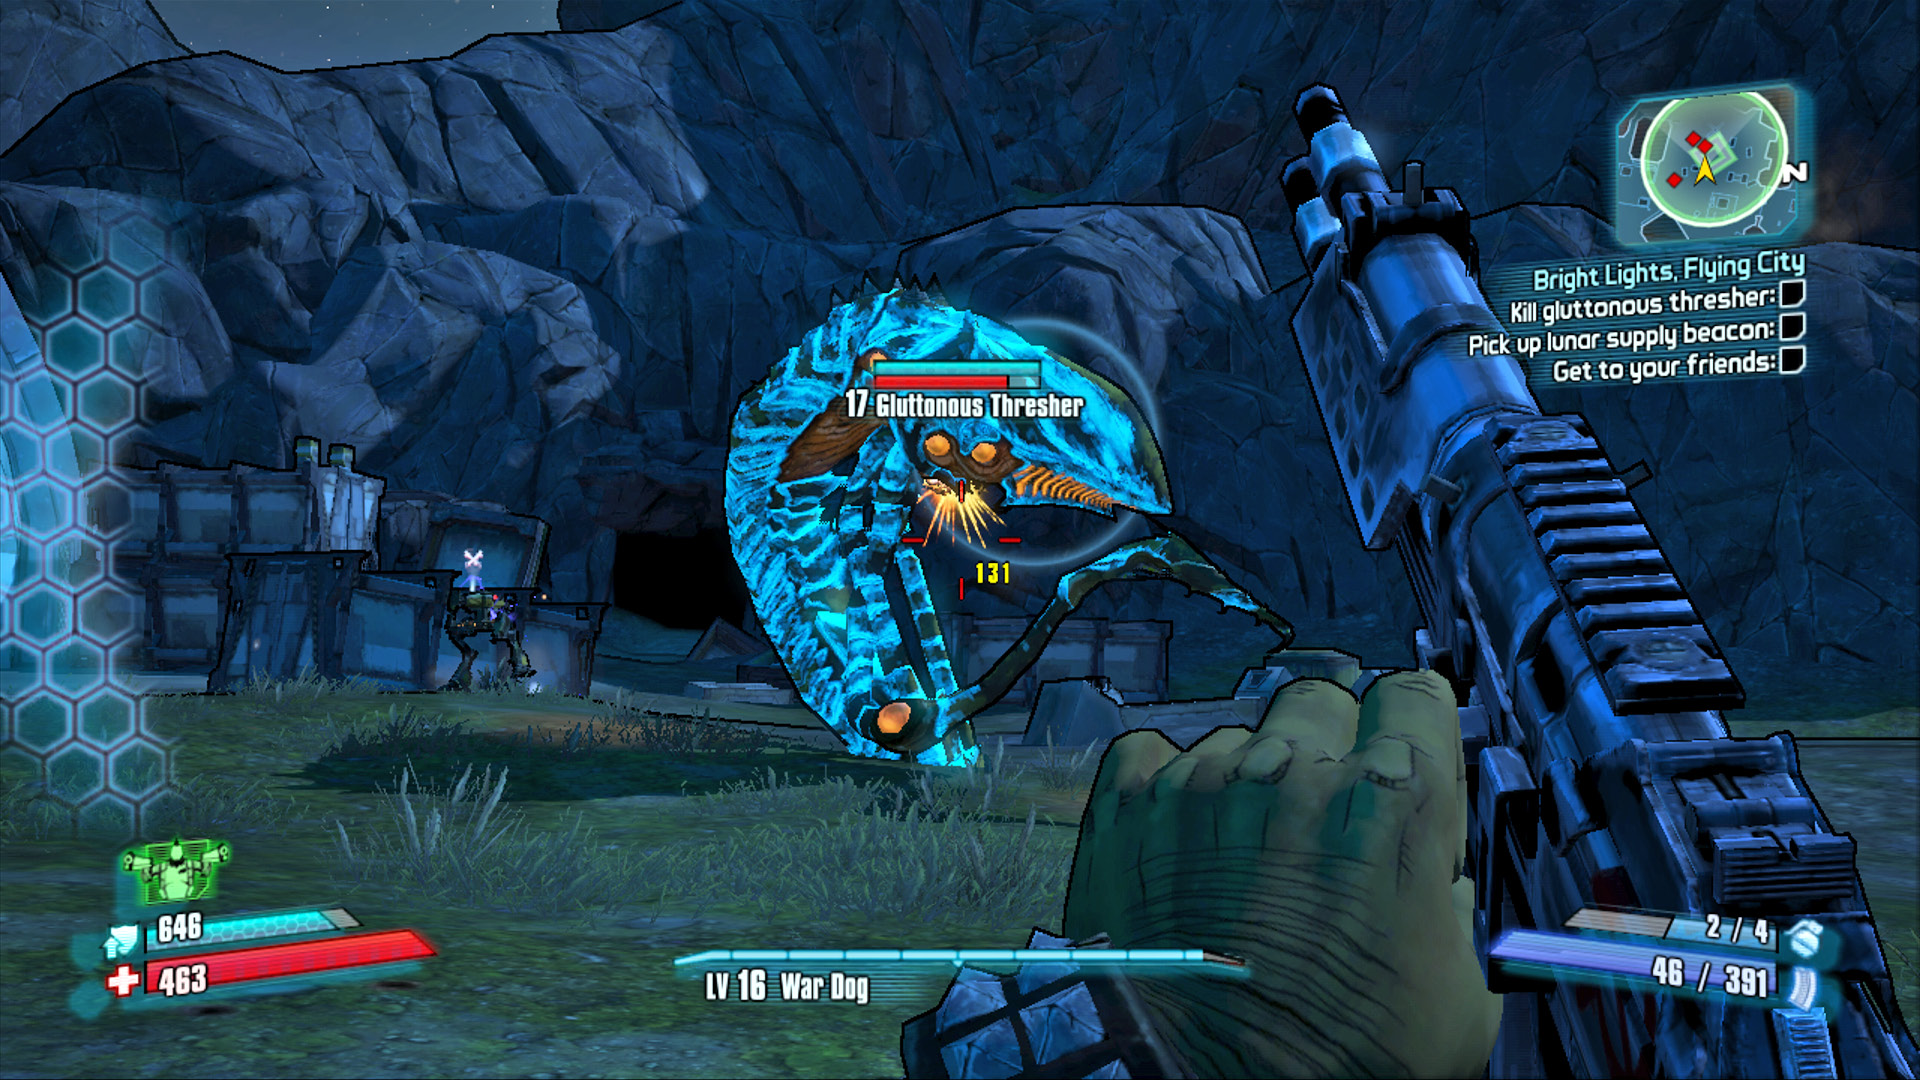
The Gluttonous Thresher starts recharging its shields if given the chance.
Kill off any remaining loaders, and collect the supply beacon. Now that you have it, you’ll have to bring it someplace quiet; the Guardian Angel suggests the village of Overlook in the northwest corner of The Highlands. There are two entrances to The Highlands, but the southern one is closer both to your current position and Overlook.
The southern entrance to The Highlands places you near Frothing Creek Mill. There are a lot of stalkers in the cave to the left, and the two of the region’s eight windsocks are nearby. You’ll have ample time to explore this expansive region later on, especially if you wish to complete any of the optional missions available in this area. For now, head up the path on the right and get a Light Runner from the Catch-a-Ride. Dive down the hill to the road to the west, and follow it north through the large tunnel in the distance. Make an immediate left-hand turn as you exit the tunnel, and drive up the hill to Overlook.
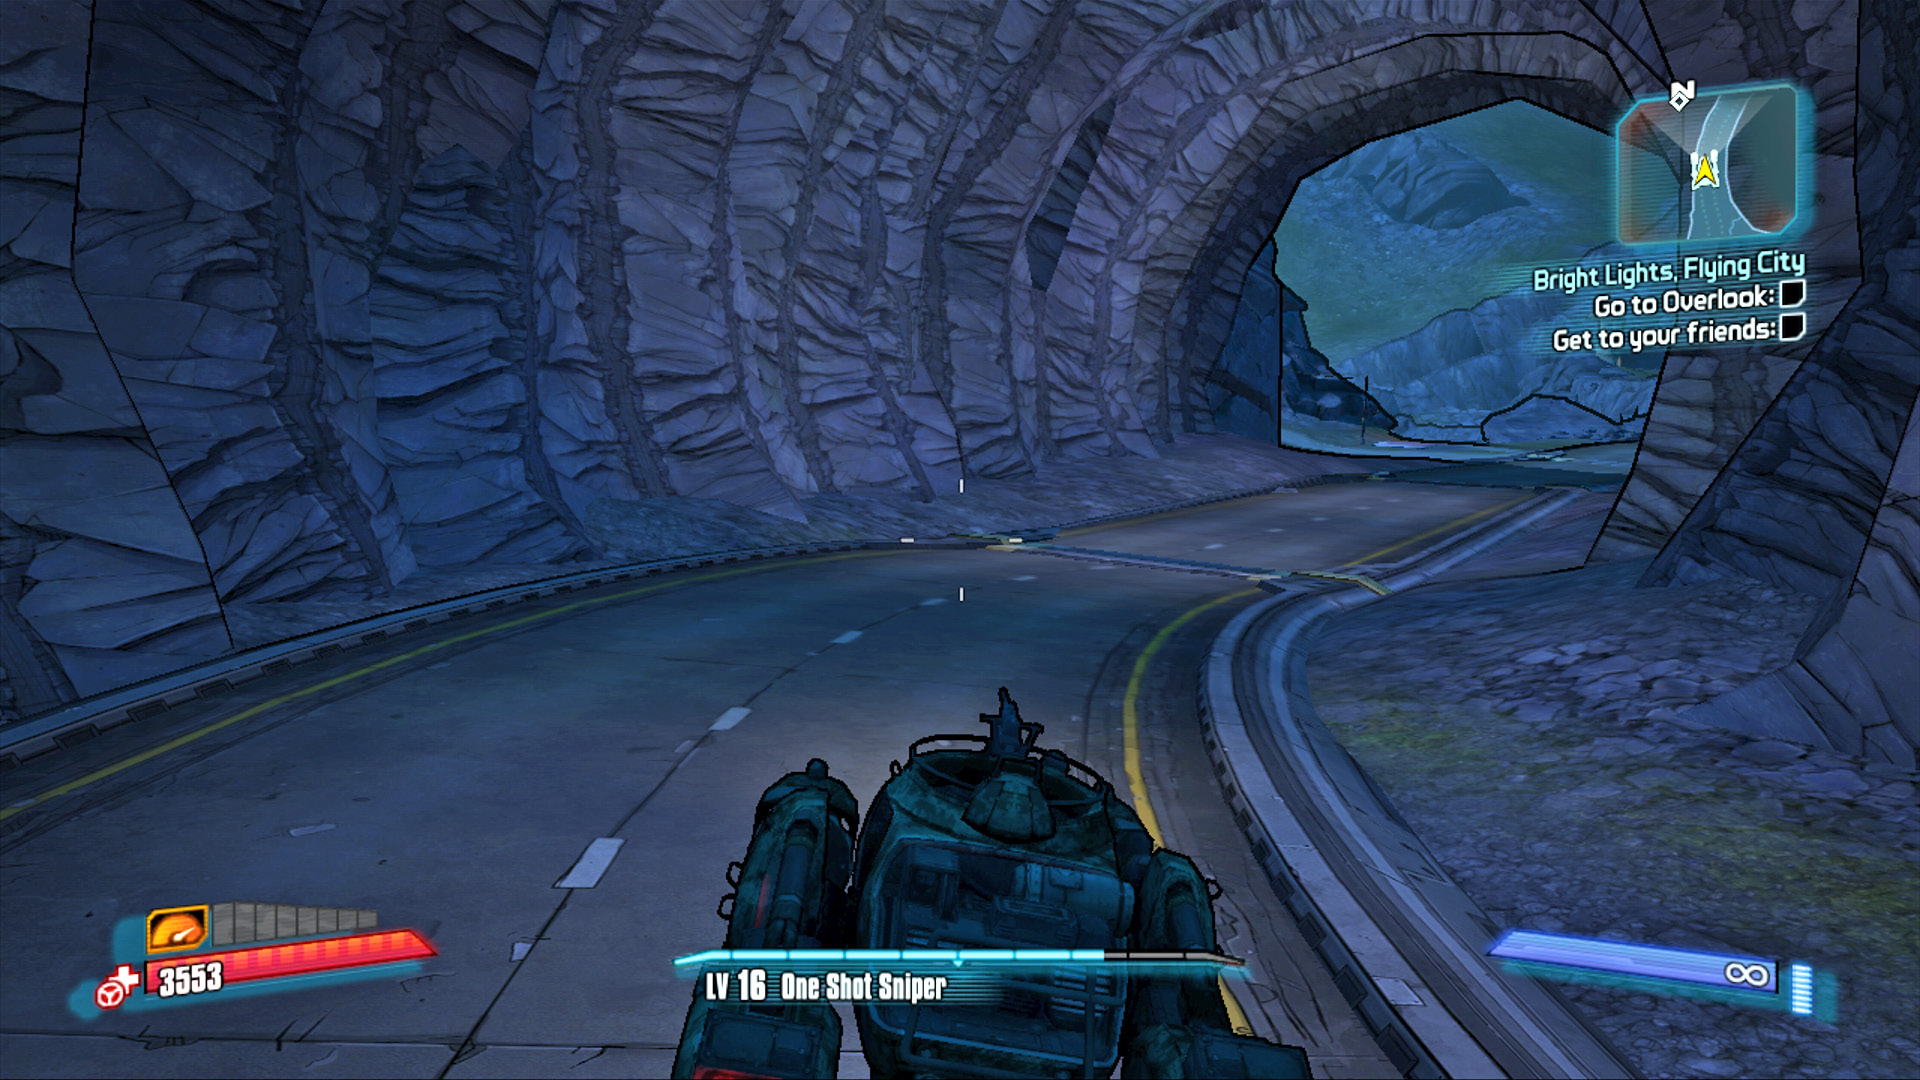
Drive north through the highway tunnel, then make a hard left turn and continue up the hill to Overlook.
Bringing Sanctuary Online
Have a look around Overlook—an eerily quiet town whose population is suffering from skull shivers—and make your way up the hill to the vending machines at the northern edge of town. Load up on Corrosive weapons, particularly a Corrosive rocket launcher and grenade mod if such equipment is available. If you’re playing as Maya and happen to have a Witch Class Mod that boosts her chance to Corrode, this is a great time to equip it.
Deploy the supply beacon on the platform to the left, and get ready for battle. It’s going to take several minutes for the Guardian Angel to establish a link with the Fast Travel network, and Handsome Jack is going to be sending every available loader your way in an attempt to stop her.
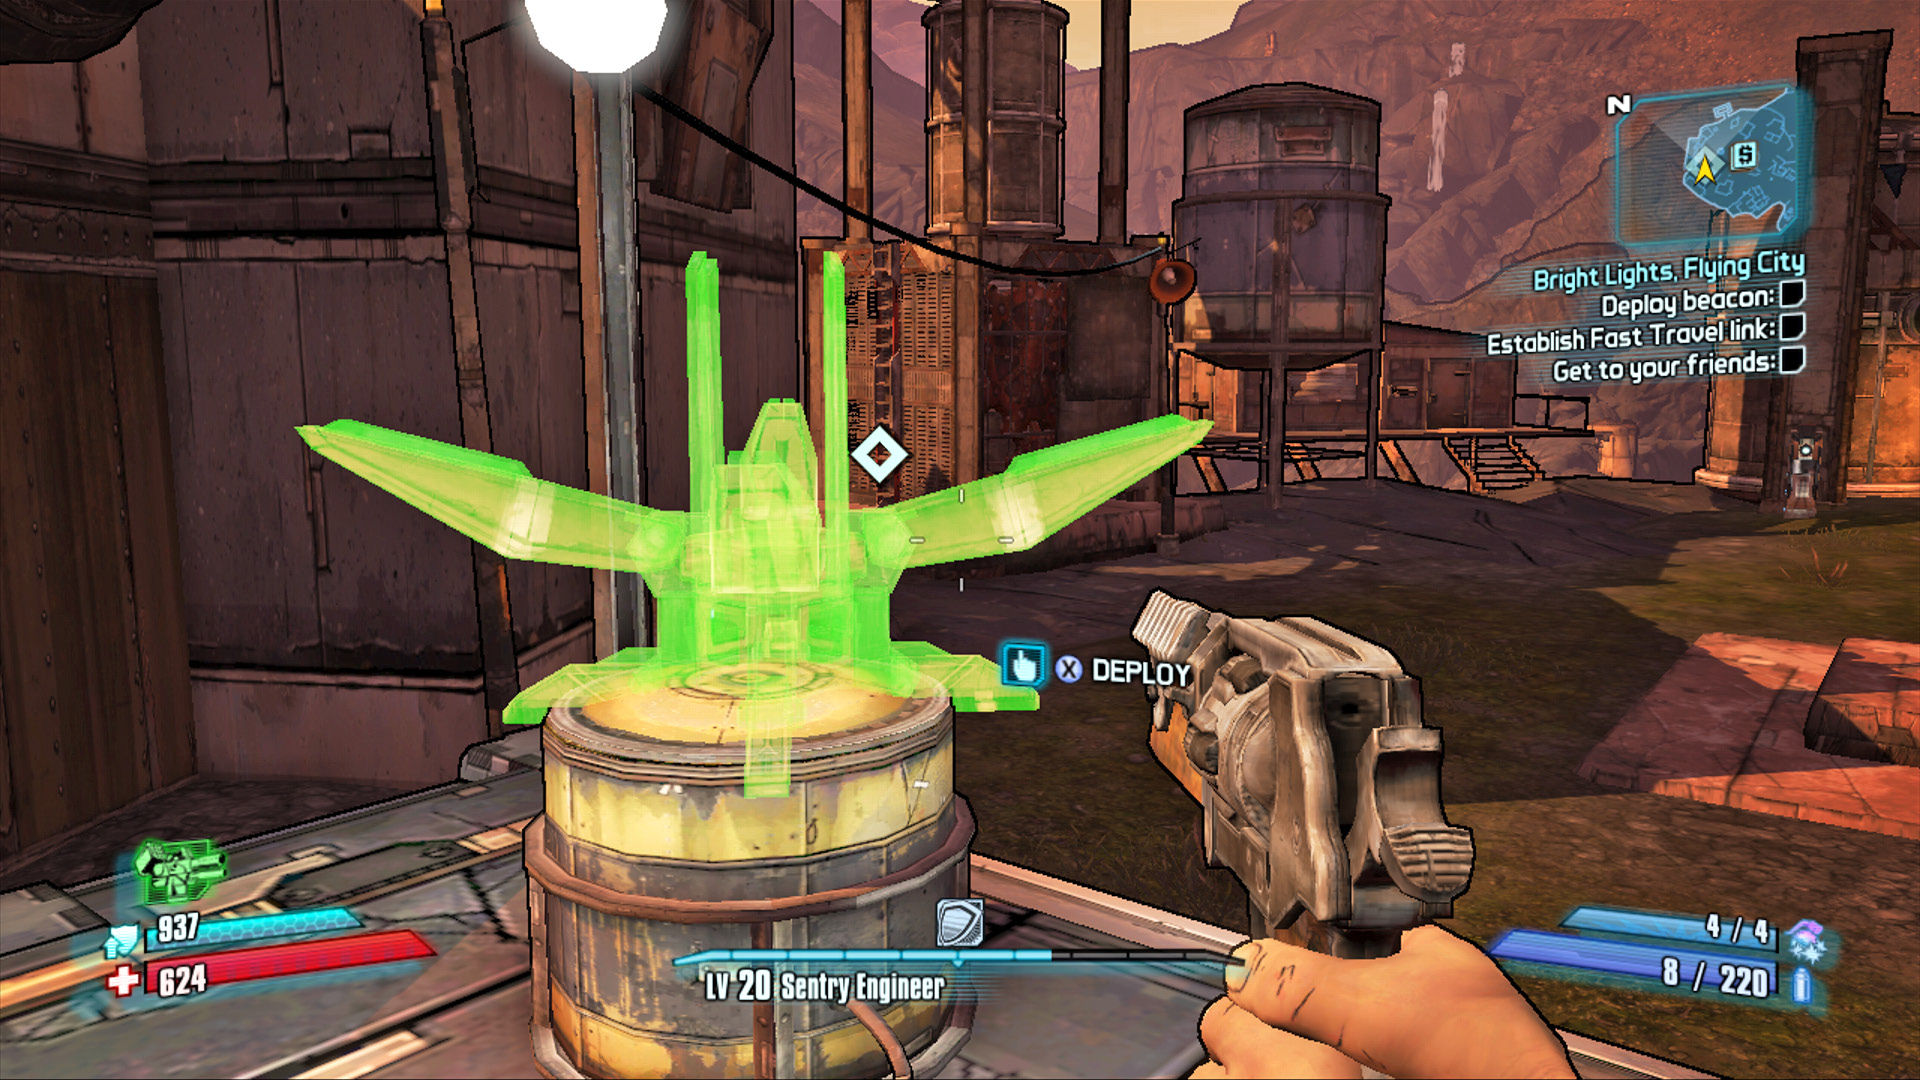
Climb the stairs to the inactive grinder platform and deploy the beacon in the space indicated.
Run up the two flights of stairs above the Bounty Board to get to the rooftop for a clear view of where the loaders sent to stop the beacon’s upload will originate. Handsome Jack isn’t taking too kindly to Angel’s desire to help you, so expect a long and drawn-out battle. Unload on the loaders with your Corrosive weapon of choice. Watch the minimap, and strafe across the roof from right to left to spot other loaders marching up the hill on the other side. Keep this up until the loaders begin deploying closer and closer, at which time you’ll need to move closer to the beacon in order to protect it.
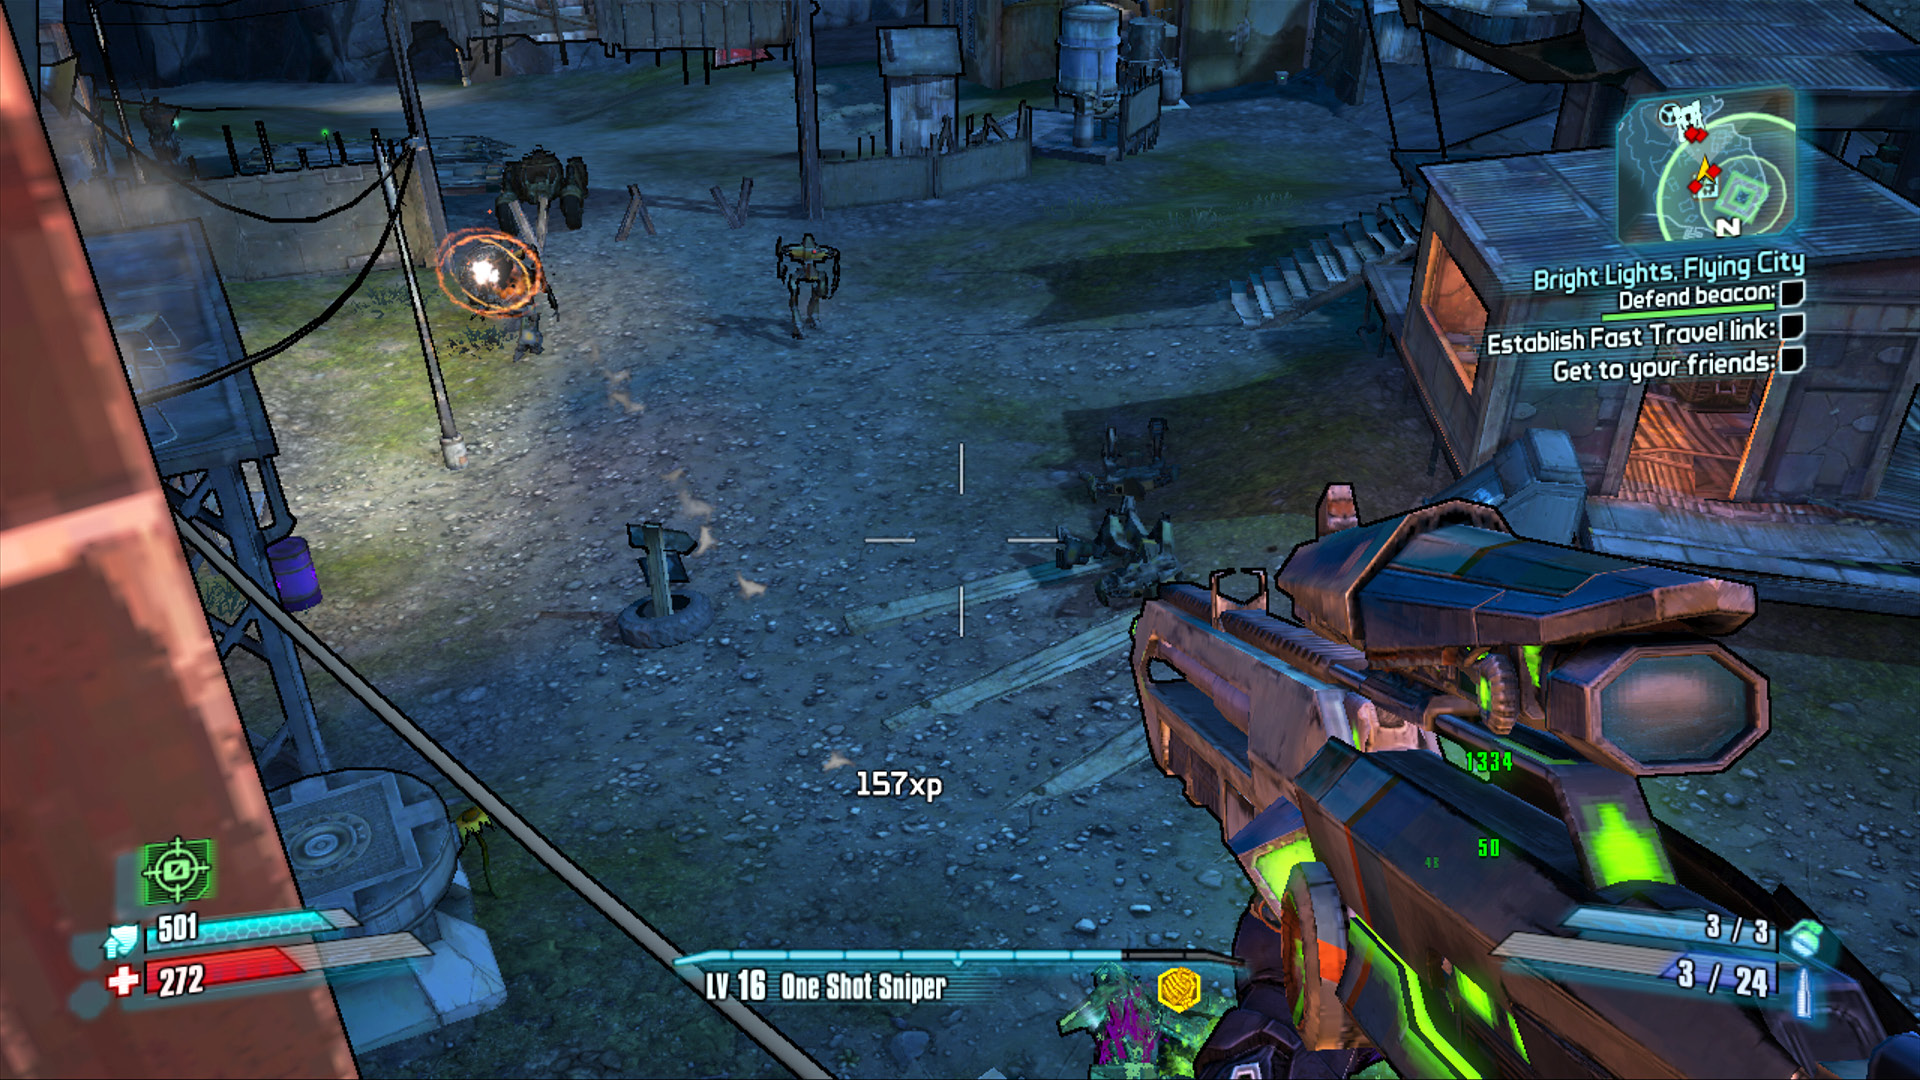
The rooftop above the Bounty Board offers a great sniping position down both main roads in town.
By the time the third batch of loaders appears, you’ll start to see EXP Loaders that sprint straight for the beacon. They’ll run up the stairs and detonate right near it in an effort to destroy it quickly. Considering all of the bullets being shot at the beacon, the beacon can only withstand two or three EXP Loaders detonating next to it. You can try standing atop the stairs and intercepting the EXP Loader’s path, but it’s hardly worth the risk this poses you.
Instead, just watch the damage indicator on the screen, and run up the stairs and repair the beacon whenever it empties. Angel also lets you know when the beacon needs repairing.
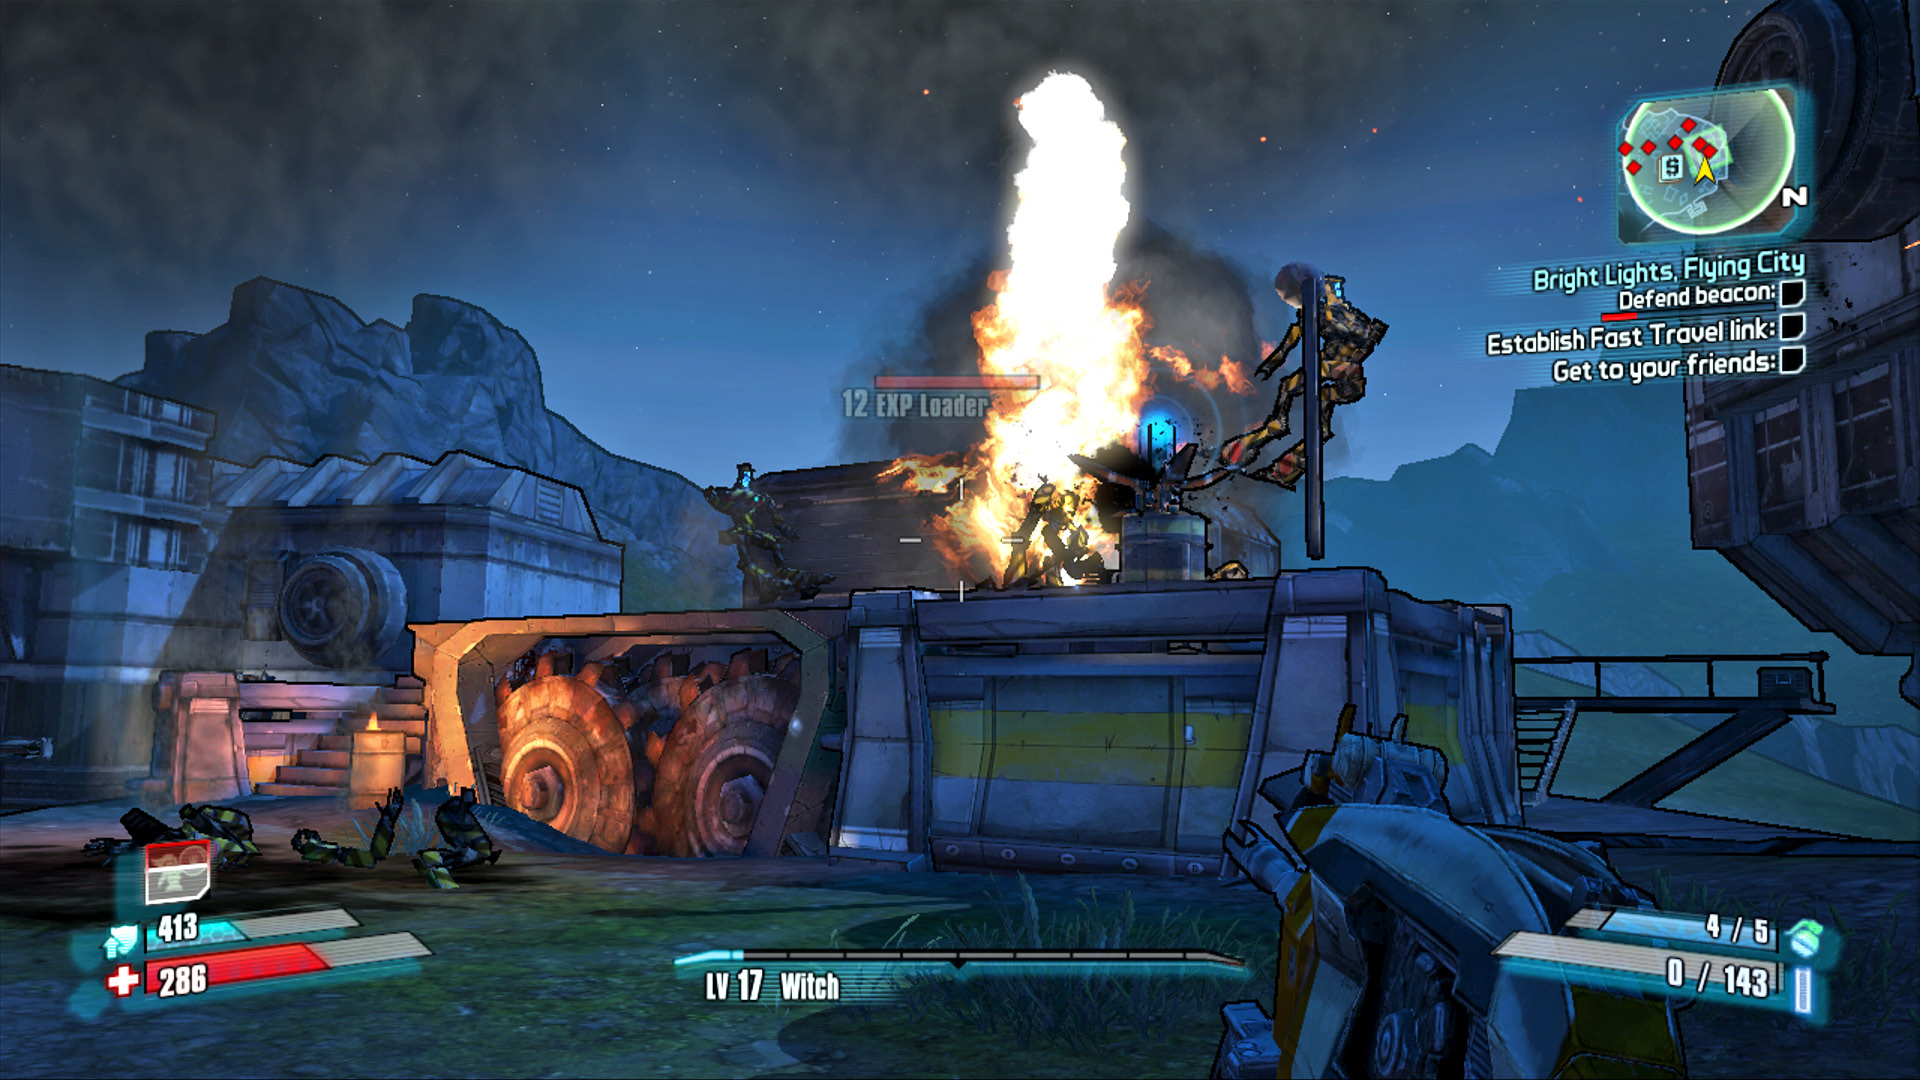
Try to stop the EXP Loaders from running up the stairs, but stand clear of their explosion if you can’t.
The battle intensifies the longer you manage to keep the beacon in operating order. Handsome Jack finally tells his men to send in the Constructor. Watch for a shielded Constructor to fly over the rooftops and land in the courtyard in front of the beacon. The Constructor Bot focuses on attacking you and deploying additional loaders. Immediately focus on the Constructor with your rocket launcher and Corrosive weapons, and don’t let up.
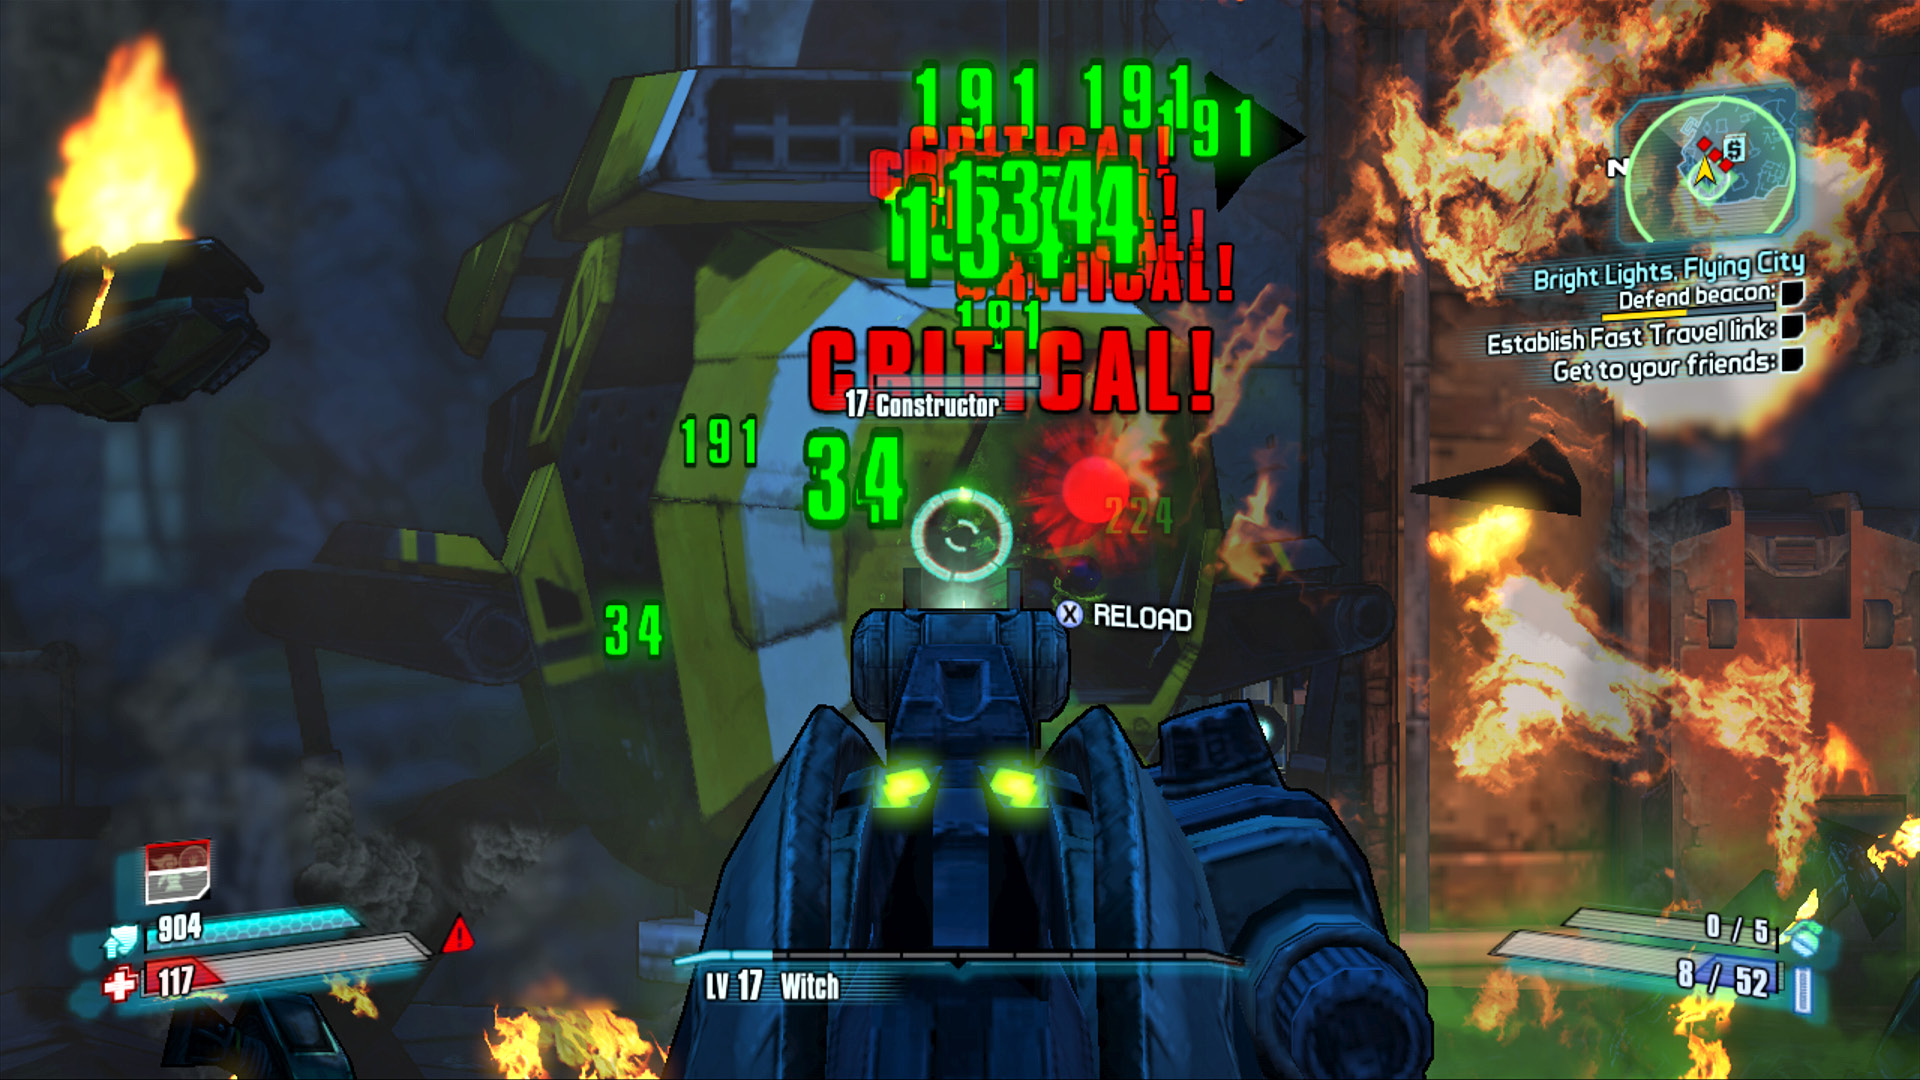
Corrosive bullets to the Constructor’s eye ought to do the trick!
The final wave consists of flame-throwing HOT Loaders that attack alongside a Badass Loader. This represents the end of the battle, as the beacon is set to drop a Fast Travel station in the center of the plaza. Use the Fast Travel station the moment it appears to return to Sanctuary. Roland and Lilith are anxiously awaiting your arrival at Crimson Raiders HQ.
The Holy Spirits
The stronghold of the Zaford bandit family, The Holy Spirits Bar (and church) is a great place to get a whisky, a song, and a bullet in the sternum. In all honesty, though, it’s a fairly decent place to hang out so long as you’re not affiliated with the Hodunks, the Zafords’ bitter rivals. Though quite small on the surface, there is much more to this tavern than the barflies will ever know. Lurking beneath the storeroom is a massive cavern where the Zaford clan stores their riches. Of course, there’s only one person with the key to Ale Wee Cavern, and he’s not going to give it up without a fight…
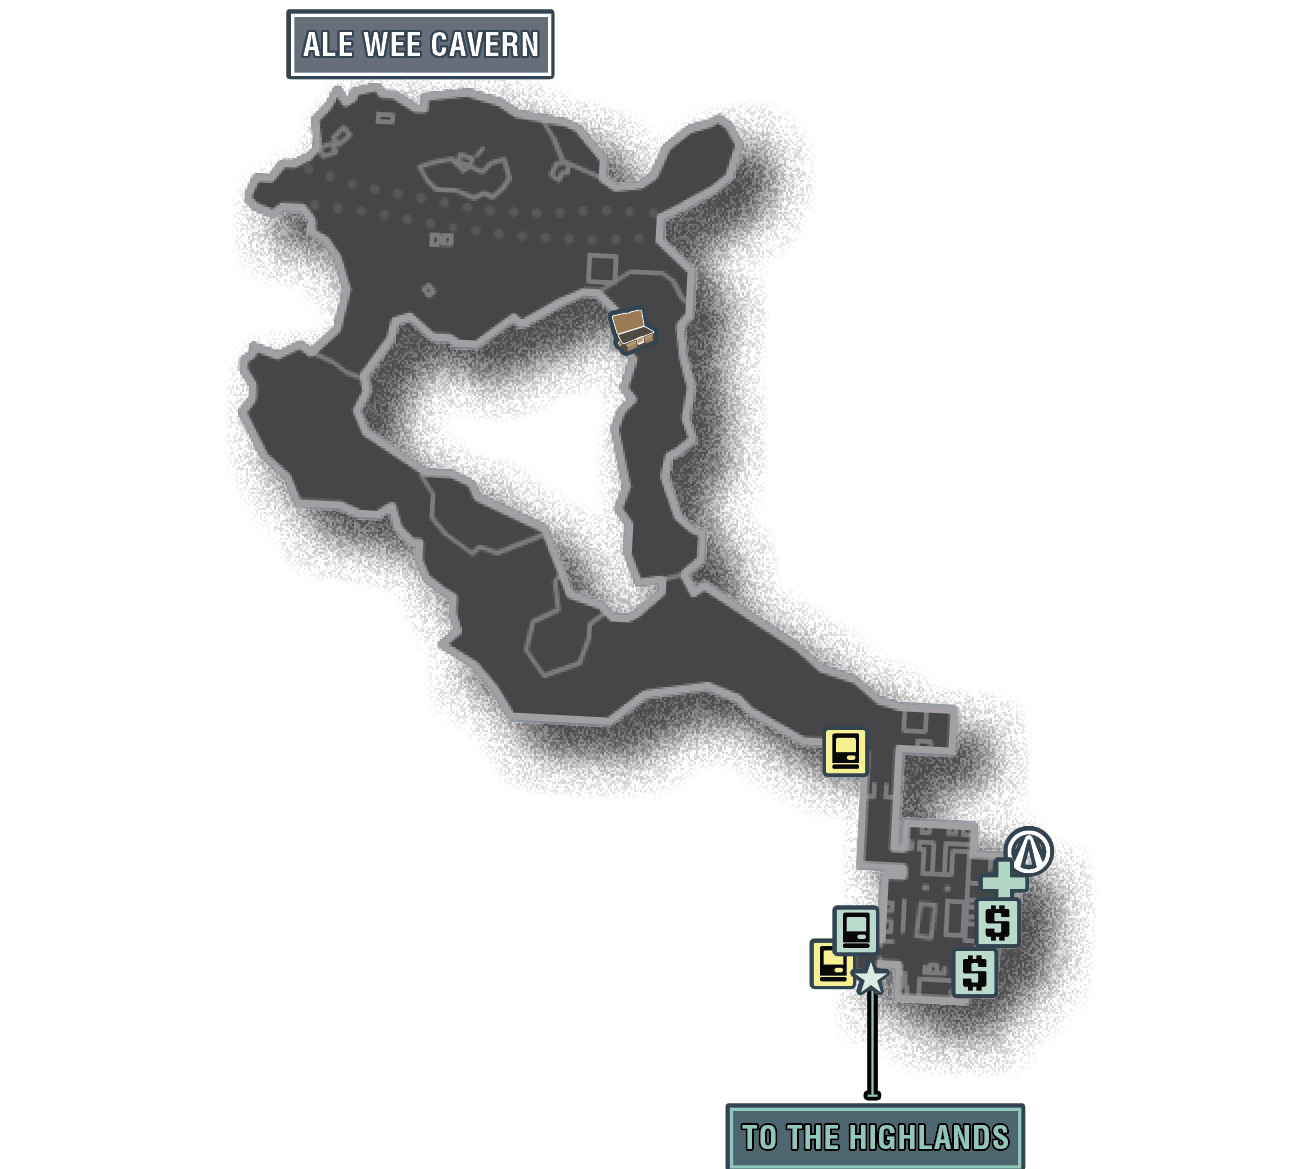
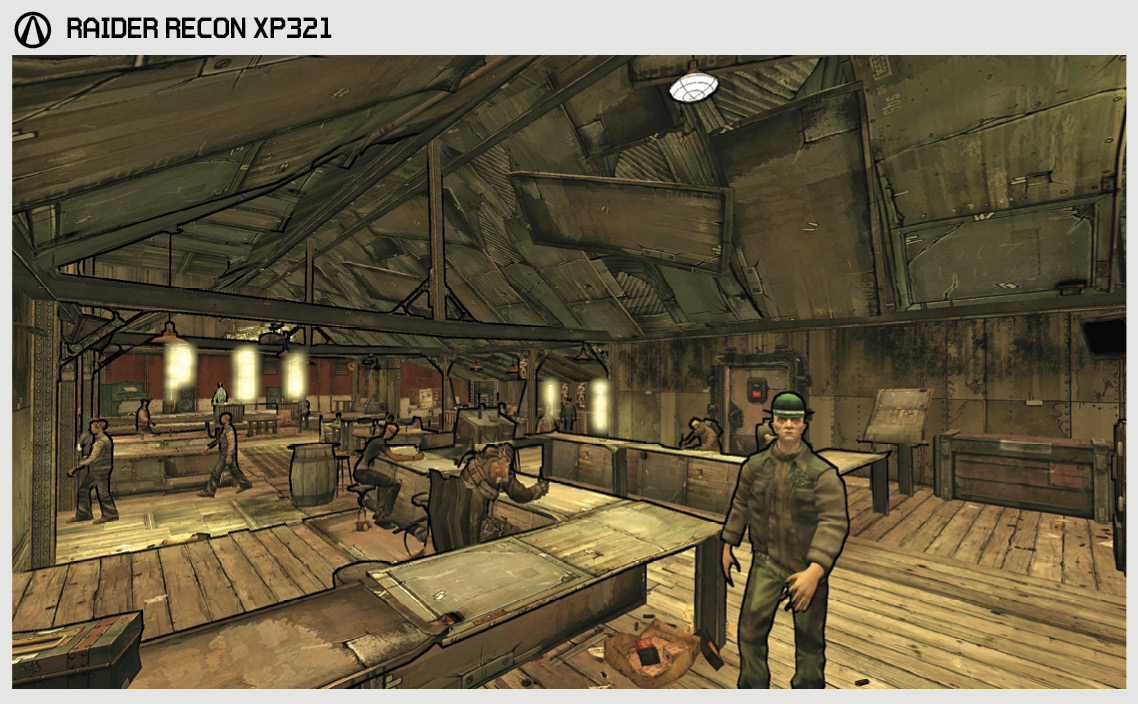
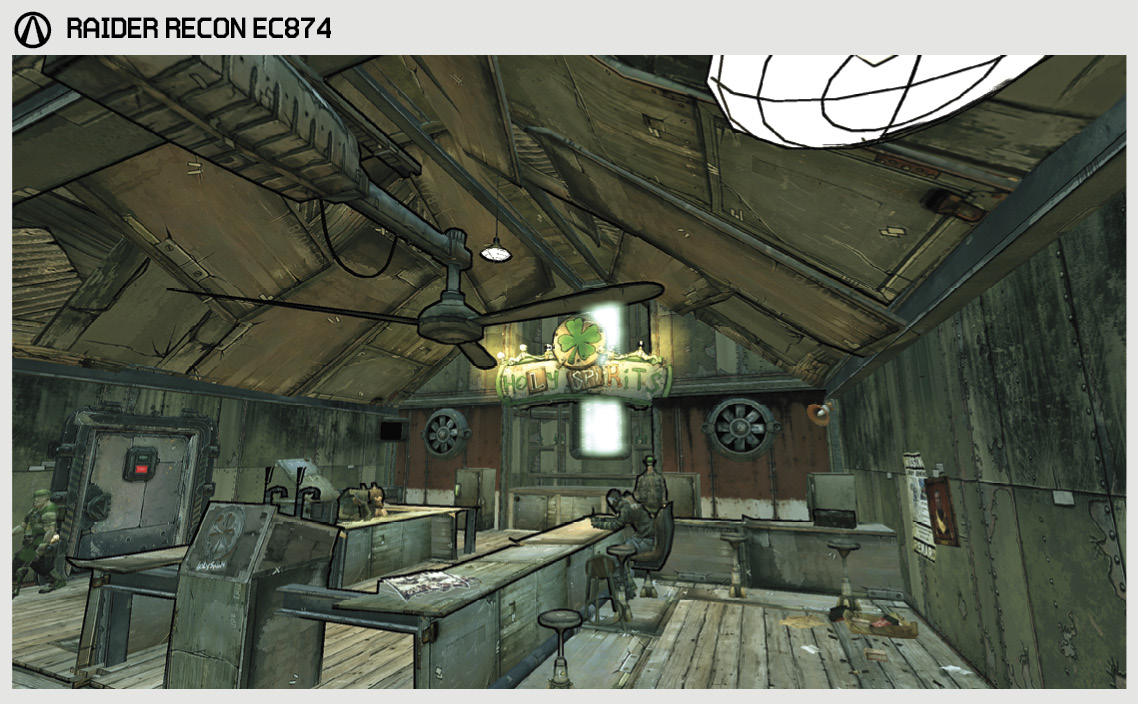
The Districts of The Holy Spirits
| Locale | Limited Access? | First Visit |
|---|---|---|
|
Ale Wee Cavern |
Yes |
“Clan Wars: End of the Rainbow” optional mission. |
Dangerous Beasts
| Enemy Family |
|---|
|
Bruisers |
High Value Targets
| Enemy | Family |
|---|---|
|
Bagman |
Marauder |
 Cult of the Vault
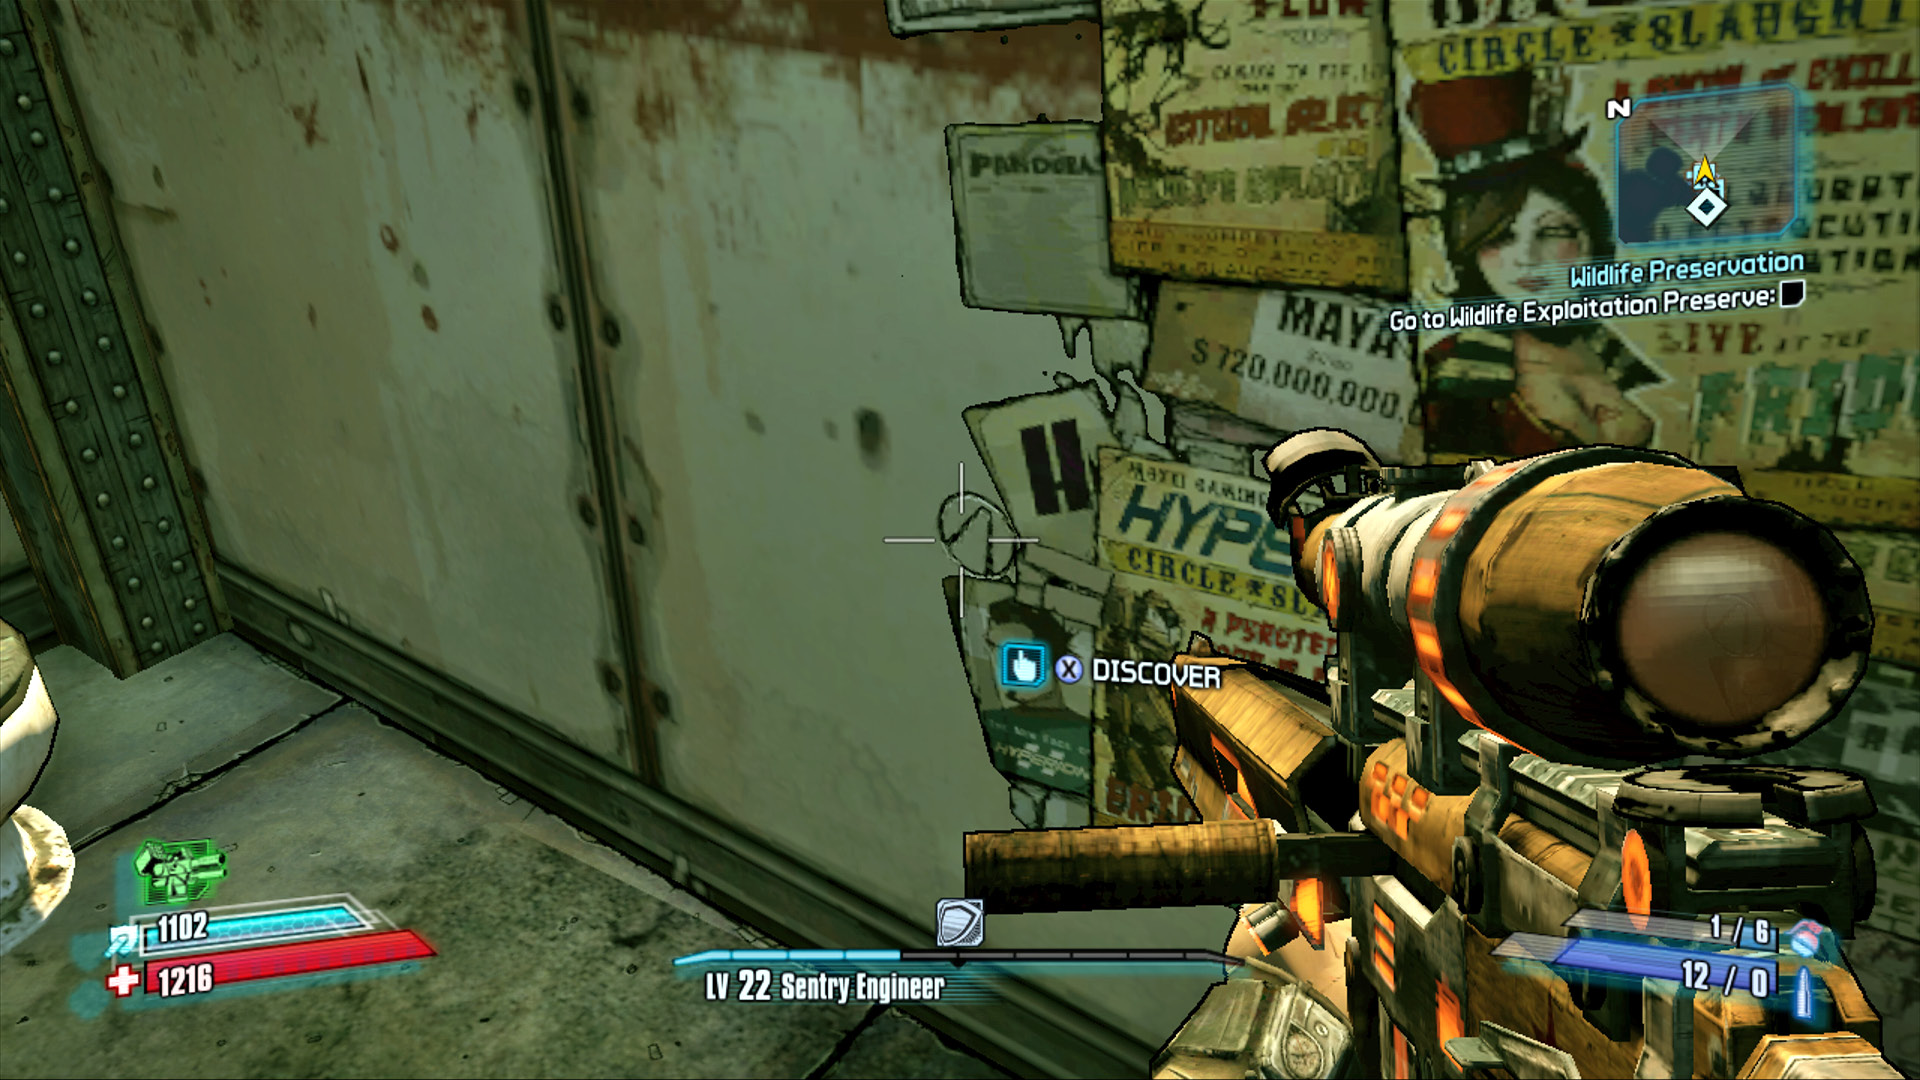
This tiniest of Cult of the Vault symbols is on the rear wall of the restroom inside the bar area. You’re going to have to look awfully close to spot it, as it’s even smaller than the ones at Sanctuary.
Sanctuary Hole
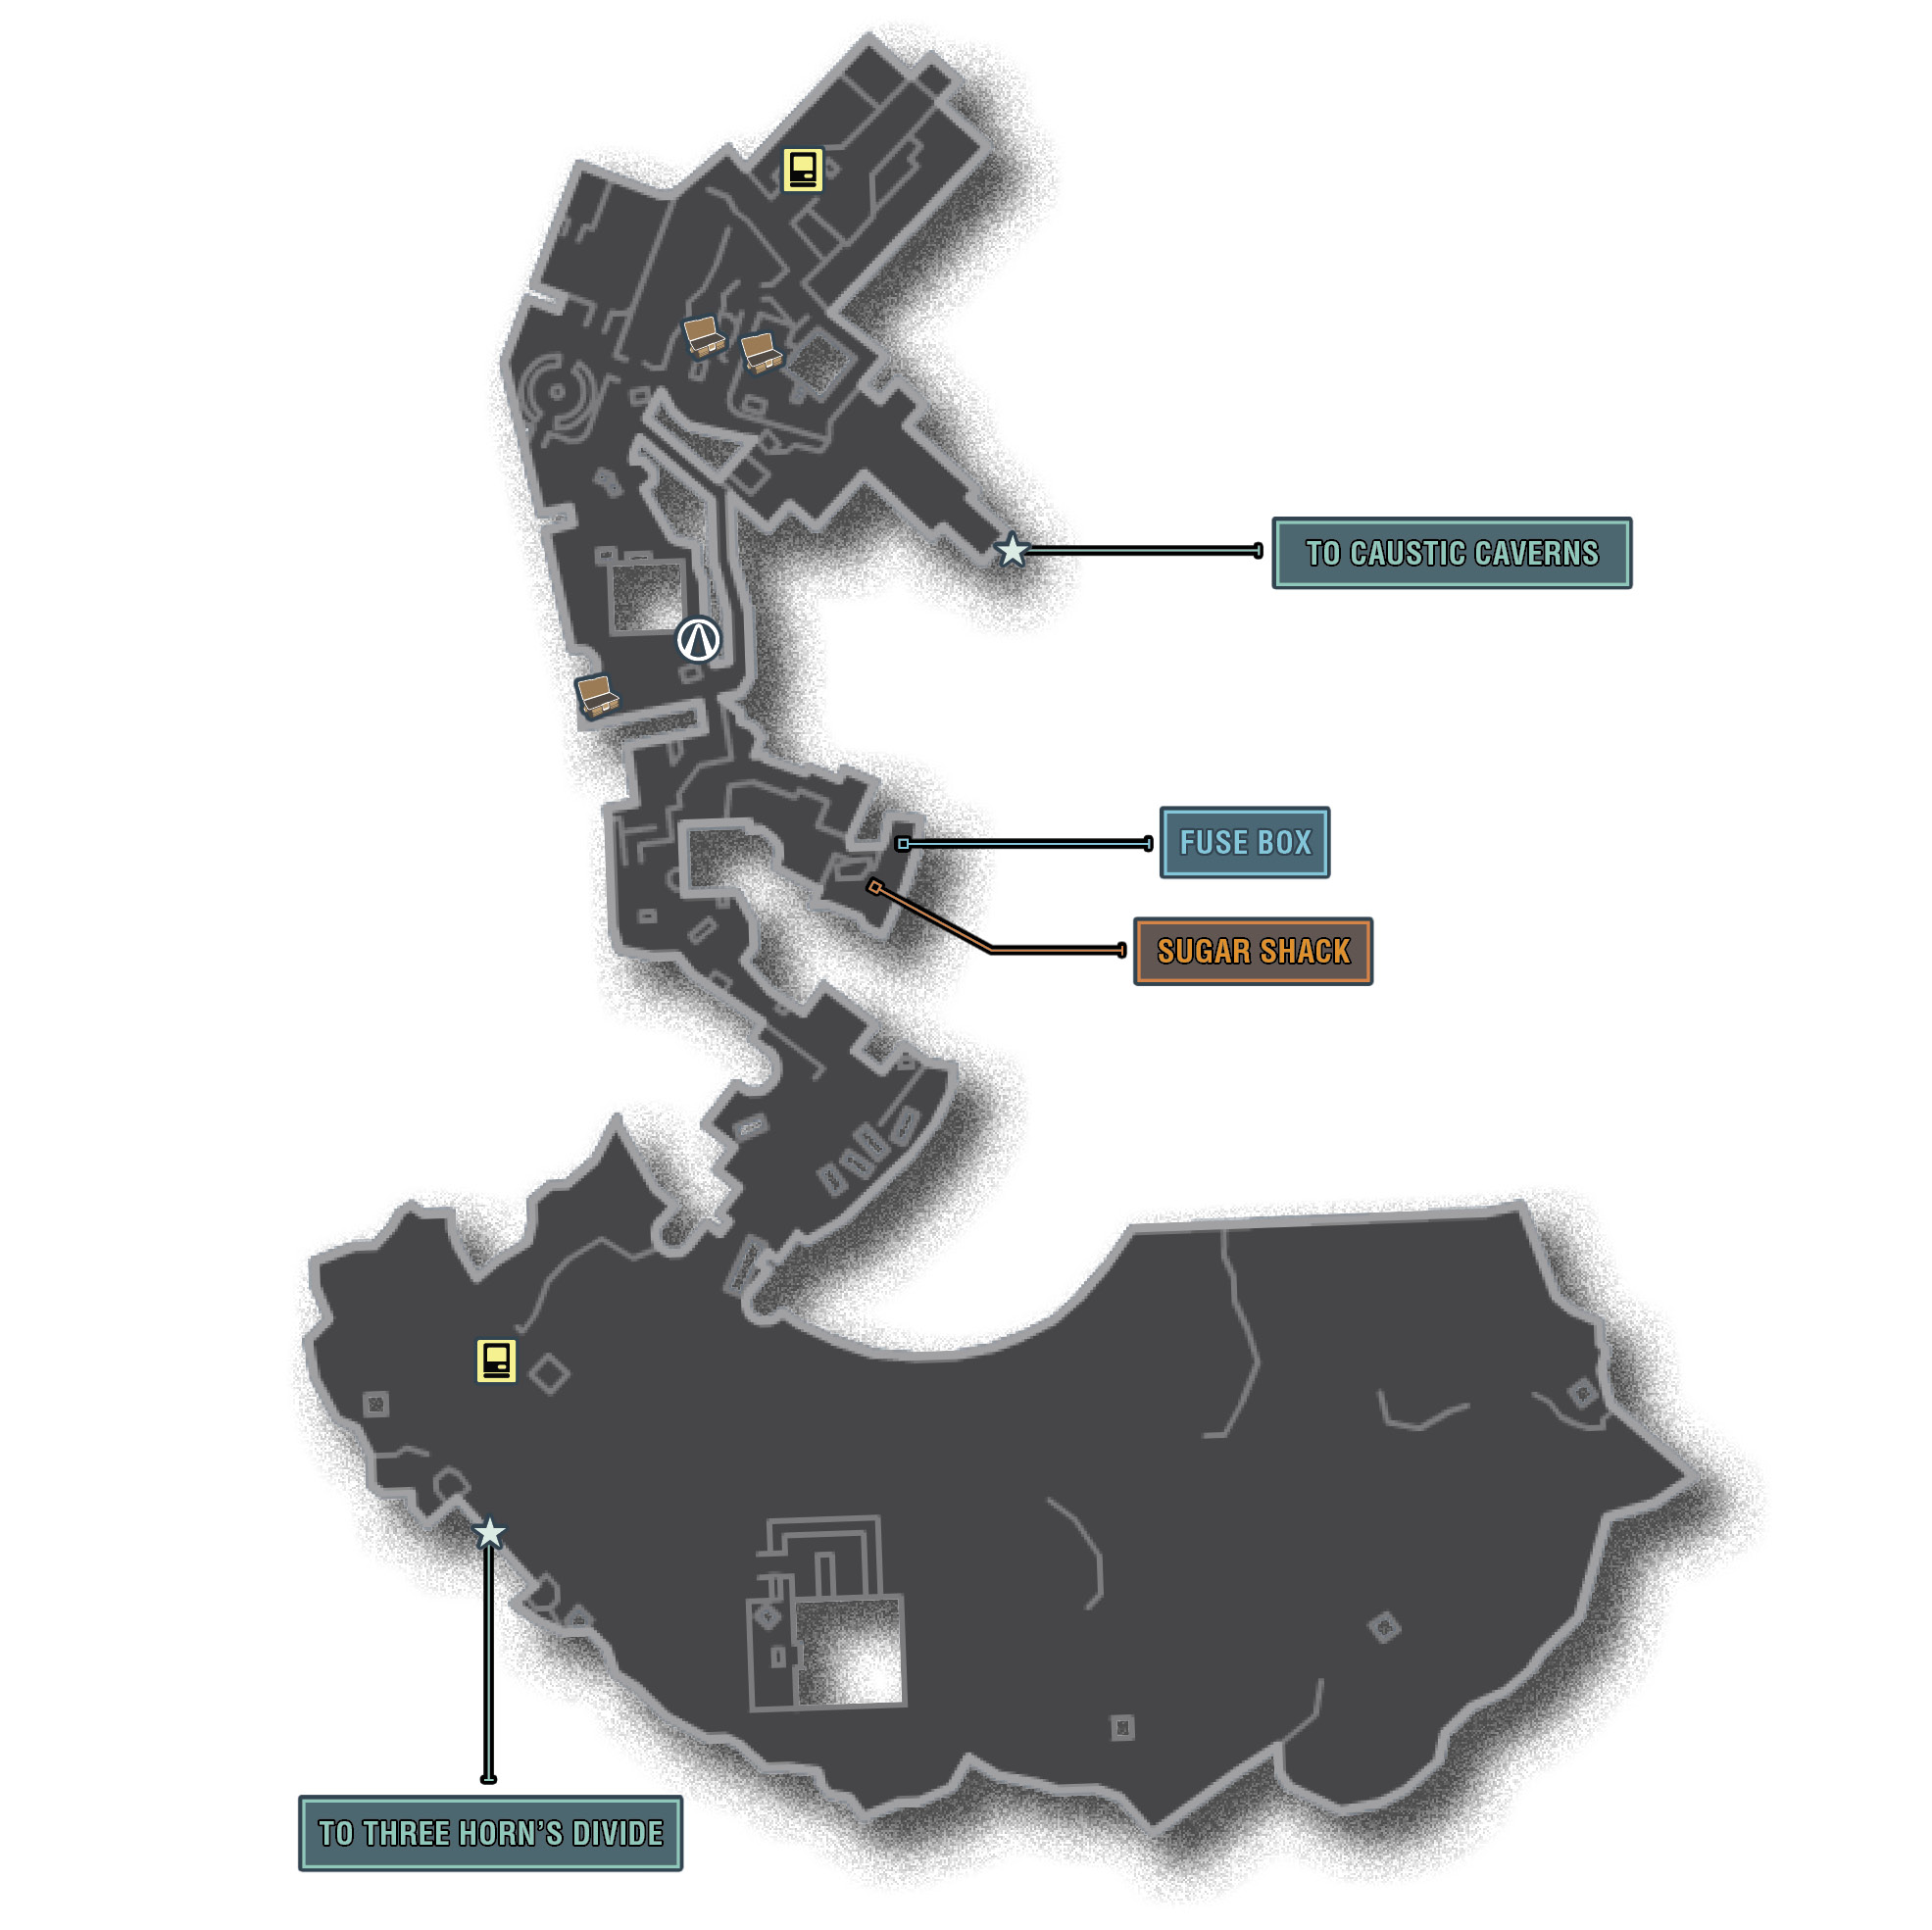
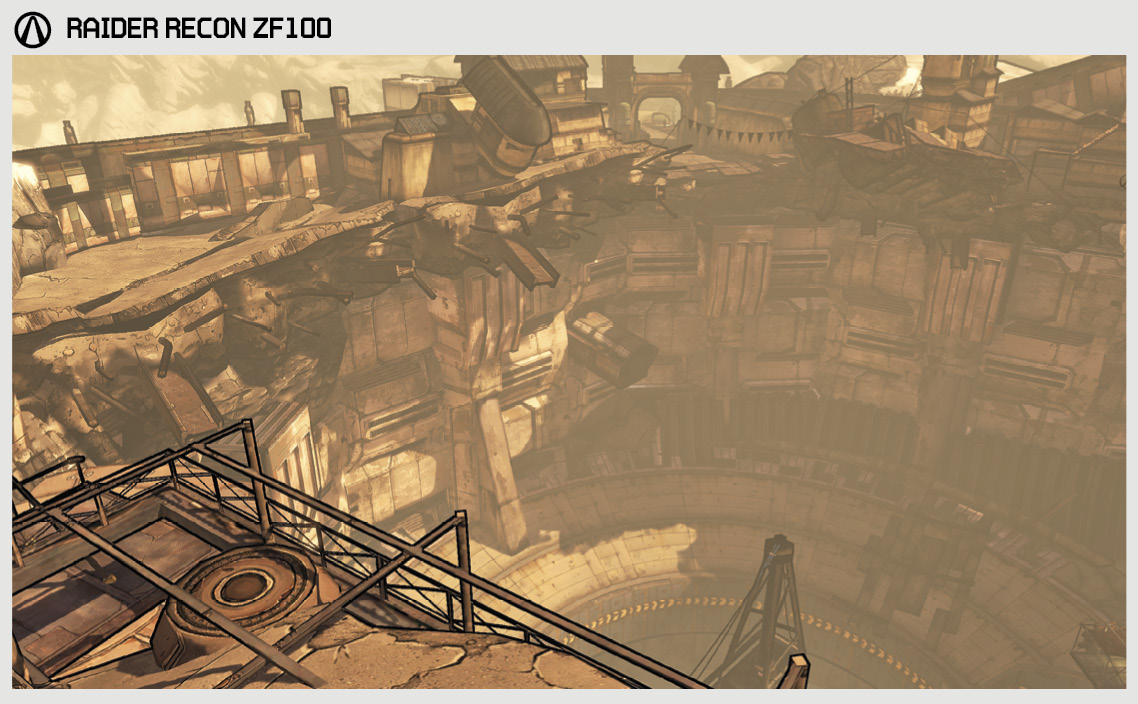
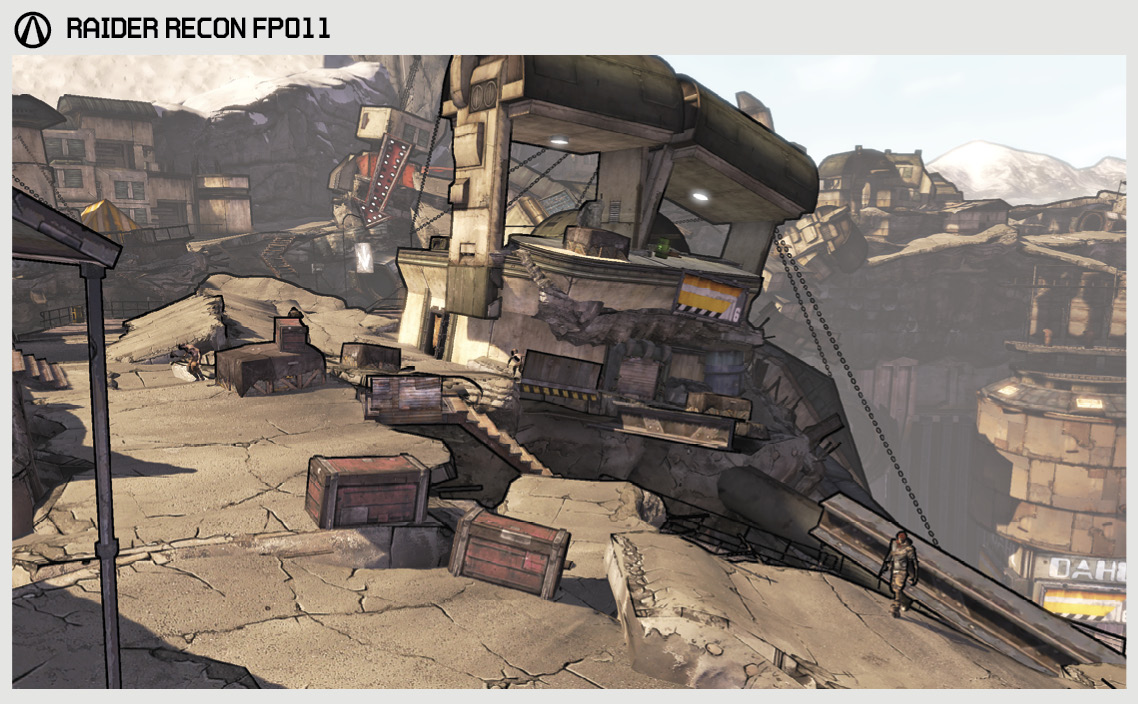
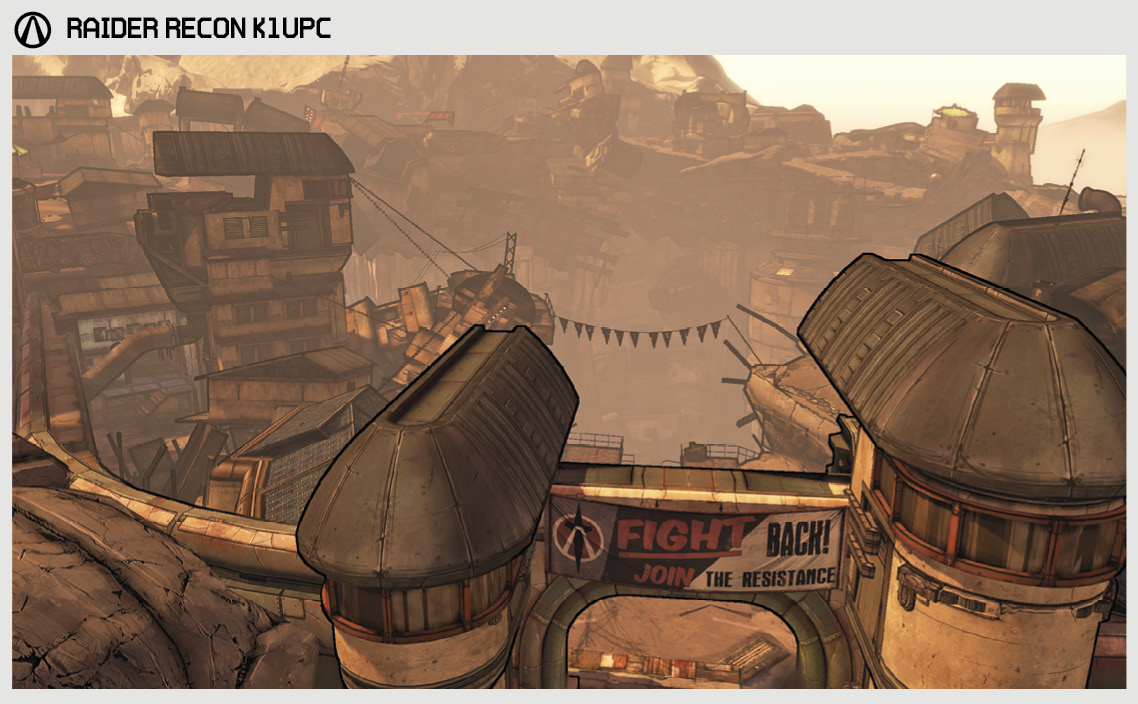
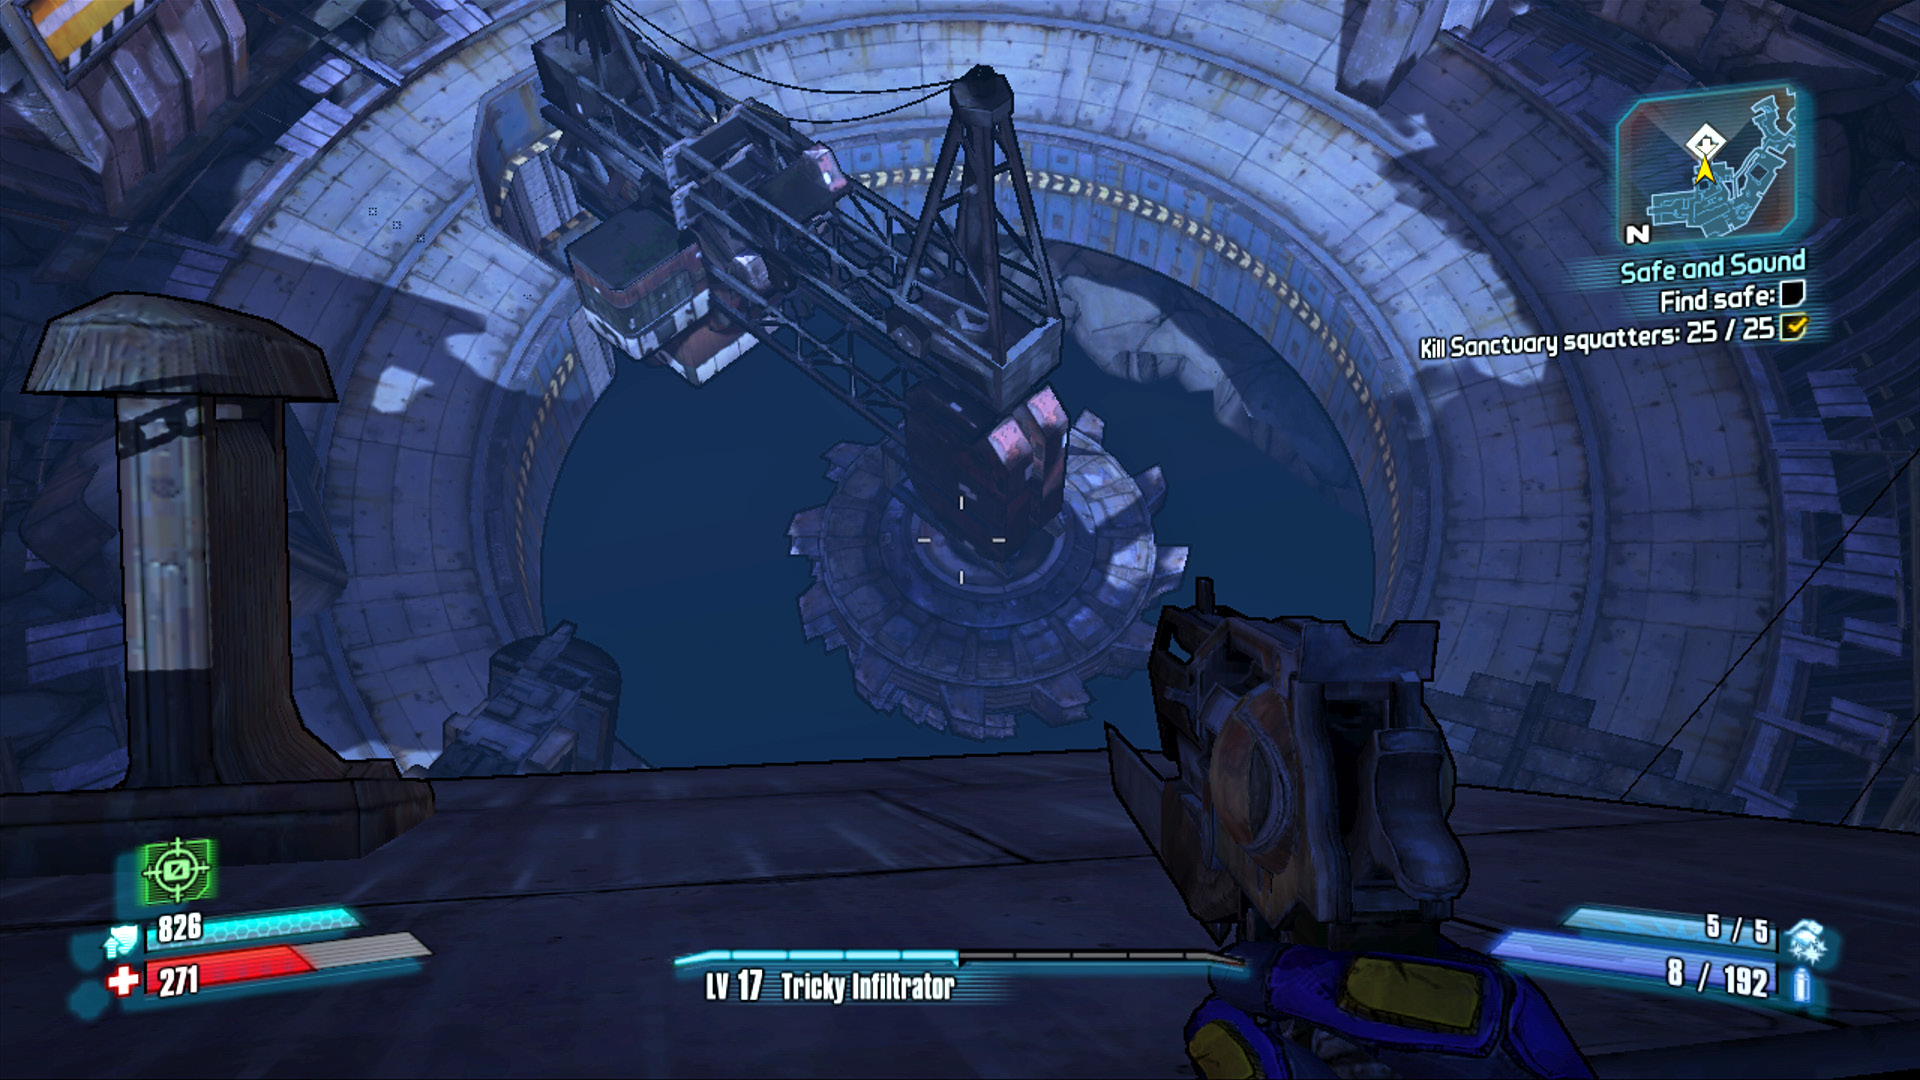
When we evacuated the city of Sanctuary to escape Handsome Jack’s all-too-successful attack, we left a large, vaguely Sanctuary-shaped hole in the ground. Reports suggest that mere minutes after Sanctuary’s take-off and sudden Phasewalk, bandits rushed into the vacuum left by our once-landlocked city and turned it into a makeshift camp—as they do. Like the vultures they are, the bandits have already picked apart Sanctuary’s leavings—stealing the supplies and scrap that were blasted off Sanctuary proper during the assault. Now Sanctuary’s former place in the world serves as a landmark to the ruin that Pandora eventually decays everything into, as well as a handy (if bandit-infested) access route to Dahl’s long-abandoned mining facility in the Caustic Caverns.
Dangerous Beasts
High Value Targets
| Enemy | Family |
|---|---|
|
— |
— |
 Cult of the Vault
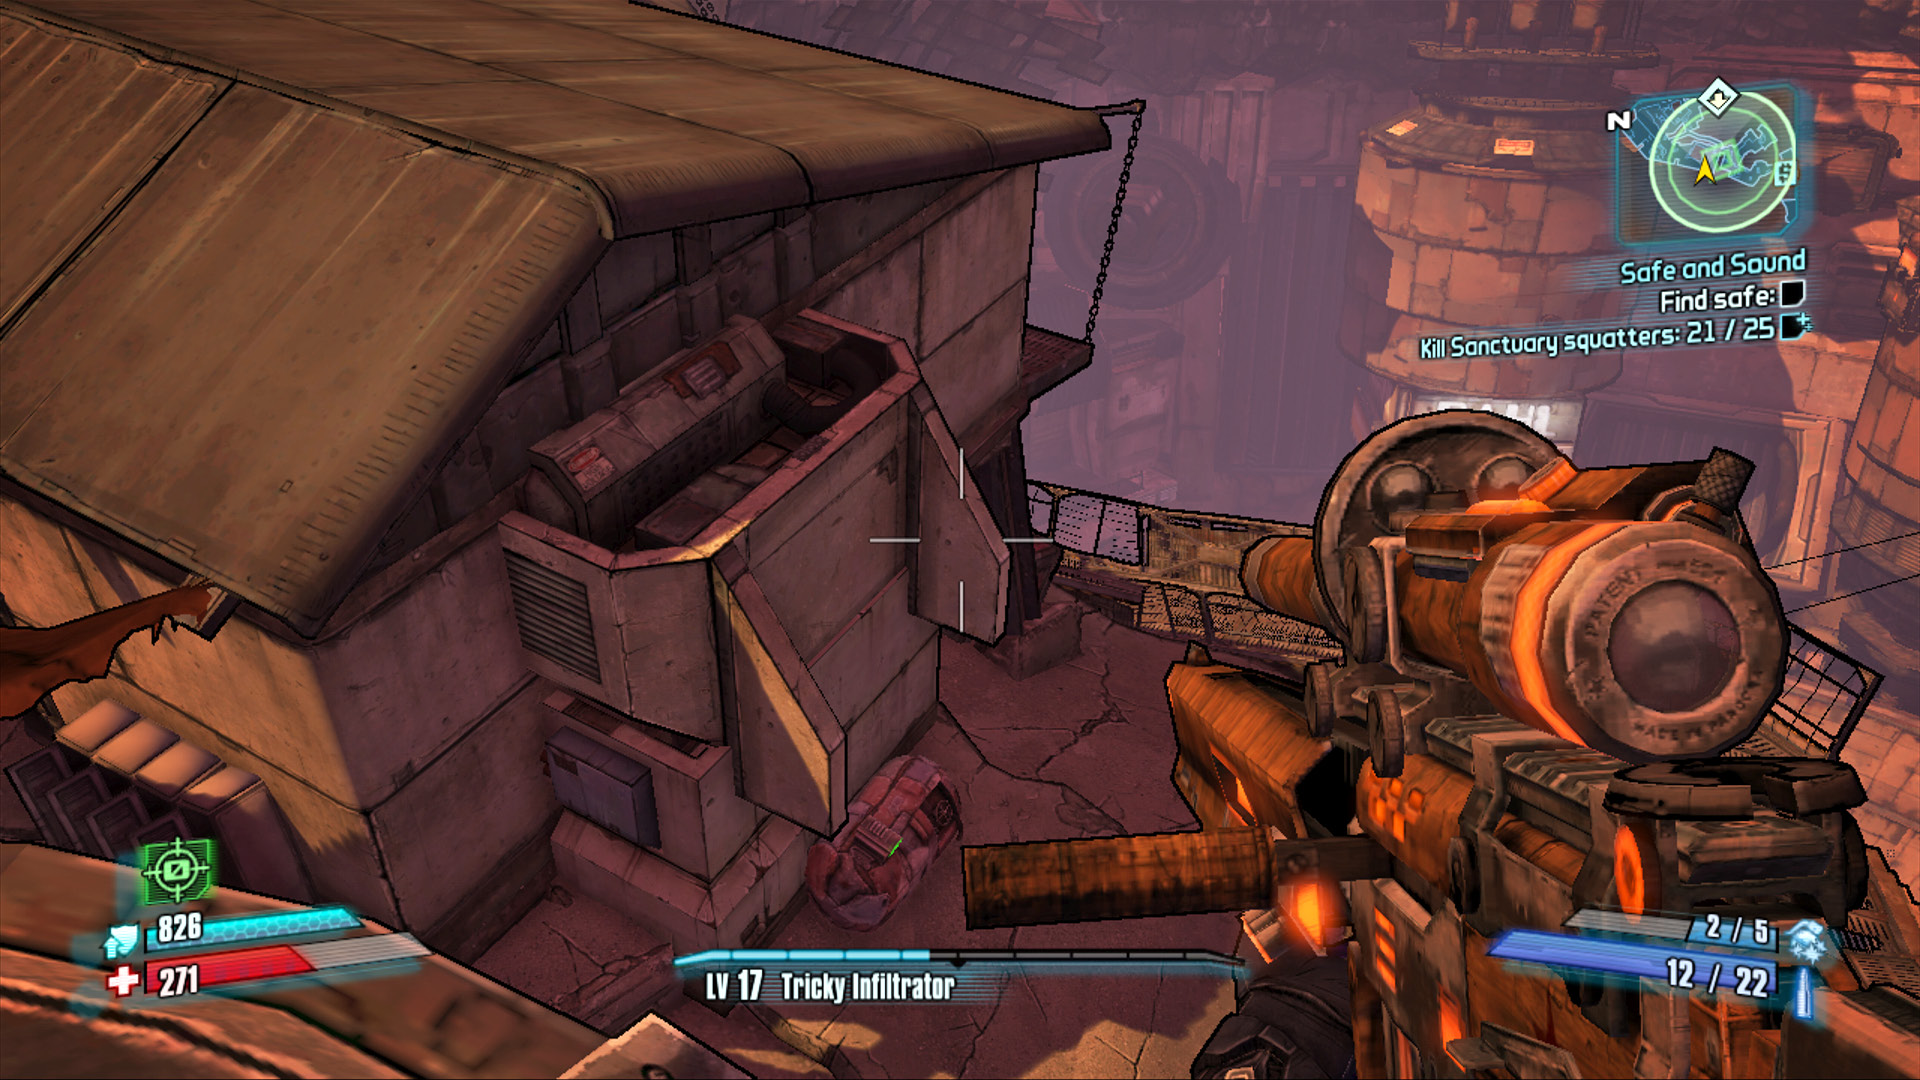
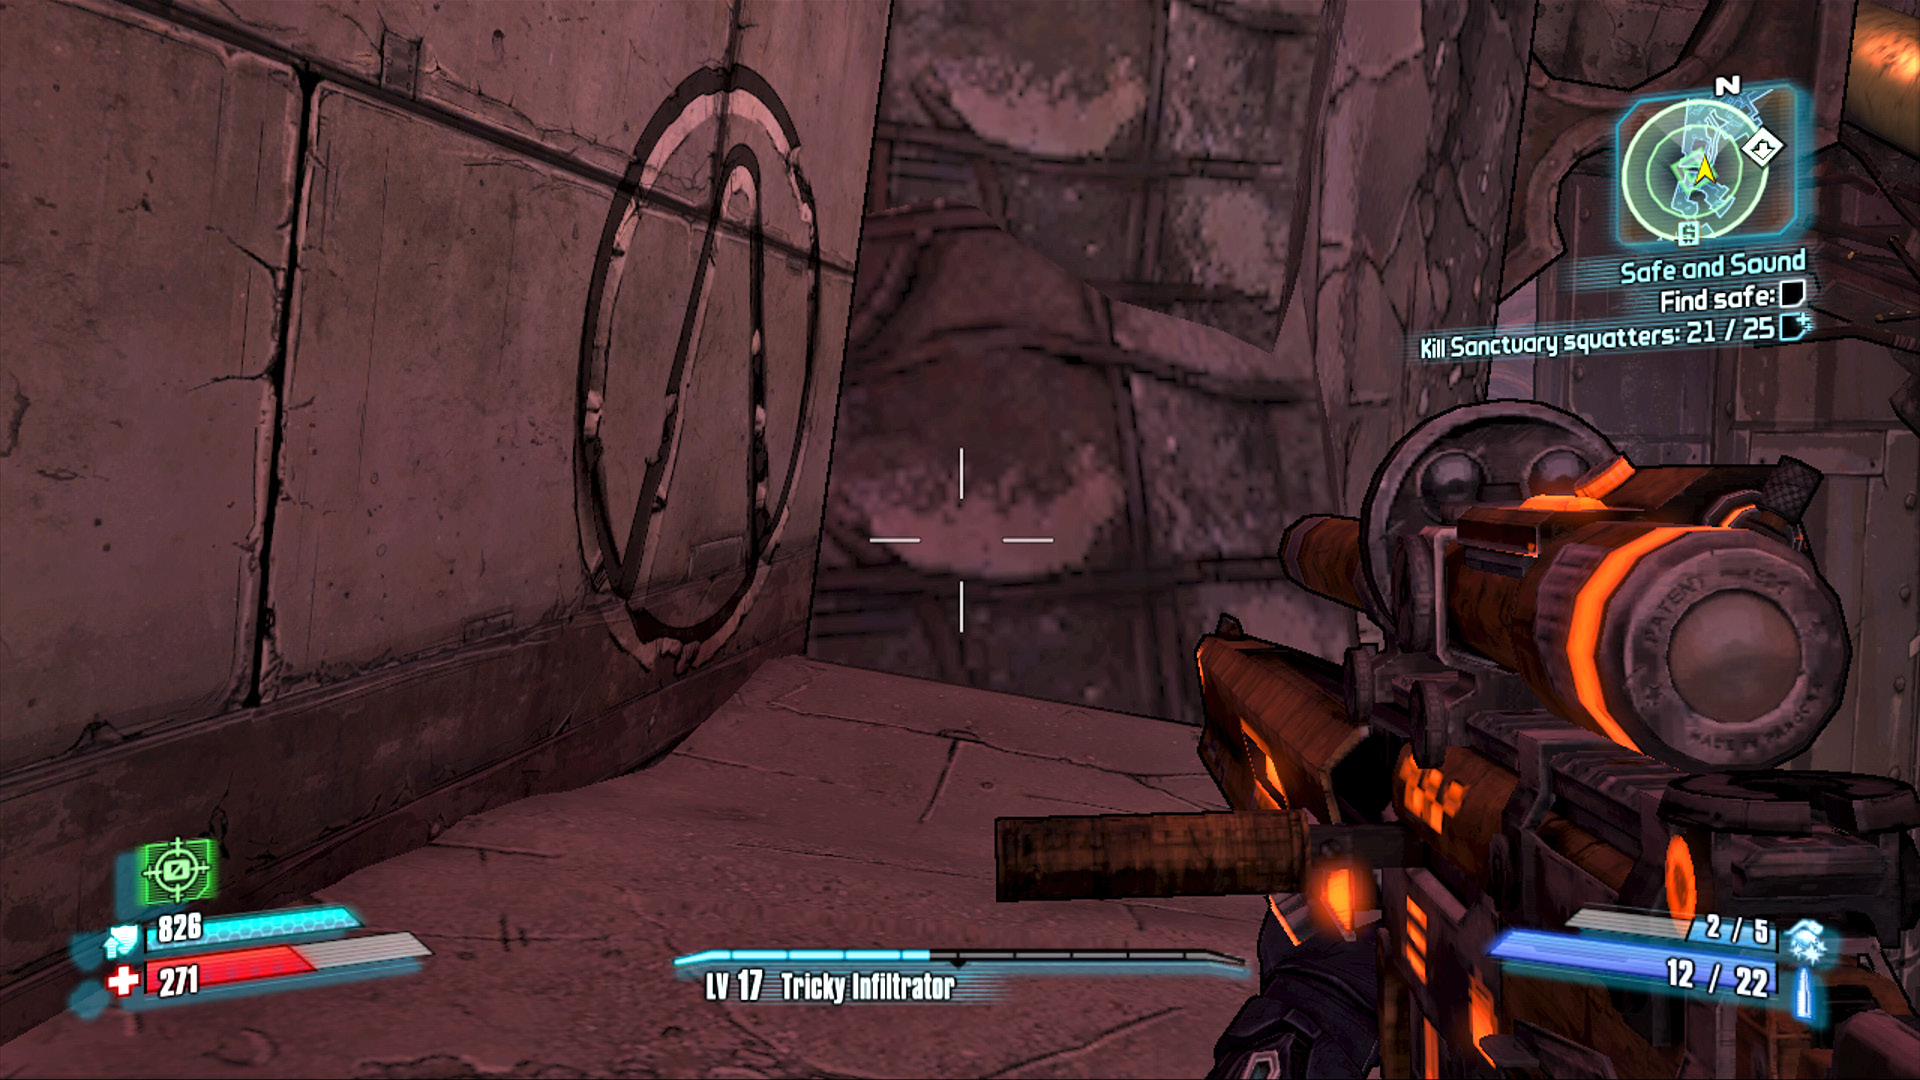
The Cult of the Vault symbol is deceptively easy to find, as it’s only natural to expect it to be on the balcony or roof, but it’s actually under the side of the building. Drop off the ledge toward the gas tank on the south side of the large building nearest the dangling catwalk. Walk along the building’s foundation in a counter-clockwise direction to find the symbol tucked under the balcony.
Sugar Shack
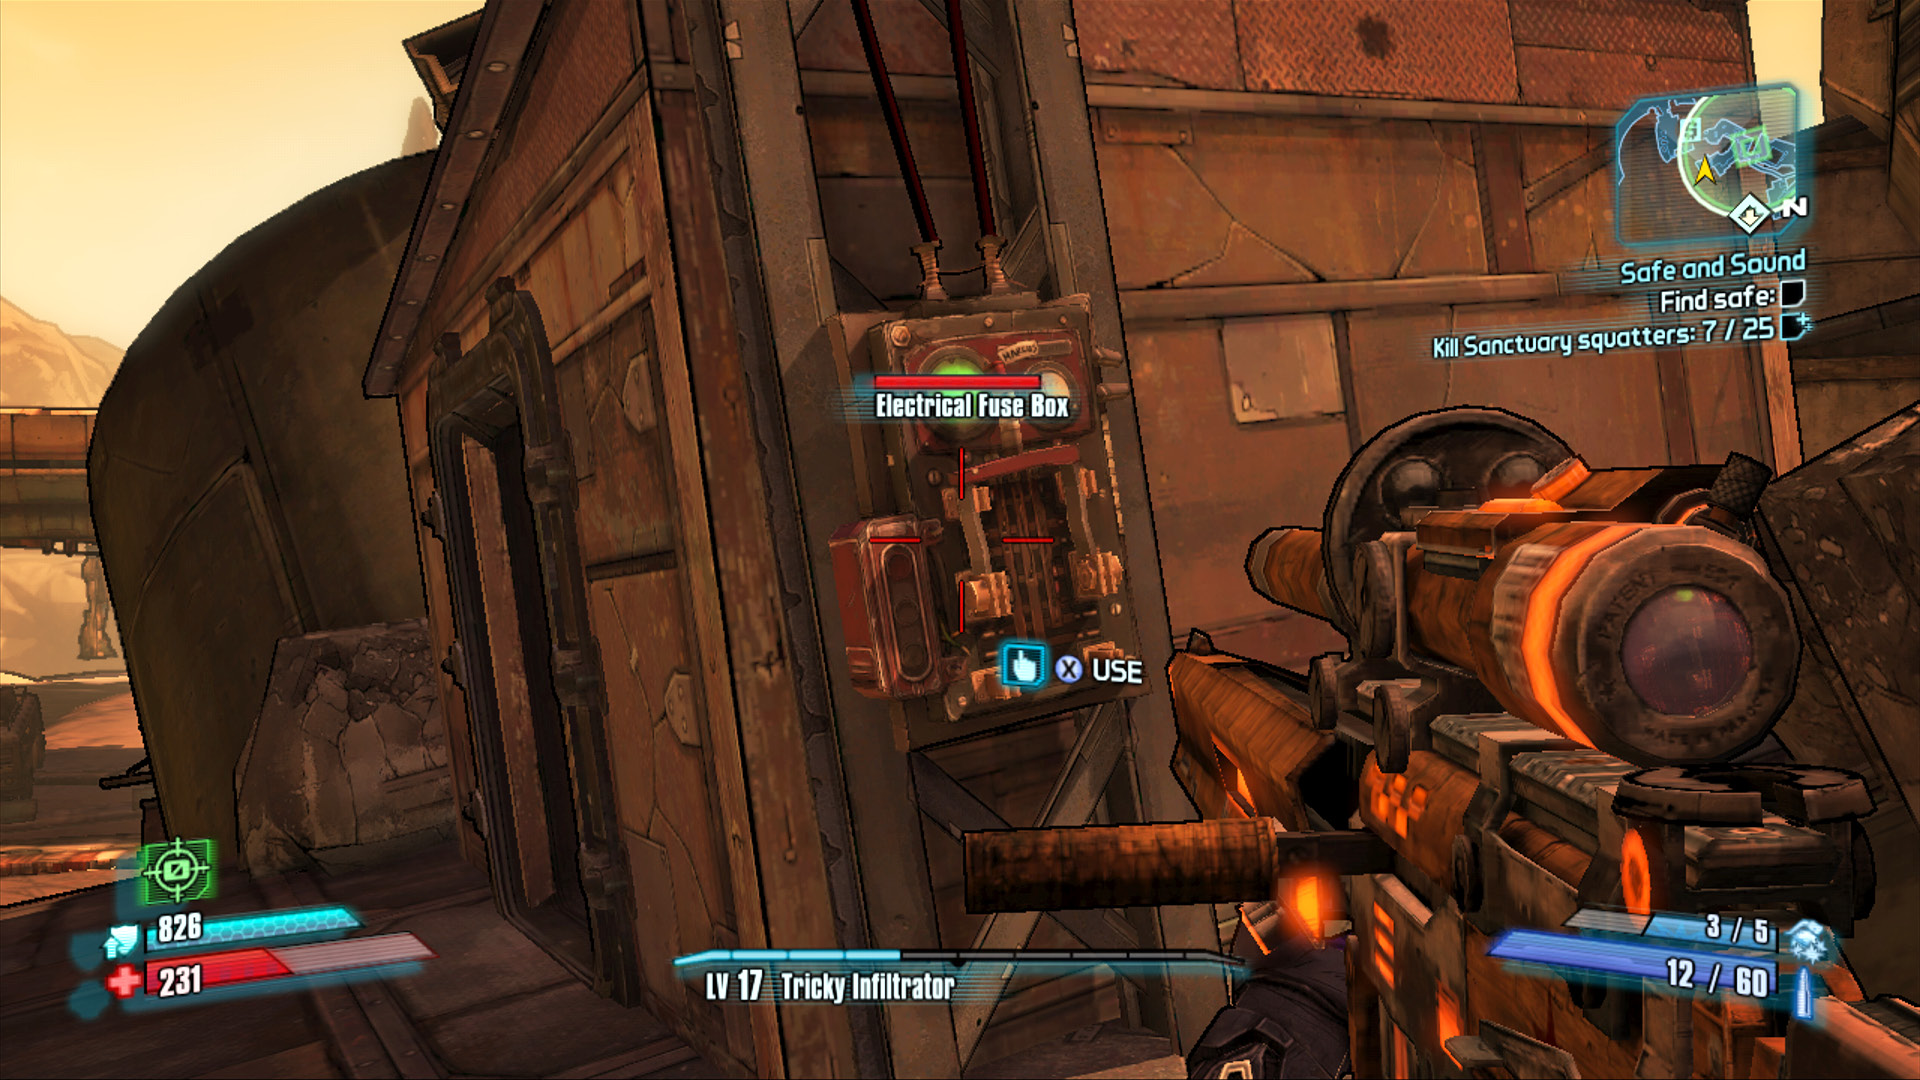
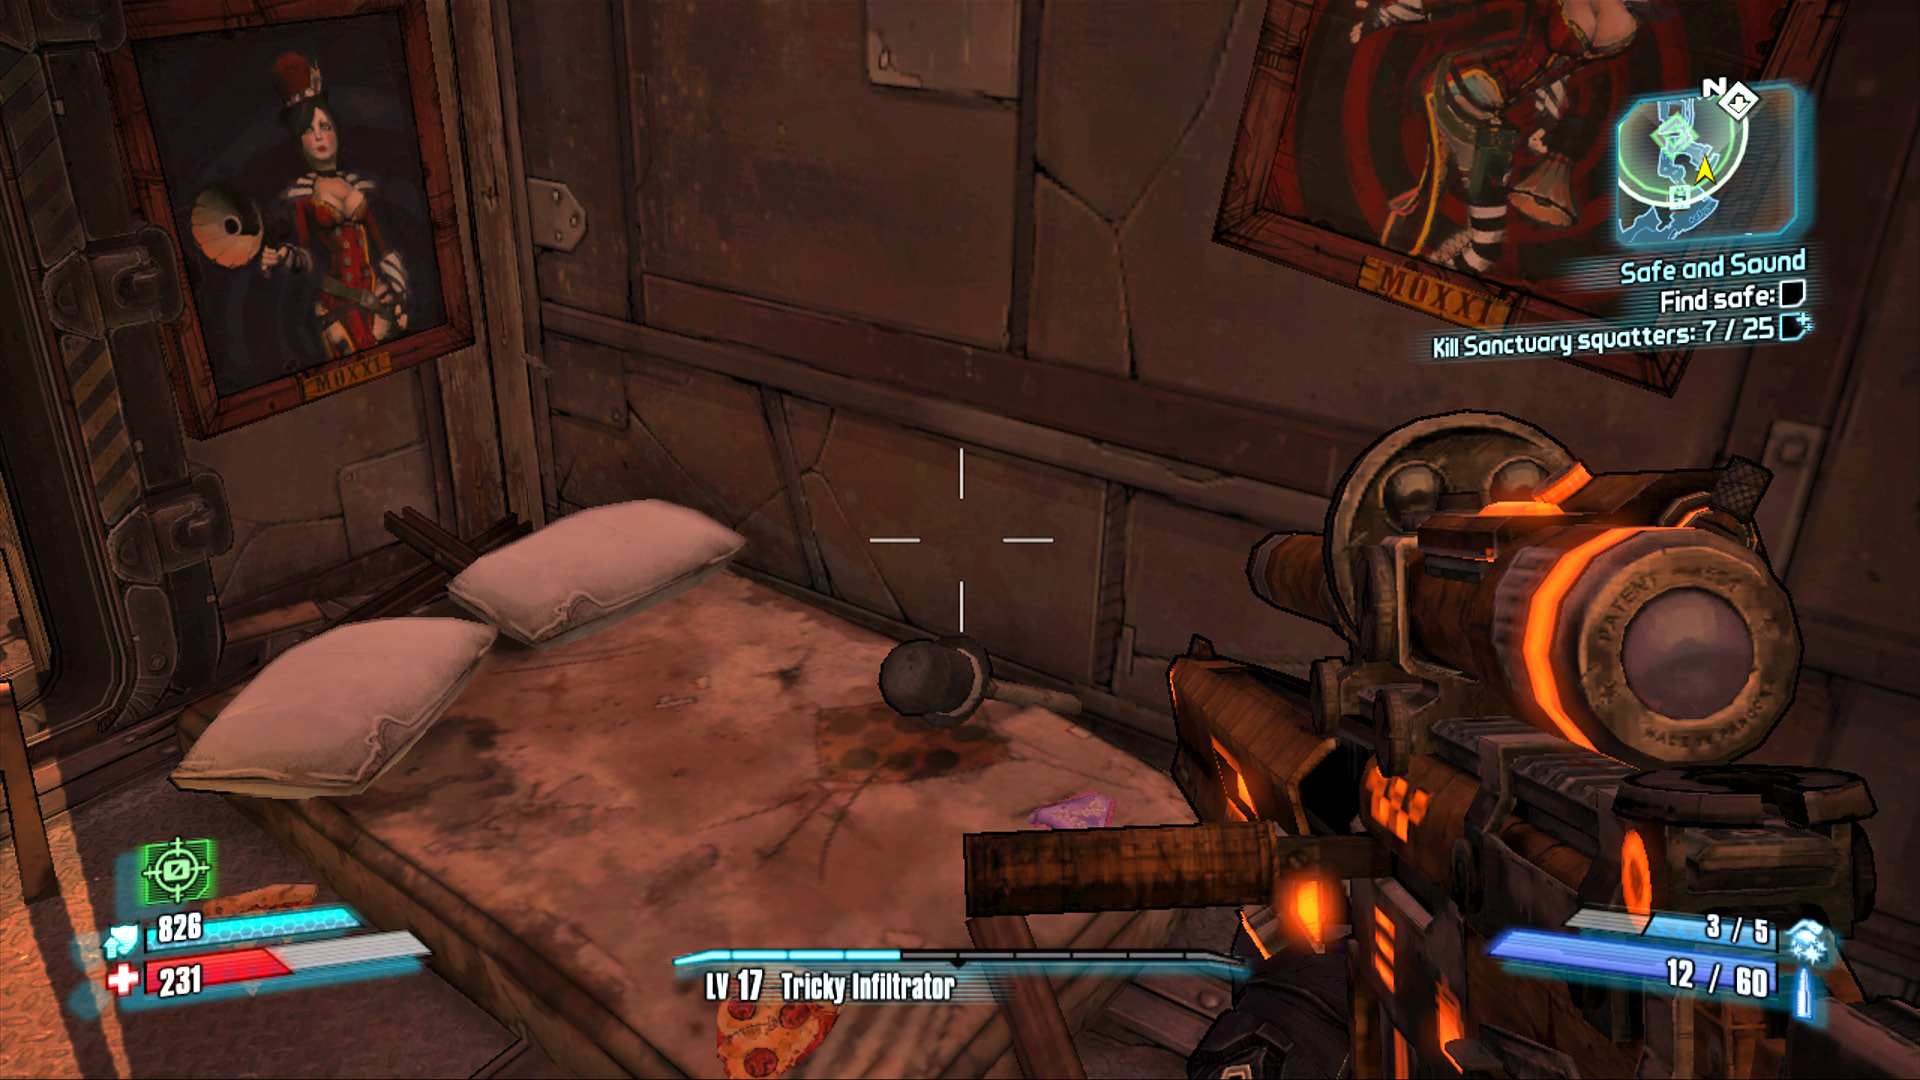
Head north along the main path into Sanctuary Hole, and turn right at the first sidewalk leading out to the slanted building. Locate the electrical fuse box on the side of the building, then loop around to enter the hovel. The boudoir photos of Moxxi on the walls are your cue that you’ve come to the right place.
Down the Rabbit Hole
This Challenge isn’t for the faint of heart, nor is it for those who stand to risk losing a large portion of money. But for those looking to trade a Reconstruction Fee for an increase in their Badass Rank, they’ve come to the right spot. Find a nice suitable position—a good option being the gap in the railing on the south end of the former city, where you first witness the hole—to leap into the hole in Sanctuary Hole and let fly. You won’t survive, but no pain, no gain, right?
Caustic Caverns
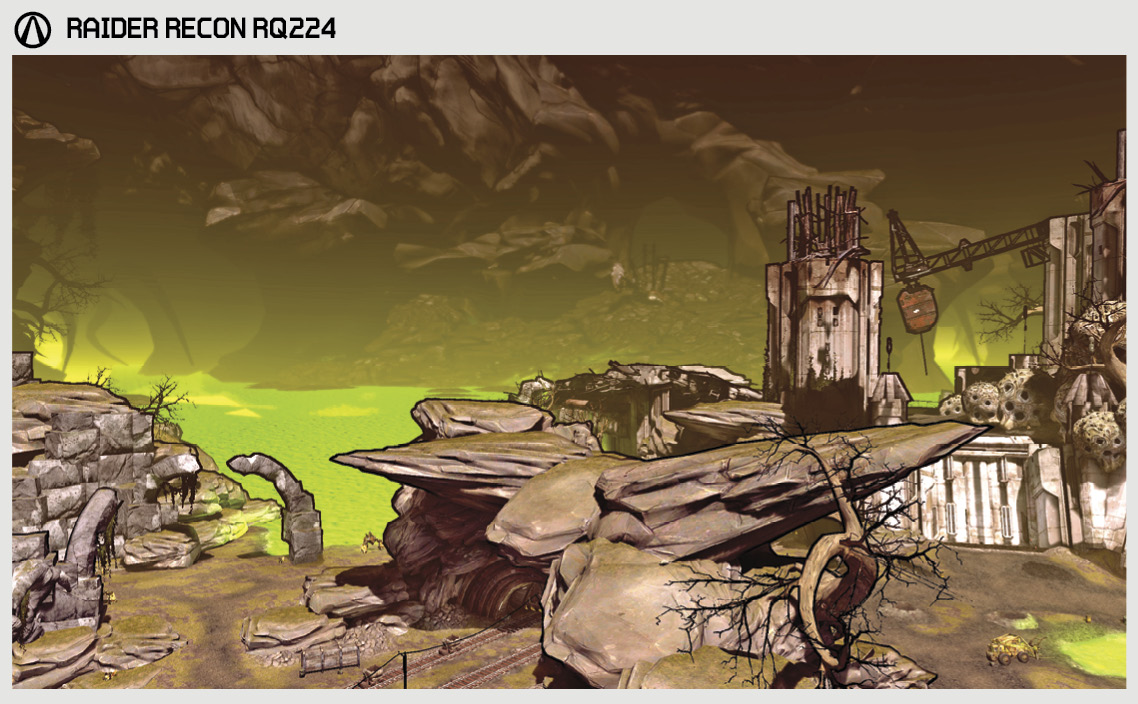
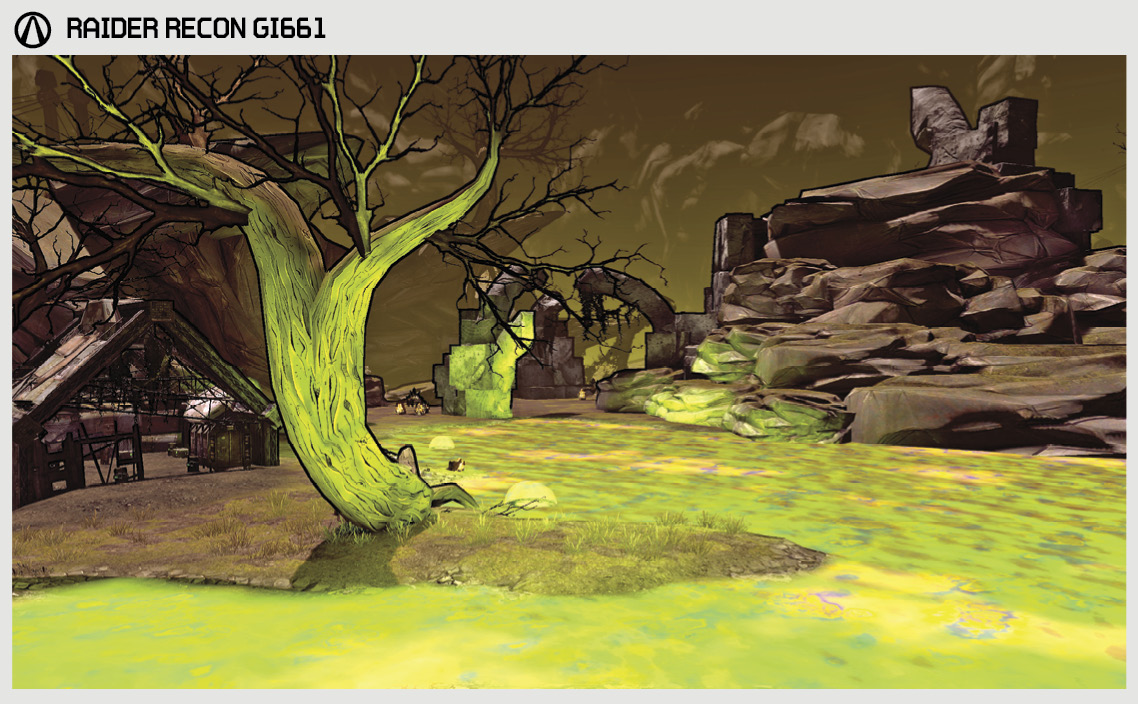
As the D.S.S. Sanctuary was originally an interplanetary mining ship, it makes sense that Sanctuary would be perched atop a mineral-rich cavern. That said, no one could have predicted just how expansive and deadly the area now called Caustic Caverns would be. If you’re not avoiding tetanus from the rusted Dahl mining equipment everywhere, you’ll still have to avoid Varkids, Threshers, Spiderants, Crystalisks, and enormous pools of acid. If you can brave the caverns, however, ECHO-sound readings suggest that you’ll find quite a bit of loot lying around—not to mention what some are calling Pandora’s greatest mining secret…
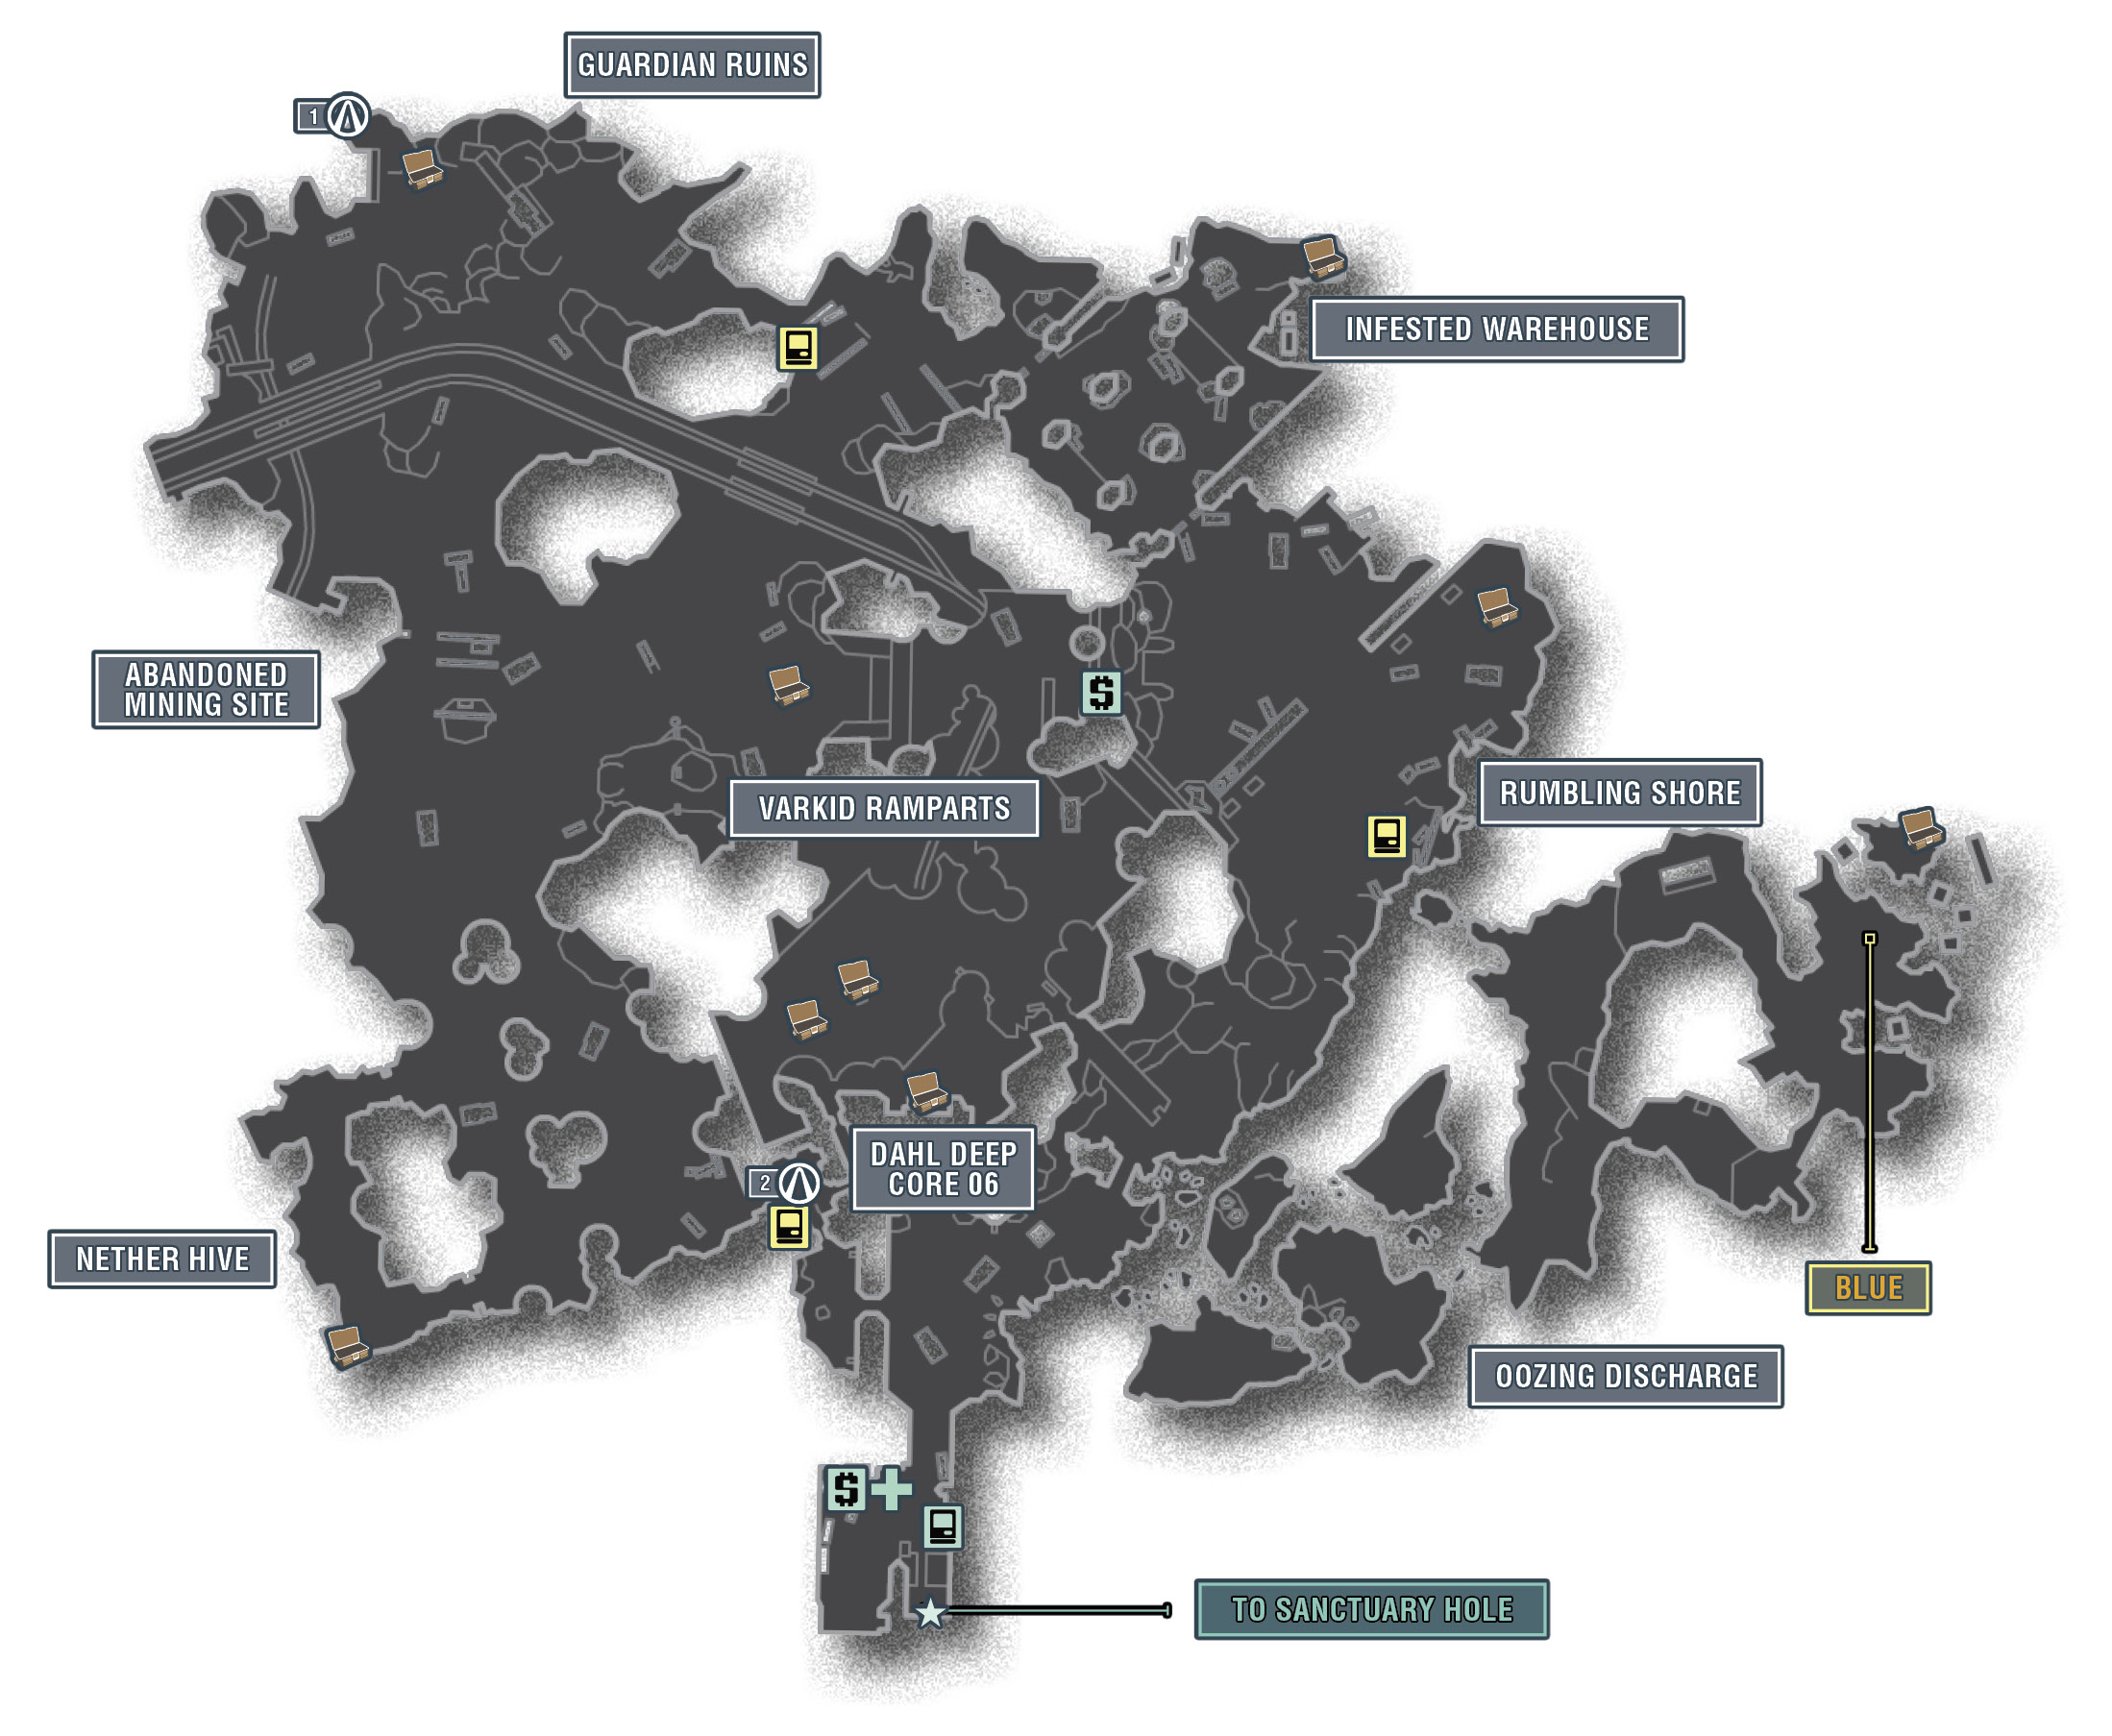
The Districts of Caustic Caverns
| Locale | Limited Access? | First Visit |
|---|---|---|
|
Oozing Discharge |
No |
“Safe and Sound” optional mission. |
|
Rumbling Shore |
No |
“Safe and Sound” optional mission. |
|
Infested Warehouse |
No |
“Perfectly Peaceful” optional mission. |
|
Guardian Ruins |
No |
“Perfectly Peaceful” optional mission. |
|
Abandoned Mining Site |
No |
“Minecart Mischief” optional mission. |
|
Nether Hive |
No |
“Perfectly Peaceful” optional mission. |
|
Dahl Deep Core 06 |
Yes |
“Minecart Mischief” optional mission. |
|
Varkid Ramparts |
Yes |
“The Lost Treasure” optional mission. |
Dangerous Beasts
| Enemy Family |
|---|
High Value Targets
| Enemy | Family |
|---|---|
|
— |
— |
 Cult of the Vault
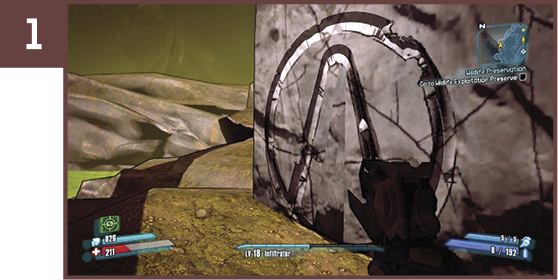
The first and easiest to spot of the two Cult of the Vault symbols is located on the side of a large rock in the northwest corner of Caustic Caverns. It’s along the northern edge of the Guardian Ruins portion of the map.
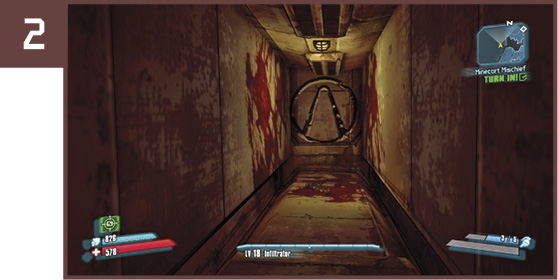
Complete the “Minecart Mischief” mission to access Dahl Deep Core 06, and climb the ladder toward the exit. Turn around and leap back down the vertical shaft toward the hidden corridor opposite the ladder to find this well-hidden Cult of the Vault symbol.
Ever Blow Bubbles
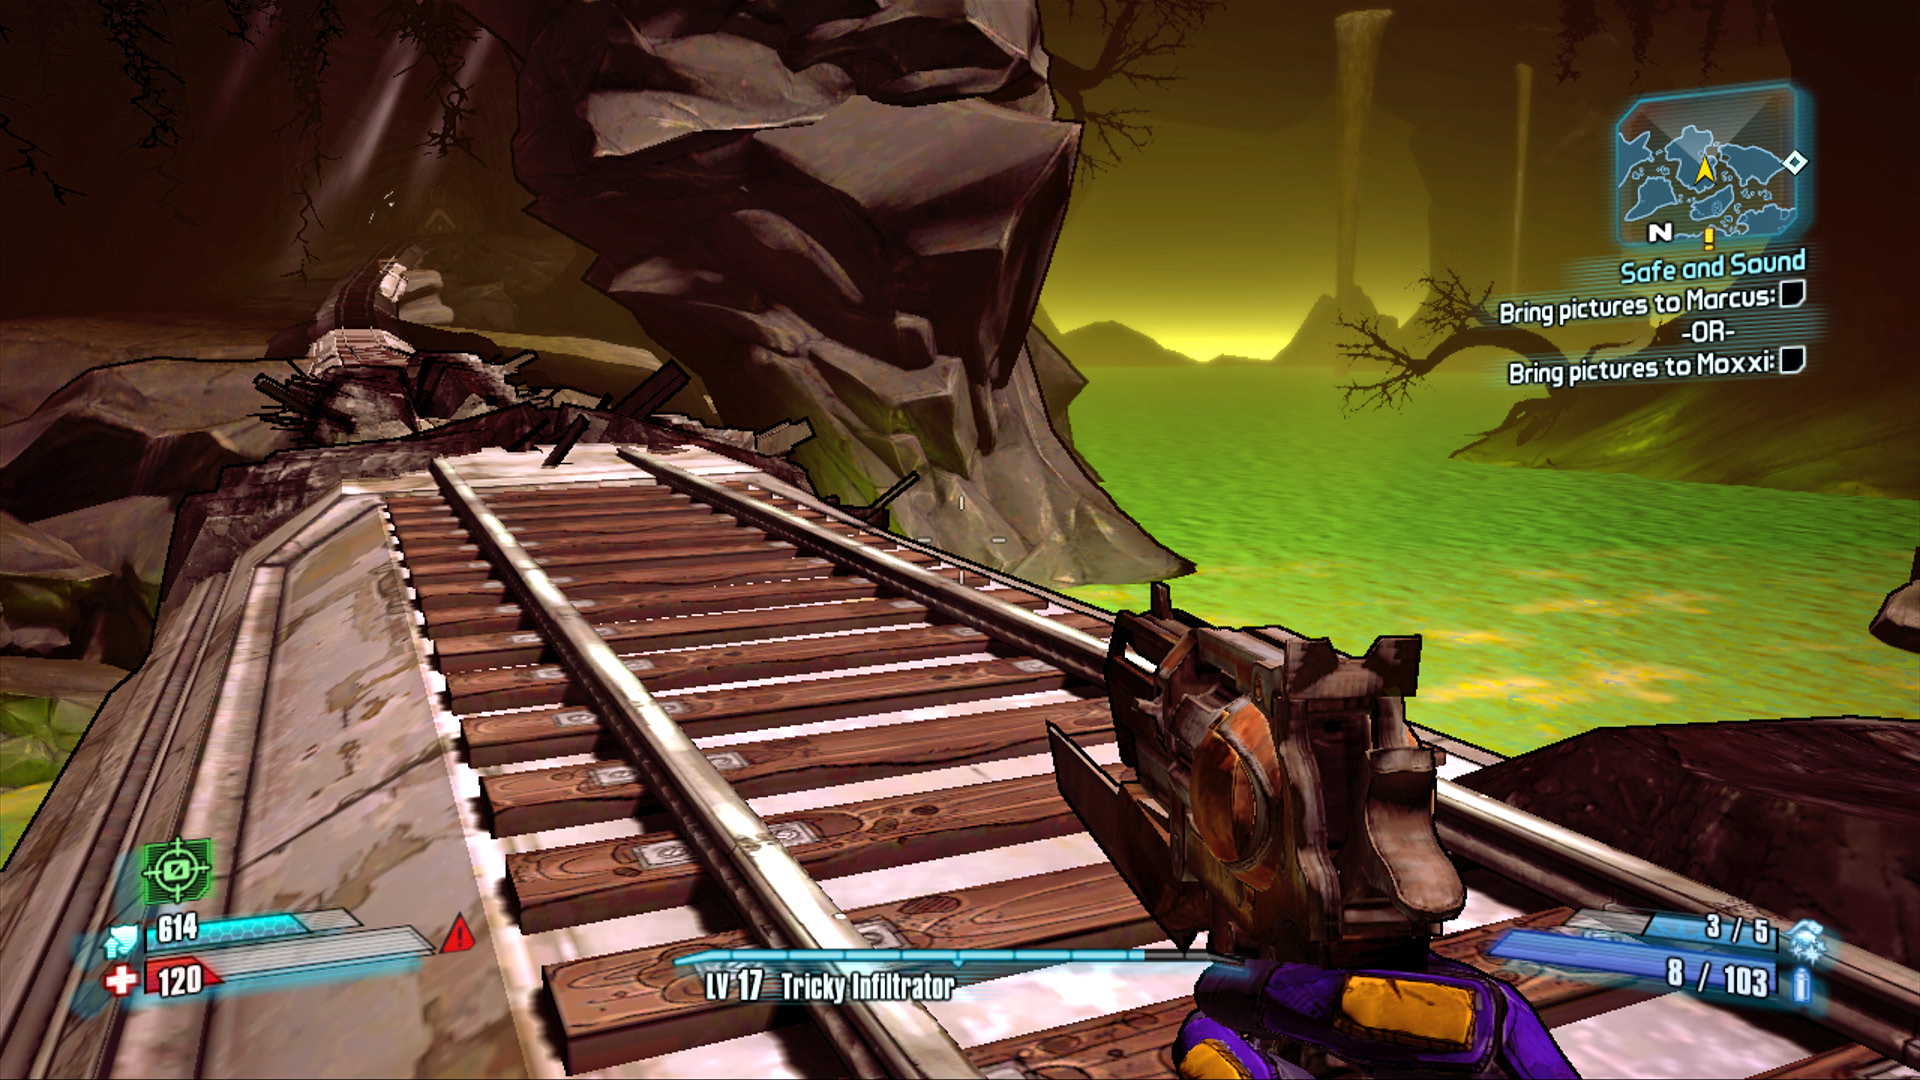
This Challenge rewards those who dare to find out what happens when you step into one of the toxic bubbles as it’s about to burst in Oozing Discharge. Step into the bubble and jump into the air just as the bubble begins to pop to be flown high—very high—into the air. Perform this feat and land atop the elevated train tracks to gain access to a hidden chest and earn increased Badass Rank for completing this Challenge.
Can’t Feel a Thing
This is one of the most difficult Challenges in all of Pandora, as it requires you to stand in the corrosive effluent surrounding the Oozing Discharge area for 30 seconds without falling into Fight For Your Life. The amount of damage the corrosive fluid does to your shield is proportional to your level, so simply trying it at a higher level doesn’t help. Shields that protect from corrosive attacks won’t help you, either, as they only work against direct attacks, not environmental hazards. Though it may be possible to complete this Challenge alone as Salvador with some timely Gunzerking and a selection of skills designed to keep him in Gunzerking mode, this is really better attempted with friends. Join up with a player built for party healing—Maya preferably—and have that other player help keep you alive by shooting health at you to offset the damage you take from the toxic ooze. This is just the type of Challenge that rewards those who cooperate in an unselfish manner. Remember to pay it forward.
Wildlife Exploitation Preserve
Handsome Jack founded the Wildlife Exploitation Preserve to research the many uses of Eridium on Pandora’s wildlife. Since then, the preserve has filled the air with the never-ending screams of Stalkers, Skags, and Rakk. Whether the research has yielded any scientific breakthroughs or has merely satisfied Jack’s sadistic tendencies remains unknown, as even the employees and scientists tend to end up on the wrong end of an Eridium injection. As a man of “science,” it makes sense that Jack would spend boatloads on this morally-deficient research facility—and it shows. The park has numerous outdoor and indoor creature enclosures, multiple laboratories and observation platforms, and even an expansive loading dock where the caged creatures are loaded and unloaded by an automatic crane. The one thing Jack didn’t count on us spying on him from the nearby mountain.
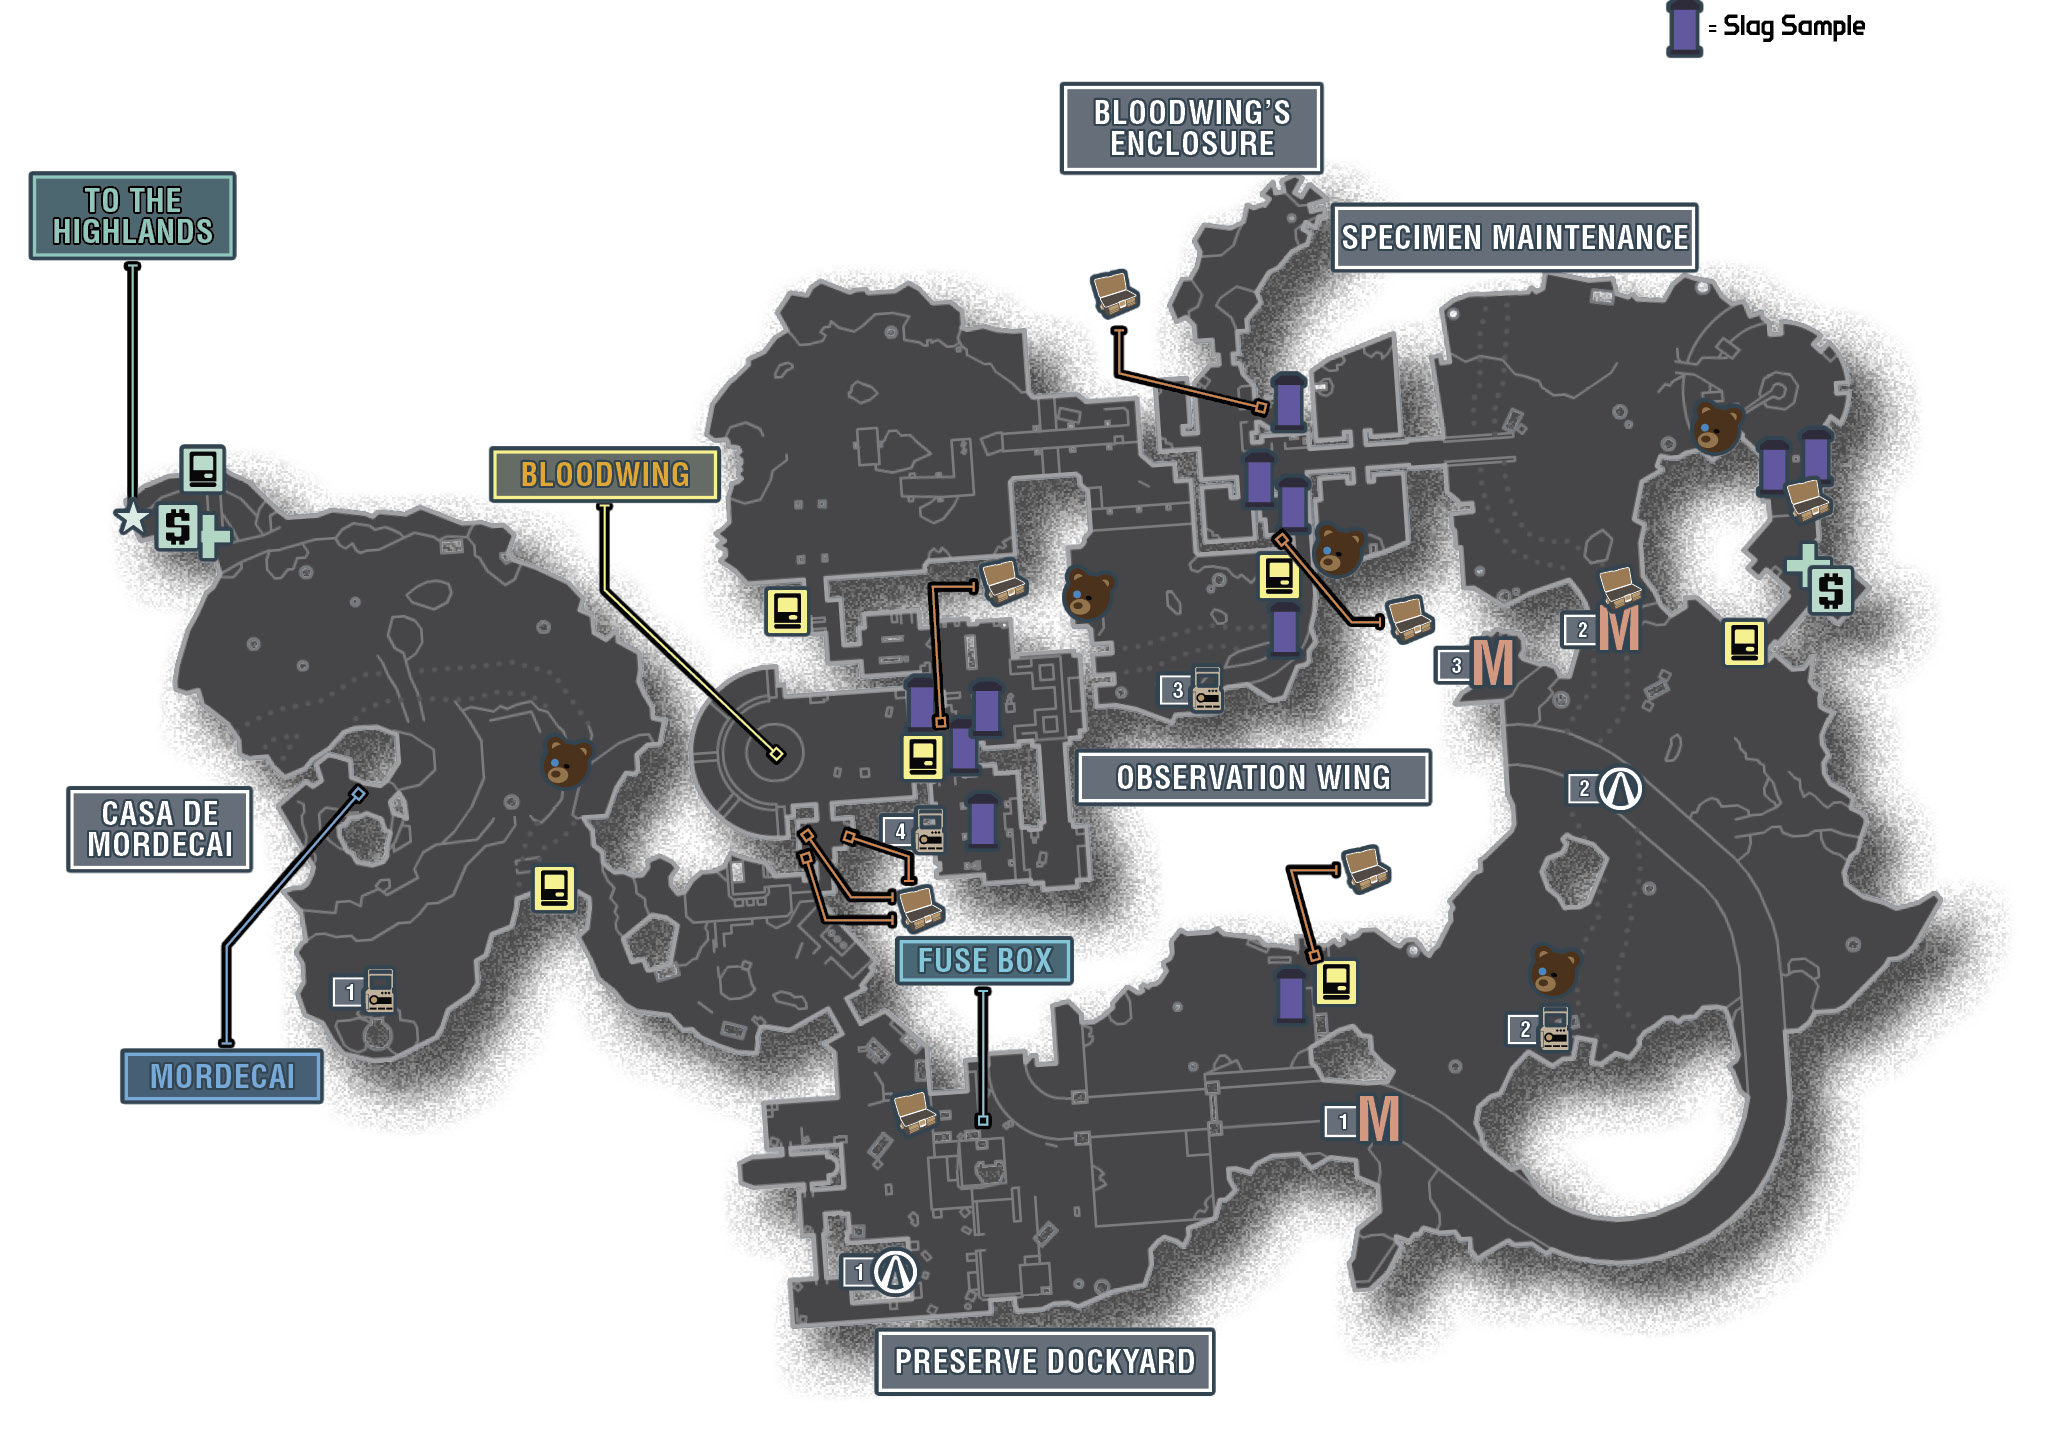
The Districts of Wildlife Exploitation Preserve
| Locale | Limited Access? | First Visit |
|---|---|---|
|
Casa de Mordecai |
No |
“Wildlife Preserve” story mission. |
|
Preserve Dockyard |
Yes |
“Wildlife Preserve” story mission. |
|
Specimen Maintenance |
Yes |
“Wildlife Preserve” story mission. |
|
Bloodwing Enclosure |
Yes |
“Wildlife Preserve” story mission. |
|
Observation Wing |
Yes |
“Wildlife Preserve” story mission. |
Dangerous Beasts
High Value Targets
| Enemy | Family |
|---|---|
|
Pimon |
Stalker |
|
Tumbaa |
Skag |
|
Son of Mothrakk |
 Cult of the Vault
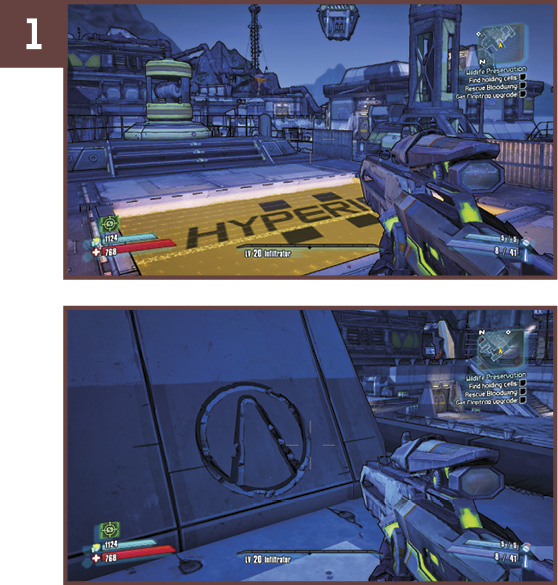
The only way to reach this Cult of the Vault symbol is to ride the crane across the Preserve Dockyard and leap off onto the building on the south end of the dock. Stand near the orange Hyperion forcefield where the crane picks up its container—be careful not to get crushed by the crane’s claw—and jump onto the container as it rises up out of the electronic membrane. Maintain your balance atop the container, then leap off onto the building’s roof to find the symbol.
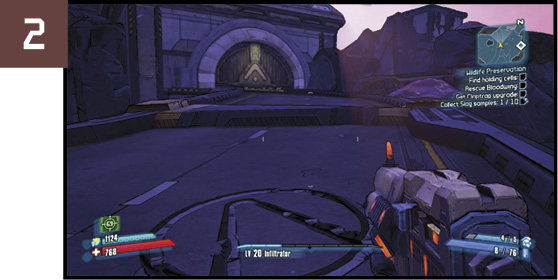
Make your way across the large outdoor creature enclosure in the southeast corner of the facility and use the rocks and hill to reach the elevated road surface. The Cult of the Vault symbol is on this road, above the creek.
 Siren Song
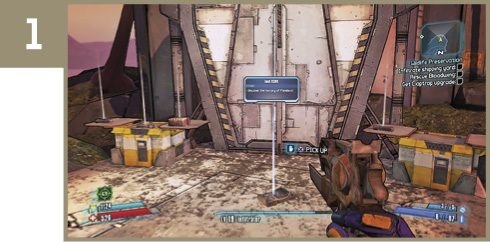
This ECHO Recorder is located on the steps in front of the lighthouse, due south of Casa de Mordecai. Don’t miss it in your rush toward the Preserve Dockyard.
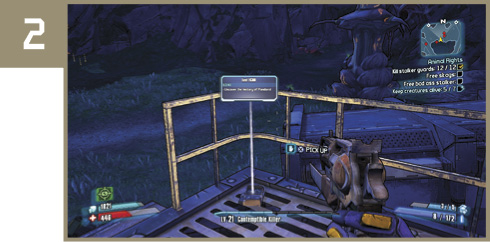
This easy-to-miss ECHO Recorder is on the steps of an observation tower in the southeast corner of the park, in the area occupied by stalkers and skags.
Exit the Specimen Maintenance area onto a short road that curves to the right. Don’t jump down to fight the stalkers just yet; first, pick up the ECHO Recorder at the end of the left end of the road.
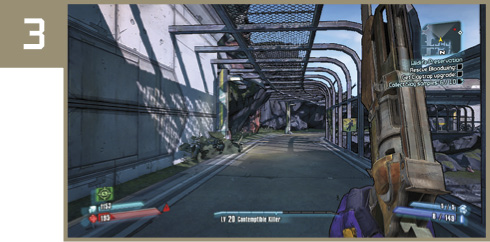
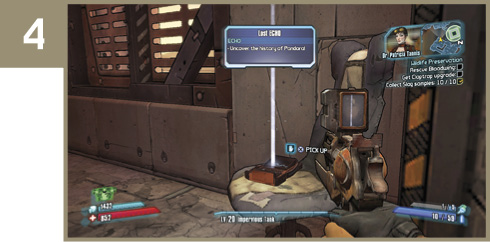
The final ECHO Recorder in this area is on a chair in the southeast corner of the Observation Wing. Clear the area of Engineers and Loaders, and snag it before riding the lift outside.
Mordy’s Secret Stashes
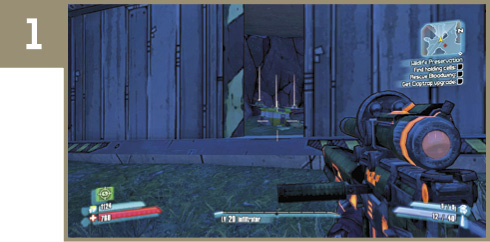
The first stash is located under the bridge in the second area of the outdoor enclosures. Pass through the small observation lab, and drop into the larger enclosure and turn to the right. The stash is located beyond a gap in the foundation of the overpass.
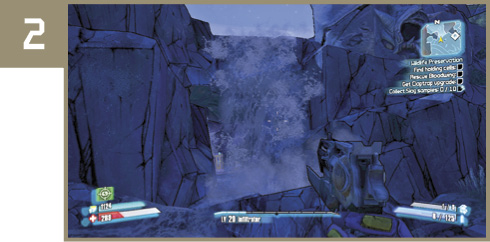
The next stash—and arguably easiest to spot—is inside a cave behind a waterfall in the large outdoor stalker and skag enclosure. Follow the creek upstream to spot the cave beneath the waterfall.
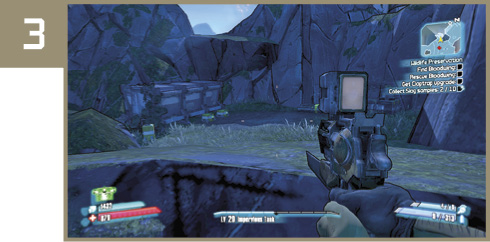
This stash is close by the second one, but on the ledge overlooking the area from the west. Run along the upper road surface, and leap across to the large pink plant. From there, make a running jump for the rocky ledge to the right of the road to find the third of Mordecai’s stashes.
Ride Together, Die Together
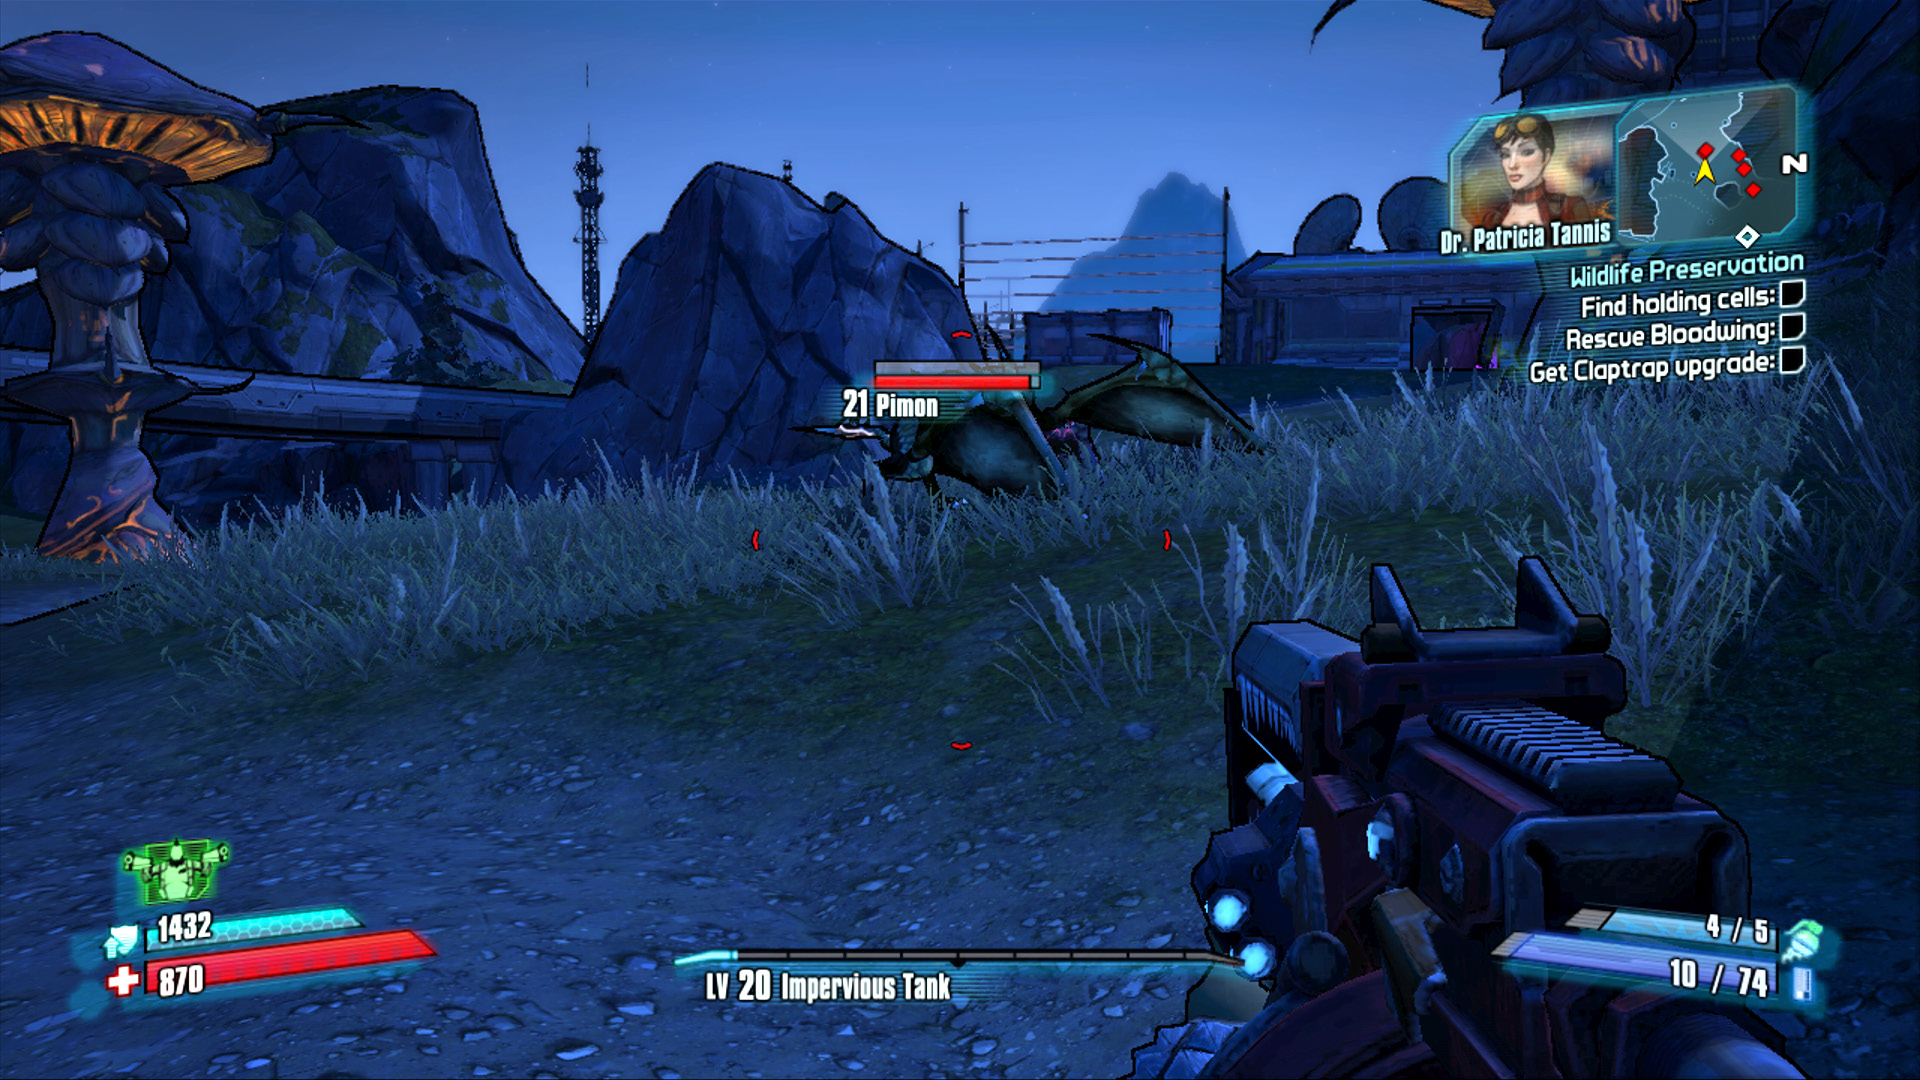
The large exterior enclosure contains a host of two skags and stalkers living in harmony, particularly the two by the name of Pimon, a stalker, and Tumbaa, a skag. As a general rule, stalkers are quite a bit harder to kill than skags, so take on the weaker Tumbaa first. Tumbaa doesn’t have a shield, but is a highly dangerous Spitter Skag with explosive projectiles that pack a punch. Soften him up so that he’s nearly dead, then set to taking out Pimon’s shield. Remove the shield to keep Pimon from cloaking, then finish him off. Turn immediately to the already weakened Tumbaa and set him aflame or use a rocket launcher to complete the Challenge. It’s important to kill Pimon first to keep him from recharging his shields while you inflict fatal damage on Tumbaa.
Bear Minimum
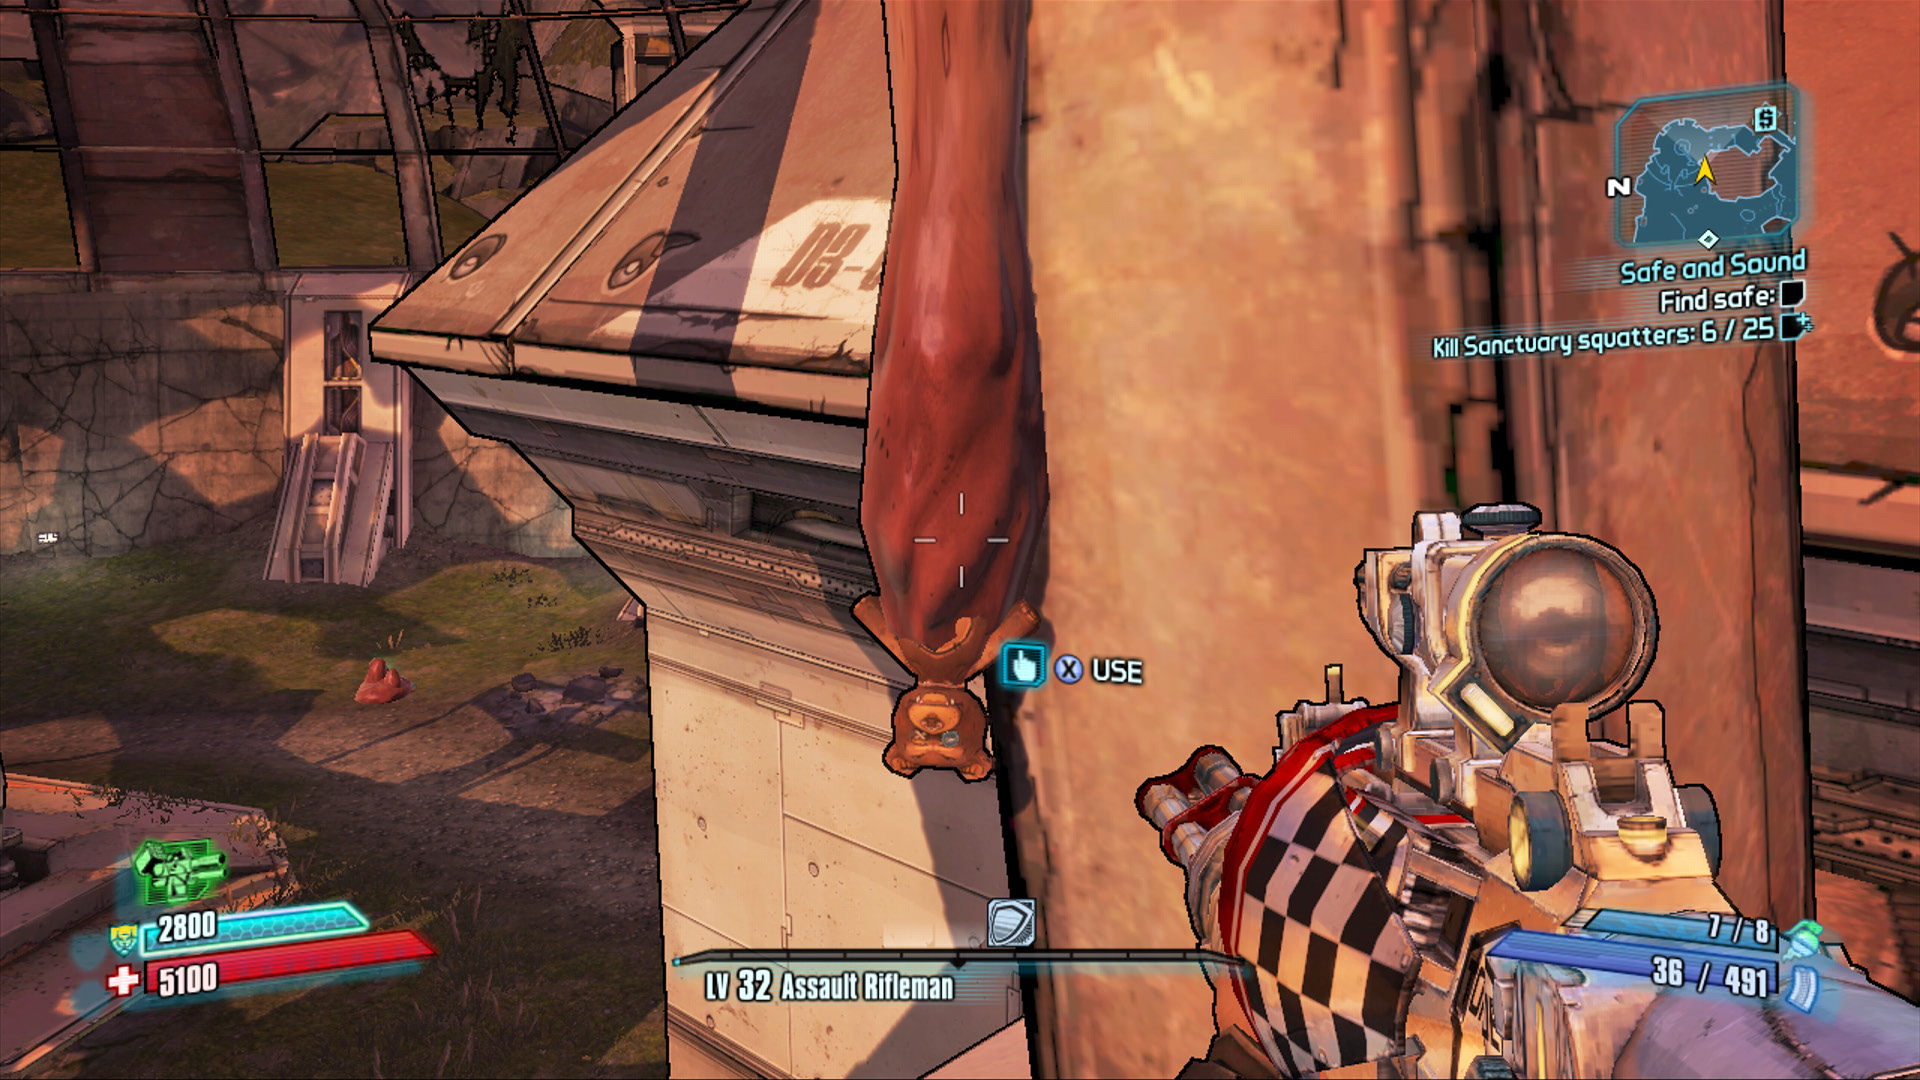
The area contains five pint-sized and very easy to overlook teddy bears stuck within a ribbon of red stalker goo. These bears emit no blue or white beams of light and are stuck in non-destructible slime. They’re not in stalker debris piles, nor are they in the bulbous slime bags that erupt and drop loot when shot. Though you may stumble onto one or two and notice the “use” prompt that flashes on the screen, it’s entirely possible to traverse the area multiple times without noticing them. See our map for locations. Each one looks very similar to the one featured in the adjacent screenshot.