
Borderlands 2 Game of the Year Guide Optional Missions
Assassinate the Assassins
|
 Mission Briefing
| Level | Money | XP | Gear |
|---|---|---|---|
|
8 |
— ($55 per Bonus) |
791 |
Pistol (Green) or SMG (Green) |
Southpaw Steam & Power
Murder Assassin Wot
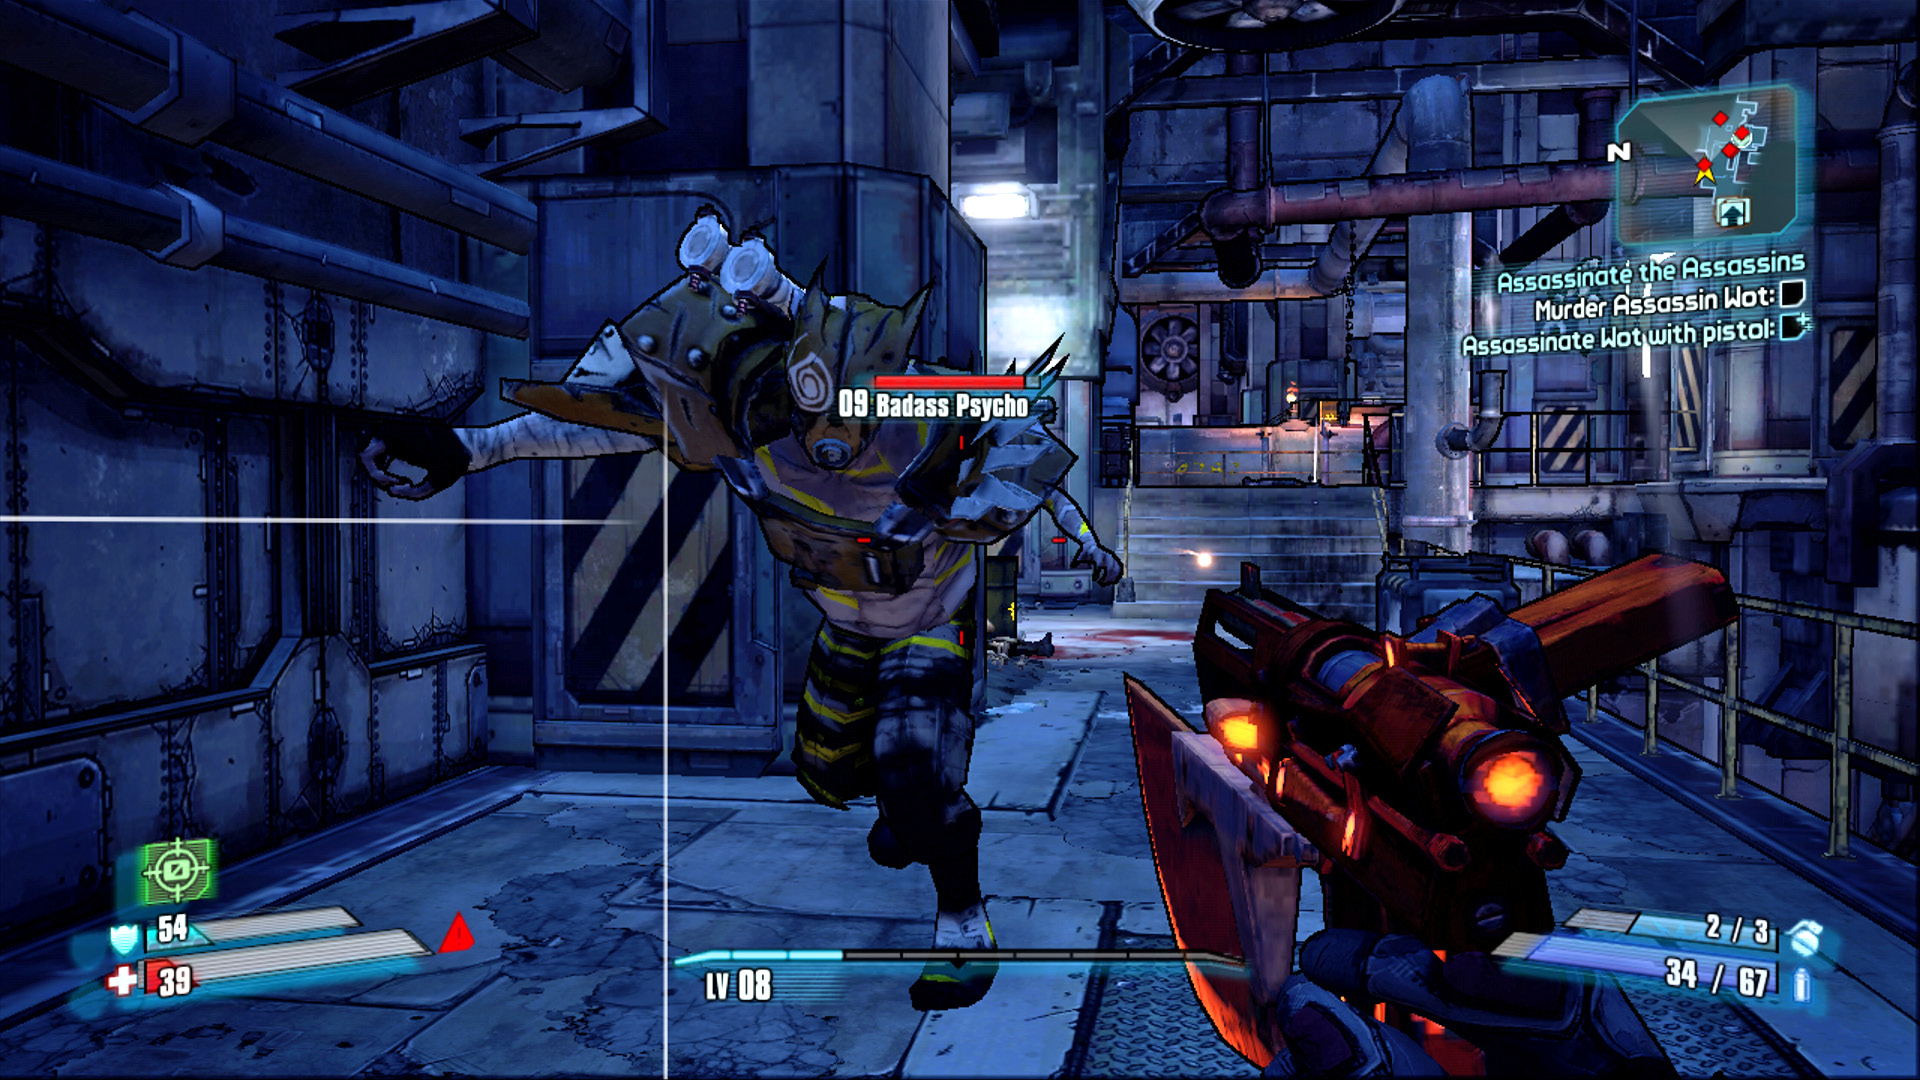
Lure the Badass Psycho back along the balcony toward the exit, far from Wot’s attacks.
Enter the Southpaw Steam & Power facility and load up on ammo at the vending machines inside the entrance. The facility is much larger than it first appears and consists of two levels with several large bottomless chasms that you must be careful to avoid. Though you can explore a bit off the direct path, particularly in the starting area, it’s best to stay on the upper level until you reach the stairs in the northeast corner.
Proceed east alongside the balcony overlooking the enemies below and get to work gunning down the foes straight ahead. The first assassin, Wot, emerges from the rolling door at the south end of this area. Stay away from that door until you’ve slain the other enemies in the area to avoid triggering Wot’s arrival prematurely. An alarm announces the arrival of Wot and the Badass Psycho that serves as his bodyguard. Wot is content to stick close to the door he was hiding behind, allowing you to lure the Badass Psycho away to be dealt with one-on-one. Wot has an impressive shield, an SMG, and is quite agile. Try to lure him out into the open so he can’t hide behind the crates near the door.
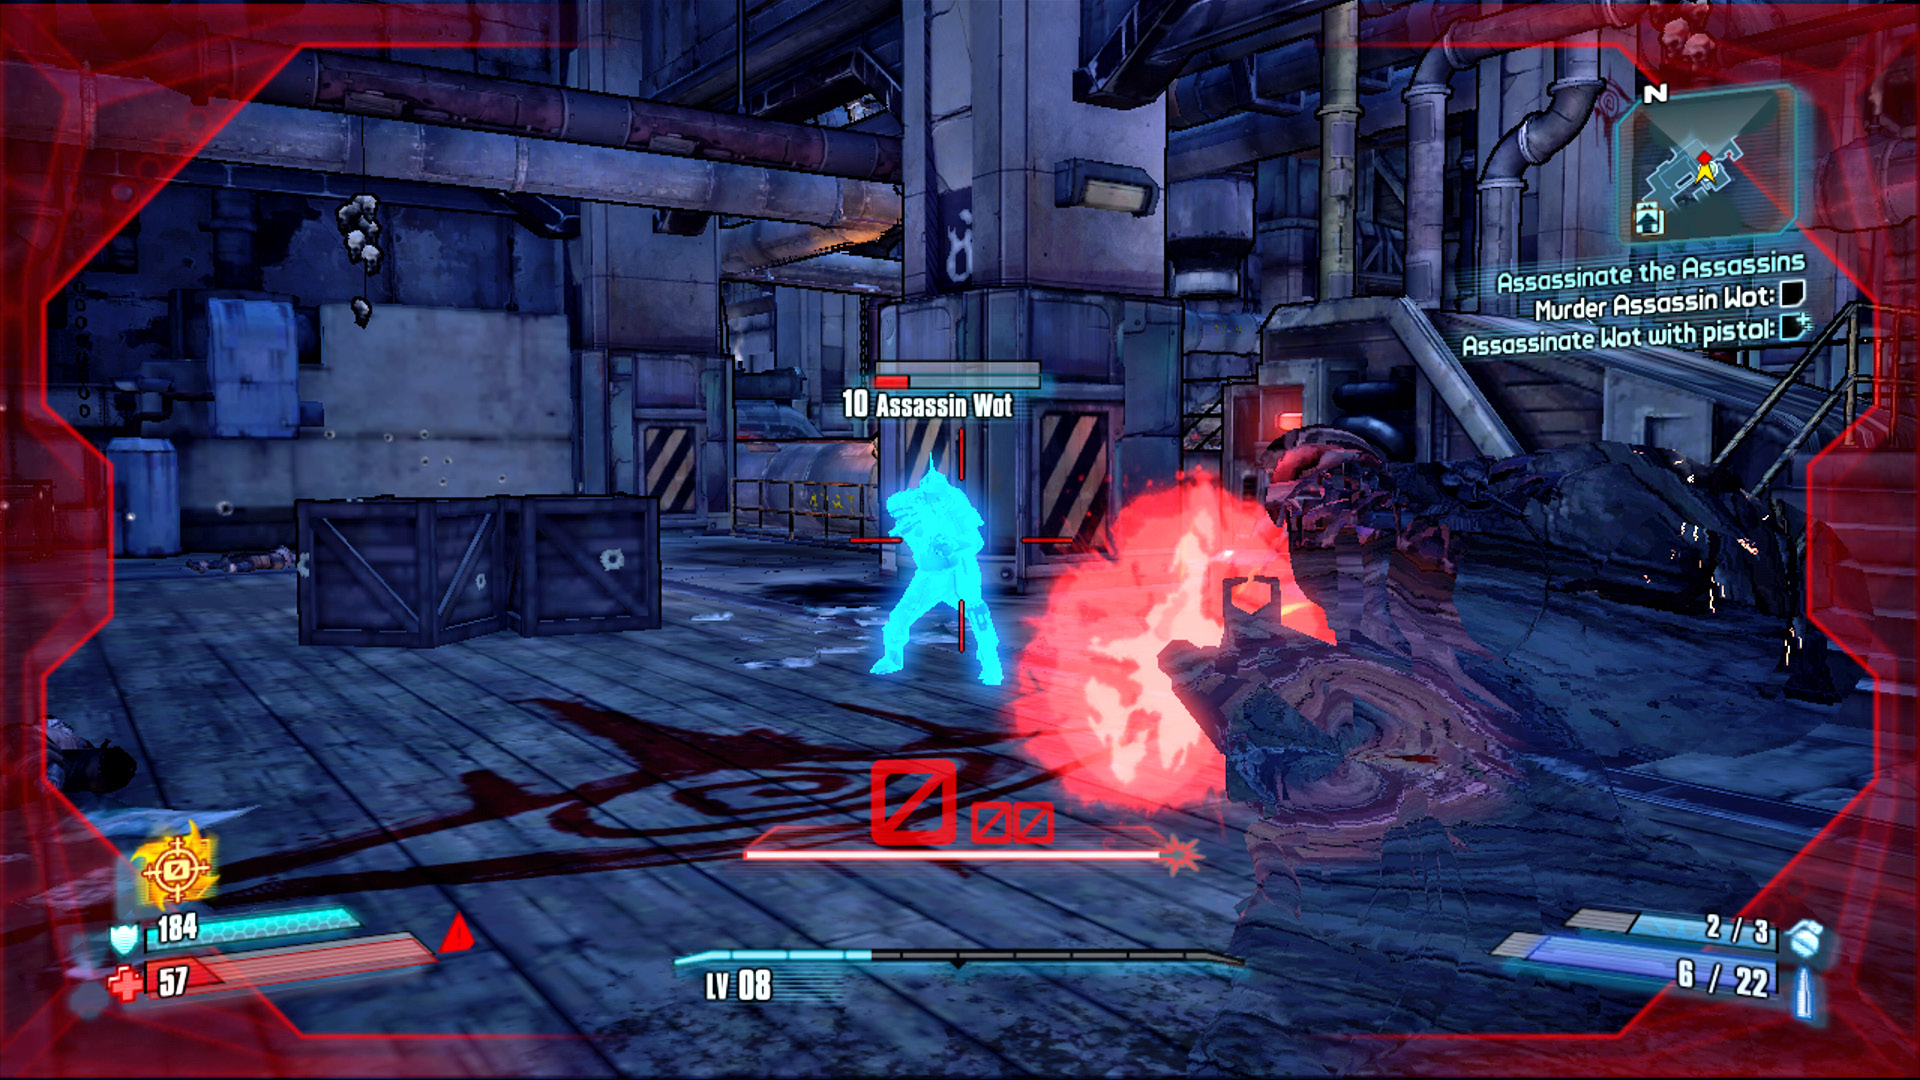
Deception is great for luring Wot out from behind cover.
Waste Assassin Oney
Pick up the Assassins Orders ECHO device to learn the history of the Assassins, and then climb the steps toward the large steam generators. Assassin Oney eventually emerges from the large door to the north, across the bottomless chasm beyond the railing. Note that while there are a couple of lootable containers on the pipes down below, there is no way back up if you decide to leap for them. Once again, the battle with Oney is preceded by an assault from myriad Suicide Psychos, Nomads, Burning Psychos, and Crazed Marauders. Stick to the southern, slightly elevated platform to funnel the enemies up the narrow steps. It’s also possible to run and leap from the railing alongside the generator to reach the pipe near the Cult of the Vault symbol. This doesn’t offer any cover from gunfire or throwing axes, but it does provide you with a great angle of attack to shoot down foes on the lower level.
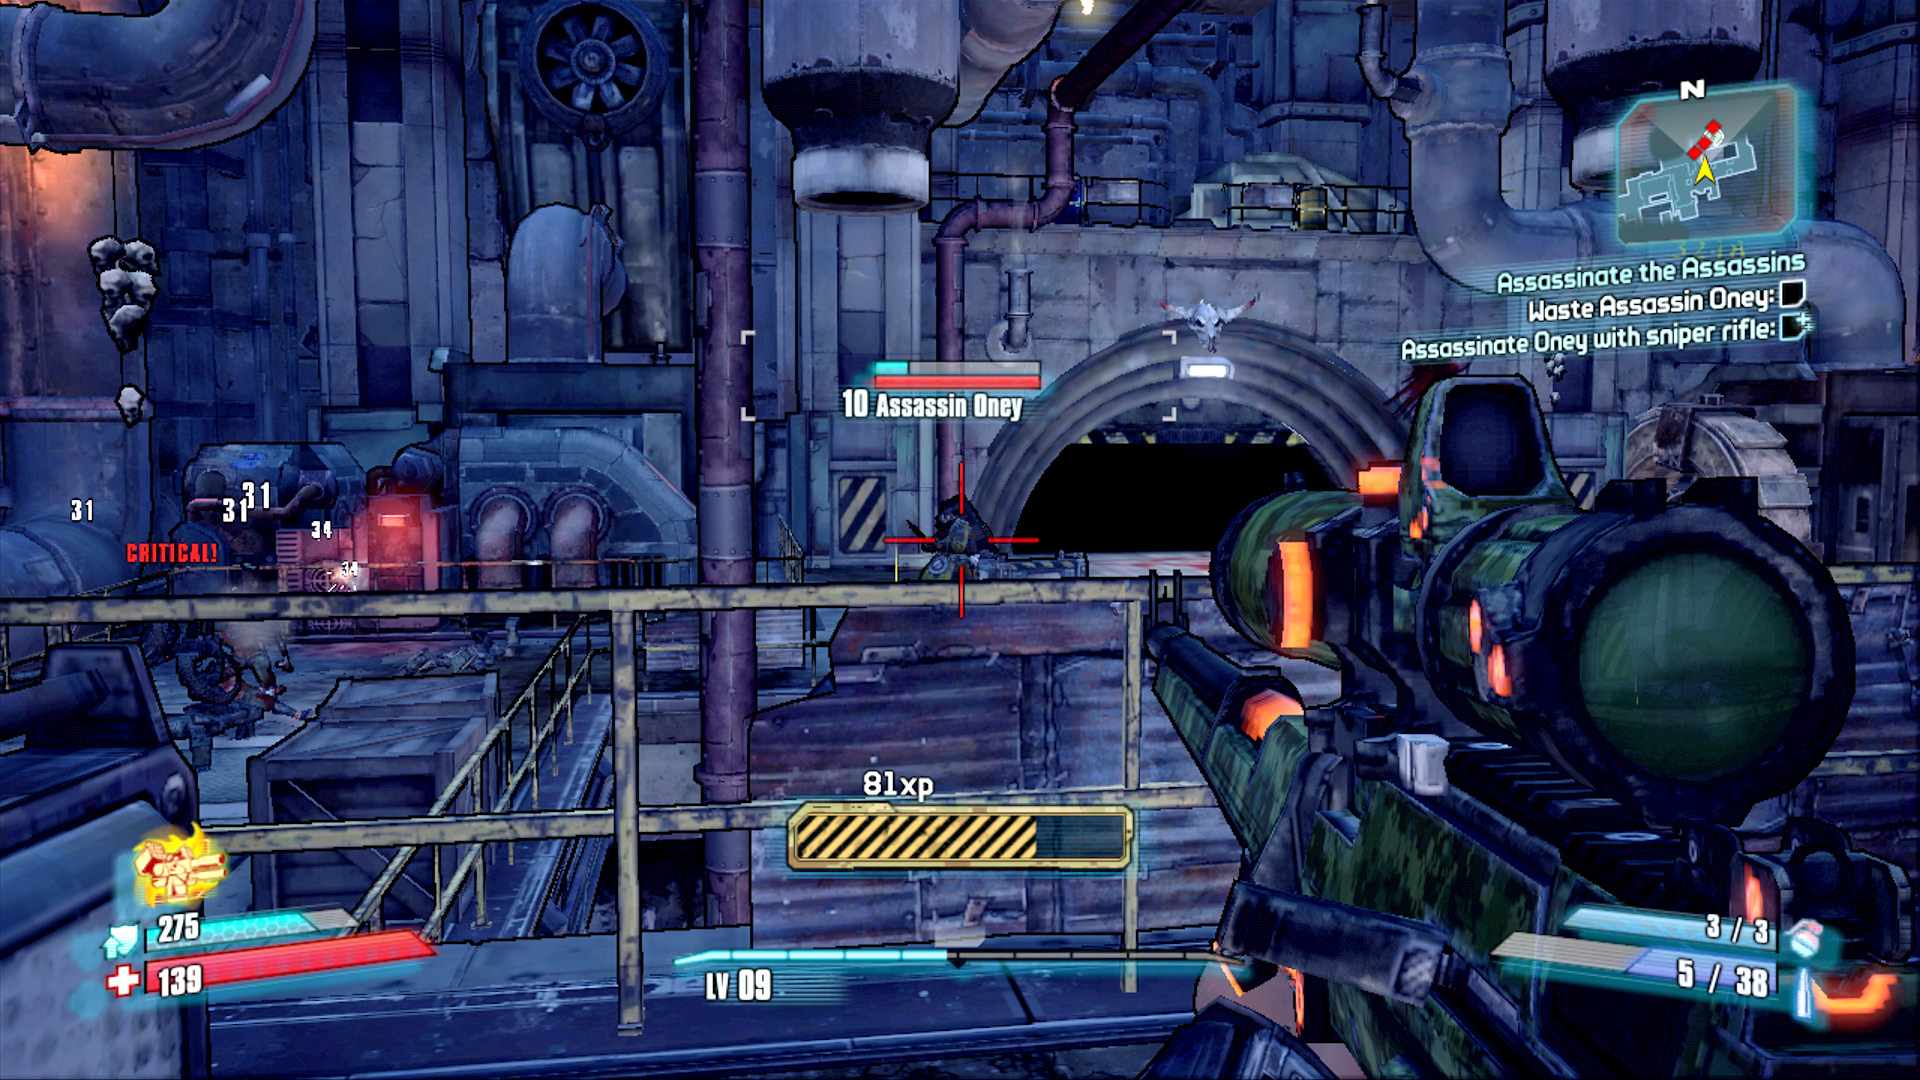
Keep the pit between yourself and Assassin Oney at all times to maximize your chances of survival.
Assassin Oney reveals himself alongside a duo of Suicide Psychos. Quickly lob a grenade or put your Action Skill to use to eliminate the Suicide Psychos, then focus on Assassin Oney. He is akin to a Badass Nomad, complete with a shield that he often tries to hide behind. He’s equipped with a high-powered shotgun, which makes all the more reason to go after him with a sniper rifle, per the bonus objective’s requirement. Snipe him from across the pit in the floor. He’ll try to pursue you in one direction or the other. Simply stay out of his range and continue to encircle the pit in an attempt to keep it between you and Assassin Oney at all times.
Kill Assassin Reeth
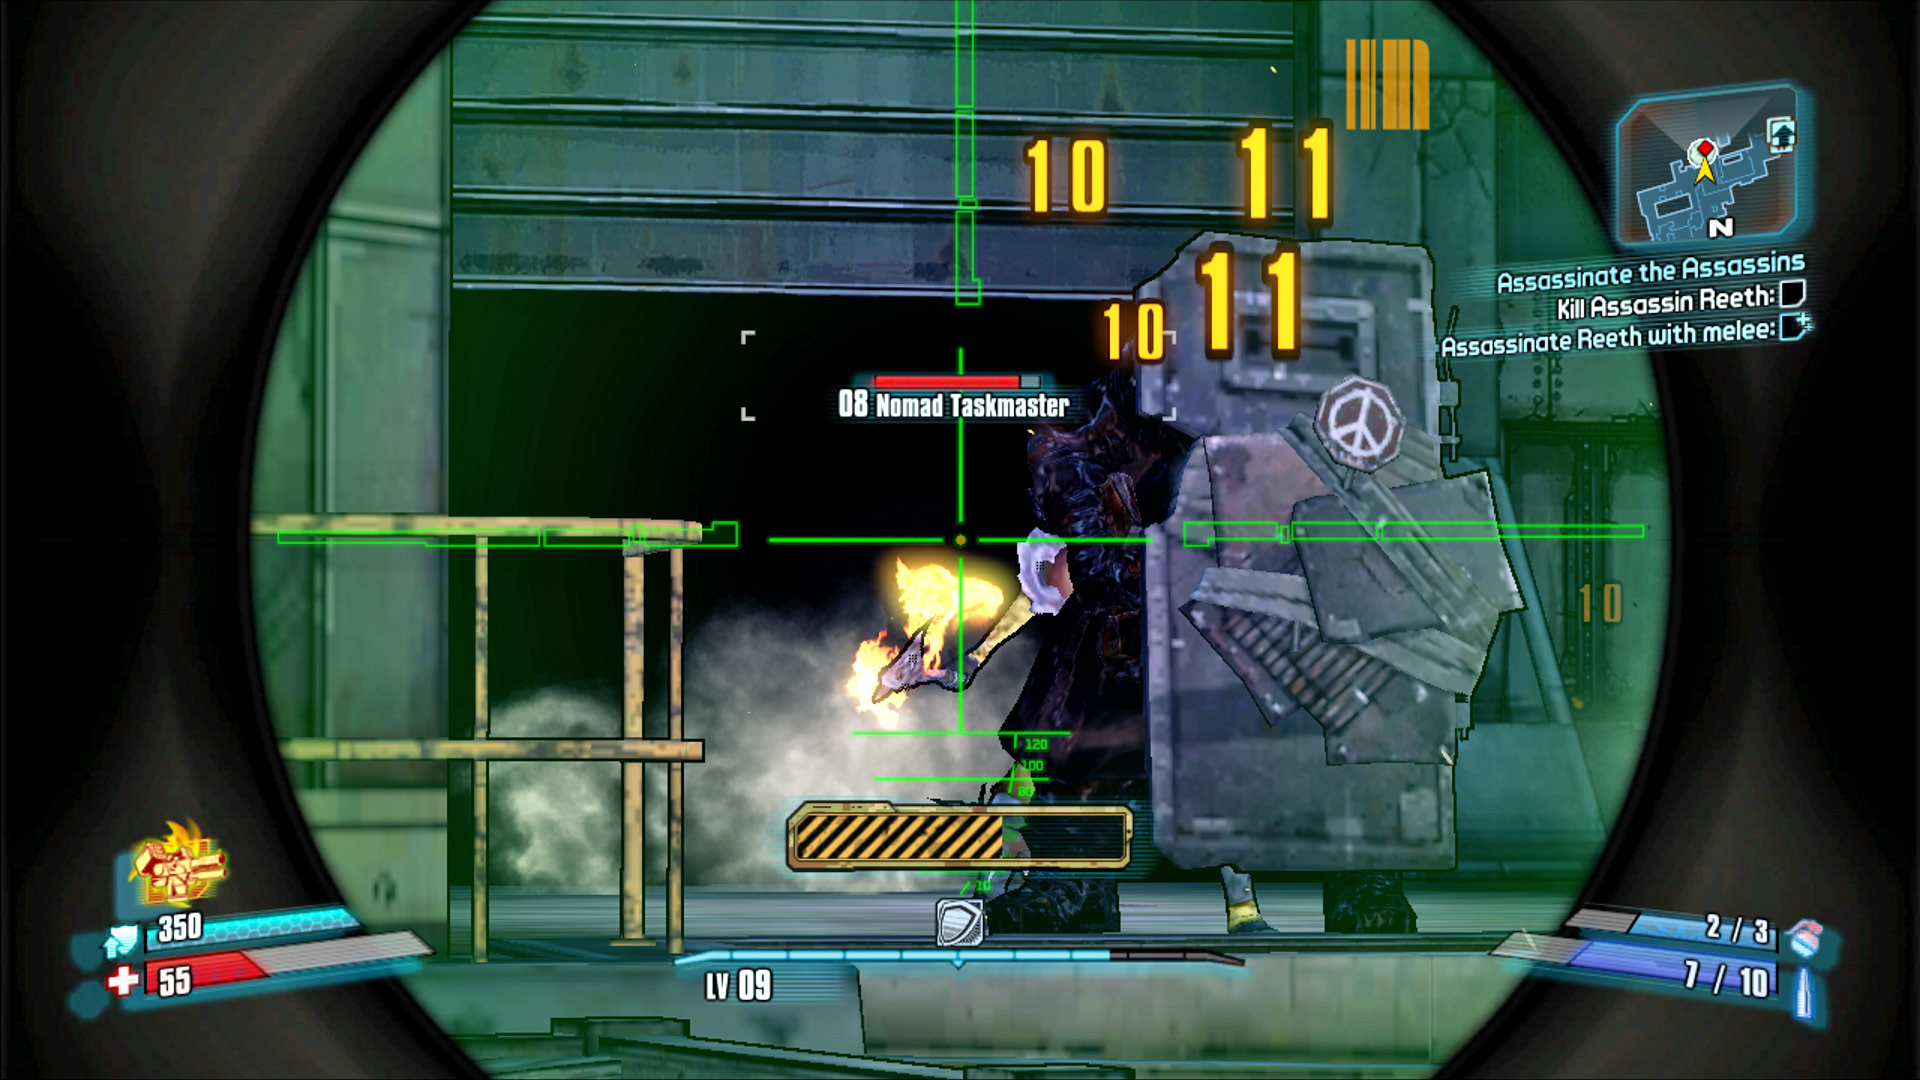
Set the Taskmaster Nomad aflame with a Fire bullet aimed at his exposed arm or feet.
Listen to the ECHO Recorder dropped by Oney, then descend the stairs in the northeast corner to an area containing a few enemies, multiple ammo boxes, and even a weapons chest. Round the corner to the south and fight your way past the Psychos and other enemies as you weave between the various pillars and crates en route to Assassin Reeth. This guy is a Burning Psycho who spends much of his time hiding behind his bodyguard, a Taskmaster Nomad.
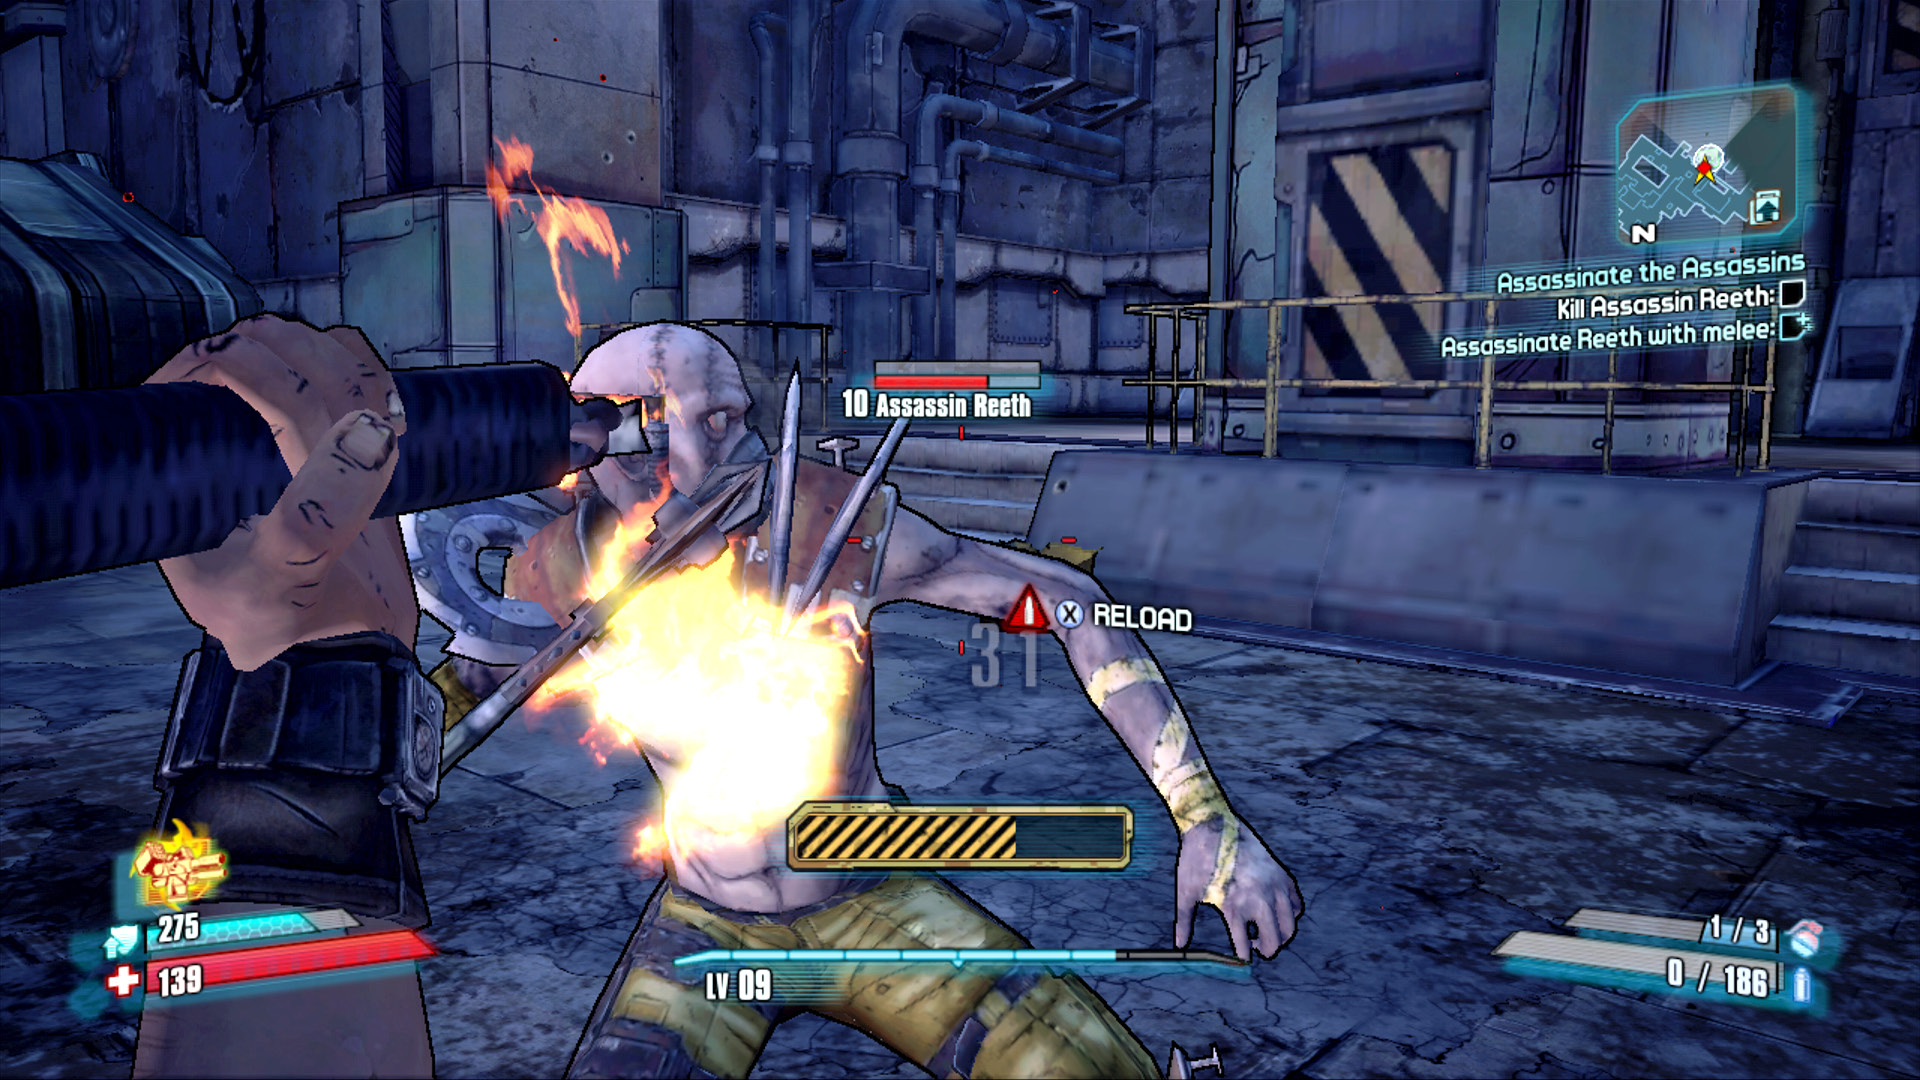
How badly do you want $55? Bad enough to melee a Burning Psycho?
The Taskmaster Nomad has a full-length shield that can stop most gunfire. However, it is possible to snipe through the small slit in the shield. Another option is to deploy grenades or hit the shield straight-on with explosive weaponry. Just keep an eye out for the much speedier Assassin Reeth, who periodically separates from his bodyguard and attacks directly. Assassin Reeth is resistant to Fire attacks, naturally, but he is vulnerable to all other elemental effects. Use your Action Skill to soften him up, or isolate him from the Taskmaster Nomad and then finish him off with a melee attack, provided your shields are up.
MDK Assassin Rouf
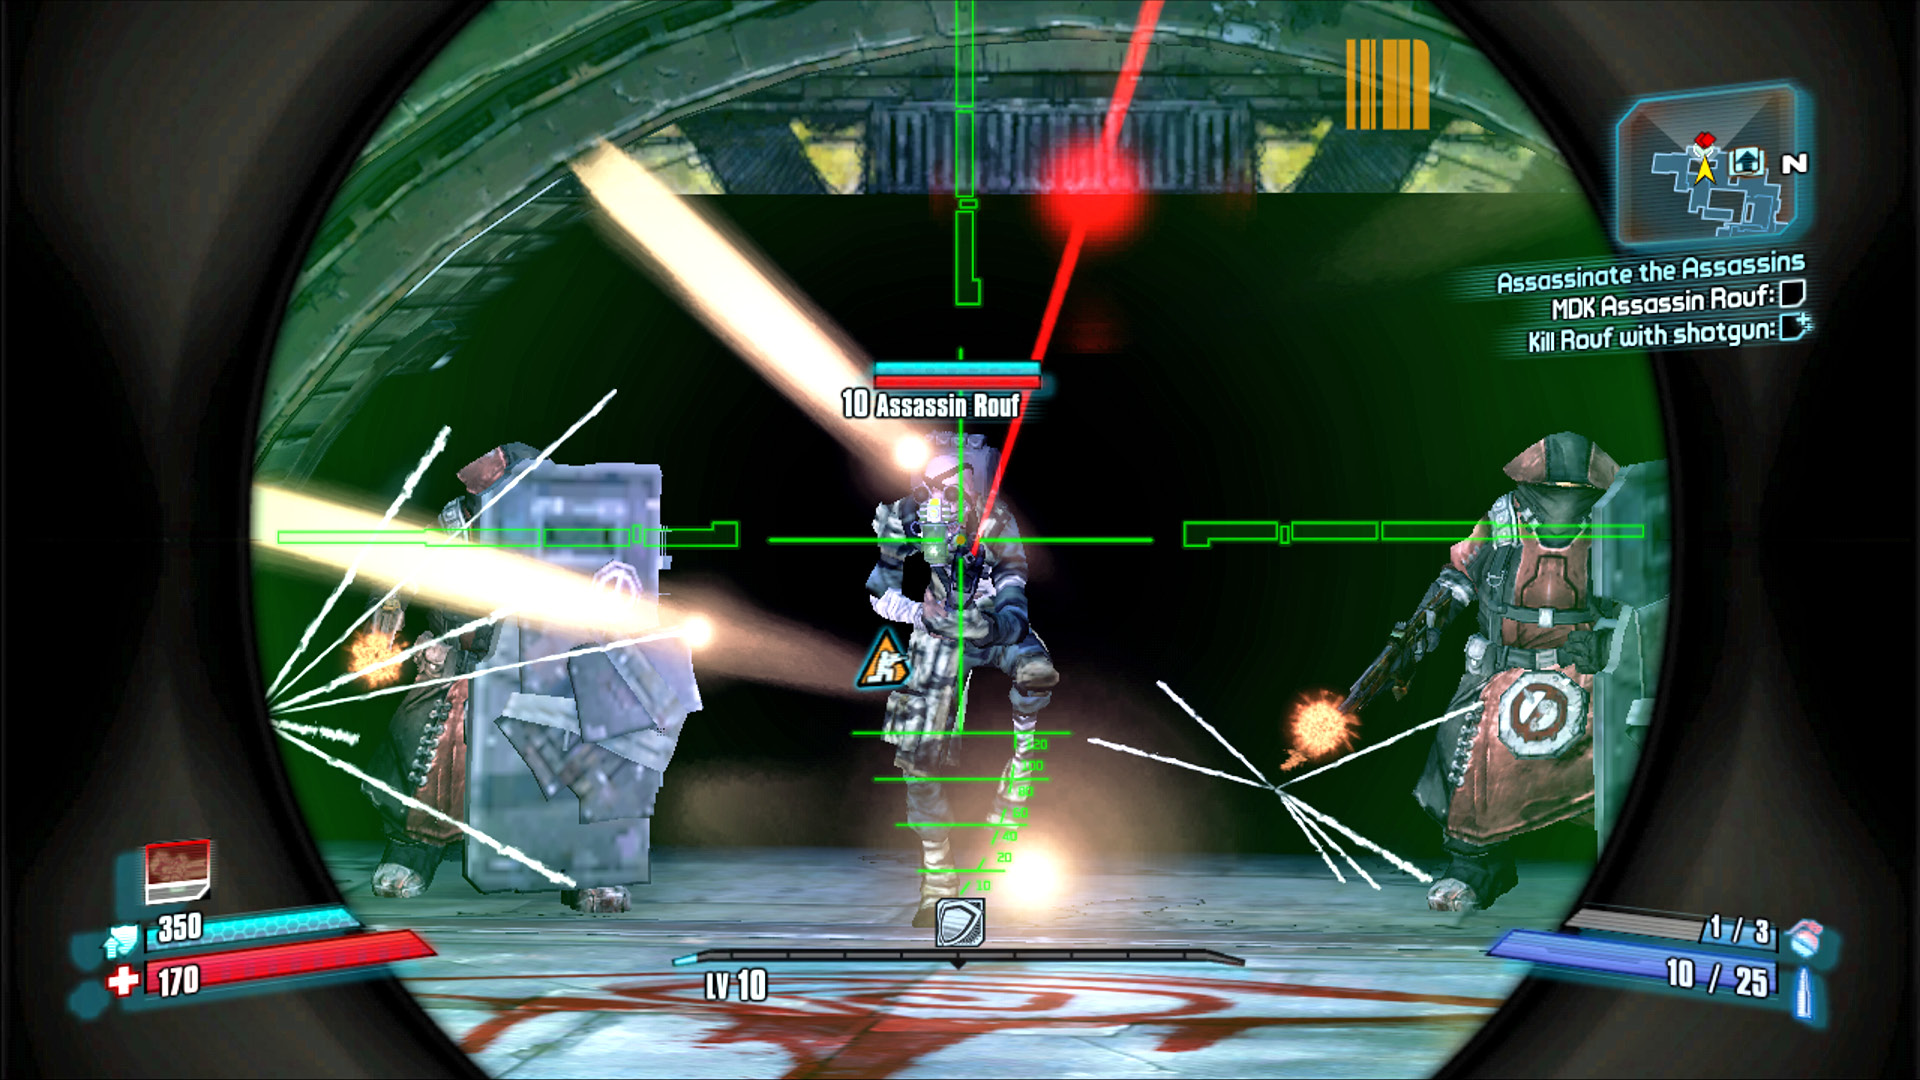
Open fire on Assassin Rouf as soon as he appears, then use the barrels you’ve hopefully left standing to eliminate his bodyguards.
Ascend the stairs in the southwest corner of the lower level after killing Reeth and make your way to the west. Try to leave as many elemental barrels intact for the final assassin fight, as it’s going to be a toughie! Lay waste to the Burning Psychos and numerous other foes that populate this area, and stay clear of the large bay door holding Assassin Rouf and his twin Taskmaster Nomad bodyguards.
Assassin Rouf is a sniper-equipped Tunnel Rat who’s extremely fast and agile. You can often lure him away from his bodyguards, but they are quite capable of using their assault rifles to inflict damage from afar. Move to the north side of the door where they emerge and puncture the Corrosive Barrel as they approach. This technique, combined with a grenade or two, should help to eliminate at least one of the Taskmaster Nomads. Lead Assassin Rouf to the other barrels in the area, particularly any Slag ones you find, and use them to your advantage.
Assassin Rouf is positively lethal with his sniper rifle, so it’s essential that
you either stay on the attack and keep him under duress or that you take cover. Don’t get caught in the open! Pick up the final ECHO Recorder and return to the Sanctuary Bounty Board for your reward.
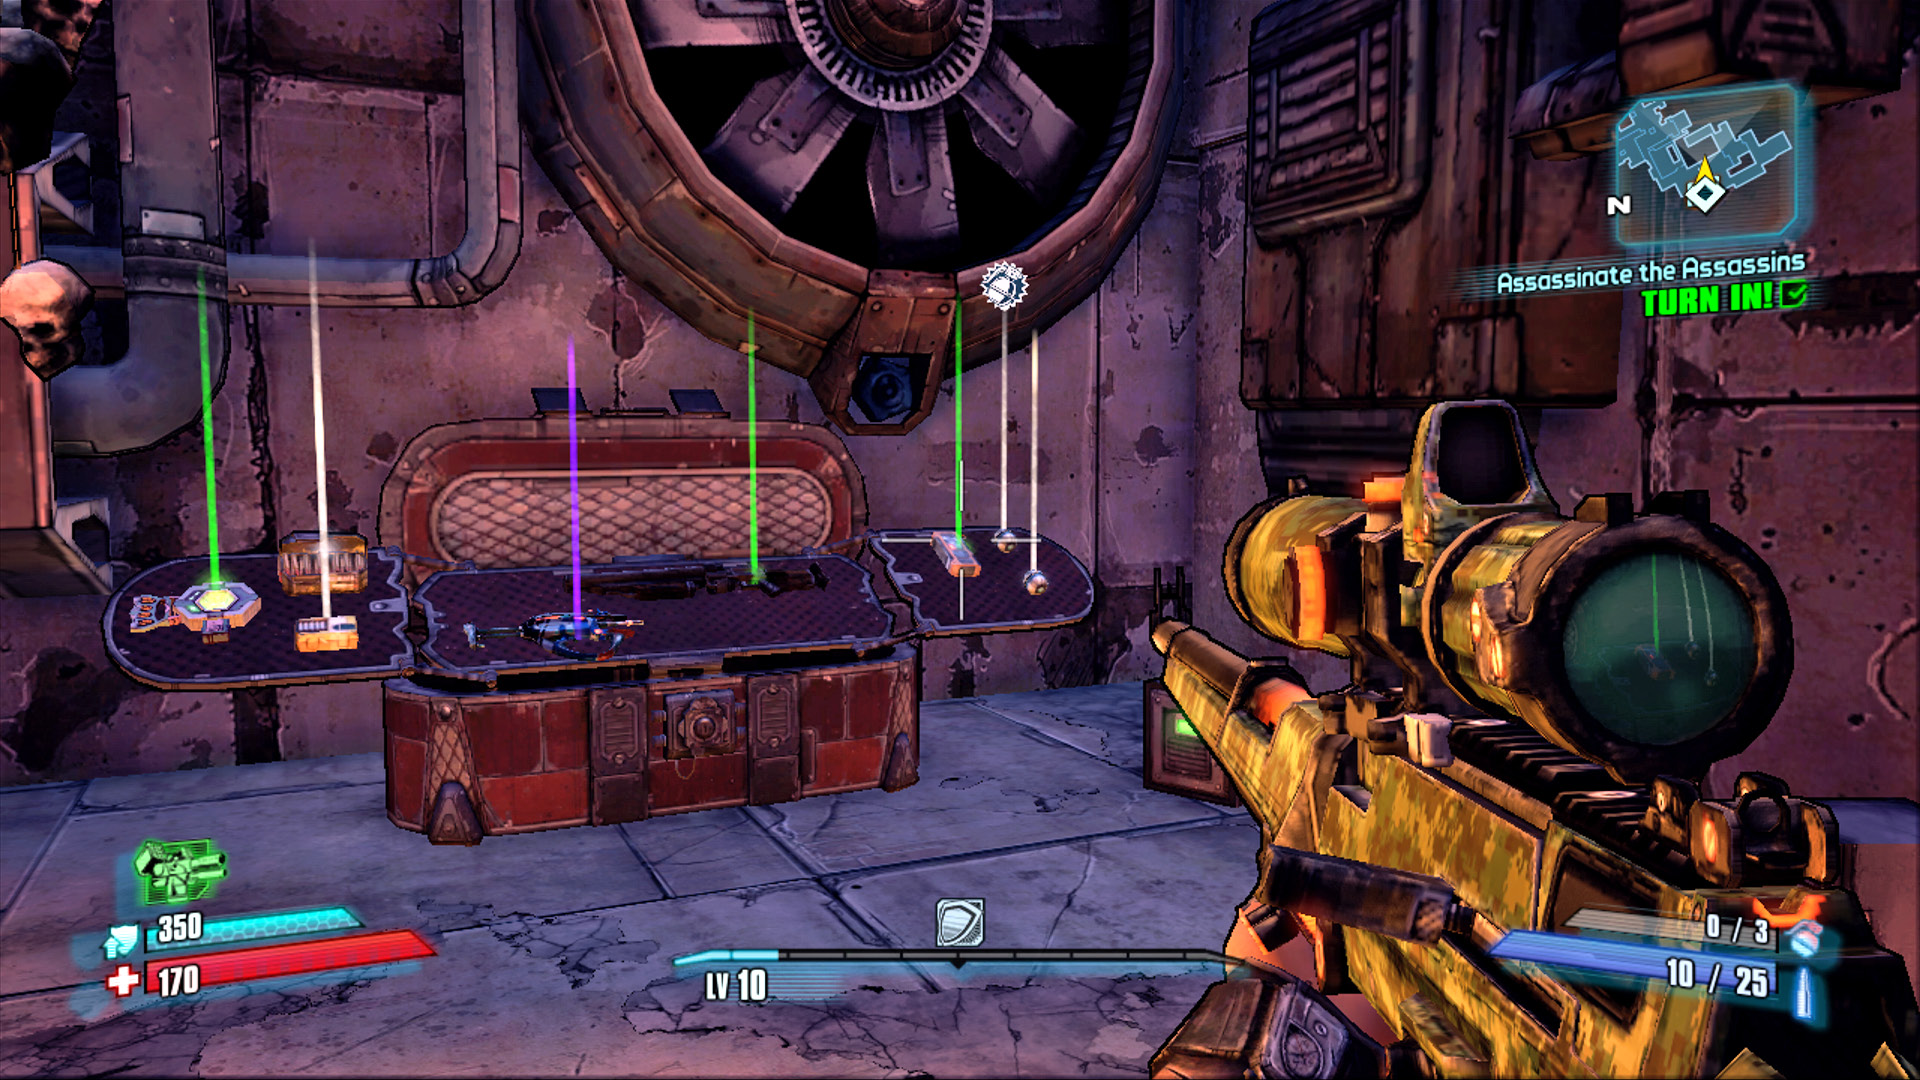
The weapons chest located beyond the gate always contains a purple-quality weapon, typically a Maliwan SMG!
Boss Run
Think you can kill all four Assassins in 10 minutes? This is a great Challenge to aim for on a return visit, perhaps once you’re a few levels above that of the mission or when you have a couple of human allies alongside you. Increase your chances for success by selecting your gear and making all ammo purchases before you enter Southpaw Steam & Power. Since you’ll most likely have completed the mission previously, the bonus objectives won’t be in play. But you should ignore them even if they are active, as such objectives needlessly complicate your race against the clock. The timer begins the moment you enter the facility. Although you can exit and restart the internal timer before killing Wot, you’ll need to wait at least 15 minutes for the enemies to repopulate if you fail the Challenge after having killed any of the assassins.