Borderlands 2 Game of the Year Guide Mr. Torgue's Campaign of Carnage
Battle: The Death Race
|
 Mission Briefing
| Level | Money | XP | Gear |
|---|---|---|---|
|
16 |
5T |
1305 |
— |
*Money and XP may vary based on player’s level at start of mission.
Burning and Churning
The only way to get Motor Momma’s attention is to complete The Death Race time trial. Accept the quest from the Battle Board, then climb into a light runner or technical and drive onto the starting grid. Stay behind the flags until the countdown reaches “Set!”, then start to accelerate. You have 2:30 to complete two laps around the track, passing through each checkpoint as you loop the central crater.
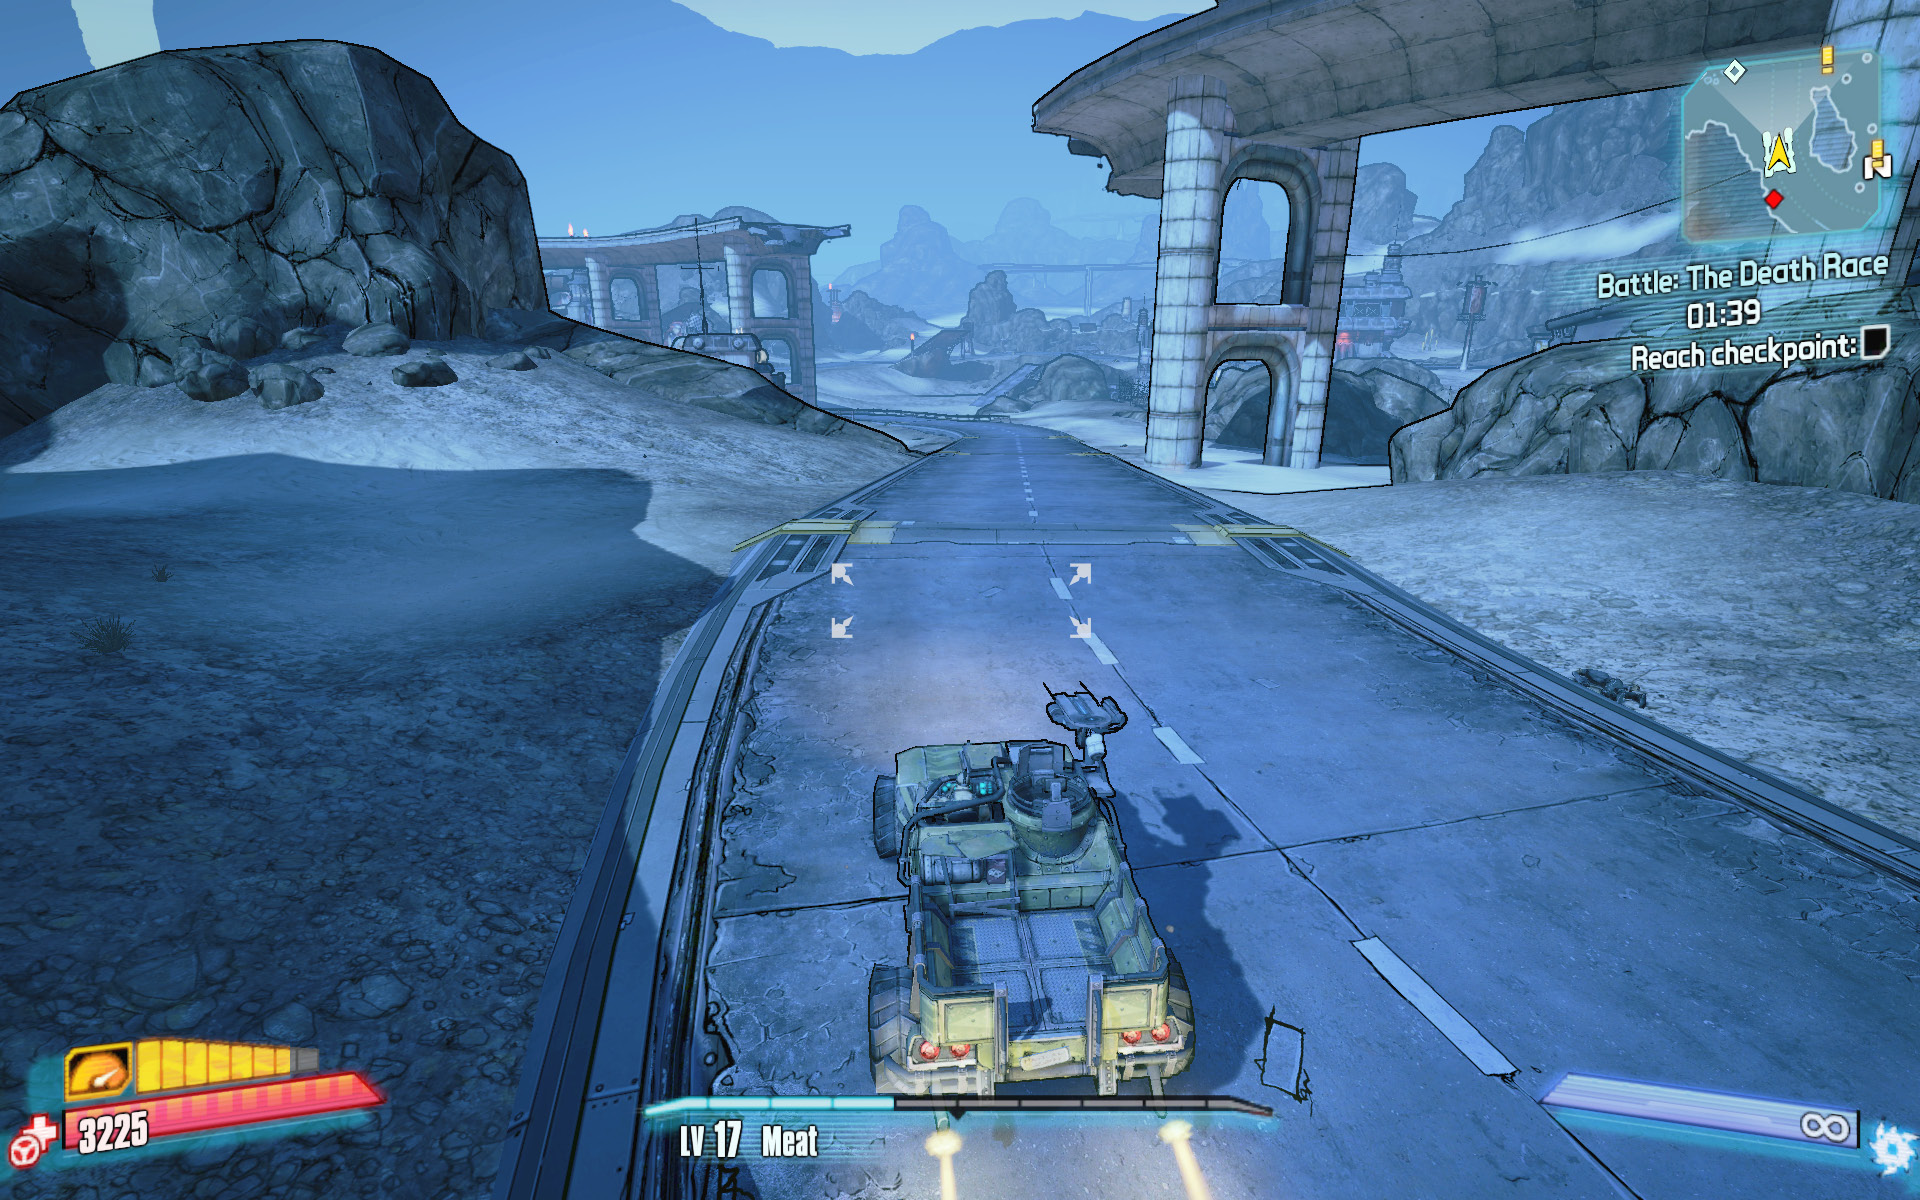
Only use the boost during the straightaways to avoid spinning out in the turns.
There are a number of ways to complete a lap around the course, but you needn’t take any shortcuts to finish the course in 2:30. In fact, provided you don’t spin out and remember to use your boost on the straightaways, it’s possible to win this first edition of The Death Race without taking any shortcuts. Furthermore, despite the race’s name, there’s absolutely no need to engage any of the enemies you might encounter. In fact, you need to be very careful not to kill any skags or bandits because their corpses linger on the track and potentially serve as unfortunate speed bumps.
You won’t get a larger reward or extra XP for a faster finish, so use this first race to get a feel for the course. Pay attention to where the curves are, practice staying away from the edges of the road (vehicles are liable to spin out or flip over from even the slightest bumps), and aim to drive your two laps as cleanly as possible. Advanced racing tips and advice for using the shortcuts is presented for Tier 2 and Tier 3.
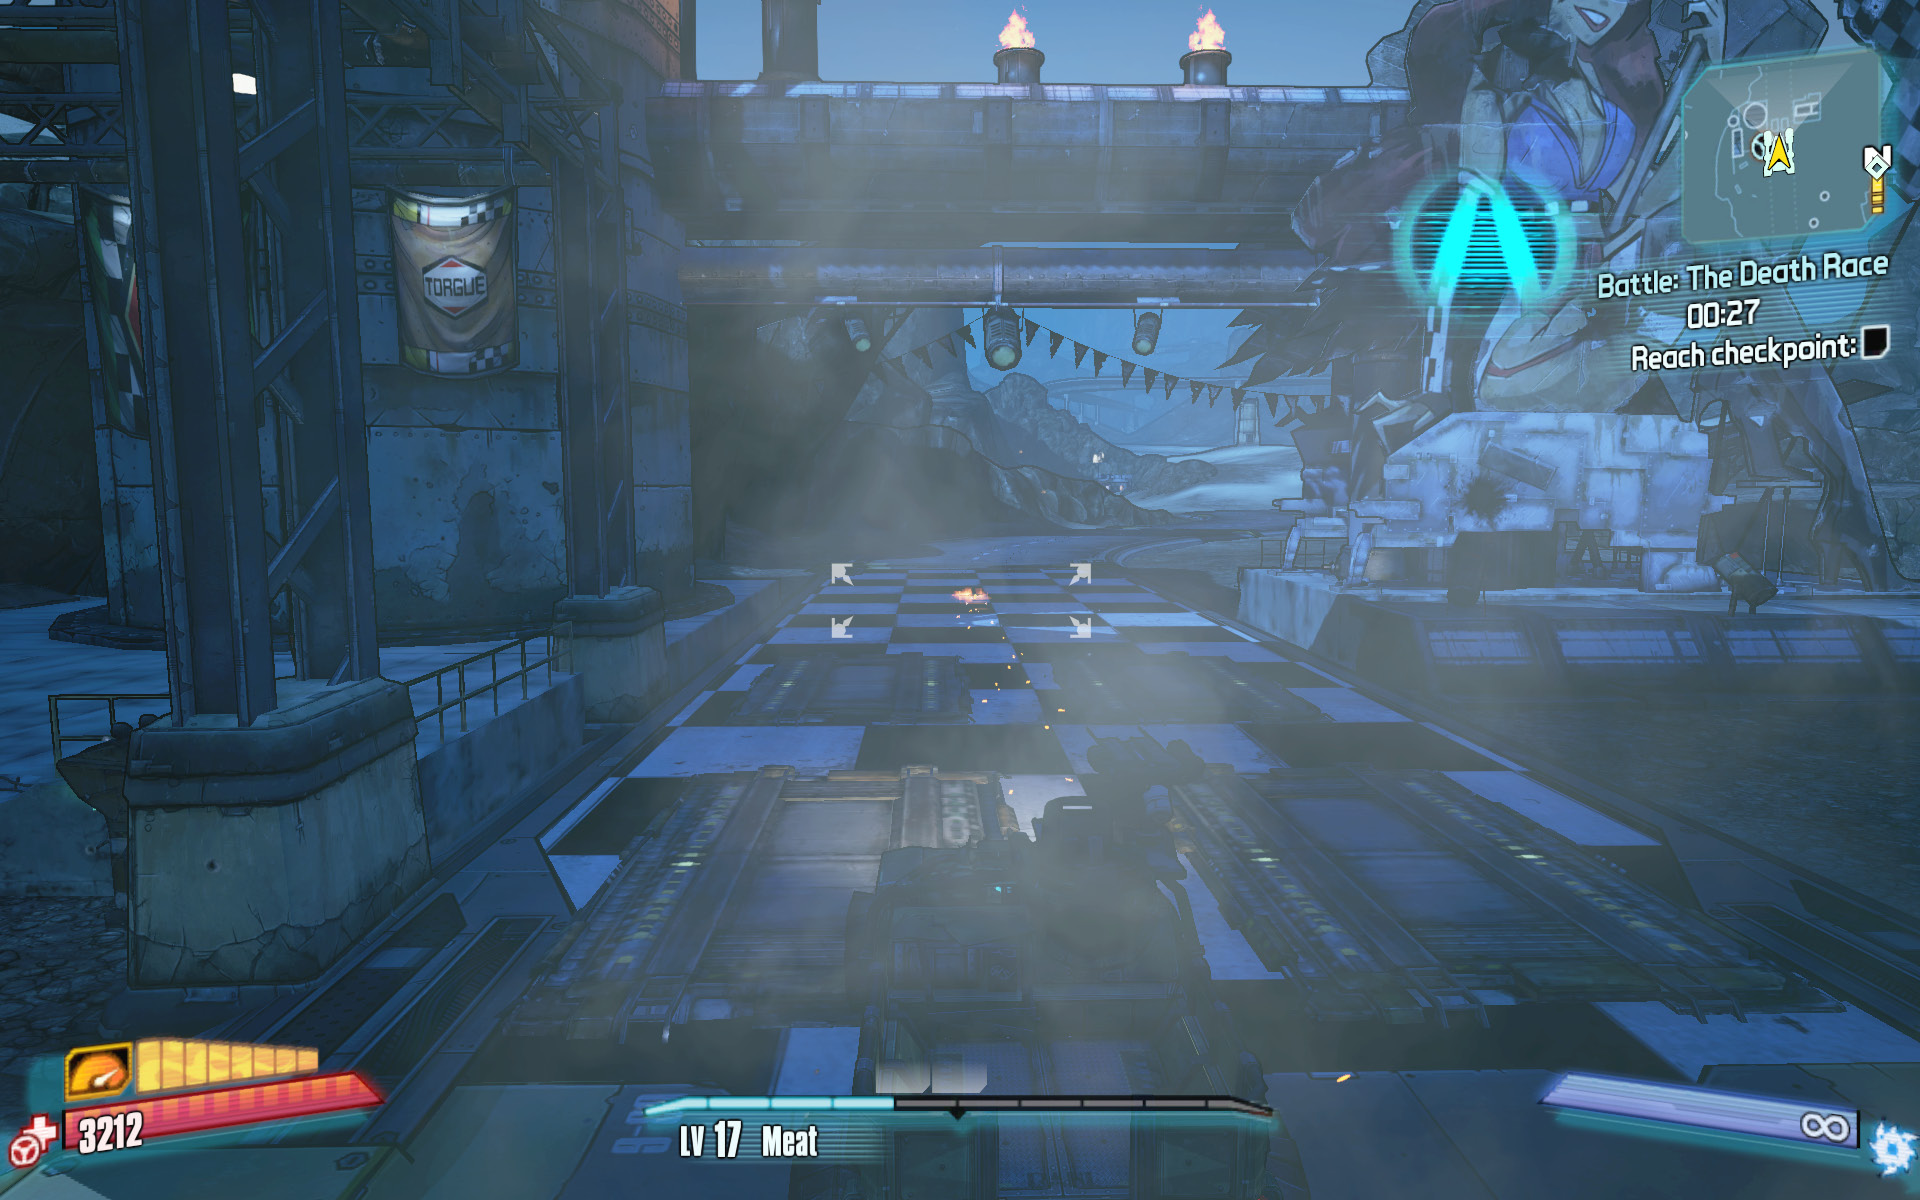
Win the first race, and immediately head to the Battle Board for Tier 2.
Tier 2 Battle: The Death Race
Beat the clock!
Optional Mission Rewards
| Level | Money | XP | Gear |
|---|---|---|---|
|
16 |
10 Tokens |
1305 |
— |
*Money and XP may vary based on player’s level at start of mission.
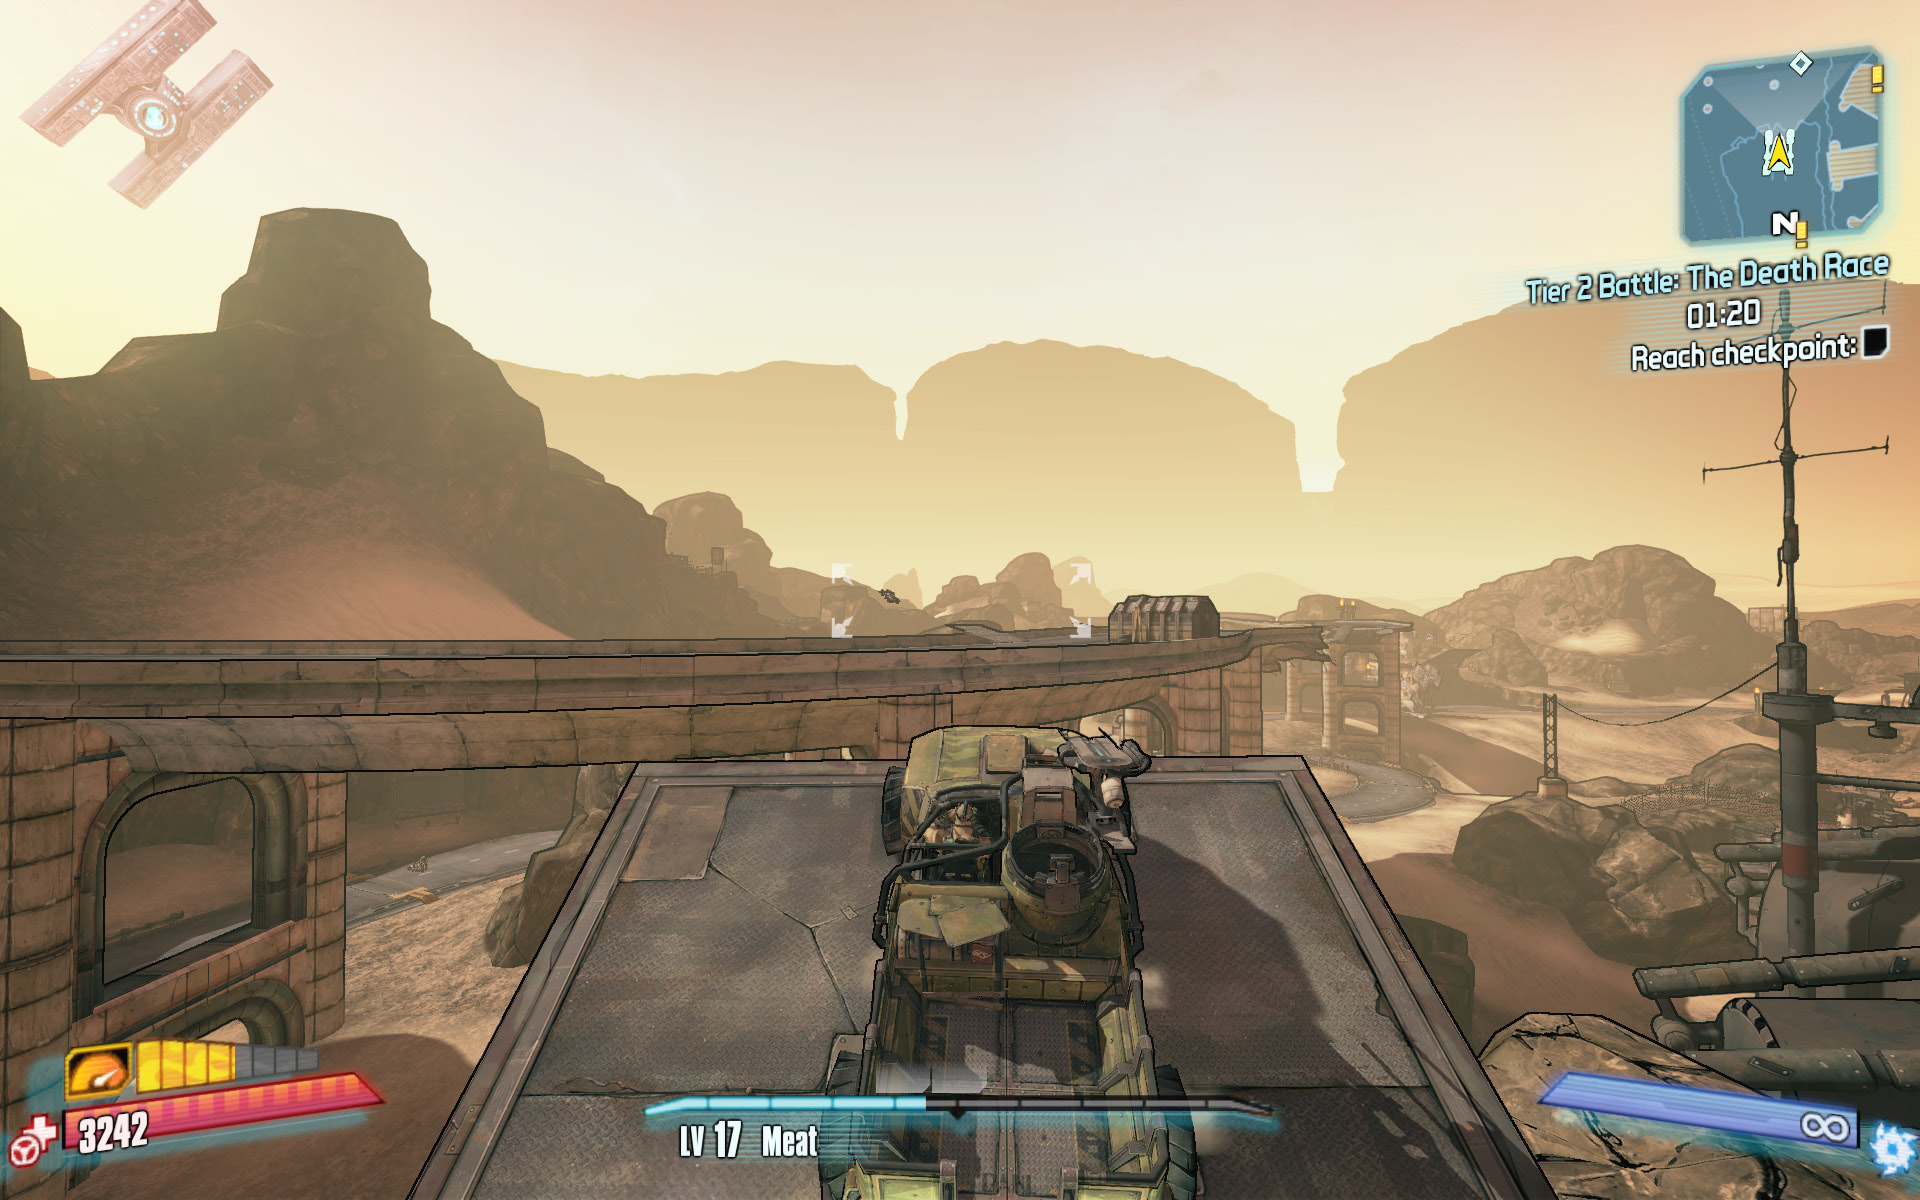
Now that you’re familiar with the course, it’s time to step up the difficulty. The Tier 2 event challenges you with a 2:00 time limit, exactly 20 percent less time than you had in the original race. There are several shortcuts available that can help you hit that goal time, but you should save one of them for the Tier 3 event to ramp the challenge up gradually. Continue to drive the course as you have been, but this time turn a bit harder to the right after exiting the tunnel, and use the ramp under the highway to cut the corner near the second checkpoint.
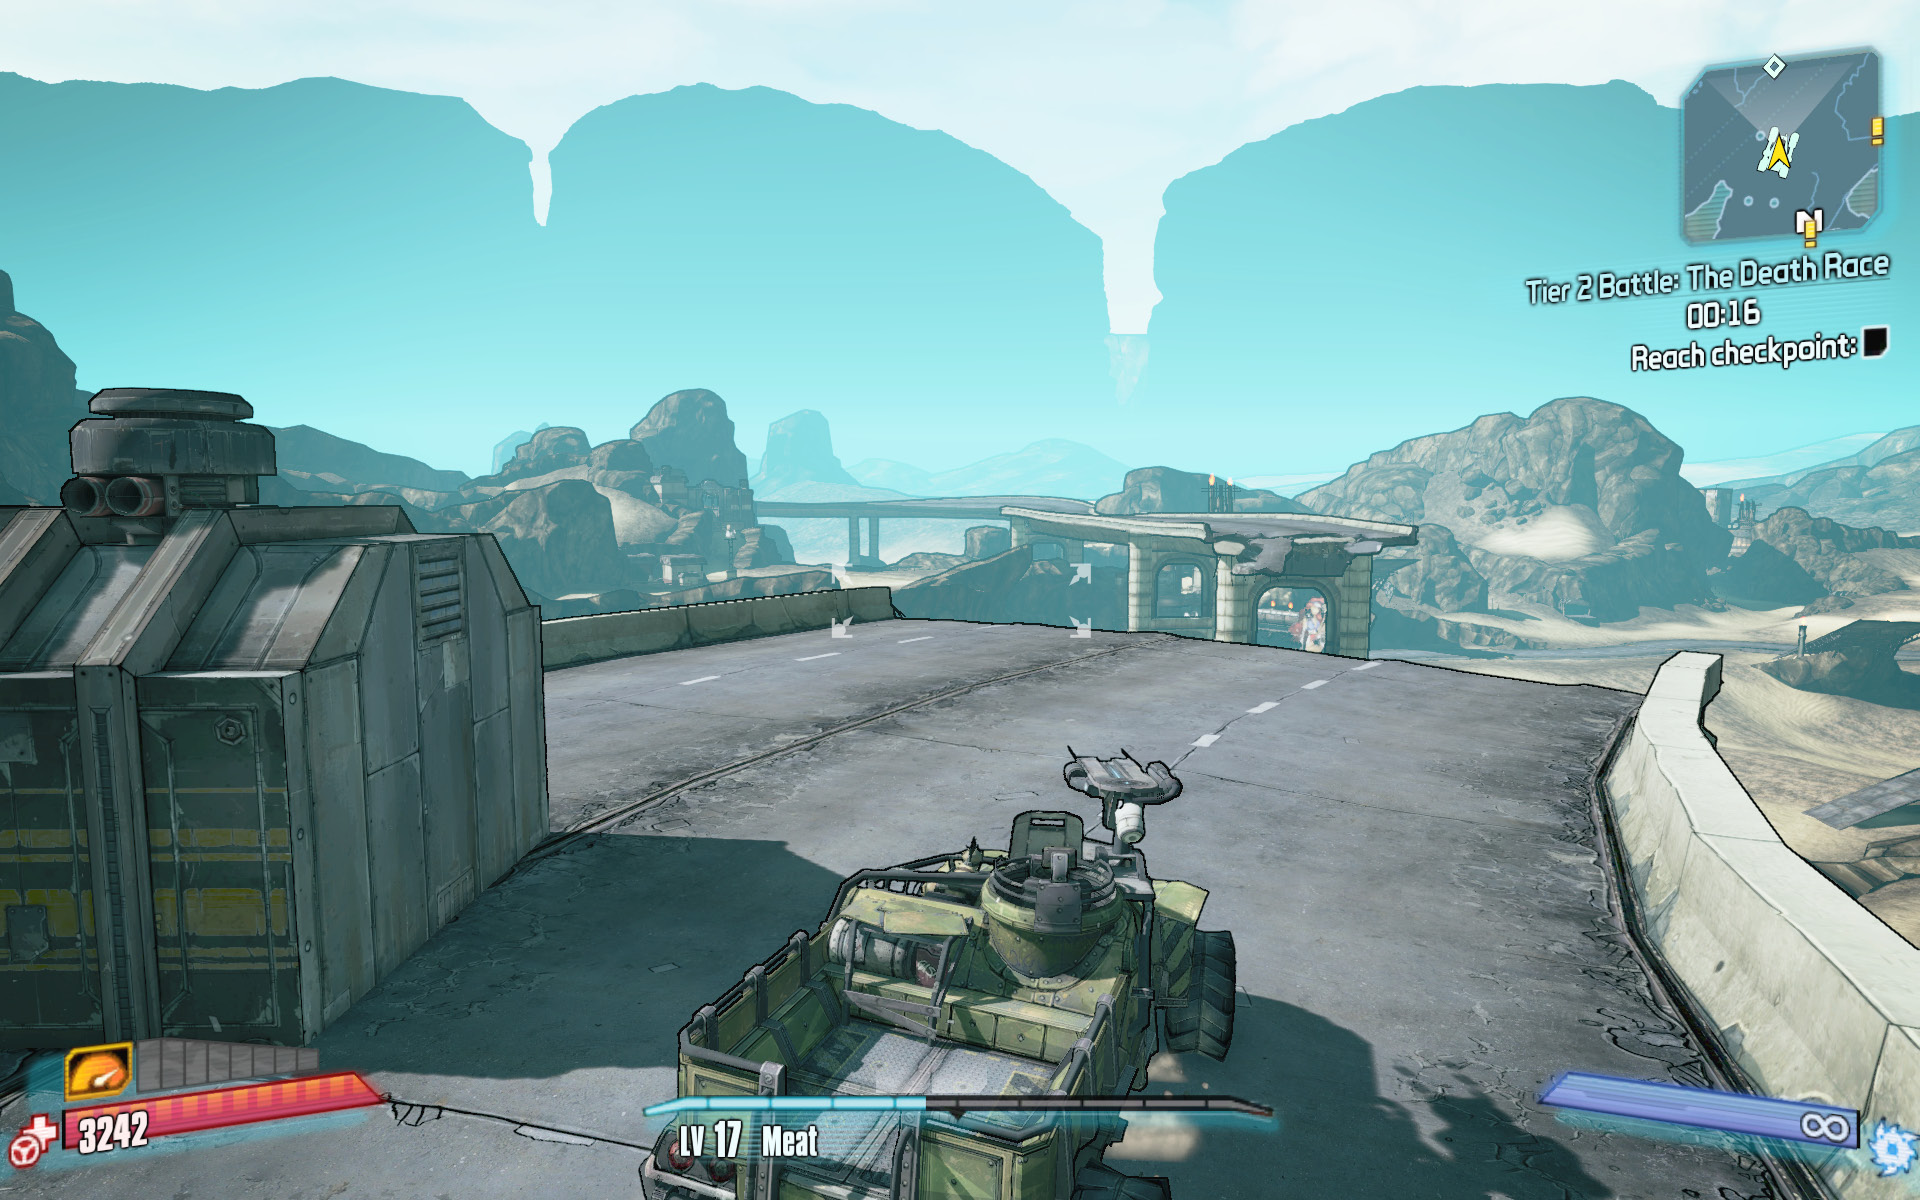
Allow the boost to recharge as you near the third checkpoint and angle for the ramp on the right. Boost straight for the ramp, and fly up onto the fractured highway. Land on an angle to the right and drive off the far end, on an angle to the left, near the left-hand lane. This sets you up well to drive between the Catch-a-Ride and Scooter’s signpost. Power on to the finish line!
Tier 3 Battle: The Death Race
Beat the clock!
Optional Mission Rewards
| Level | Money | XP | Gear |
|---|---|---|---|
|
50 |
20 Tokens |
9777 |
— |
*Money and XP may vary based on player’s level at start of mission.
First things first: ignore the level rating for this race. The level rating is irrelevant, as your success is entirely dependent on equipping The Afterburner relic (obtained from Ellie by completing the “Positive Self Image” mission in the Dust) and your ability to use the two major jumps as shortcuts.
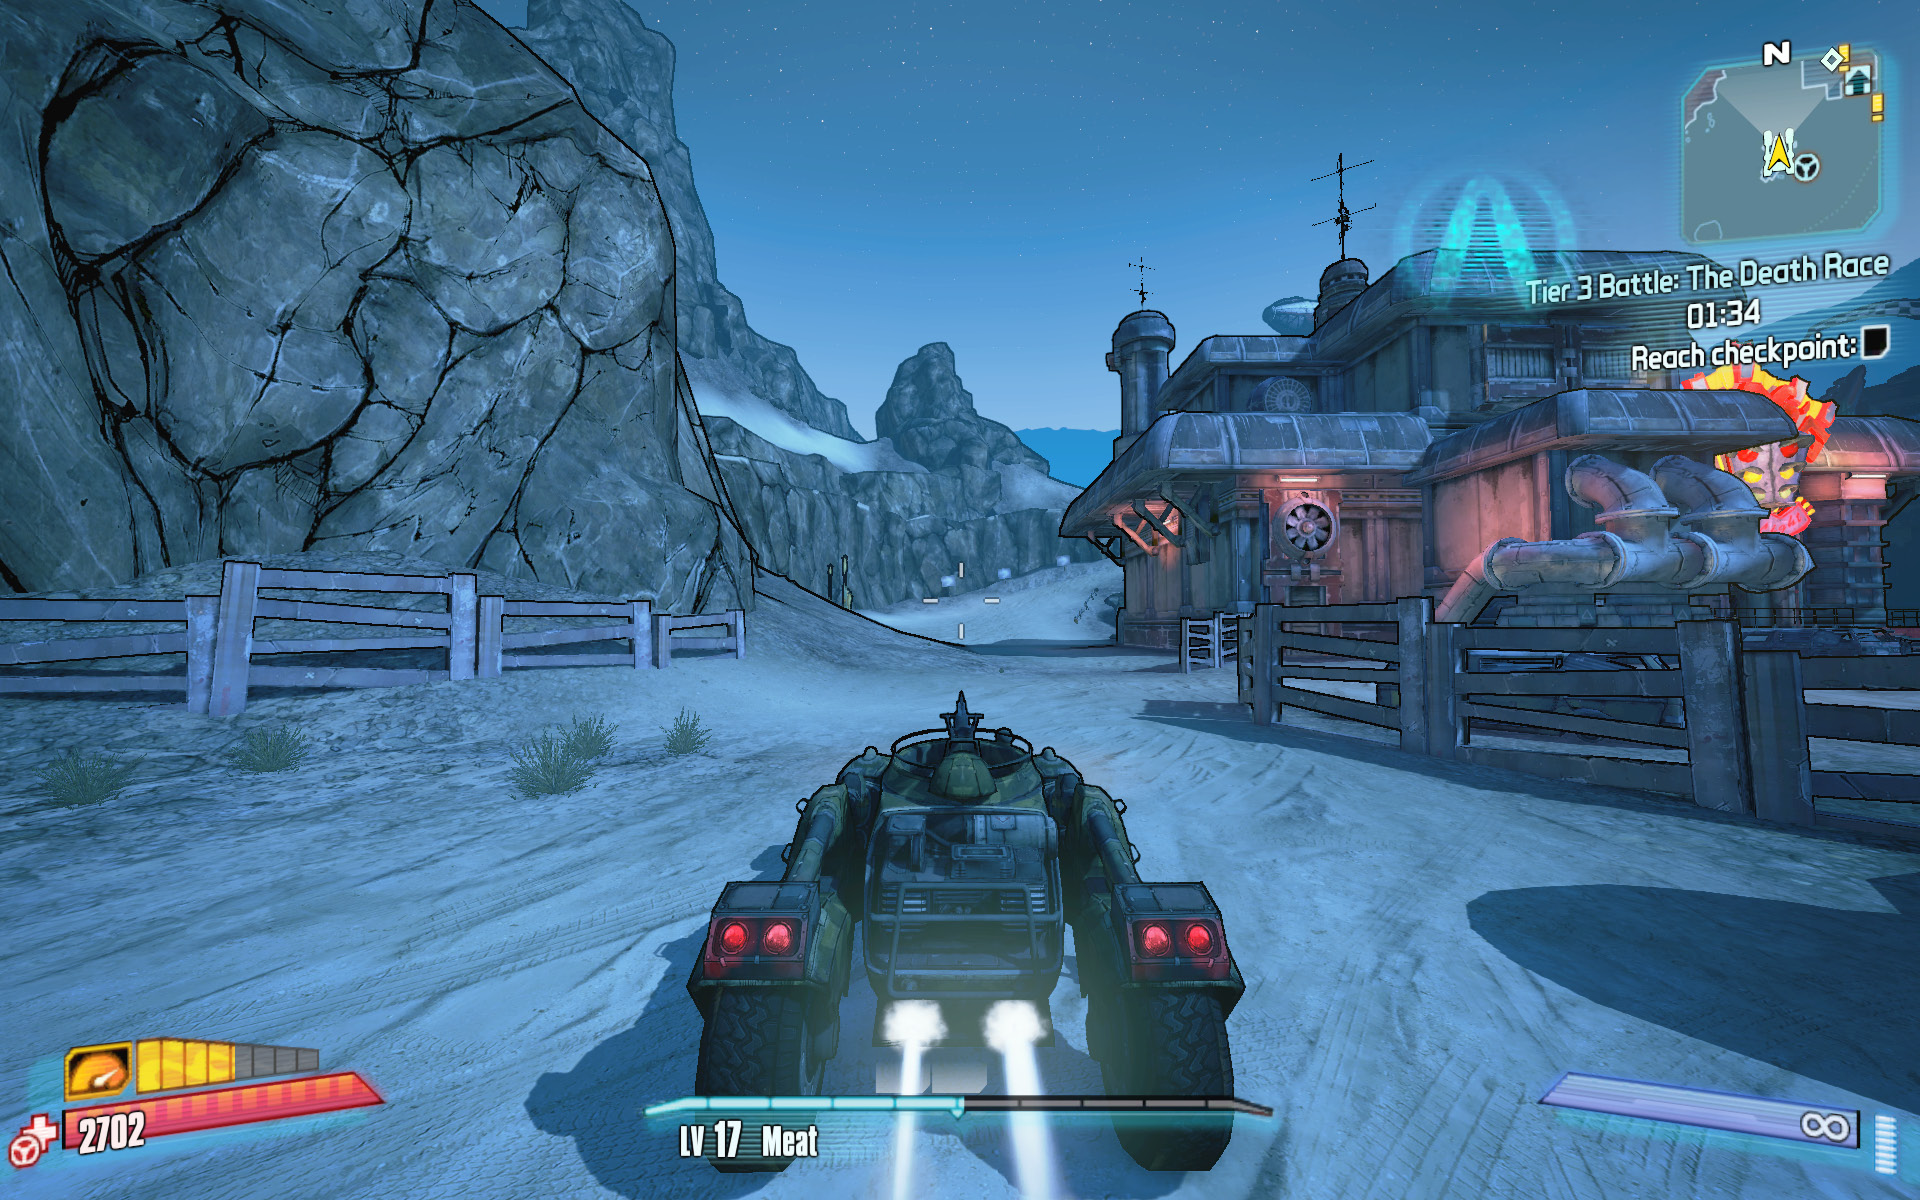
You only have 1:45 to complete two laps of the course, which leaves very little margin for error. Start your assault on the record books by equipping The Afterburner relic (if you already sold it, start a new character and use Claptrap’s Secret Stash to share it with your other characters). The Afterburner dramatically enhances your boost capacity, boost recharge delay, and boost recharge rate.
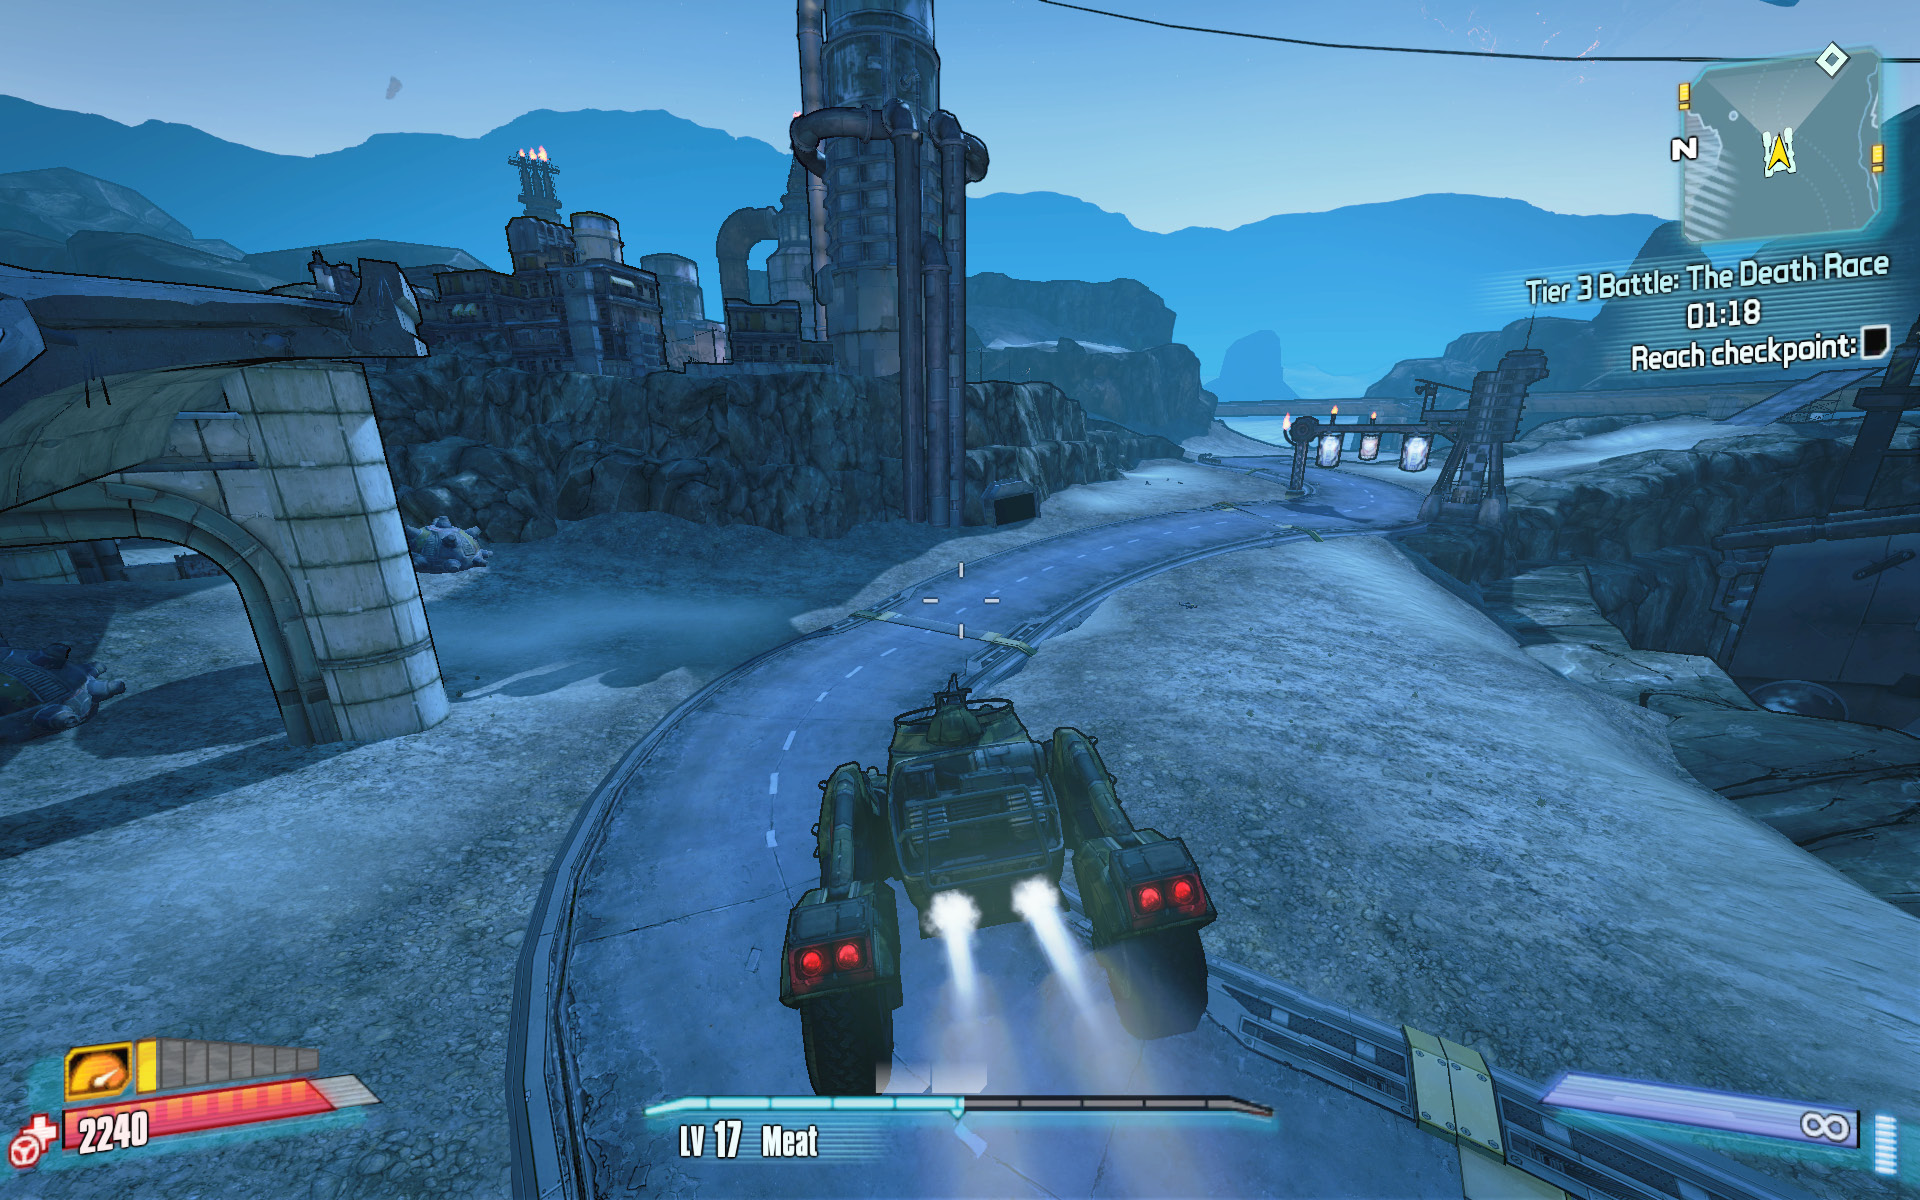
Take off toward the first checkpoint, and use your boost to continue straight through the turn and up the path to the left of Moxxi’s Badass Crater Bar. Allow the boost to recharge as you round the turn up the hill, and line up for the ramp that leads to the first section of the broken highway. Boost across the highway and down onto the road below near Tiny Tina’s camp (don’t worry about the checkpoints, as they’ll be triggered from above). Allow the boost to recharge as you near the third checkpoint, then catch air off the next ramp just as you did in the Tier 2 race. Drive off the end of the highway near the Catch-a-Ride, and complete the race.
Tier 3 Rematch: The Death Race
Beat the clock!
Optional Mission Rewards
| Level | Money | XP | Gear |
|---|---|---|---|
|
50 |
20 Tokens |
9777 |
— |
*Money and XP may vary based on player’s level at start of mission.
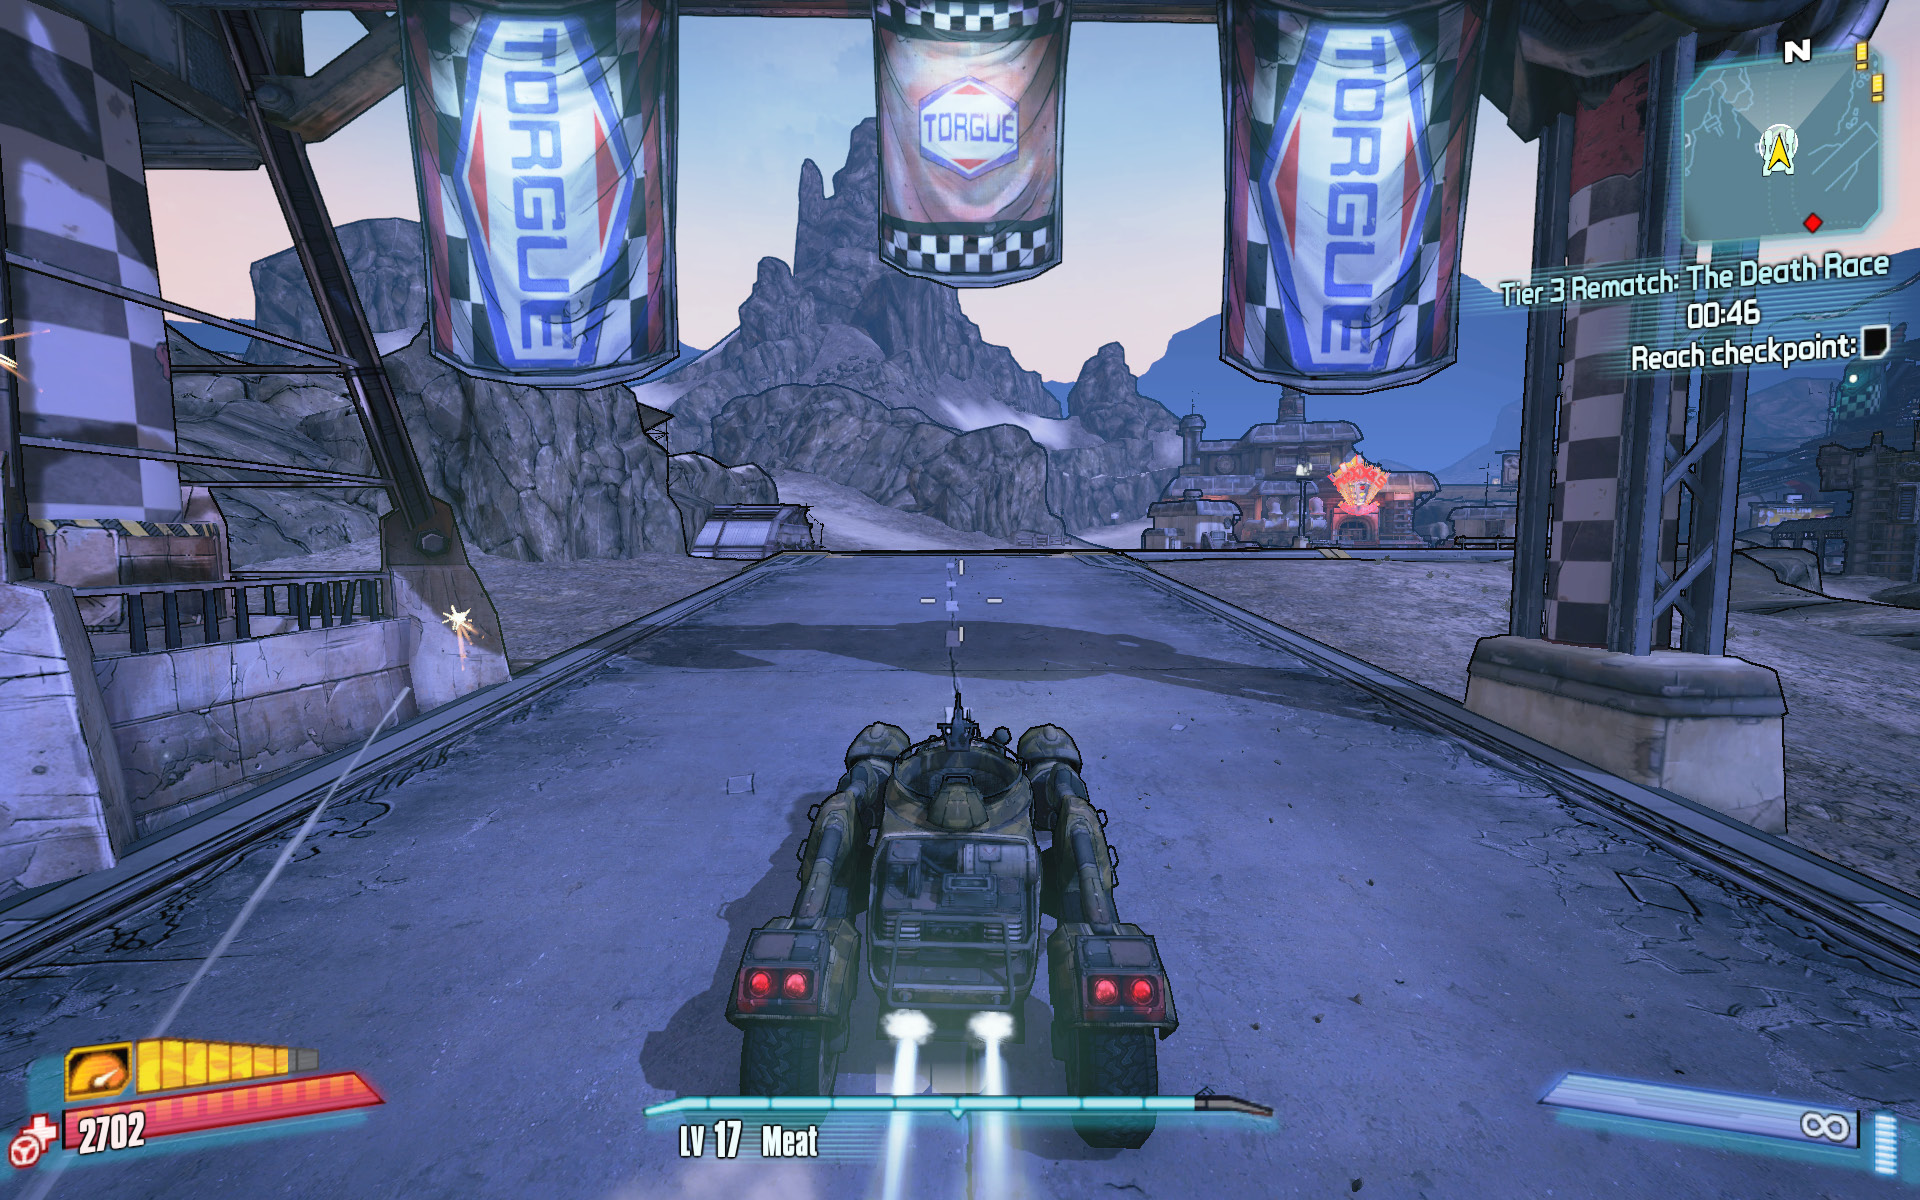
Who doesn’t like free XP and Torgue Tokens? Your reward for completing the Tier 3 Death Race is the opportunity to participate in this event as often as you like. Race over and over to farm XP and power-level your character (roughly 10k XP every two minutes!) and to accumulate a wealth of Torgue Tokens. If you had your eyes on those legendary Torgue weapons and wondered when and how you’d ever get enough Torgue Tokens to buy them, look no further! Just keep racing this event to get as many as you need.
Mother-Lover
Nobody messes with Scooter’s mama!
Optional Mission Rewards
| Level | Money | XP | Gear |
|---|---|---|---|
|
16 |
$137 |
1305 |
Class Mod (green) or Grenade Mod (green) |
*Money and XP may vary based on player’s level at start of mission.
Scooter has heard of a fellow by the name of Hamhock who took certain romantic liberties with Scooter’s mother, Moxxi, while out on a date. And now, he wants you to track and kill Hamhock to defend his family’s honor (as if). Hamhock is on his way to the southwestern corner of The Beatdown, right where you encountered the gun turret and gate on your way to Pyro Pete’s Bar. The streets of The Beatdown are crawling with Burners and Bikers, including more than a few Burner Enforcers and Bruisers. Take your time making your way through the city to avoid drawing too many out at once. Moxxi will ECHO you once you start to get close in an effort to get you to change your mind. She actually likes Hamhock and wants you to kill Scooter’s hired gunmen instead. The choice of whom to kill is up to you. Those wanting a new Class Mod can go after Hamhock and see what Scooter’s reward will be, whereas those who would rather gain a new random Grenade Mod can take out the gunmen on Moxxi’s behalf.
Hamhock is a heavily armored bandit roaming the southwest corner of The Beatdown. As soon as he sees you, he’ll run to the Bandit Turret near the gate. Climb the fire escape near the highway overpass to get to an elevated position from which to snipe him.
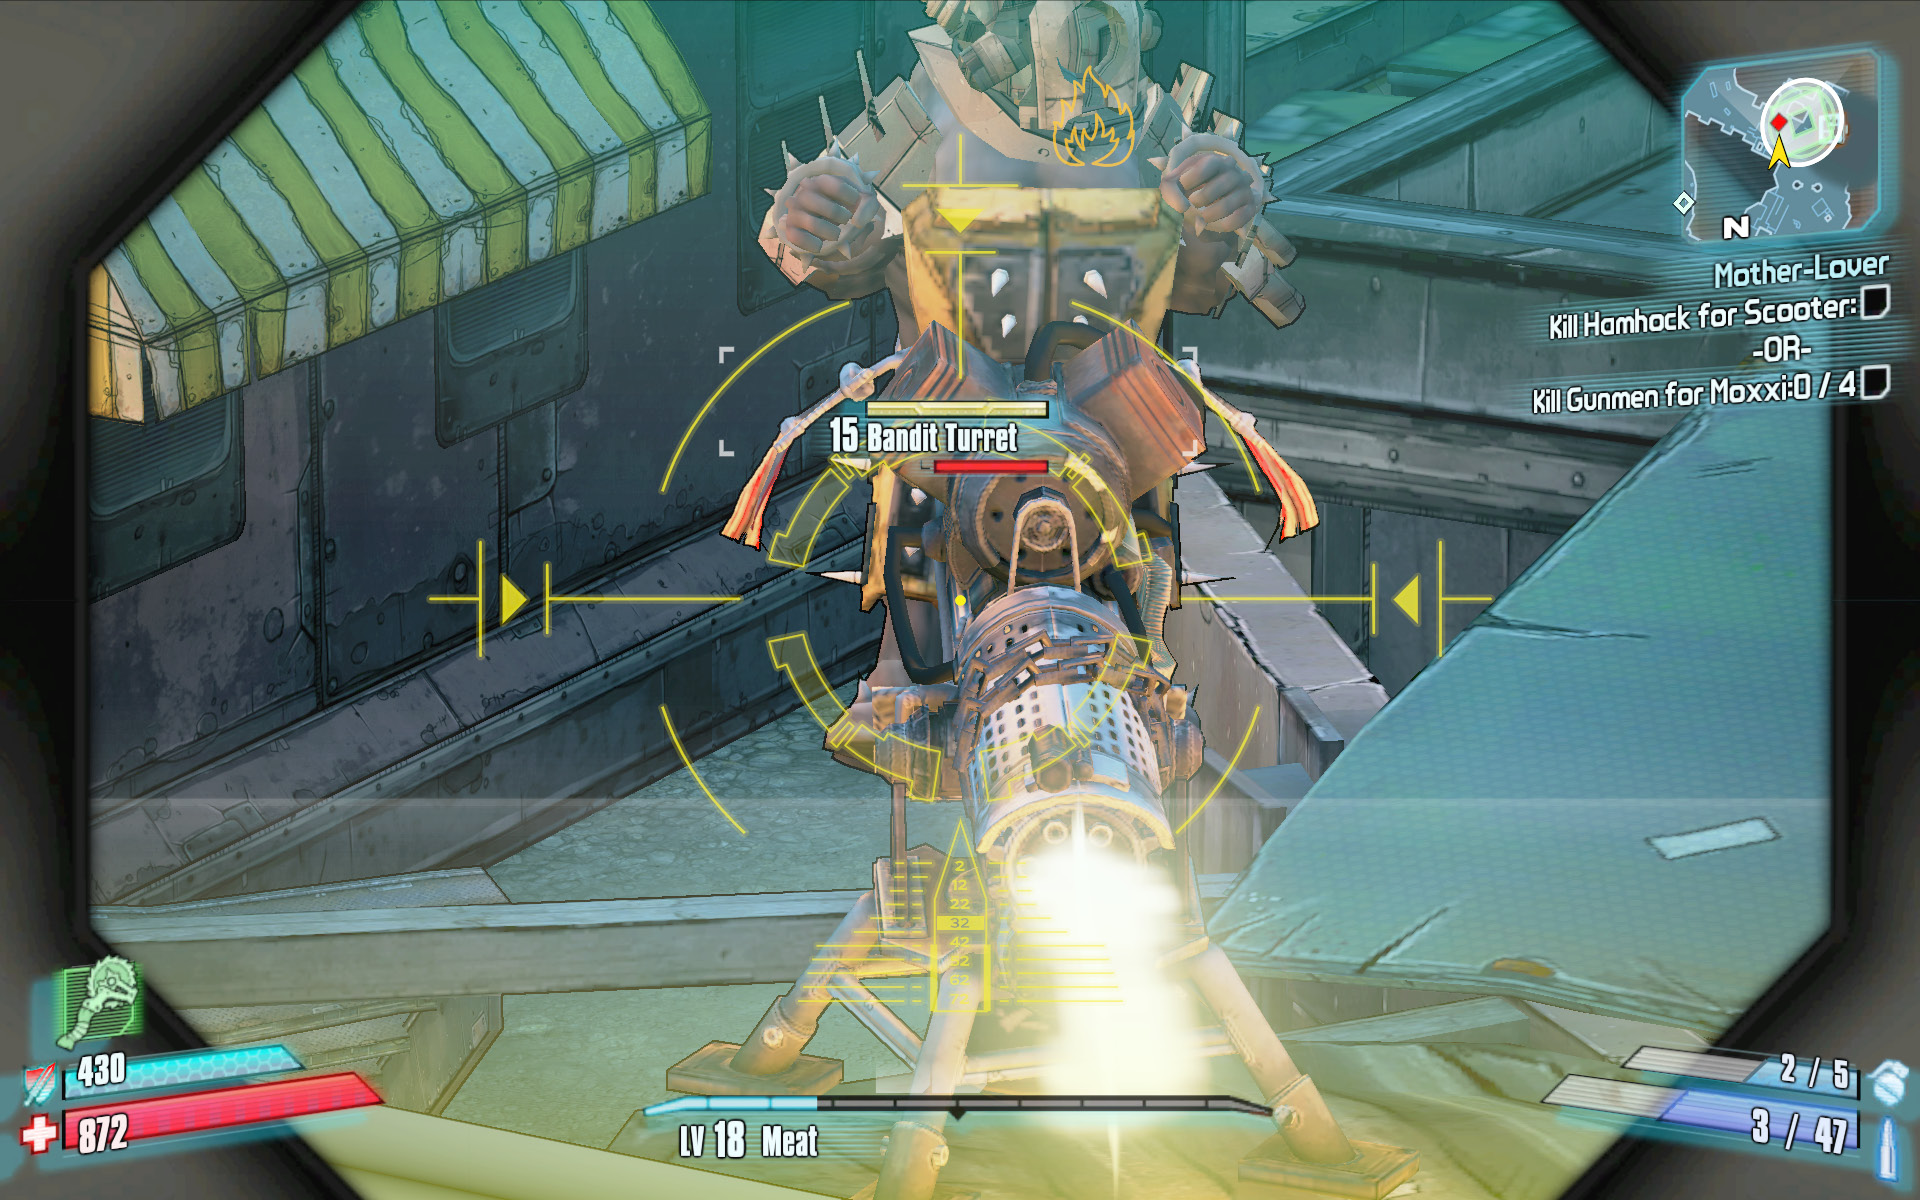
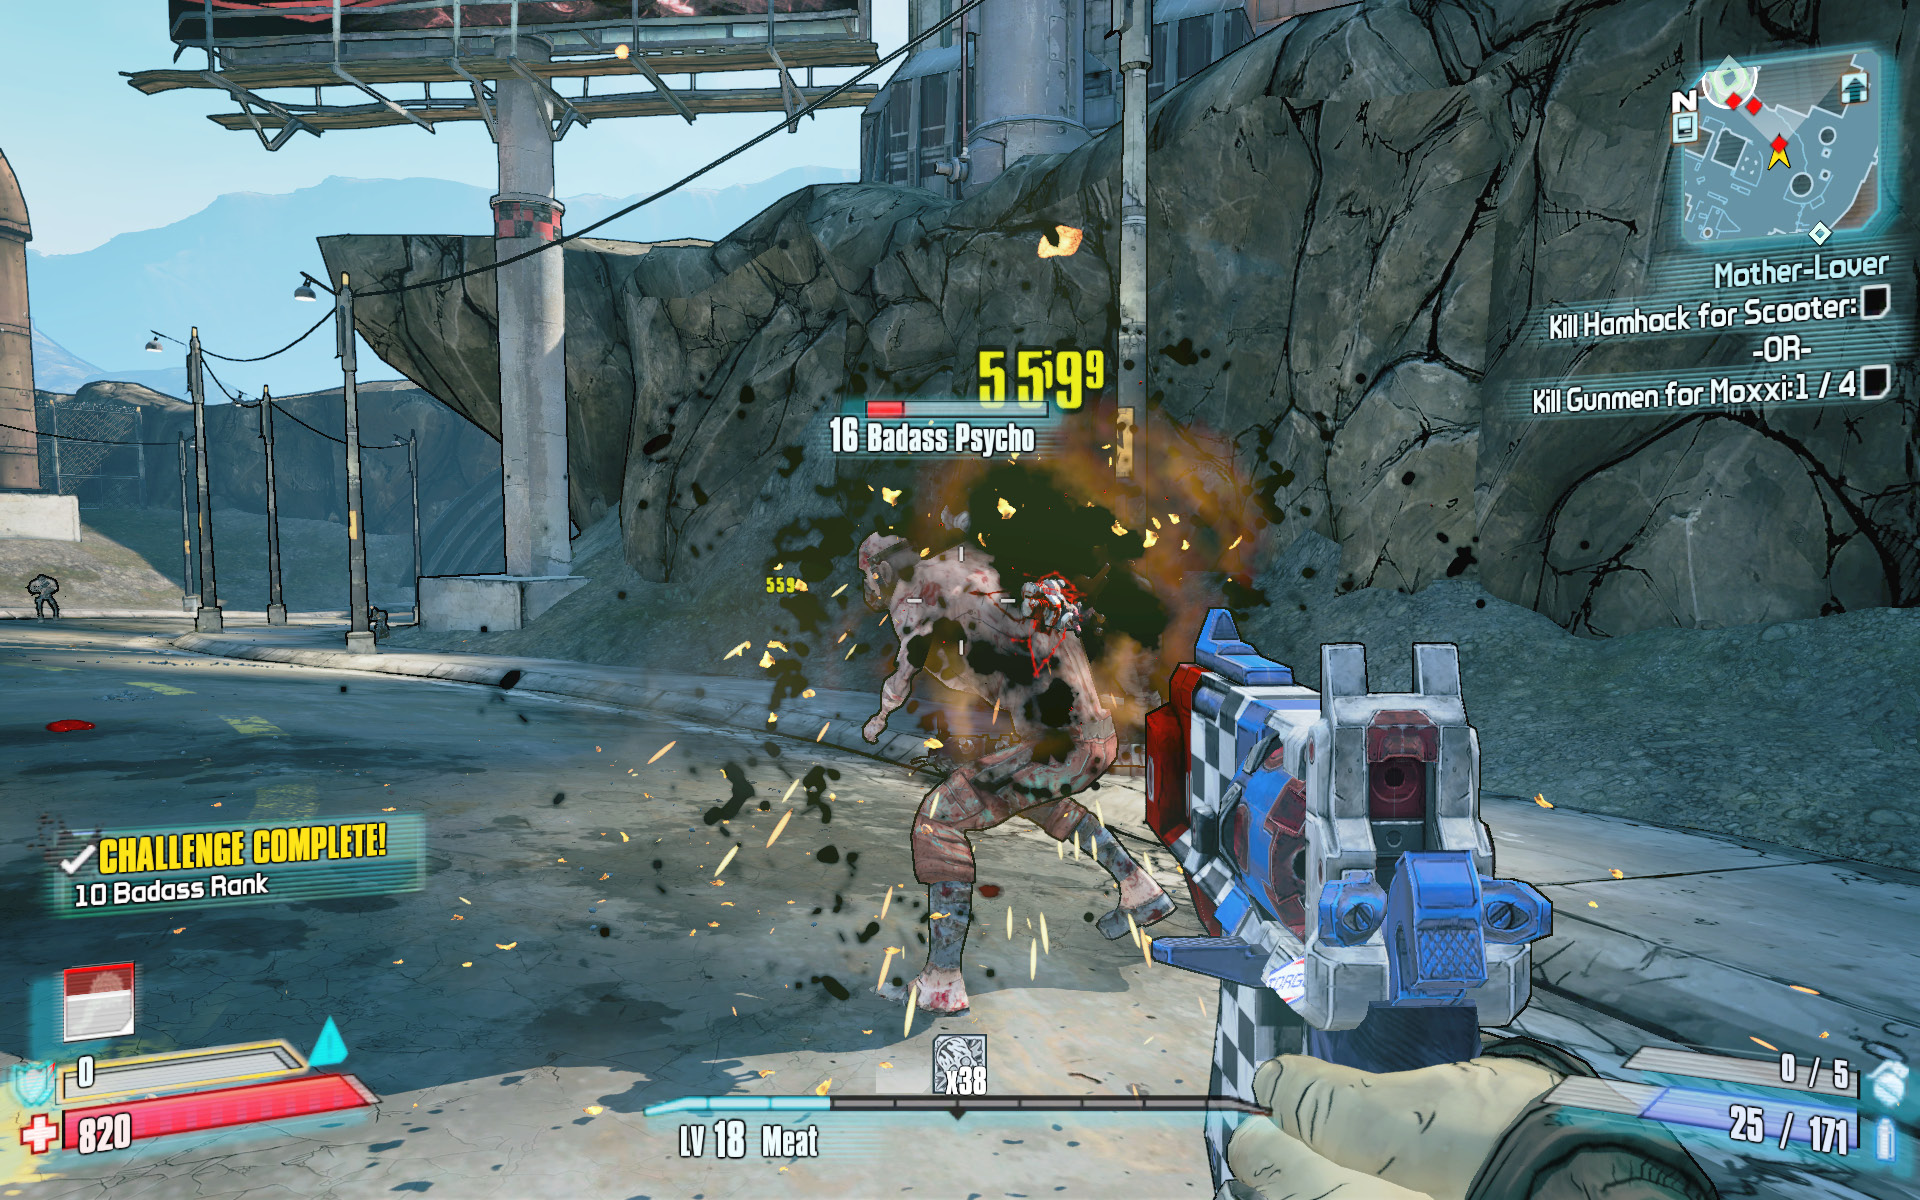
The four gunmen whom Scooter hired (just in case you decided to ignore him) are located down the road in the northeast corner, behind the sewers under Pyro Pete’s Bar. Make your way down the road from the fuel tanks to the end of the street to reach them. The group includes a Badass Psycho, a Burner Bruiser, and two lesser thugs. Set them on fire, and use your rocket launcher to soften them up. Try targeting the Badass Psycho first to draw this much faster beast away from the others. It’s always best to divide and conquer when possible, especially when there’s a badass involved.
Number One Fan
Never meet your heroes.
Optional Mission Rewards
| Level | Money | XP | Gear |
|---|---|---|---|
|
16 |
$137 |
1305 |
Pistol (green) or SMG (green) |
*Money and XP may vary based on player’s level at start of mission.
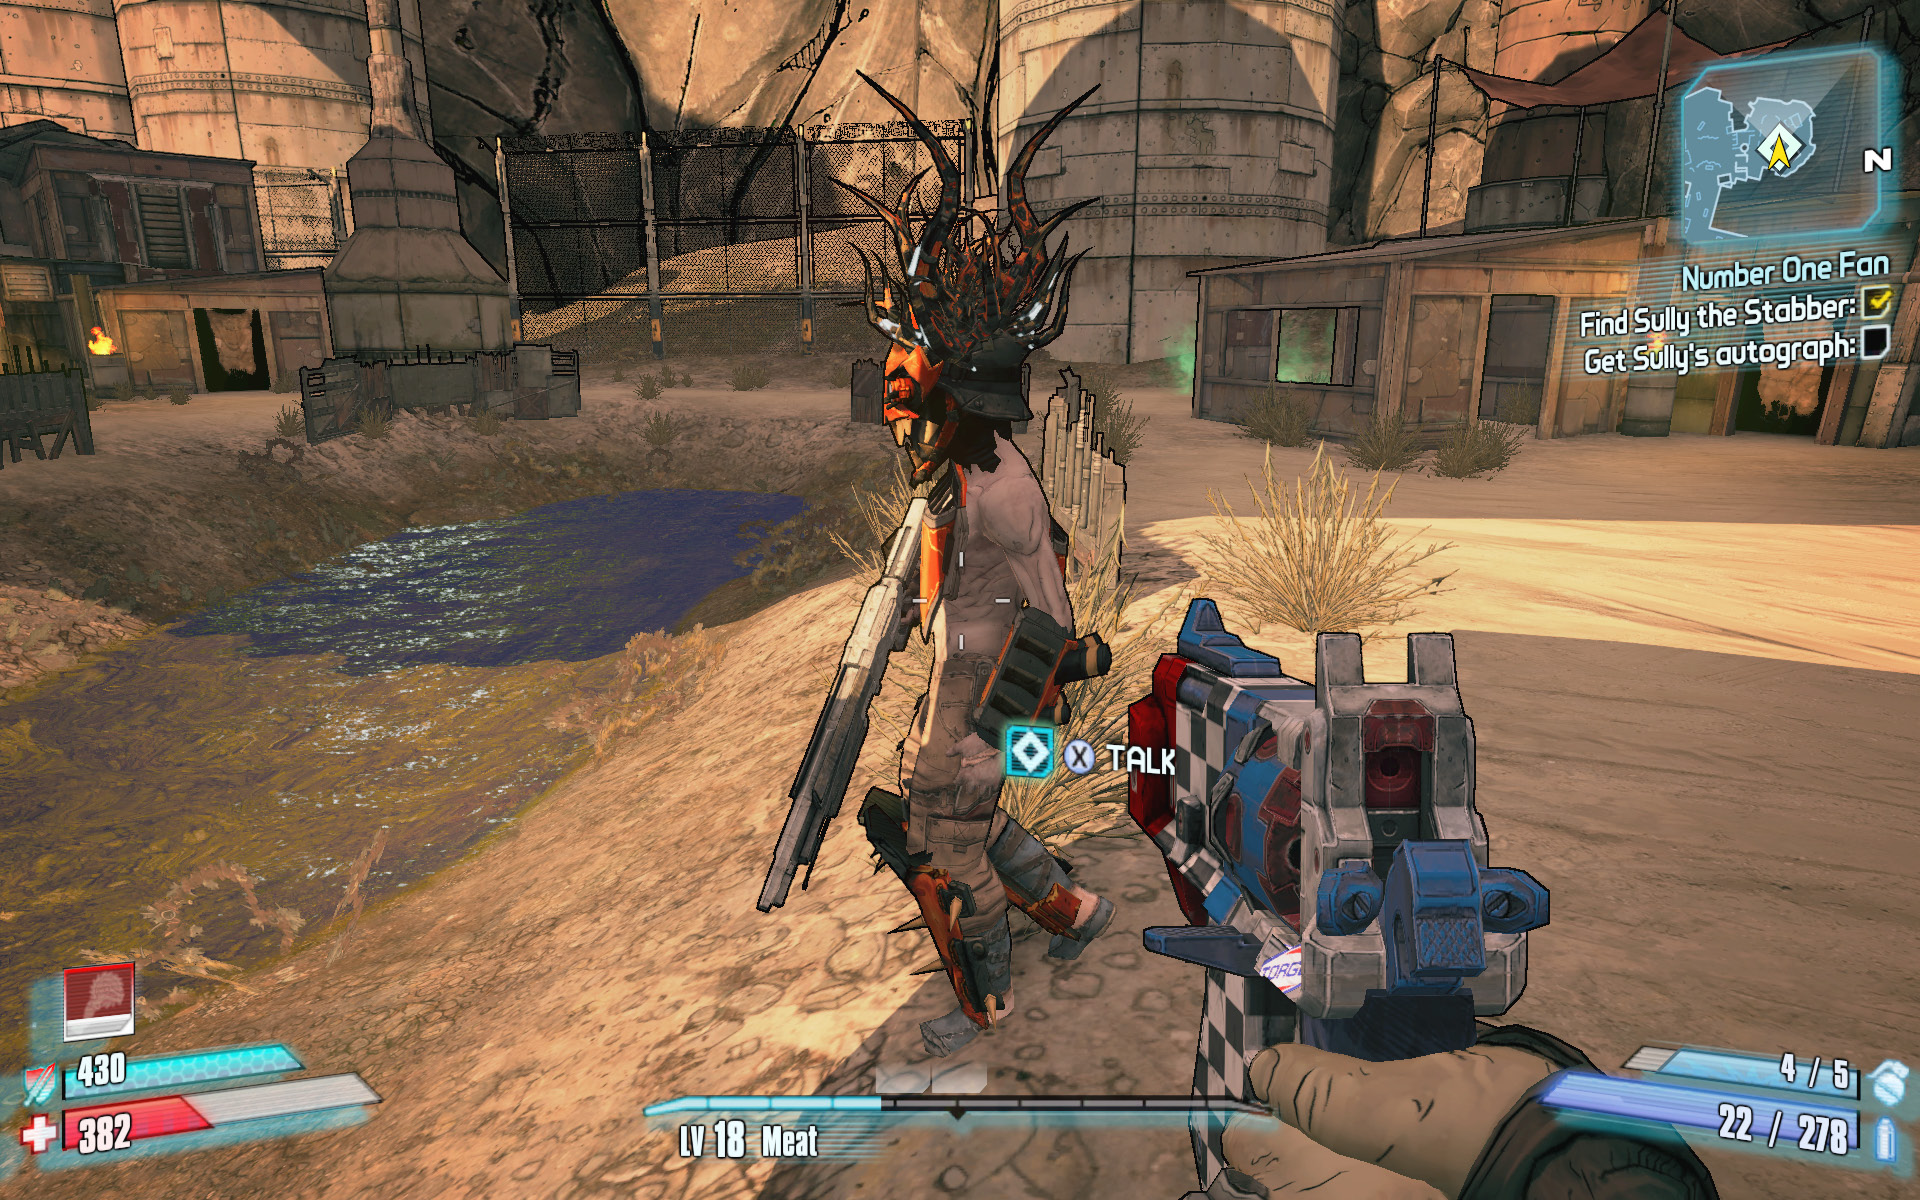
Tiny Tina heard that her favorite murderer in all the lands is hanging out in The Beatdown, and she wants you to go collect his autograph for her. Sully the Stabber is hanging out in the northwest end of The Beatdown. Make your way through town to the encampment near the highway overpass, and turn north. You can find Sully the Stabber pacing around the small clearing under the highway. Walk up and talk to him.
Sully refuses the autograph request, an answer that Tiny Tina was not prepared to hear. Now she wants you to kill Sully and bring her his severed head. Despite his name, Sully the Stabber is armed with a high-powered Torgue shotgun and is quite deadly at close to medium range. He’s also not alone, as numerous Psychos and Gremlins race to defend him. Back away quickly and hit him with heavy explosives. Toss a few grenades from a distance to weaken him and his companions. Sully’s gun packs a ton of damage, so stay out in the open and leave one or two of the other foes alive in case you need a Second Wind. Bring Tiny Tina Sully’s head.
walking the dog
Vault Hunter. Thrill seeker. Dog walker.
Optional Mission Rewards
| Level | Money | XP | Gear |
|---|---|---|---|
|
16 |
$137 |
1305 |
Assault Rifle (blue) |
*Money and XP may vary based on player’s level at start of mission.
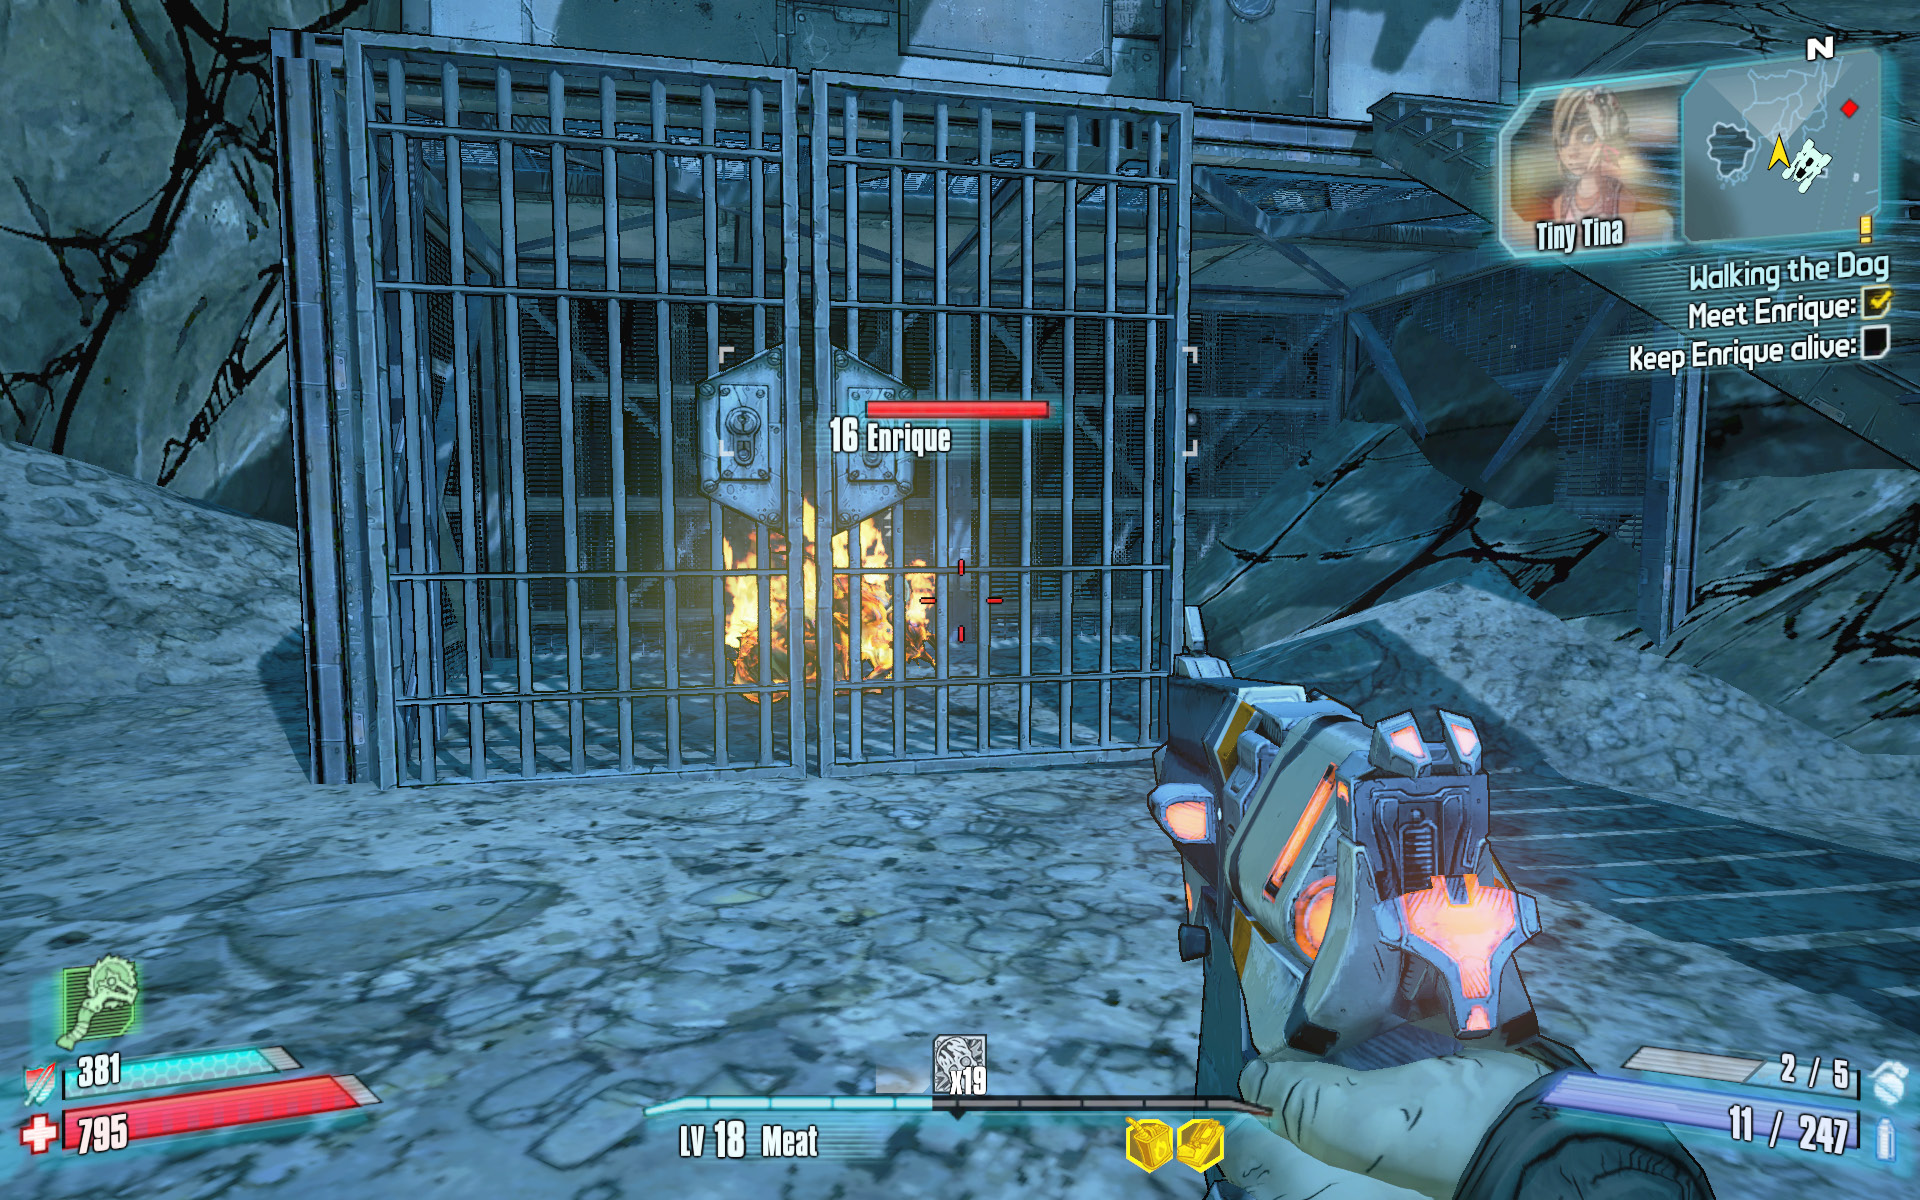
Tiny Tina got herself a dog named Enrique and keeps him in a cage over near Moxxi’s Badass Crater Bar. Enrique is more like a Fire Alpha Skag than a dog, but who are you to argue? Regardless, Tiny Tina wants you to take Enrique for a walk. You’ll need to make your way over to Enrique’s cage, but before you do, take care to outfit yourself accordingly. It pays to equip a shield that protects against burn damage (Enrique gets a little excited). You should also equip a fire-based weapon that you can use to get Enrique’s attention without hurting him. Kill as many Grinder Bikes as you can near Enrique’s cage before you open the lock, or else the Bikers might kill Enrique.
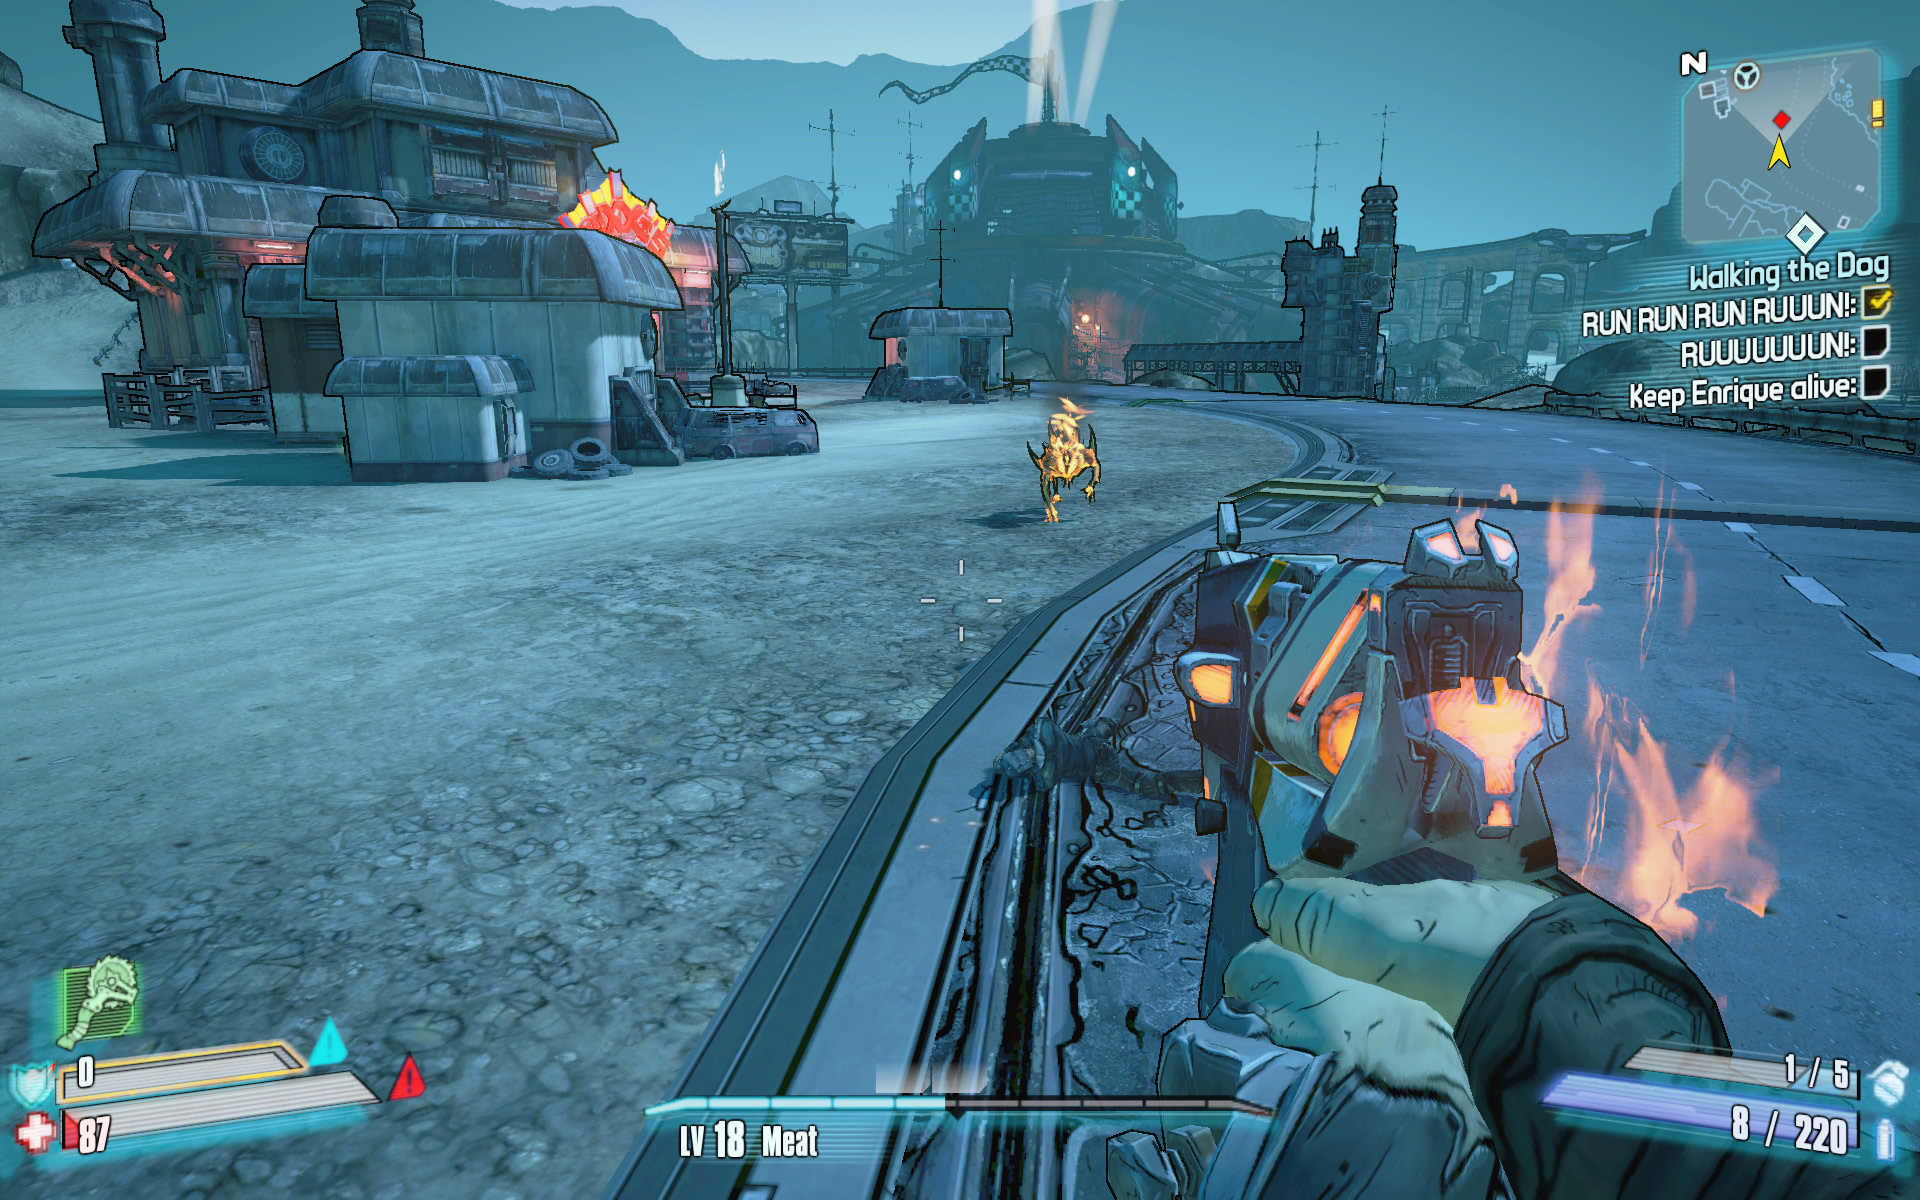
Once you open the gate and get Enrique’s attention with a couple of shots in his vicinity (be very careful not to kill him), he’ll start running after you. Lead him to the checkpoints that Tiny Tina has marked on your mini-map to the northwest. Turn around periodically to make sure Enrique is chasing you, but don’t stop moving. Protect Enrique from any Bikers who happen by as you lead him on a lengthy clockwise loop up over the hills and around the Badass Crater Bar. Enrique periodically spits fireballs at you (hence the need for a burn-resistant shield). He’ll also let out a powerful fire shockwave if he gets close enough. So keep on running from checkpoint to checkpoint, and guide him right back to his cage. Return to Tiny Tina to collect your reward, a dangerously unique Torque assault rifle whose bullets ricochet for added damage.