
Borderlands 2 Game of the Year Guide Tiny Tina's Assault on Dragon Keep
A Game of Games
|
 Mission Briefing
| Level | Money | XP | Gear |
|---|---|---|---|
|
35 |
$4,751 |
15553 |
— |
*Money and XP may vary based on player’s level at start of mission.
The Valley of the Shadow of Death
You stand in the shadow of the shimmering castle walls that defend the Handsome Sorcerer’s tower. Once you get past the orc-infested Throgmuk’s Precipice and The Pit, you’ll enter the battlements and begin a steep ascent to the heart of the compound, battling the Handsome Sorcerer’s private army of Knights, Archers, and miscellaneous spellcasters. The layout here can be confusing, but as long as you’re moving upward, you’re going in the correct direction.
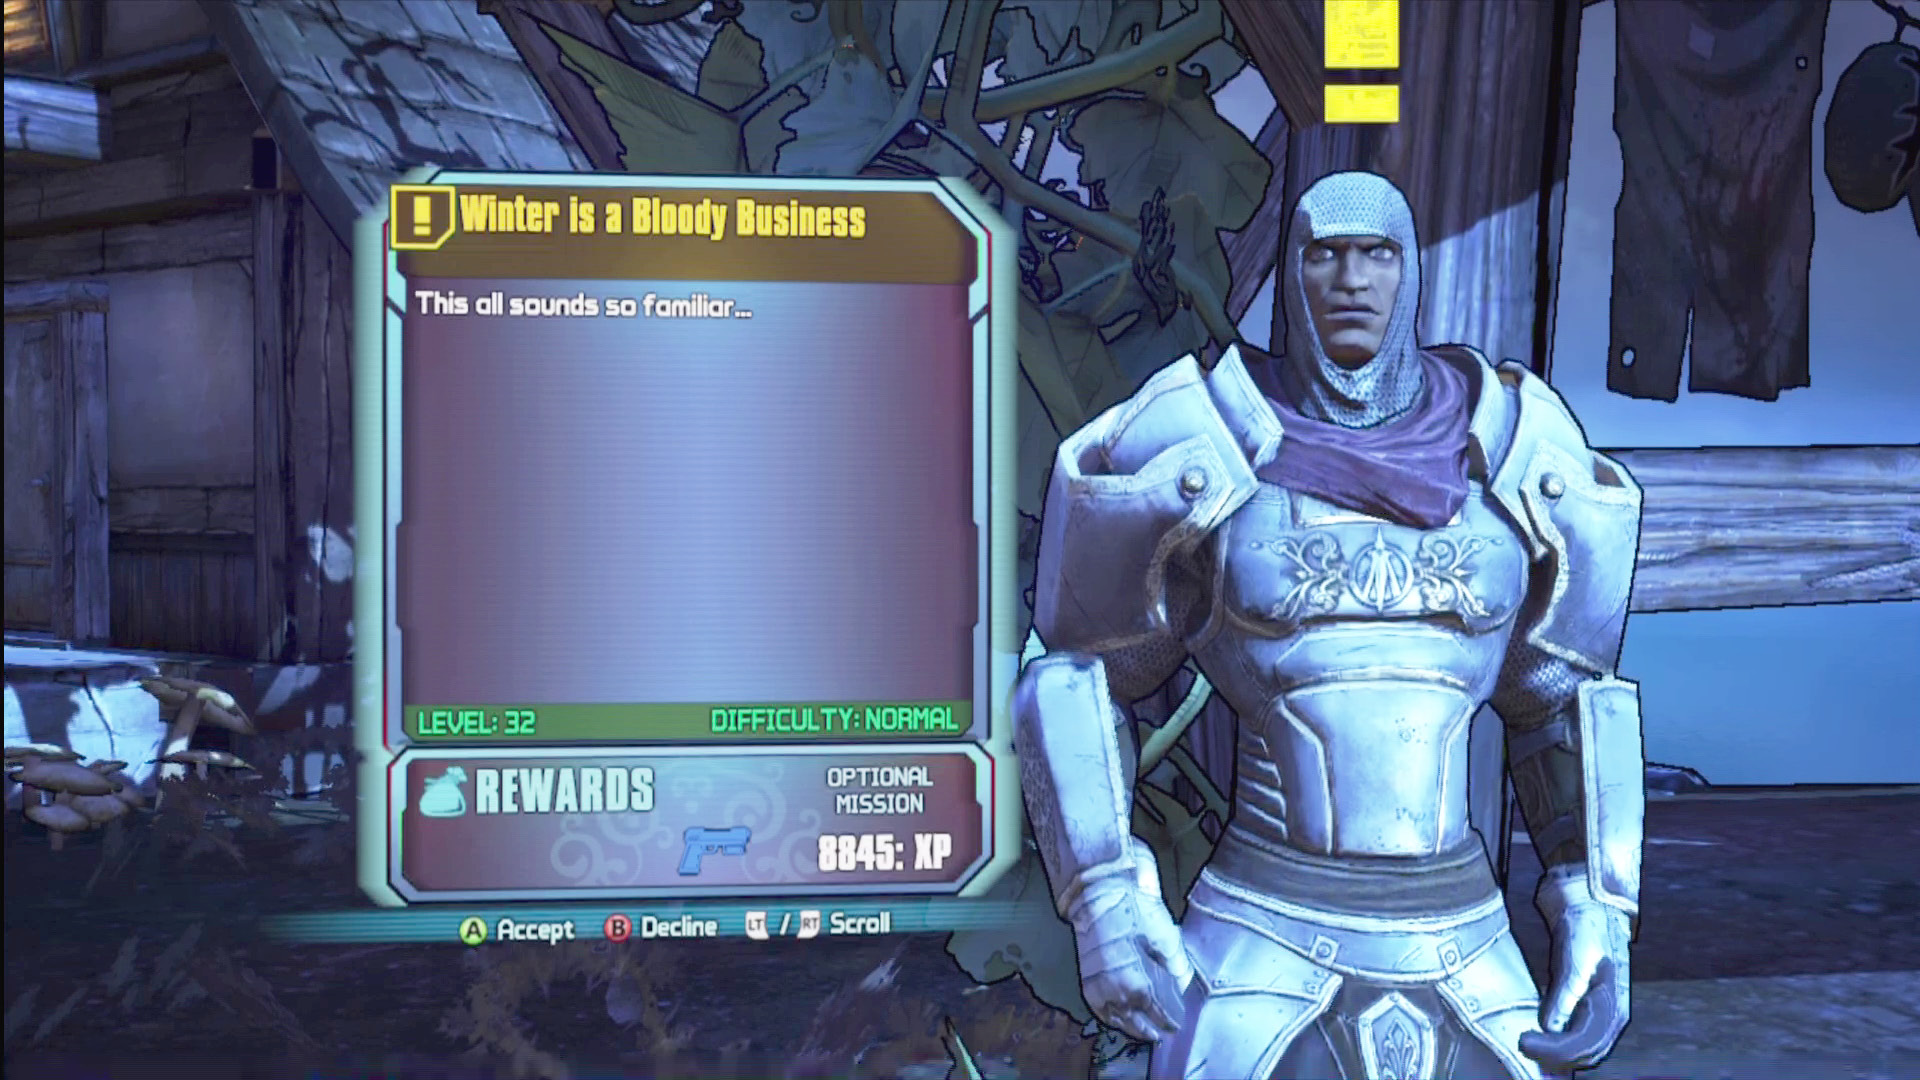
Use the Fast Travel station at the area’s entrance to check in with Roland in Flamerock Refuge. He has a job for you to do along the way.
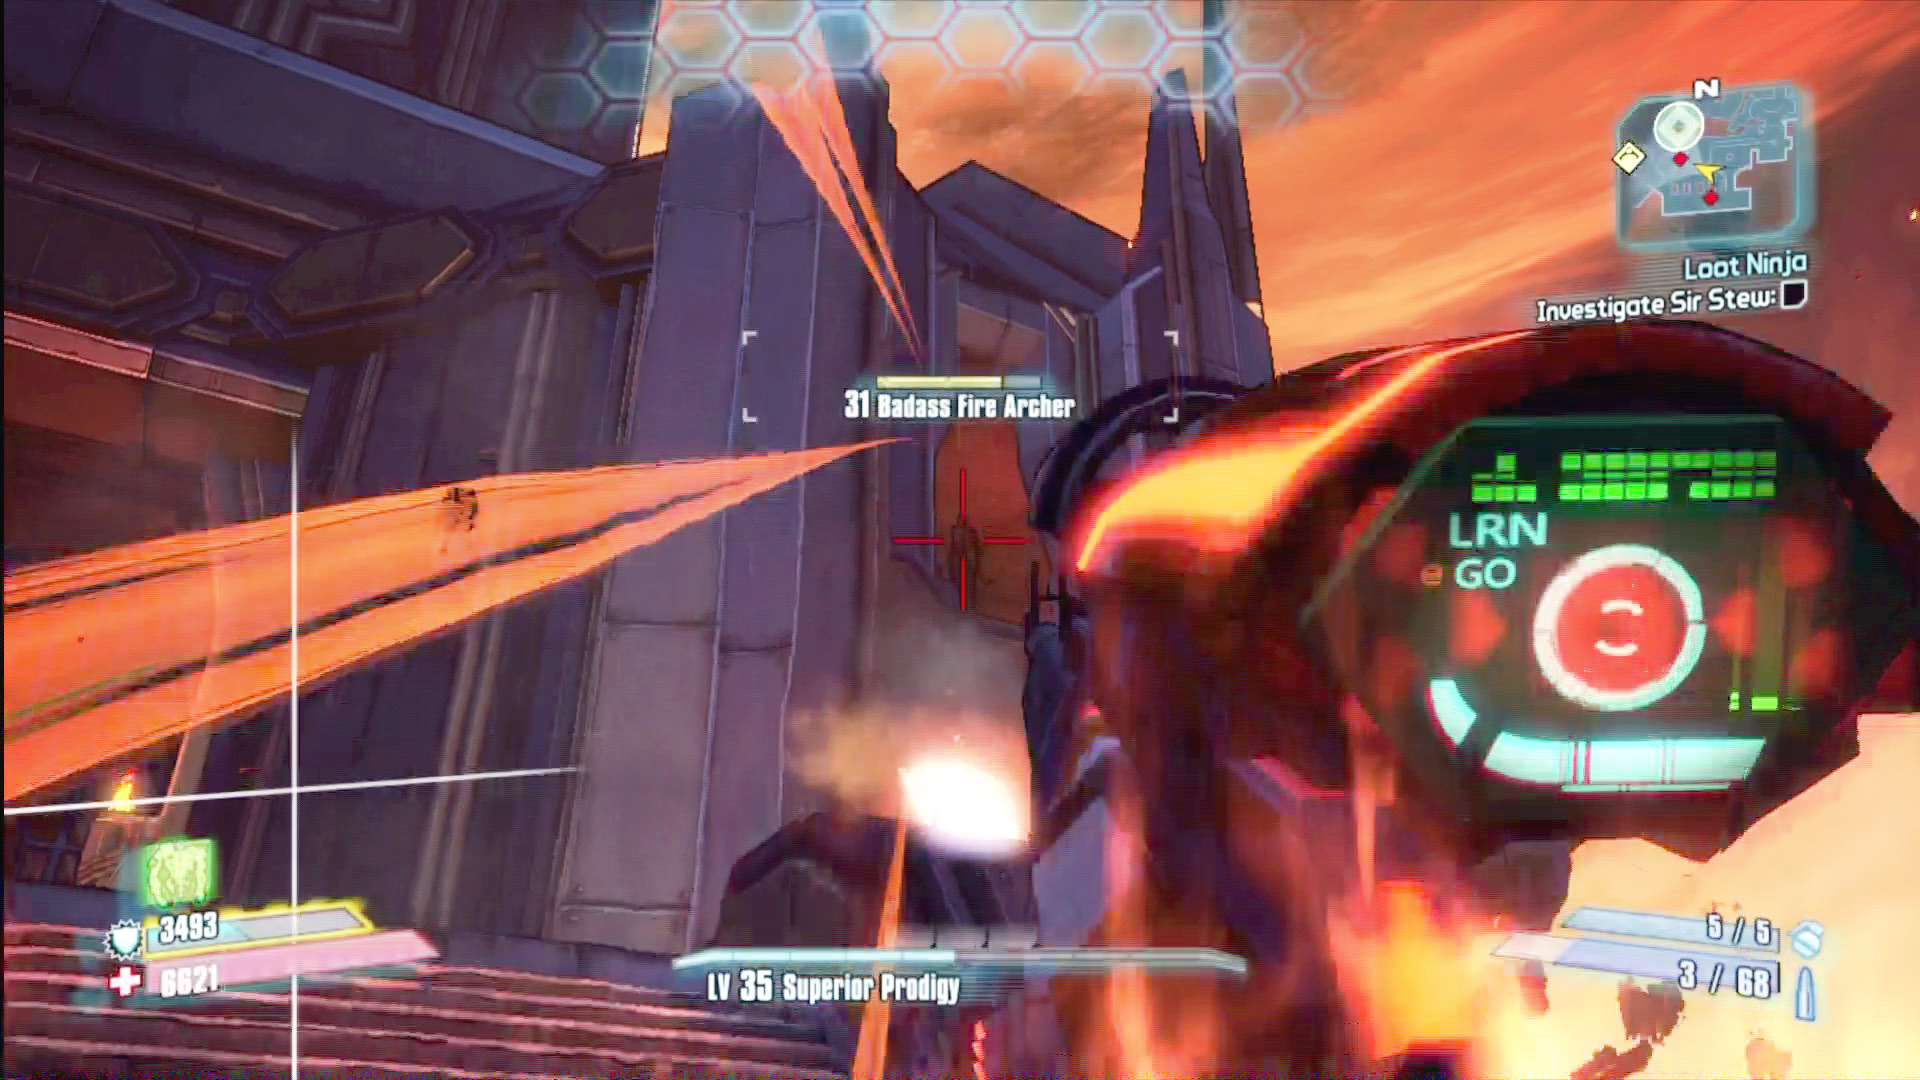
The Handsome Sorcerer’s Knights prove to be annoying roadblocks, but the true danger comes from Archers sniping from higher floors. Use sniper rifles to scan the area ahead before you proceed to a higher level.
When you reach the southwest corner of the battlements and begin moving north to Horizon’s End, search the area for an elevator that can take you directly back to The Pit, establishing a valuable shortcut for side quests and future travels. If you don’t have any business below, head back up and resume your journey through Horizon’s End. Expect a grueling battle when you enter the Hall of Hyperion, where you’ll have to survive many waves of Knights and Sorcerers. If it saps your ammo supply, hit the vending machines afterward; there’s a boss just ahead.
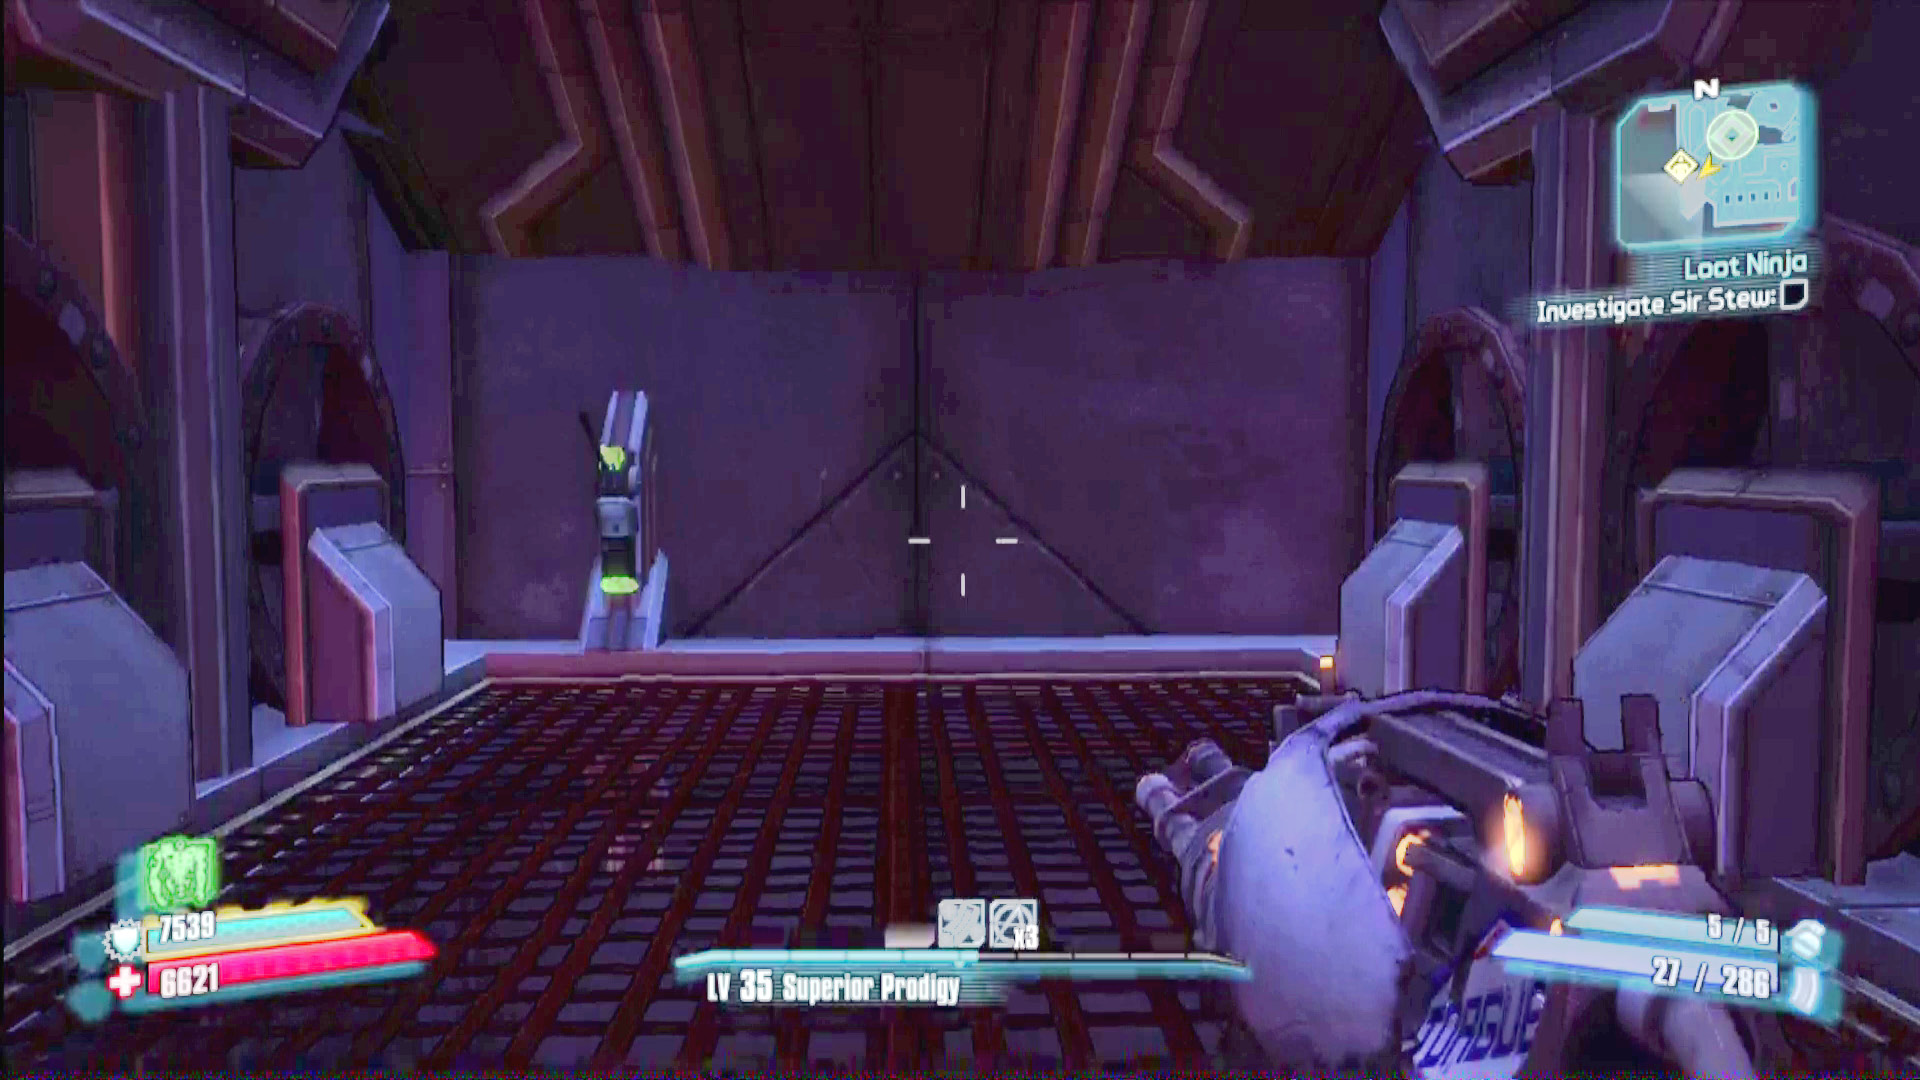
One of the area’s Cult of the Vault symbols is actually on the elevator shaft.
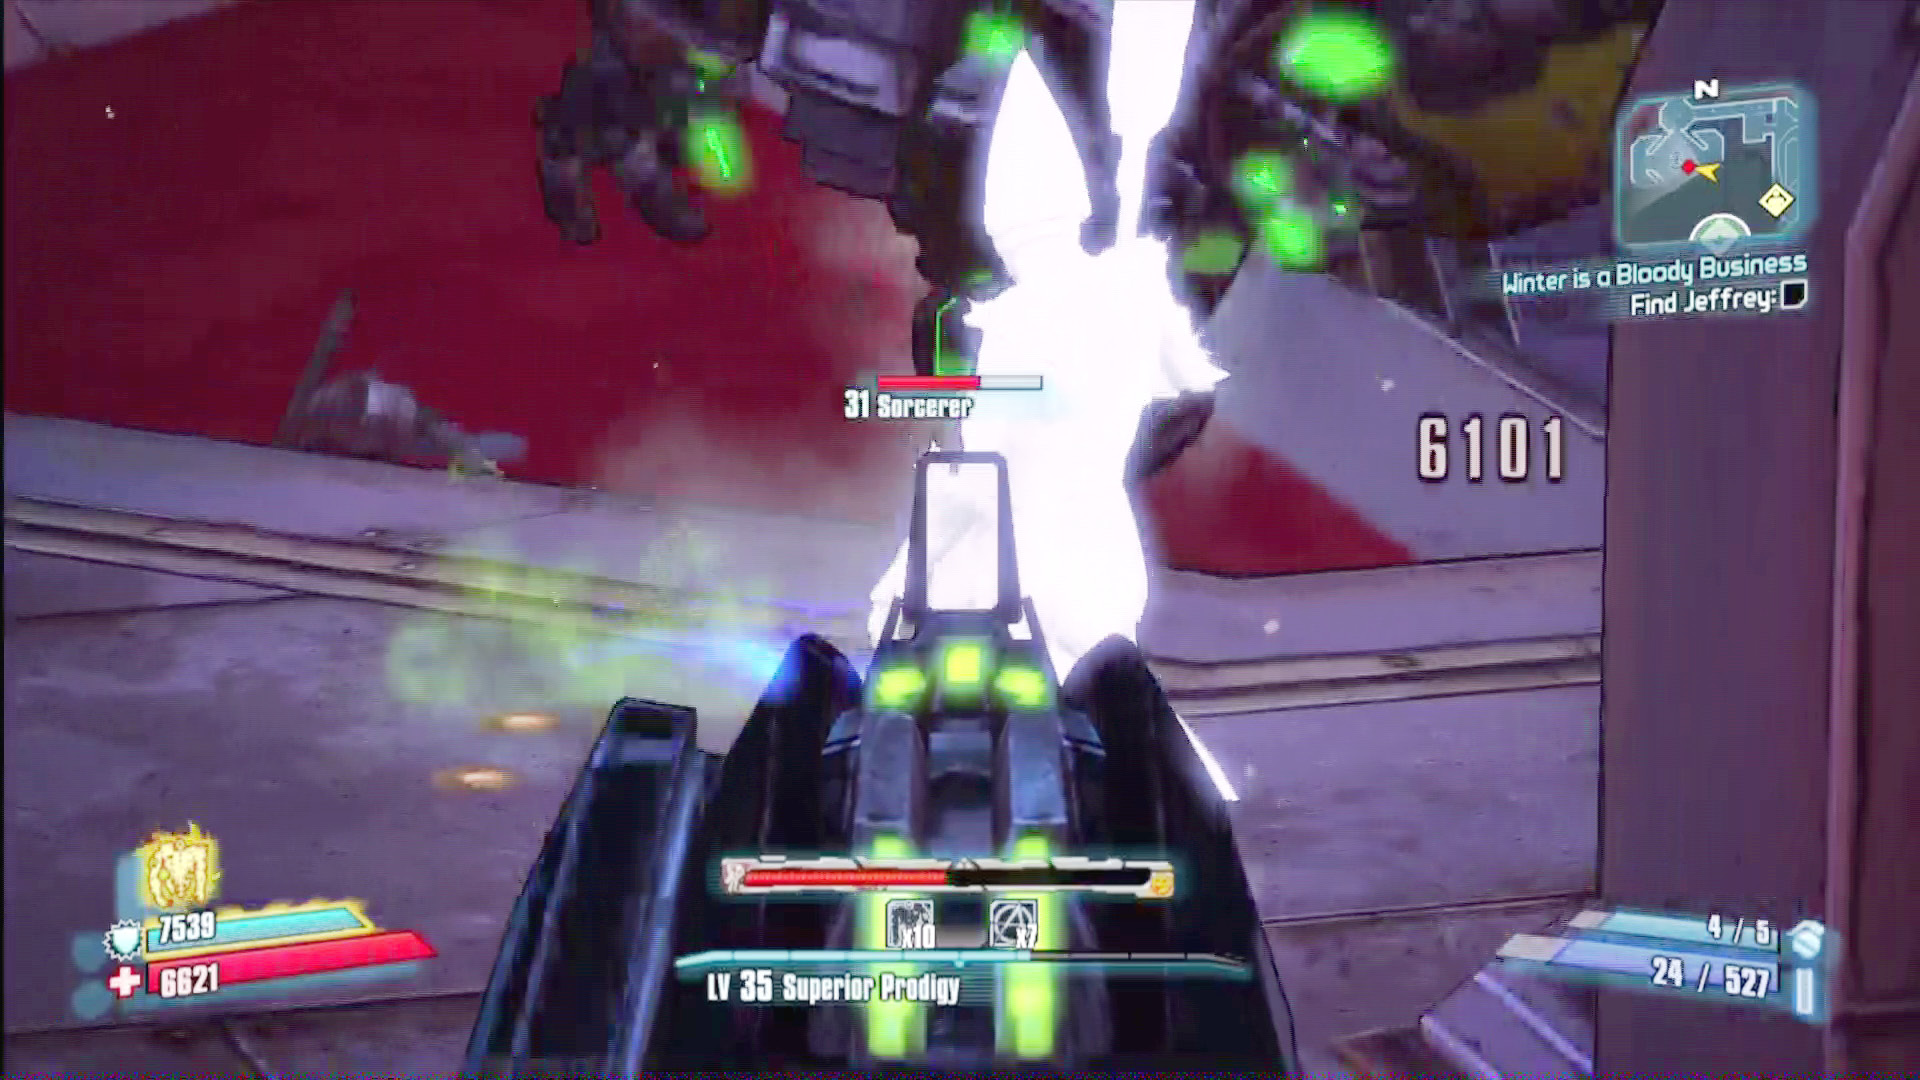
Stay on the upper level in the Hall of Hyperion so you can safely pick off the first few attackers of each new wave.
handsome dragon
Handsome Dragon’s Vitals
| Health Multiplier | Shield Level | Damage Multiplier | XP Value | Critical Areas | Weakness/Resistance |
|---|---|---|---|---|---|
|
50 |
— |
2 |
Boss |
Head |
— / |

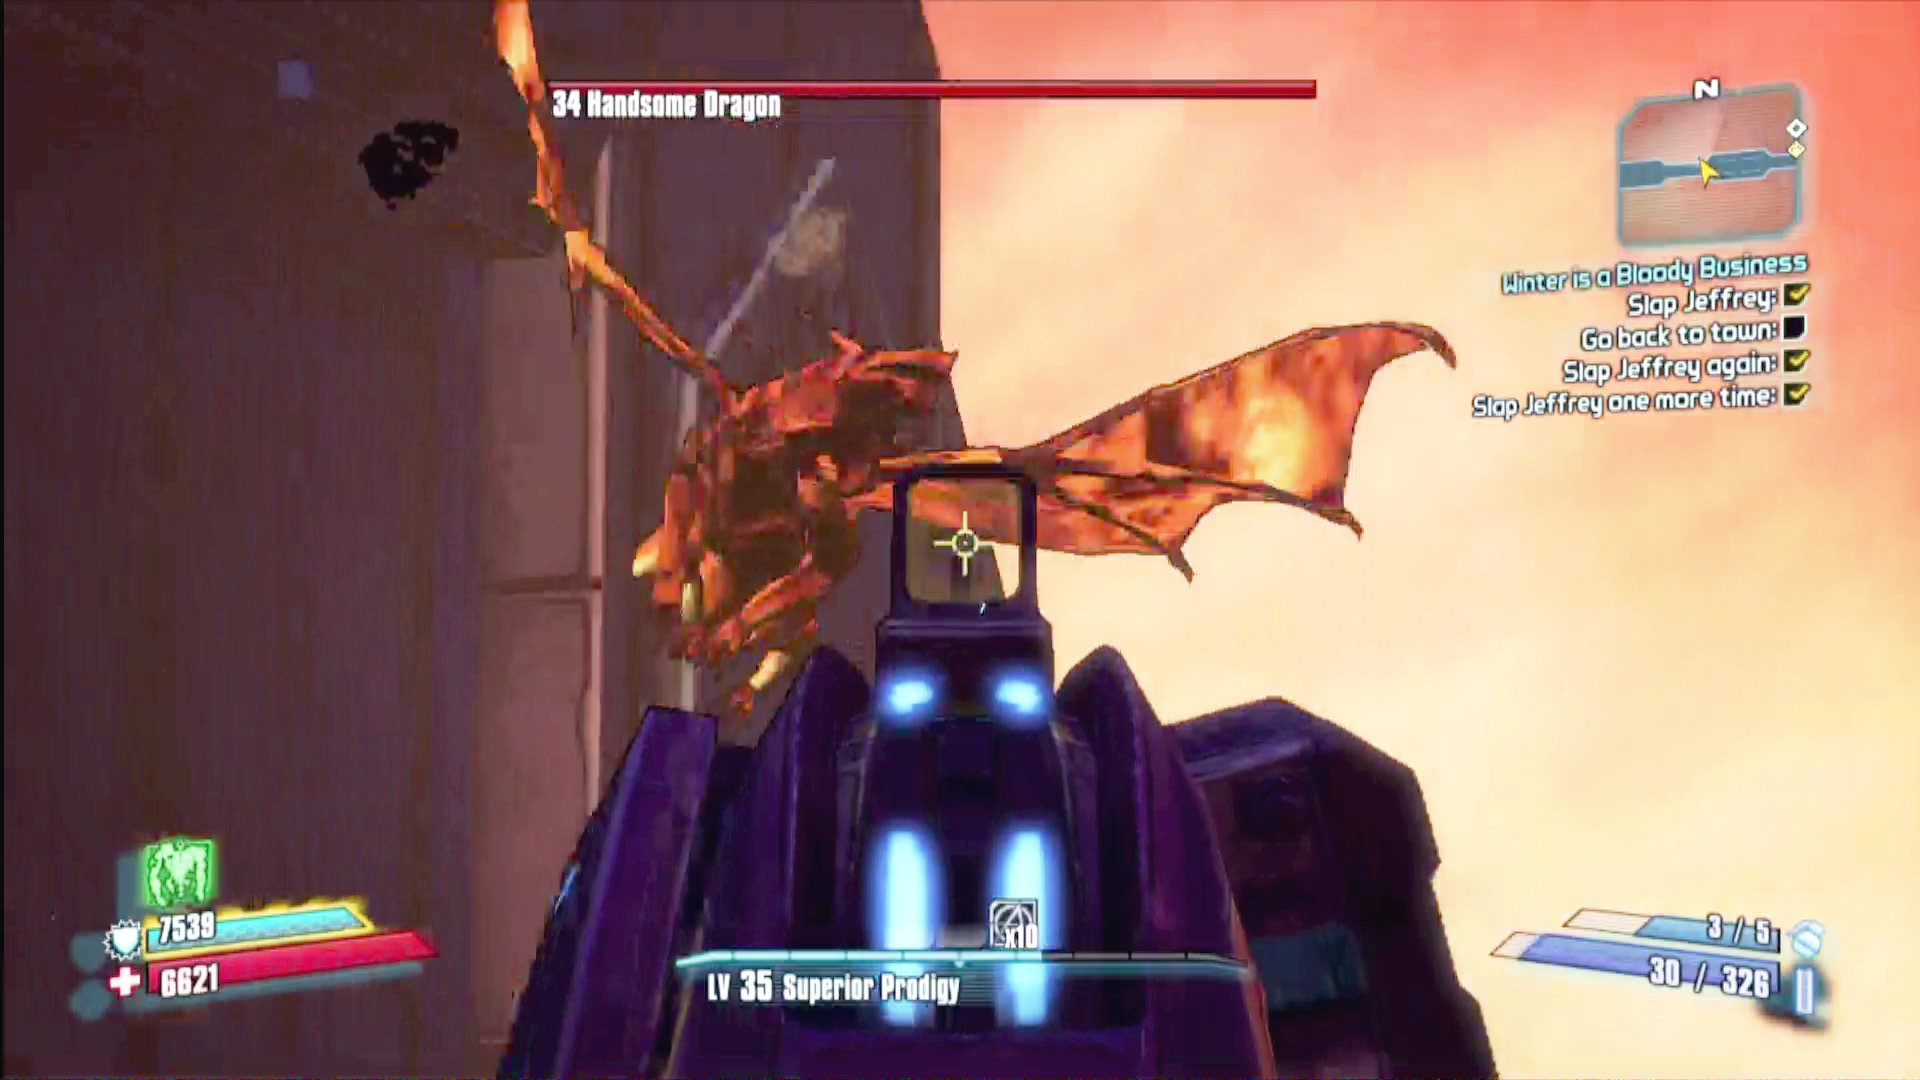
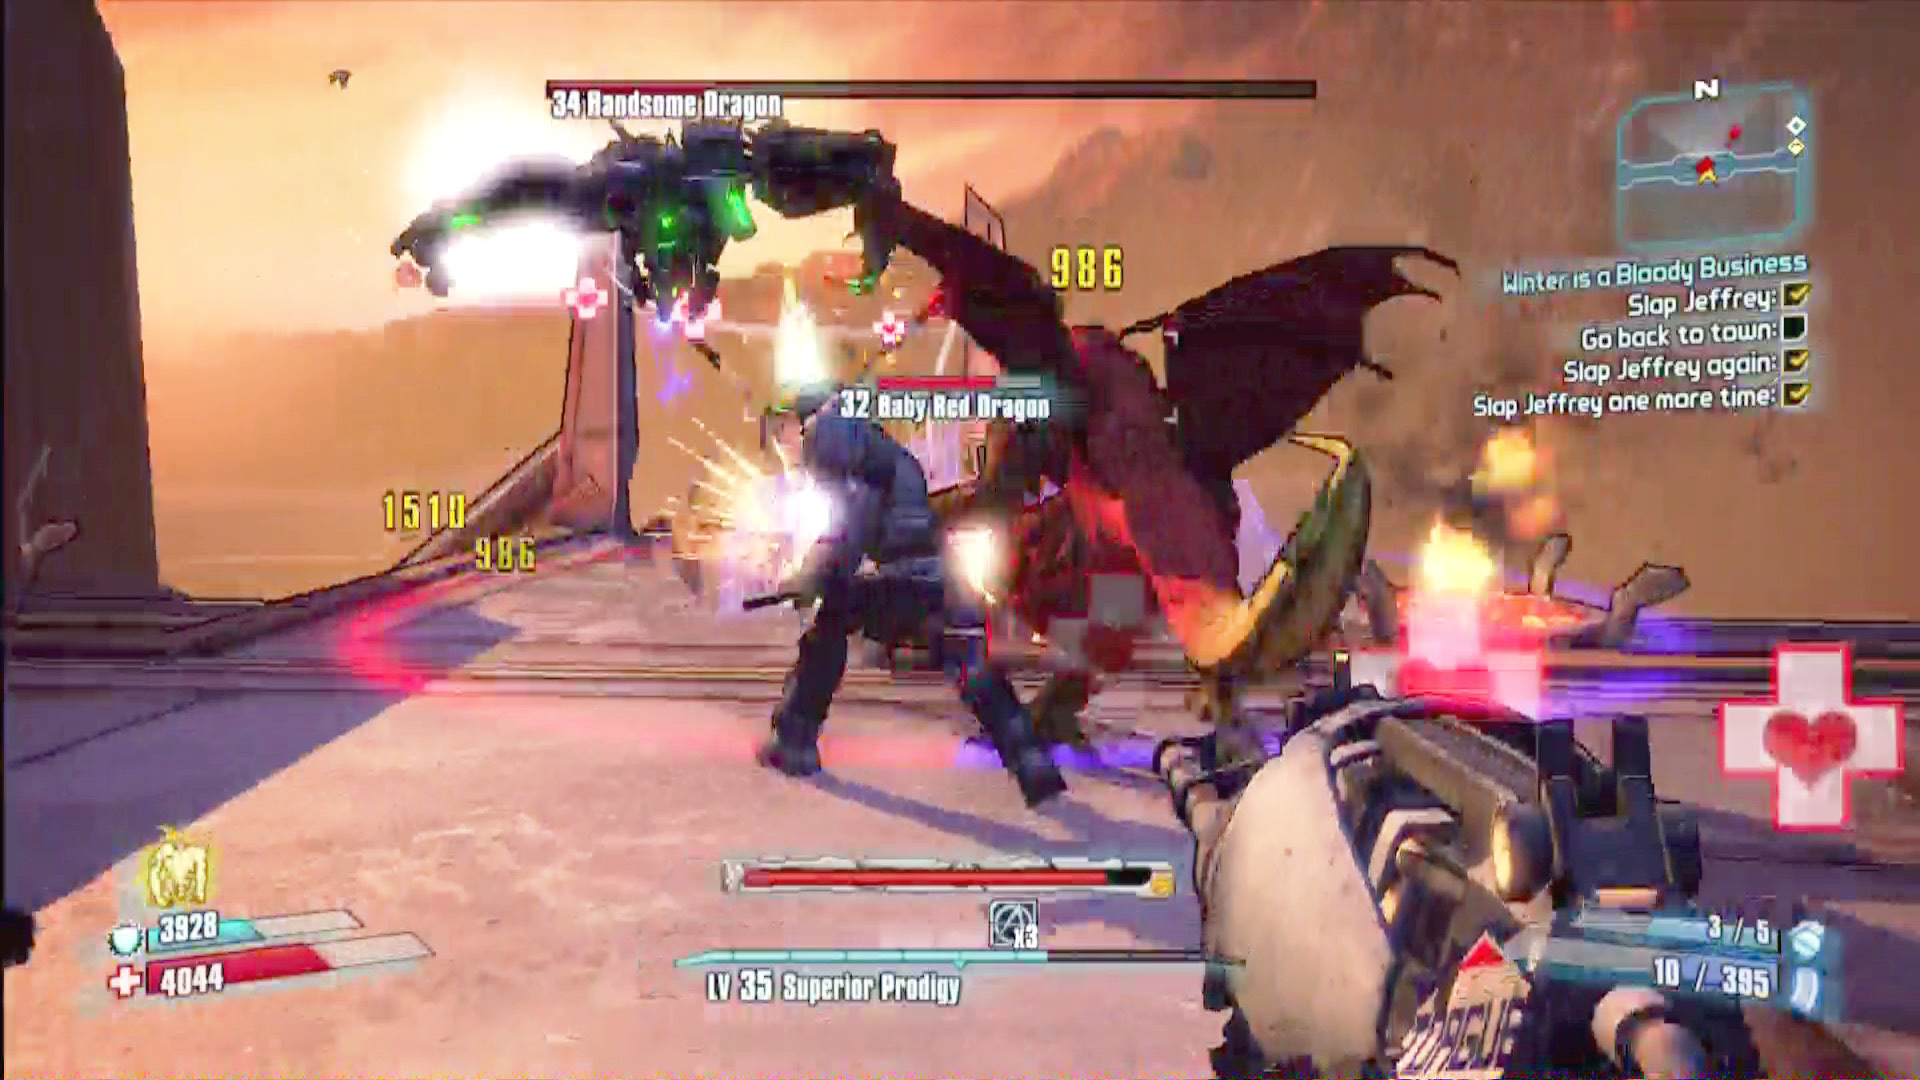
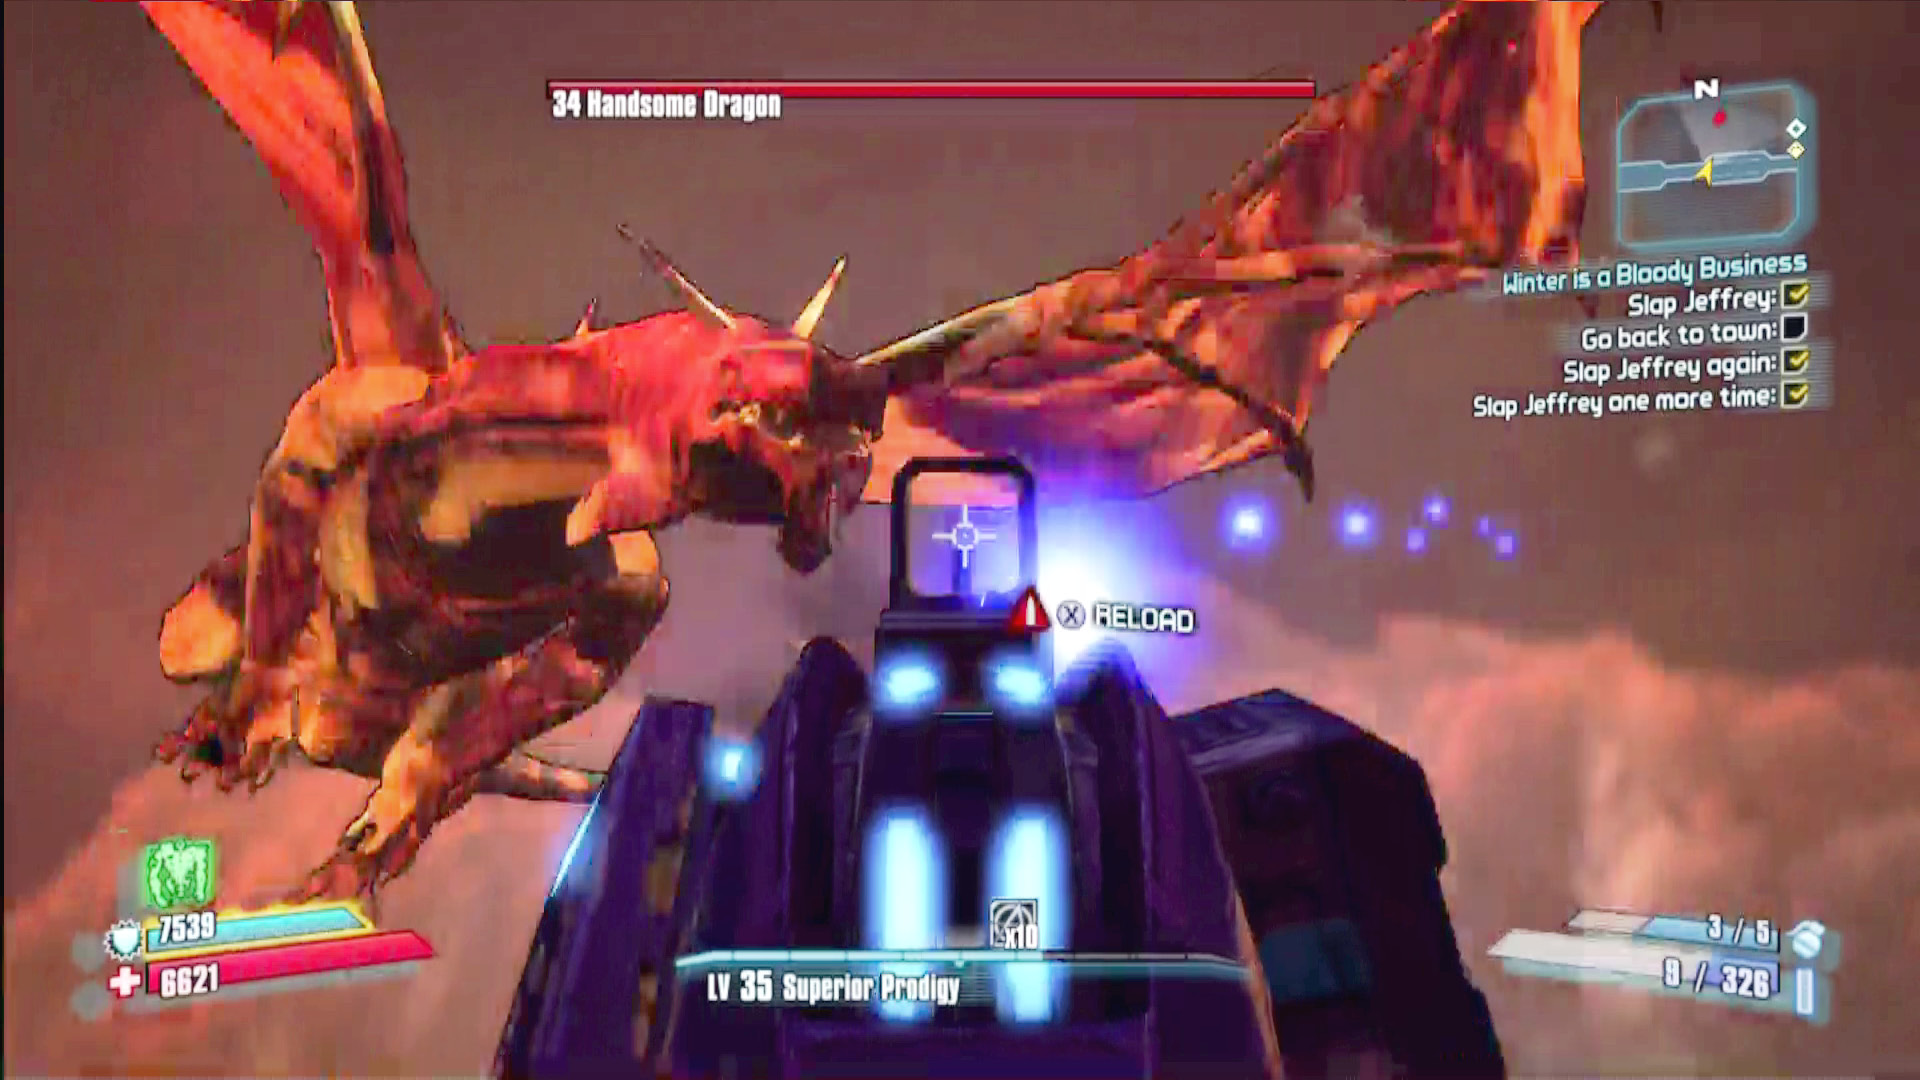
The Handsome Dragon that Tina teased you with at the beginning of the campaign finally attacks for real on the bridge that connected Hatred’s Shadow to the Lair of Infinite Agony. If you have any burn-resistant shields or Relics on hand, now would be a fine time to equip them—the Handsome Dragon is pretty single-mindedly focused on setting its victims ablaze.
Fortunately, you won’t have to fight alone for long, as Tiny Tina once again writes Roland into the boss fight. He’ll bring along his trusty healing turret, which is always a welcome sight. But the Handsome Dragon has friends, too: its ankle-biting Baby Red Dragons can deal a good amount of damage out of nowhere while your attention is focused on the skies. Glance at your auto-map from time to time to make sure there aren’t any nearby, and turn your guns on them when necessary. Try to always leave one alive for Second Winds; you should be able to hit it from anywhere on the bridge.
Highly accurate, fast-firing weapons are useful here, but the Handsome Dragon flies much closer than the Red and Blue Dragons you fought at That One Blimp You Destroyed, and it is vulnerable at times even to shotguns and well-timed rocket launcher blasts.
A Handsome Chamber of Horrors
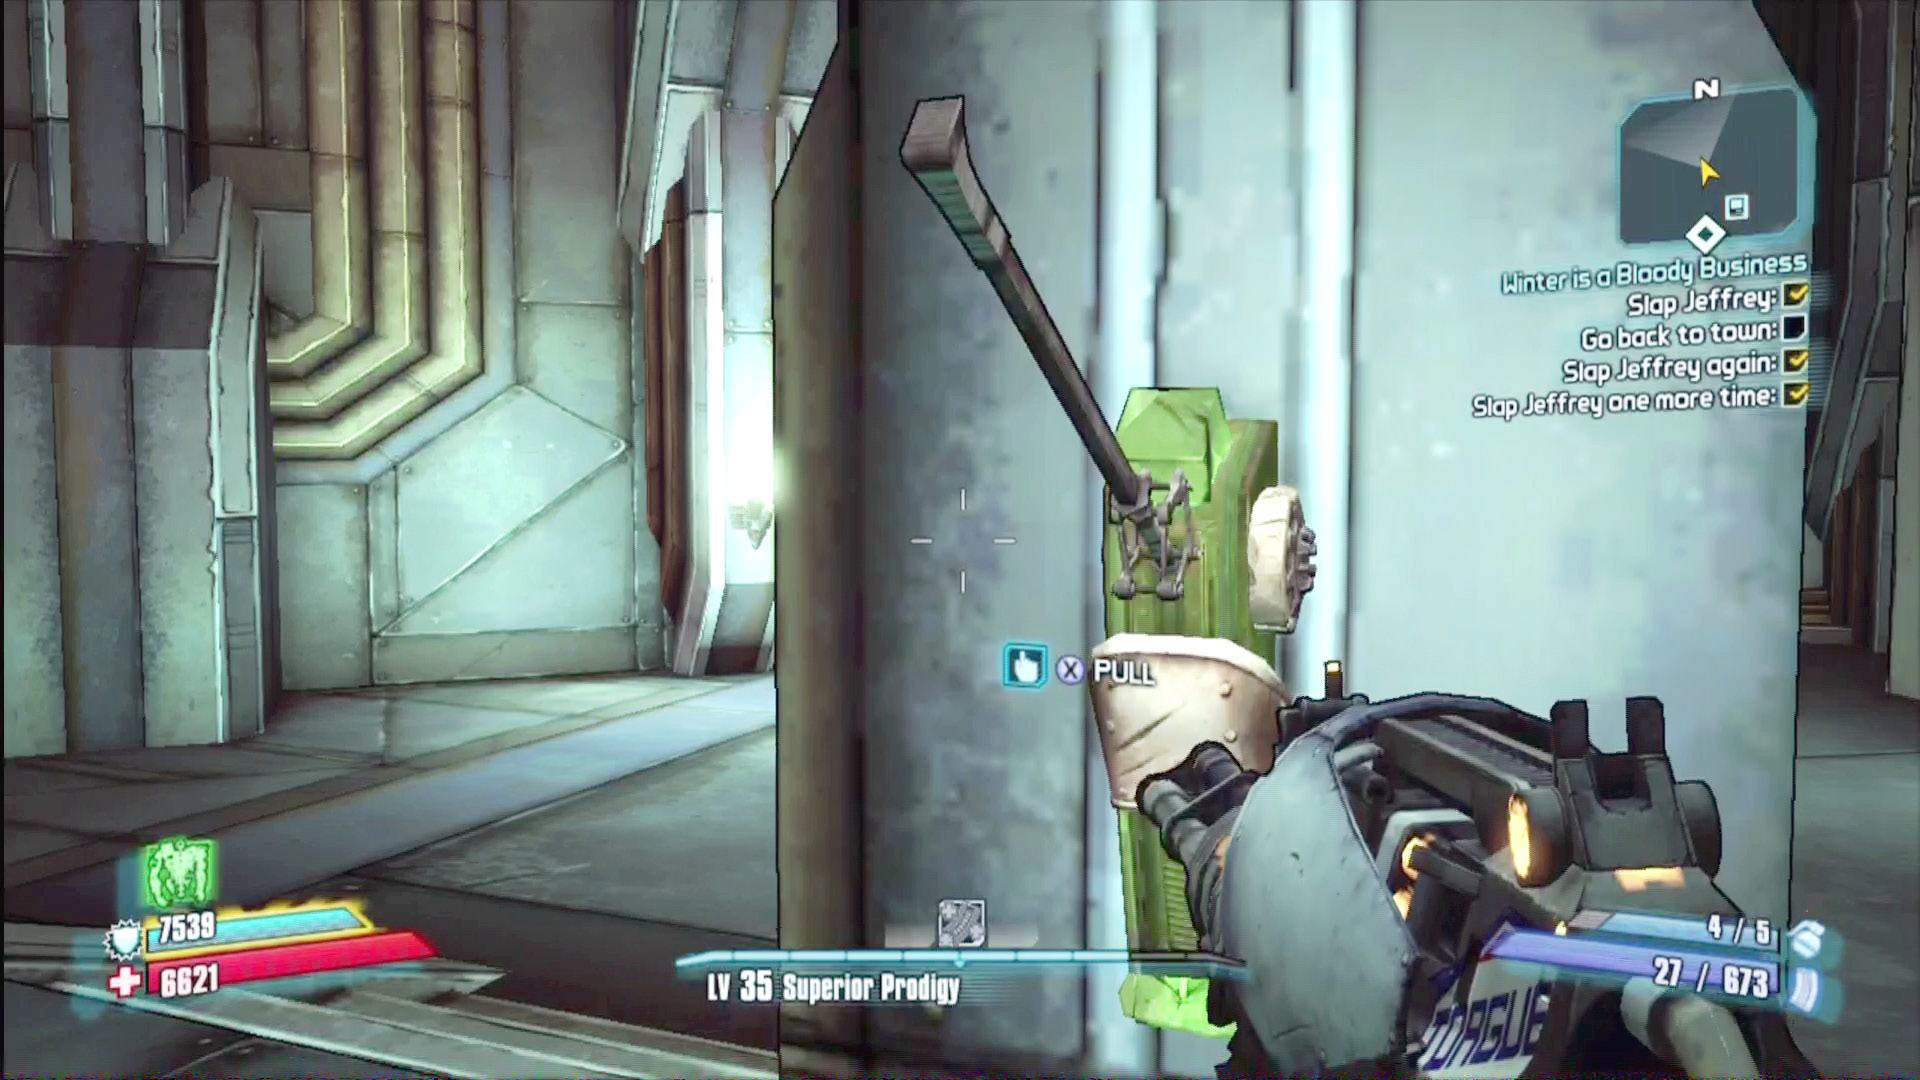
The foyer of the Lair of Infinite Agony contains nothing but a few pots and a conspicuous green lever…
Pulling the lever sends you plummeting into the lair’s dark basement, where you’ll have to make your way through 10 distinct areas of traps and battles.
Talk to Simon to accept the “My Dead Brother” side quest, then take the elevator up to Crawler Hall (passing a plate of crumpets in the shaft). Battle your way through the spiders there, then drop into the Death Quencher Well (where you’ll spot another plate of crumpets). Make your way north to the Chamber of Woe, where you’ll find the first mass grave for the “My Dead Brother” quest.
Well, you only live once, right?
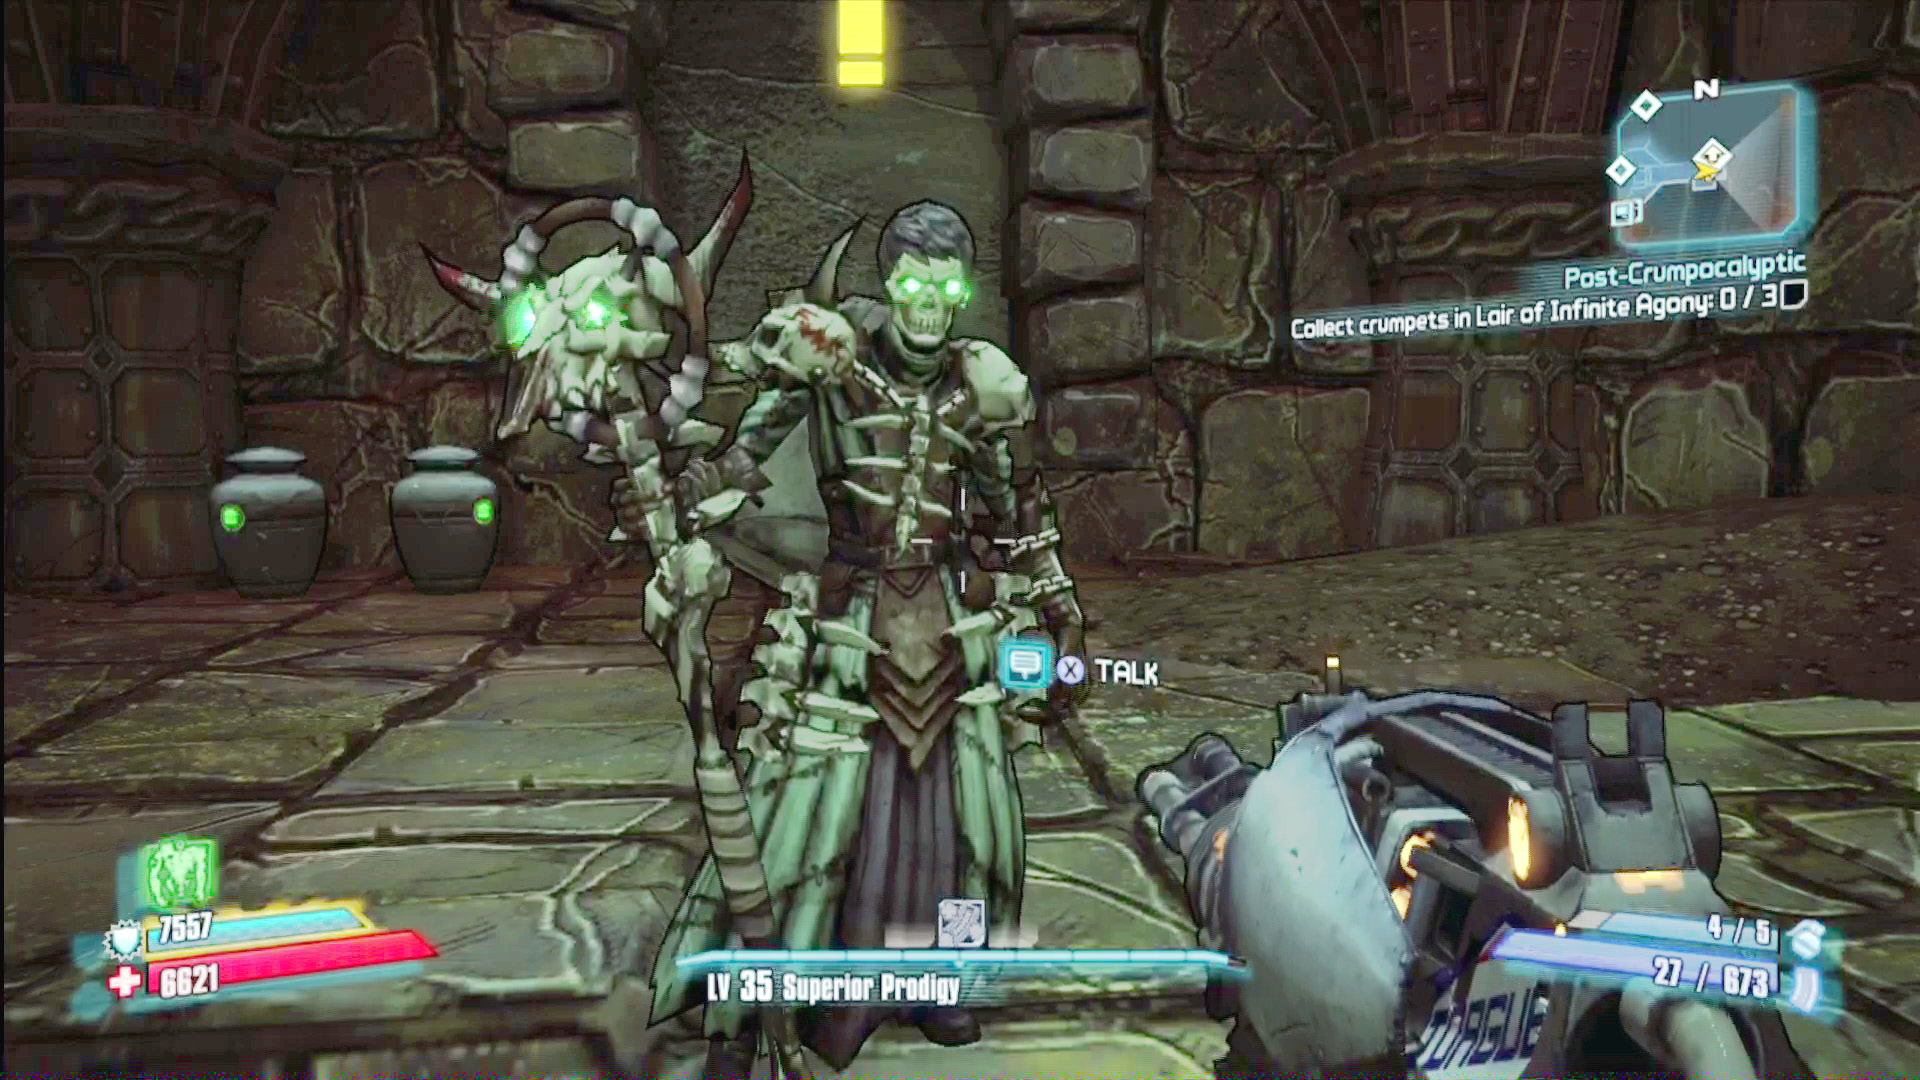
All four destinations in Simon’s “My Dead Brother” quest are directly on your path as you proceed through the Lair of Infinite Agony.
Heading west to the Grim Stone Sepulcher, you’ll encounter a deadly passage of rising and falling platforms. If you get stuck on a platform as it’s rising to the ceiling, you’re dead. If you try to hide under one as it’s going down, you’re also dead. Getting through this requires perfect timing. Wait until the platforms are staggered with the first one falling and the second one rising, which should give you enough time to jump off the first platform before you get crushed and catch the second platform on its descent. If the third and fourth platforms aren’t in a similar configuration, allowing you to continue onward, return toward the entrance and wait for another opportunity.
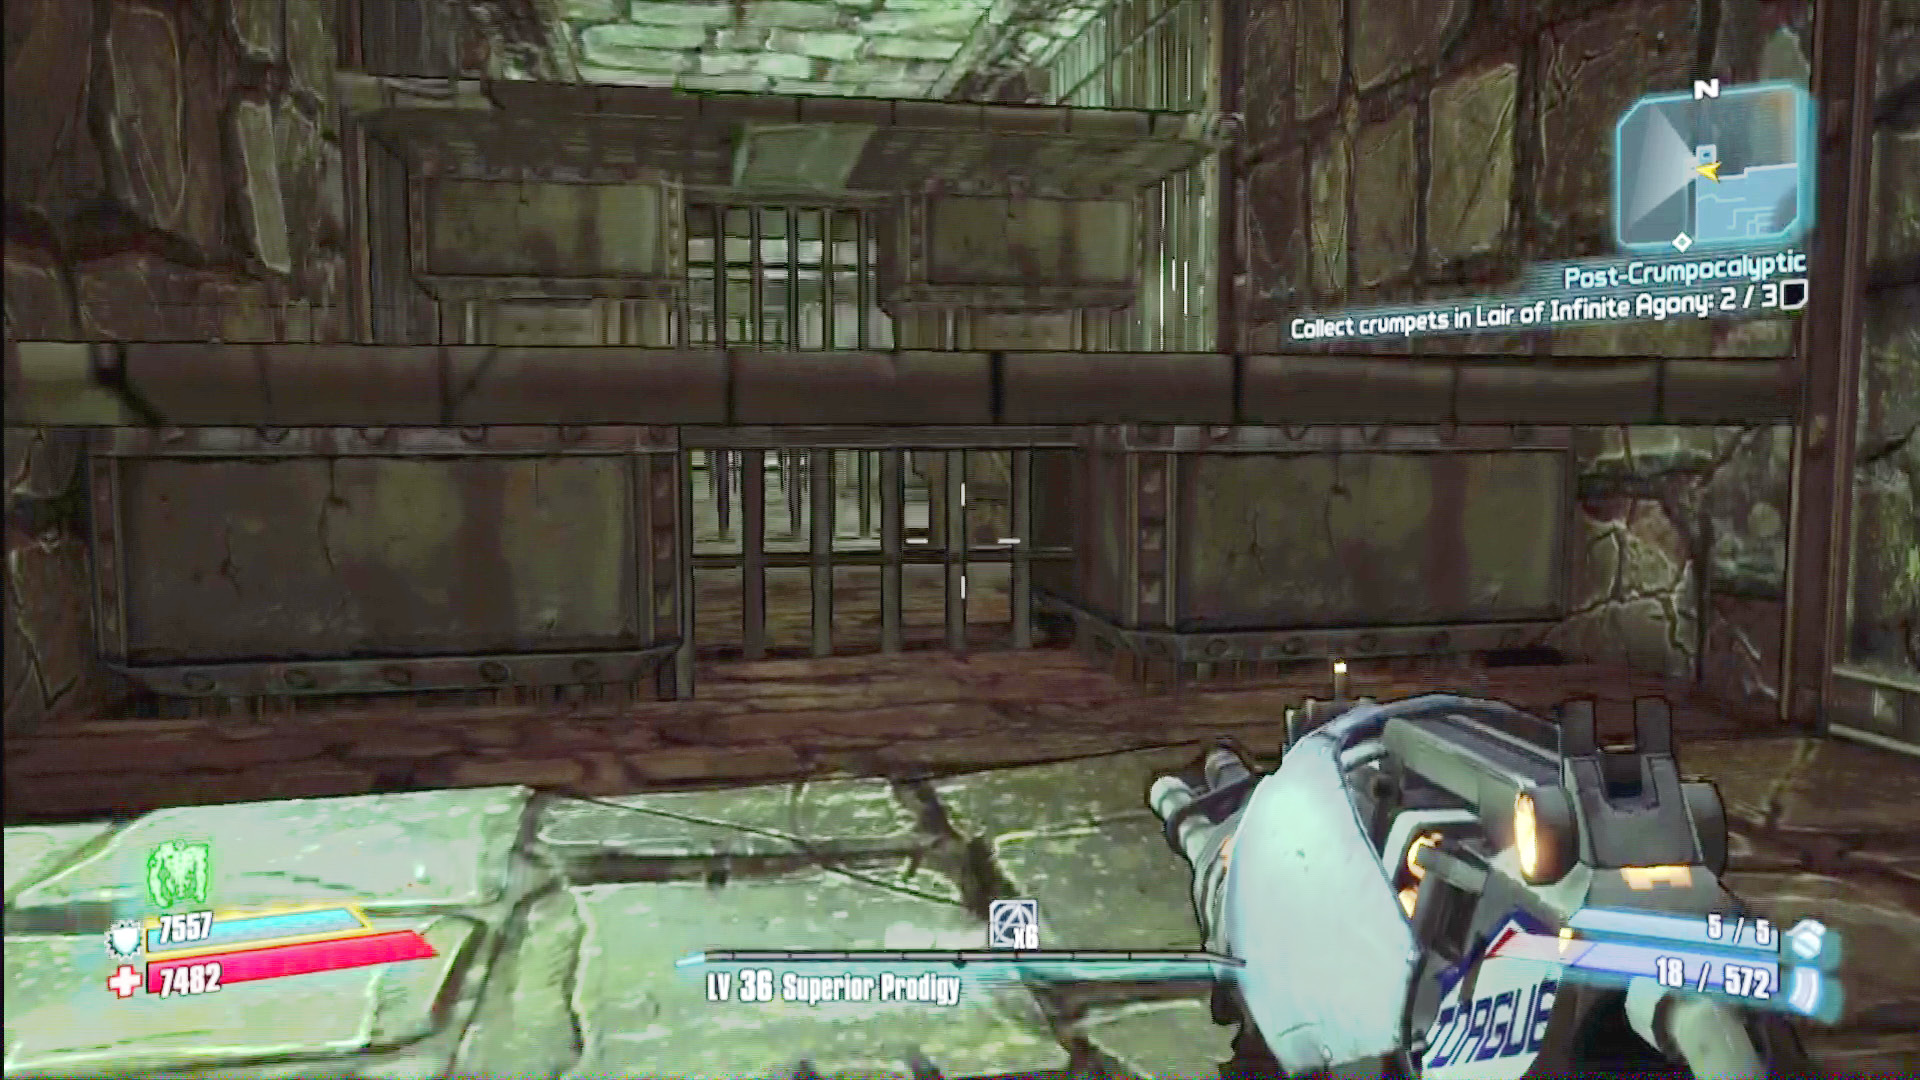
Once you make it across the platforms, pull the green lever to shut them off forever. You can then go back and find the vault symbol that had been hidden against the walls.
Following the Prisoner’s Wisp
The prisoner’s shining ball of light leads you west through the Temple of Misworship and the Bone Barracks (site of the second mass grave), east through the Hall of the Dead, and then south through the upper level of Wailer Drop. Continue west to the Seer’s Sanctum, where you’ll find the third mass grave and Simon to turn in your quest. Then, head west into the Hall of Nightmares, where you can buy gear at some vending machines before finally meeting the prisoner in the Heart of Nightmares.
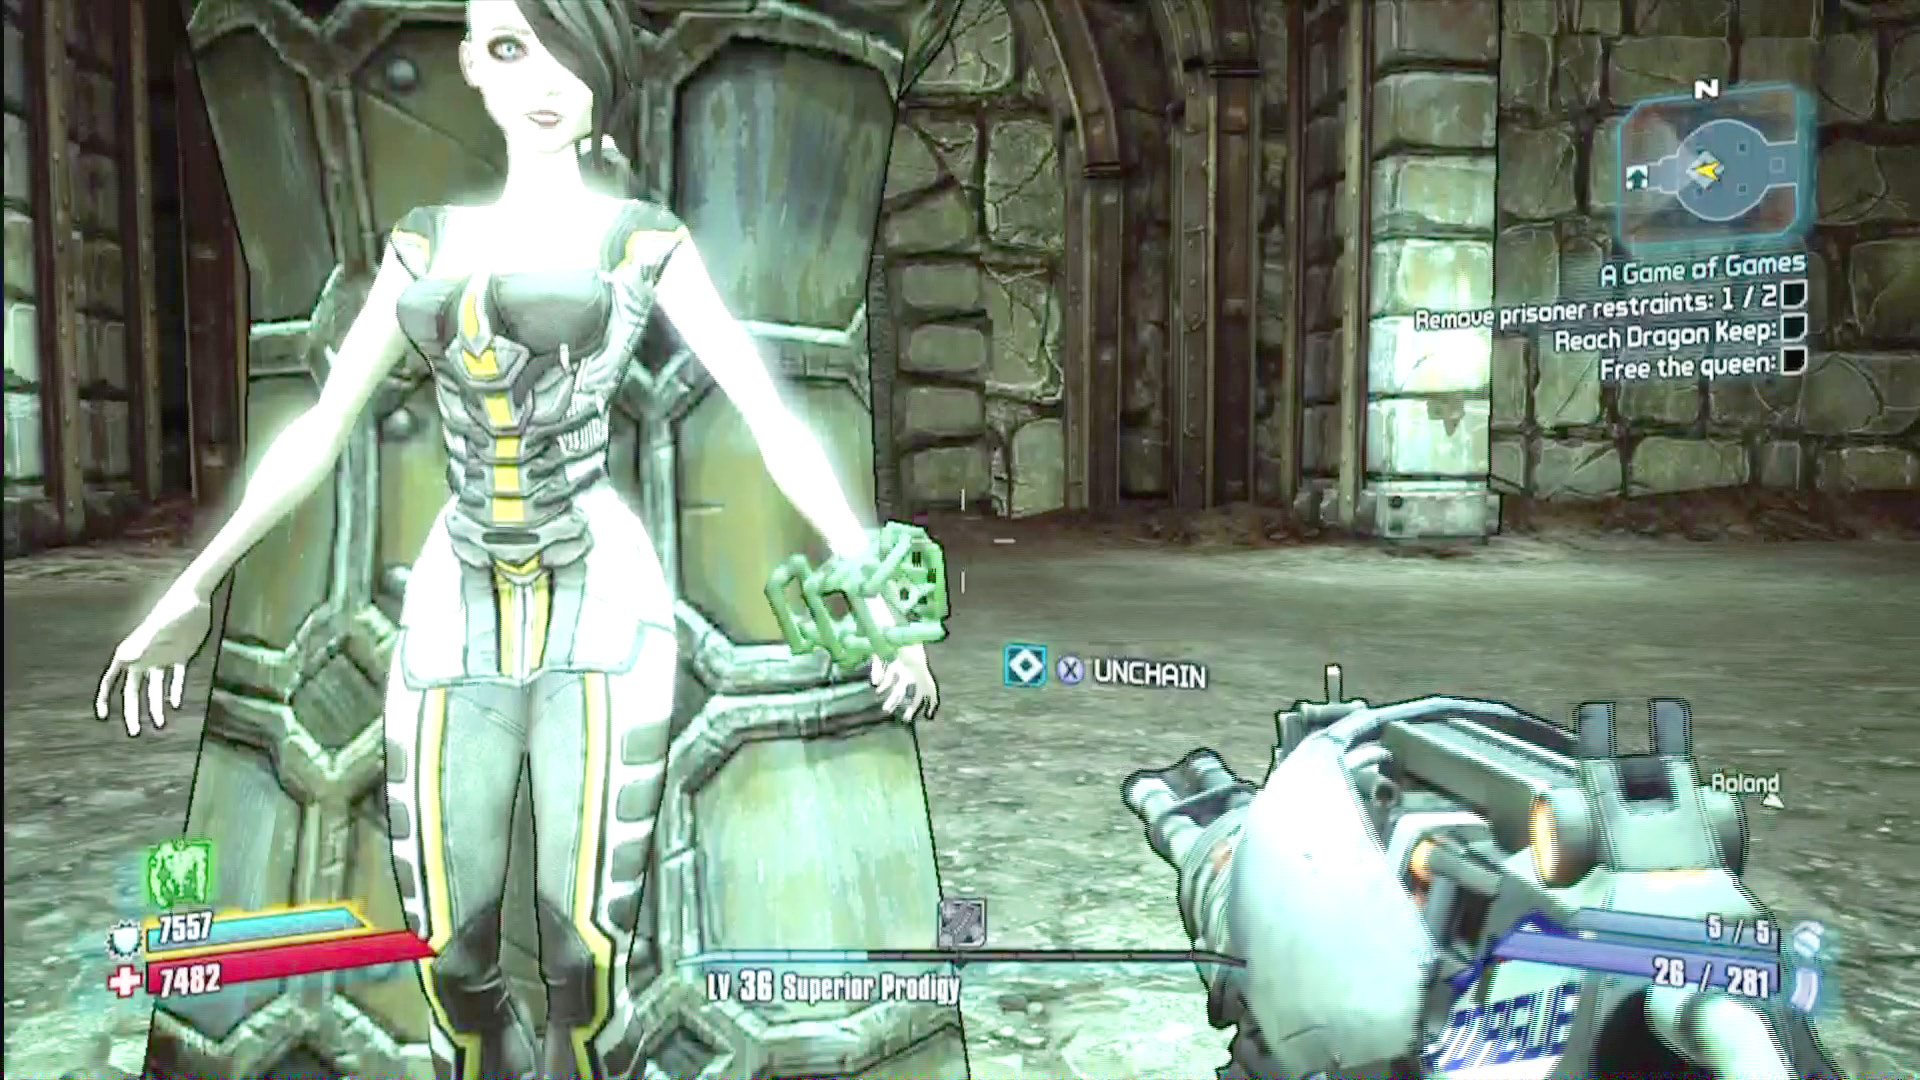
Let’s just get you out of those shackles so we can have a nice, leisurely chat…
sorcerer’s daughter
Sorcerer’s Daughter Vitals
| Health Multiplier | Shield Level | Damage Multiplier | XP Value | Critical Areas | Weakness/Resistance |
|---|---|---|---|---|---|
|
80 |
— |
1 |
Super Badass |
Head |
— / |
 ,
,  ,
,  ,
, 
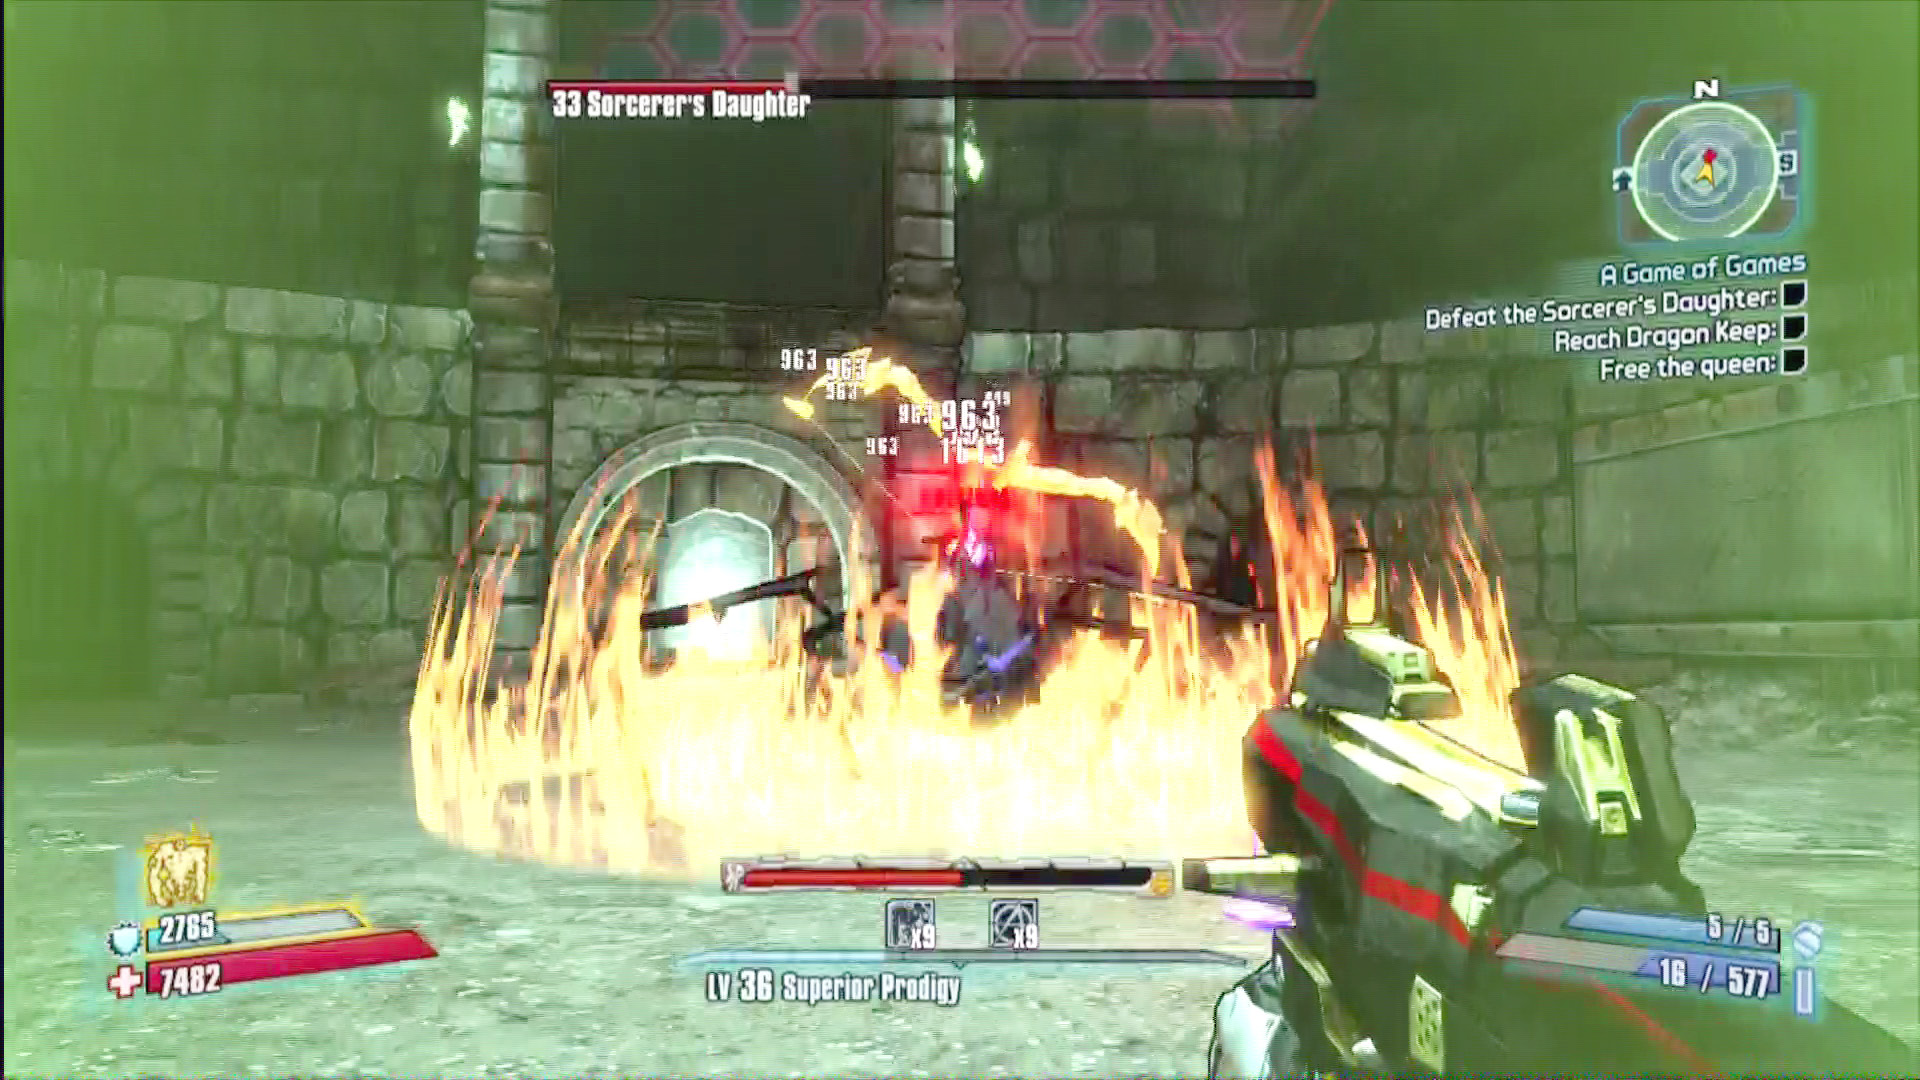
The Sorcerer’s Daughter has access to a variety of attacks, including flaming arrows, a ring of fire centered around herself, projectile spider eggs that hatch into a variety of lesser spiders, and a life-draining corrosive attack.
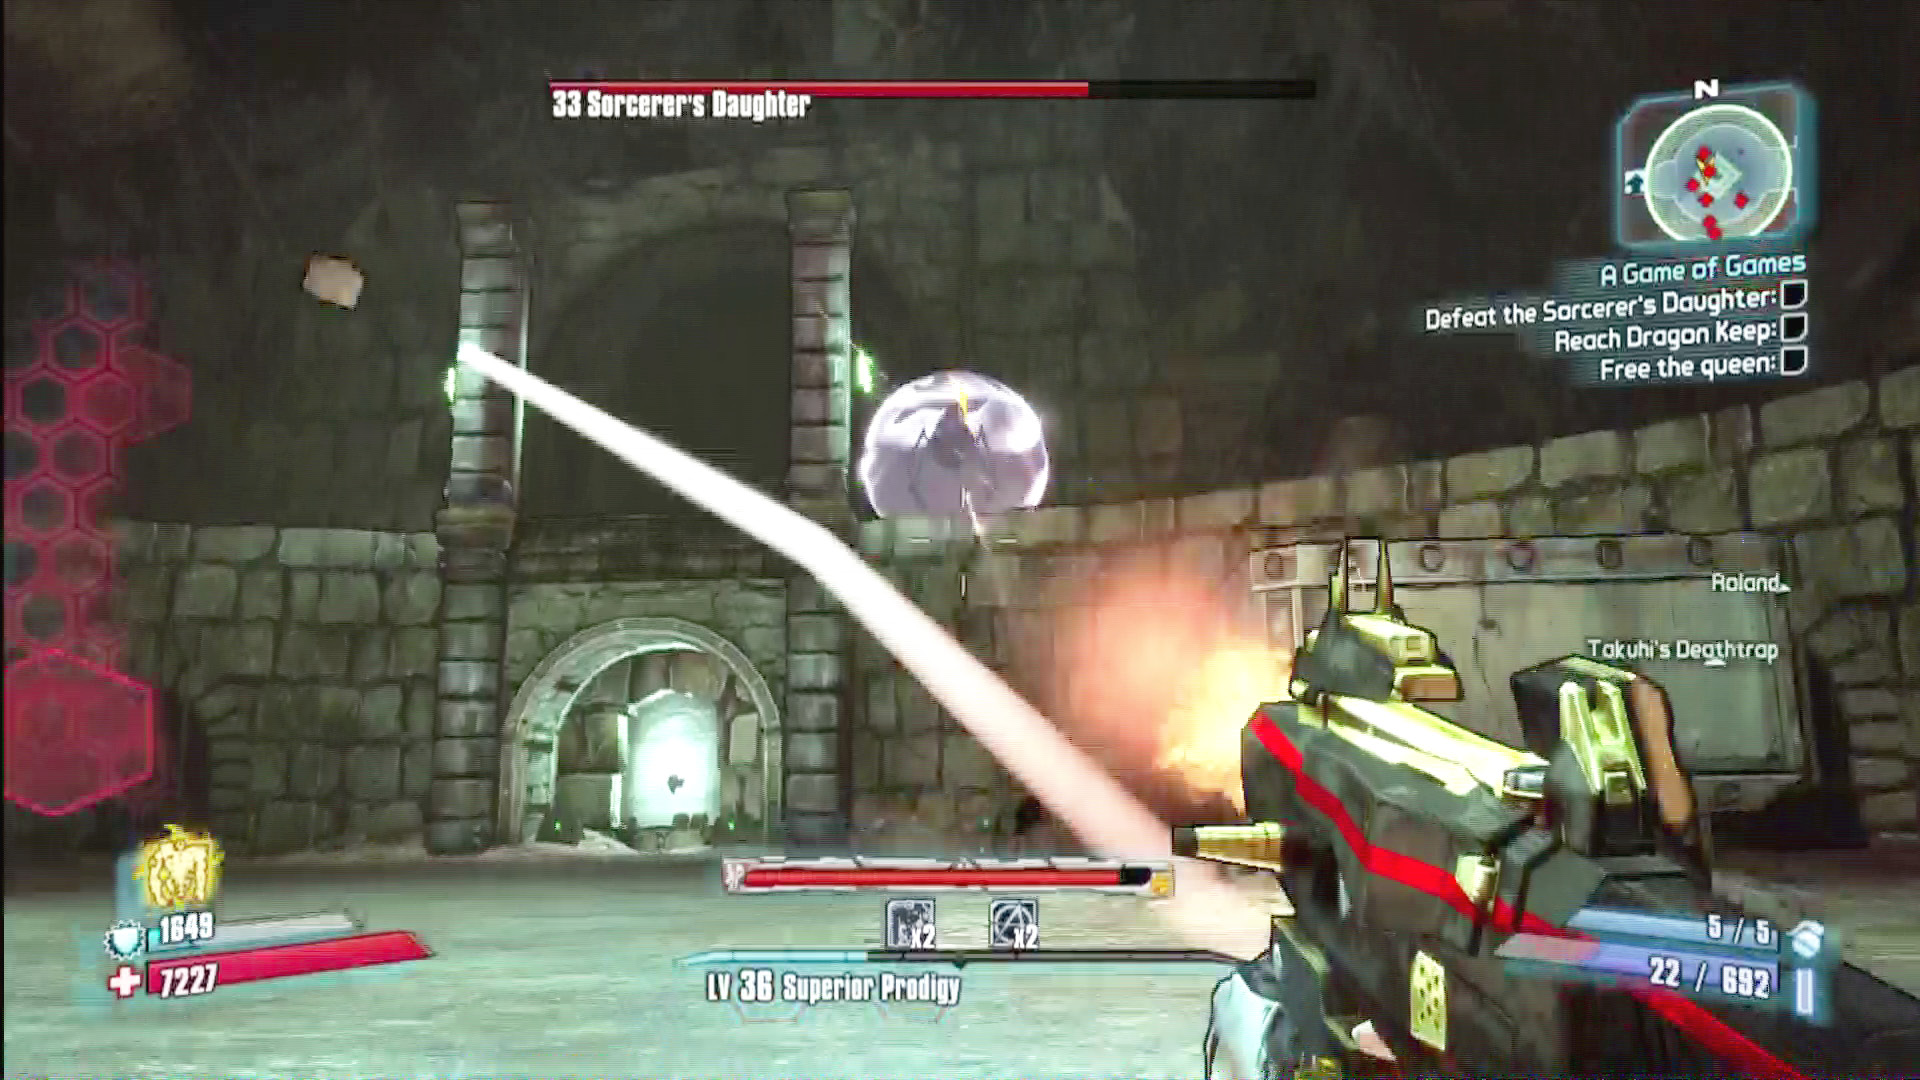
Whenever you knock off a quarter of her health, the Sorcerer’s Daughter jumps up to one of the high walls surrounding the arena and envelops herself in an impenetrable shield. This is your cue to reload, heal, and hunt down whatever random spiders are in the arena, as you won’t be able to do anything to her.
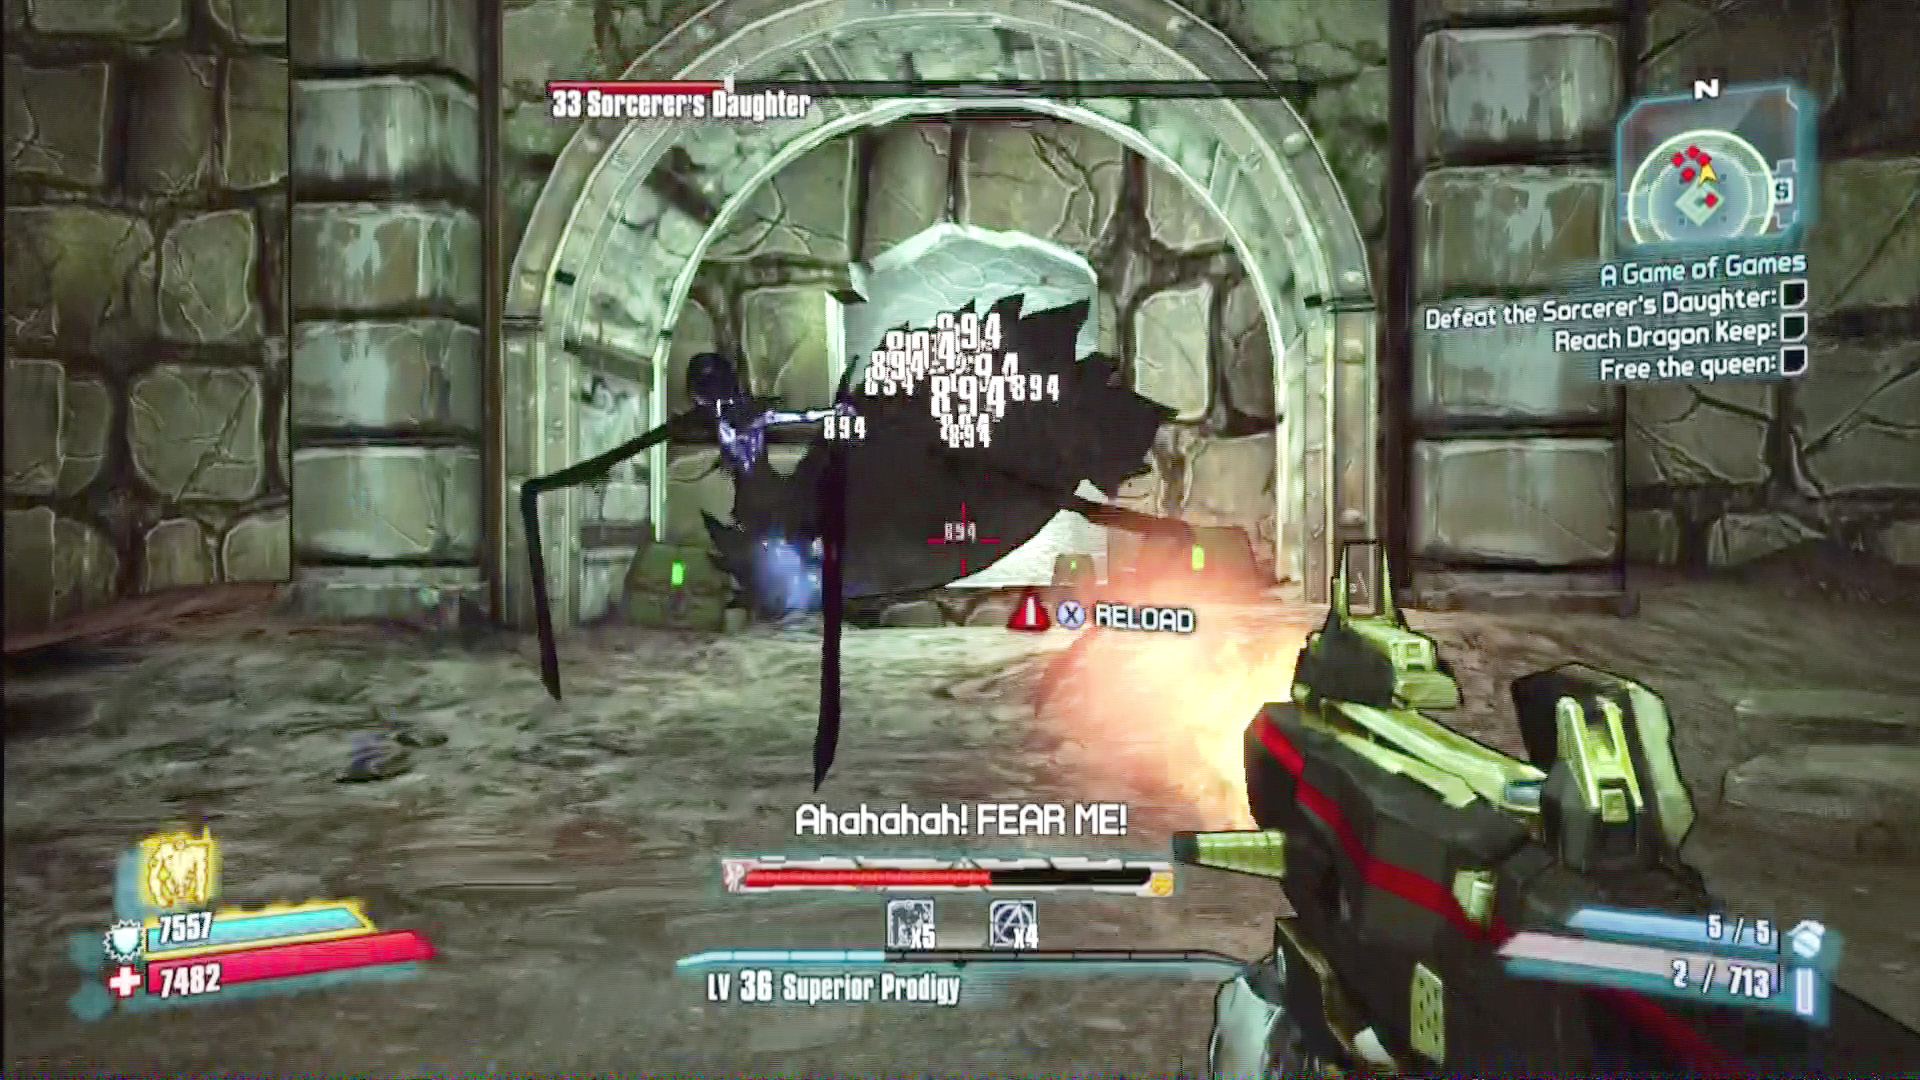
The Sorcerer’s Daughter is resistant to all elements except for shock, and she has no weaknesses. For once, your best bet seems to be good-ol’ white number damage.
She’s a tough foe, but as usual, you’ll have Roland and his turret to help. And this time, they can be a very big help indeed—if you die and respawn, the battle begins anew whether you choose to join it or not. It’s possible to wait outside the arena at the spot where you’d jump in to join the battle, and simply bide your time until Ronald has her at the brink of death.
Ascending the Handsome Tower
Take a breath of fresh, agony-free air, and then hop onto the platform outside of Dragon Keep. It’ll take you up in the air to the top of the tower, where you’ll have to fight your way through three floors of skeletons and Necromancers to reach the queen’s cell and the Handsome Sorcerer.
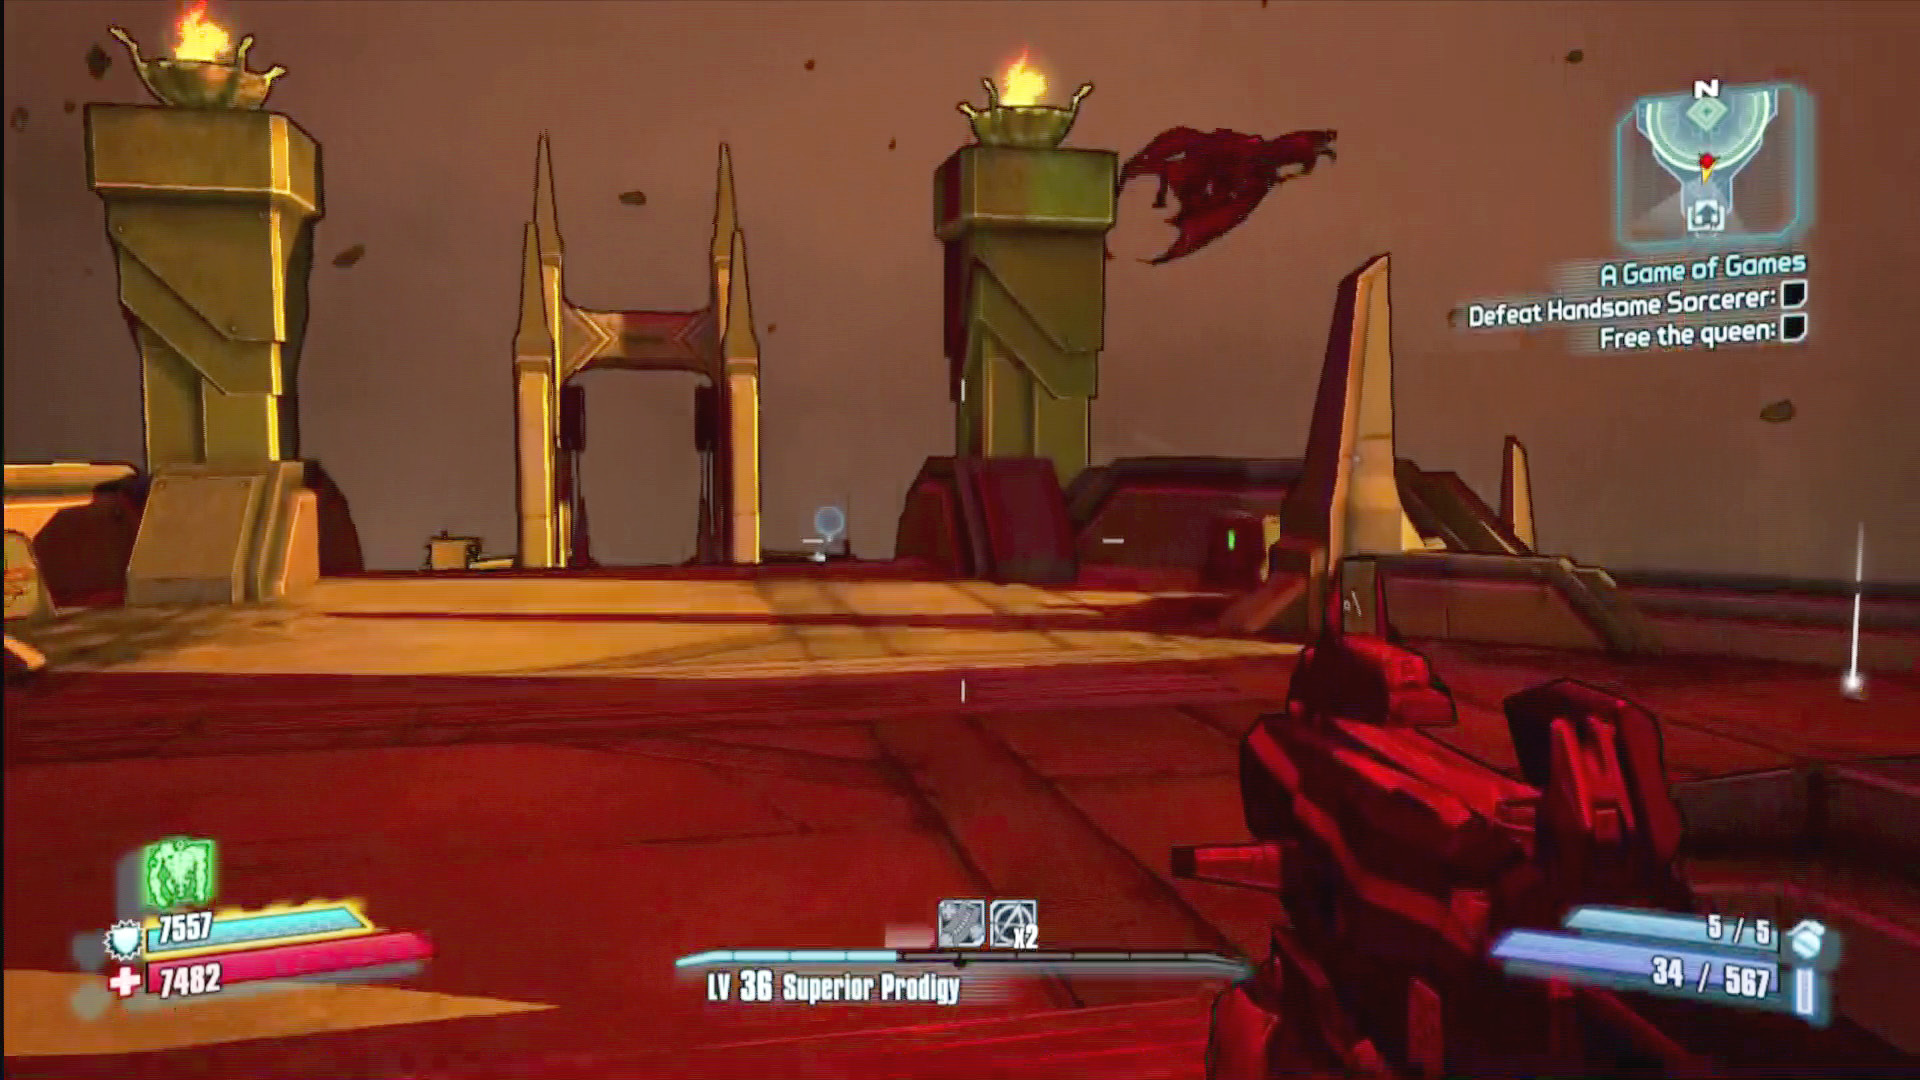
There are plenty of dragons flying around, but if you don’t attack first, they tend to keep to mind their own business.
handsome sorcerer
Handsome Sorcerer Vitals
| Health Multiplier | Shield Level | Damage Multiplier | XP Value | Critical Areas | Weakness/Resistance |
|---|---|---|---|---|---|
|
45 |
40 |
1.5 |
Normal |
Head |
|
 /
/ 
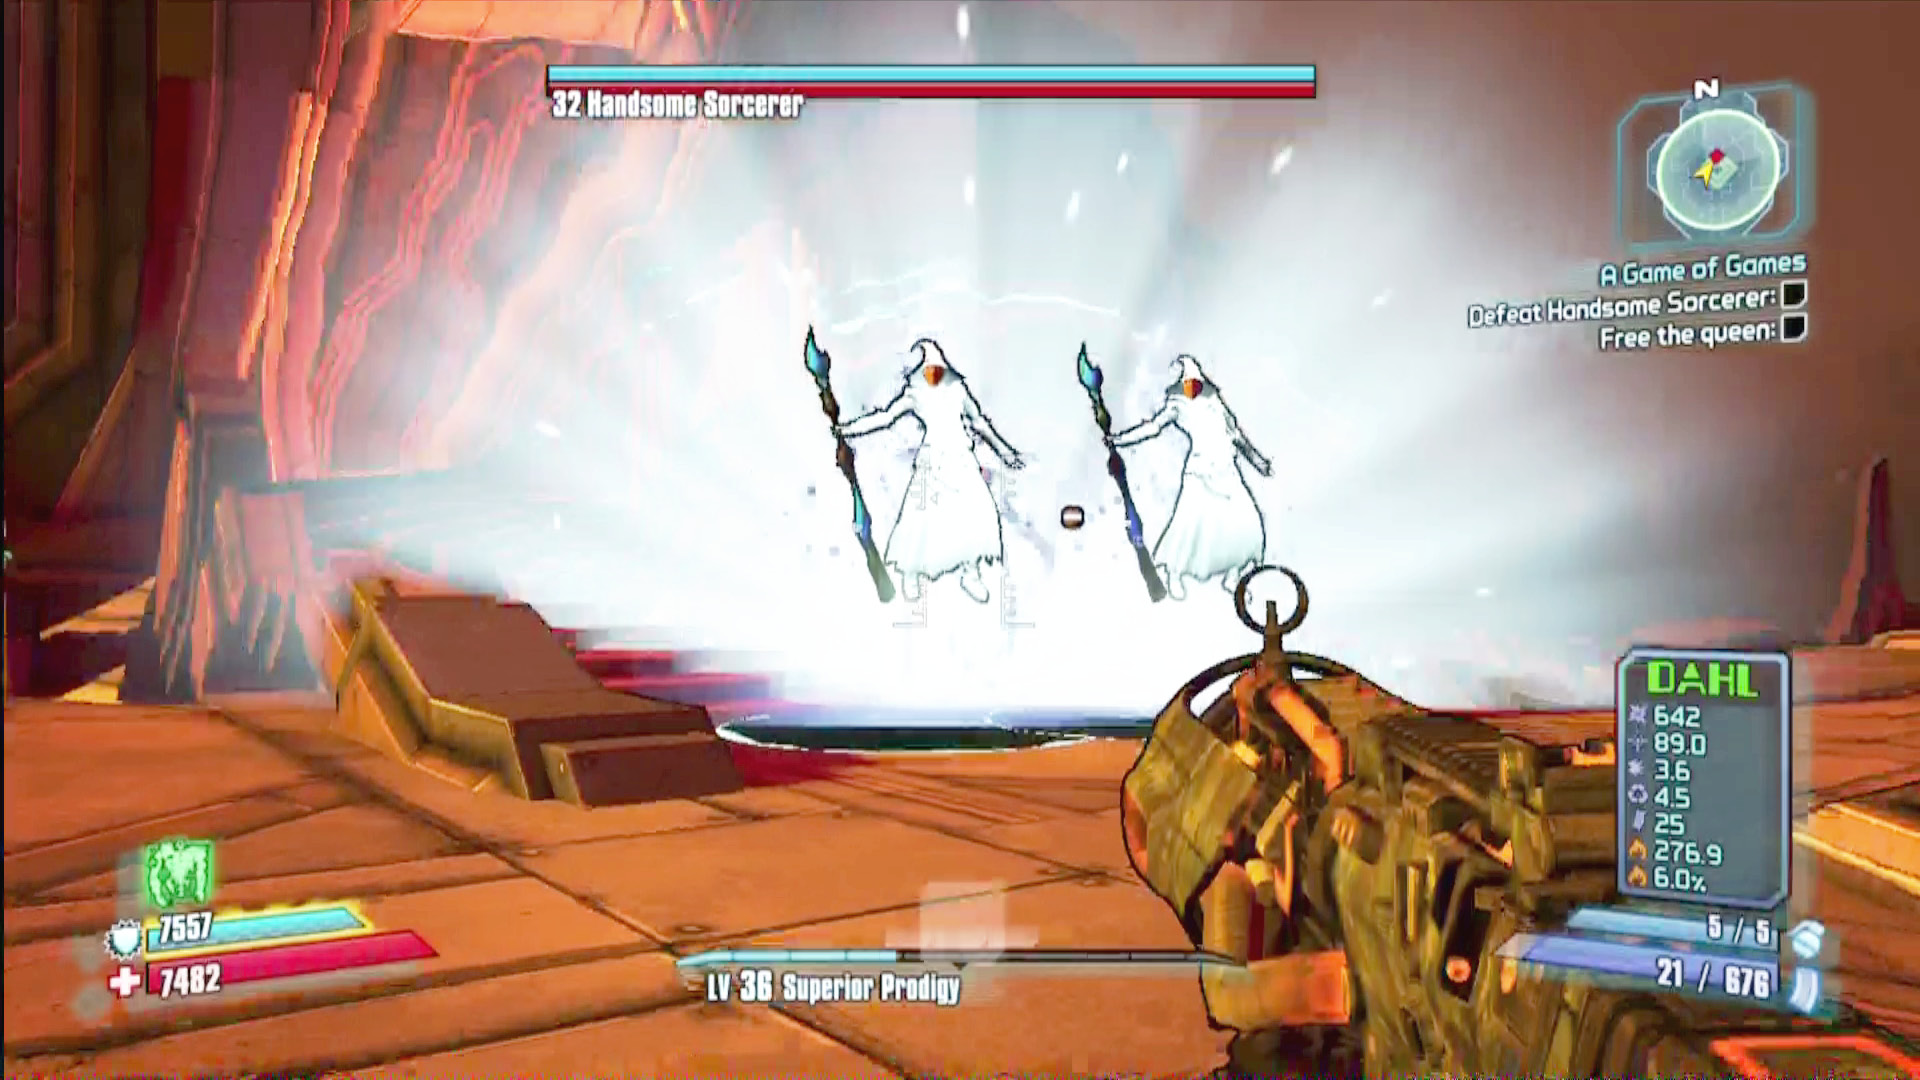
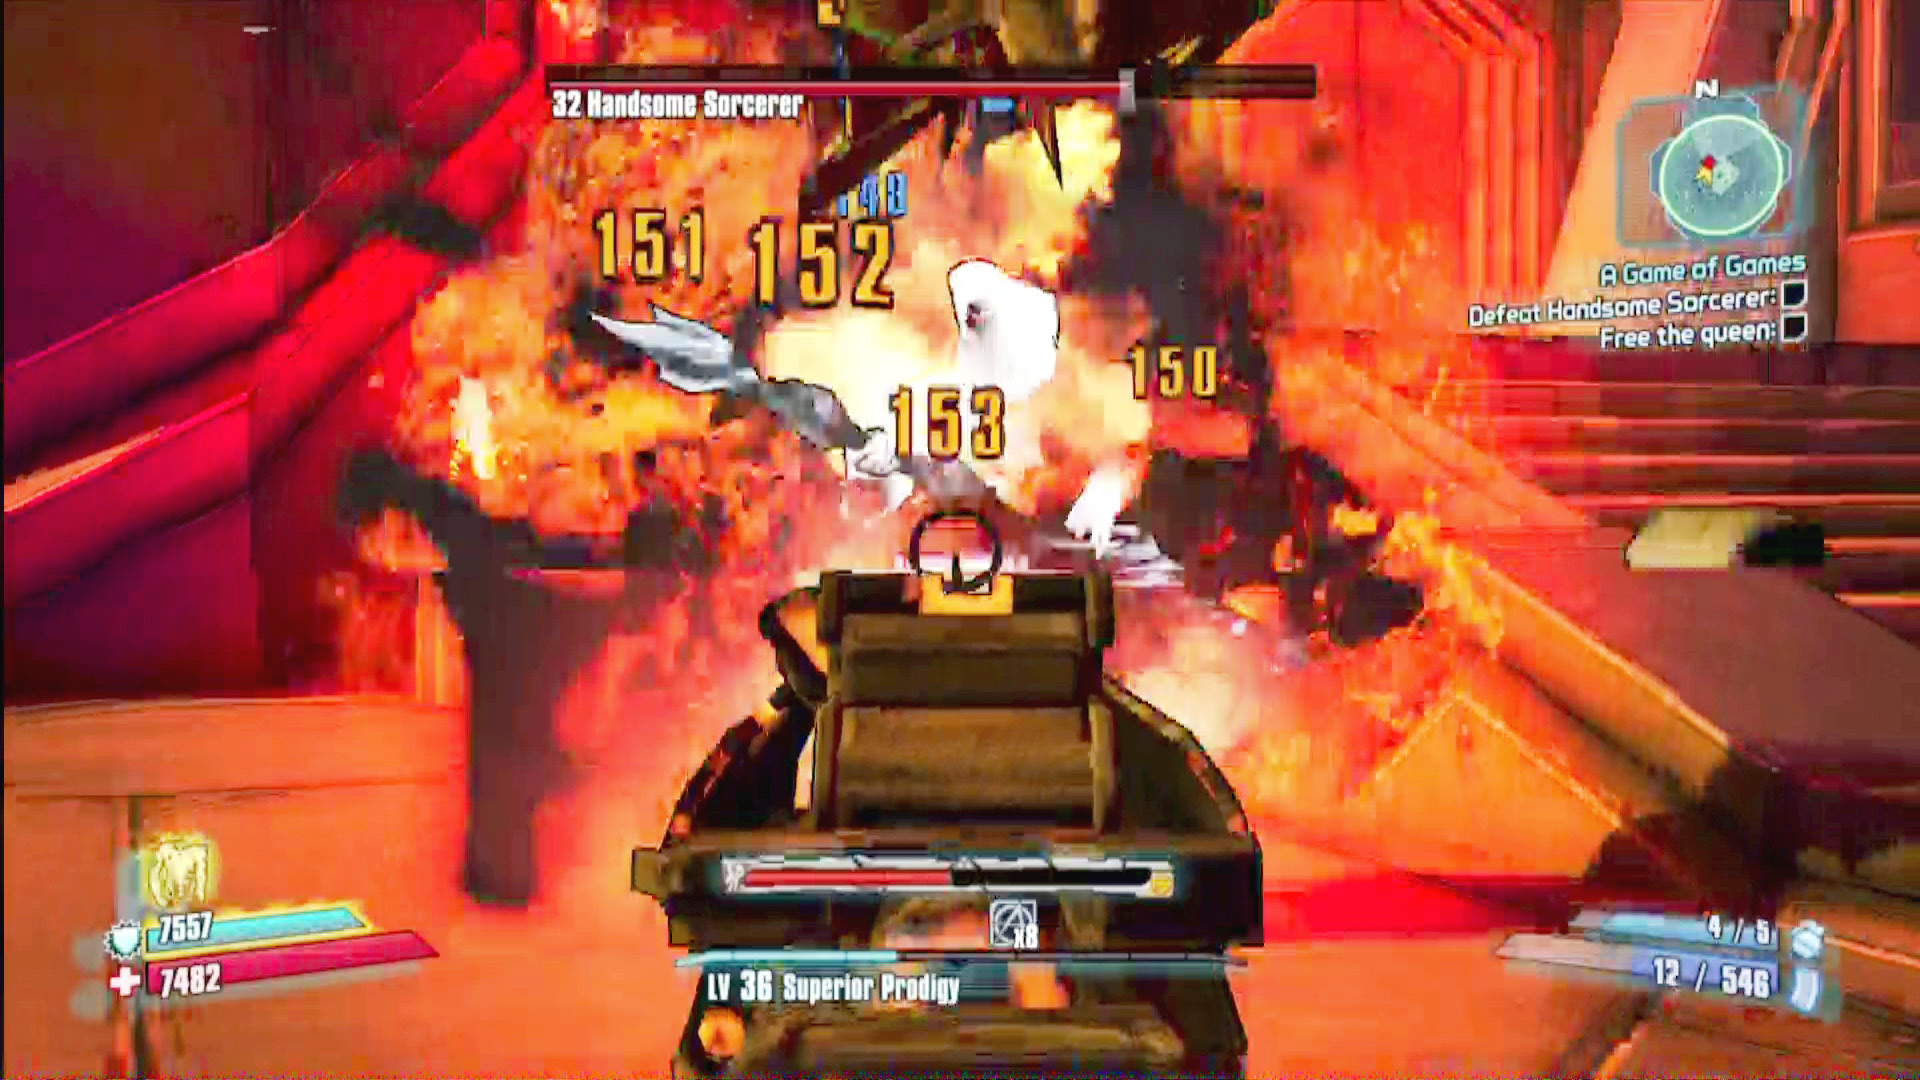
There are three phases to the Handsome Sorcerer battle. At first, he surrounds himself with a shield and attacks by crafting multiple clones of himself (they die immediately when attacked), casting ice spells, and bopping foes with his staff. You can tear through his shield rapidly with shock weapons and then set him ablaze with fire weapons once he’s undefended. (His weakness to fire only lasts for this one form.)
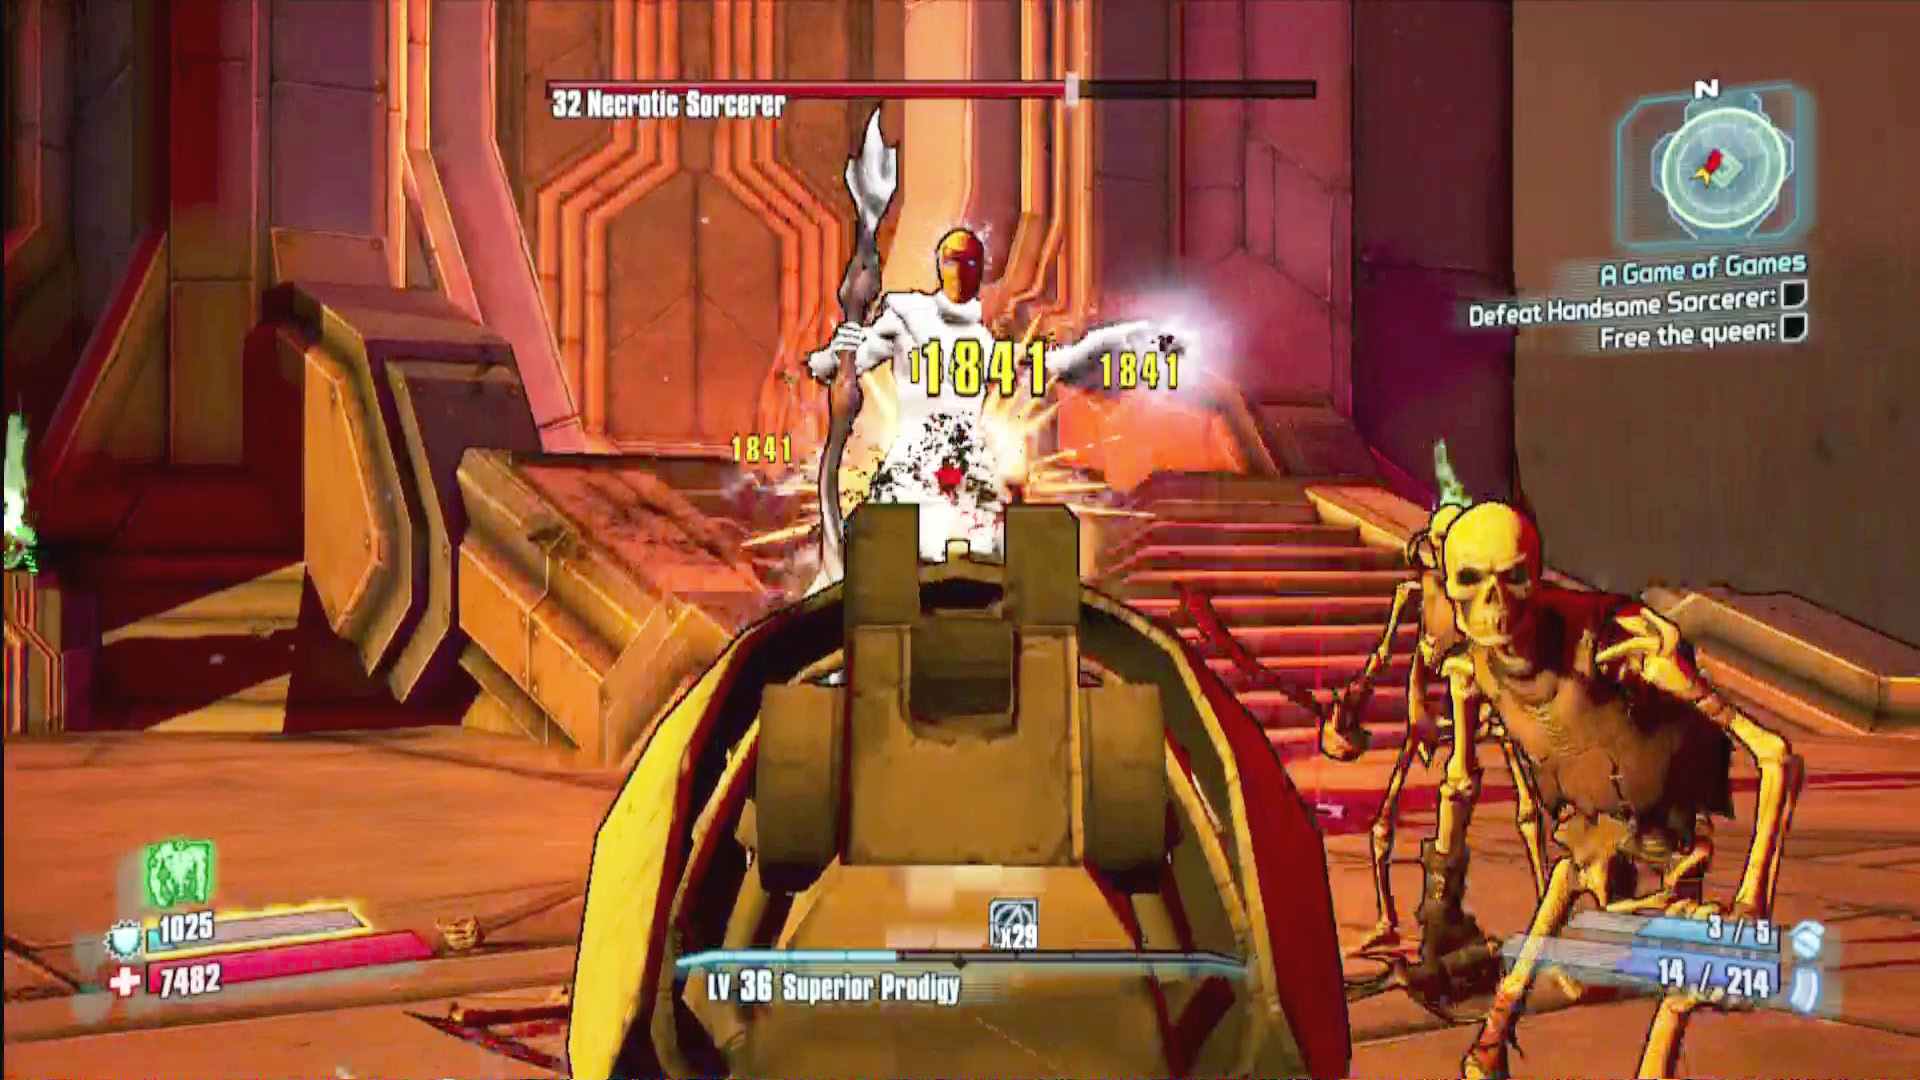
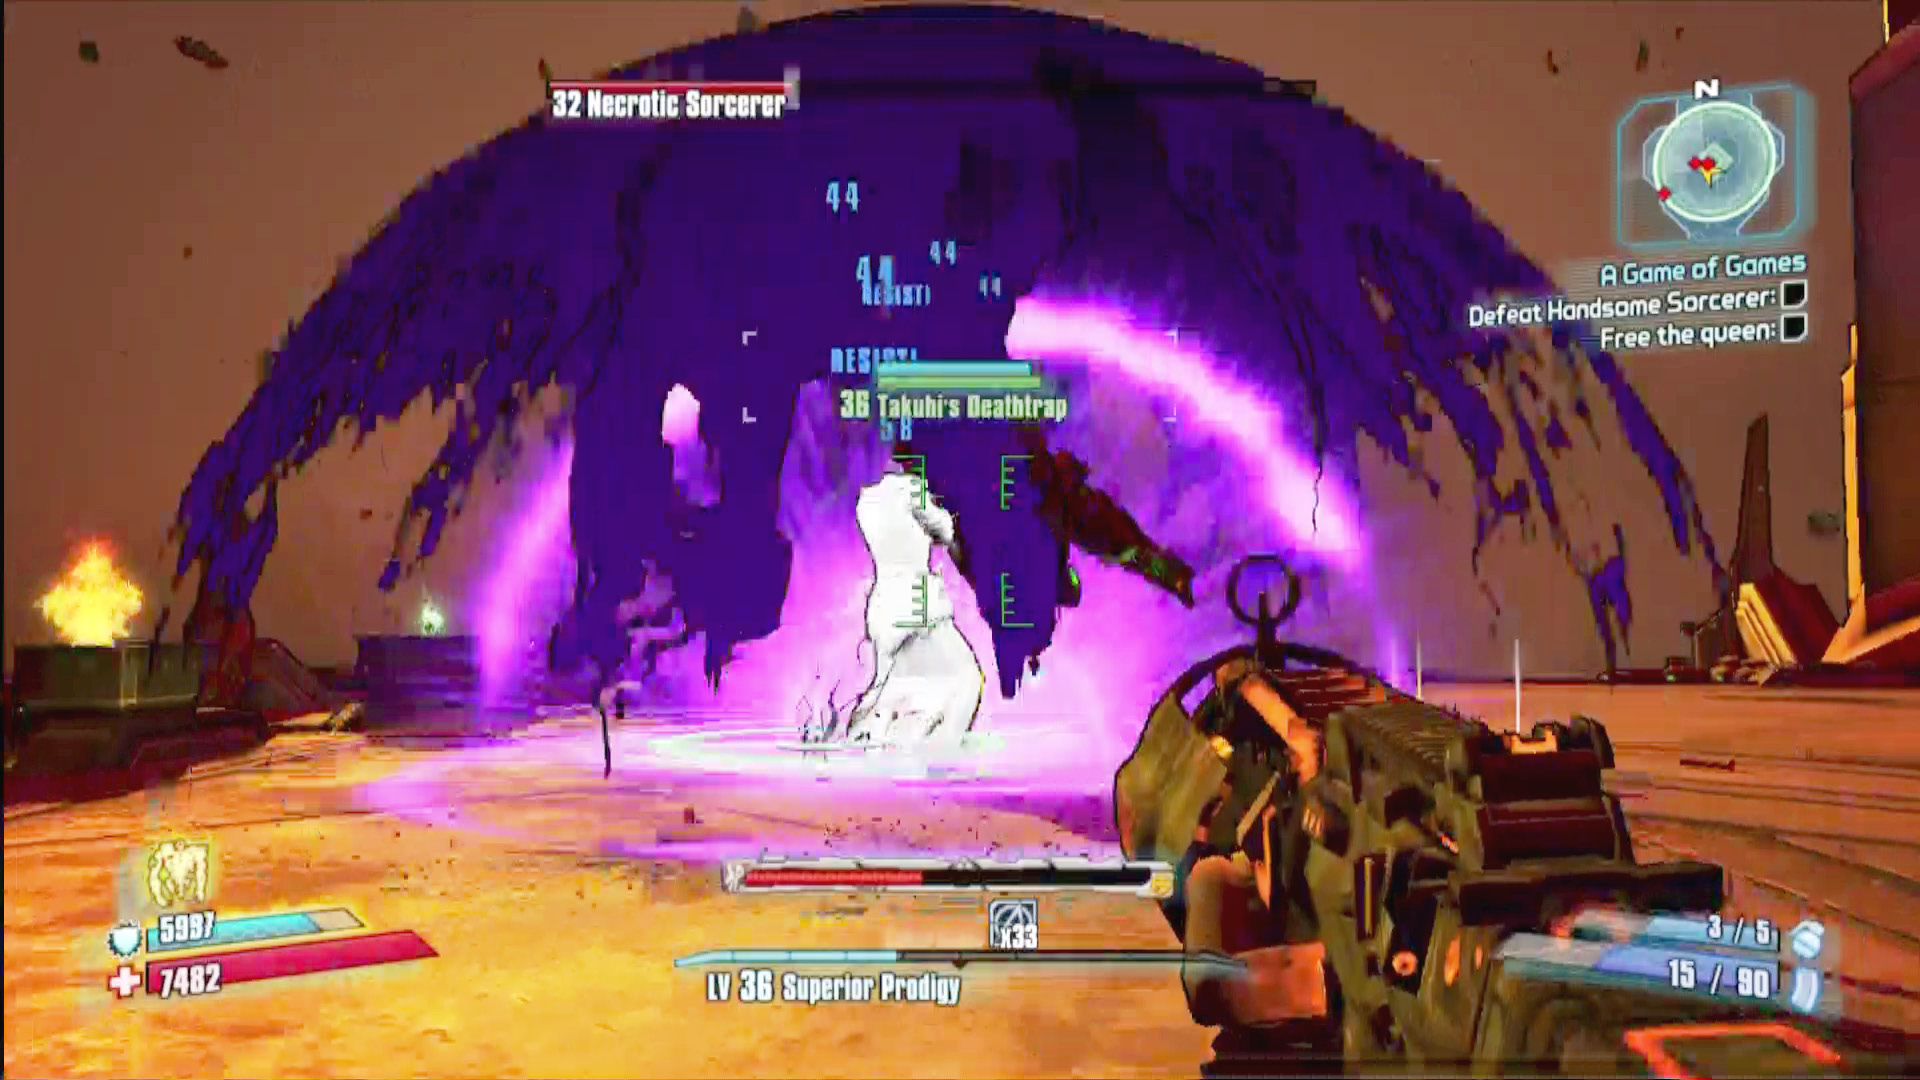
Once defeated, the Handsome Sorcerer rises again as the Necrotic Sorcerer, using his dark powers to summon skeletons. He can also attack with flying skull projectiles that home in on you and perform a jumping attack that ends with a massive slag explosion. He also leaves swirling green eddies on the ground that immobilize you if you step on them. Continue blasting him with incendiary weapons (if possible), and leave a skeleton or two alive for Second Winds.
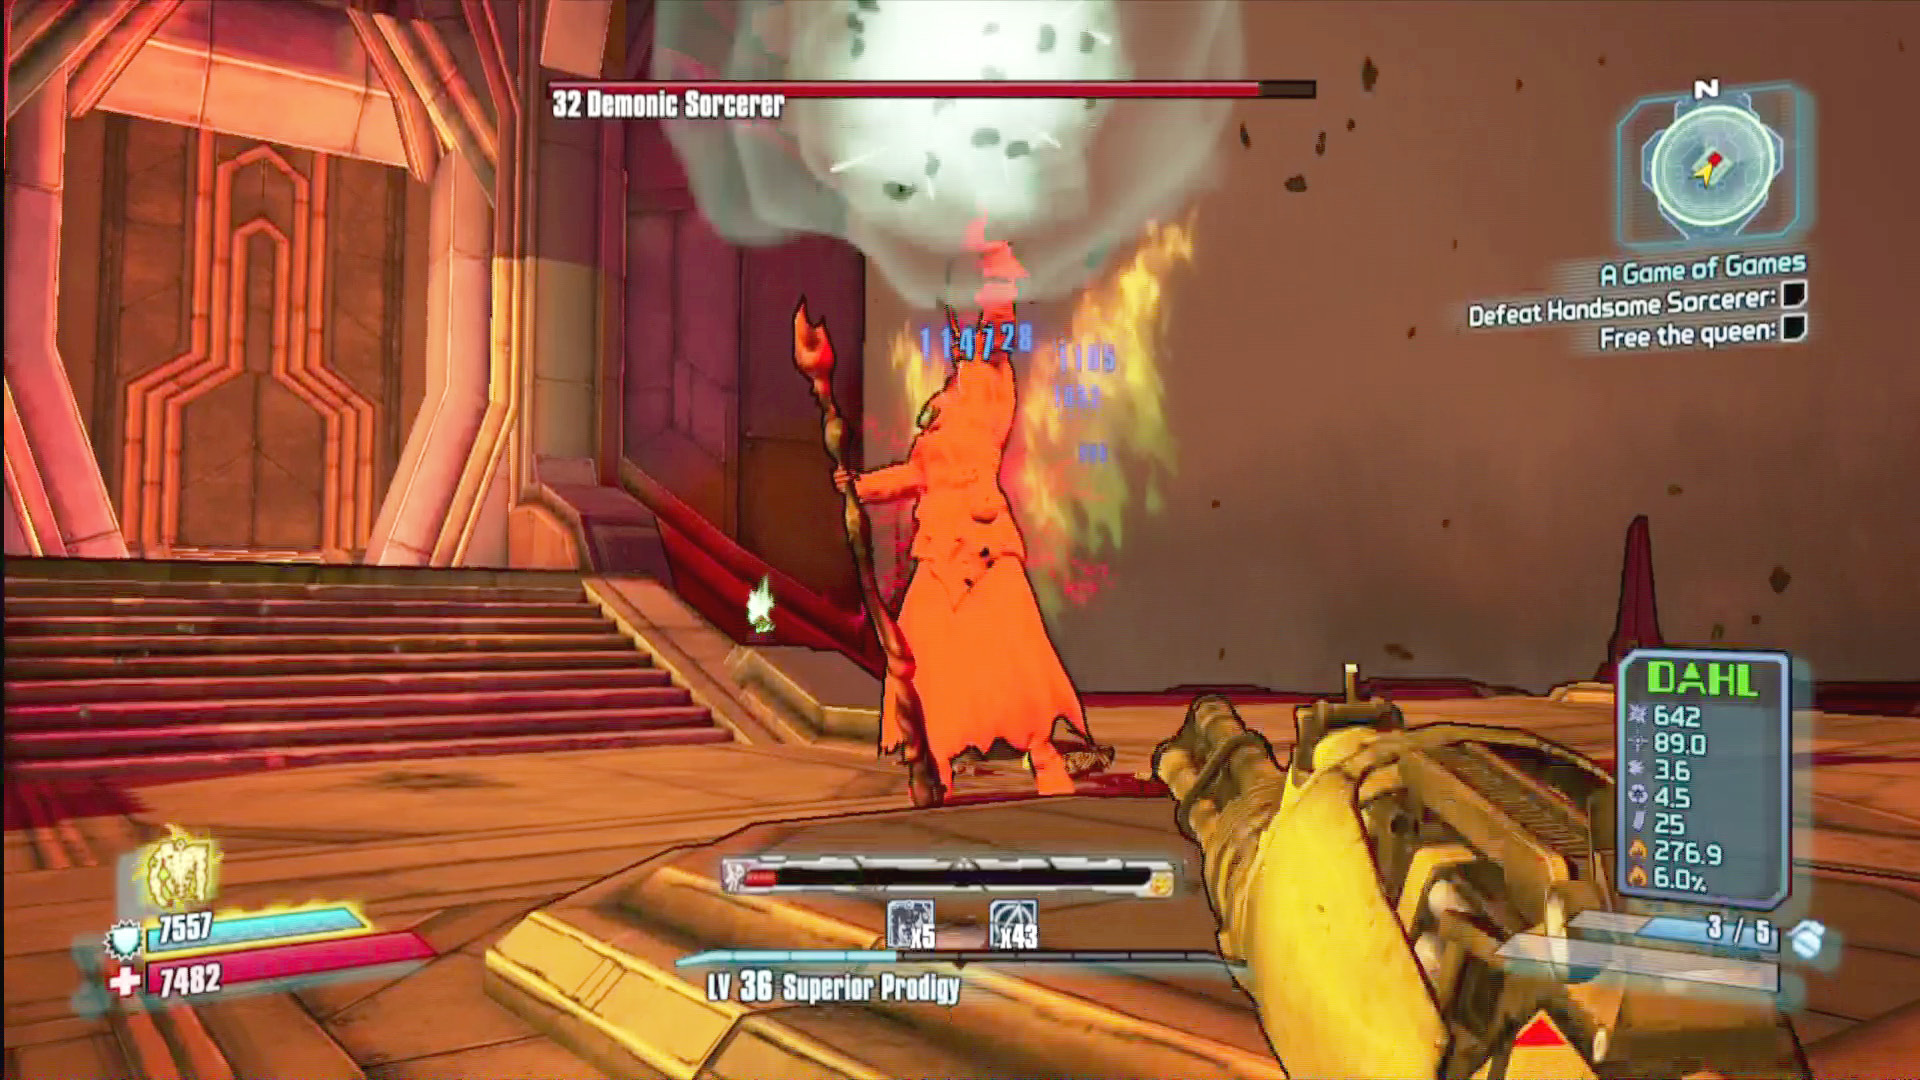
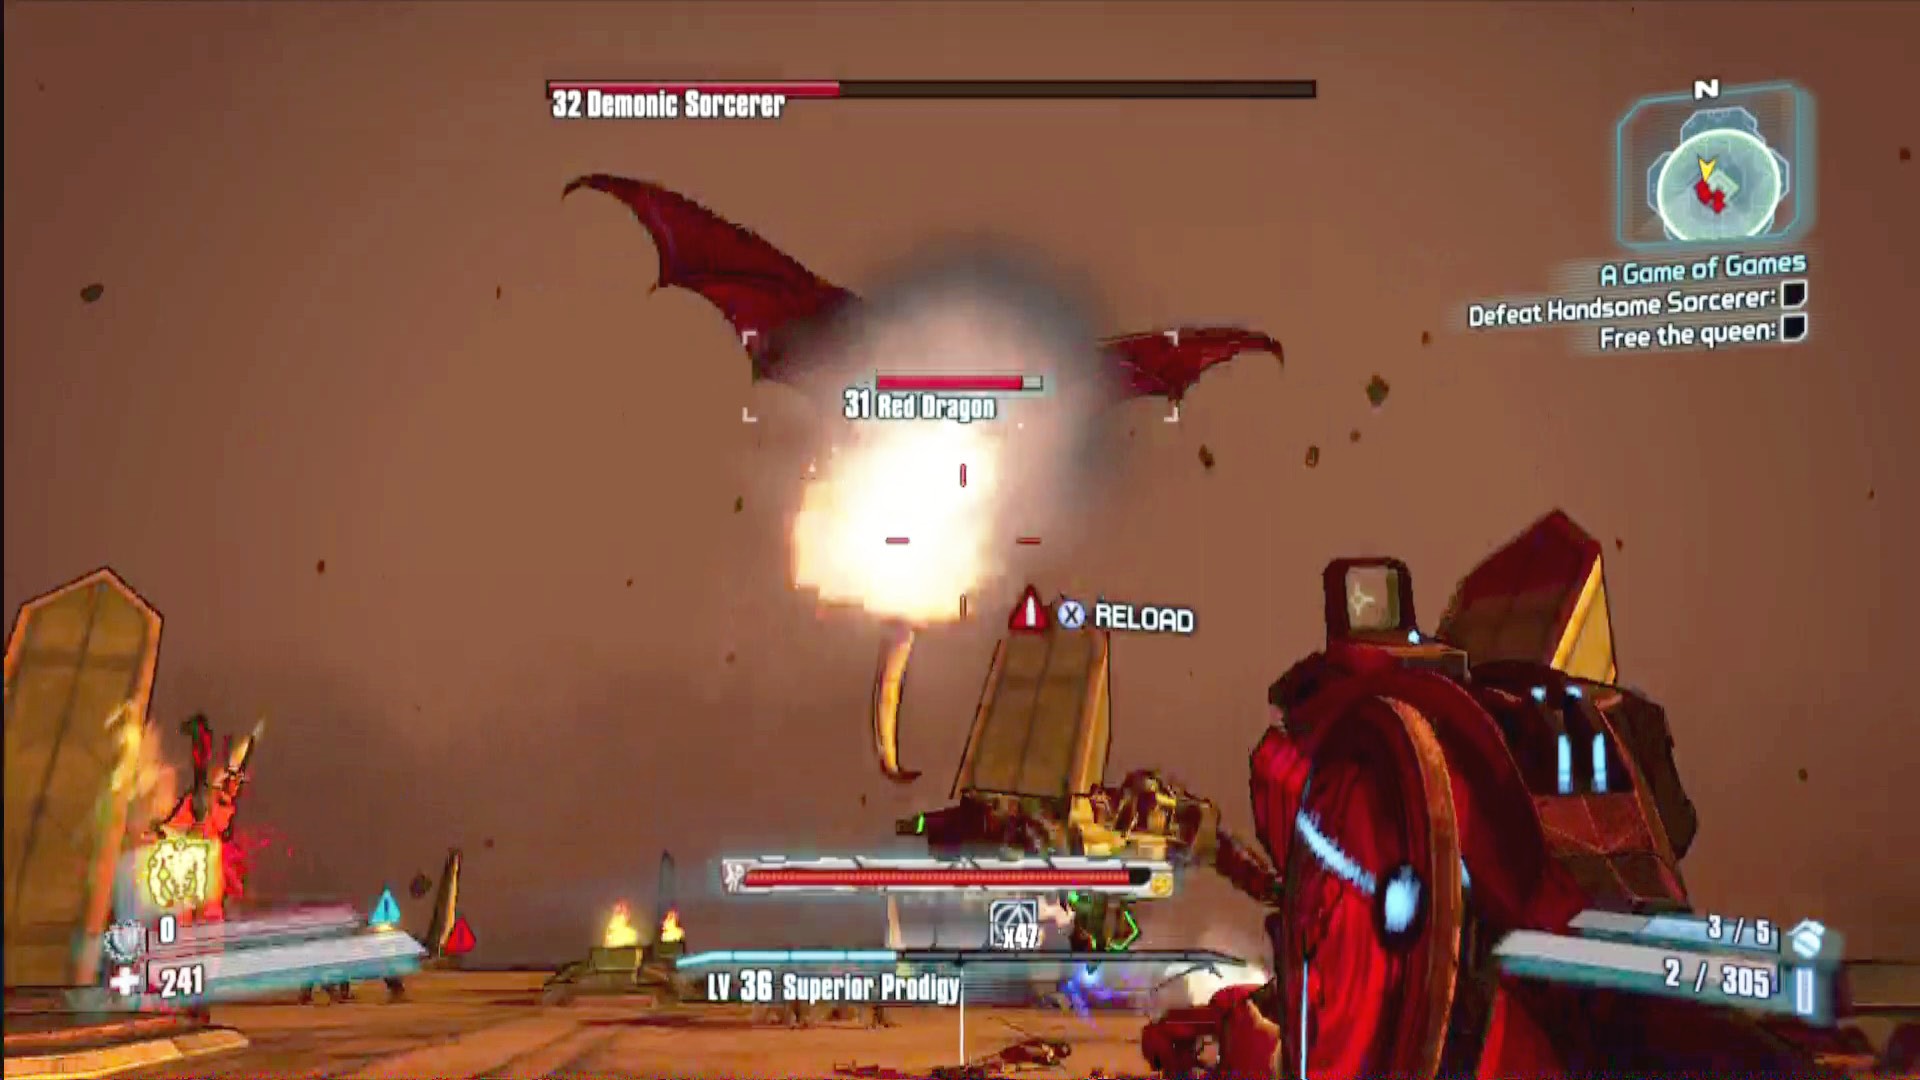
In his final phase, he rises again as the Demonic Sorcerer, casting fireballs and other projectiles and summoning dragons onto the battlefield. Typically, he summons Baby Red Dragons, which are not very aggressive and mostly just come in handy for Second Winds. But when he’s lost about half of his health, the Demonic Sorcerer summons a full-grown Red Dragon that’s a legitimate threat. Avoid its flaming breath as you concentrate on finishing off ol’ Handsome; when he dies, all of the dragons die, too.
Give Her Majesty the Royal Treatment
A cinematic plays when the Handsome Sorcerer falls, but you’re not done quite yet. Finally free, the queen comes, uh, galloping out of her cell, leaving piles of cash and Eridium in her wake. Dutifully collect it (along with any loot the Handsome Sorcerer dropped), and bring it back to the queen. Approach her face, and choose to feed her five pieces of Eridium. This act restores her power and brings light back to the world.
After the credits roll, take a flying leap down to the Fast Travel station. Return to Flamerock Refuge to visit the queen and pursue a number of post-ending quests.
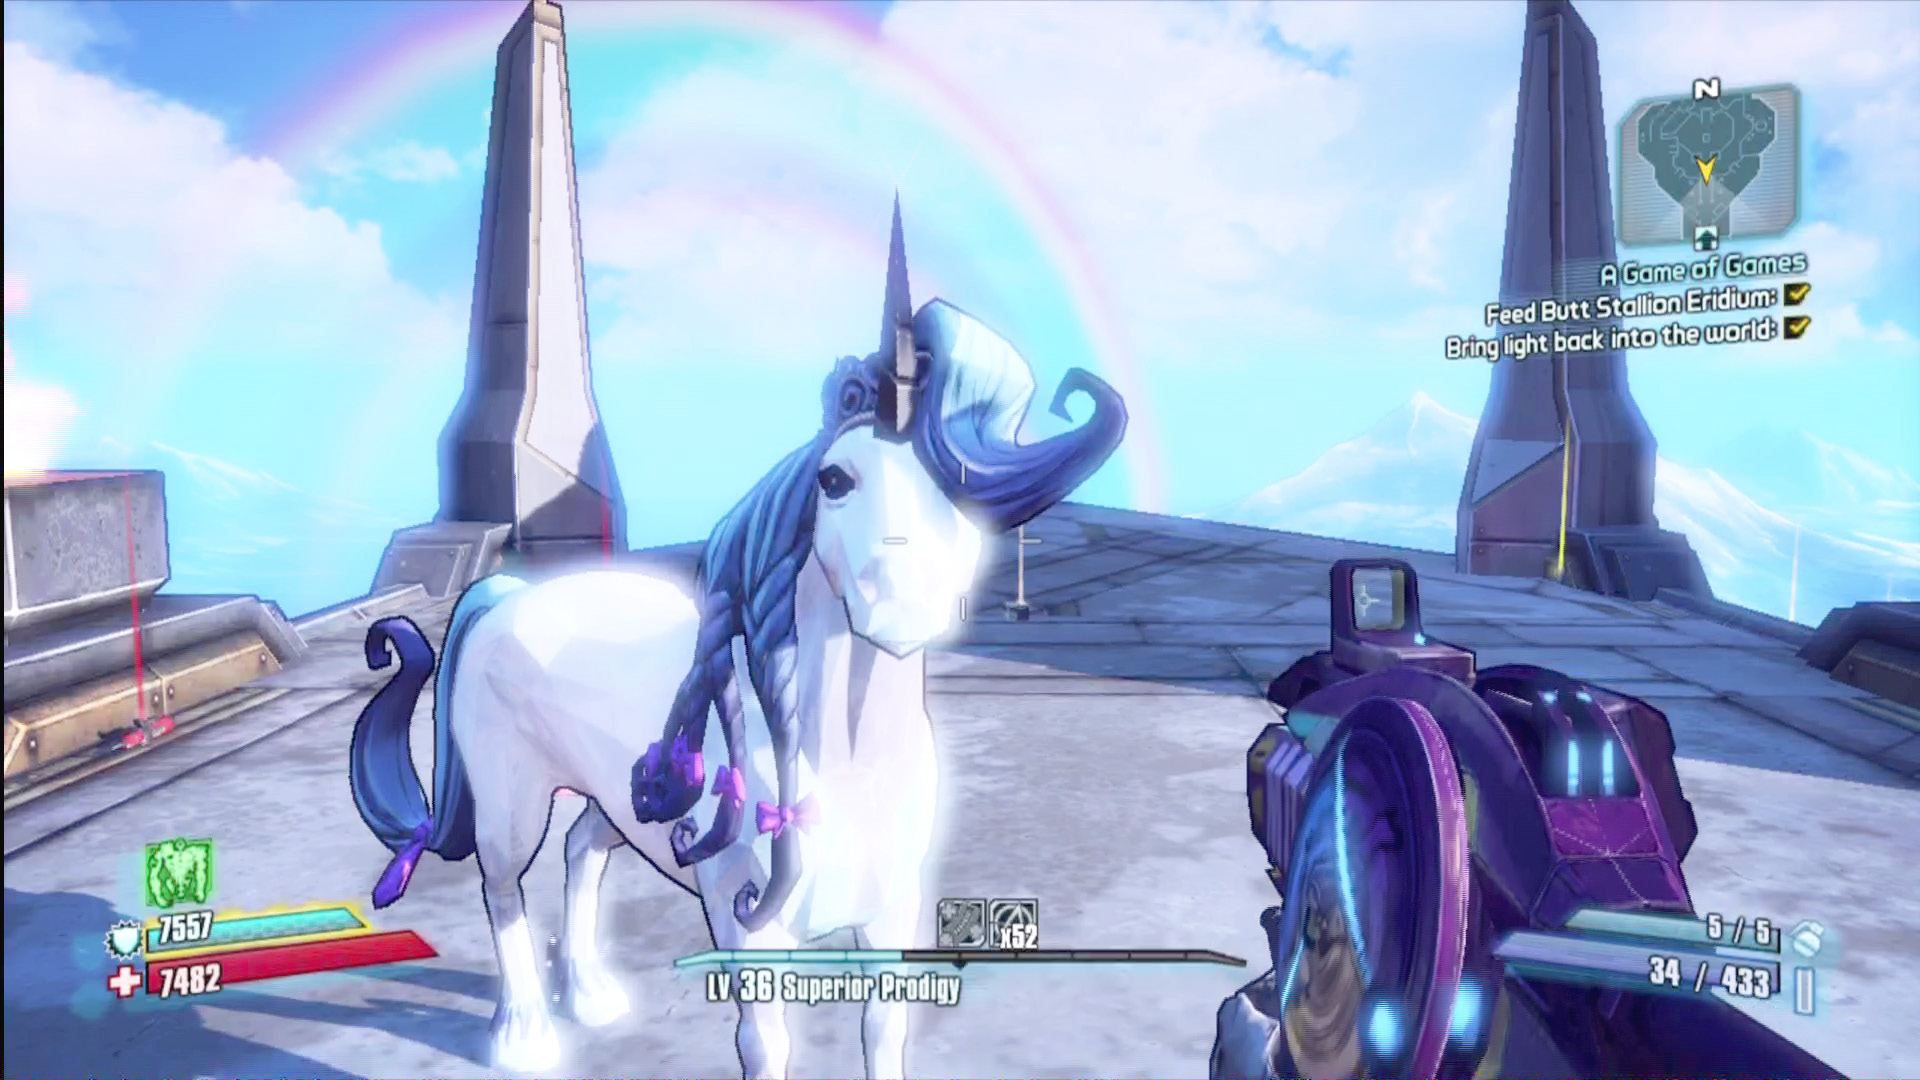
Bet you didn’t see this part coming, huh?