
Borderlands 2 Game of the Year Guide Sir Hammerlock's Big Game Hunt
The Fall of Nakayama
|
 Mission Briefing
| Level | Money | XP | Gear |
|---|---|---|---|
|
33 |
$3788 |
14012 |
Head (blue) |
*Money and XP may vary based on player’s level at start of mission.
To Stop a Madman
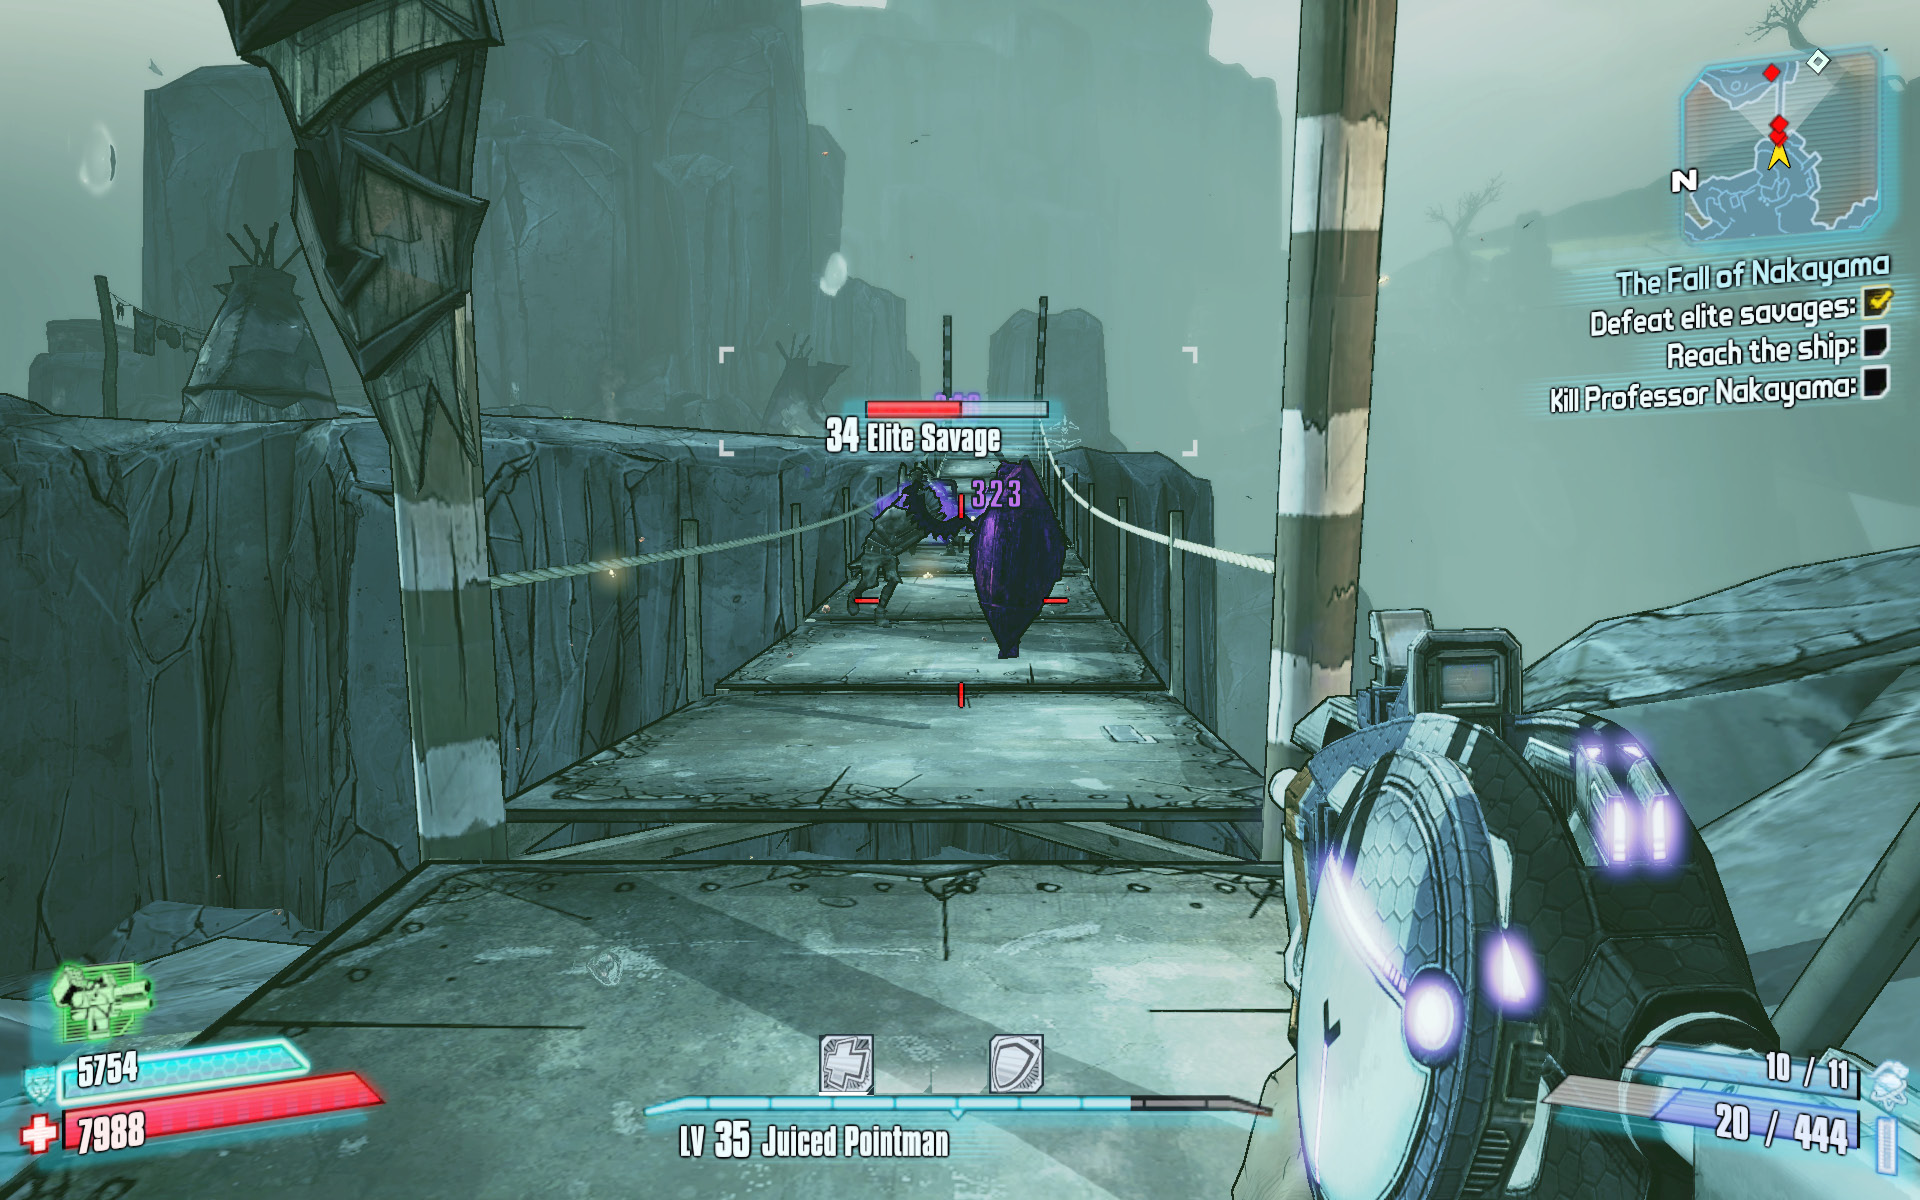
Cross the bridge to draw the Elite Savages into combat, then back away to keep them lined up.
Leave Sir Hammerlock and the lodge, and make your way to the cave in the northeastern corner of Hunter’s Grotto. This is your access to a cliff-lined region known as Candlerakk’s Crag. Follow the narrow ledge as it hugs the side of the mountain en route to several savage villages. Take the northern trail—don’t veer up the path leading beyond the tusks—and gun your way up the trail, past the witch doctors and Savage Triggermen. It’s possible to run right past these foes if you’d like, though the extra XP may come in handy.
You’ll eventually reach a lengthy suspension bridge called Elite’s Crossing (you may have already defeated one wave of Elite Savages during an optional mission). Start across the bridge to draw the Elite Savages toward you, then quickly back away to force them to line up. Paint them in slag, and open fire with an incendiary or explosive weapon as they funnel across to the west side of the bridge.
Fend off the numerous witch doctors on the other side of the bridge before they can promote their savage hunters. This is particularly important if there are any Elite Savages still alive, as you don’t want Elite Savages attacking alongside Badass Savage Warriors. The path splits beyond the bridge. Follow the left-most path as it circles around to the north and leads up a narrow staircase.
Follow the mountain trail to the east, skirting to the north of Lower Bluff and Big Bluff. Be sure to reload all of your weapons before approaching any village, and never leave without scouring all of the containers for grenades and other ammo. The numerous Shock Witch Doctors and Vampire Witch Doctors you’ll face in this area pose a significant threat if you’re not equipped with heavy explosives and a good incendiary or slag weapon.
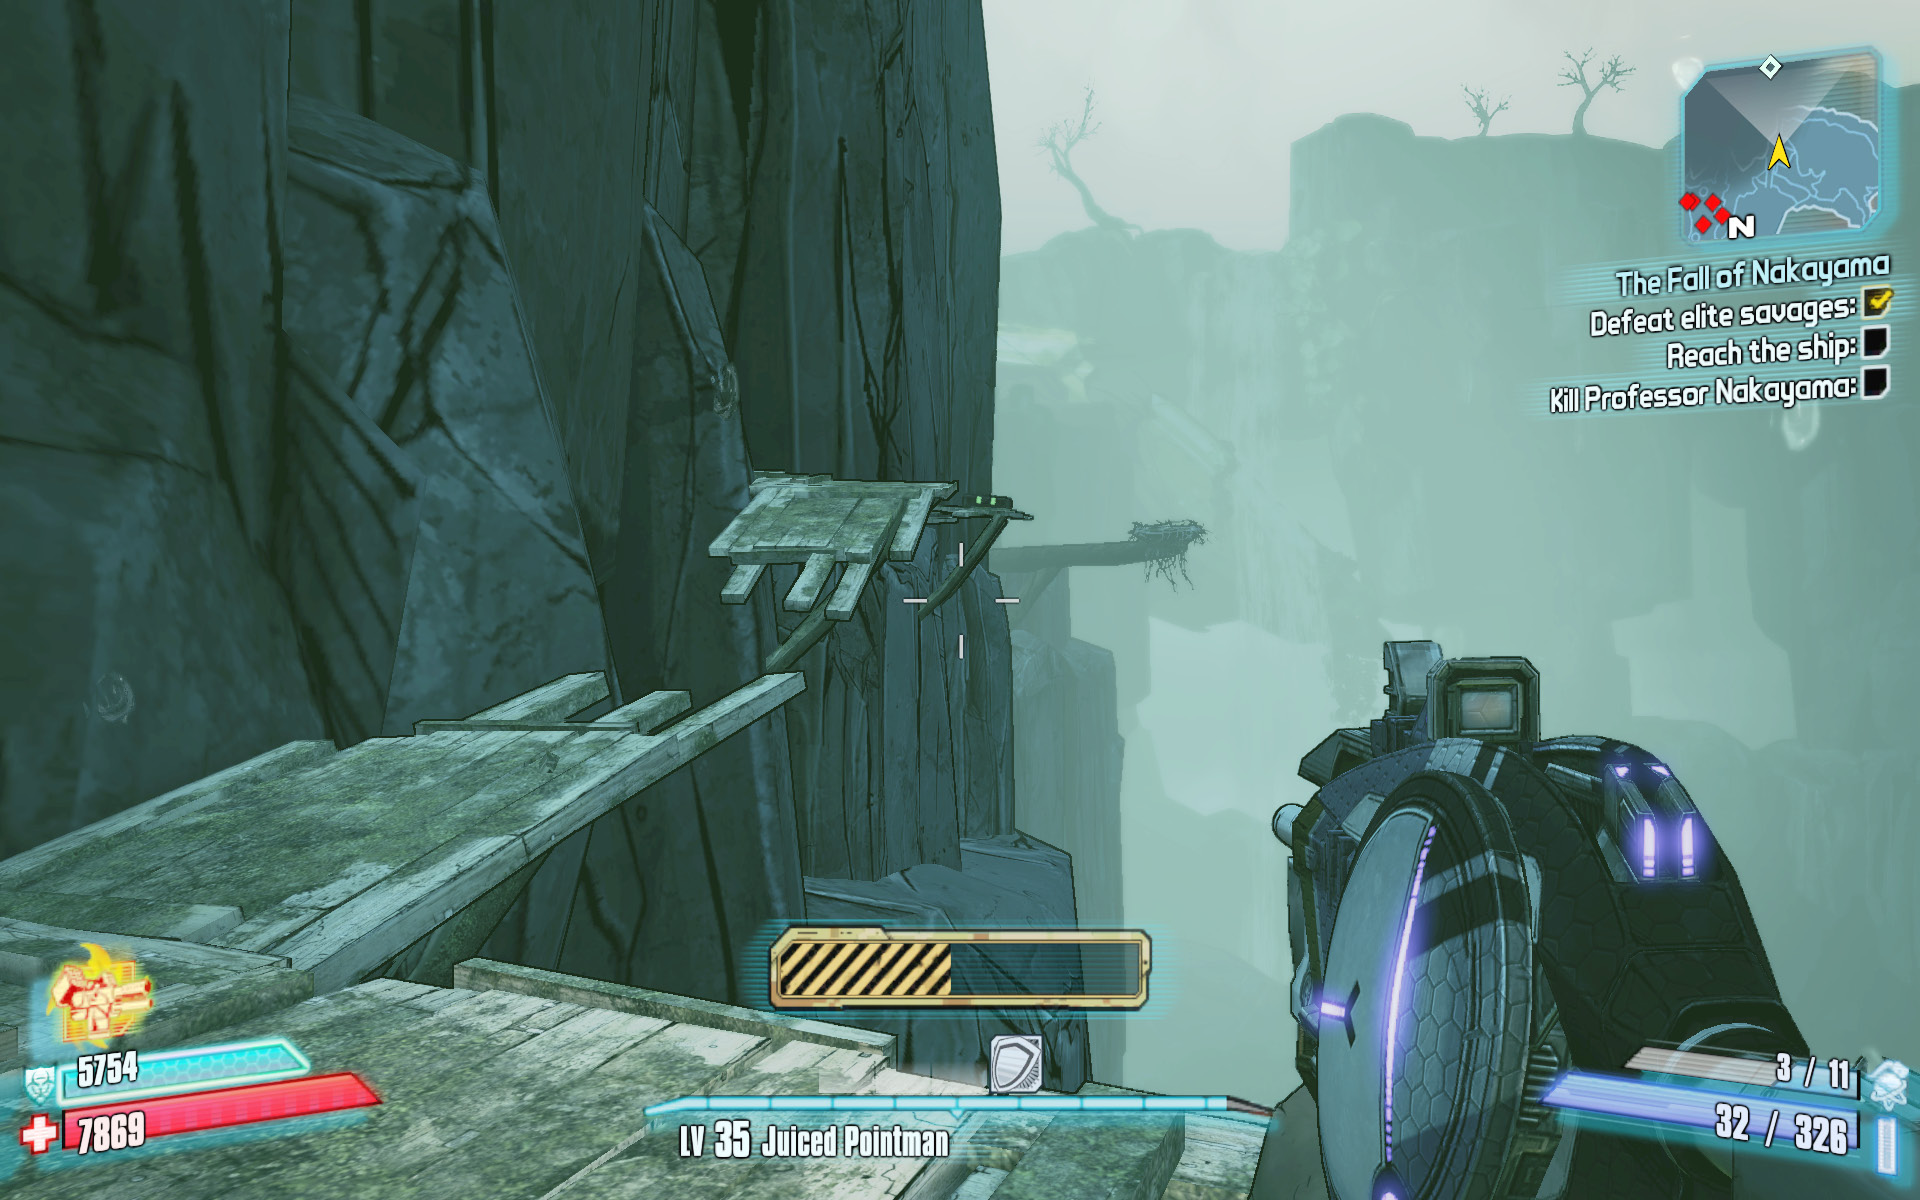
You can sprint and jump along this broken walkway to reach a treasure chest, but you can only access the bird’s nest from farther up the mountain.
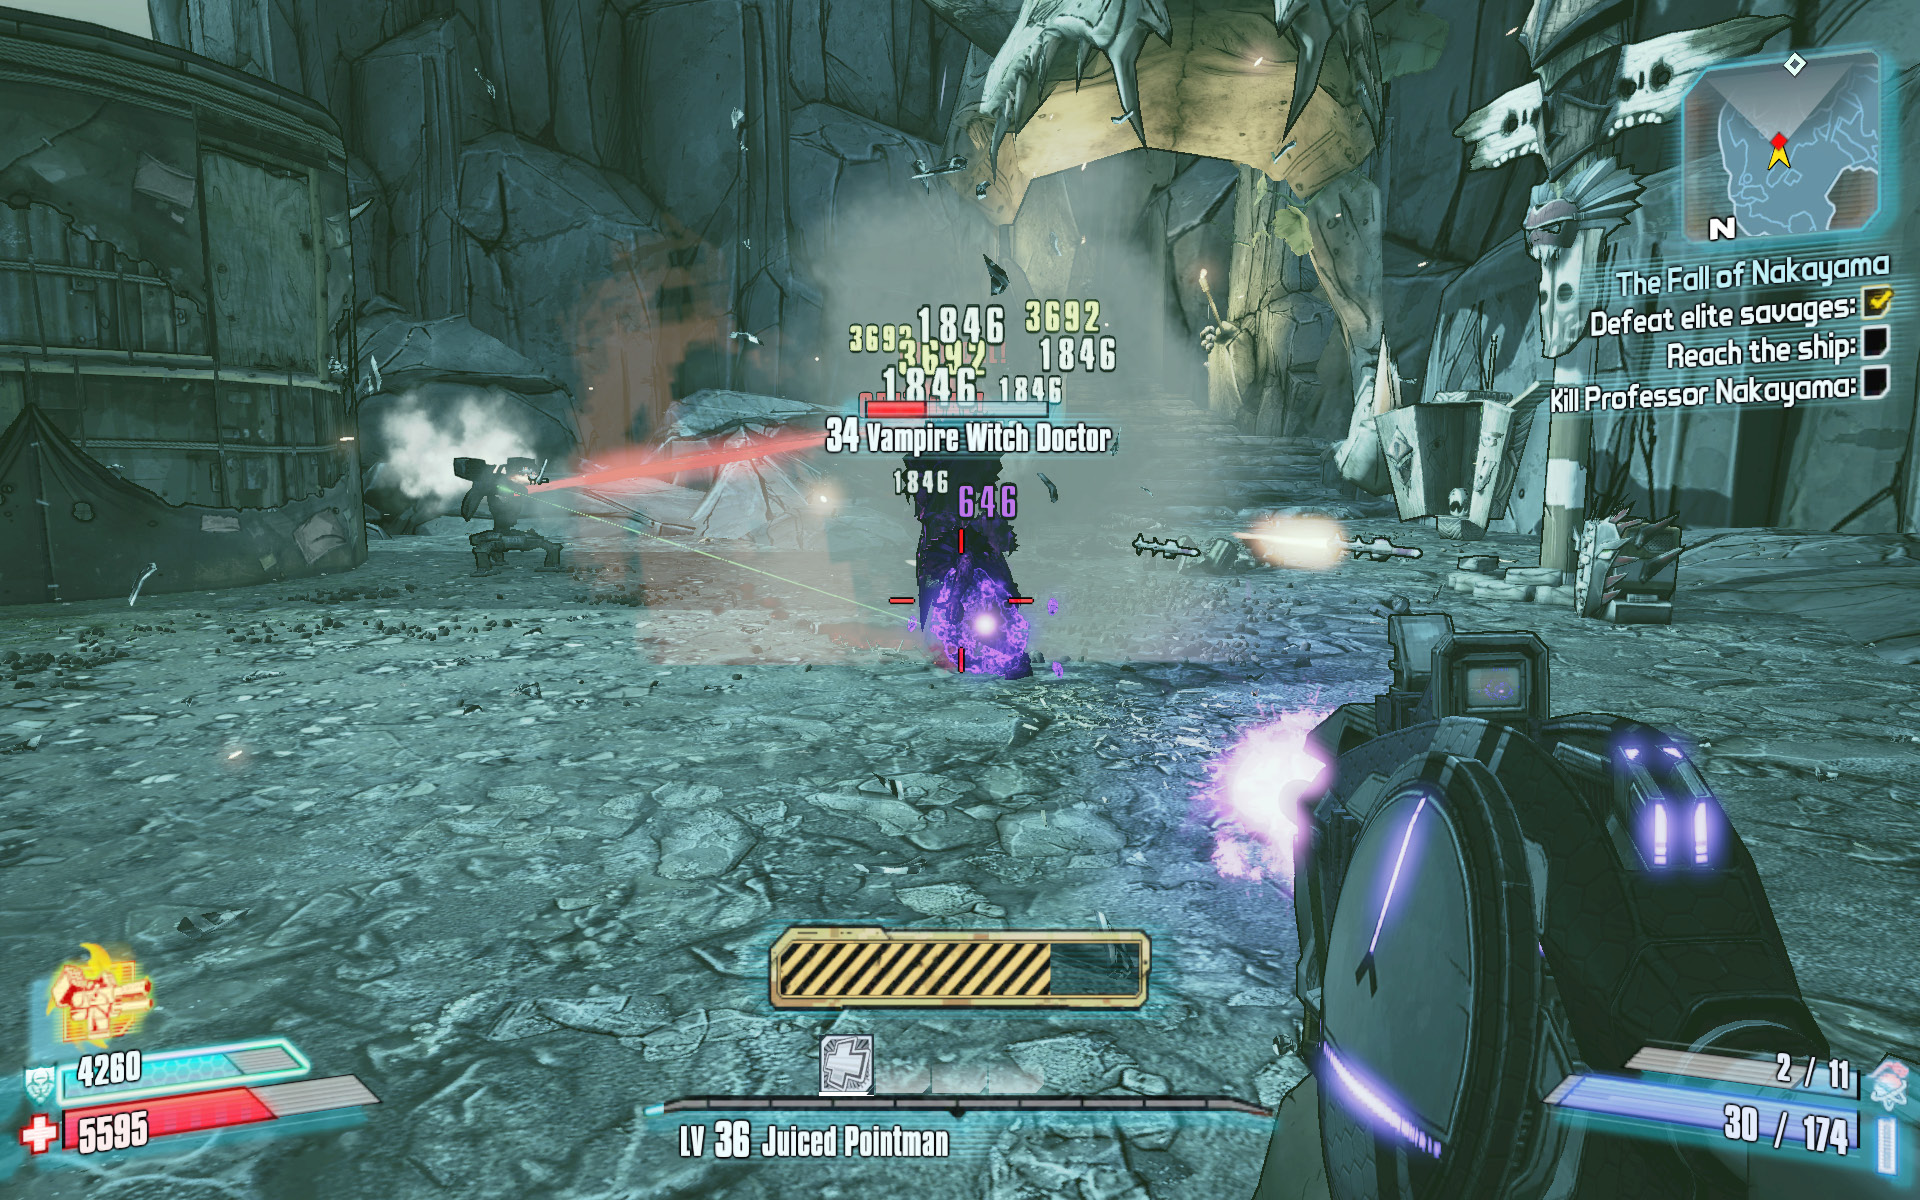
Numerous witch doctors attack high up the mountain, near the staircase that leads through the giant skull.
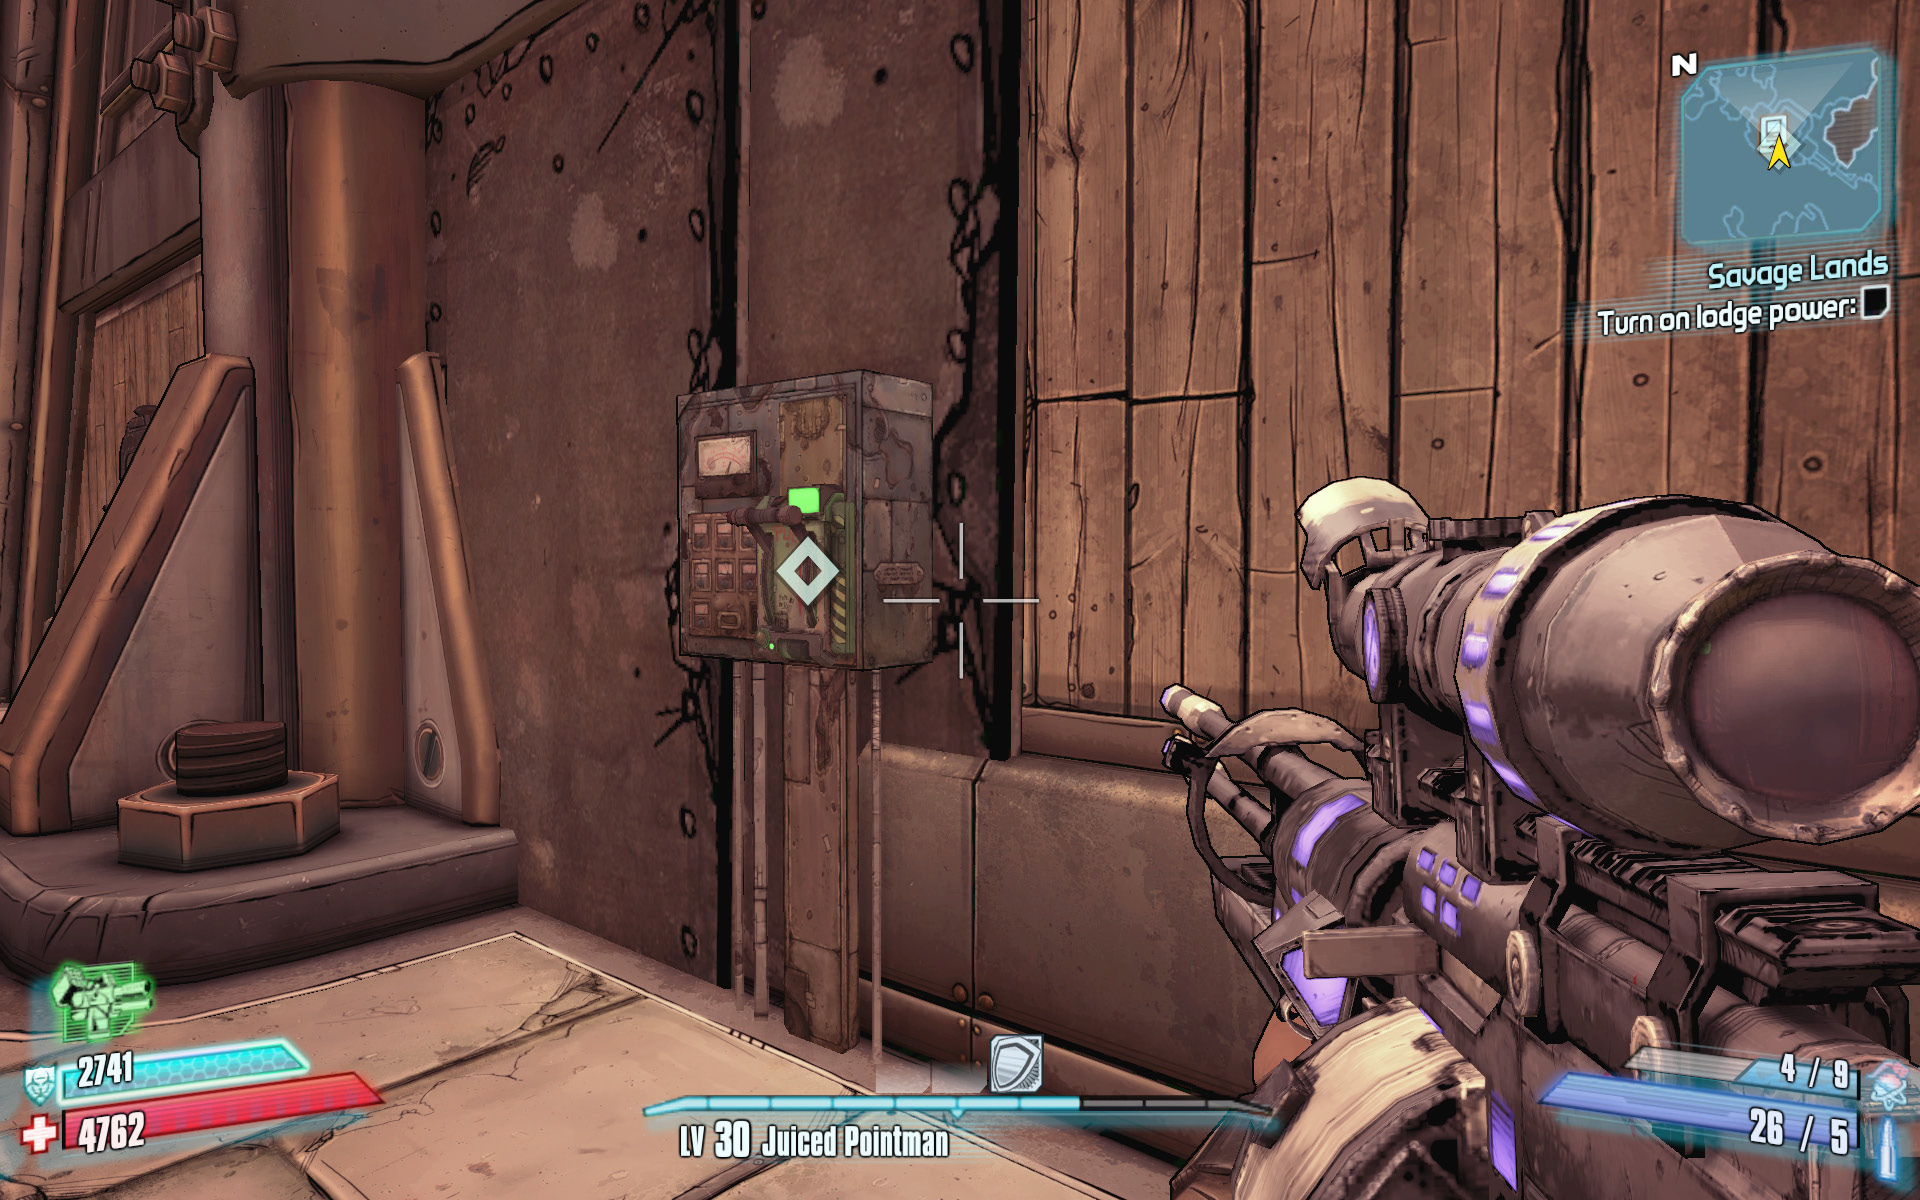
Ascend the wooden staircase to the mechanical bridge. The bridge leading across the chasm to the ship is currently retracted, but one well-aimed bullet can see you on your way. Use a sniper rifle or other scoped weapon, and shoot the green-glowing lever on the far side of the bridge to extend it. Once across the mechanical bridge, fight your way up the path and through one final savage village to reach the ship. The ship’s entrance lies just beyond the two large Savage Loader statues. Use the wheels to enter the code that Claptrap tells you.
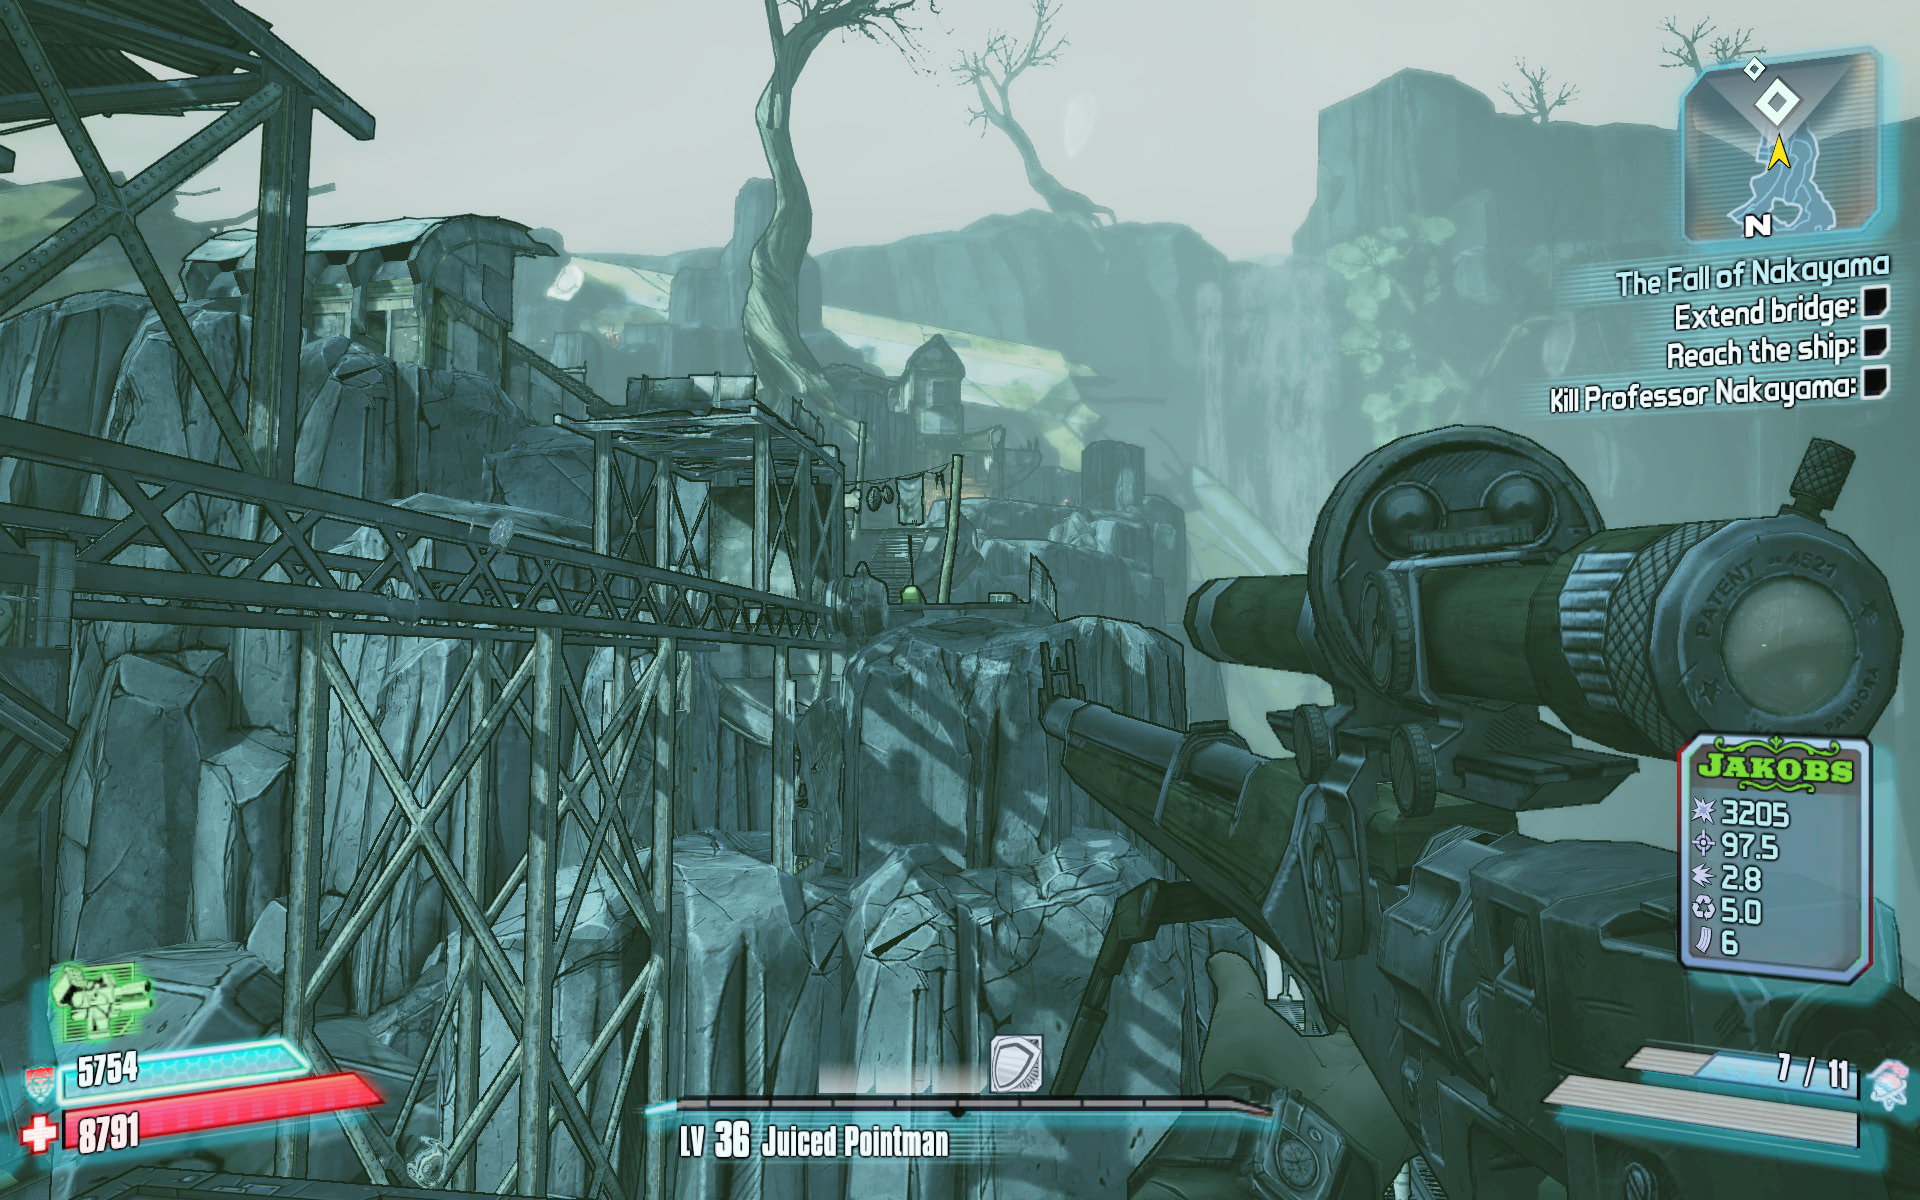
Snipe the lever on the far side of the gap to extend the bridge.
Take a moment to sell off your unwanted loot and to stock up on ammunition. The final showdown with Professor Nakayama is moments away, and you need to be prepared. Equip a high-powered sniper rifle, a fast-firing corrosive pistol or SMG (or explosive assault rifle if you don’t have one), and any corrosive grenades that you might have. Equip a shock-resistant shield or Adaptive Shield (if available). Once ready for the fight, crouch down and crawl through the red-lit corridor opposite the vending machines. You’ll drop into the Sunken Cargo Room.
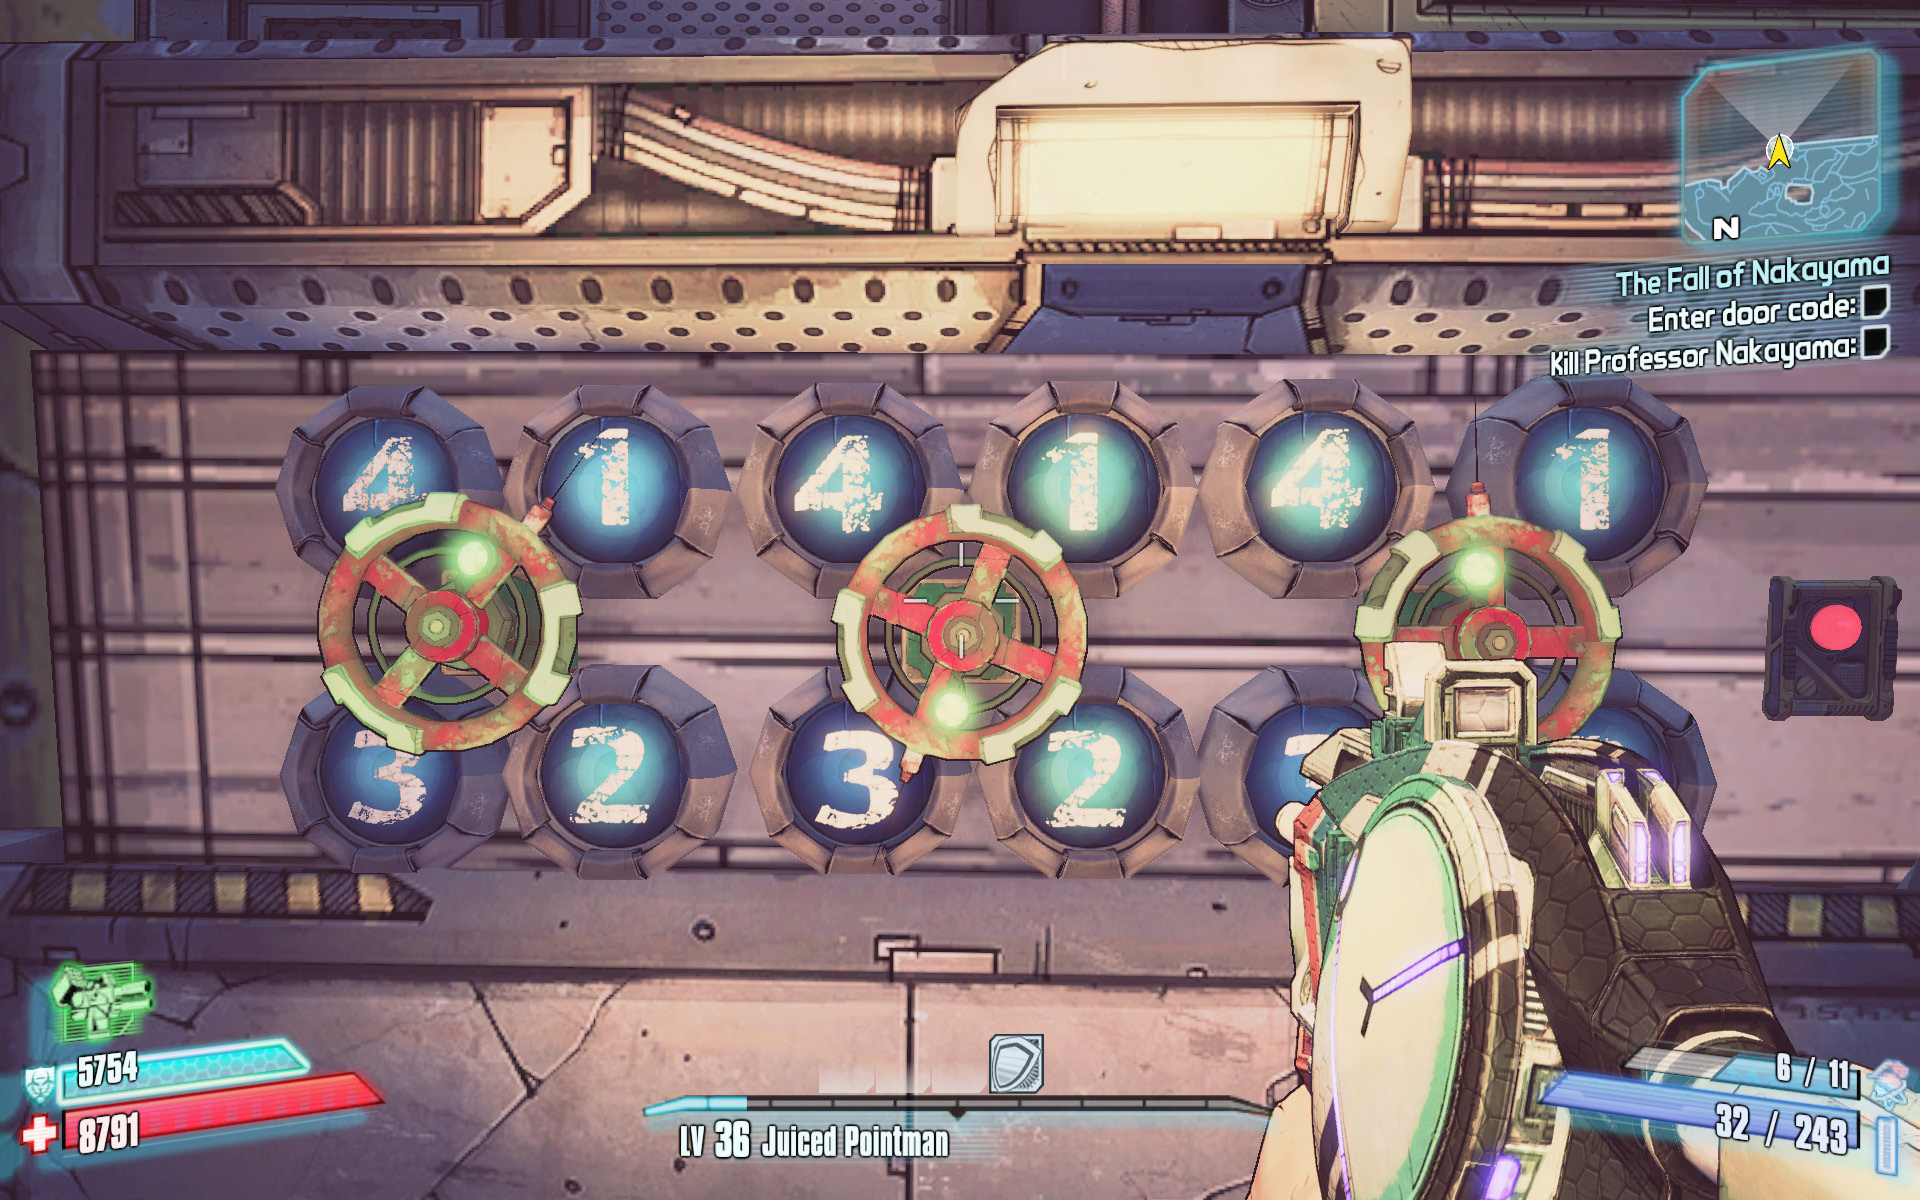
Spin the wheels one by one to enter the following code: 1-3-4. Press the button to open the hatch.
Jackenstein
Jackenstein Vitals
| Health Multiplier | Shield Level | Damage Multiplier | XP Value | Critical Areas | Weakness/Resistance |
|---|---|---|---|---|---|
|
700 |
30 |
1 |
Boss |
— |
— |
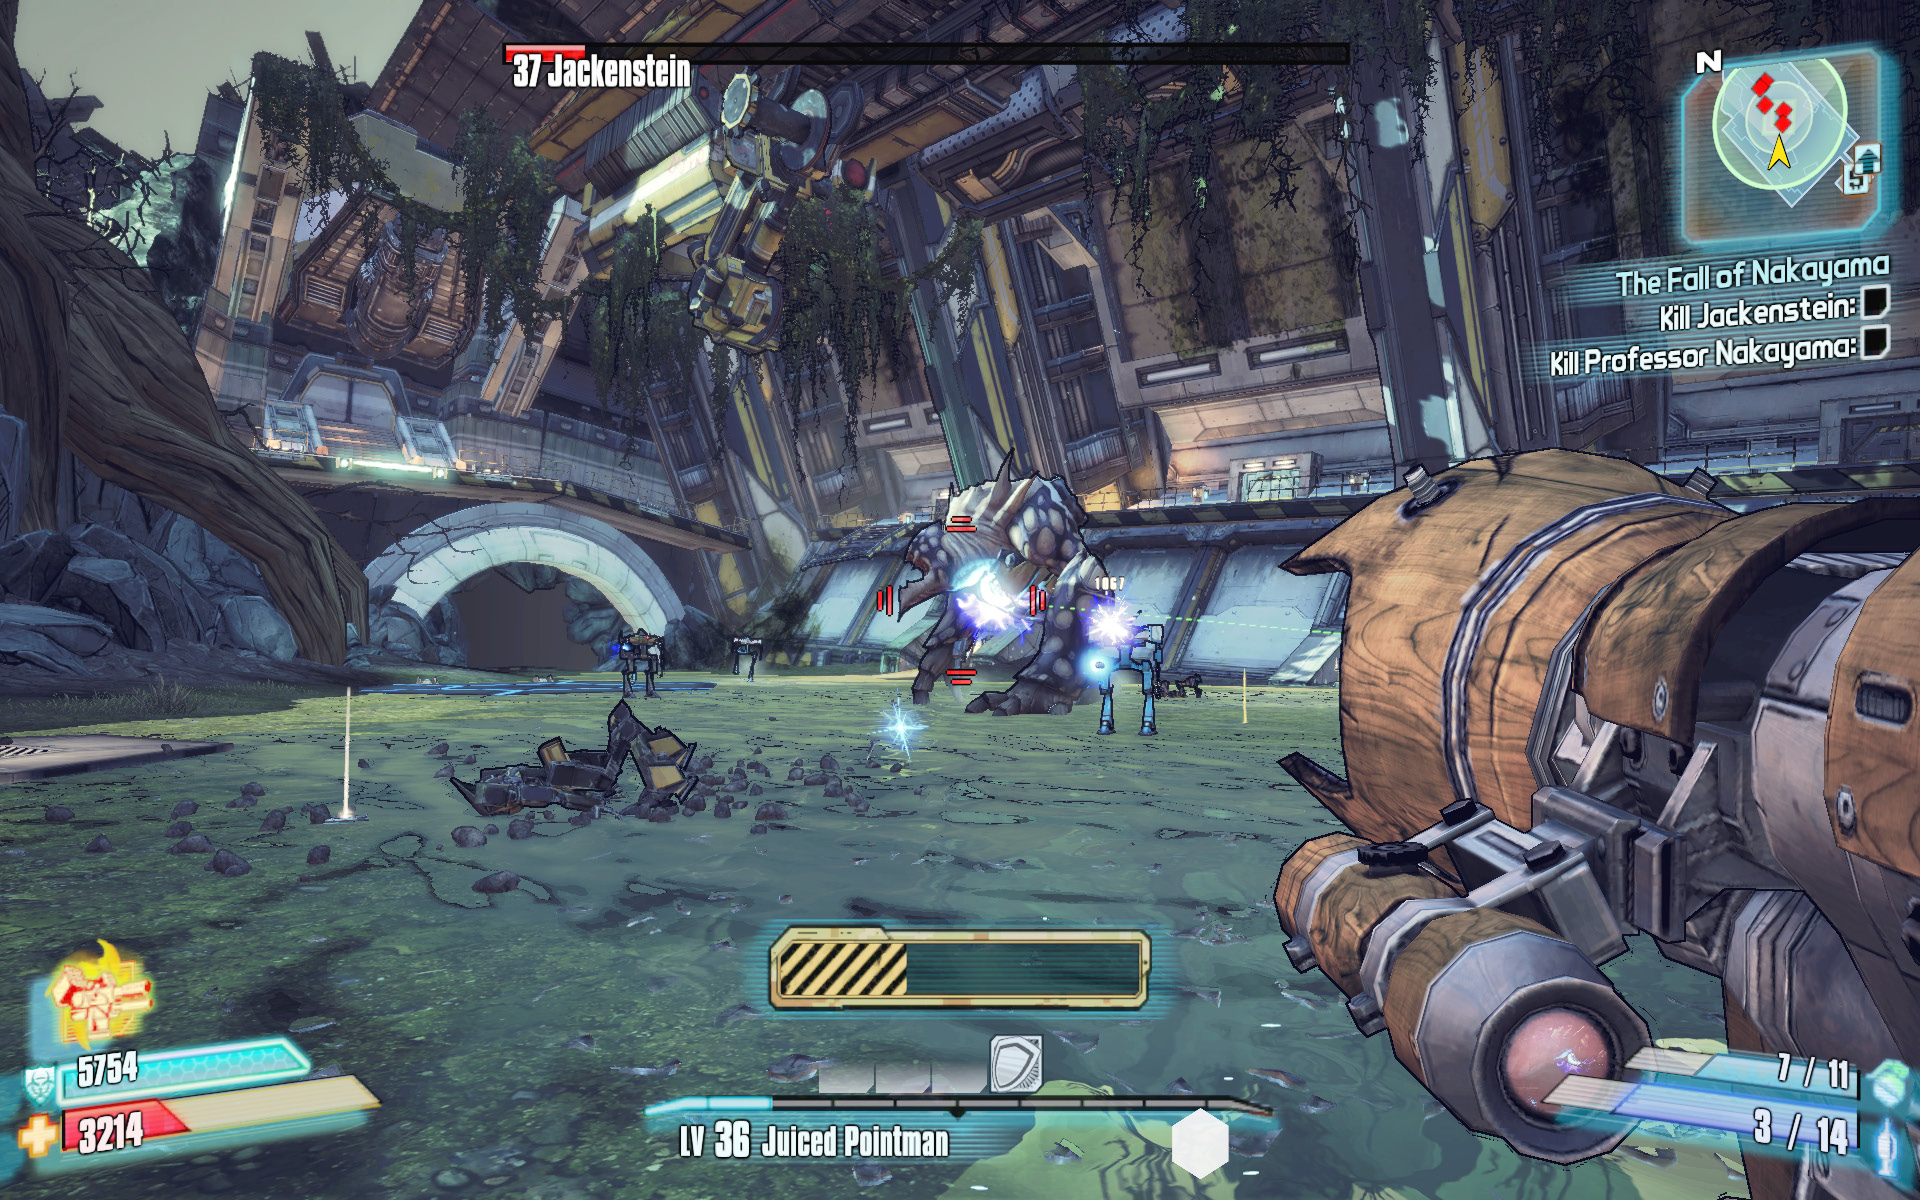
Jackenstein is a massive amalgamation of Pandoran wildlife, most closely resembling an oversized bullymong with robotic appendages. Though he doesn’t boast a traditional energy shield, his body is immune to damage until you destroy the capacitors on his back. Equip a Jakobs sniper rifle for best results, as the capacitors are immune to elemental damage. Keep your distance to avoid the rocks and scientific debris that Jackenstein hurls your way (as well as his quick-dash melee attacks), and snipe either of the capacitors on Jackenstein’s back. Try to target the same one repeatedly to destroy it—it’s better to have destroyed one than weakened two! Avoid shooting Jackenstein’s bulletproof skin, as any shots fired at it simply ricochet back at you. This is particularly true as Jackenstein lunges toward your position with its armor-plated forelegs up as a shield.
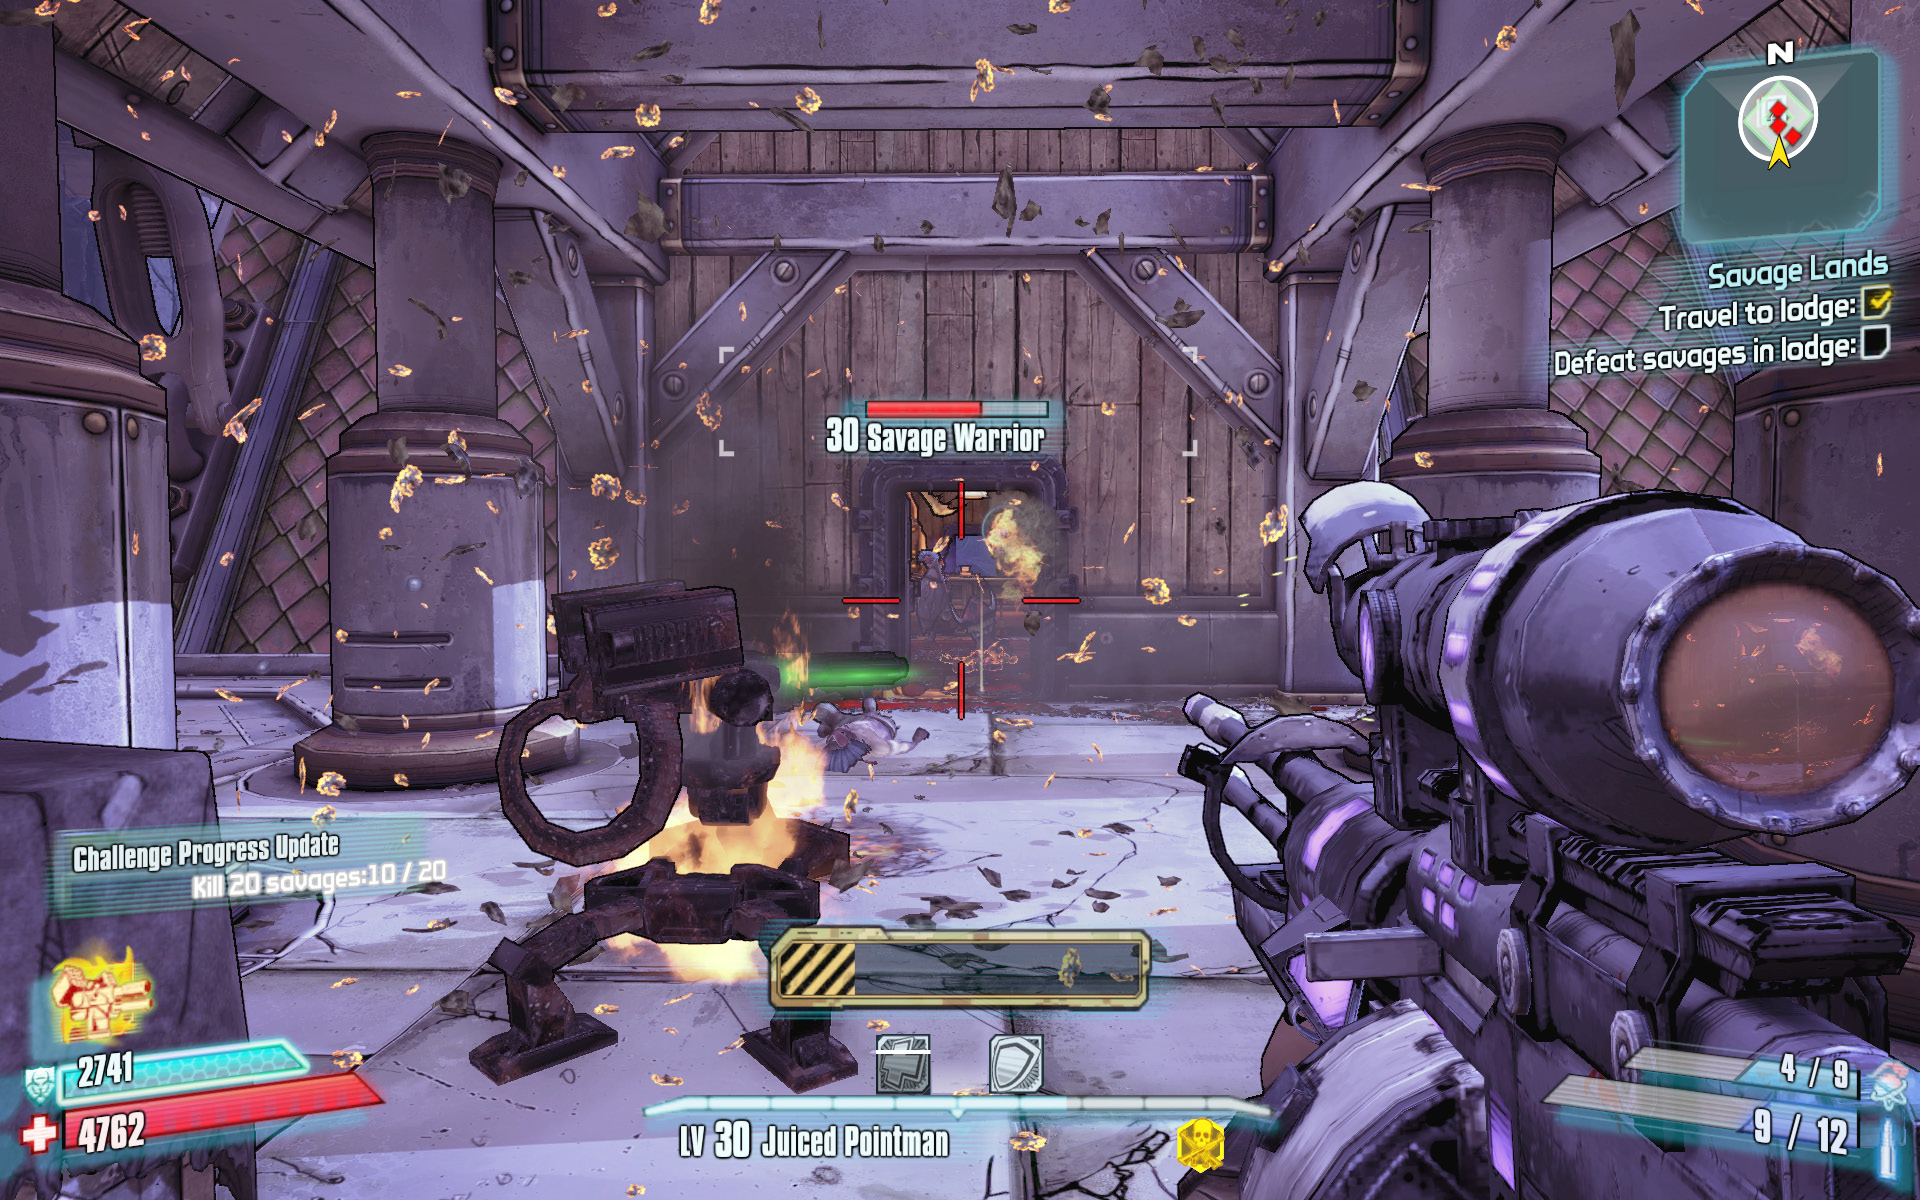
Once you have destroyed the first of his two capacitors, Jackenstein leaps to an upper ledge and erects an impenetrable bubble shield around himself. A number of ION, GUN, and EXP Loaders march into the arena at this time. Switch to your Corrosive weapon, and immediately target the ION and EXP Loaders. It can pay to leave one or two GUN Loaders alive in case you get downed by Jackenstein, as they pose less of a threat than EXP Loaders and are far easier to Second Wind off of than ION Loaders. After you’ve slain the first half-dozen or so loaders, Jackenstein leaps back into the fray. Ignore the remaining loaders, grab your non-elemental weapon, and take out the other capacitor. Jackenstein then leaps back to the ledge and more loaders attack, just as before.
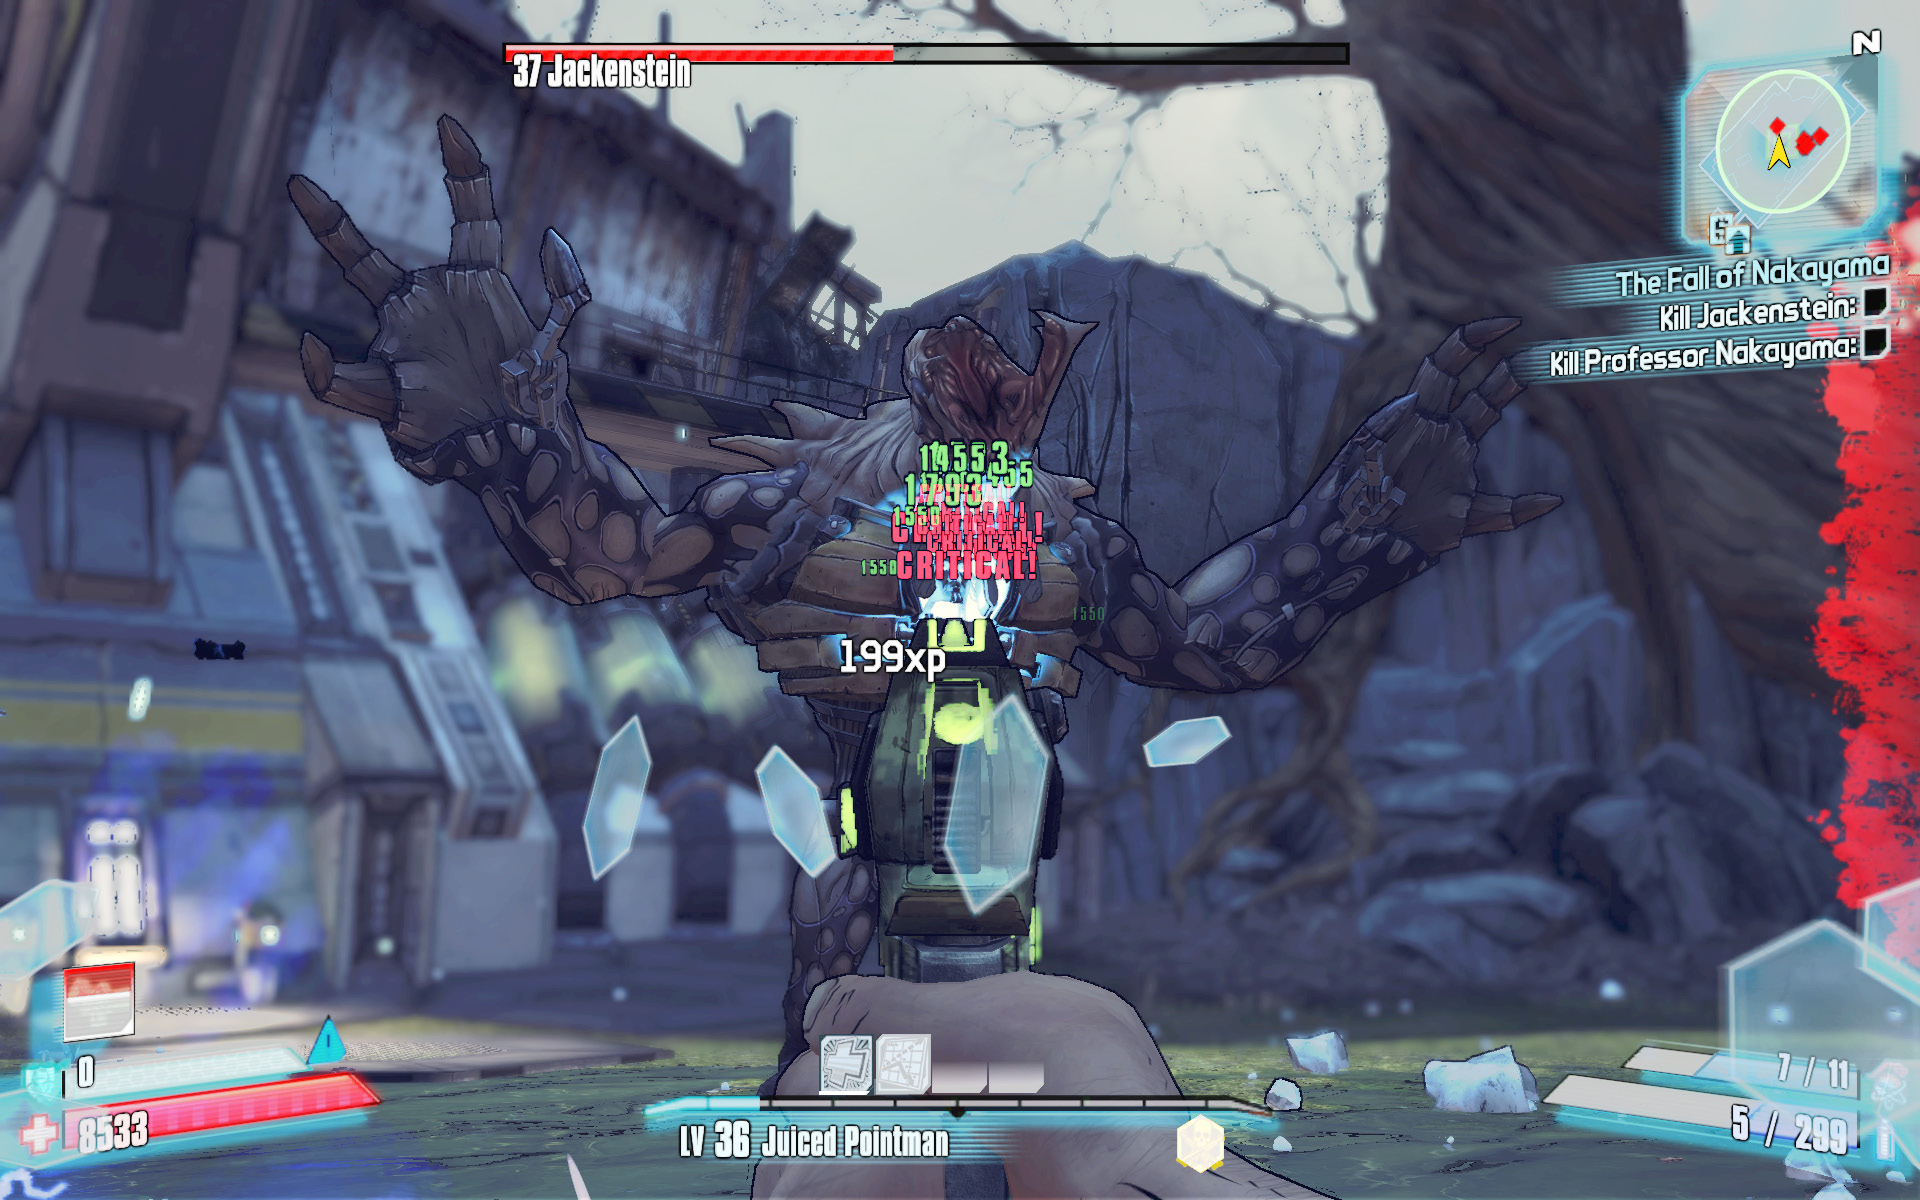
Destroying both capacitors removes Jackenstein’s invulnerability. Watch for him to rear back on his hind legs to charge his powerful energy orb or blast attack. Open fire on the energy portal in his chest when given the chance to score a Critical Hit. This needn’t be done with a non-elemental weapon, as any non-Shock weapon inflicts critical damage if it hits this spot.
Stay on the move, and avoid ducking behind cover or going anywhere outside the sight of the loaders in case you get downed by Jackenstein. It’s possible to seek cover beneath the white arch on the north side of the arena, but that is unnecessary, provided you circle-strafe around Jackenstein and have a potent rocket launcher or other weapon and an Adaptive Shield to protect against its shock attacks. Again, being downed isn’t such a big threat if you’re close to the various loaders also in the arena. It’s more dangerous to be isolated than it is to stick it out in the open. Lob your grenades, and continue firing at Jackenstein, both in his body and the energy portal in his chest, until you finally defeat him.
Meet Professor Nakayama near the light-stairs at the north end of the Sunken Cargo Room. Don’t worry, you won’t have to fight him, too. Ascend the stairs, locate the Cult of the Vault symbol in the hallway, and loot the Armory of treasure. Use the Fast Travel station to return to your Bank and Secret Stash in Sanctuary if you need to, as there’s a ton of loot in the Armory for you to sort through. Enjoy!
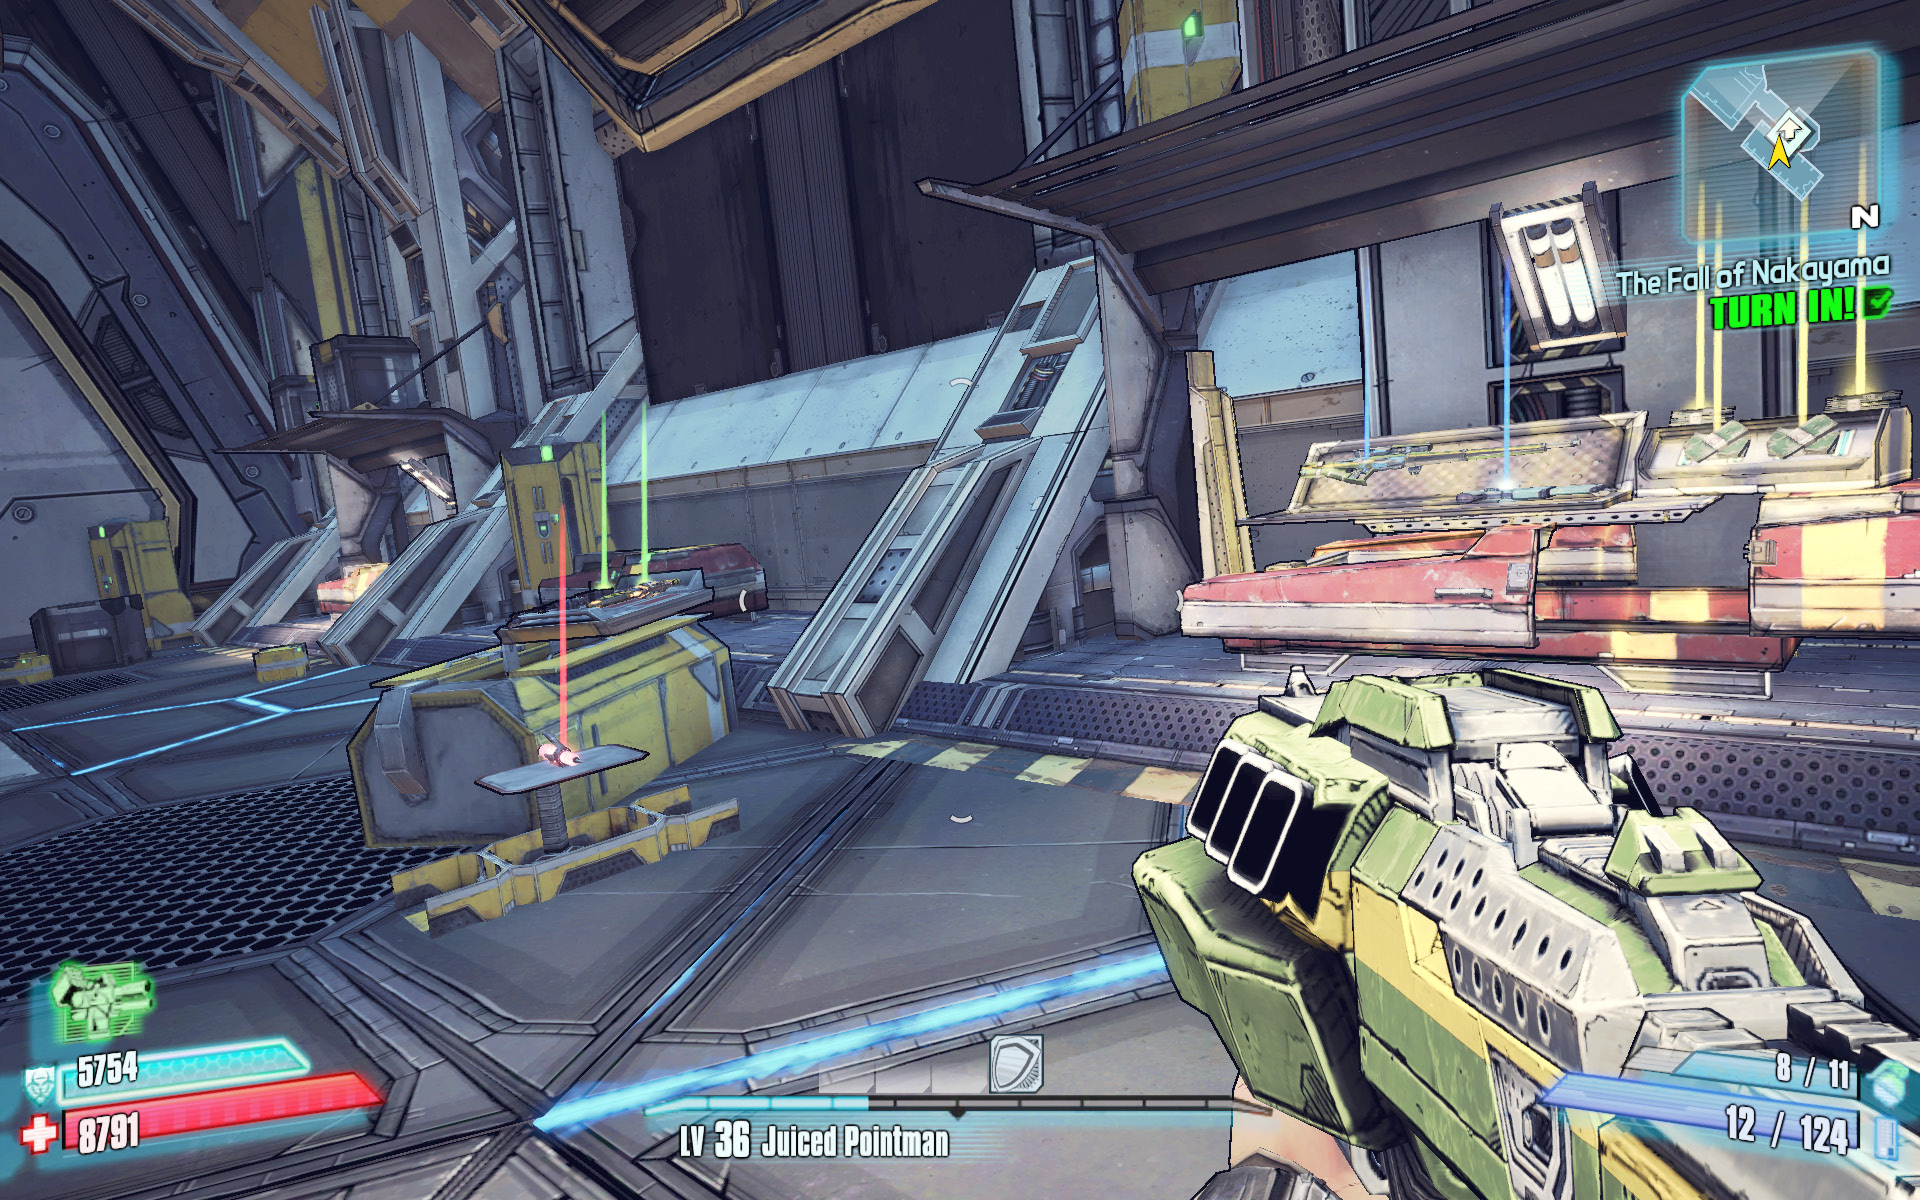
With more than a dozen treasure chests to sort through, you’re going to be here a while…
Voracidous the Invincible
Kill Voracidous the Invincible.
Optional Mission Rewards
| Level | Money | XP | Gear |
|---|---|---|---|
|
35 |
$4751 |
5184 |
— |
*Money and XP may vary based on player’s level at start of mission.
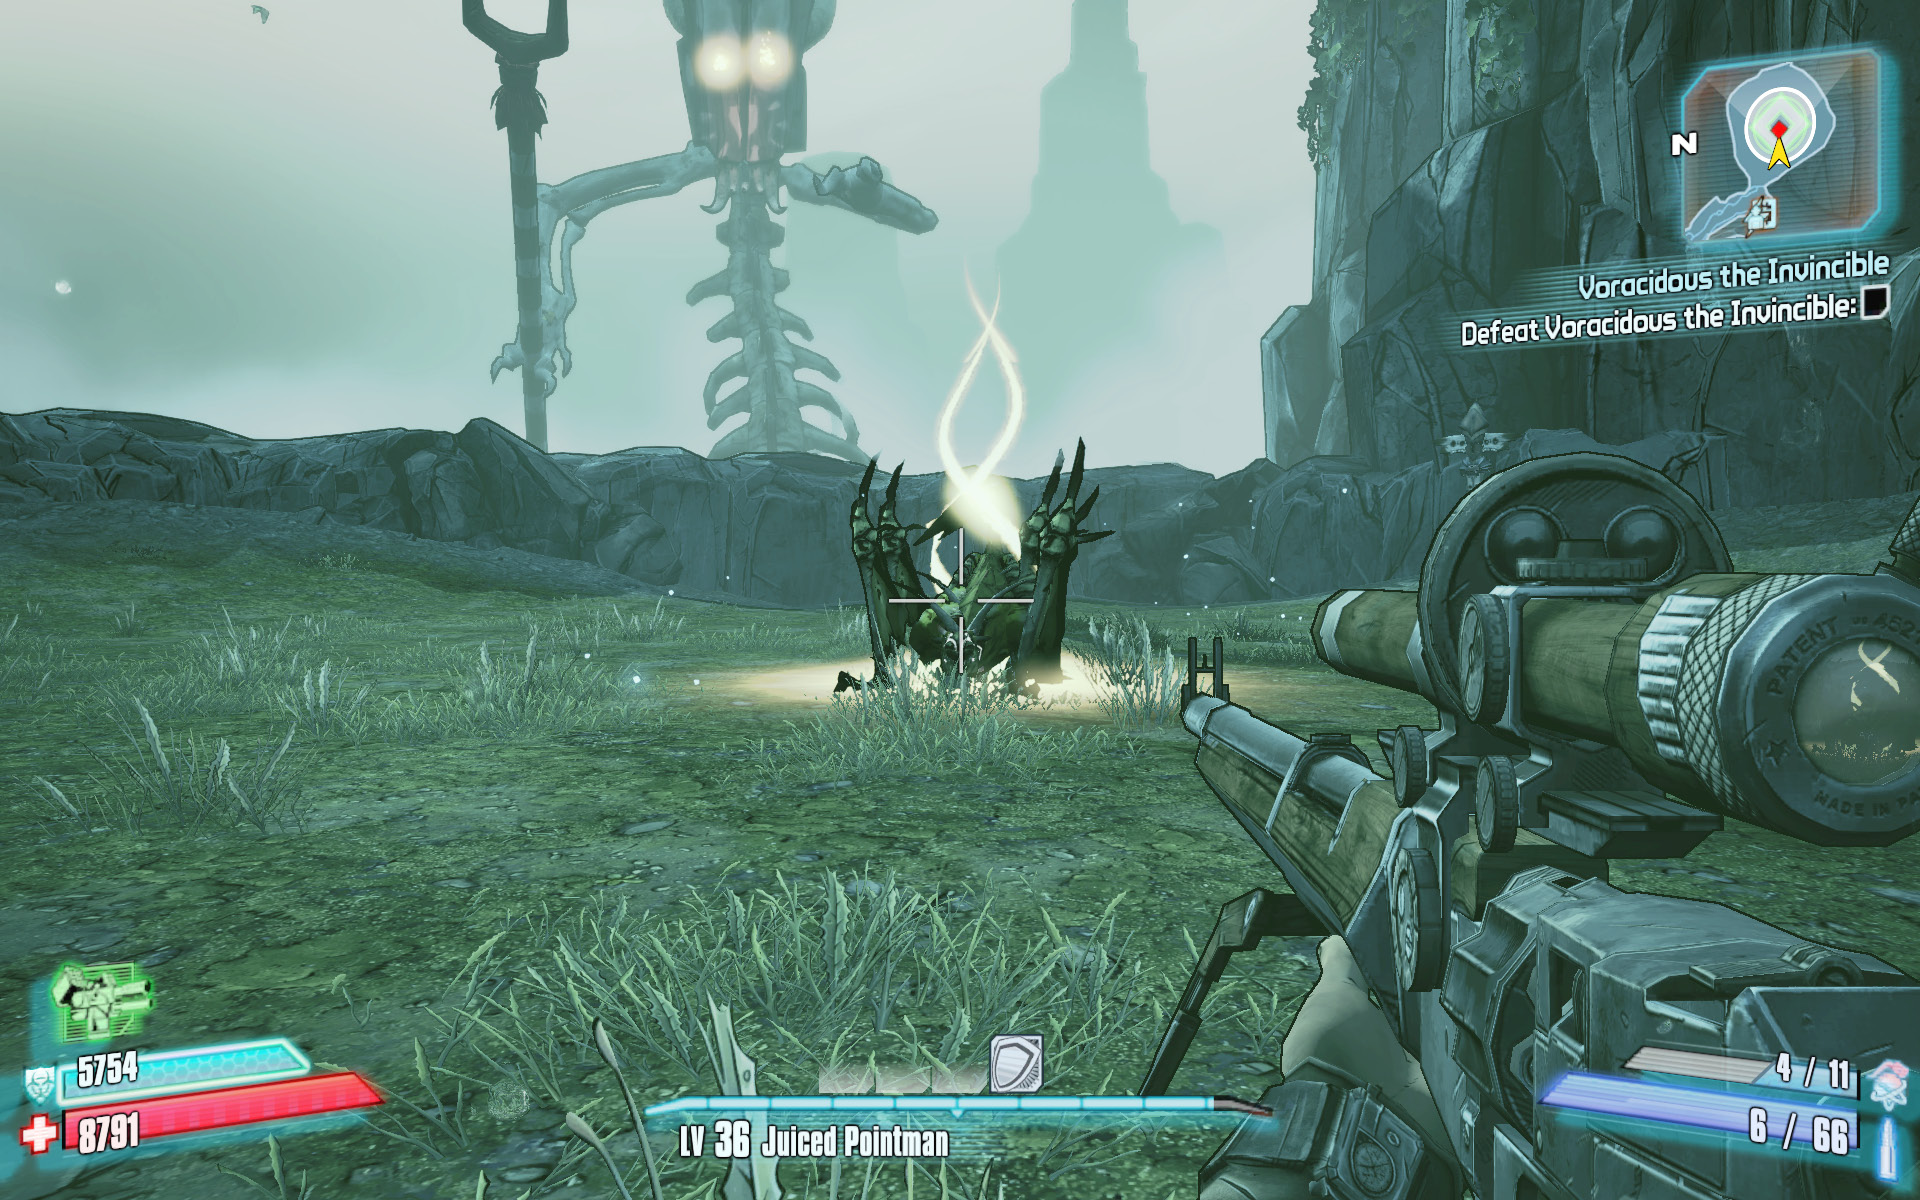
Voracidous the Invincible is located in The Rage Cage area of Candlerakk’s Crag, in the northeast corner of the area. Use the nearby Quick Change station to respec your skill points if necessary. It costs 8 Eridium to open the gate to The Rage Cage. Note that Voracidous the Invincible is unrelated to the Eridium Totems located around Hunter’s Grotto. As with other raid bosses, this is an enemy that is best tackled as a party of four.
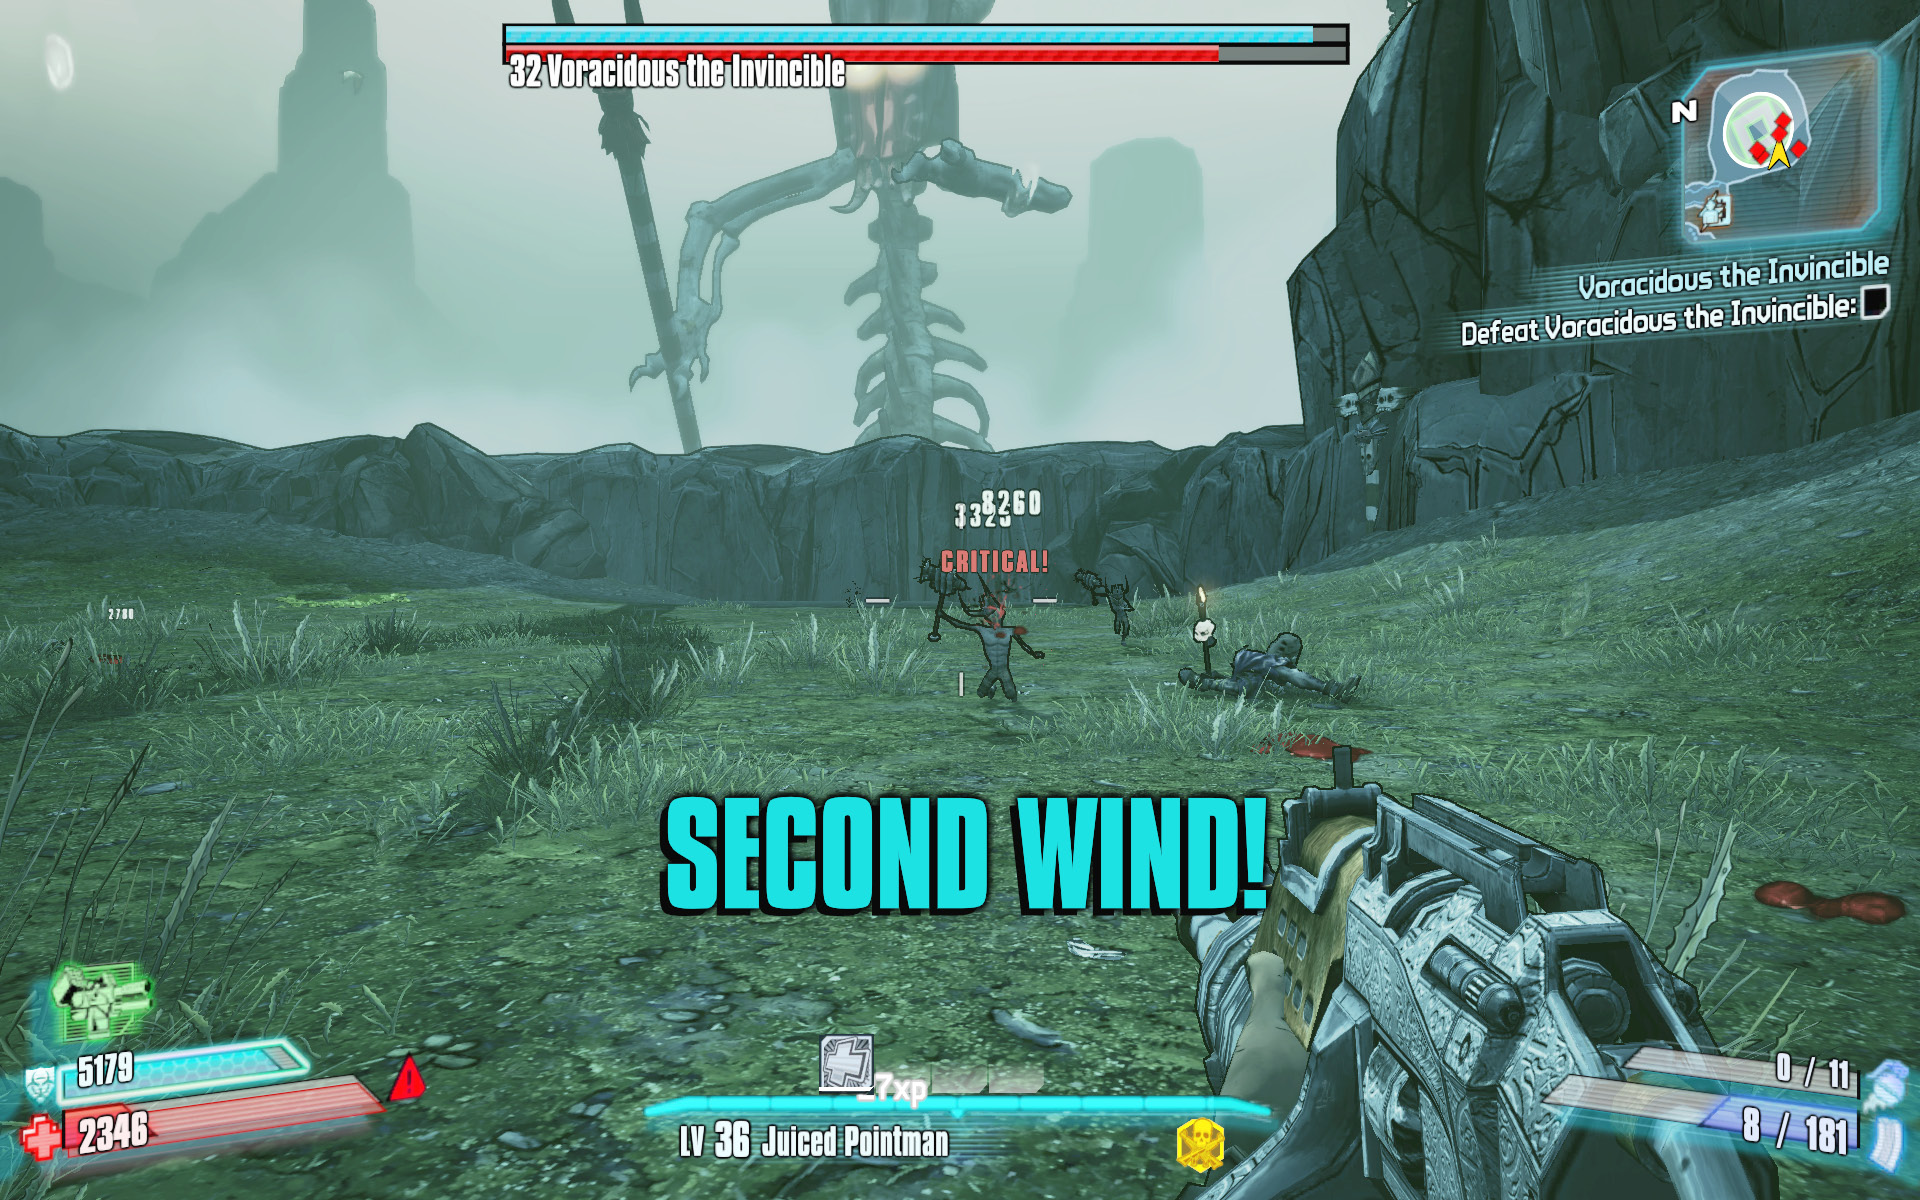
Voracidous appears alone while he’s at rest. Chief Ngwatu, a tall witch doctor, arrives on the scene to help defend him once you initiate the battle. The Chief has a deadly chain lightning attack. Voracidous and Chief Ngwatu share a shield that is transferred between them every 40 seconds. Focus your early attacks on Voracidous, before the shield is transferred to him. Voracidous becomes enraged if the shield is destroyed, if Chief Ngwatu is killed, or when he falls below 20 percent of his health. You absolutely do NOT want to deal with Voracidous prematurely enraging, so do your best to avoid targeting Chief Ngwatu and destroying the shield.
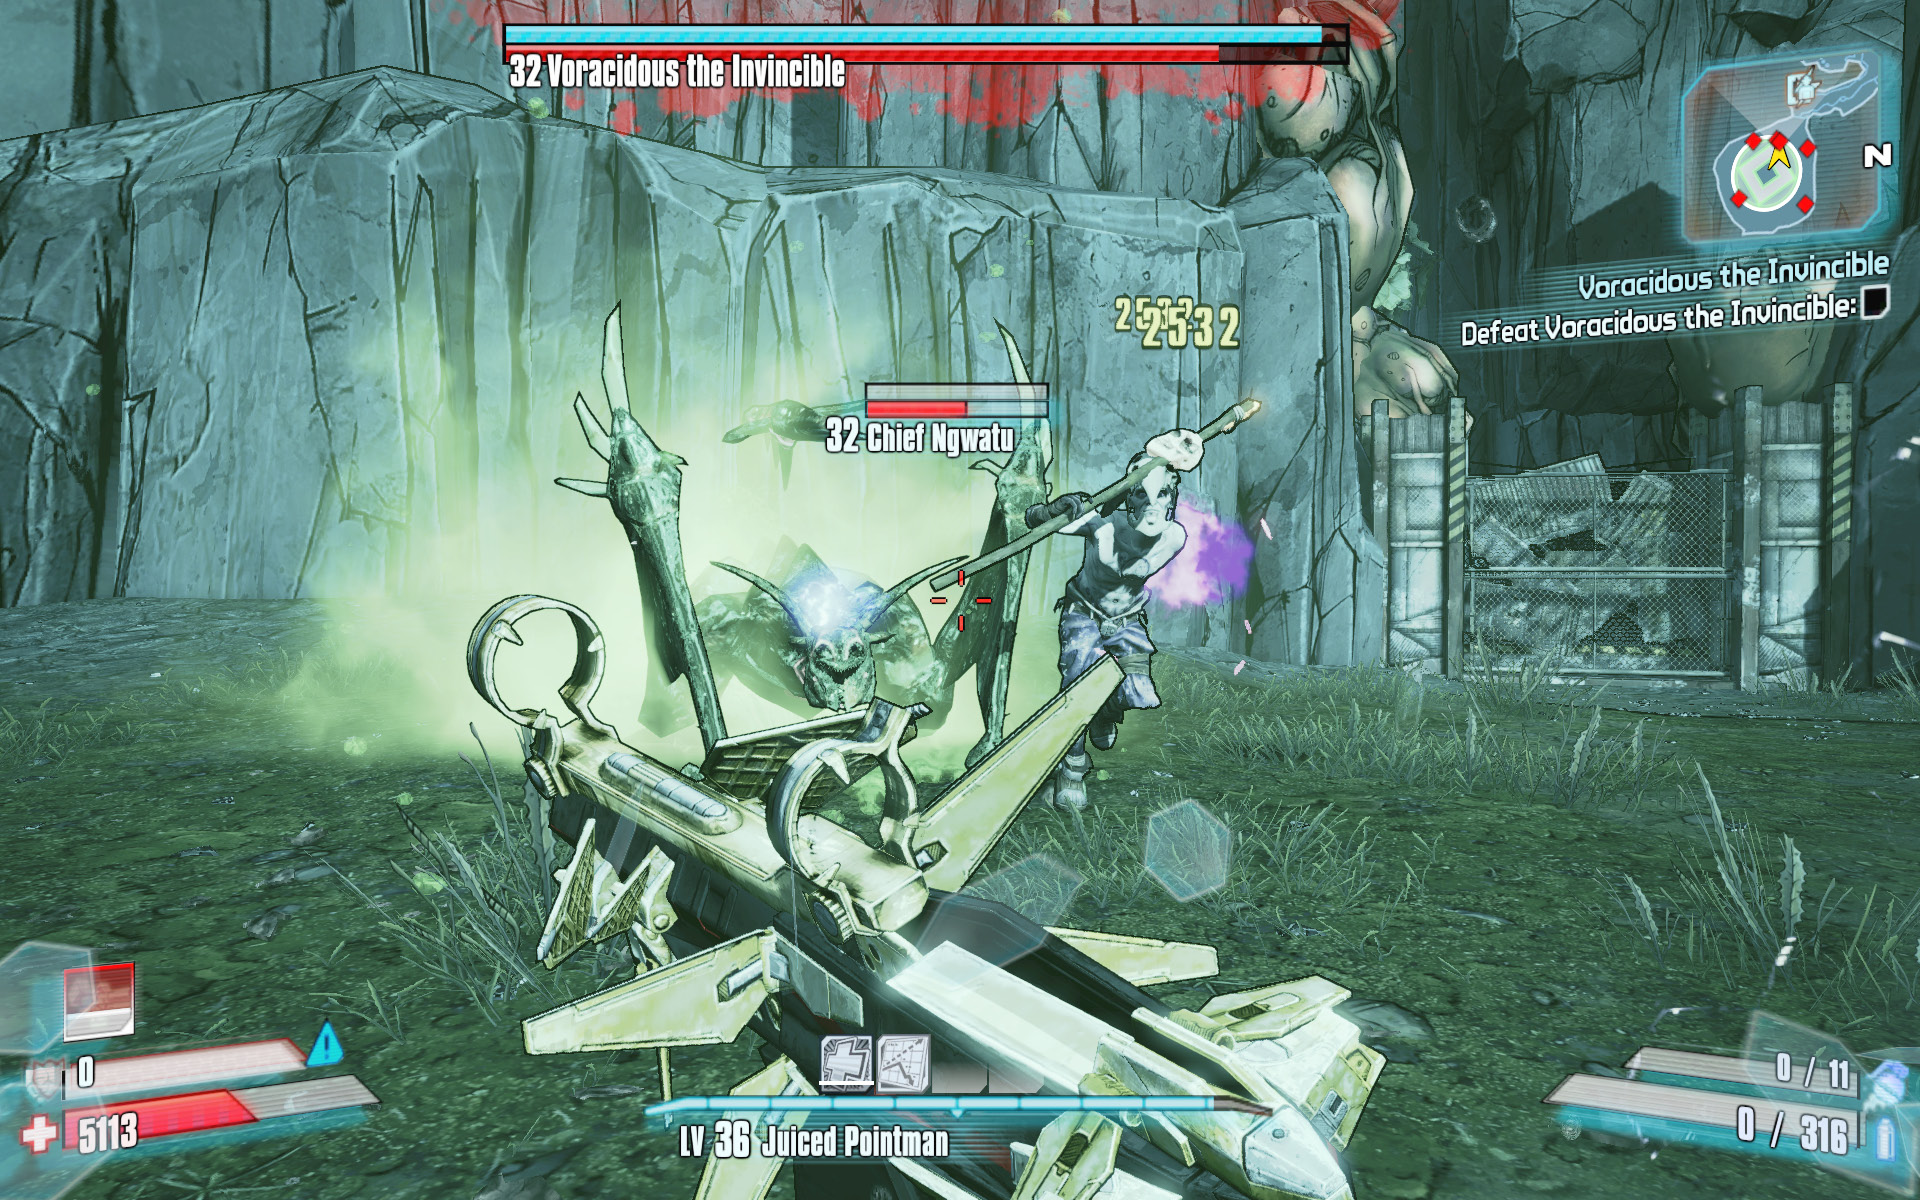
Each time the shield transfers between Chief Ngwatu and Voracidous, four Savage Murderers spawn into the arena, with the sole intent being to kill Chief Ngwatu. You must dispatch these Savage Murderers quickly, before they slay Chief Ngwatu. Keep away from Chief Ngwatu’s melee attacks, and watch for his staff to light up, as that’s your signal that the shield is about to transfer again. Split your team up, and have each person guard one of the Savage Murderer spawn locations to be ready when they appear.
Some additional tips:
- Try to bring Voracidous down to roughly 25 percent health just as the shield is destroyed, so there’s not as much damage left to inflict while he enrages.
- The enrage period is a race to the finish line, so Norfleets or Badabooms are good here.
- Try having one player lure Chief Ngwatu away from Voracidous so that no accidental damage hurts him while the others target Voracidous.
- The Bee Shield isn’t as useful in this fight due to the chain lightning.
- It pays to have a burst-shot high DPS fire weapon to switch to when dealing with the Savage Murderers.
- Equip a high DPS shock weapon for taking down the shield.