
Borderlands 2 Game of the Year Guide Tiny Tina's Assault on Dragon Keep
The Claptrap's Apprentice
|
 Mission Briefing
| Level | Money | XP | Gear |
|---|---|---|---|
|
32 |
$845 |
8845 |
Shield (blue) or Relic (blue) |
*Money and XP may vary based on player’s level at start of mission.
Backfires and Broomsticks
Now that Claptrap has his magical beard and wand, it’s time for him to demonstrate his incredible powers. What could possibly go wrong?
Follow Claptrap to the cavern to the south. Before talking to Claptrap, you may want to walk around the area clearing out golems so they can’t interfere with what’s about to happen. Then, join Claptrap and watch his attempt to do something already foolish and irresponsible go predictably awry.
Claptrap’s animated brooms aren’t particularly dangerous foes, but they can be hard to hit because they’re so thin. Wide-ranging shotgun blasts and explosive weapons (fired at their feet—er, bristles) are good ways to hit the mark.
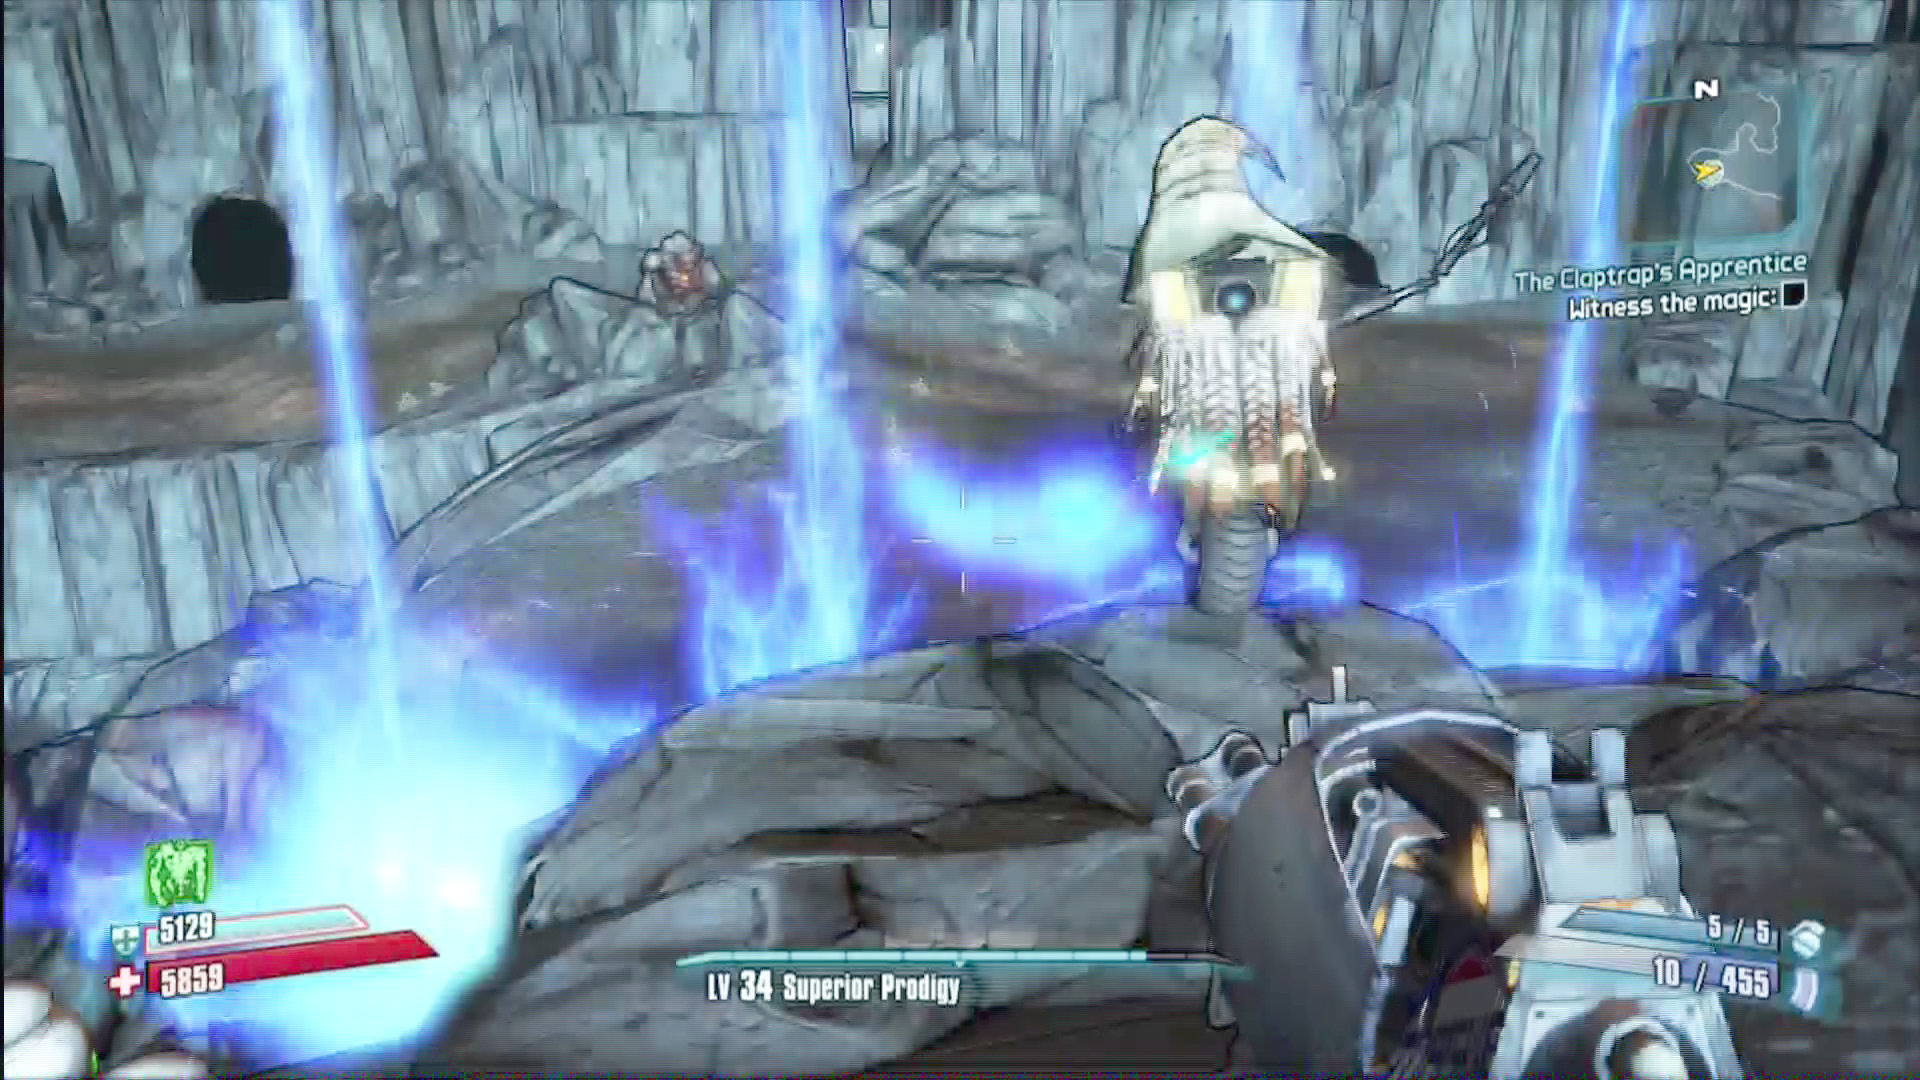
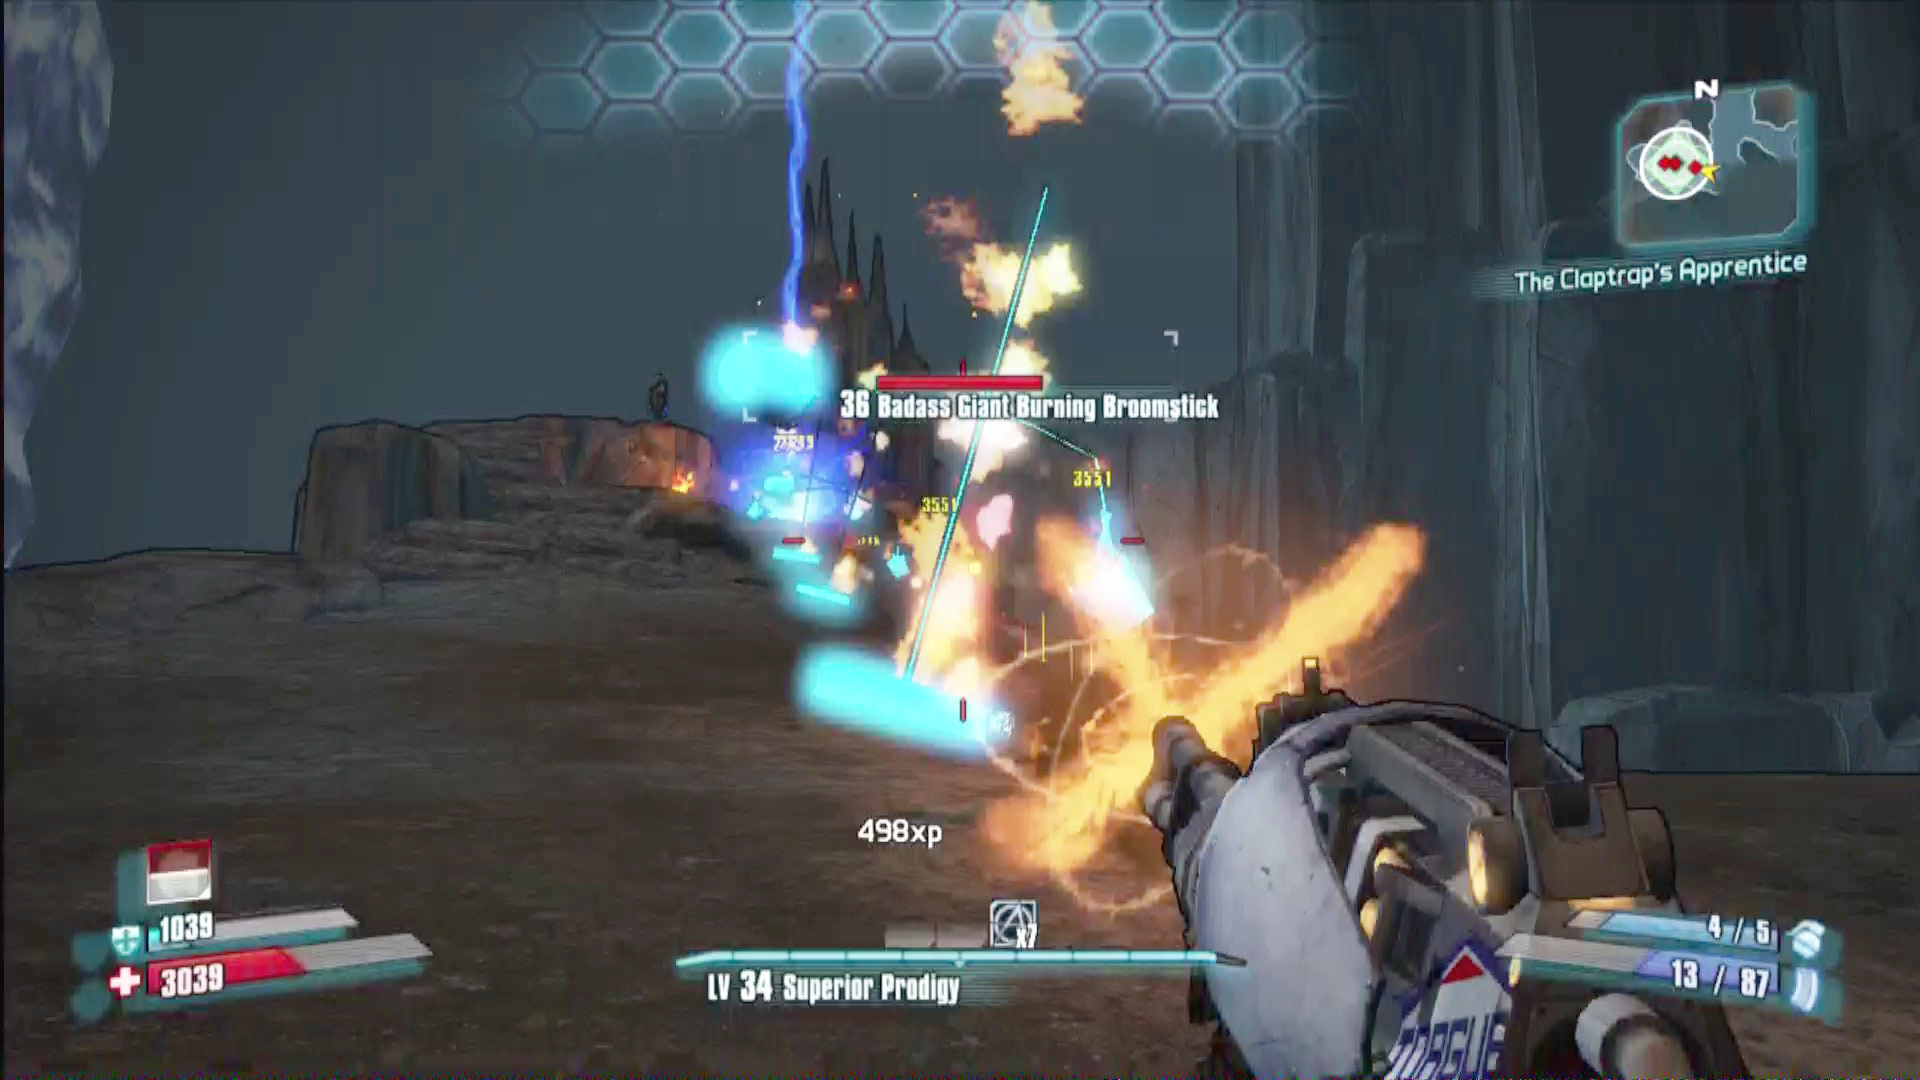
The brooms are highly resistant to incendiary weapons and have no weaknesses or Critical Hit areas.
Hatred’s Shadow
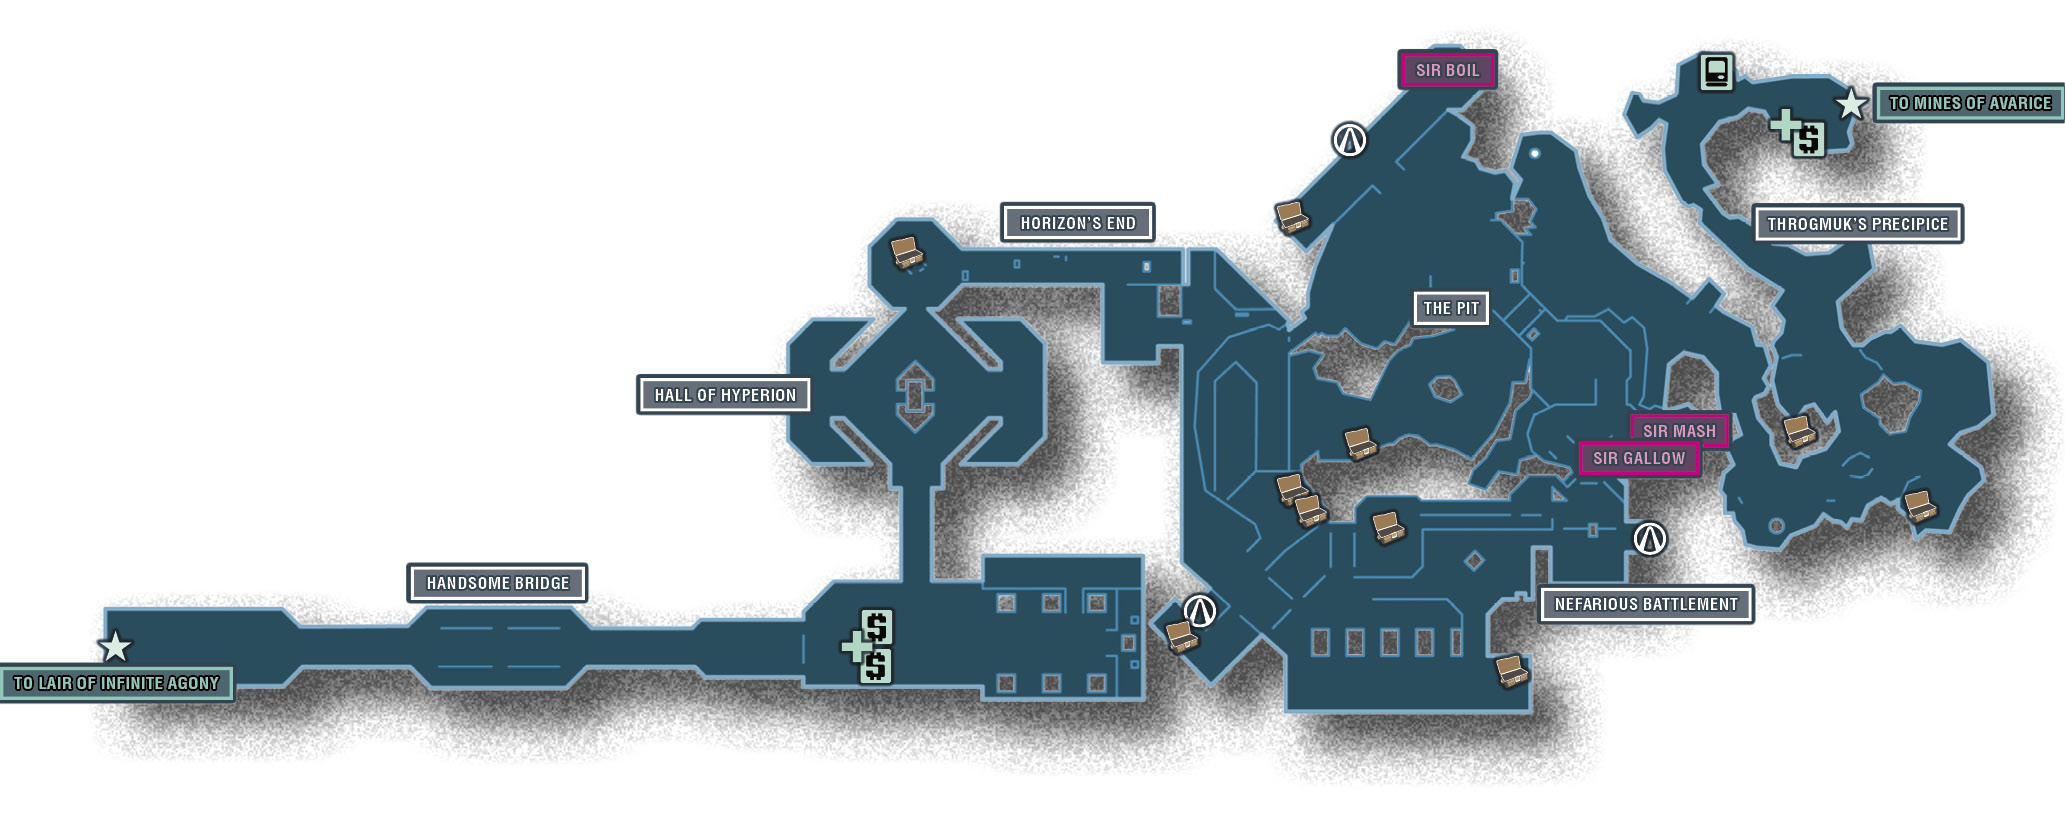
With its poorly market-researched name driving down property values, the Handsome Sorcerer was able to buy a huge chunk of Hatred’s Shadow to build the defensive fortification that surrounds his tower. It’s a long walk up, so make sure to visit Roland in Flamerock Refuge after you arrive here in order to complete the “Winter is a Bloody Business” quest on your way up.
Dangerous Beasts
| Enemy Family |
|---|
|
Orcs |
|
Knights |
|
Archers |
|
Dragons |
 Cult of the Vault
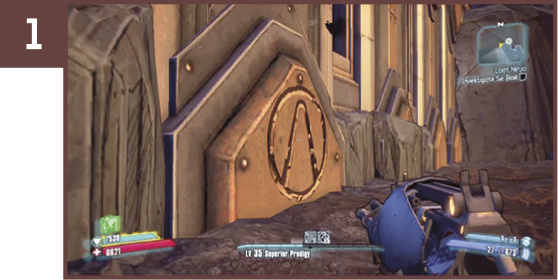
While approaching the bridge that connects The Pit to the Nefarious Battlement, look to the northwest to find a large rectangular structure. Go inside, and then hop out any of the windows that faces to the northwest; you’ll land on a ledge and find the symbol etched into the wall behind you.
In the southwest corner of the Nefarious Battlement, a shortcut elevator will take you back to The Pit. Take the elevator for a ride, standing in the center of the wall with the activation switch and facing the wall itself (southwest). Halfway down the elevator shift, you’ll zip by the symbol; hit the discover button quickly so you don’t miss it!
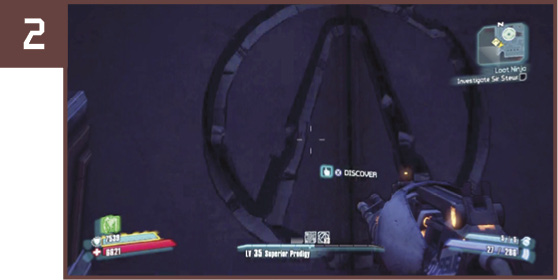
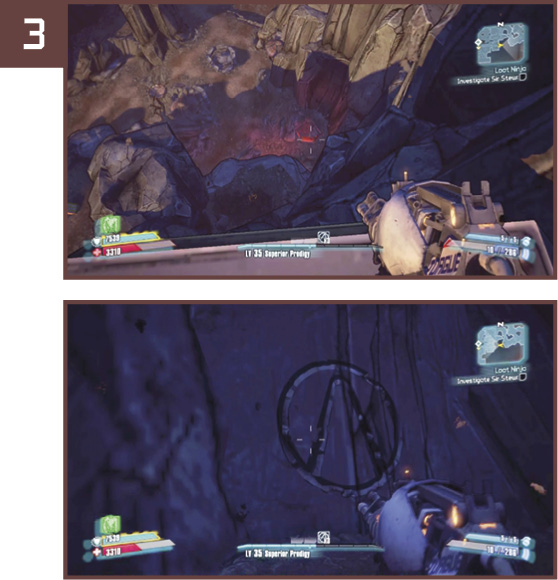
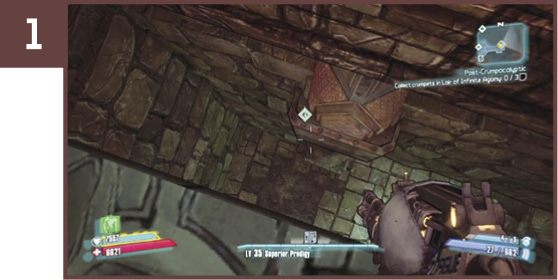
The final symbol is on some rocks on the west wall of Throgmuk’s Precipice. You can only reach it from above, so go to the platform on the southeast corner of the Nefarious Battlement, and stand between the crenellations on the part that juts out over the mountains to the east. Look down; the view should look like the first picture here. Drop down onto the bluish-grey rocks directly below the battlements, and turn around to find the symbol.
Lair of Infinite Agony
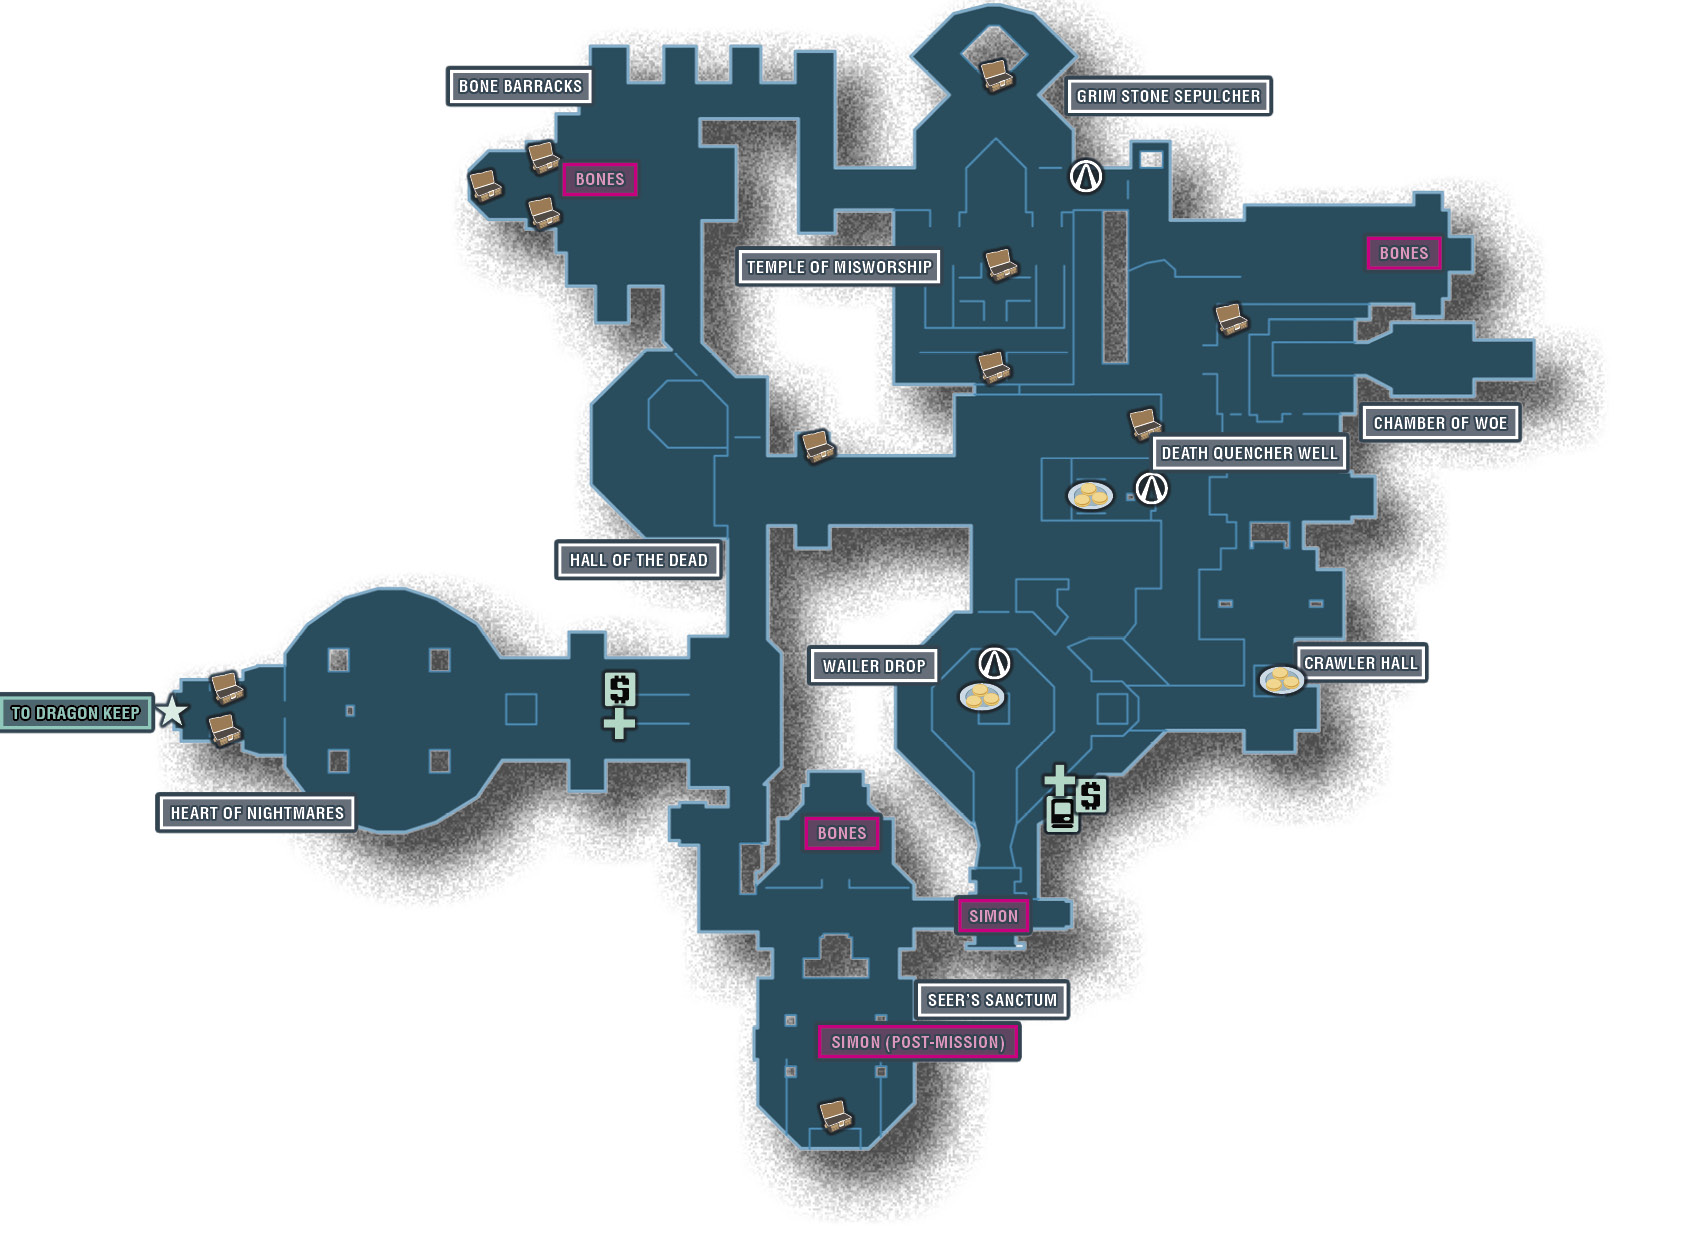
The Lair of Infinite Agony initially appears to be a single room that’s empty except for a single green switch. Pulling it sends you plummeting down the Wailer Drop into a vast network of dungeons, sewers, mausoleums, and desecrated churches. Somewhere inside is a fellow prisoner who may hold the key to your escape, as well as the usual assortment of loot, crumpets, and Cult of the Vault symbols.
Dangerous Beasts
| Enemy Family |
|---|
|
Skeletons |
|
Spiders |
|
Wizards |
 Cult of the Vault
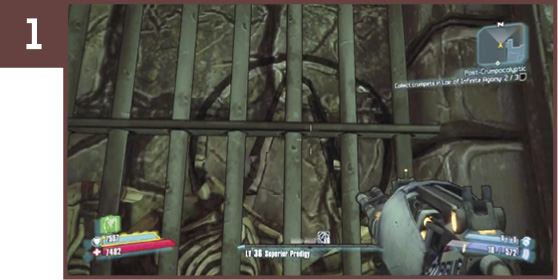
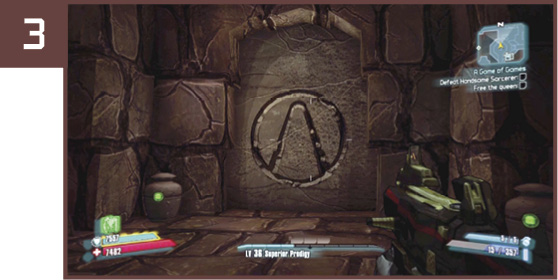
After you make it through the hallway of rising floor plates that connects the Chamber of Woe to the Grim Stone Sepulcher, pull the lever to turn the platforms off. Then, return to the now-safe hallway to find this well-hidden vault symbol against the north wall.
Go to the eastern side of the tuning fork-shaped Hall of the Dead area. Look in the gap between the “prongs” of the “fork,” and you’ll see a balcony with a vault symbol etched on it. You’ll need to jump down onto it from above.
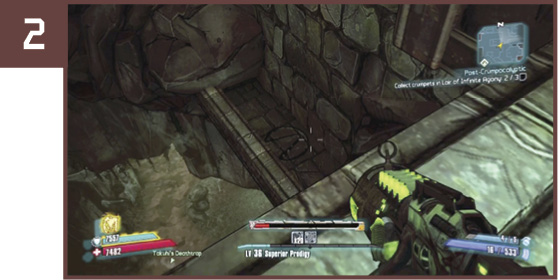
The final vault symbol is hidden in the main shaft of the Wailer Drop. There’s an alcove hidden within the north wall of the shaft, which you can jump to from either side of The Pit. You’ll want to attempt this after you complete the level, when the elevator by the Fast Travel station is unlocked. This allows you to quickly return to the top if you miss the jump.
 Crumpets
Face to the east as you ride the platform elevator up from the lower part of the Wailer Drop to Crawler Hall, and you’ll spot the plate of crumpets on the way. Rather than trying to grab it while moving, jump off the edge of the elevator onto it when the elevator is at its top position. (You’ll need to crouch to be able to pick it up.)
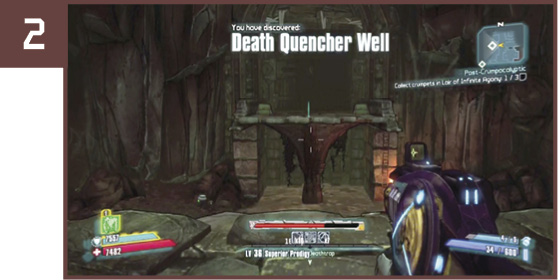
As soon as you enter Death Quencher Well from Crawler Hall, you’ll be looking directly at the next plate of crumpets. Jump into the water and climb up the ladder on the other side to reach it.
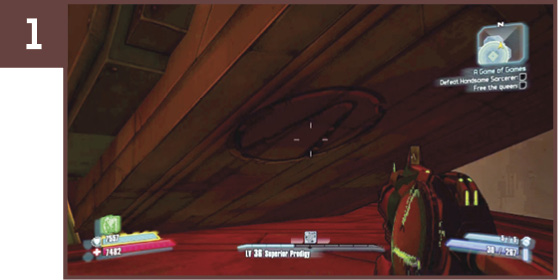
The final plate of crumpets is hidden at the edge of the alcove within the central Wailer Drop shaft, together with the third Cult of the Vault symbol. Jump down on it from above, from either the west or east side of the shaft’s rim.
Dragon Keep
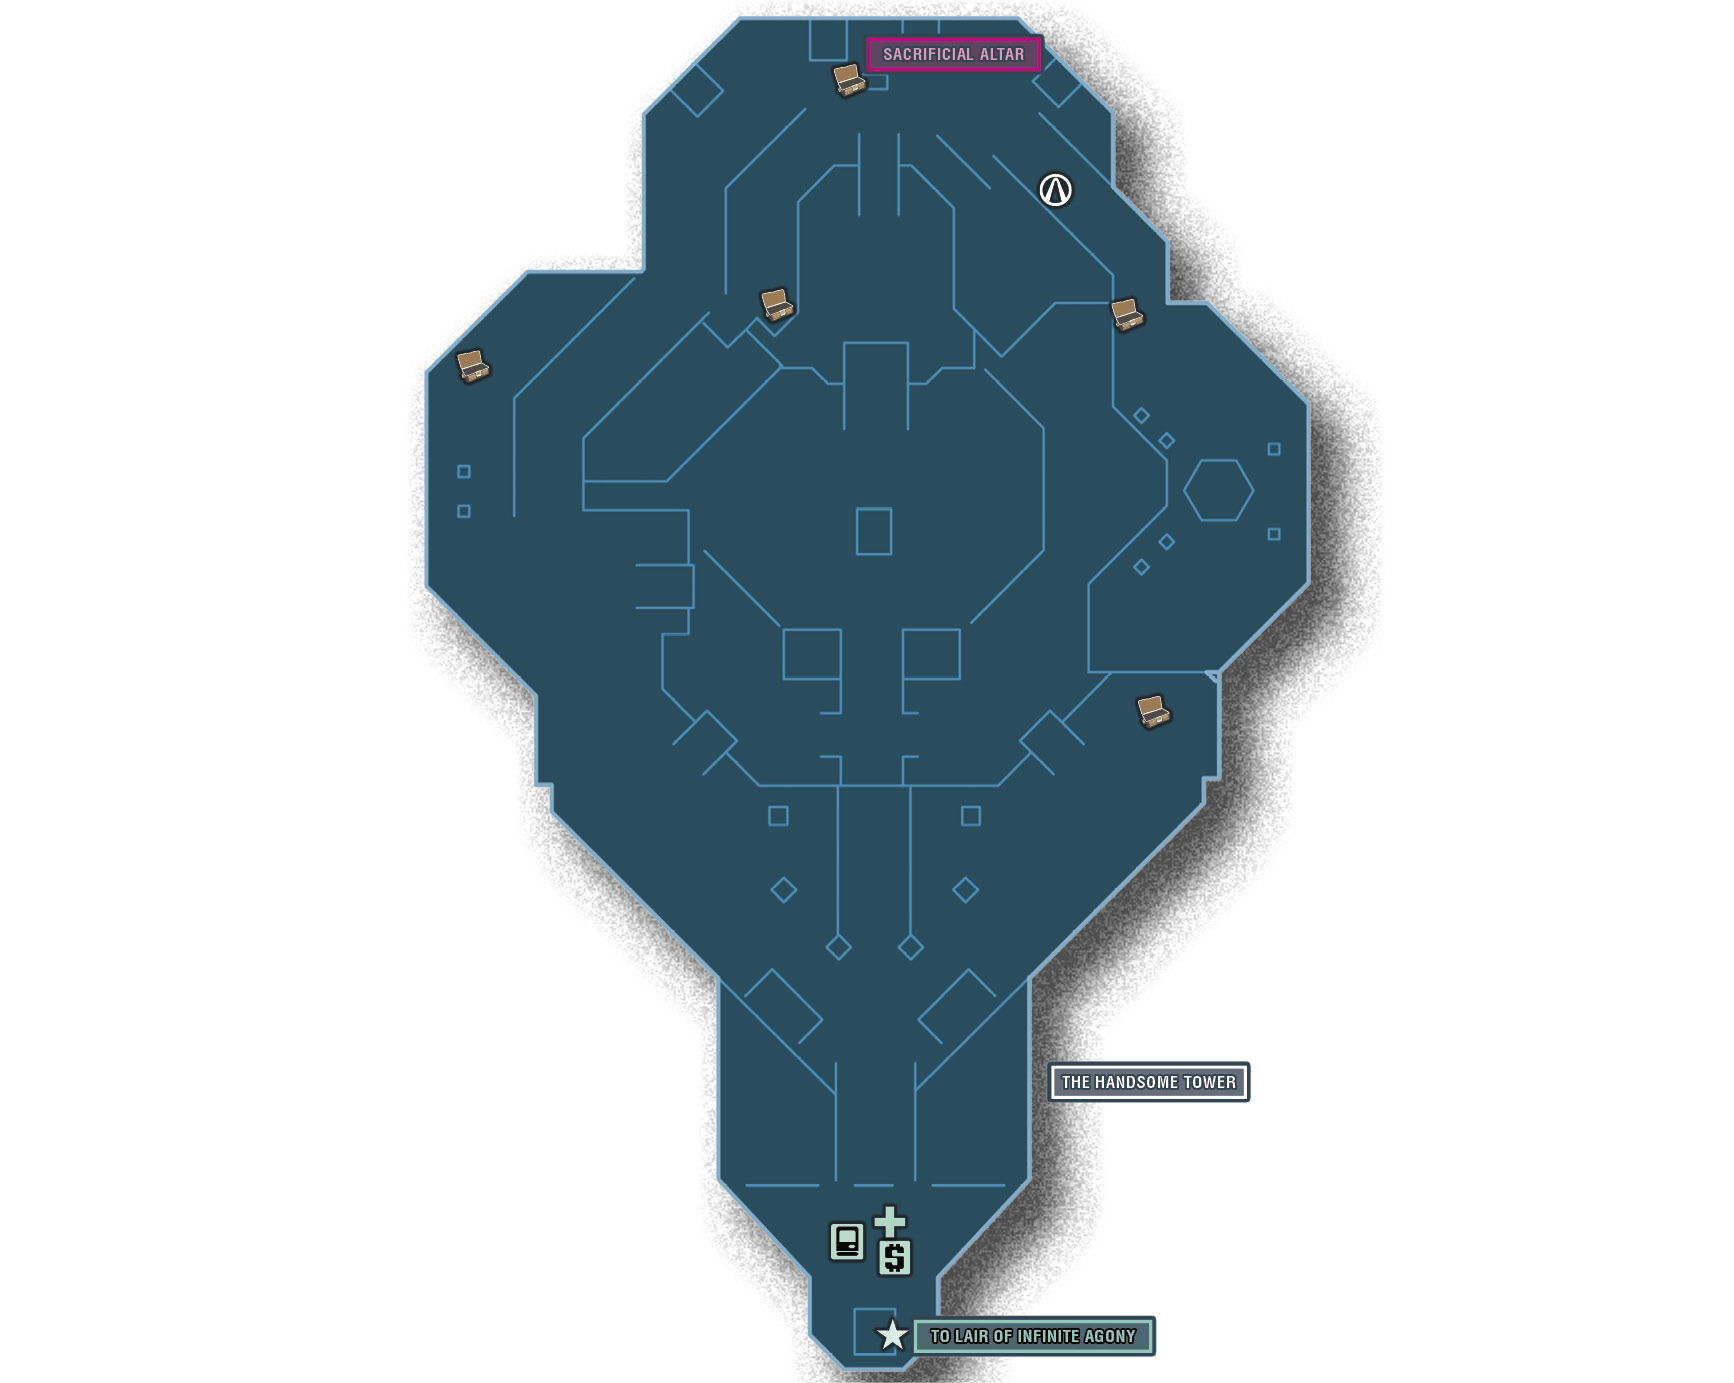
Finally, you’ve made it to the home of the Handsome Sorcerer himself. All that’s left is to battle through a few levels of guards and take the teleporter to the rooftop cell where Her Majesty the Queen is being kept.
Dangerous Beasts
| Enemy Family |
|---|
|
Skeletons |
|
Dragons |
|
Wizards |
 Cult of the Vault
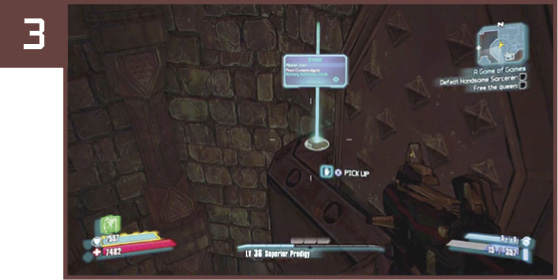
There’s only a single Cult of the Vault symbol in Dragon Keep. You’ll find it painted directly under the staircase in the northeast part of the second level.