Borderlands 2 Game of the Year Guide Tiny Tina's Assault on Dragon Keep
Magic Slaughter: Round 1-5
|
 Mission Briefing
| Level | Money | XP | Gear |
|---|---|---|---|
|
35 |
4 Eridium |
1036 |
- |
Round 2
| Level | Money | XP | Gear |
|---|---|---|---|
|
35 |
6 Eridium |
1036 |
- |
Round 3
| Level | Money | XP | Gear |
|---|---|---|---|
|
35 |
8 Eridium |
1036 |
- |
Round 4
| Level | Money | XP | Gear |
|---|---|---|---|
|
35 |
10 Eridium |
1036 |
- |
Round 5
| Level | Money | XP | Gear |
|---|---|---|---|
|
35 |
12 Eridium |
1036 |
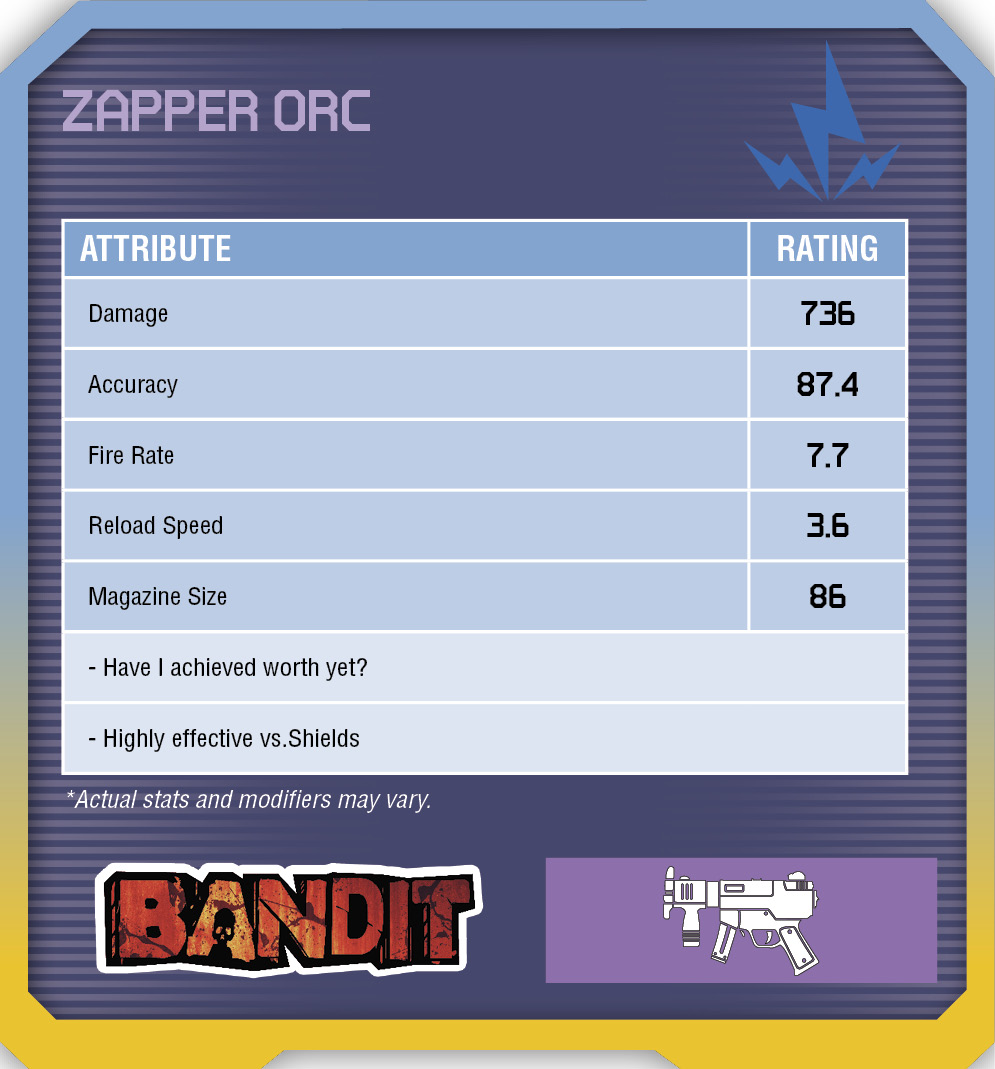
Orc (Purple submachine gun) |
*Money and XP may vary based on player’s level at start of mission.
The Deadly Traps of the Forgotten Temple
The Forgotten Temple that serves as the arena for the Magic Slaughter quests is packed with traps. There are four kinds: The small yellow squares are spike traps that will impale you whenever you step on them. The black lines hide jets of flame or electricity that shoot out, usually between rounds. The larger squares can open up to reveal pits or pillars from which enemies emerge (some pillars also have flame jets that fire horizontally). The wood-plank bridges cover spike pits that will kill you instantly; the planks disappear from time to time during the battle. Oh, and there are no walls bordering the southern and eastern edges of the arena, and much of the northern rim as well, so you can easily fall off or be knocked into the lava, which is another instant kill.
There are very few spots in the arena that are truly safe. You may want to make your home base in the northwest corner, where you can run a short distance along the west wall without stumbling into any traps. This strip of lands includes a staircase, which is always safe from traps, although the stairs are bordered by two rows of flame/shock jets.
Another trap of sorts is the Crystal of Perpetual Terror, which descends over the battlefield from time to time, more frequently in the later rounds. If you don’t destroy it immediately after Murderlin announces its descent, it will explode, dealing damage of an elemental type corresponding to its color to everyone on the entire battlefield (including your foes). The explosions are survivable if your Health and shield are near full, so it isn’t always the right choice to drop everything and target the crystal; enemies who are actively attacking you should usually take priority.
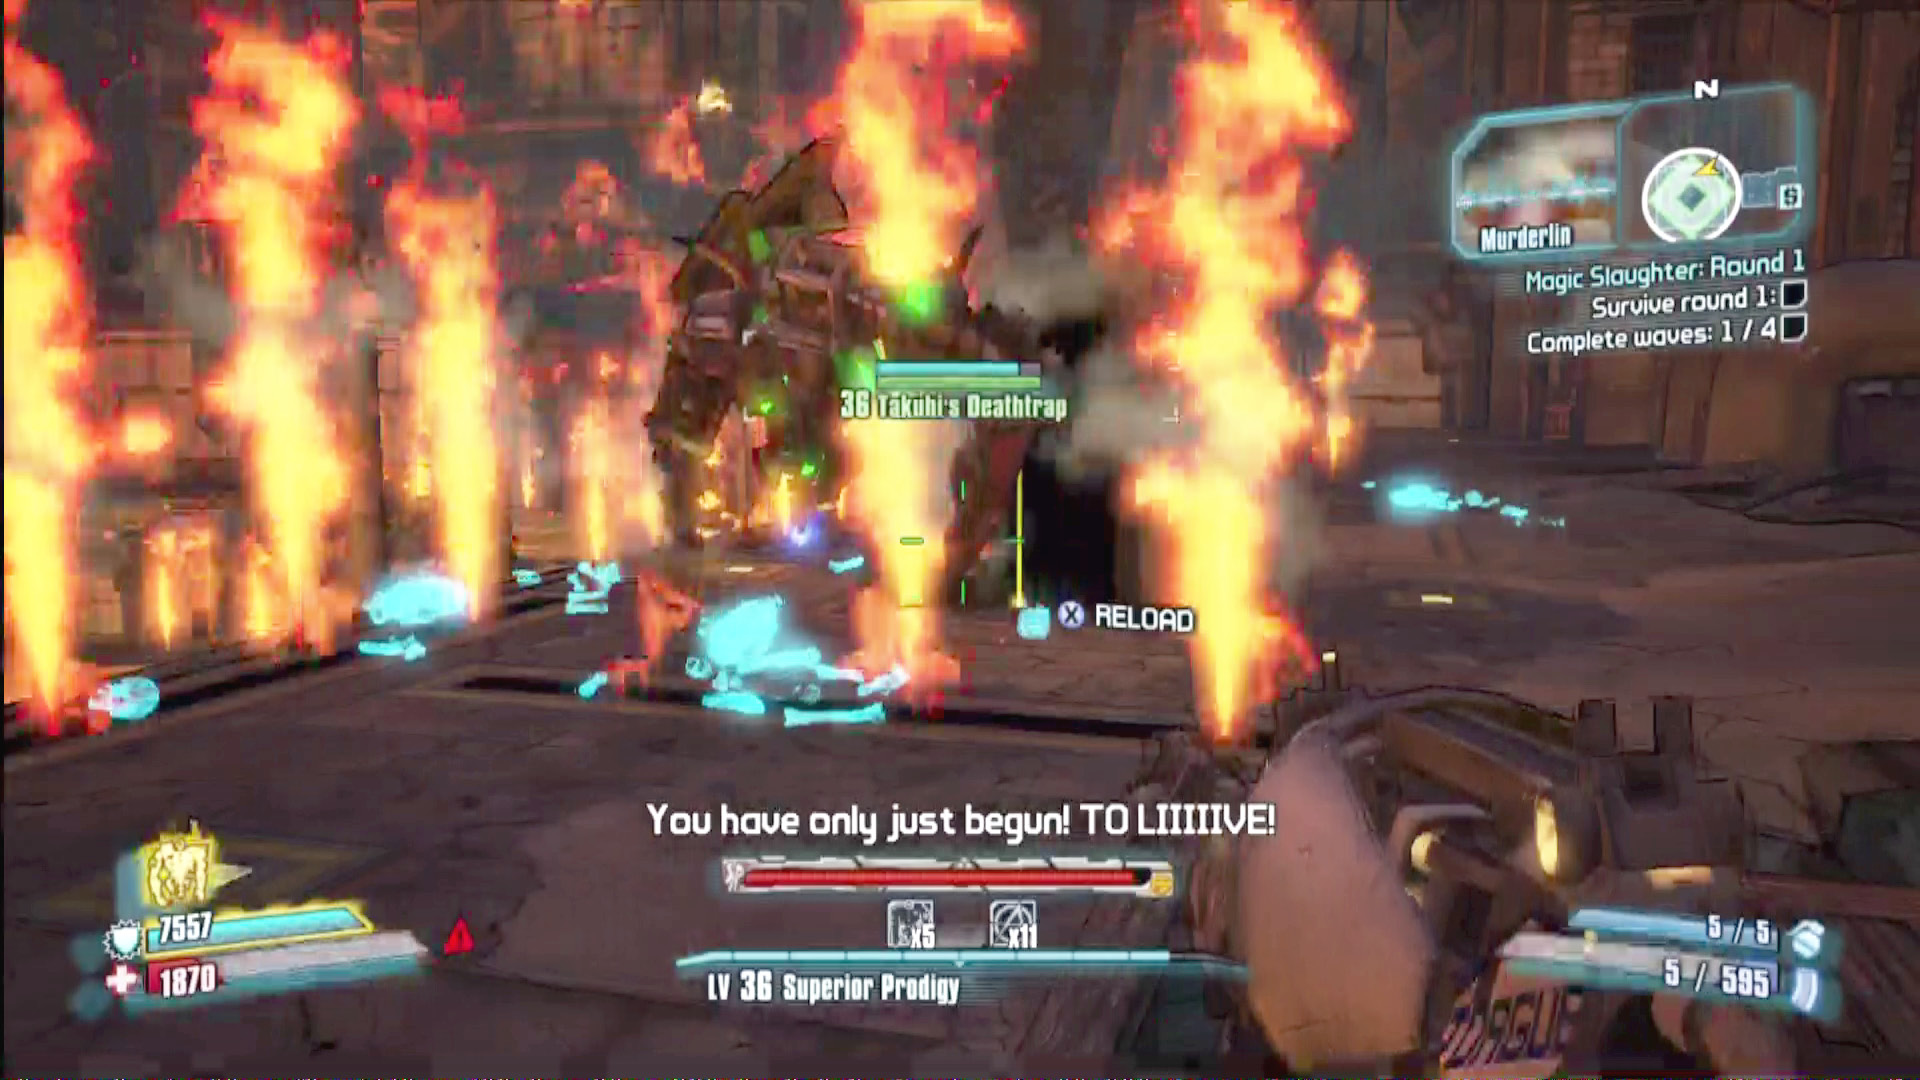
At least the flame/shock jets are predictable, generally activating only between enemy waves.
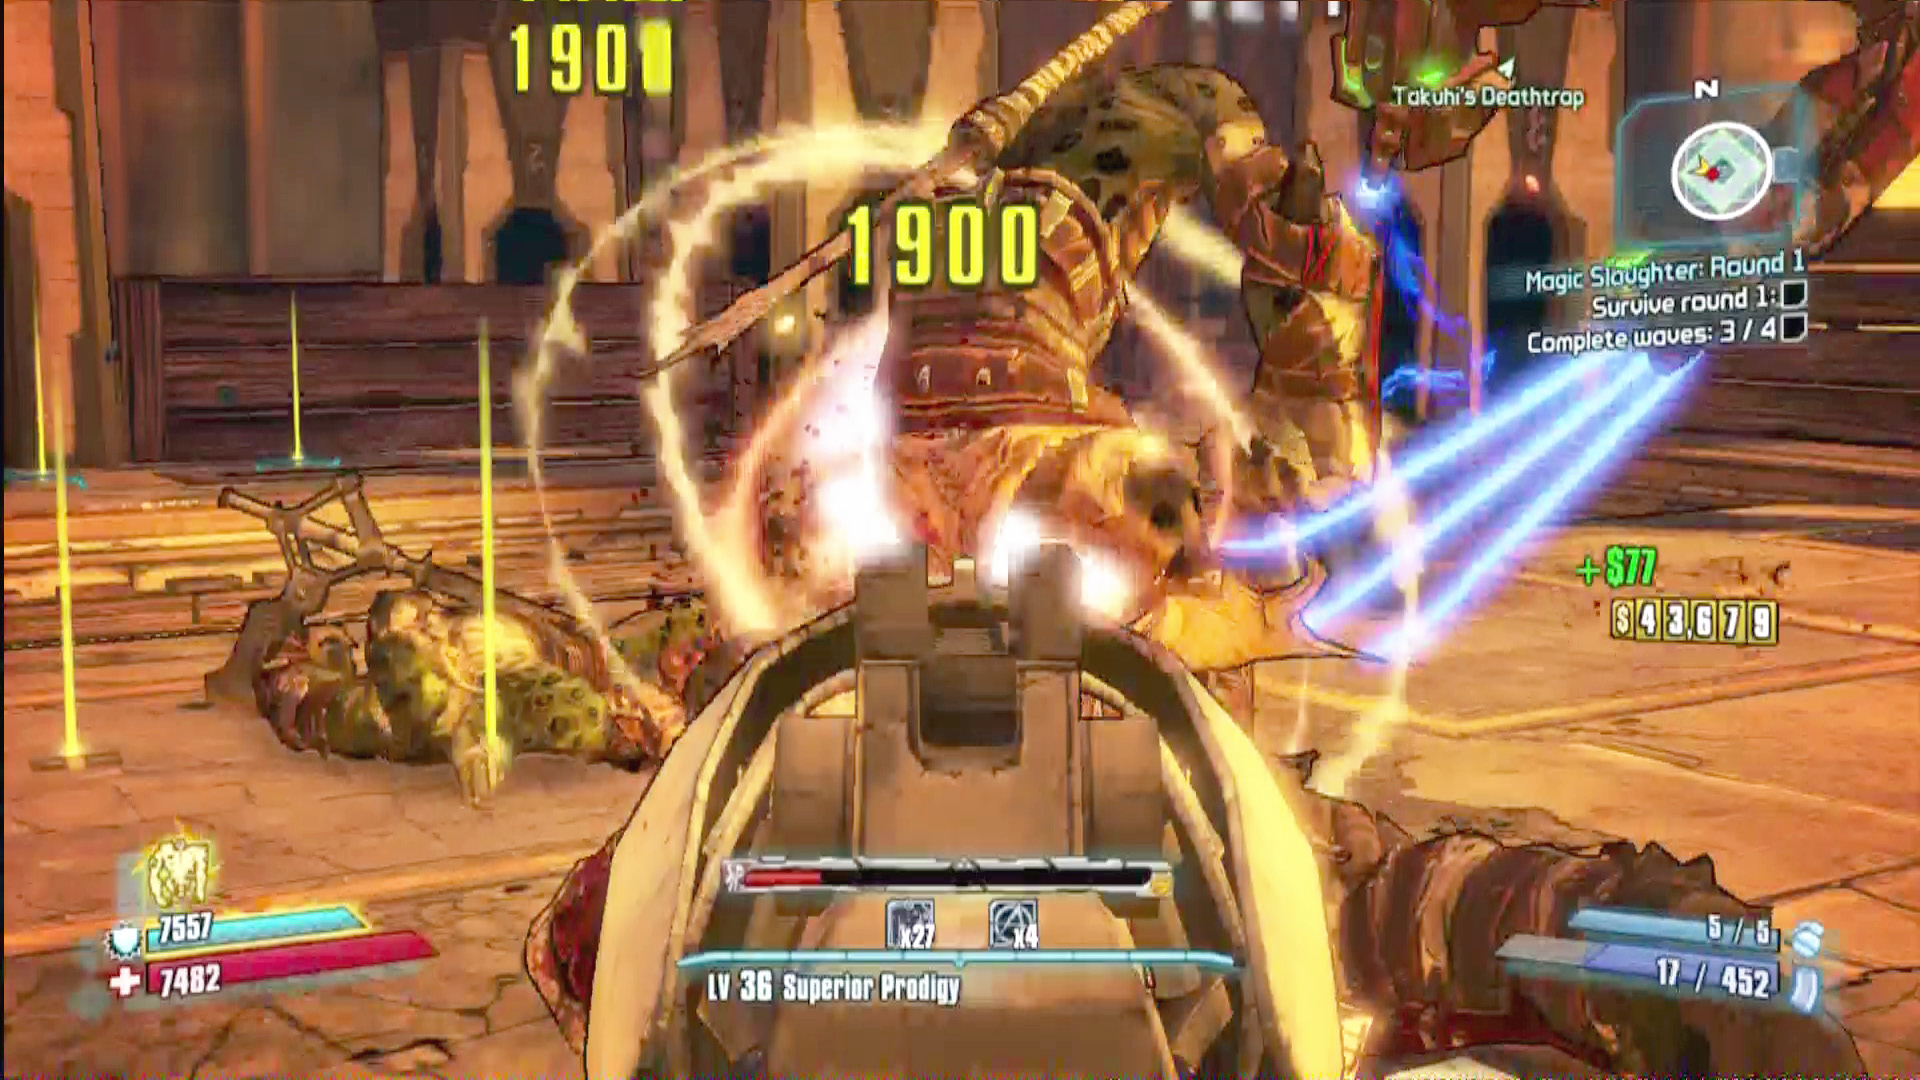
If you’ve made a habit of backing up while firing at melee-range foes, it won’t serve you well here. Unless you have the trap positions memorized, only run forward instead so you can see the pits coming.
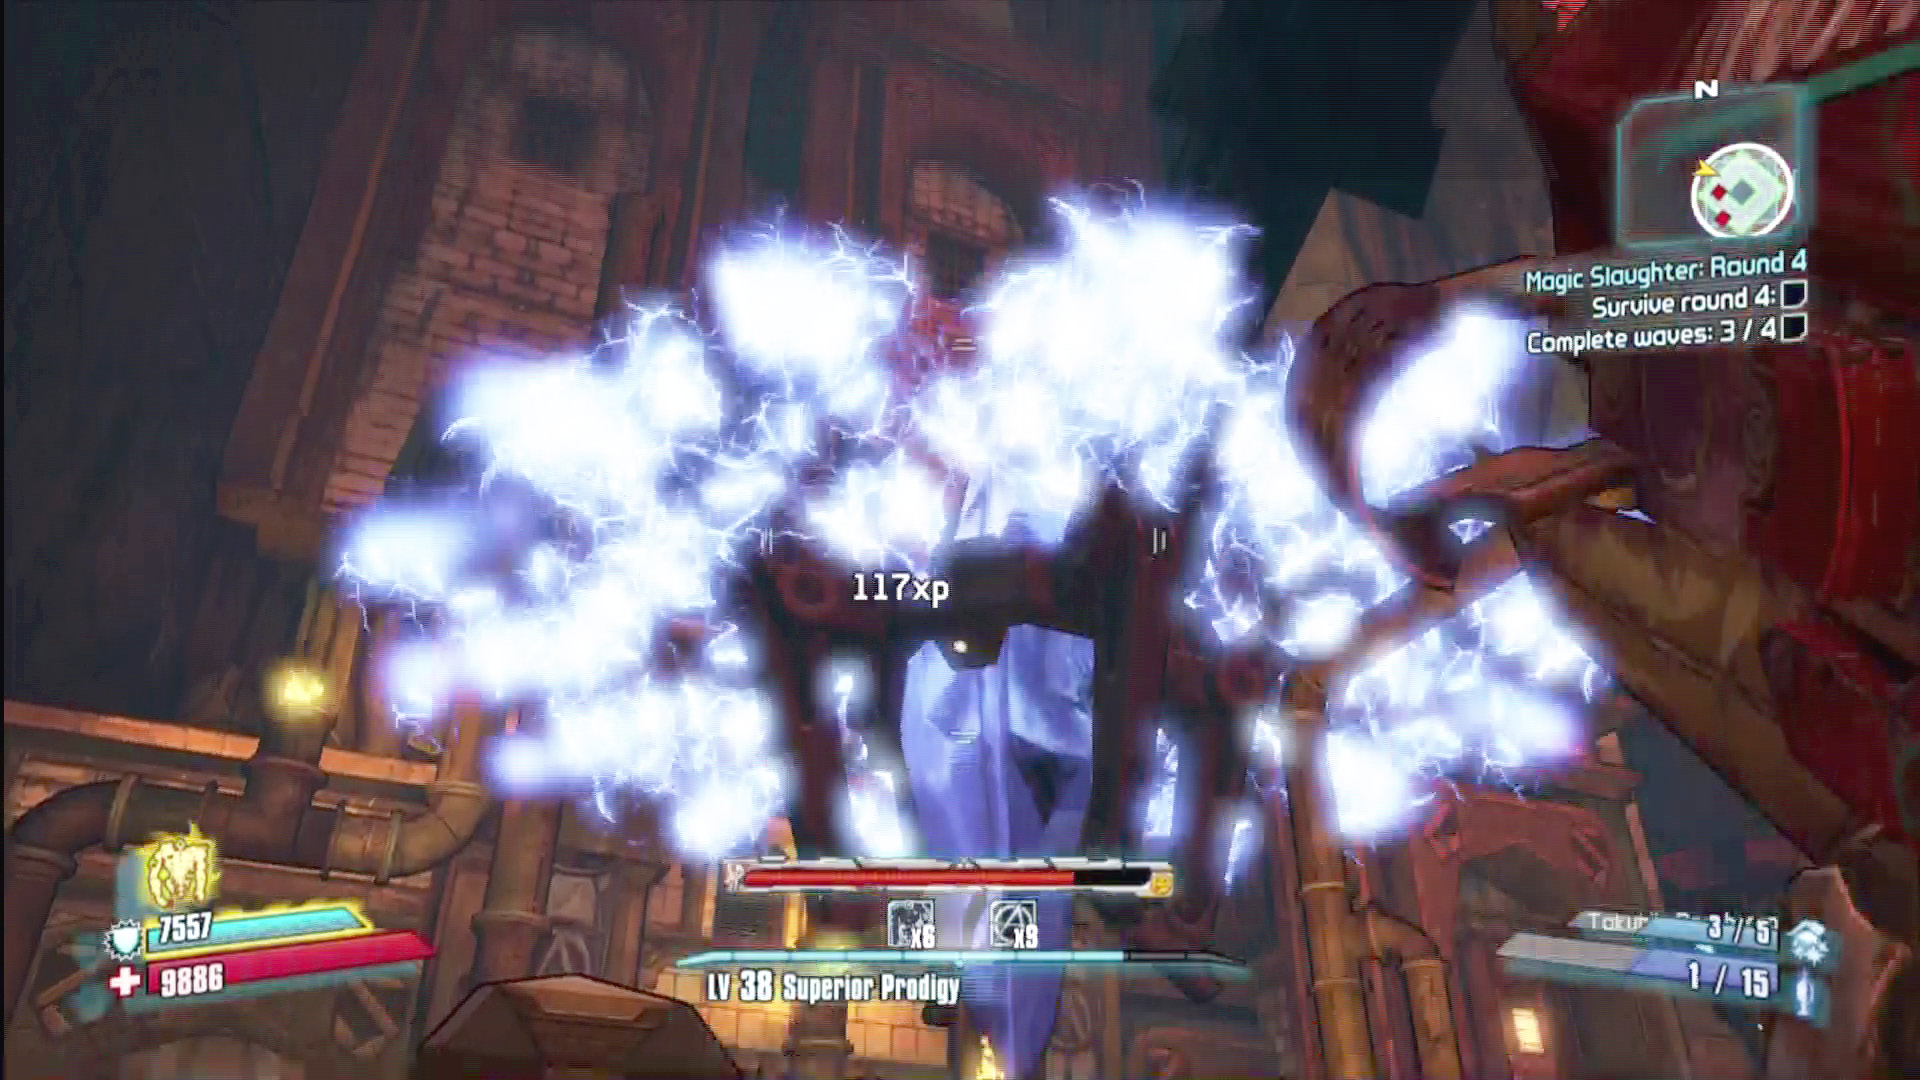
A Shock Crystal of Perpetual Terror releases its perpetually terrifying energy burst.
Round One: The Magic Slaughter Commences
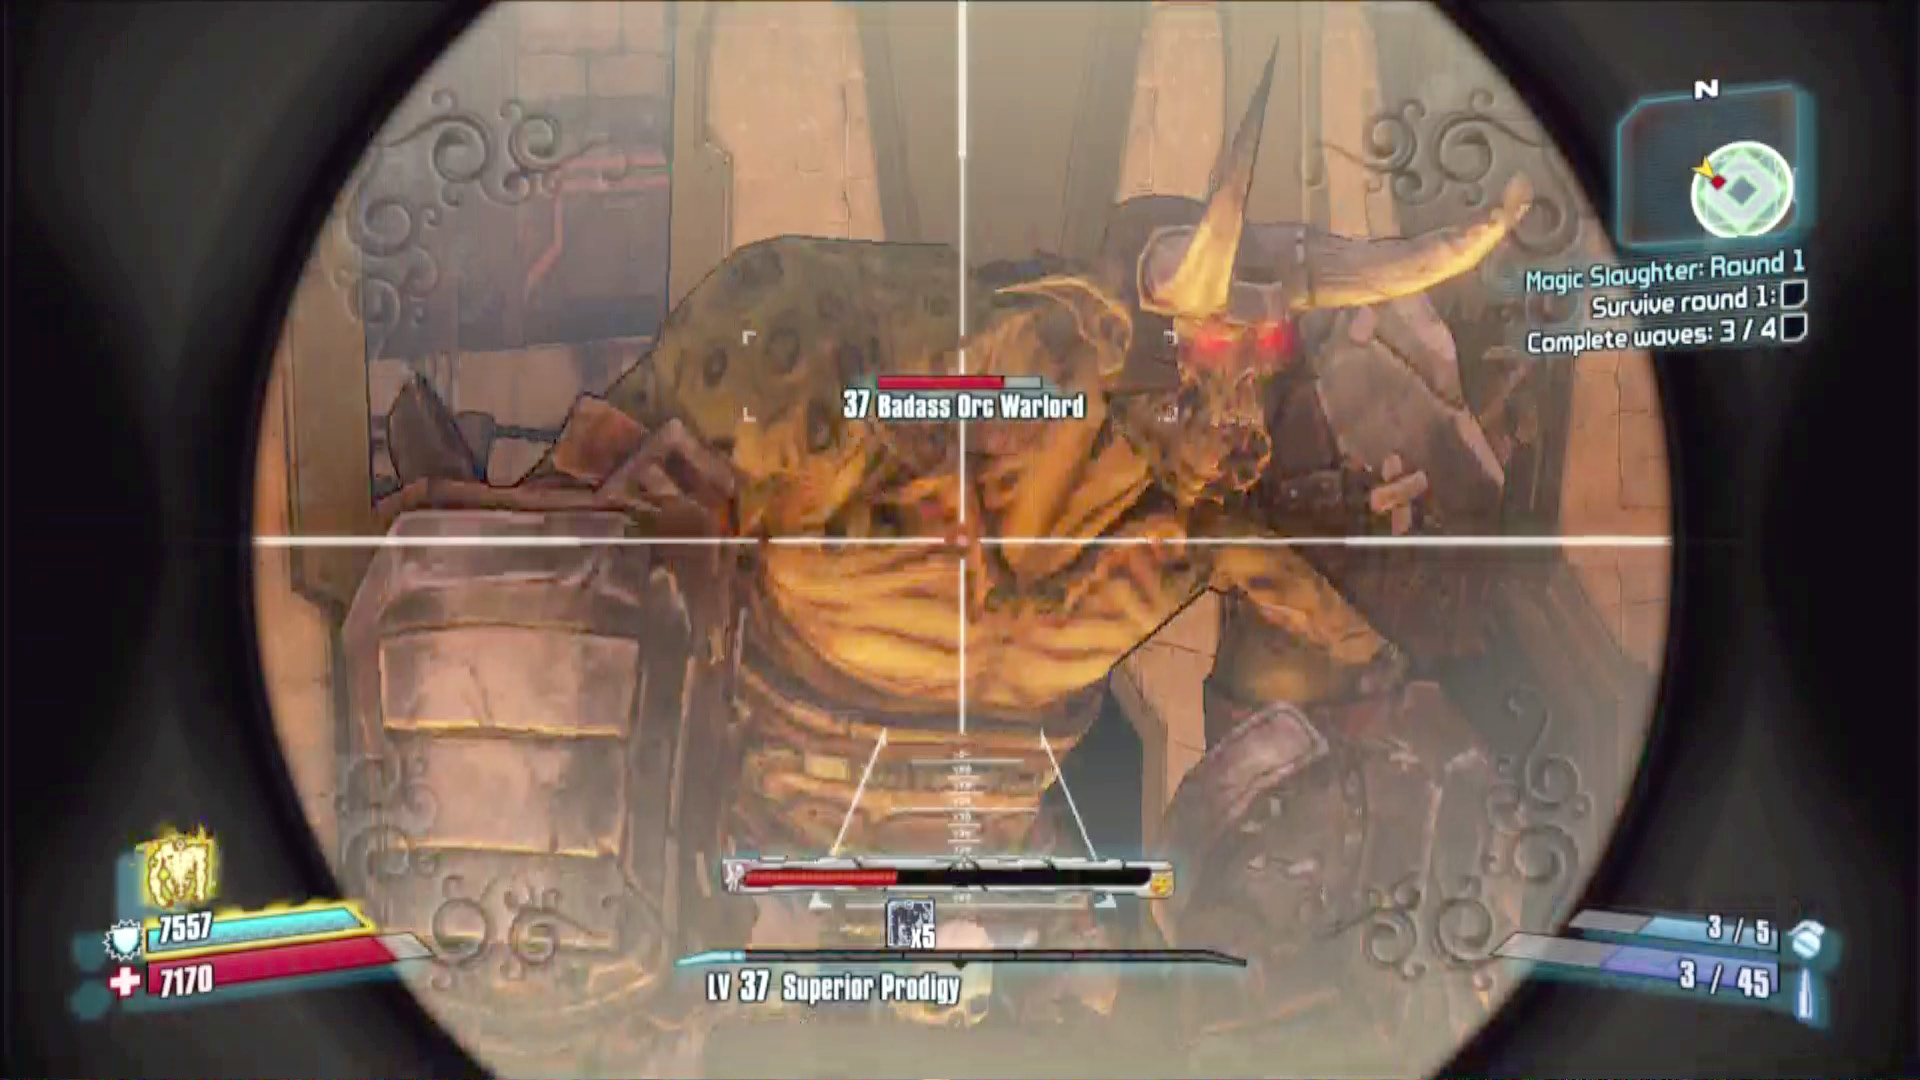
If you fight from the lower level of the battlefield, you’ll have a hard time with the waves of Skeleton Archers that spawn in on the upper level. Fighting from the upper level (such as our recommended position in the northwest corner) will make it a lot easier to gun them down quickly and safely. The final wave of this round usually includes a Badass Orc Warlord who you’ll want to target early and often, lest it begin leveling up itself and its orc buddies.
Round Two: A Massacre Out of Murderlin’s Hat
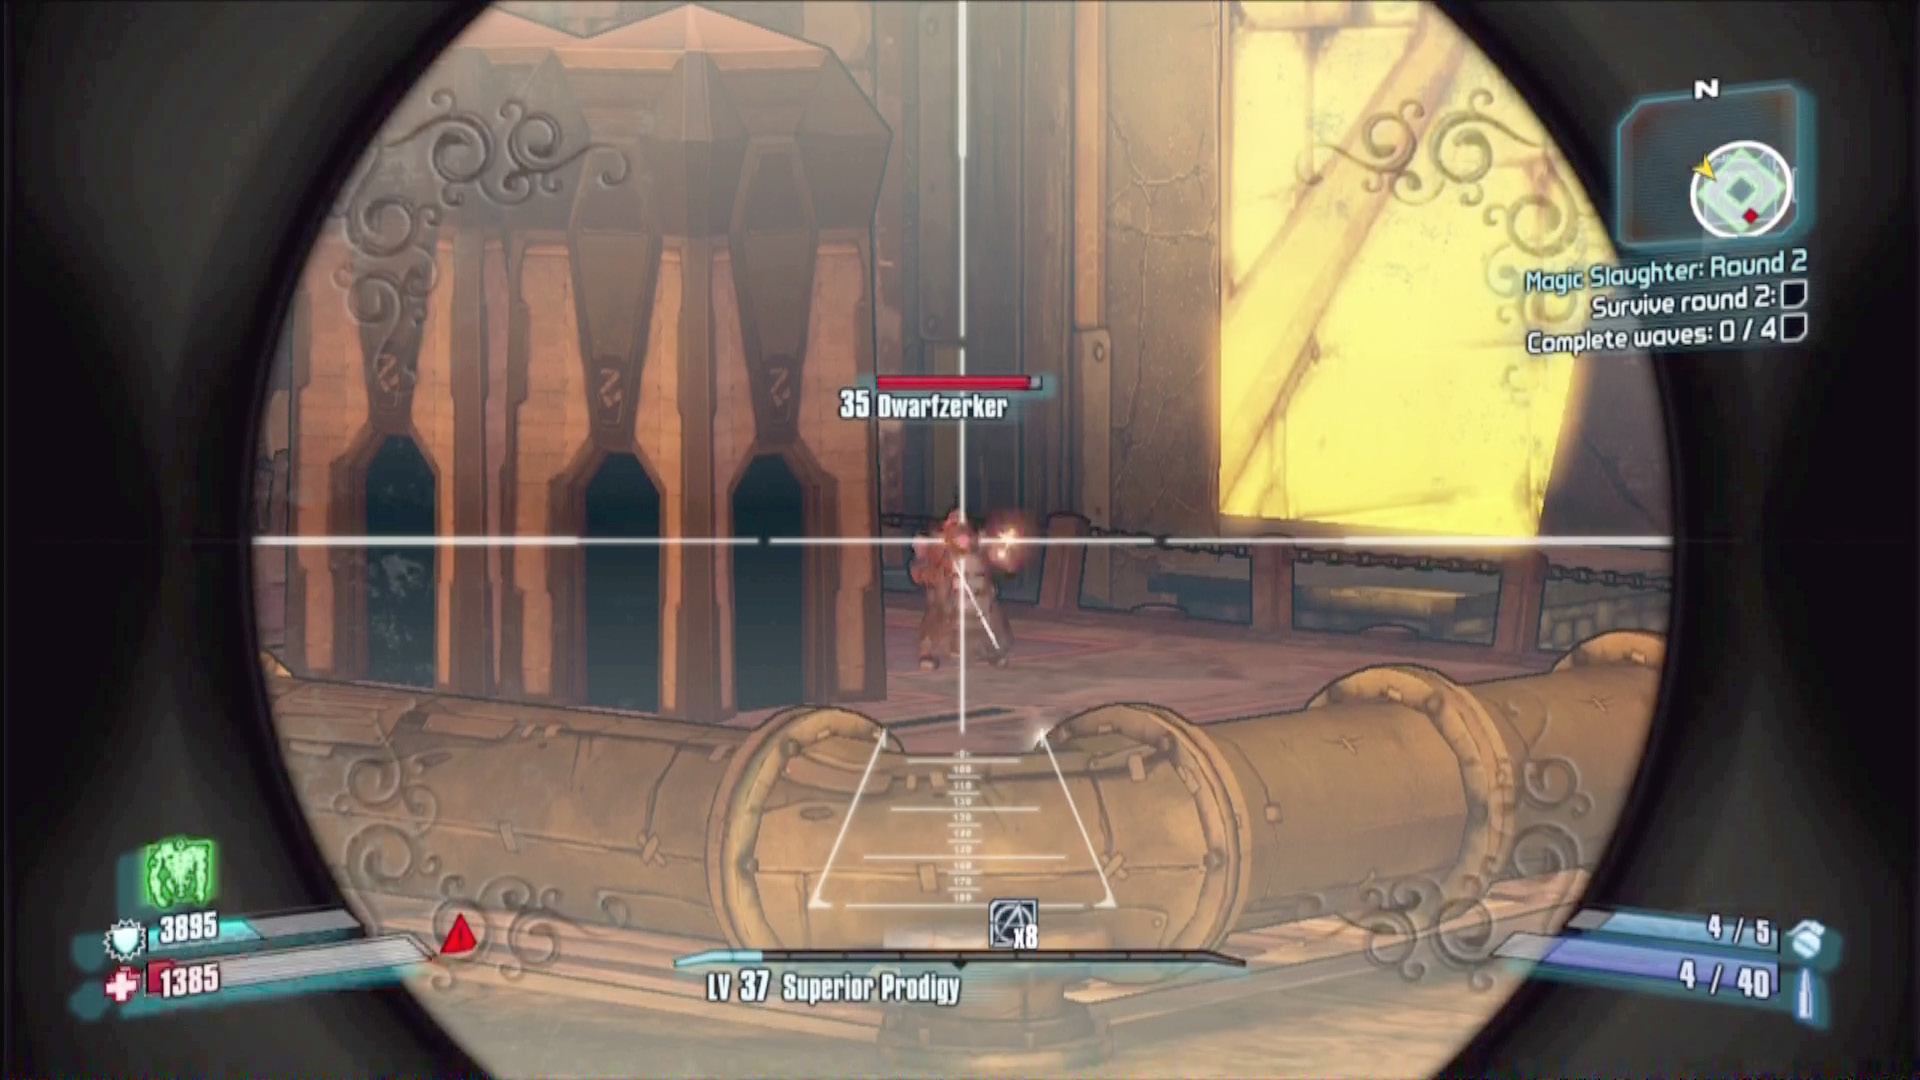
Holding your ground is a good strategy in the dwarf-filled waves, as the Dwarfzerkers will hang back to fire from afar, despite their pitiful levels of accuracy. You can destroy their incoming comrades and then snipe the ‘zerkers out from afar. Once again the upper-level is where you want to be, as Murderlin is hitting the flame jets really hard in this round. Not only is the lower level impassable to you, the flames will also slow down your foes, setting up sniping opportunities.
Round Three: The Deadly Hat Trick
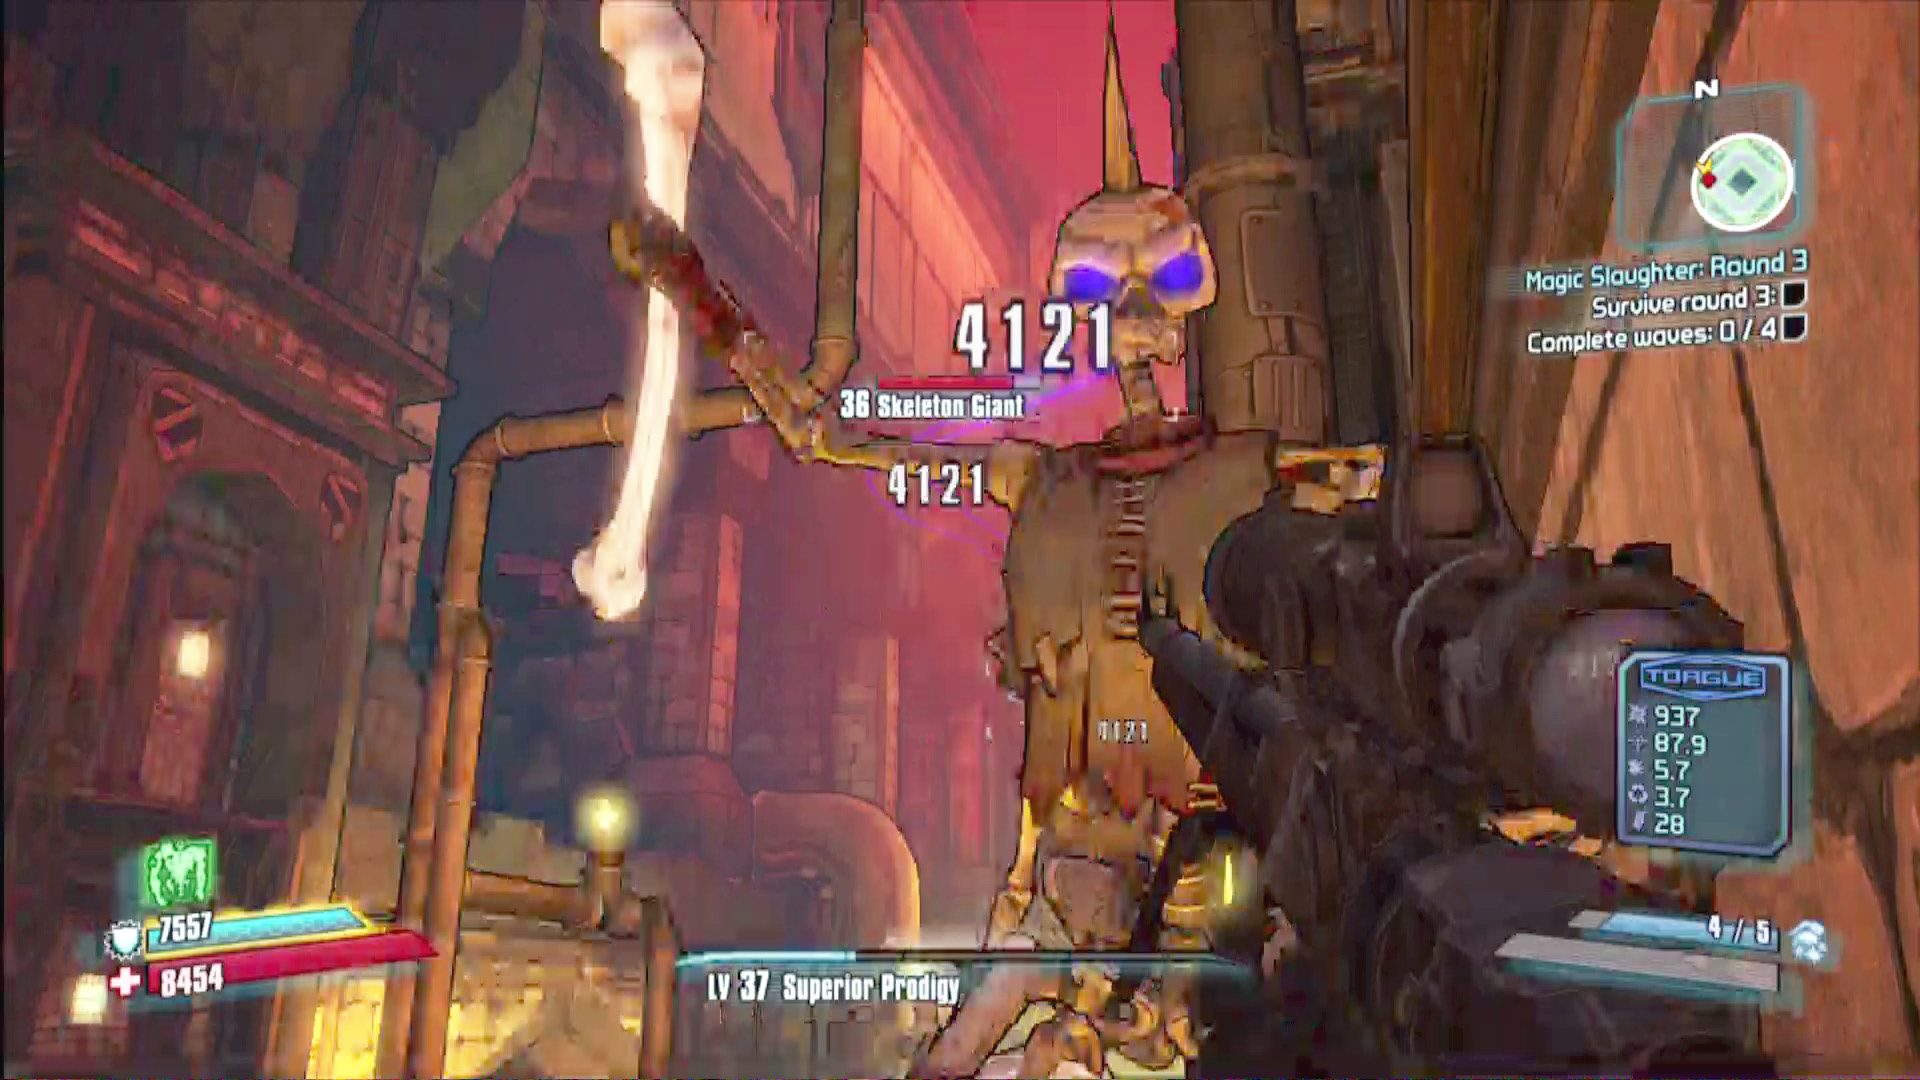
Oddly, this may be the most challenging round. A number of powerful foes like Skeleton Giants make holding a single position perilous. Murderlin doesn’t use a lot of traps here, so once you know the terrain, you may find it easier to move around the battlefield gunning down weak foes like Suicide Skeletons, so you can focus on the mightier foes without distractions. Try to leave a weak foe like a Skeleton Archer or Midget Skeleton for last so you’ll have an opportunity to heal up, cooldown your Action Skill, and regenerate your shields between waves.
Round Four: The Fiendish Fandango
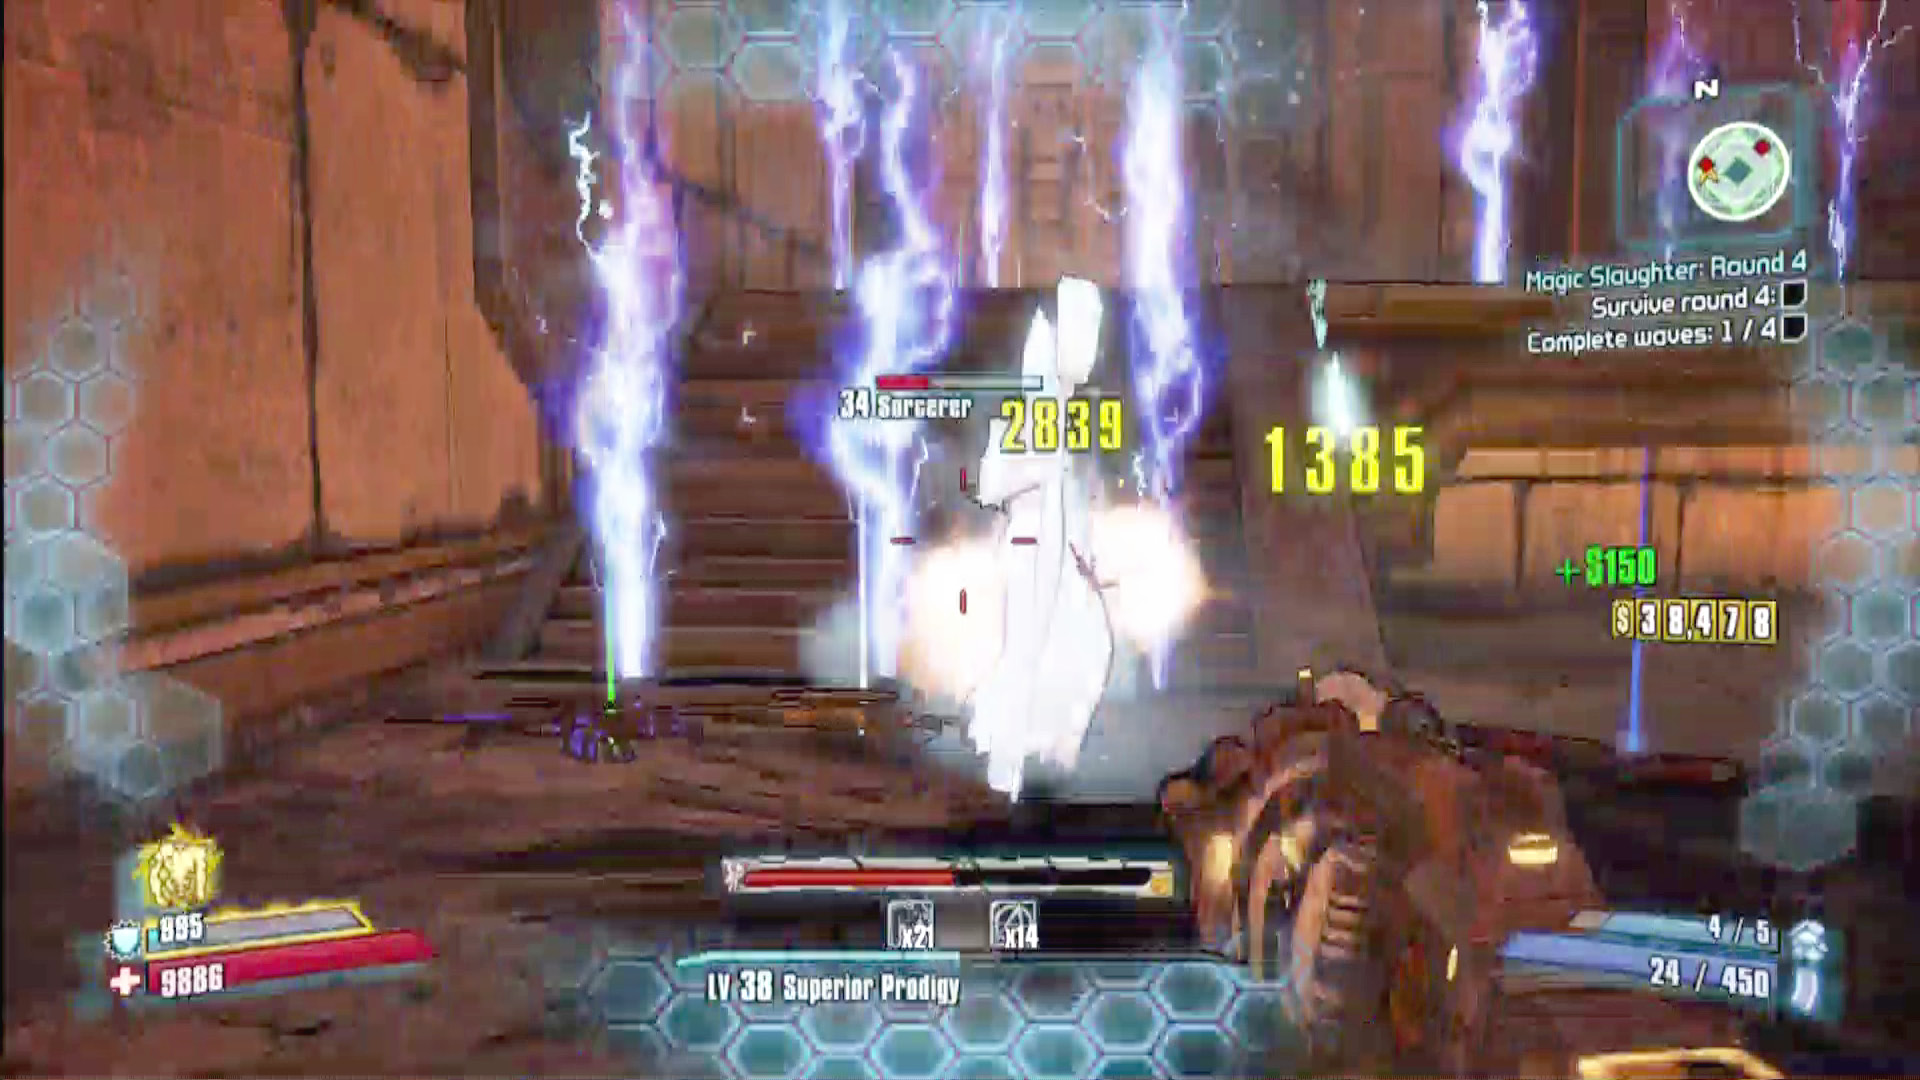
This round is full of Sorcerers, Wizards, and Necromancers, as well as monsters like Immortal Skeletaurs that you can’t battle effectively at long range. Use the pillars that emerge from the trap doors as cover, forcing your foes to move around them and come to you, where you can fight them more effectively. Expect at least one visit from the Crystal of Perpetual Terror, and be prepared to make a snap decision about whether or not it’s a must-answer threat.
Round Five: The Final-Ish Round
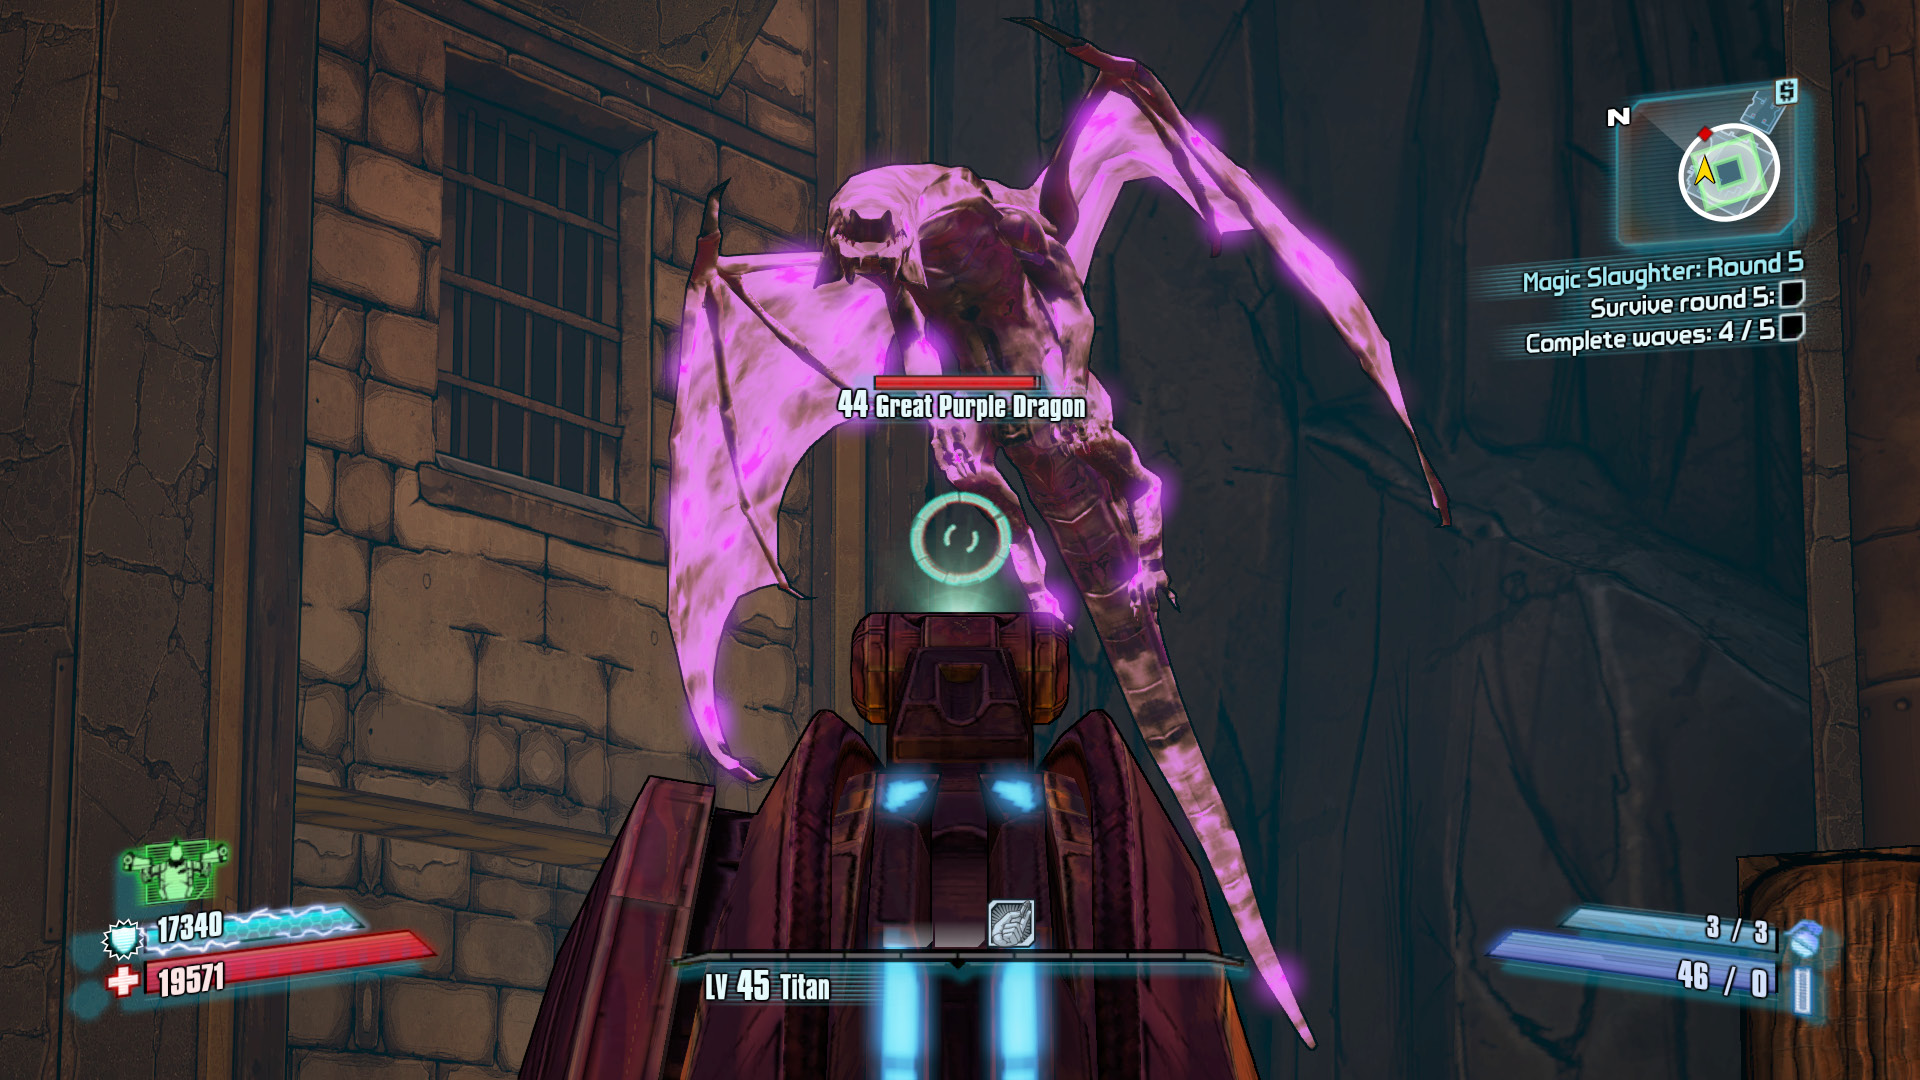
The first four waves of round five are pretty similar to the previous round, with lots of wizards, meaty orcs and badass dwarves, and at least one visit from the Crystal of Perpetual Terror. The fifth wave is a tough one, though, adding Green and Purple Dragons to the mix. The dragons are powerful but aren’t extremely aggressive; prioritize killing your other foes, lest some Skeleton Archer fill you full of arrows while you’re lining up your shots. If you’ve run out of ammo for your best anti-dragon gun, remember that there are Ammo Shrines in the arena.