Borderlands 2 Game of the Year Guide Optional Missions
Cult Following: The Enkindling
|
 Mission Briefing
| Level | Money | XP | Gear |
|---|---|---|---|
|
10 |
— |
1736 |
Shield (Orange) |
Frostburn Canyon
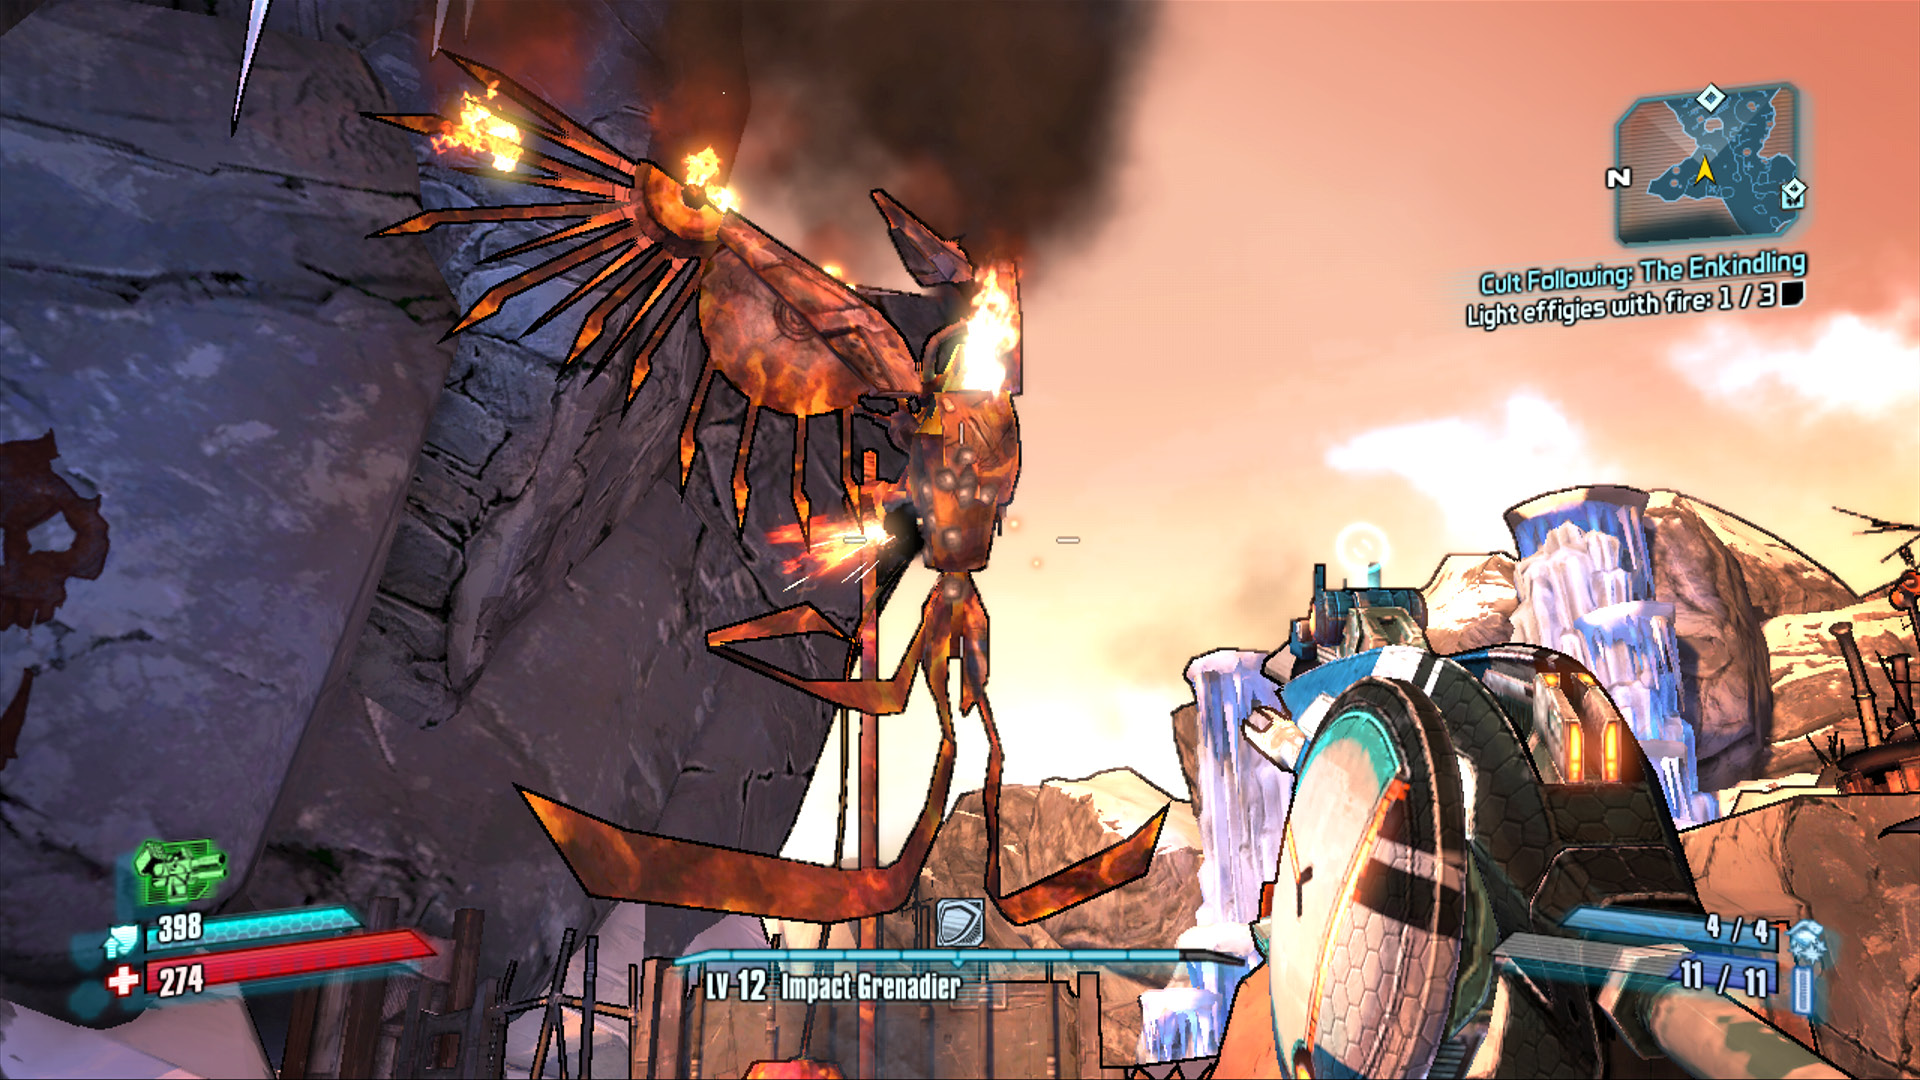
Once again, the first one’s free…
It’s time to prepare for the grand event: the Enkindling! First things first, you must seek out the three effigies and ignite them with your Fire weapon. The first of the effigies is located right in Incinerator Camp, just steps away. Make a short detour back past the Fast Travel station to the south, as if you were heading to Frozen Ant Lake (where Scorch was) to find the next effigy.
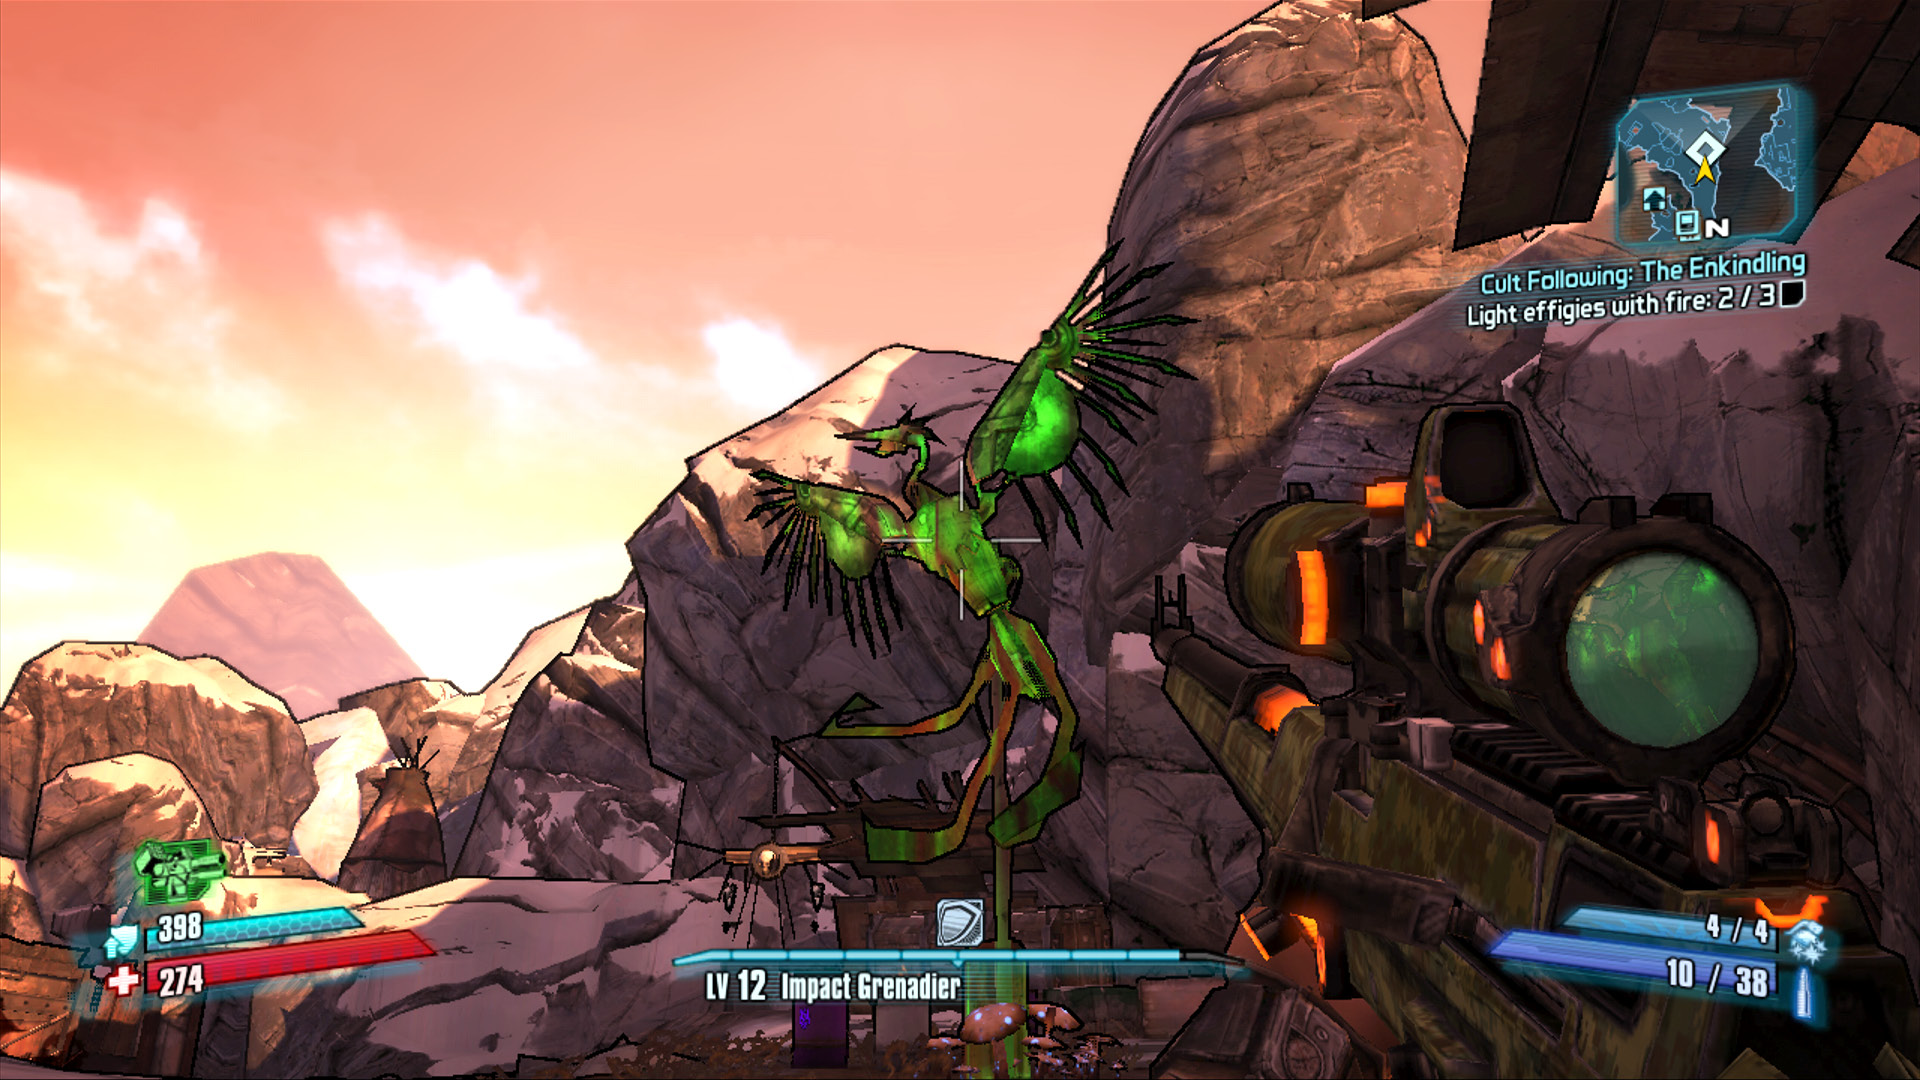
Head south toward Frozen Ant Lake to find the second effigy before looping through Blisterpus Camp.
Return the way you came, past Incinerator Camp, and continue in a counter-clockwise direction over to Blisterpus Camp in the far corner of Frostburn Canyon to find the third effigy. With the three effigies lit, you’re ready to head to the Enkindling. Make your way through Blacktoe Cavern just as you did when initially looking for the Firehawk’s Lair. You’ll face all of the same enemies you fought earlier, only now you should have slightly better equipment and some new skills to go along with them.
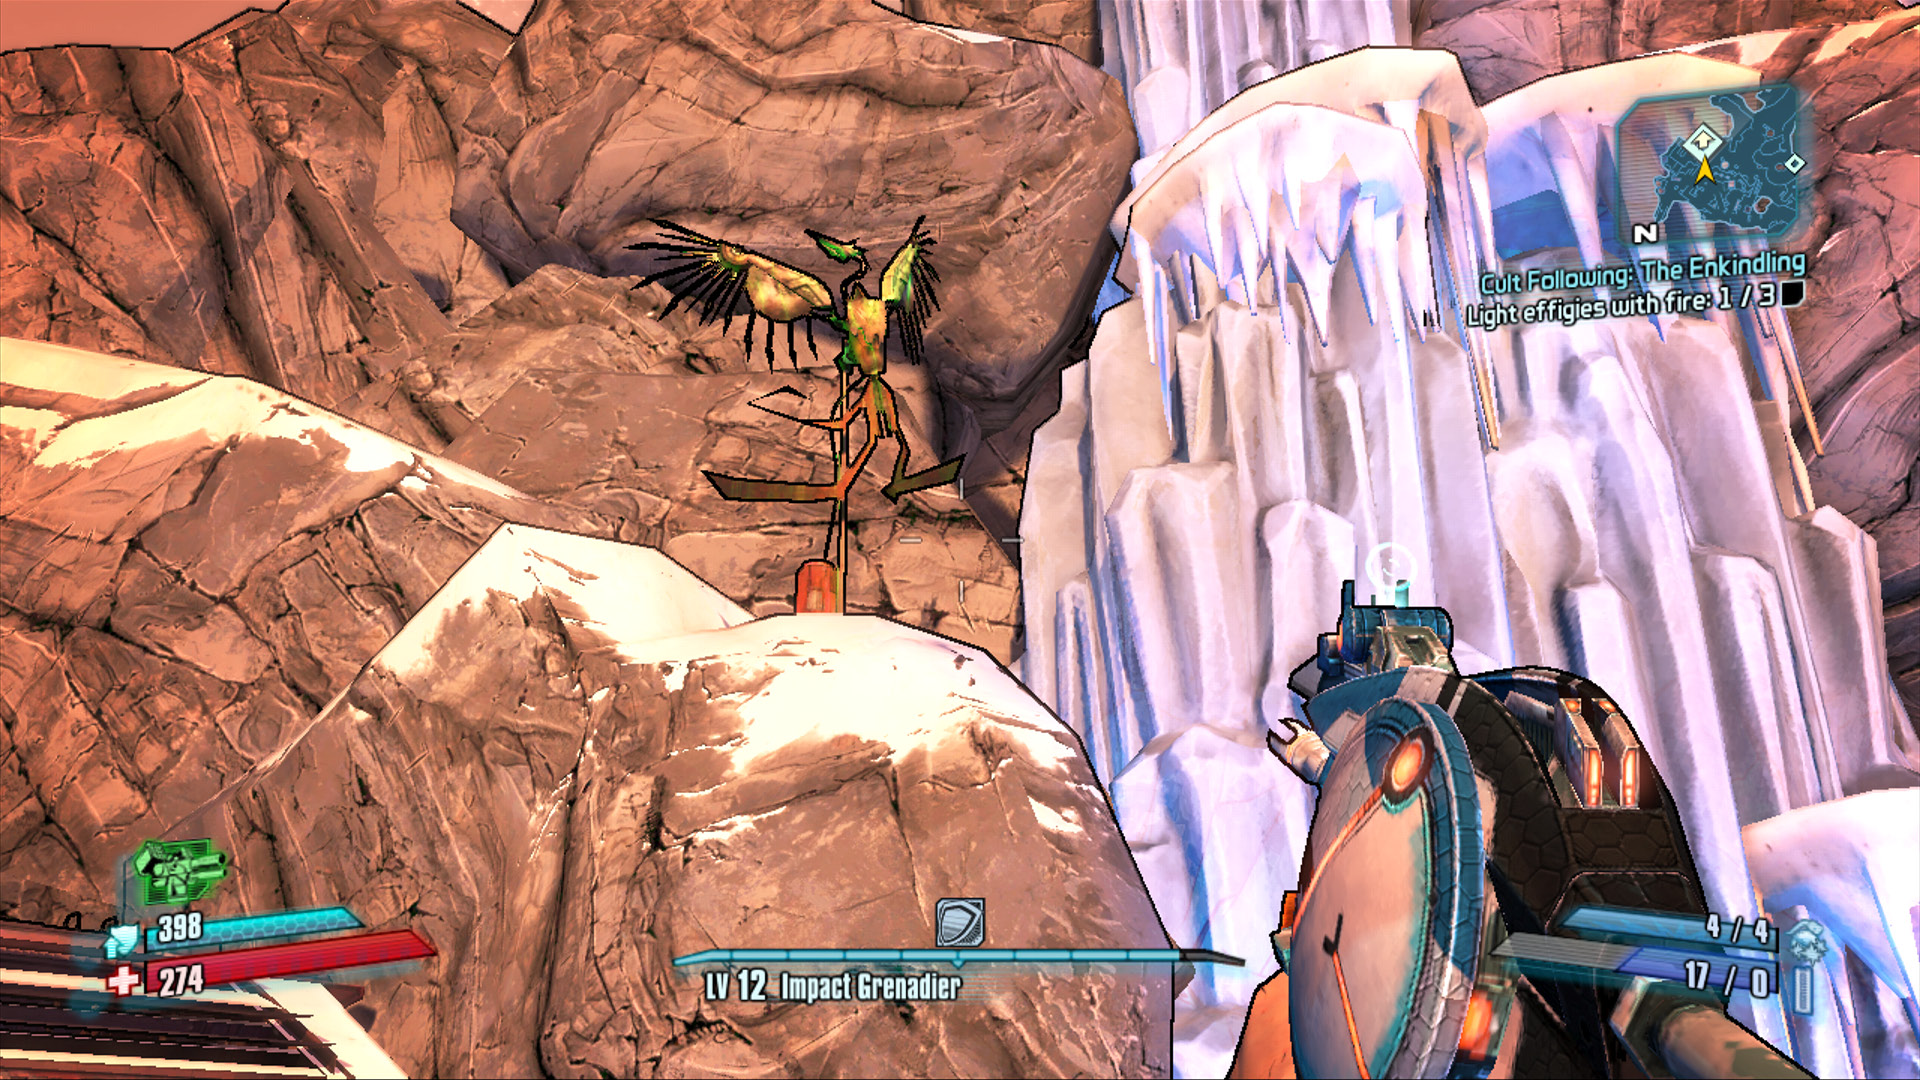
Find the third effigy in Blisterpus Camp on a rocky ledge in the southeast corner of the camp.
The Enkindling takes place in the very heavily guarded Ashworth Camp. Take a minute to eliminate many of the enemies that are already there upon your arrival, especially the Badass Psychos and Nomad Pyros. Let the presence of the latter be your cue to switch to a non-Fire weapon.
Approach the large fire pit in the center of the camp and pull the lever atop the stairs to the left to initiate the ceremony. Now, after all of the sacrifices and murders, things finally go too far for Lilith to simply sit back and watch.
The Siren, their god, makes a sudden appearance and tasks you with killing Incinerator Clayton and the cultists before they continue killing in Lilith’s name. Leave the initial batch of Cultists for Lilith to take care of while you focus on Incinerator Clayton. Try to stay clear of his fiery attack, and quickly pierce his shield with a few headshots. Remember, Incinerator Clayton resists Fire, so your best bet is to use non-elemental or explosive rounds unless you happen to have a way to Slag him.
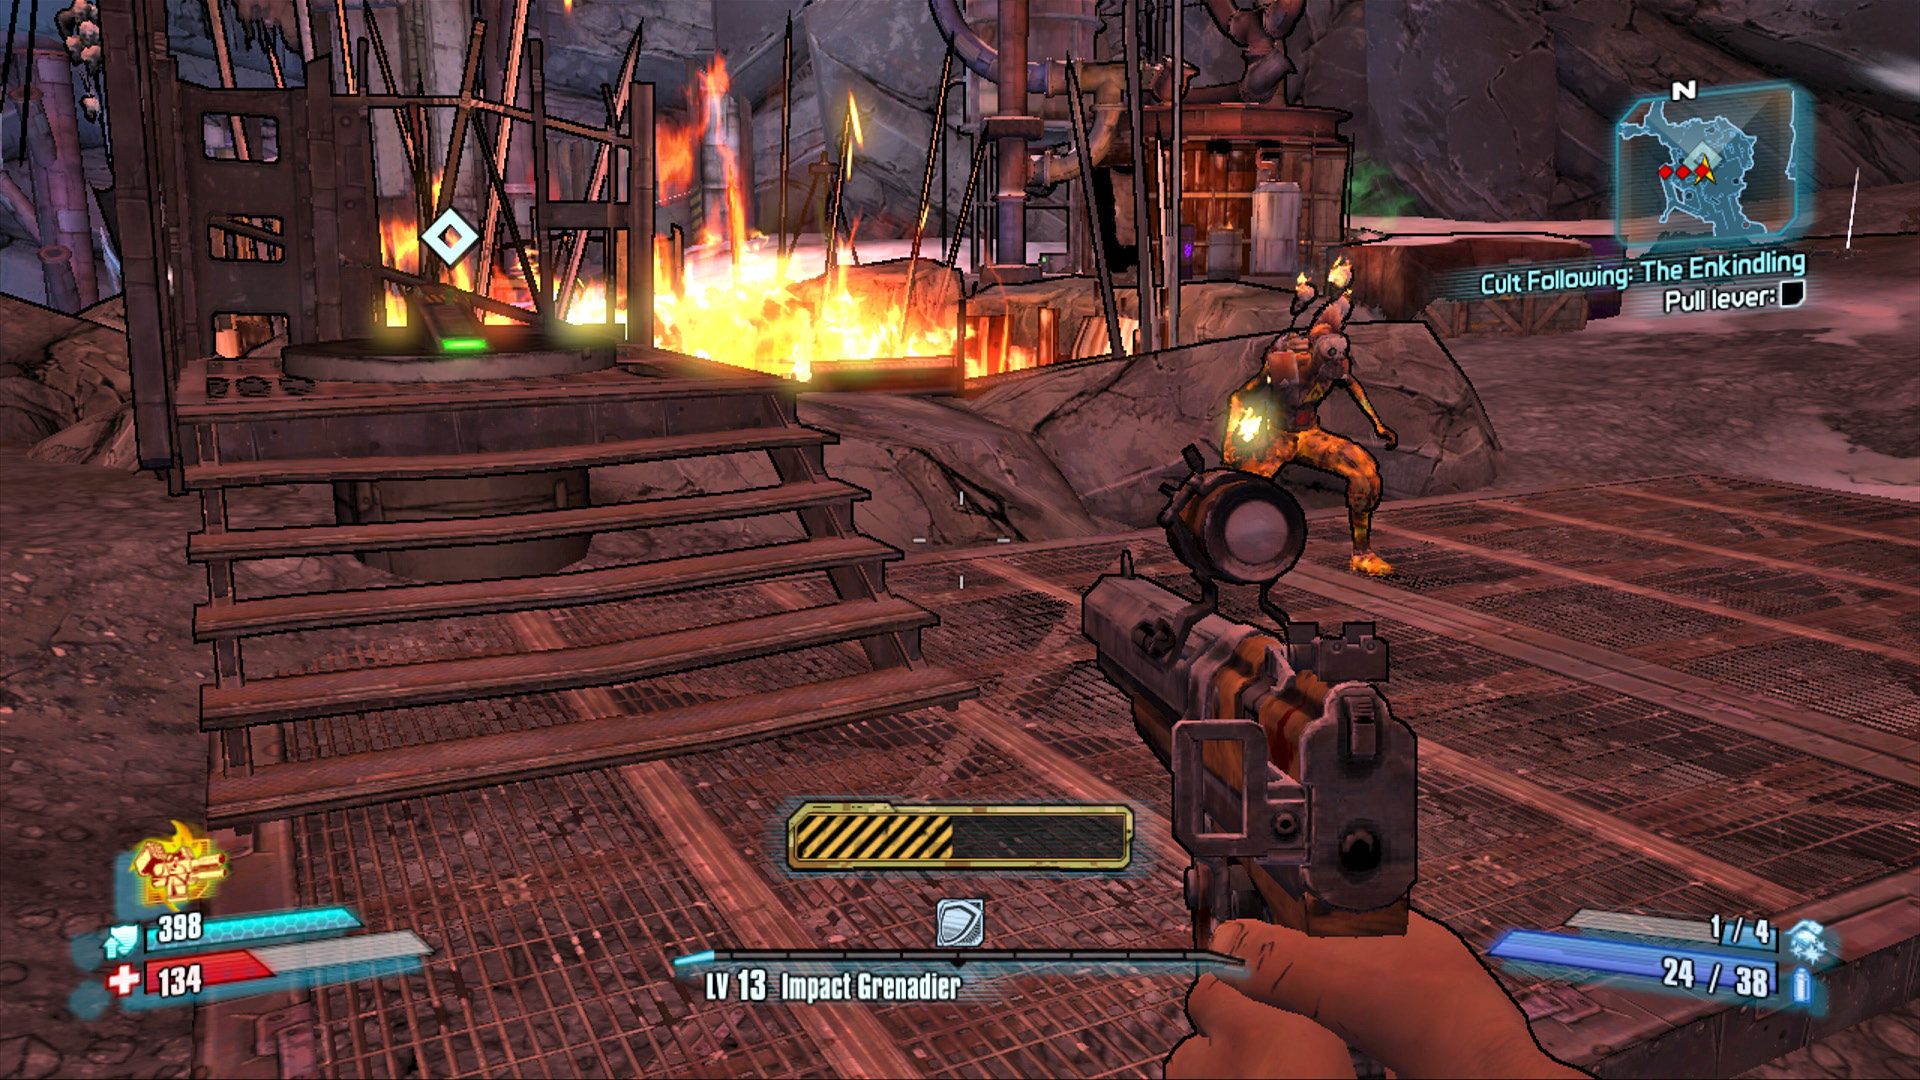
Something’s not right, but you won’t know what until you pull that lever.
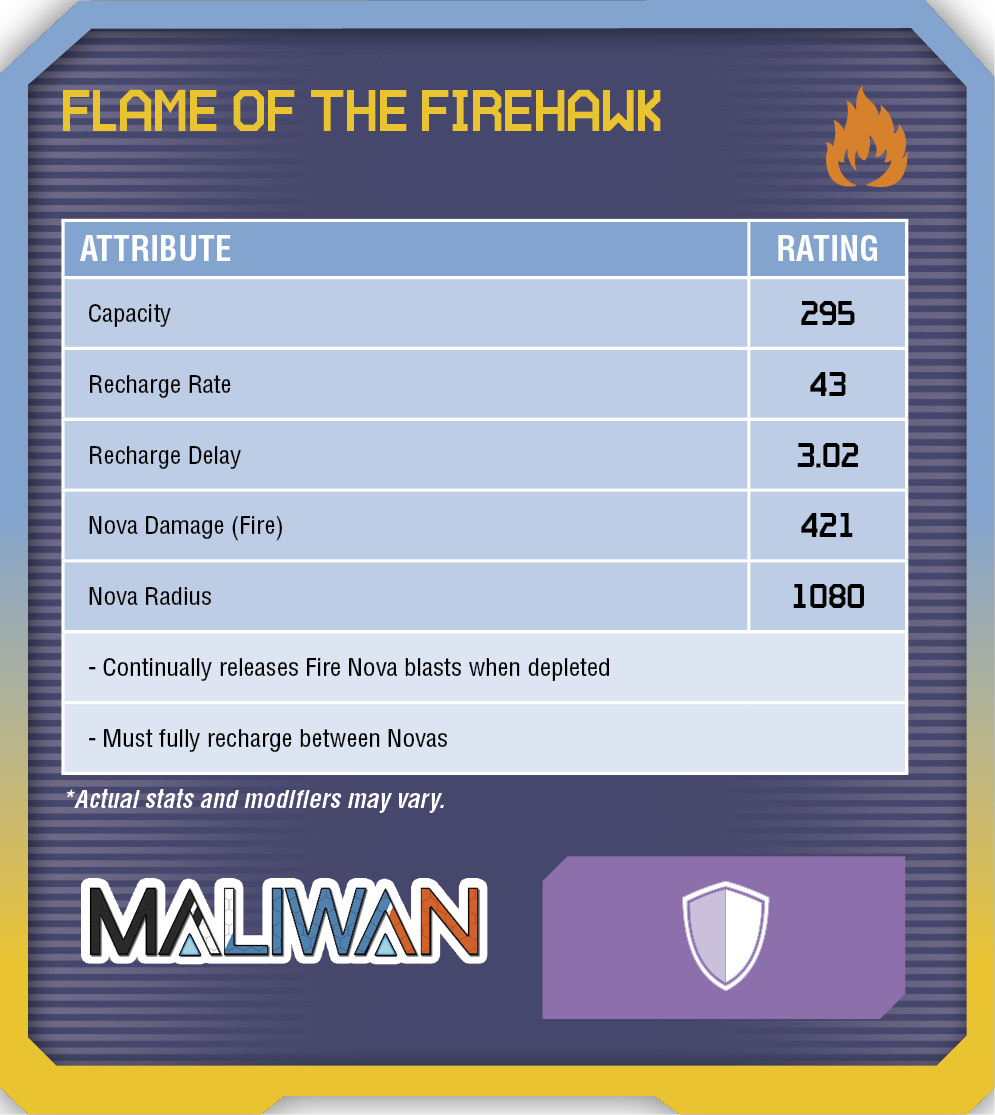
Meet Lilith back in the Crimson Raiders HQ in Sanctuary to complete the quest and gain the Flame of the Firehawk shield. This special shield erupts in continuous Fire while depleted—useful!
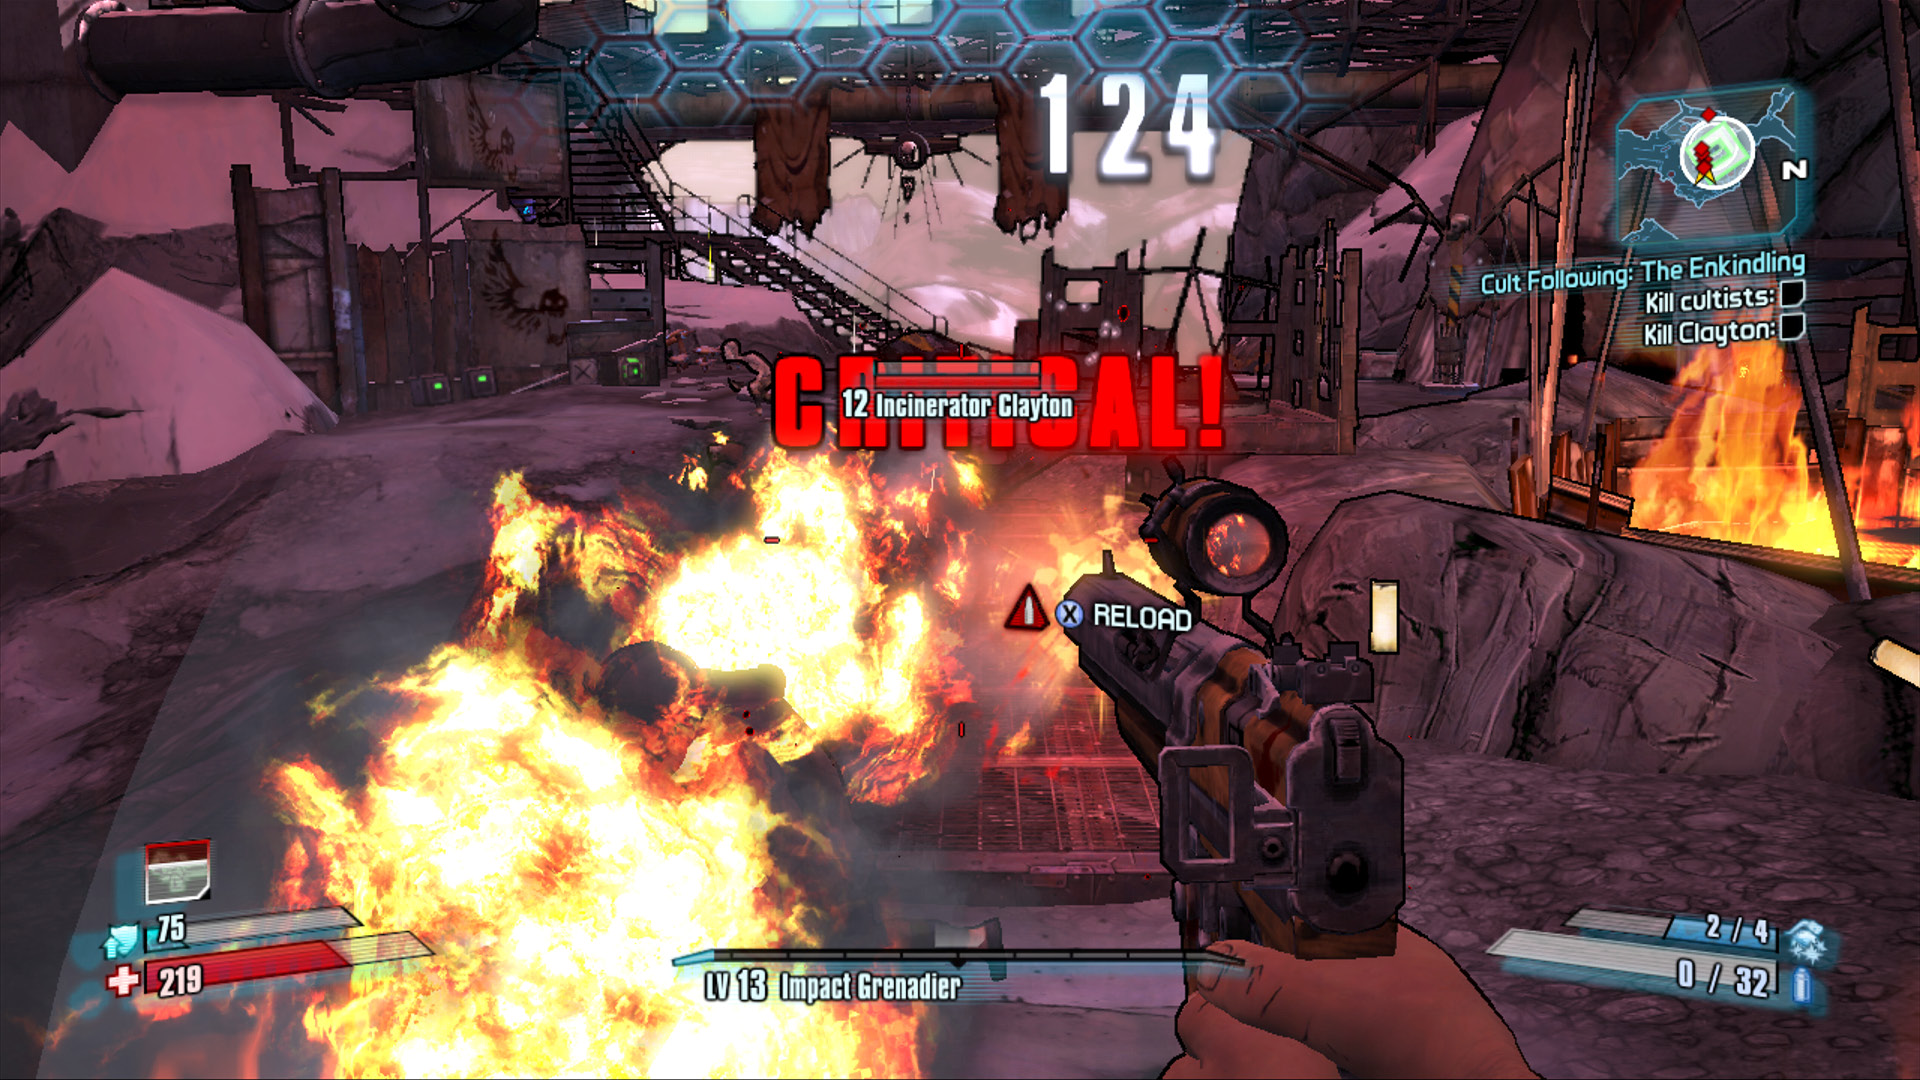
It can be tough to spot Incinerator Clayton’s head through all the fire, but it’s in there!