
Watch Dogs 2 Guide Training Part 8: Enemies And Combat
Detection
When you’re spotted, a white circular arrow appears onscreen (as shown in the picture) and reveals the detection status: If the arrow gets filled and turns red, Marcus (or the Jumper, Quadcopter, or a Co-op partner) gets detected and you enter conflict. Any “Ghost” strategies are abandoned in favor of “Aggressor” plans.
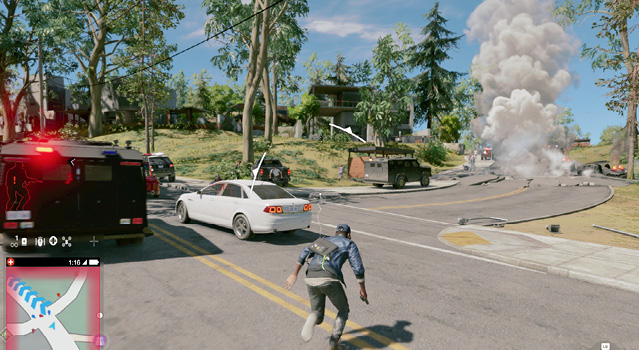
Reactions (No Enemy Contact): The quickest way to avoid detection is to maneuver without the enemy looking your way. Continue this until detection occurs. Then, depending on where the enemy or enemies are, you can drop back behind cover to stop detection occurring or run to another cover spot instead and let the enemy stop detecting you.
Reactions (Nonlethal Enemy Contact): Or, you can step out and strangle a foe or tase them. You can also rush them with a charge if you’re quick and close enough and strangle them before they have a chance to fully detect you; this is handy in split-second decisions, when a drop back into cover might not help you in time. Or, you can trigger an electroshock trap you’ve already laid, as throwing devices or setting traps usually doesn’t allow you enough time, unless a foe is standing close to an object you can instantly trigger.
Reactions (Distract Hack): All of these previous, nonlethal methods can be augmented by the distract hack, which is a godsend in most situations, especially as a foe is detecting you. Don’t have this ./Research ability yet? You should!
Reactions (Lethal Enemy Contact): If these previous plans aren’t viable, or there are multiple foes, engage in a quick firefight with a preferred weapon, aiming at any “shot-callers” (who can call for reinforcements and are flagged as such when you hack them). Then dart back into cover, check for any reinforcement calls, and deal with them as a priority so additional enemies aren’t called (check the Witness Calls section for tactics). If that fails, start an epic and explosive firefight.