
Watch Dogs 2 Guide Side Operations $911
6. Operation—Jailbird Blues
Objectives
Difficulty
RewardsDedSec Followers: +212,000 Capone Wiseguy Hat Capone Pinstripe Slacks BriefThe Police Chief is going to kill the one person willing to speak out against him. Save the witness and Miranda will convince him to testify. Hostiles
Location
|
 Reach
Reach 

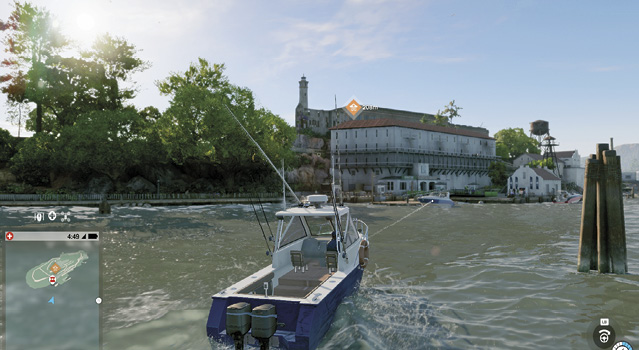
You now need to reach Alcatraz, where the police chief is making an appearance and the only whistleblower to this operation is being held under duress. The trip here, obviously by boat (or more cunningly, by Fast-Traveling to the clothing kiosk), should be more than a sightseeing tour. Scout the various docks and piers as you arrive and from the island, so you can plot an escape route. Study the prison’s interior and all exterior exits, so you know how to enter and leave. Don’t begin the mission until you’re confident you know the layout of this place. Then climb to the top of the prison and hack the ctOS server to begin.
Reach the prison roof via the interior (recommended), allowing you to view the layout of the cell block.
OR
Use the window-washer lift on the building’s north side.
Infiltration PointsStart here as soon as night falls, and you need to enter the prison from the roof.
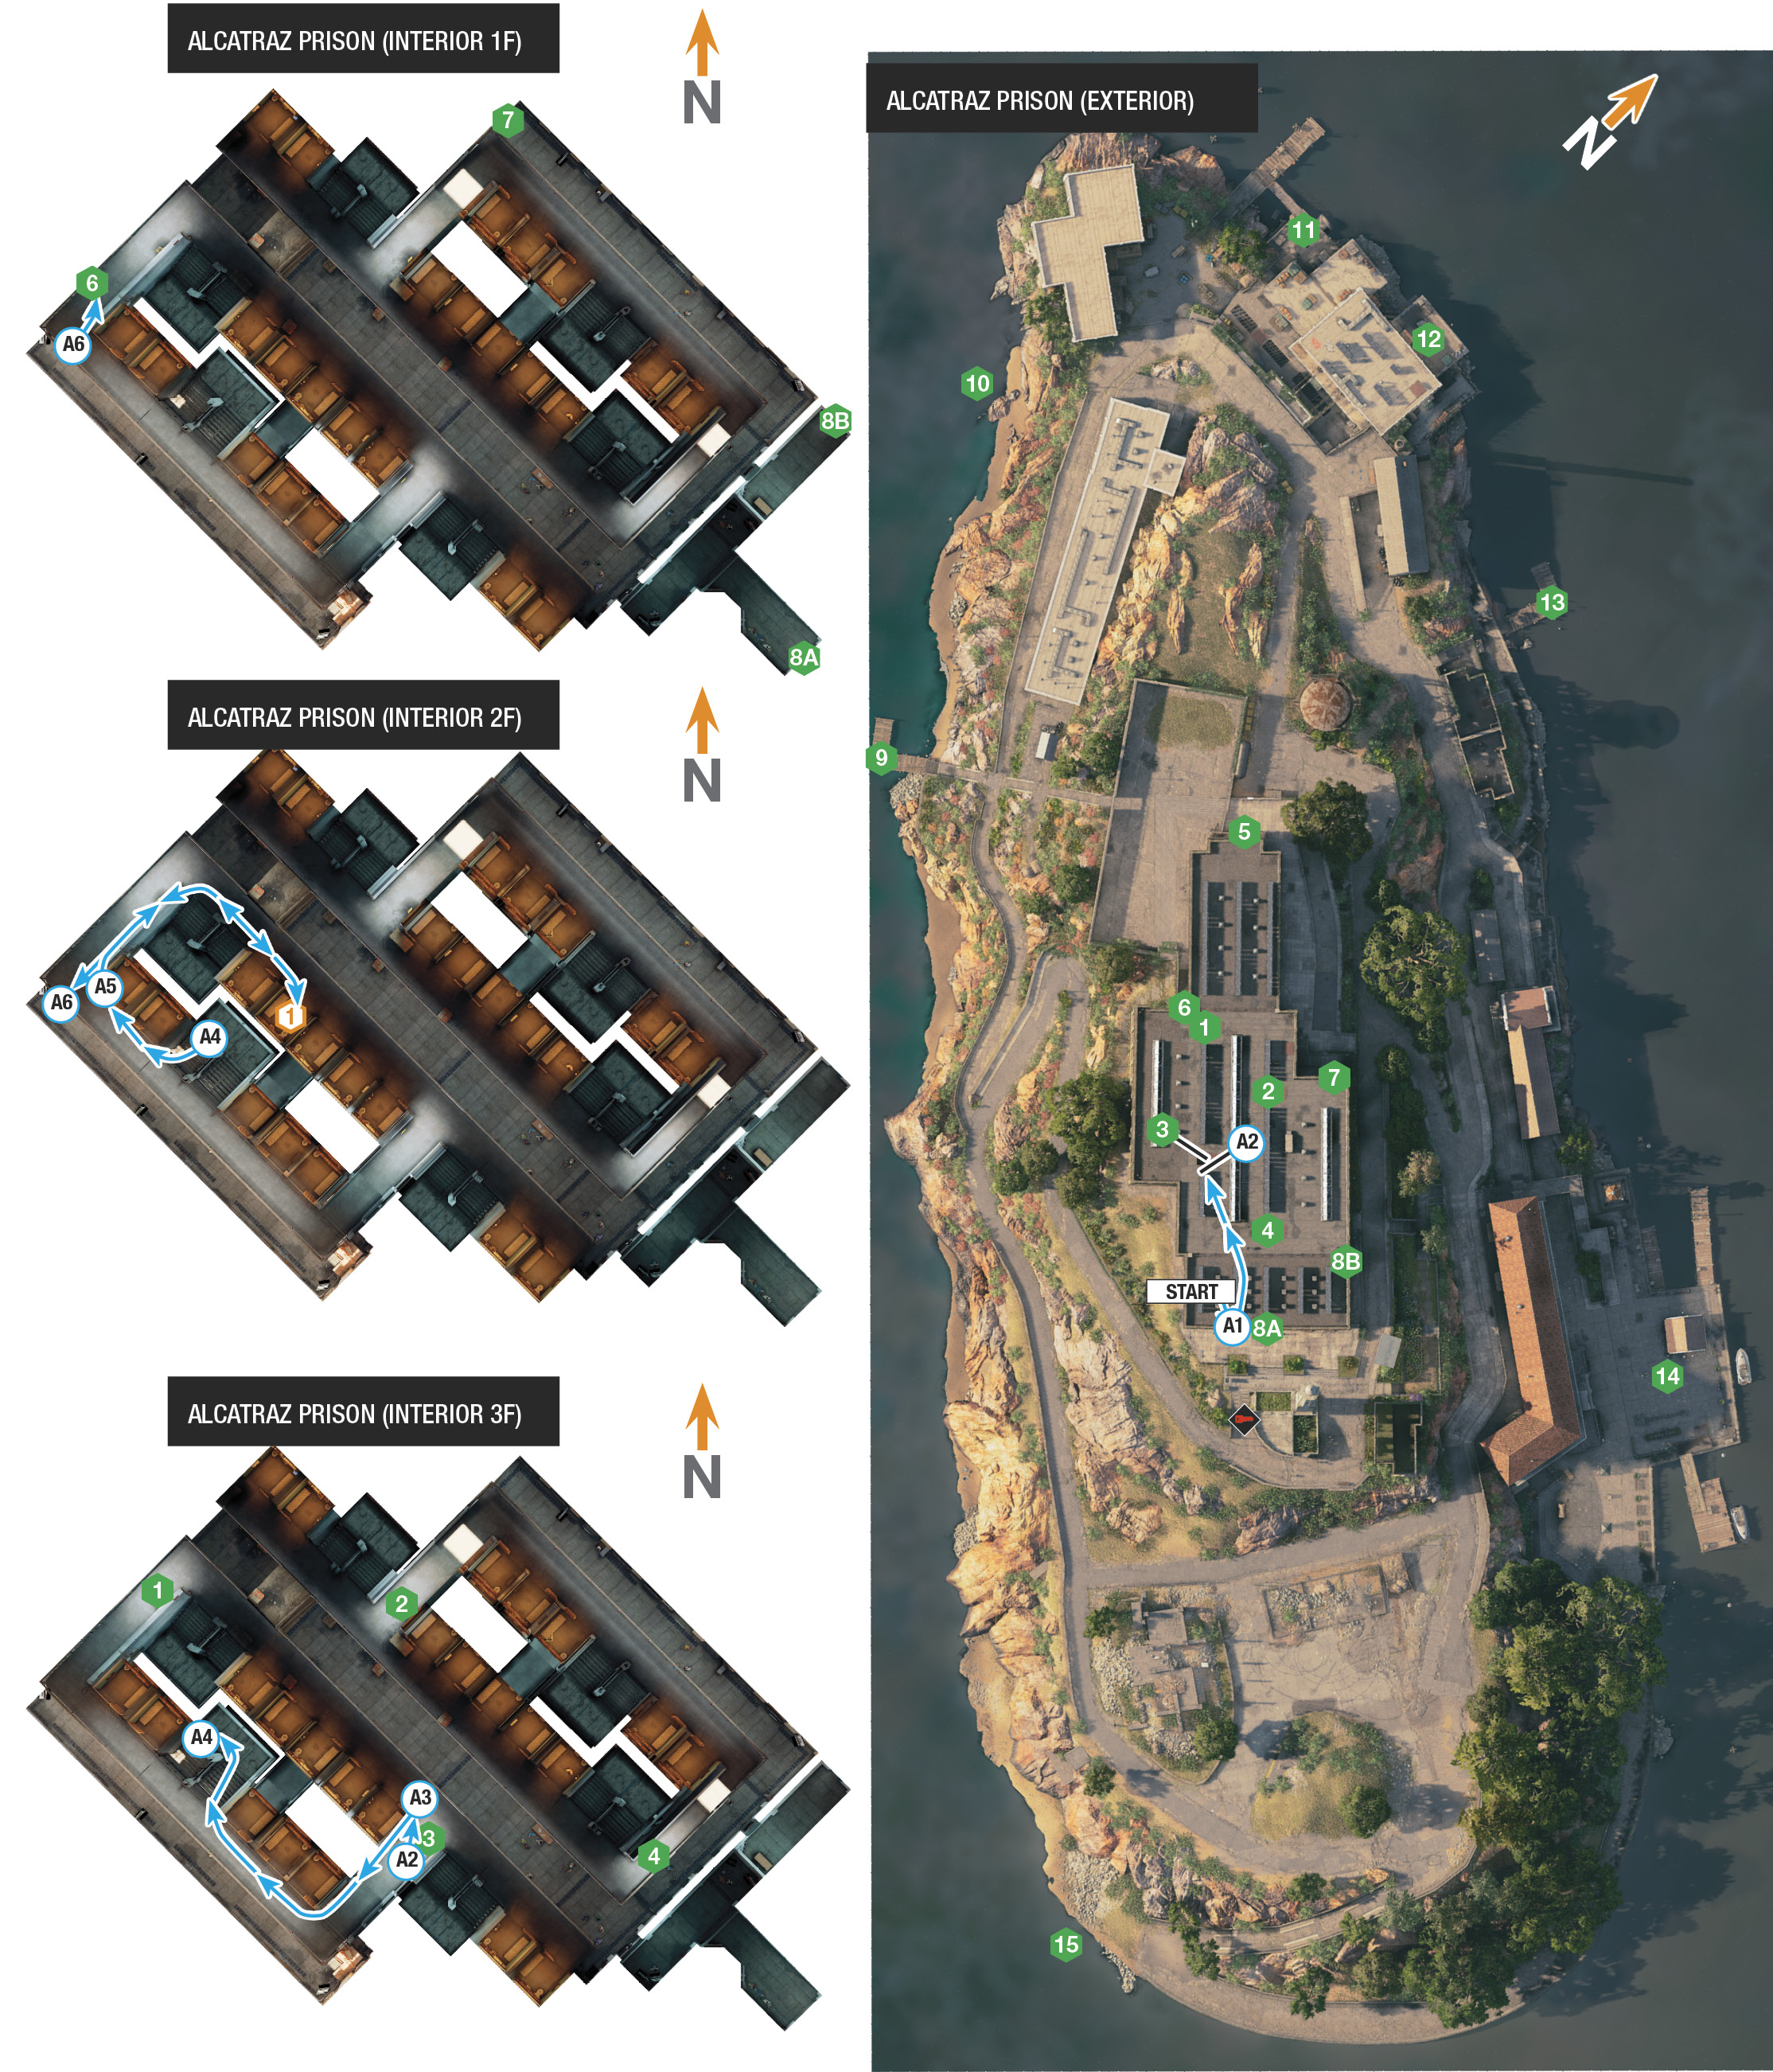
There are four roof trapdoors. Unless you want to use the window-washer lift for some reason and enter via one of the extraction points, these are your only ways into the building. IP3 is the recommended entry point for the following paths. 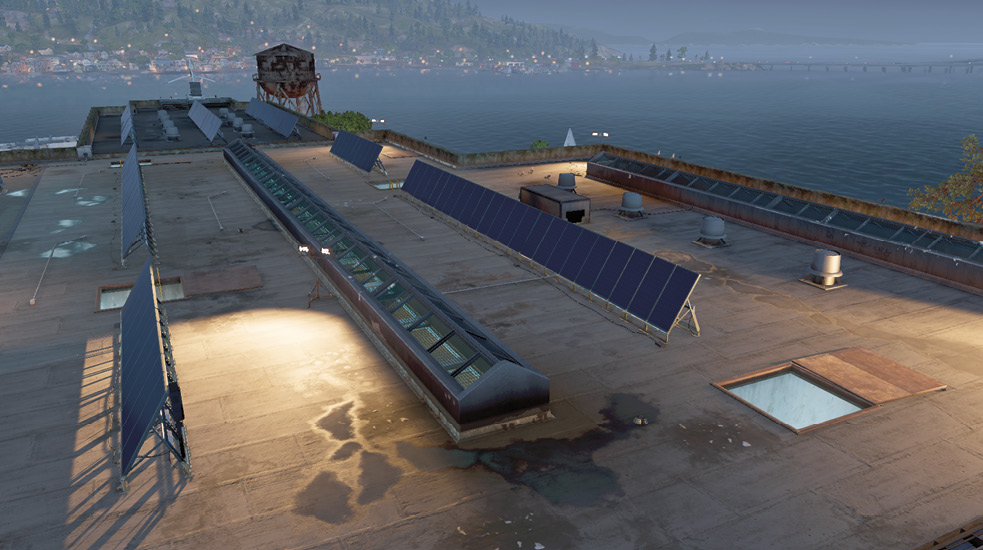
|


 Roof Trapdoors (4):
|
 POIs and Objective Points
 Access Key (Police Chief)
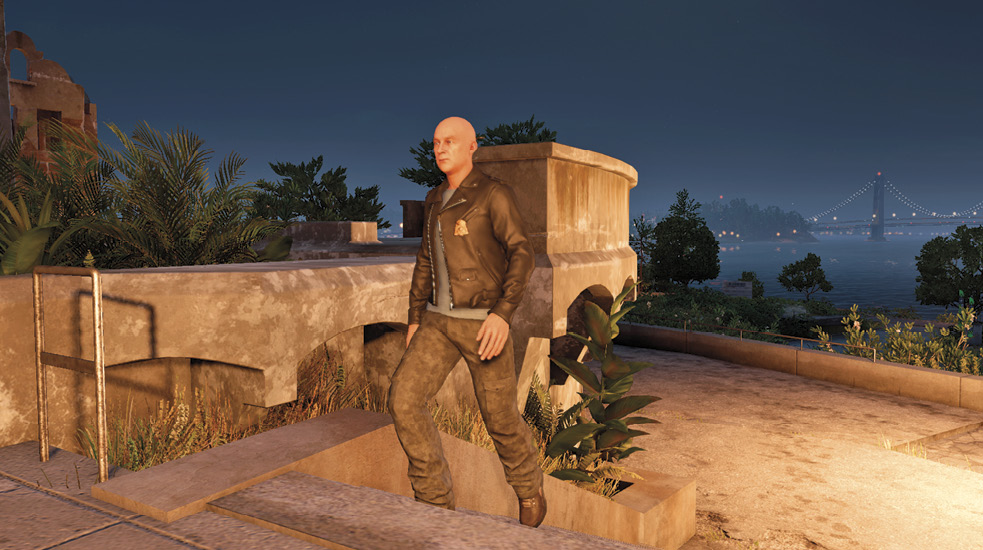
 Kestrel (Prisoner)
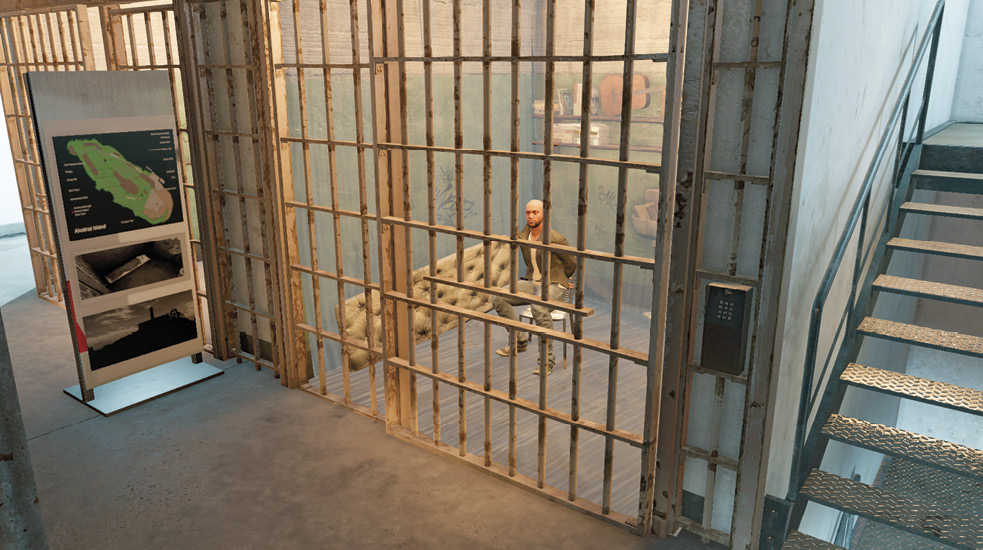
Paths to Completion
 Tased and Confused

Leave only three foes dazed and confused, and rescue the prisoner without raising the alarm (this automatically occurs after you escape). Do this by attempting the following: From the roof, turn and face southeast, toward the lighthouse. Peer down (A.1) at the man heading up the stone steps. This is the police chief, carrying the access key. Hack it, then sprint in the opposite direction (northwest), dropping down the roof access hole marked B-3 (A.2). Take cover at the right corner (A.3).
Peer into the main cell block (Floor 3), and tase the guard ahead and right (opposite walkway), then lean back into cover. Quickly lean out and tase the guard ahead and left (your walkway) so both are asleep and no other guards are alerted. This requires accurate shooting and speed. Then creep left, past the ladder (and hole you dropped down from); then turn right (northwest), move past three cells, and take the stairs down (A.4) to B-2.
Turn right (northwest), head to the end of the side cell-block area, and turn right (A.5, northeast). Hug the right wall and step out to throttle the guard at the end of the main cell block, one cell and a stairwell down from the prisoner. After he gurgles his last, unlock the cell, free the prisoner, and watch for any foes coming up the stairwell. Retrace your steps back around the corner to the side cell block, vault over the railing to the ground floor (A.6), and use the northwest exit to the outside.
Tased and Suppressed

Need to drop every enemy with an optional execution (tasing and using a suppressed pistol)? Then hack the access key, drop down to B-3, and tase the two upper walkway enemies just like in Path A. Then execute them with the suppressed pistol. Head along the walkway, passing the second victim, then out onto the boards between the walkways. Look down at the guard in the northernmost part of floor B-2. Tase and execute him, then the next guard who has either heard this and is coming up the steps (one floor below you) or is heading to the exit door area on the ground floor. Tase and execute him.
Now hack the prison cell one floor down and free the prisoner, before heading northwest and southeast along the perimeter interior wall. Vault over to the ground floor, near the northwest exit. Instead of fleeing, head back into the main cell block area, stepping around and looking southeast to where the remaining enemies are standing. Take cover behind the metal crate on casters.
Watch a guard two cells down from you inspect a cell to the left. Tase him as he walks left, into the cell. Tase his friend who checks on him afterward. Or, tase the guard in the main corridor, then the second guard as he exits the cell. Move to the pallets and tase the three remaining enemies as they investigate their snoozing comrades. Then execute everyone and leave.
A Drone to Be Used

Need to free the prisoner and not encounter any foes along the way? Tricky, but possible. Hack the police chief while on the roof, then follow Path A to point A.5 (you should be in the northwest corner of the prison, on floor B-2). There’s a guard ahead of you, down the side corridor. Produce the RC Jumper, call the guard’s phone so you can pass him by, and unlock the prison cell remotely. Hide behind one of the tourist signs and use your Jumper to start taunting the nearby guards. Prime an electroshock bomb if you wish, too. When the coast is clear, quickly free the prisoner and escape using Path A.
Worth a Punt

You’re wanted by the cops, so you might as well give them something to worry about. When the chief comes up the exterior steps near the lighthouse, introduce him to your grenade launcher and hack his bouncing corpse. Remain on the roof and punt a grenade at the helicopter (or hack it), forcing it away. You now have control of the roof, and a bunch of freaked-out foes head your way.
However, they won’t get far if you set a proximity trap with either of your grenades at each of the four roof access holes; then back these traps up with the weapons of your choice. Continue to prowl the roof, dropping foes that appear, then descend to free the prisoner and take down any stragglers.
Tased from Above

Forgetting to hack the police chief’s access key before he enters the prison can be annoying. But if you use the Quadcopter, you can either:
Fly off the roof and follow the chief into the prison. Hack him at any time as he wanders through the entrance into the main cell block.
OR
Enter any of the roof holes, and fly down into the main cell block. Hack the chief as he enters the area.
The Quadcopter may not be able to free the prisoner, but it can certainly decimate all the hostiles quickly and relatively easily. Keep the Quadcopter on the ceiling of the main cell block and drop electroshock bombs so they land close to the clusters of foes on the ground floor. Then detonate them o the group is tased. Tasing doesn’t alert other enemies or the police (yet), even if the chief is hit. Use explosives, and everything turns to mayhem much more quickly. Now finish your Quadcopter sweep by dropping additional electroshock bombs on stragglers; then head in on foot to rescue the prisoner.
Confusion and Carnage

What happens if your stealth plan turns into a madness-inducing fight for your life as you’re spotted and reinforcements are called? Then let’s hope you’re packing heat, specifically the grenade launcher; use this to force any helicopters to spin out of the way (temporarily), and move between the roof and the interior, depending on the threats present.
You can always shoot the chief and the officer standing outside near the entrance the chief uses (stand on the roof ledge to spot and aim at the subordinate). This causes an alert, and most foes in the prison sprint up to the roof. Meanwhile, you can drop into the nearest roof hole, hide in a cell, and head down to the prisoner. Escape while everyone is above you.
If you’re feeling the heat of numerous reinforcements, stay at the northwest end of the main cell block. Plant two electroshock bombs near the northwest exit so you’re not outflanked, and start tasing and executing anyone milling about the stairs and main floor until no one is left breathing.
Extraction Points-PrisonsAfter you free the prisoner, check these possible exits you need to leave the island. Naturally, you can run away from the prison in any direction and swim to safety, but it’s better to find a boat!
If you backtrack to the trapdoor ladders and maneuver onto the roof, you can control this window-washer lift and ride it down to the ground. This is slow, and if you’re being tracked by police (and a helicopter), you’re a sitting duck here. 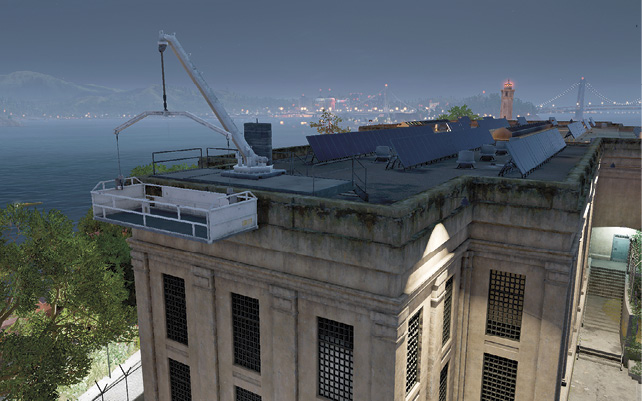
The ground floor in the prison’s northwest corner allows you out to a large concrete yard to your left and the northern part of the prison. It’s relatively easy to reach a good island extraction point from here, and this is the usual way to escape. 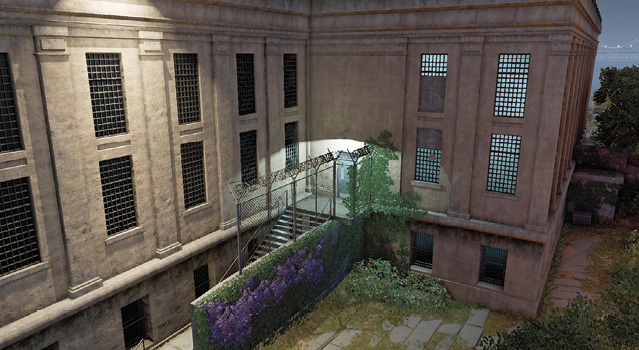
In the northeast corner of the prison’s ground floor is another door. It isn’t used as often, as it isn’t as close to the prisoner as the west exit, but it’s a great place to dash out of; seek cover in vegetation while racing to get off the island. 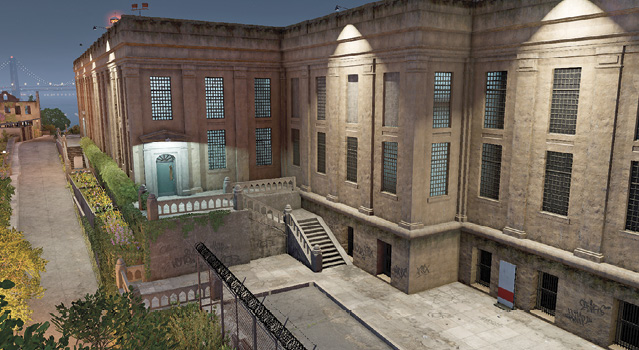
|
 Window-Washer Lift:
 West Exit:
 Northeast Exit:

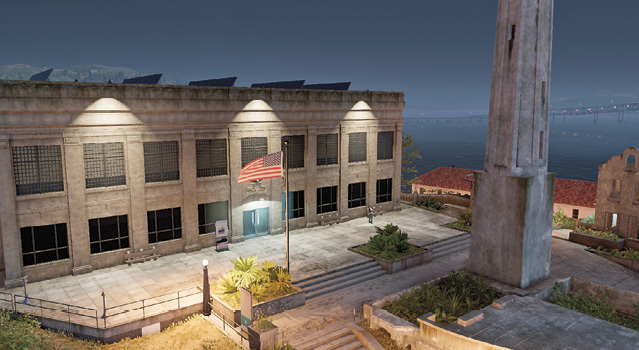
 South Exits: The double doors where the police chief entered lead to a main paved area and lighthouse. The interior corridors and clusters of foes inside the prison near this exit make it one that is rarely used, though it offers good dashing options to escape. There’s also a southeast exit, via the side corridor inside, which is another option.
Extraction Points-IslandAre you attempting to flee Alcatraz? Then look for the following locations:
Two or three cops, some concrete steps, and a couple of boats make this a quick and relatively easy method of fleeing the Rock. Distract and tase the cops if you’re having trouble getting past them. Then pick either boat and get the hell out of here! 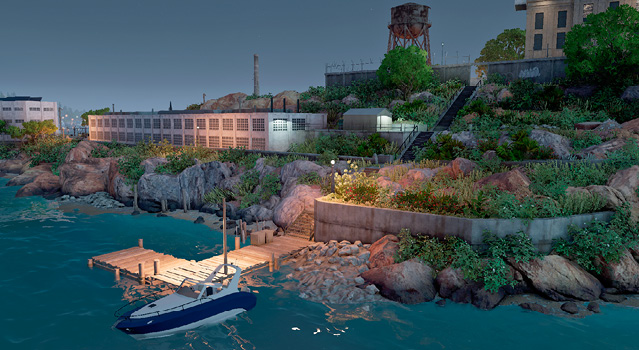
If you’re headed along the footpath running north from the prison, check the beach in this area, as there may be a moored boat you can swim out to. You need to clamber over the rocky slope to reach the beach, but it’s a possible escape route with few enemies to encounter. 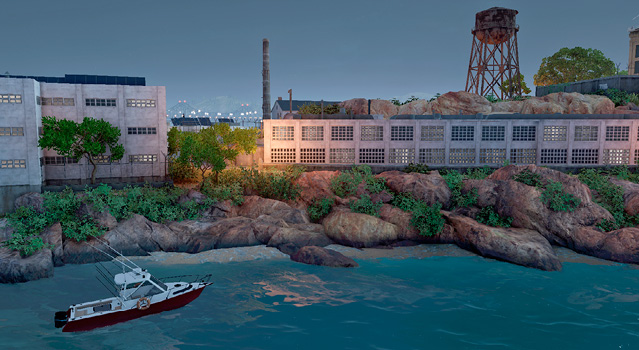
Run directly north, and head down the concrete steps after hacking open a maintenance gate. Reach a boat here in relative comfort. 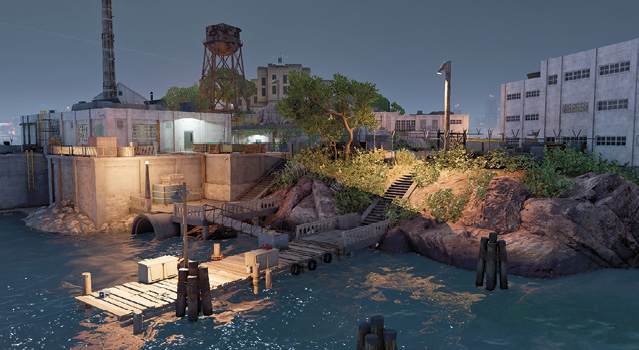
Better yet, hack the maintenance gate at the north dock, then swim down the large inlet pipe just east of the dock. You enter the interior of the concrete building and the boat garage, where the fastest speedboat on the island is moored. Hack open that garage door and bolt out of here! Sometimes, the speedboat isn’t here. 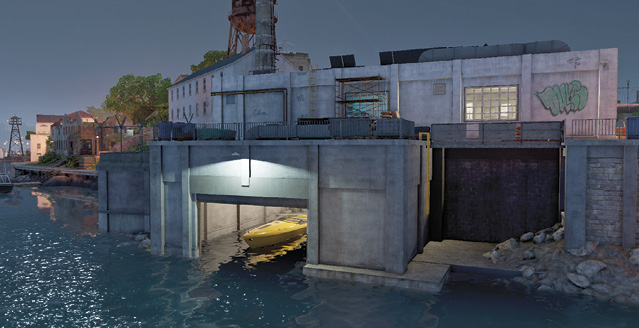
If you’ve escaped via the roof via the window washer lift, this is a good direction to head; remember you can creep down here and onto the dock, where you have your pick of boats. Just expect some police encounters along the way. 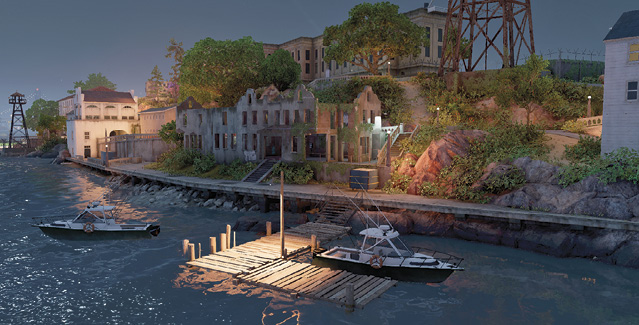
The largest concentration of police are searching the main docks here. Though you can flee and use the buildings as cover, there are safer ways to reach a boat. 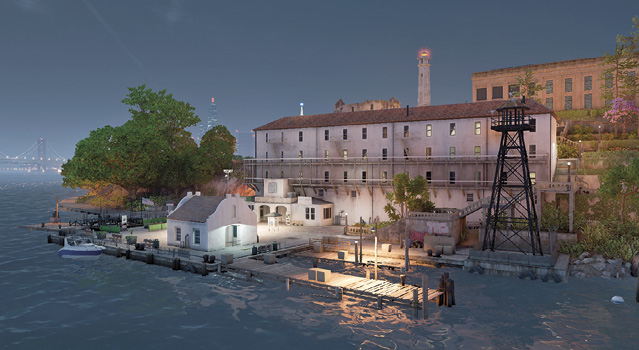
There may be a boat moored here, near the beach on the island’s southern tip. If you dashed out the prison’s south entrance, sprint down the rocky embankment to the beach first, checking to see if the boat is there from the top of the cliff. 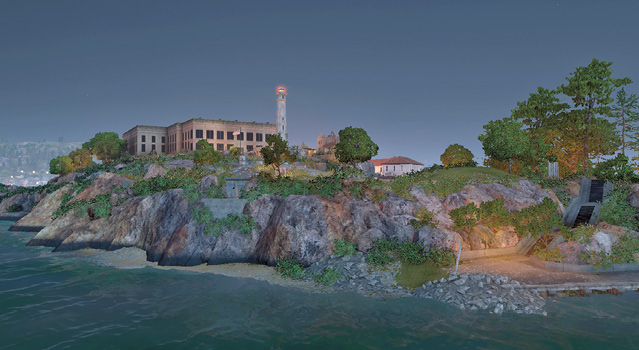
|
 West Docks:
 Northwest Beach:
 North Dock:
 North Boat Garage:
 Northeast Docks:
 East Docks:
 South Beach:
Once you’re on a boat and escaping the island, Kestrel radios in to thank you for freeing him. Back at the Hackerspace, you collapse on the sofa, only to have an enthusiastic Wrench ask you about your experiences. Sitara shows you video of Miranda keeping up her end of the bargain. The operation now concludes.