
Watch Dogs 2 Guide Main Operations Motherload
1. Operation (Continued)—Wrench
Objectives
Difficulty
Hostiles
Location
|
 Unlock Blume’s vault door.

 Umeni Security Corps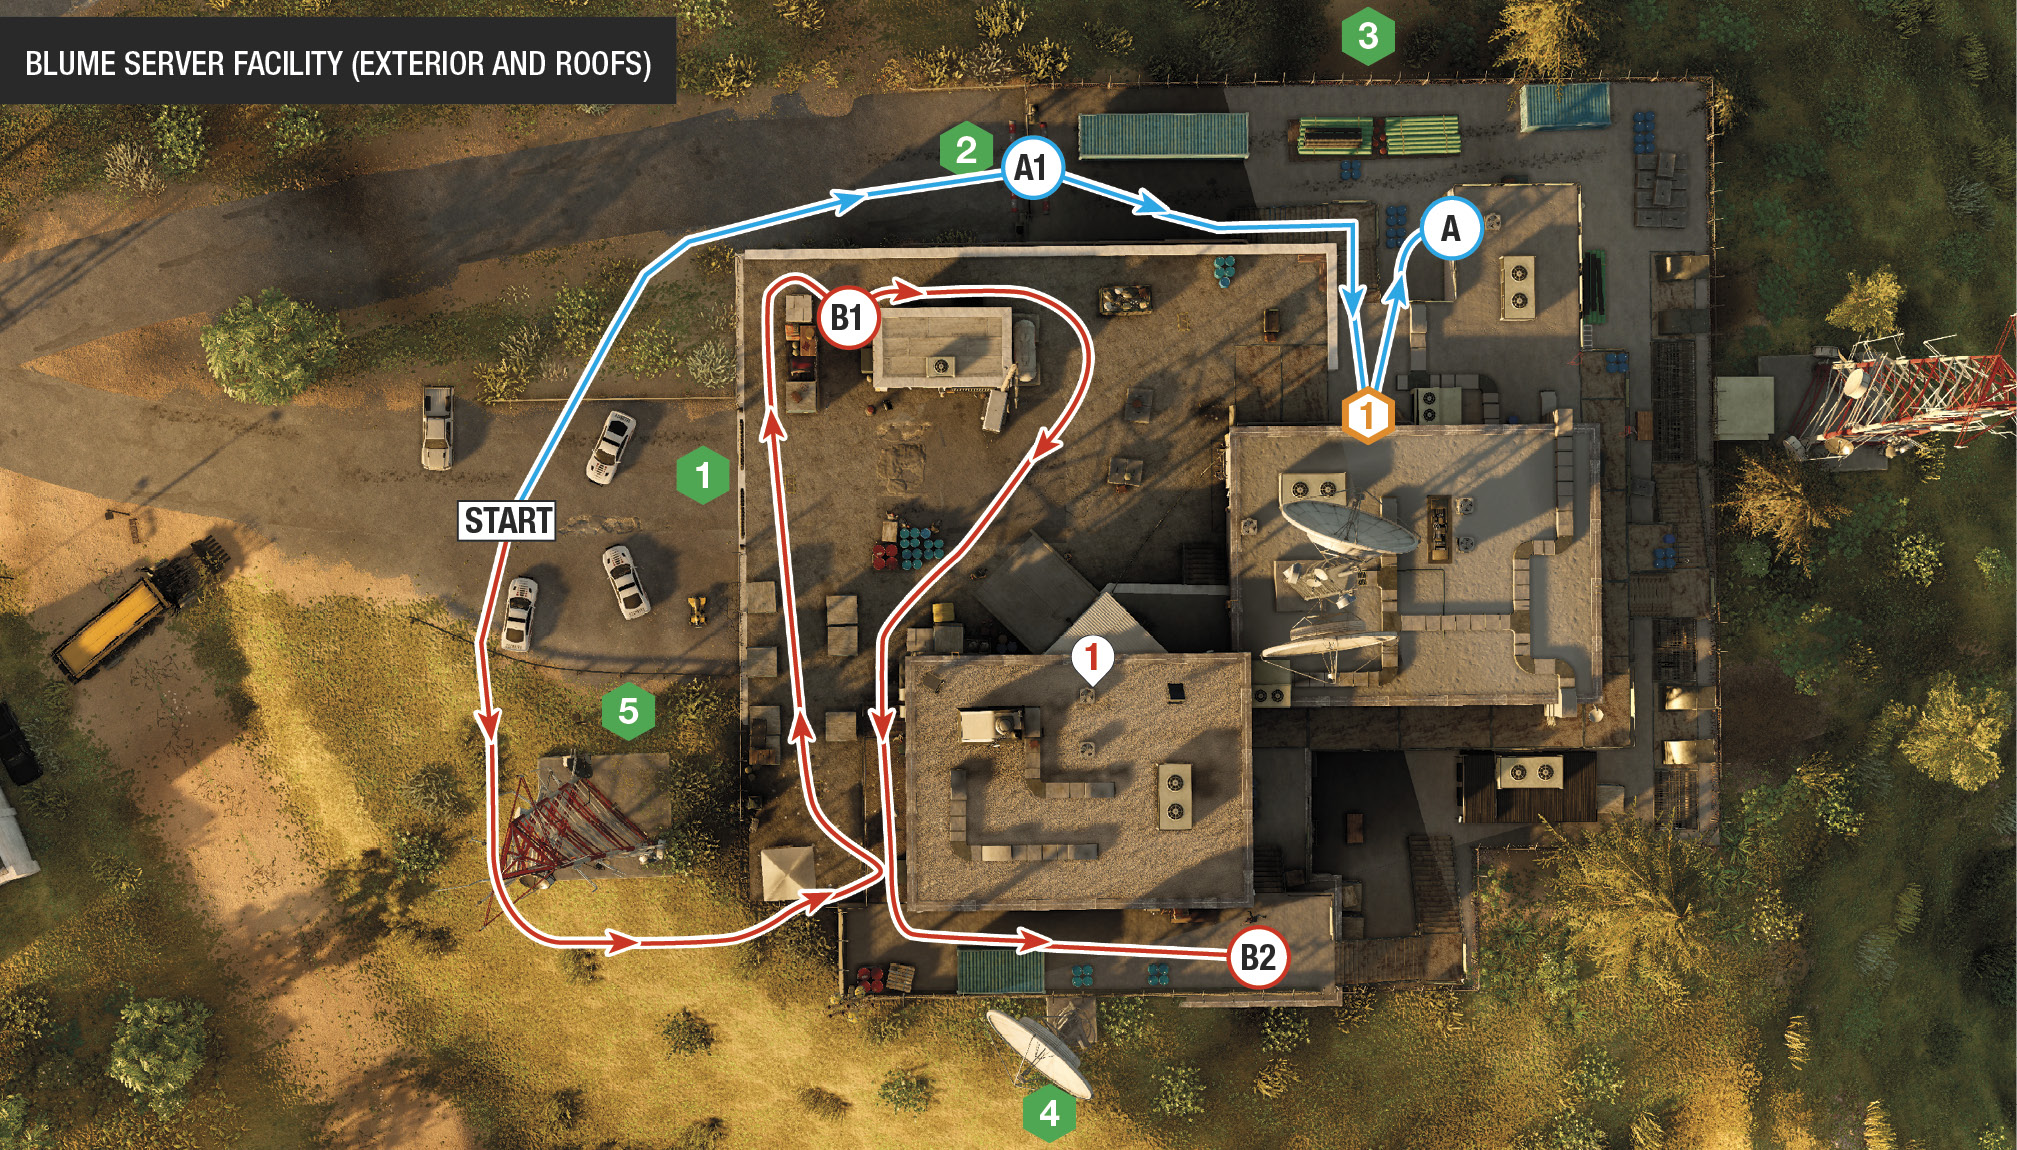
Infiltration PointsWrench is tasked with entering a Blume facility on San Bruno Mountain and destroying most of it. He comes with a grenade launcher and a taser, but also think about subtle takedowns need melee strangulation or electroshocks from scenery or grenades.
Directly ahead of you, behind three parked security cars, is the main barrier and a yard with seven foes. Naturally, this isn’t the wisest infiltration point and should only be accessed if you’re attempting a vehicular suicidal run or strafing the area with grenades while moving to a different spot. 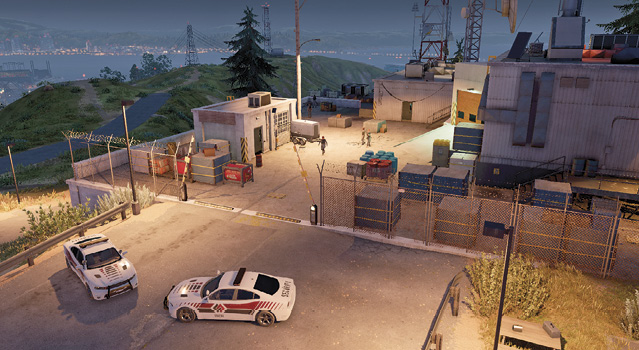
Along the compound’s left (north) side is a hackable gate and metal steps up to the data container (objective). This is a great way to reach the first objective unimpeded. There is a hackable door near some blue barrels, below and east of the stairs. This leads almost directly into the two-story breach room and is the optimal path to get there. 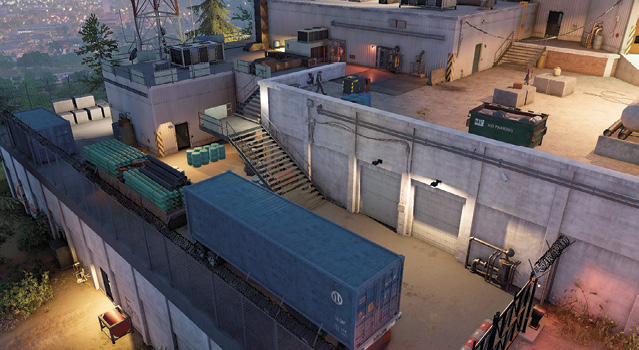
On the lower ground (north perimeter) is a door leading into the lowest compound storage rooms. It allows access up into the two-story breach room, though it isn’t the most proficient route. 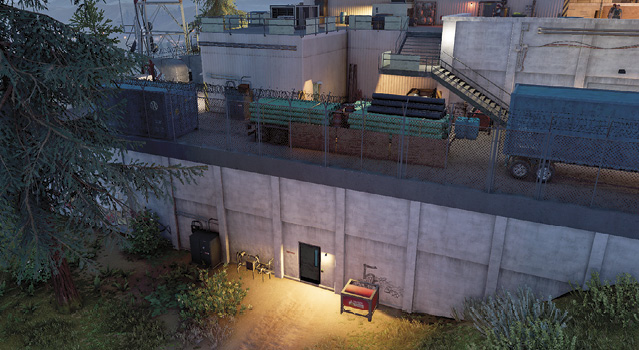
Along the southern perimeter is a large metal support pillar holding up a satellite dish, close to a large open blue container. Much of the east and south perimeter is a high mesh wall you can’t breach, but there’s a gap here, which is handy for skulking around the various entrances into the breach wall room and garage. 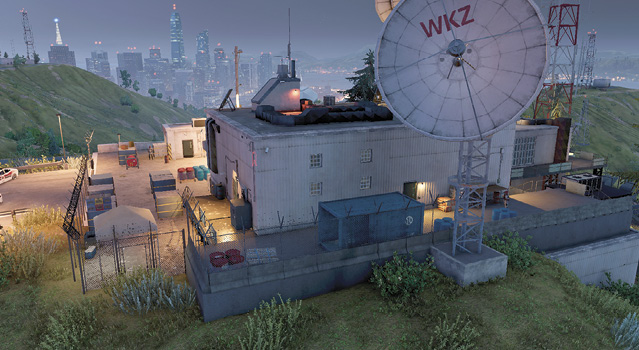
Don’t overlook this opening in the mesh wall, in the southwest corner of this restricted area; it leads to a small cargo storage exterior area (and armored guard). Enter close to the picnic table, but use the access around to the southern perimeter to reach your goals. 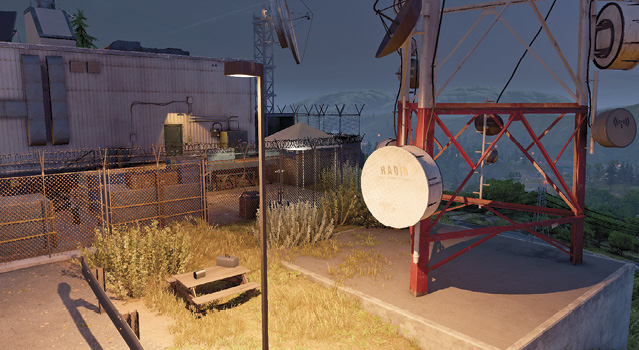
|
 Main Barrier and Yard:
 Side Gate and Storage Yard:
 Lower Access Door:
 South Satellite Dish:
 Radio Mast and Picnic Table:
|
 POIs and Objective Points
 South Garage
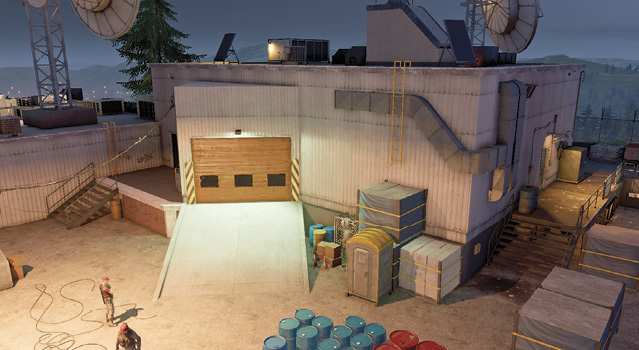
 Data Container
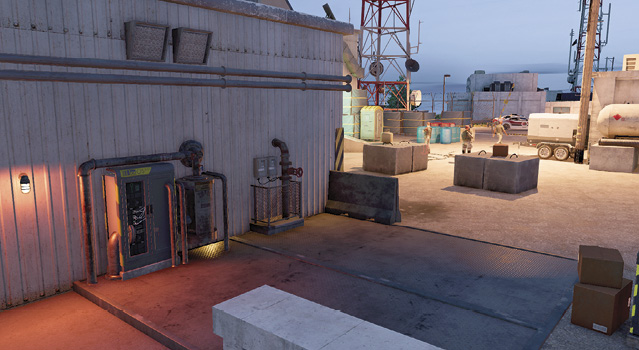
 Two-Story Breach Wall Room
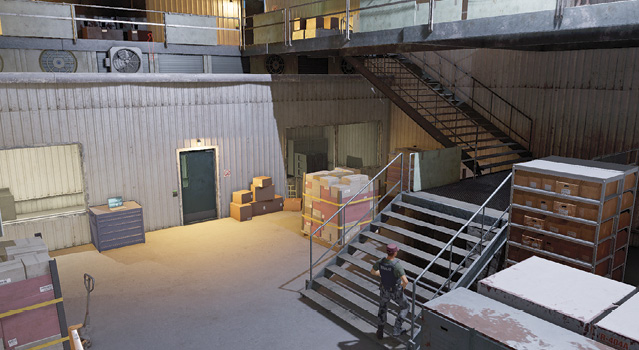
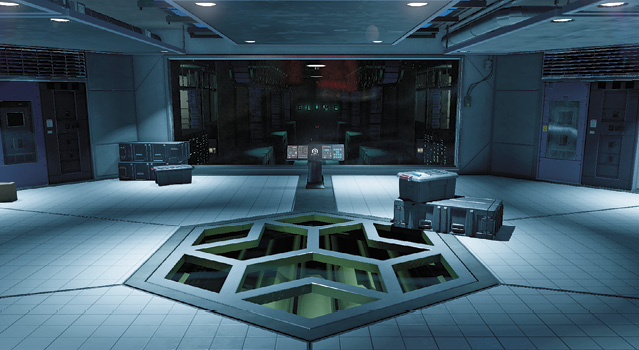
 Blume Vault (Backup Servers)
Paths To Completion
With no drone toys but plenty of guns and explosives, Wrench is ready to unlock the front door to Blume’s servers. How he completes this task is up to you; it can also be done with a degree of subtlety Wrench isn’t normally known for.
 A Wrench in the Works

Ignore your baser instincts and attempt a nonthreatening infiltration, heading down the road to the left (north) and hacking the gates (A.1). Climb up the side metal steps and hug the low concrete wall at the top to your right. Distract the two nearest guards with phone calls, then hack the objective (data container). After the hack, you’re almost spotted; retreat quickly and hide behind that same low concrete wall.
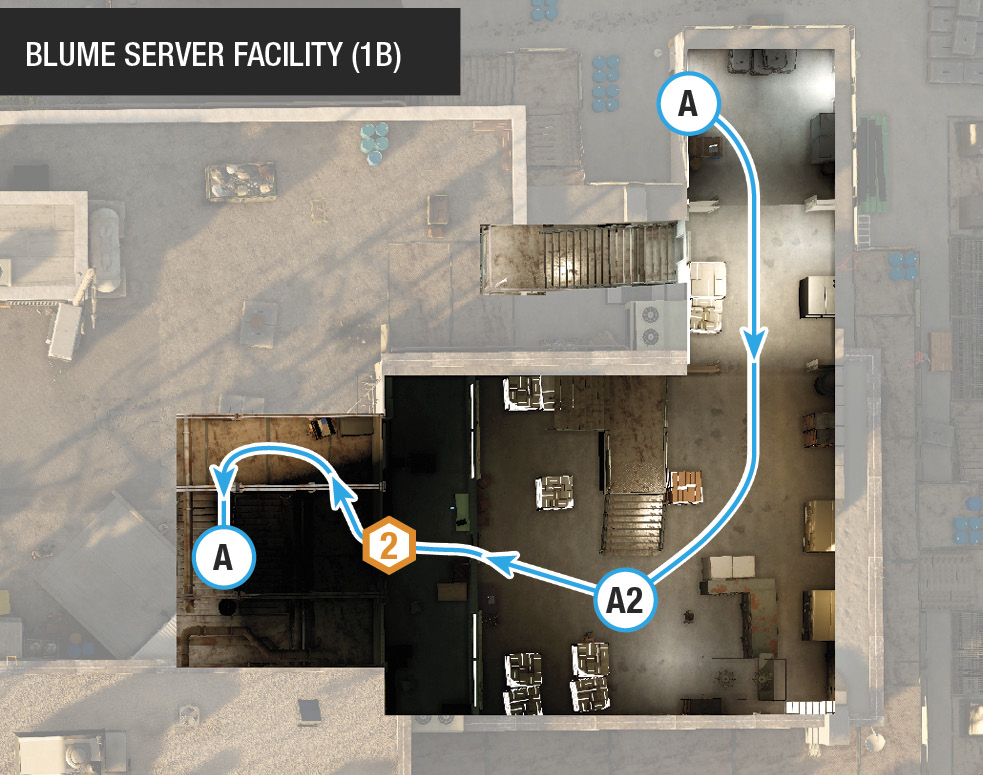
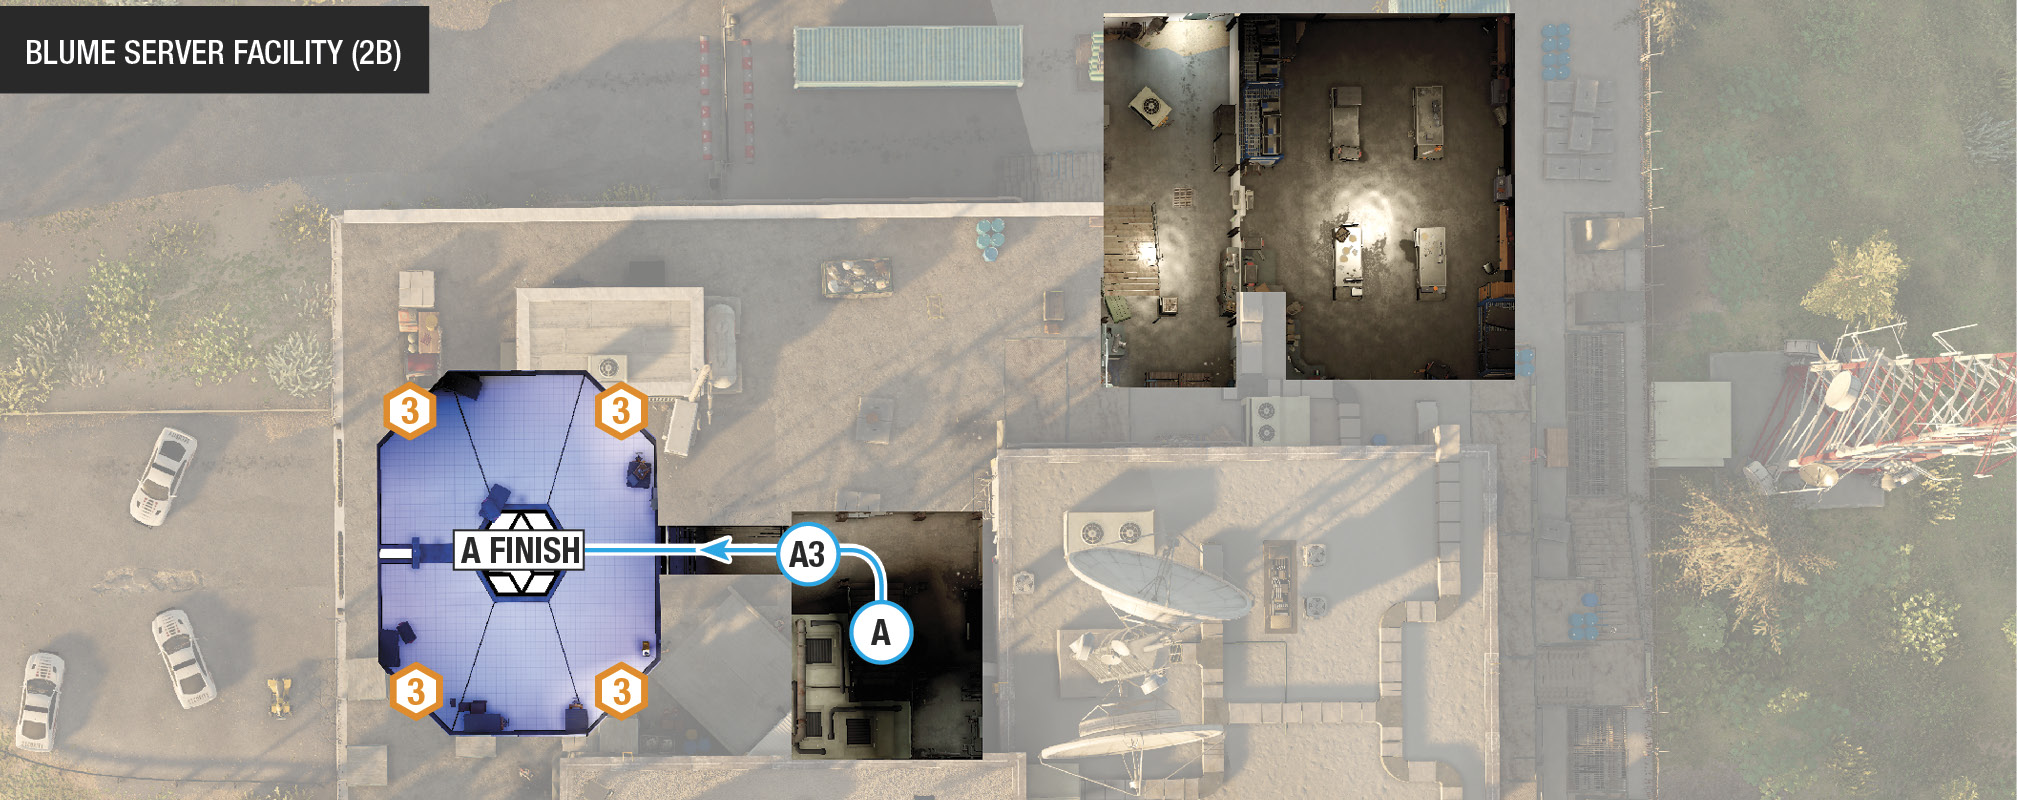
As the download progresses, seek out the wall you need to blow out. Hack the door by the blue barrels, below the metal steps (northeast corner of the compound). Turn right and head into the two-story storage room with the breach wall (A.2). There are guards above you, and one may need to be distracted with a phone call. Hack the door by the breach wall, then set the breach. After the explosion, head through the hole, wait at the server room door for the download to end so you can hack the doors to open them (A.3), then enter and blow the four server vault areas apart. Mission complete, with no shots fired from either side!
 Time to Lurk

This is as “stealthy” as you can get with Wrench. The plan is to throttle every foe (instead of electrocuting them, as they wake up after being zapped), removing all threats without a single gunshot. Enter via IP 5, hopping over the raised concrete walkway fence, and hide. When the armored guard patrols back to the picnic table, vault the fence and throttle him. If a second guard (to the north) is nearby, distract her using the phone.
Now for the cluster of guards by the main entrance in the front yard. The trick here is a “mass distraction”; focus on a foe you want to throttle (such as a guard standing by the front barriers), check your minimap for nearby foes, and quickly cycle through each, distracting them with your phone (including the target). Immediately step out and throttle your target, then head to better cover by the concrete hut (B.1, north). This is the difficult part of this path; practice may be needed.
Once in this upper north corner of the restricted area, watch where the enemy moves. Remain patient and in cover, optionally sparking the explosive pallet or junction box and throttling the foes that investigate. Stay here for a while, sneaking east to tackle foes searching for you near the objective. Use the phone distract often, when you see a straggler you want to strangle before returning to cover. Keep this up until you’ve neutralized all foes in the main yard.
With all but around three foes left, head southwest across the yard, around to the compound’s southern perimeter (B.2). Search out the remaining three foes who are usually searching the exterior area south of the garage or the metal exterior steps (southeast corner). Again, the phone distract is your friend. Now with no more foes to deal with, complete all objectives.
Carnage and Smirks

You’ve got an arsenal of weapons and explosives, so why not use them? Though it’s tempting to simply wade in through the main gate where the vehicles are parked and lay waste to the cluster of foes you can see, a better plan is to try any of the following:
Cause a stir by parking one of the trucks (parked behind you) just outside of the restricted area, pointing at the explosive pallet slightly left of the barrier. Get out and remotely accelerate the vehicle into the pallet; this can remove three guards at once. Plus, as you’re outside the restricted area, the guards aren’t on red alert!
You don’t just have a grenade launcher to play with; retreat west, up the ladder on the nearby building, and snipe from here. Then head into the restricted area to mop up stragglers.
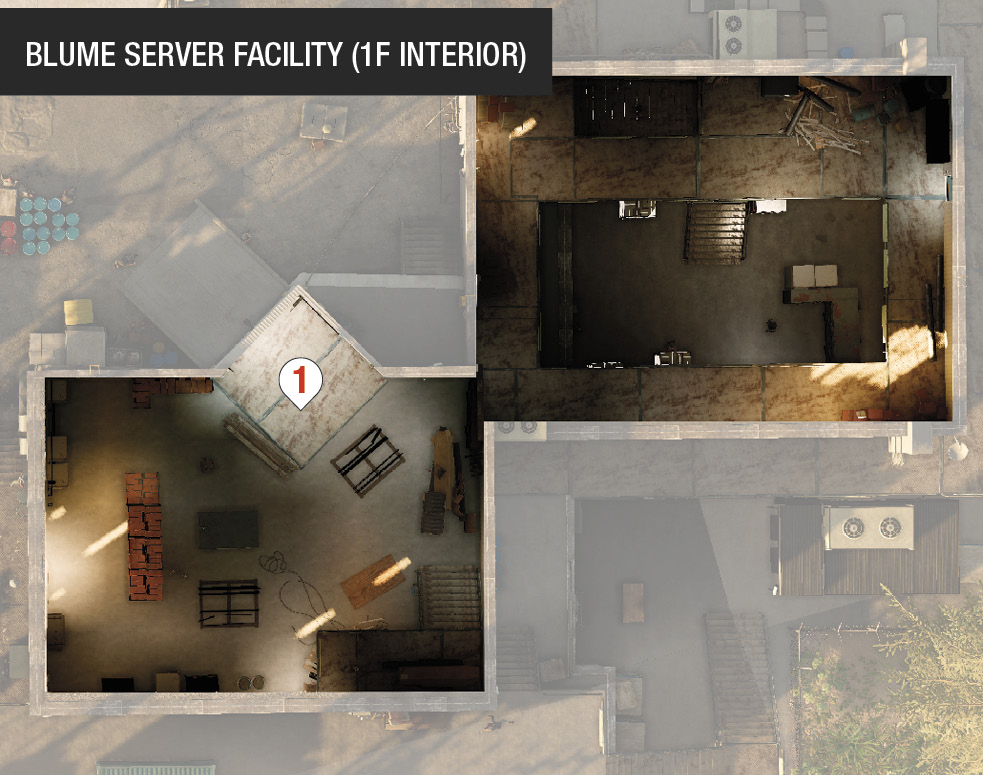
You may be overwhelmed if you just wade into the fray, so gain some height first; the main building roof is perfect. Reach this by sneaking in at IP 5 (picnic table), climbing onto the concrete path, then climbing the stacked crates to the ladder; it’s possible to complete without being spotted! Or, head to the rear of the compound (eastern upper balcony) and climb the ladder on the east wall above the two-story room with the breach point. Now atop the main buildings, you can set explosives at the tops of ladders to stop foes reaching you, and start bombarding enemies below!