
Watch Dogs 2 Guide Main Operations Eye For An Eye
3. Operation—Shipwreck
Objectives
Difficulty
RewardsDedSec Followers: +32,400 BriefNobody messes with DedSec and it’s time the Tezcas understood that little life lesson…by destroying their cocaine shipment. Hostiles
Location
|
 Meet DedSec scout at the harbor.

 Tezcas Gang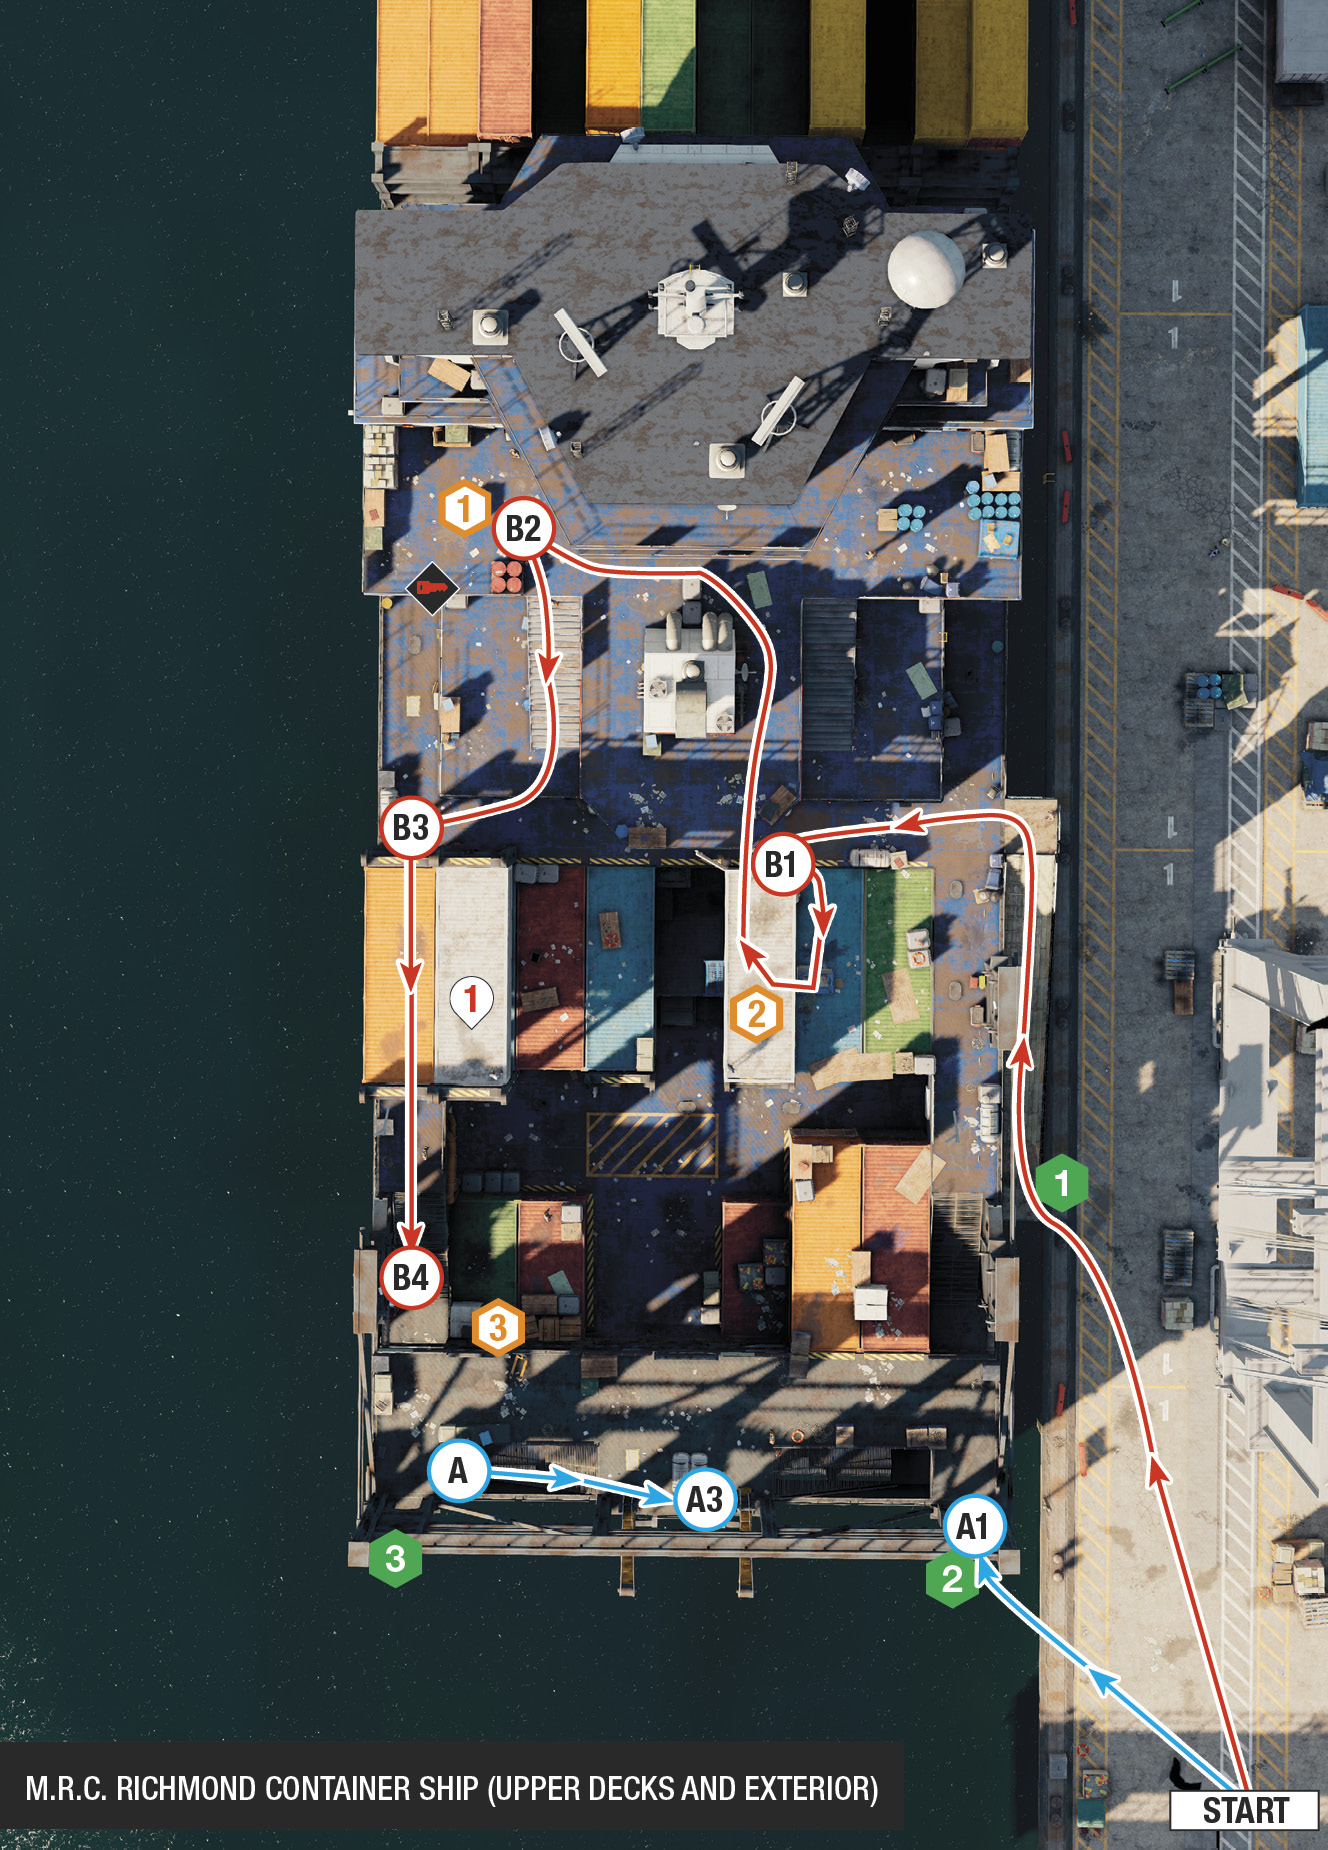
The Tezcas are about to ship out a huge haul of cocaine. Make your way to the harbor, and rendezvous with the DedSec scout, who fills you in.
Scan the balcony for the two patrolling foes, who could be anywhere around the upper perimeter. Bring the nearest threat down with vault transformer, junction box, or taser electrocutions. If the second one is startled, track him and execute him in the same way. Finish both off with suppressed shots to their sleeping forms. This causes two more Tezcas to rush in on this balcony. While in cover, drop one and then the other using your taser. Then execute with the silenced pistol. Perform the same action by looking down over the balcony at the courtyard below, tagging both dogs.
At this point, you can grab the collectible in the southeast apartment, then move to the objective. Grab the second collectible from the shelf and hide behind it (A.2). Watch for a foe on the balcony of the north apartment block. Tase and slay him. Then drop down and remove the last human foe, before dropping the dog in the paved courtyard near the grow op. Now complete both objectives and grab the last collectible before setting fire to the place.
Follow a similar path, but utilize phone distractions followed by strangulation instead. It’s slightly more dangerous, but without the need for firing a single shot.
Infiltration PointsWith the enemy already on the higher ground on the ship’s decks and one on the high gangway sporting a sniper rifle, it’s up to you to make the most of the meager infiltration points. Use the lower, container-filled deck to start the majority of your infiltration choices.
From the southeast corner of the docks, up to the ship’s eastern upper deck, is a long gangplank that is the “usual” method of boarding this vessel. Both the RC Jumper and Marcus are good candidates to access this. Note the open windows at the base of the gangplank are good to jump your RC drone through. 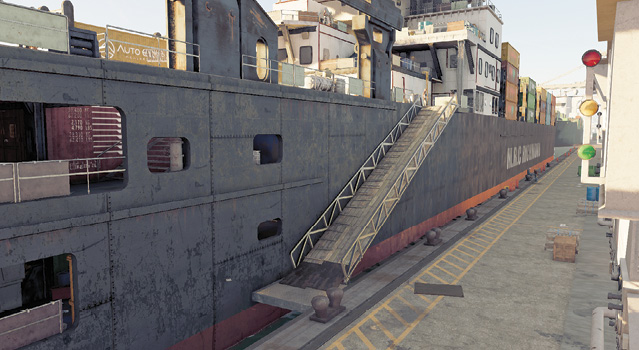
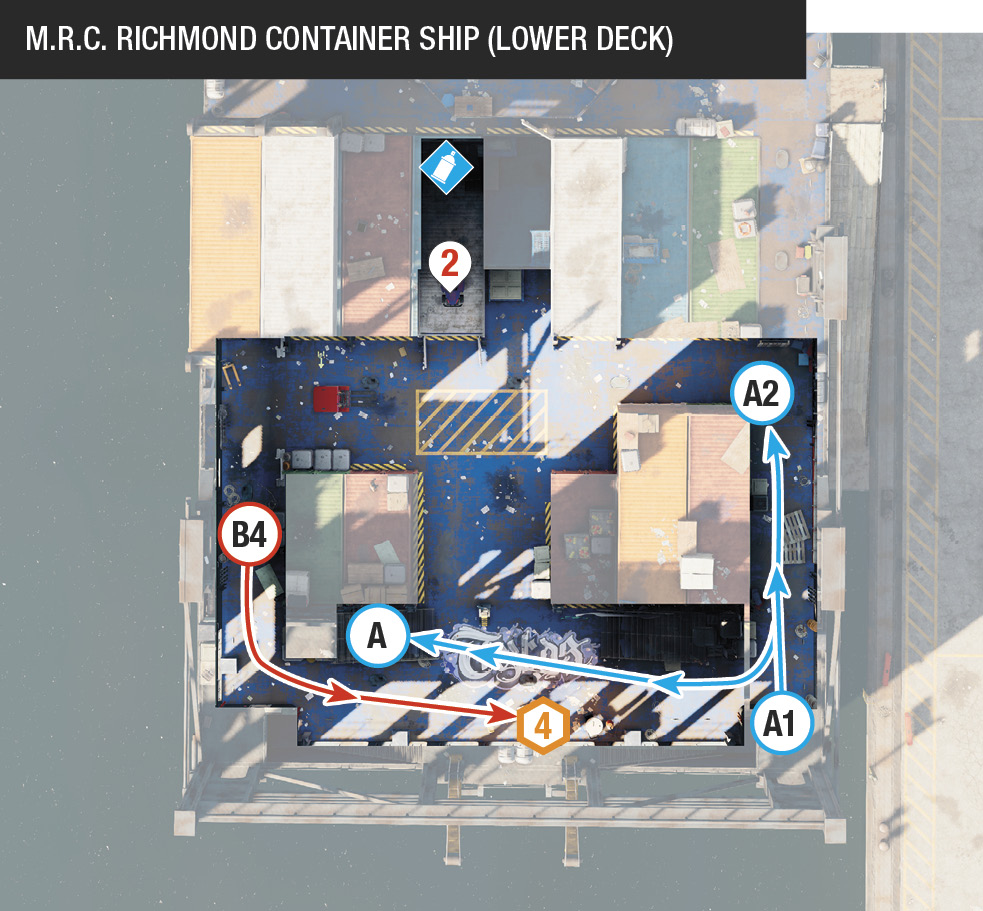
This can be accessed (by Marcus or both drones) from the water, after you hack the access key carried by one of the foes. This leads to the boat’s southeast corner, which offers some good protection from the foes above you. The fourth cocaine shipment is between this and the southwest door. 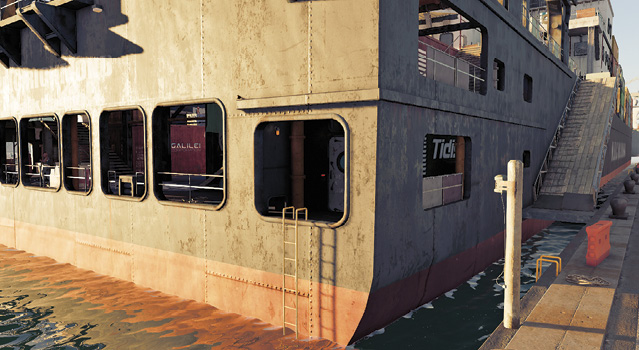
This can be accessed (by Marcus or the Quadcopter) from the water, only after you hack the access key carried by one of the foes. This door is rarely used, though it does allow quick access to both the third and fourth cocaine shipment targets and to the boat’s west, which has a motorboat you can swim to (when you need to flee after meeting the objectives). 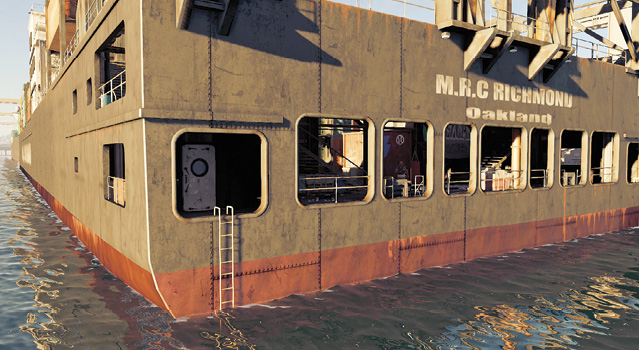
|
 Gangplank (East):
 Lower Deck Door (Southeast):
 Lower Deck Door (Southwest):
|
 POIs and Objective Points
 Access Key (Guard)
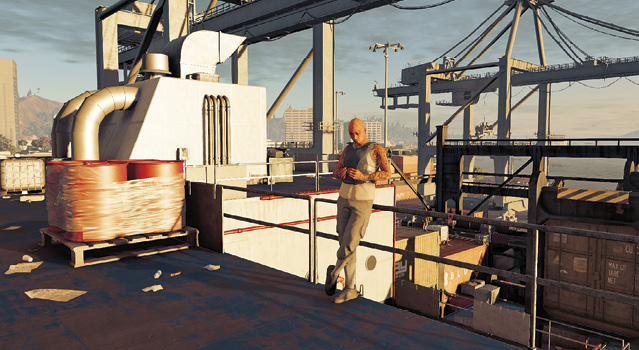
 Collectible (Container)
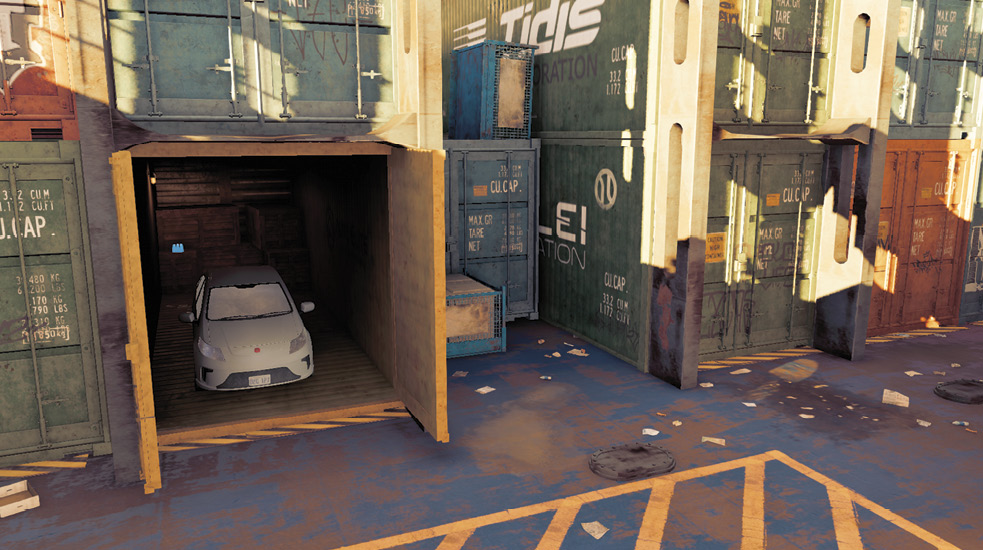

 Cars in Containers
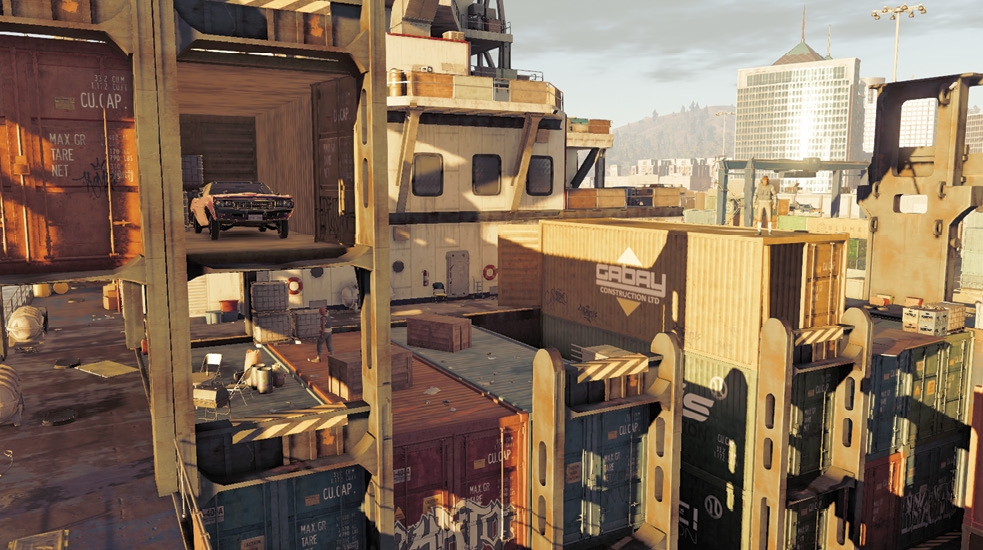
 Cocaine Shipment #1
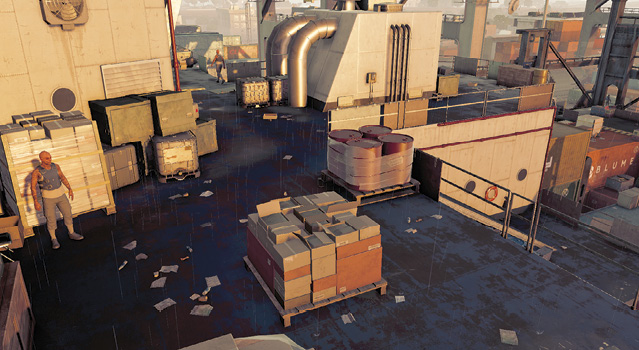
 Cocaine Shipment #2
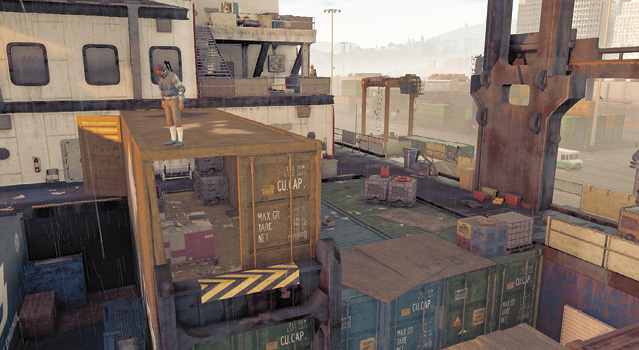
 Cocaine Shipment #3
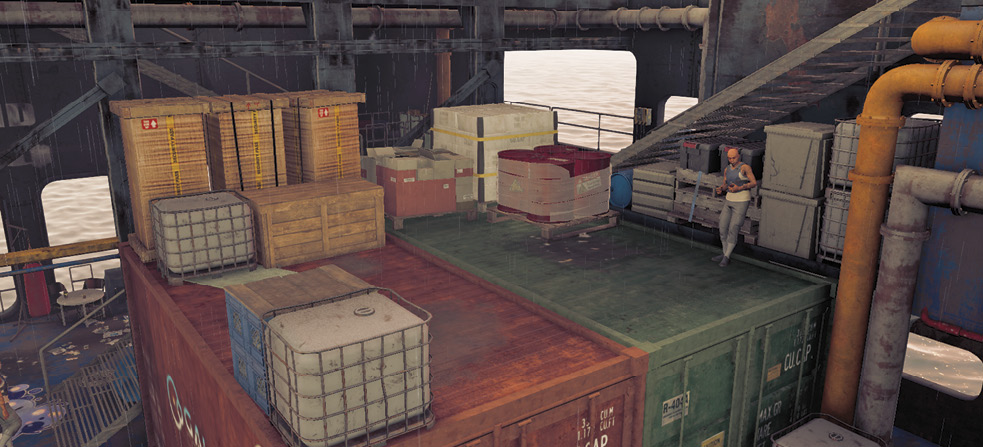
 Cocaine Shipment #4
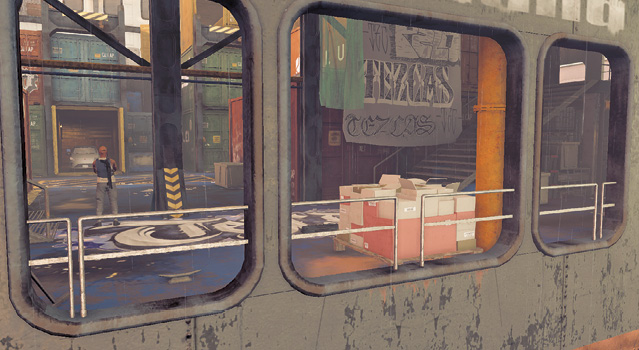
| Action | Shipt 1 | Shipt 2 | Shipt 3 | Shipt 4 |
|---|---|---|---|---|
| Have the enemies shoot at it accidentally. | Yes | Yes | Yes | Yes |
| Hack a junction box to explode near it. | No | No | Yes | No |
| Shoot the gas canister on the stack to the right of the shipment. | Yes | No | No | No |
| Shoot the red explosive barrels near the shipment. | Yes | No | Yes | No |
| Shoot the actual shipment with a weapon or grenade launcher while on the ship. | Yes | Yes | Yes | Yes |
| Shoot the actual shipment with a weapon while on the main dock (out of the restricted area) or atop a stack of containers (with a sniper rifle) | Yes | No | Yes | Yes |
| Stand by the shipment and interact with it (setting it alight, which can be seen but not heard by foes). This can be done by Marcus or the RC Jumper. | Yes | Yes | Yes | Yes |
| Drop either bomb type and detonate it within the area of effect touching the shipment. Marcus, RC Jumper, or Quadcopter can do this. | Yes | Yes | Yes | Yes |
| Remotely drive a car into it. | No | No | Yes | Yes |
Paths To Completion
As there’s an enemy patrolling the upper deck along the north perimeter that you can’t physically grab, neutralizing targets at range (or ignoring them completely) is the key to victory here. Your Quadcopter is your friend, too.
Projectile Casting

Need to keep your “no kills” plan intact? Good man! Then the Quadcopter offers a quick and easy method. Run toward the boat’s southeast corner so you’re within contact of the Quadcopter after launching it. Pilot the drone over each cocaine shipment in any order you like, dropping an electroshock bomb at each one before detonating it. Then leave. The only one that might cause you consternation is #2 within the container, but you can fly in, drop a bomb, and fly out again before triggering the explosion. Make this the last shipment you destroy in case you catch the drone in the detonation.
The other option is, of course, to drop explosive bombs instead. Messier and just as effective.
 Ballast Tanks Blasting

If ever there was a mission designed for judicious use of the Zero Day Rifle, it’s this one! Use this (or tasing and the suppressor pistol) along with some minor scenery hacking to cause enemy confusion without raising the alert to red. Start by cycling through the cameras and hack the access key from the foe. Then use it to open the southeast door (IP 2). Dive into the water, immediately climb up the ladder, hack open the door, and quickly step on deck (A.1) to remove the foe; one of the cocaine shipments sits on this lower covered deck.
You’re now on the lowest deck, in the ship’s southeast corner. Move north with the large green container to your left, using it as cover when you peer left around the corner (A.2). Dart back into cover before you’re seen. Check the tops of the containers for any foes, and quickly execute them. Head back the way you came, moving to the cocaine shipment; pass it while targeting a foe at range who’s near cocaine shipment #3 (southwest). Tag him as you climb the metal stairs.
Step up and out onto the southernmost part of the upper deck. Ensure no guards searching your location were above you before you got here. If there were, slowly peek out, execute, then continue. Park yourself directly behind the two white ballast tanks strapped to the deck (A.3). They offer excellent cover, don’t explode, and allow you great field of view. Flick between NetHack and normal views, and locate the remaining foes on the ship.
Now execute each of them, one at a time, reloading between kills. The sniper on the upper north bridge deck, who you can’t reach, can be sniped from here, too, as well as electrocuted by the junction box at extreme long range. When two or three enemies remain, step out from cover, hunt them down, and slay them in silence. Then destroy all four cocaine shipments any way you like, remotely drive the car out of the container the collectible is hiding behind, grab it, and flee the area.
 RC Jumper in Passing

The RC Jumper is a great choice if you wish to remotely set fire to each cocaine shipment but want Marcus to stay onshore. There are multiple routes, but this one allows quick access to the upper deck (shipment #1) more easily. Take the gangplank (IP 3) to the mid-deck, make a left turn, and scoot into the open container (B.1). Set fire to shipment #2.
Head back out, spin 180 degrees to your right, and jump onto the container via the crates. Then, while facing northeast, accelerate onto the upper deck area (B.2), avoiding the foes searching for you. Boost along the east-west deck passage to shipment #1. Feel free to drop a bomb close to this shipment and detonate it out of the blast radius, or wait for foes to leave the area so setting fire to it is easier.
Head under the container scaffold along the ship’s western perimeter (B.3), so you’re directly above shipment #3. Hack the car in the open container below the possible foe to the west, making it drive off the container and smash into the shipment. However, don’t watch this happen or you’ll be caught in the blast; instead, boost down the metal stairs (B.4) to the last shipment and set it ablaze.
YourBoySerge Gives a Shafting

Steal a nearby truck, park it by the stack of cargo containers to the east of the ship, climb on top of these containers, and use your longest ranged sniper rifle (YourBoySerge) to demoralize and defeat any foes you see. You can snipe two of the shipments from extreme range, too. Then board the ship via the gangplank and prowl for survivors, or implement a previous plan for finishing up.
Exit Paths
When you need to leave the cargo area after a successful cocaine explosion, pick a vehicle on the docks, return to the vehicle you chose to drive here in, or jump off the ship’s west side (or the south of the harbor). Climb into a motorboat and flee. The usual avoidance tactics apply here. Once you’ve fled the docks, you have another rendezvous to make.