
Watch Dogs 2 Guide Online Operations San Francisco
Restricted Area 18. San Bruno Radio Tower (ULC)
Available Operations
| Operation Type | No. of Objectives | Variations |
|---|---|---|
| Data Breach | 1 | 2 |
| Deliver Vehicle | 1 | 1 |
| Destroy Shipments | 3 | 2 |
| Prisoner Release | 1 | 1 |
| Steal Encrypted Drives | 1 | 1 |
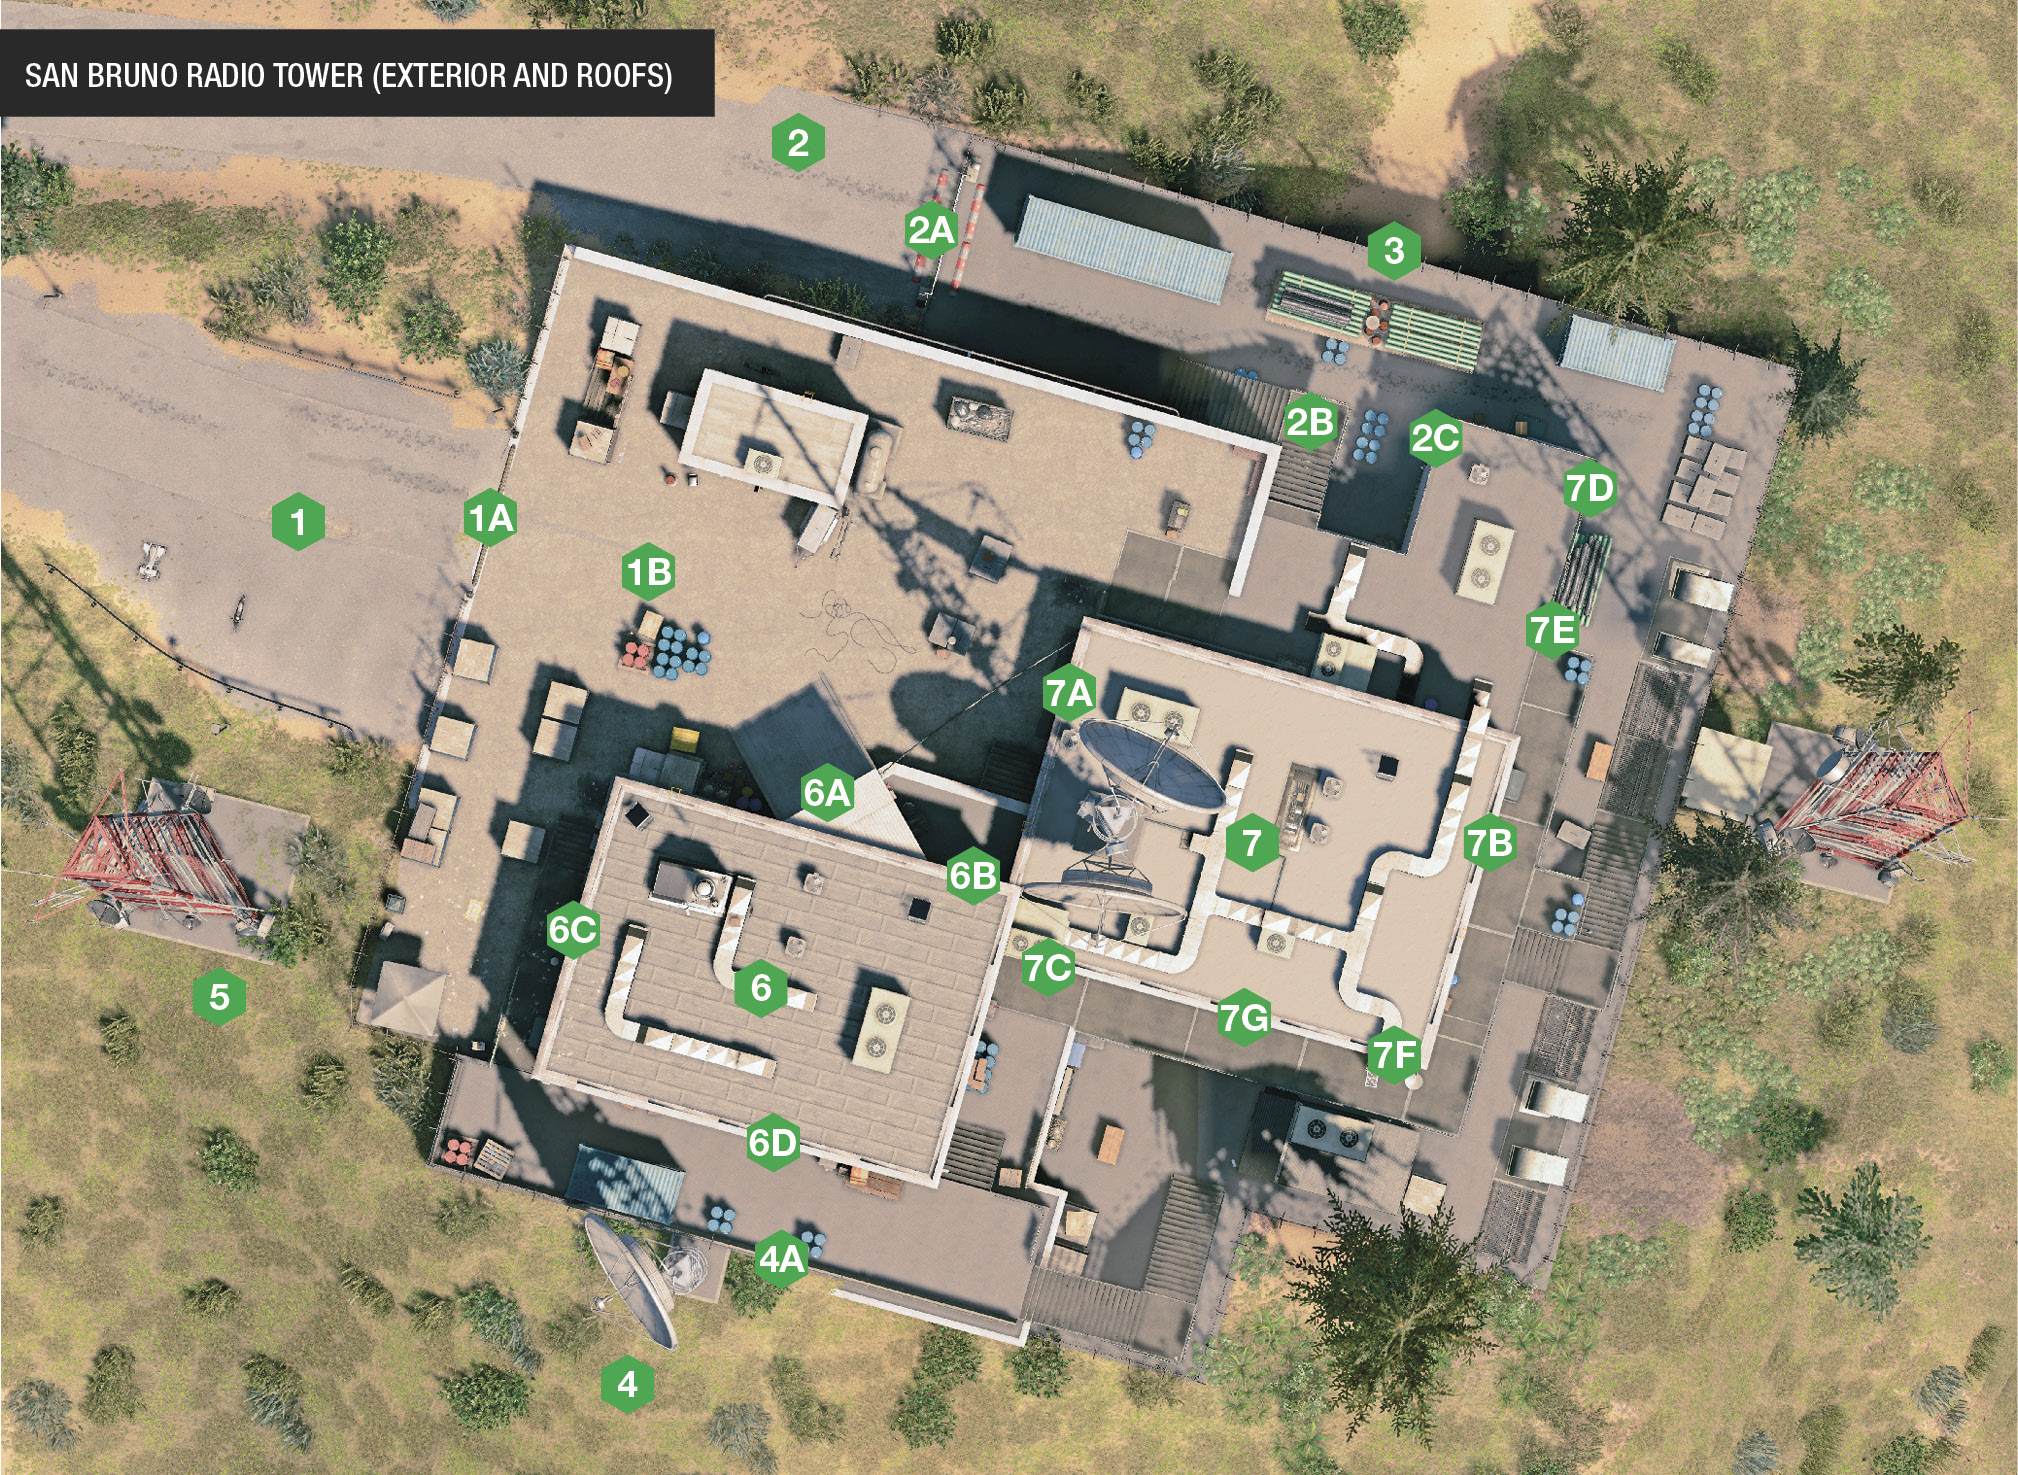
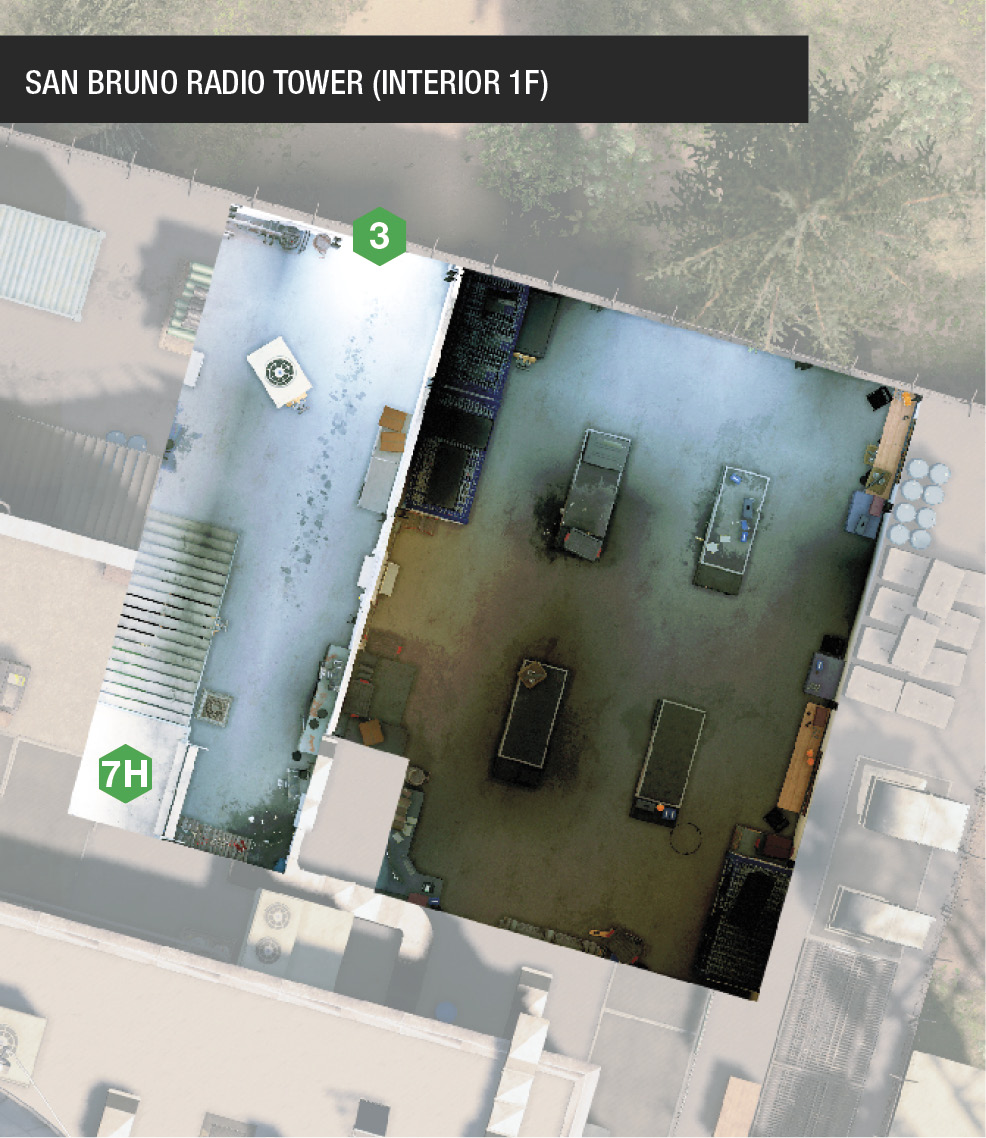
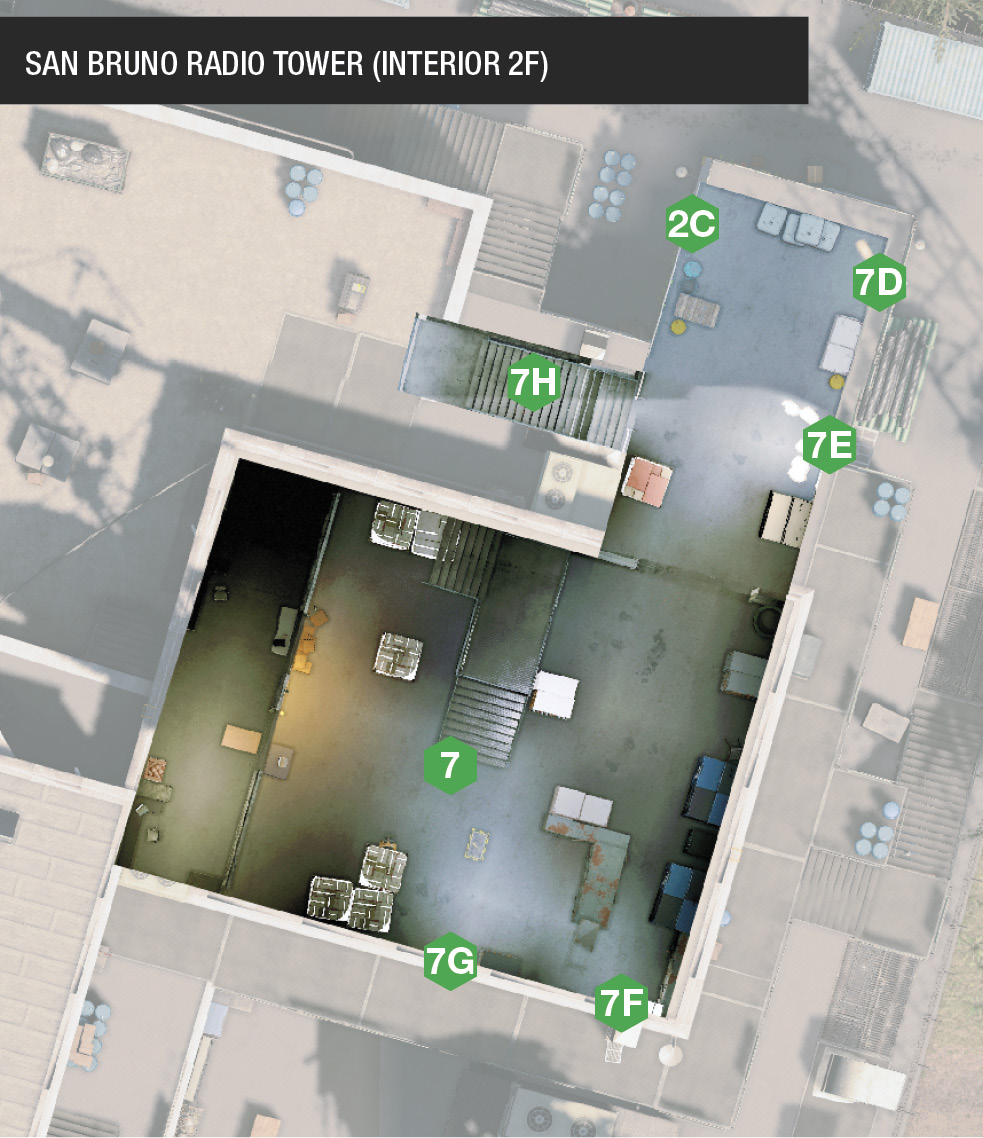
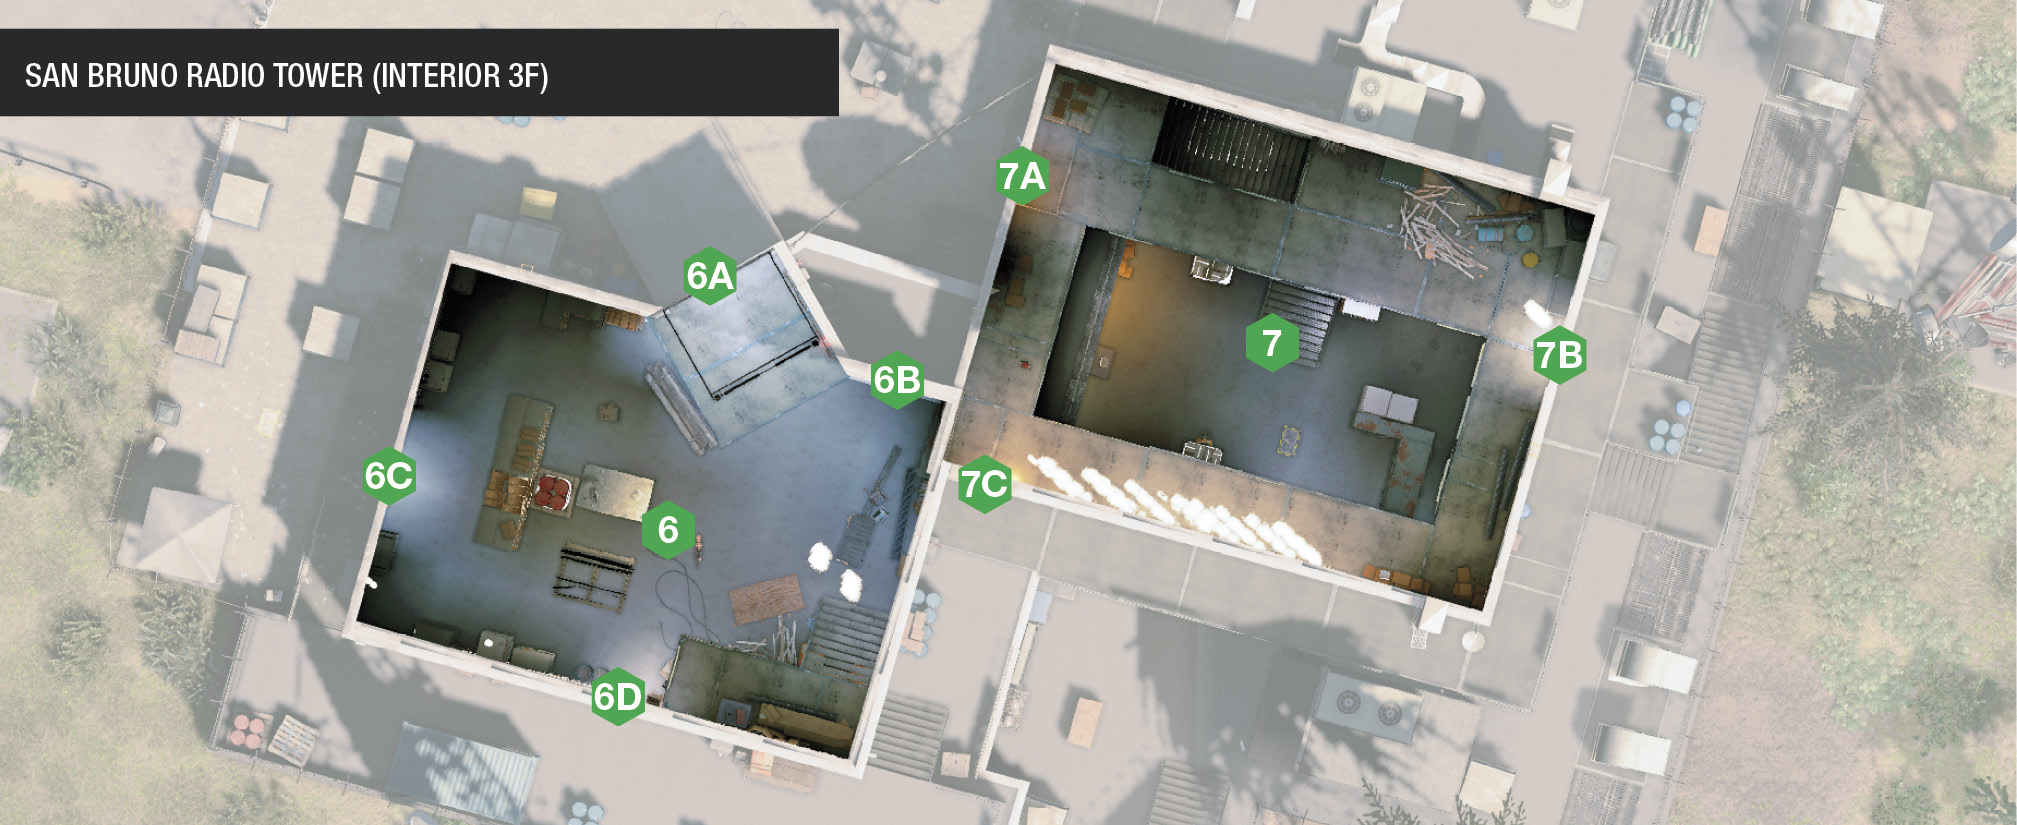
Structures and Infiltration PointsThis Blume radio facility and tower looks imposing, and there’s a sizable interior to infiltrate, but as long as you’re familiar with the entry points and can create a decent distraction while your partner heads to an objective unscathed, this can be a very satisfying operation to complete.
The main entrance to the facility features the main barrier (1A) and a yard (1B), usually with numerous foes. Naturally, this isn’t the wisest infiltration point, and should only be accessed if you’re attempting a vehicular suicidal run, or you’re strafing the area with grenades while moving to a different spot. Don’t forget the building farther west (not shown on the guide map), which offers height and sniping opportunities. 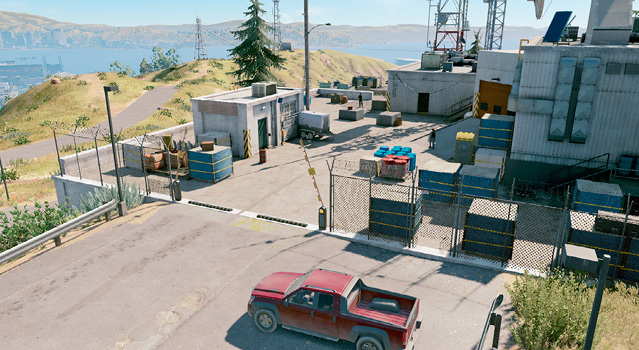
Along the north side of the compound is a hackable gate (2A), and metal steps (2B) up to the main outside yard. This is a great way to reach the lower interior storage areas and the yard unimpeded. There is a security door near some blue barrels (2C), below and east of the stairs. This leads almost directly into the two-story breach room, and is the optimal path to get there. 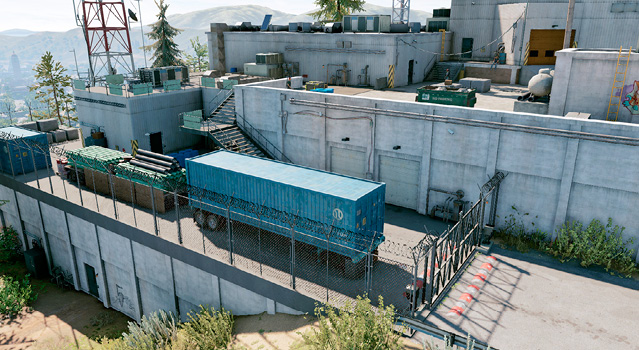
On the lower ground (north perimeter) is a door leading into the lowest compound storage rooms. It allows access up into the two-story breach room, though it isn’t the most proficient route unless you begin the operation on the grass nearby. 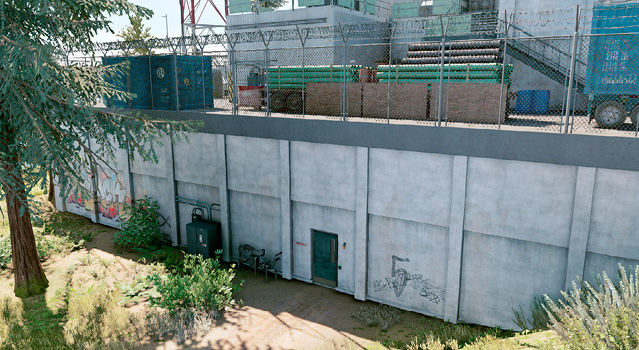
Along the southern perimeter is a large metal support pillar holding up a satellite dish, close to a large open blue container. Much of the east and south perimeter is a high mesh wall you can’t breach, but there’s a gap here (4A), which is handy for skulking around the various entrances into the breach wall room and garage. 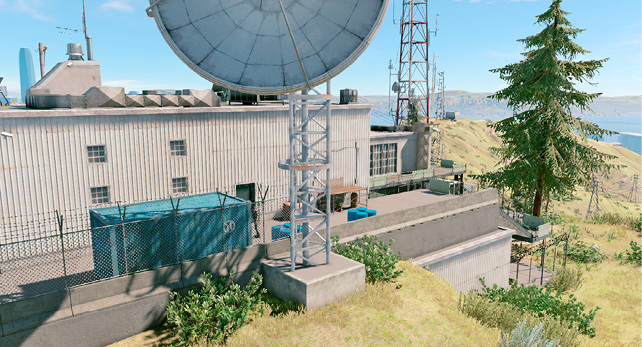
Don’t overlook this opening in the mesh wall, in the southwest corner of this restricted area; it leads to a small cargo-storage exterior area. Enter close to the picnic table, but use the access around to the southern perimeter to reach your goals. 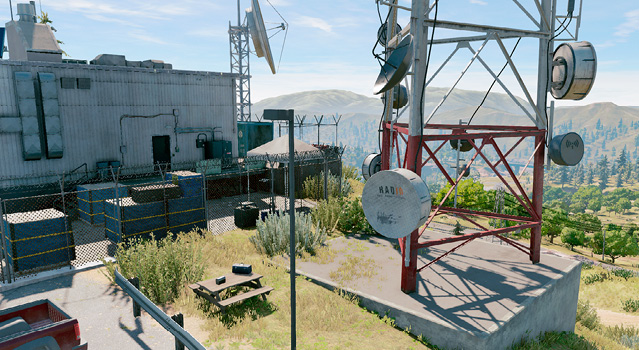
Accessed via the large door in the main yard (6A), the security door near the metal steps (6B), or by the hackable door along the south perimeter (6C) is a large parts garage. It isn’t necessary to enter here unless you’re prowling for foes to defeat, or seeking cover. 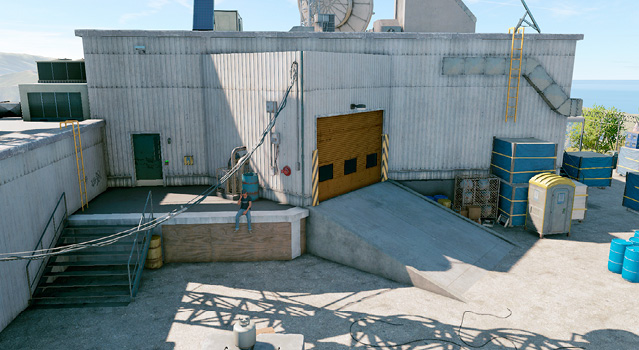
This large storage room in the central-eastern part of the compound features three upper-floor entrances (7A, 7B, 7C); all hackable doors) and five lower-floor entrances (7D, 7E, 7F, 7G, 7H); all but two are hackable doors from outside, and the others are an open window (southeast corner) and a stairwell in a lower interior area]. There’s also a narrow office behind a security door—usually a place where an objective is located. 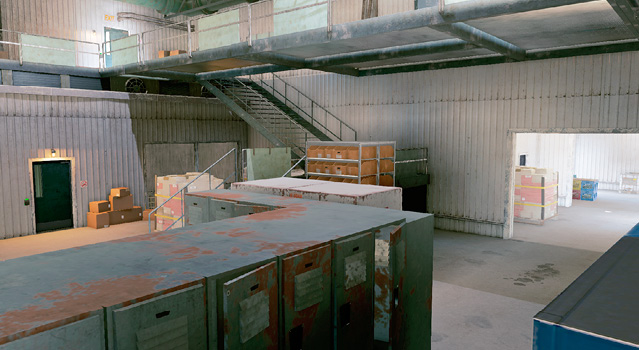
|
 Main Barrier and Yard (West)
 Side Gate and Storage Yard (North)
 Lower Access Door
 South Satellite Dish
 Radio Mast and Picnic Table
 South Garage
 Two-Story Storage Room
Operation Examples
Data Storage (Data Breach Operations): If the data to hack is in the garage, fly the Quadcopter in through the small square open window on the east wall of the garage. Good places to hide during the download include outside the restricted area under the south satellite dish, in the blue container with proximity traps at the garage door and walkway, and on the roof—not the garage roof, as that’s too far from the download radius, but the northeast corner of the garage roof, on the AC units near the central satellite dish on the lower warehouse roof.
Vehicle (Deliver Vehicle Operations): Is the vehicle in the garage? Then have one player distract the guards in the yard and hack the access key, while the second uses Marcus or the RC Jumper to enter the small hut to the north of the barrier entrance where the CCT is (via the door or the ground vent on the east wall between the two concrete blocks). Once that’s unlocked, one or both players should assault the garage, neutralizing the guards inside before driving the vehicle out of the western exit (it’s wise to use the doors rather than the garage door, as there are a motion detector and guards just inside the garage door area). Note that there are doors you can enter using the access key first, so fly the Quadcopter around to gather the key, then have one player remove all hostiles from inside the garage; this can be done while the CCT is being hacked.
Shipments (Destroy Shipments Operations): Three shipments to destroy? Then split your objectives; have one player tackle the one in the metal cargo container by the south satellite dish first, followed by the vehicle in the main yard (both are done using bombs and the Quadcopter). Meanwhile, the second player should move around to the southeast open window, drop in an RC Jumper, and drive it up the two-story storage room to the CCT on the gantry to hack the office door leading to the third shipment.
Prisoner (Prisoner Release Operations): Is the prisoner in the small office inside the two-story storage room? Then an assault from the west, into the well-guarded parking lot yard, isn’t wise. Instead, access the hackable doors at the same level as the storage room—to the southeast (into the room, or use the open window after deactivating the motion detector), or the one to the north (lower access door after finding the access key, or the unlocked door by the side gate and storage yard). Enter unseen, then distract and strangle the guards in the room and climb the stairs to the CCT (or use an RC Jumper). Then open the cell door, and leave the way you came.