
Watch Dogs 2 Guide Main Operations Eye For An Eye
5. Operation—A Real Dogfight
Objectives
• Enter Pablo’s underground hideout.
Difficulty
RewardsDedSec Followers: +234,9000 BriefThe Tezcas murdered Horatio, so cut the head off the snake by going after their boss, Pablo the Skinner. Hostiles
Location
|
 Meet DesSec Scout in New Mainland.

 Tezcas Gang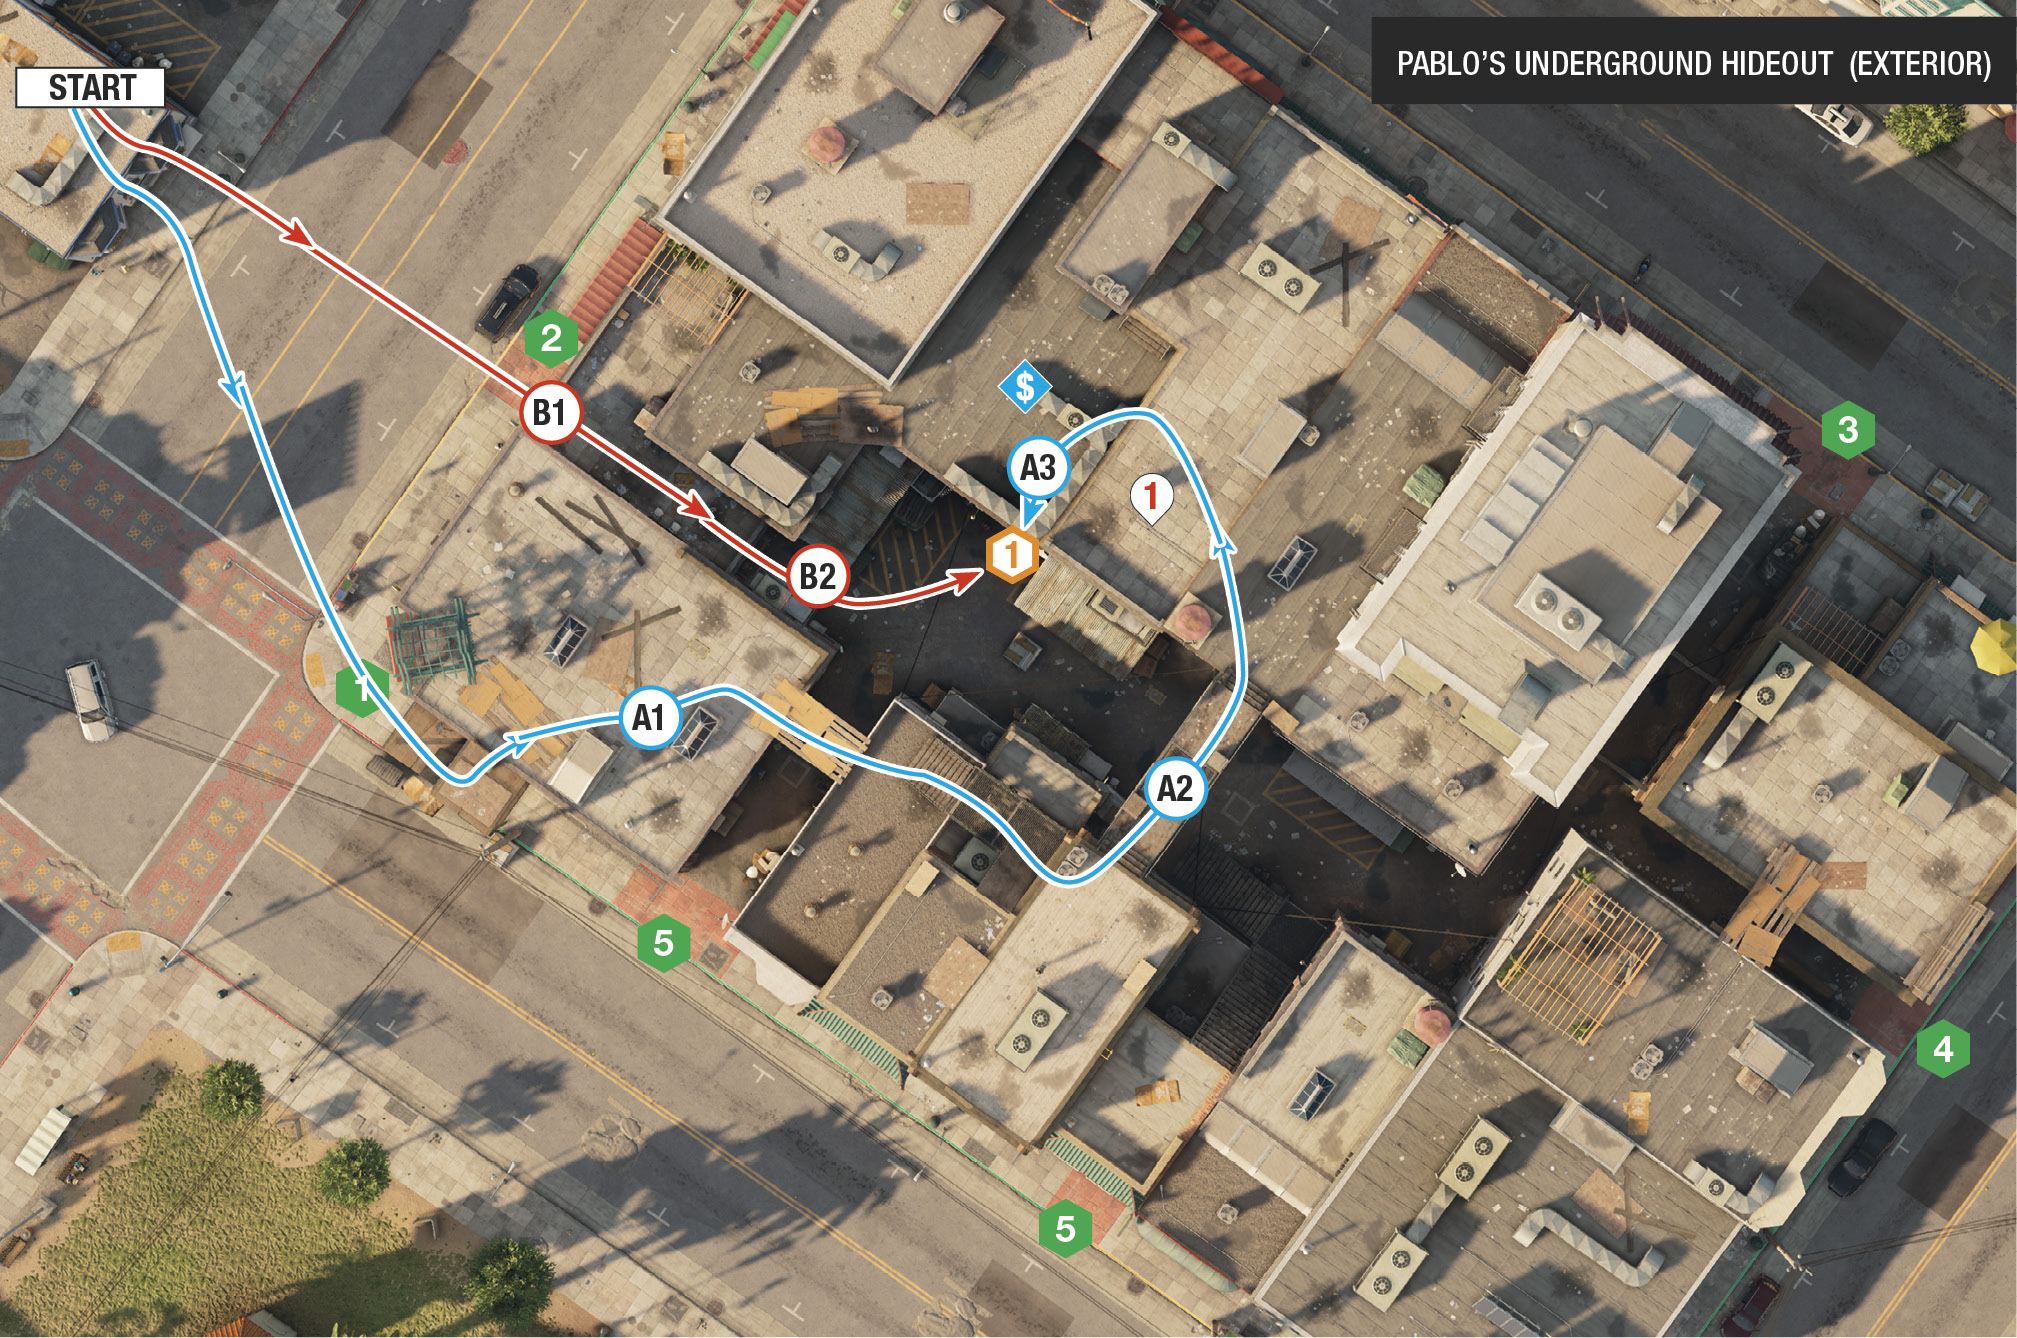
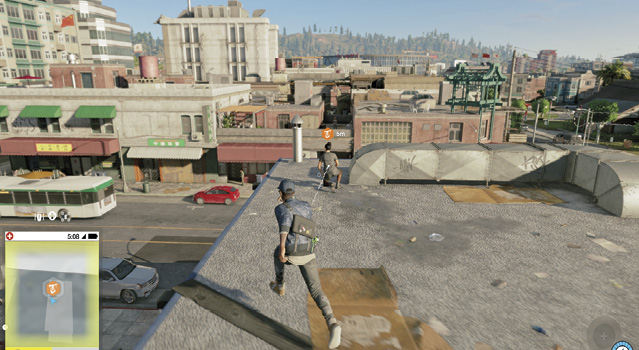
Head to the rooftop of the Victorian store building with the red koi mural on it, climb the lean-to ladder, and rendezvous with your contact, who points out where the last of the Tezcas is hiding out: Time to enter his underground hideout.
Infiltration PointsView the alleyways ahead of you using remote cameras or the Quadcopter. These routes are also helpful to learn as exit points, as you’ll want to leave here in a hurry. Fortunately, with five foes guarding the back kitchens (three on the ground, and two on the roof), you should encounter minimal problems—as long as you scout out the area.
Across from your DedSec friend is a Chinese herb shop. On the corner of the southwest road is scaffolding that allows access onto the roof. This offers quick and safe infiltration upward. 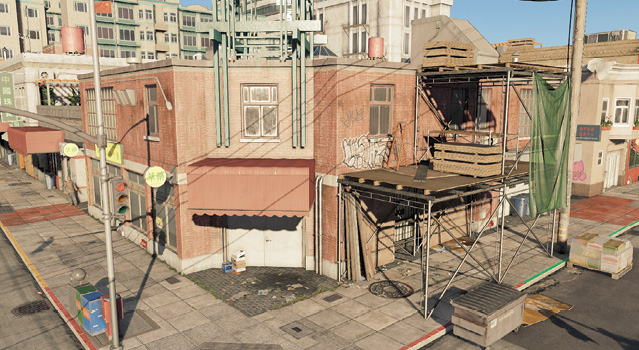
Also across from the DedSec vantage point is the alleyway closest to the kitchen door. The alley is narrow, and there are five ground guards in the alley beyond, making this a dangerous infiltration point—but not if you park a vehicle under the red awning of the store to the left and climb onto the roof from here. 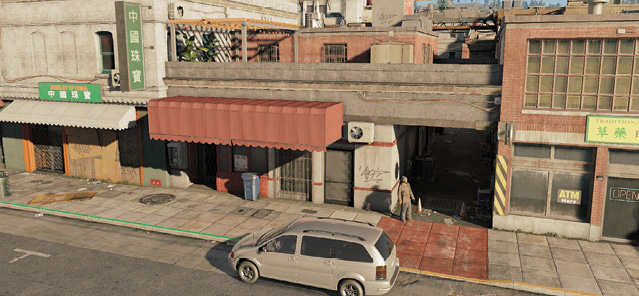
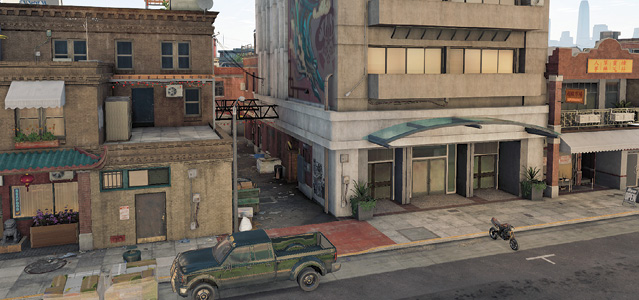
Close to the eastern corner of this restricted area is a large concrete building with a dragon mural on the side and an L-shaped alley into the main Tezcas area. This offers a moderately safe ground-level infiltration (providing you start neutralizing foes as you round the corner). A better plan, however, is to climb the Dumpster on the left side of the alley entrance, and get onto the roof, where you have good access everywhere and the height advantage.
Use as an optional entrance or exit; it offers good protection as you flee when leaving this area. 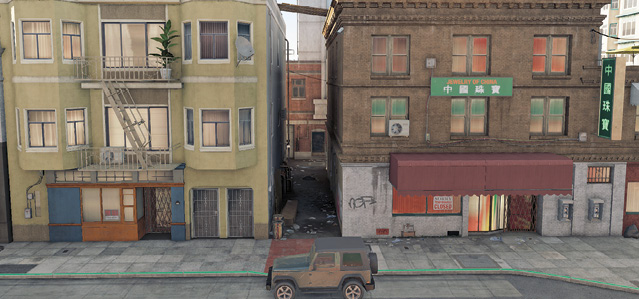
This alley access allows you to see the kitchen door you need to hack; it’s directly across from this entrance. However, the gang-bangers in the alley usually cut you down if you try to sprint to this door. 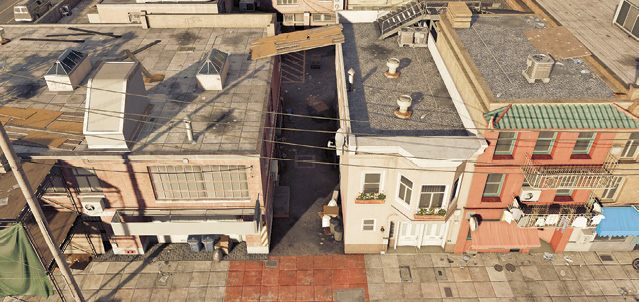
|
 Herb Shop Scaffold (West):
 Alley and Jewelry Shop (Northwest):
 Dragon Mural Alley (Northeast):
 Narrow Alley (Southeast):
 Straight Shot Alley (Southwest):
|
 POIs and Objective Points
 Roof and Collectible
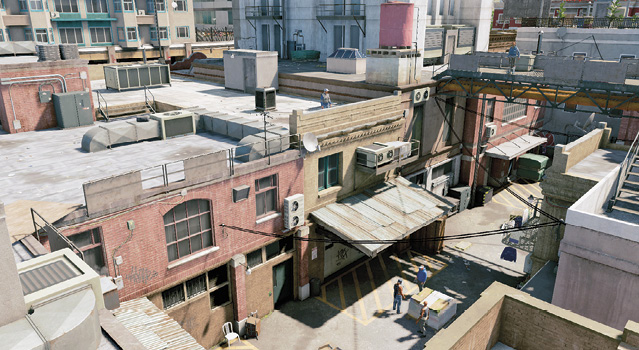
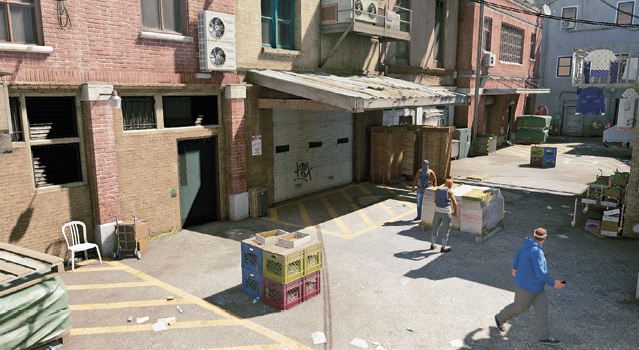
 Kitchen Door
Paths To Completion
 The Strangling Loop

A silent rooftop takedown plan? Let’s do this! Climb onto the roof from IP 1 or 2 (A.1), working counterclockwise around to the sniper patrolling the bridge to the east (A.2); then cross the bridge and continue to the foe on the roof above the kitchen door (A.3). Strangle both. The three foes on the ground shouldn’t know what’s going on.
Now you can quietly tase (and optionally execute) each Tezcas on the ground without them alerting anyone. Then drop off the roof directly above the kitchen door, under the TV aerial (because that’s cooler than using the stairs) and enter the kitchens.
 Tezcas Dupe

Interested in entering the kitchens without interacting with any foe? Thought not, but we’re including this plan anyway! Enter via IP 2 (B.1), after you launch your Quadcopter (or Jumper) and spark one of the vault transformers so the foes turn and look away from you. Move to the metal lean-to next to the kitchen (B.2), and distract any nearby foes. Open the kitchen door first, then hop over the lean-to fence, and enter just before you’re properly spotted.
Having a Snoop

Launch your Quadcopter into the skies, and introduce both snipers to a bomb of your choosing. Then proximity trap the crap out of the alley, following up with more carpet bombing until no one is left standing. Do this quickly before ctOS shuts you down.
Alley-Oops

A height advantage helps if you’re trying to remove threats with violence. Follow Path A, but instead of throttling foes, mow them down. Be aware this could lead to a protracted firefight with the police, though.
THE OPERATION CONTINUES: INTO THE KITCHENS
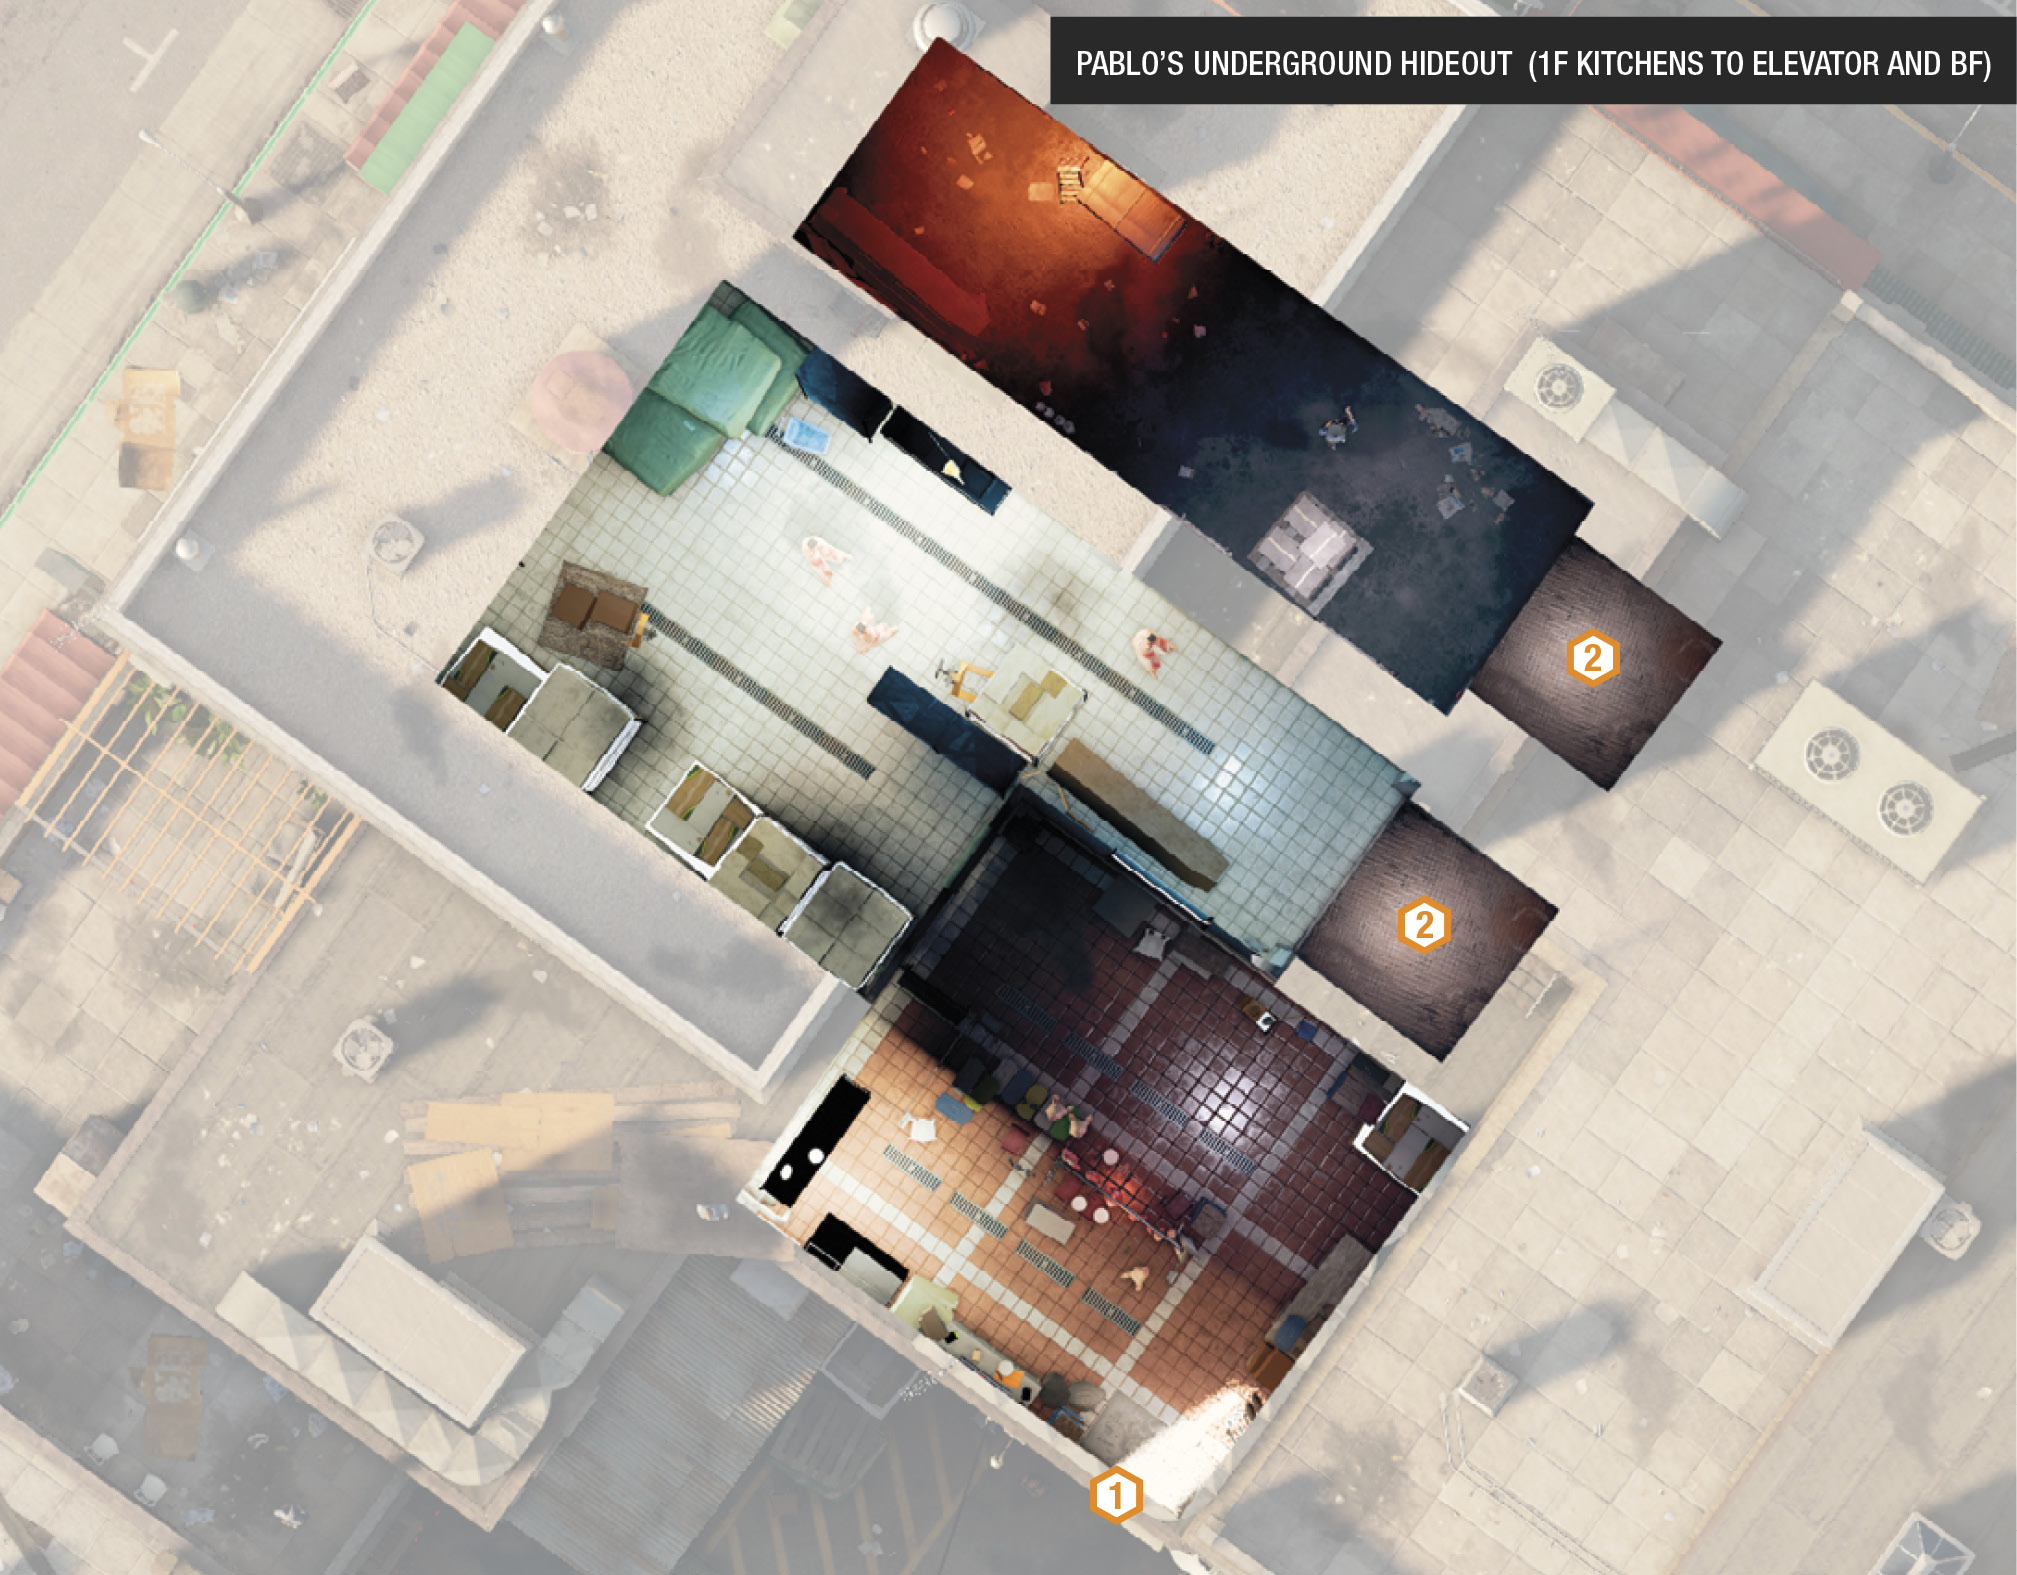
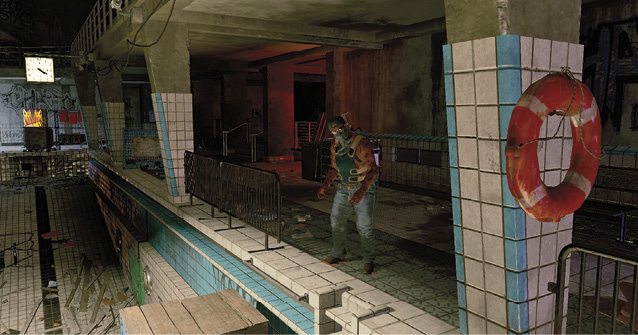
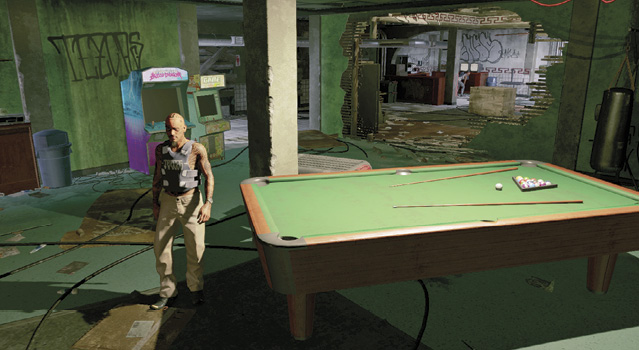
Work your way through the kitchens to the elevator and down to an underground hideout featuring a swimming pool where Pablo’s sickening dogfights are being held. In the mechanical room you’re adjacent to, you can release the dog by opening the cell door, and then watch it savage the Tezcas guard. You’ll need to neutralize the dog afterward. Or, open the door and drop the guard. Now head to the locked double doors.
- If the enemy fires any gunshots, Pablo and his dogfighting crew are alerted and will actively search for you.
- If the dog savages the guard, and you remove the mutt with melee attacks, Pablo isn’t aware of your infiltration.
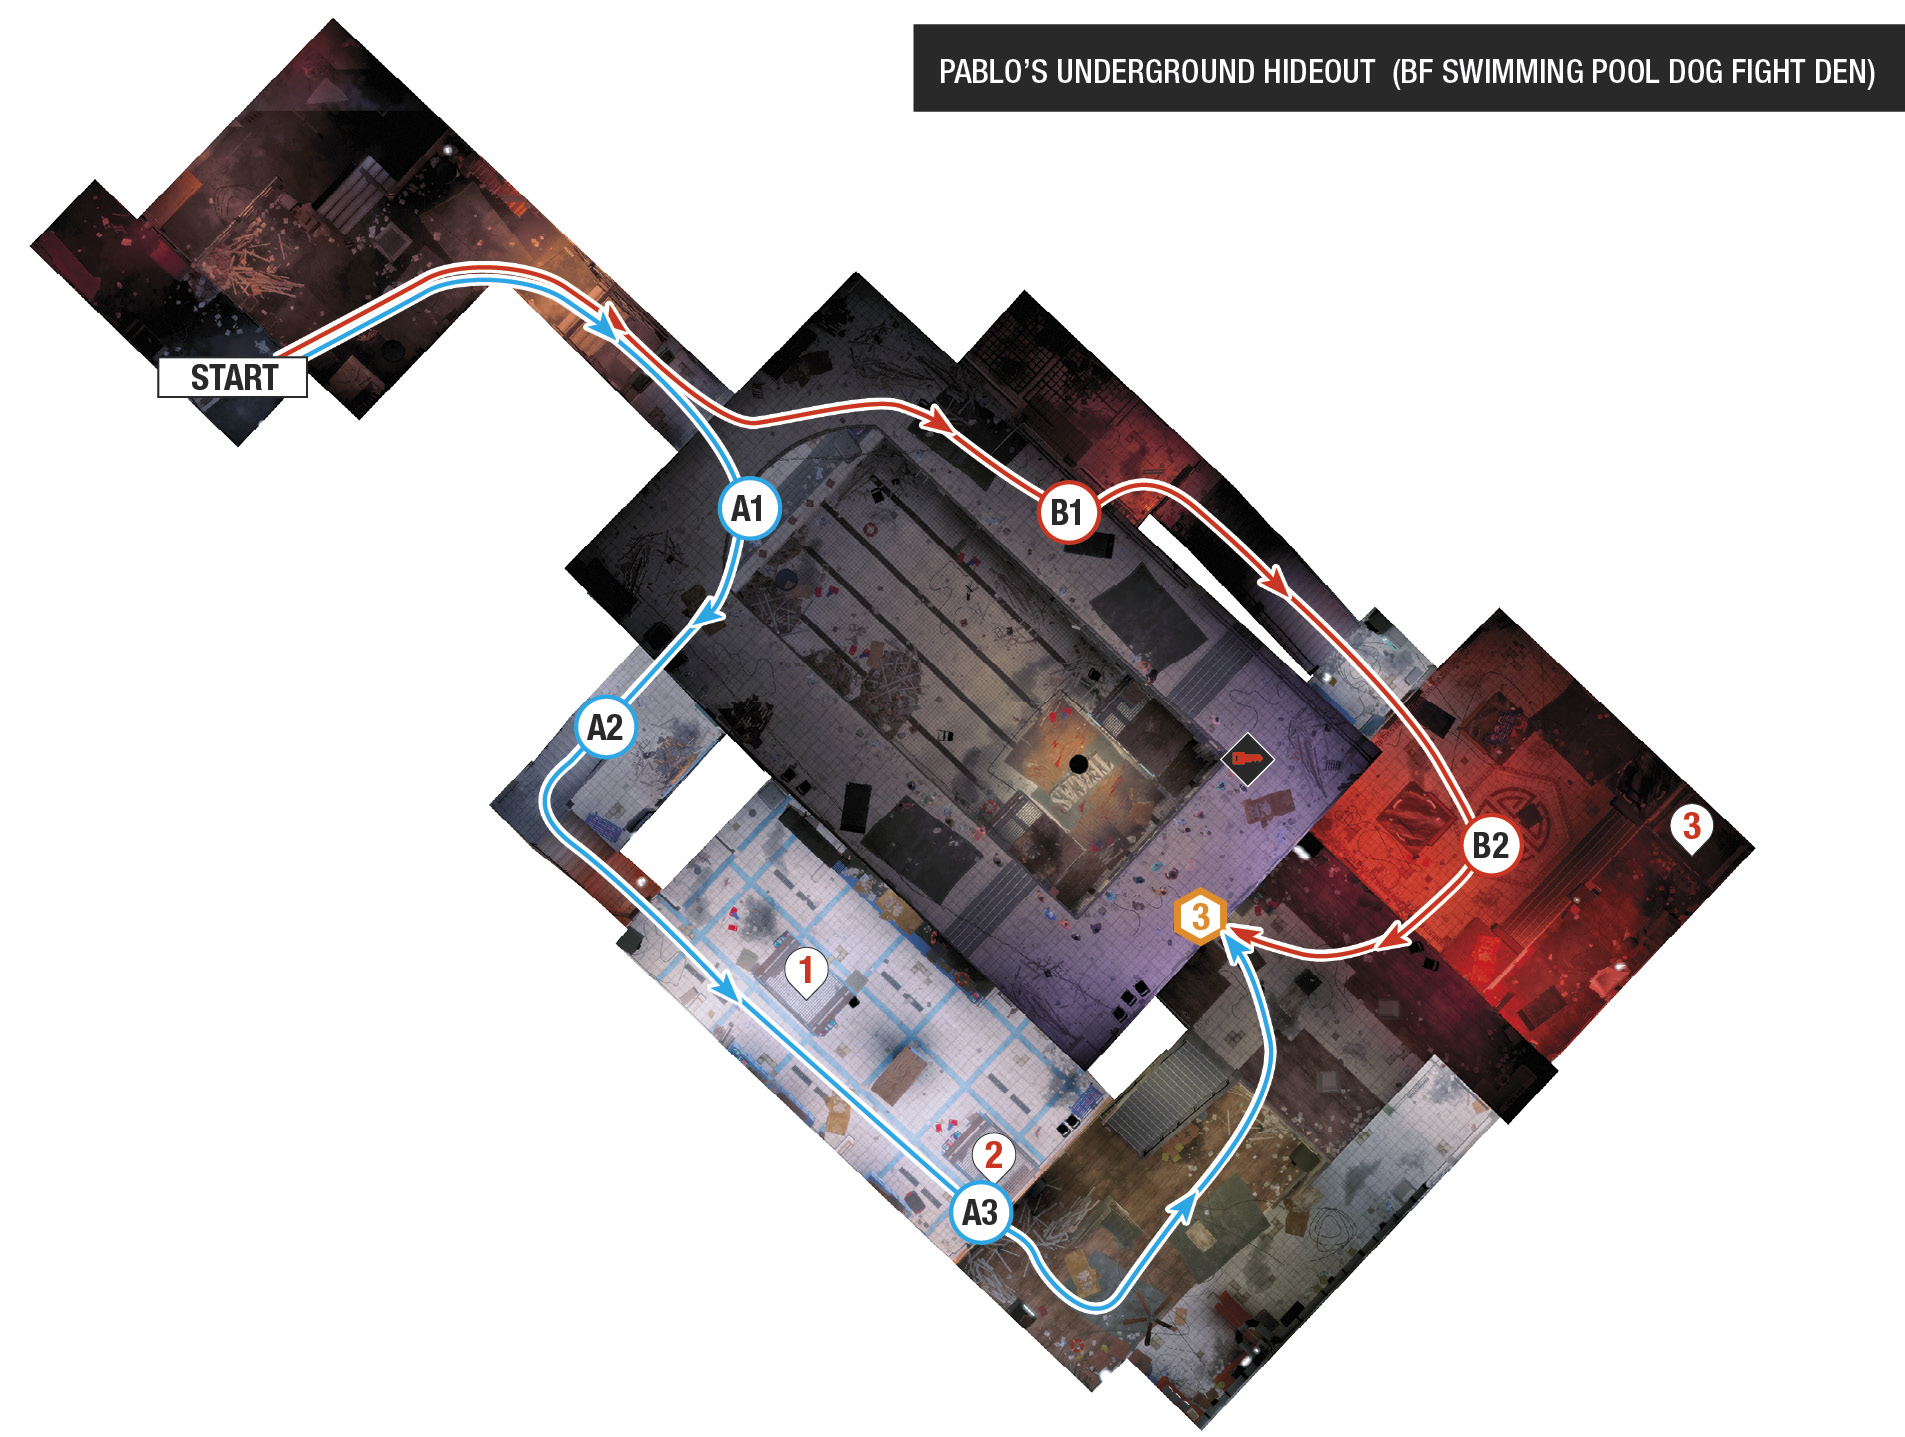
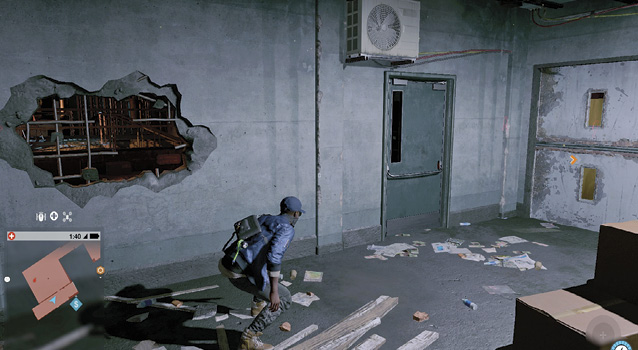
Pablo either introduces the crowd to his dogfight or starts to patrol the swimming pool and back rooms of his hideout with his crew. As this is occurring, use NetHack and move from camera to camera until you have a direct view of the Tezcas foe carrying the access key. At this point, you can start to bring the fight to Pablo! There’s only one Infiltration Point: through these doors!
|
 Access Key (Guard)
 Pablo the Skinner

 Dog Pens
Paths To Completion
Who Let the Dogs Out?

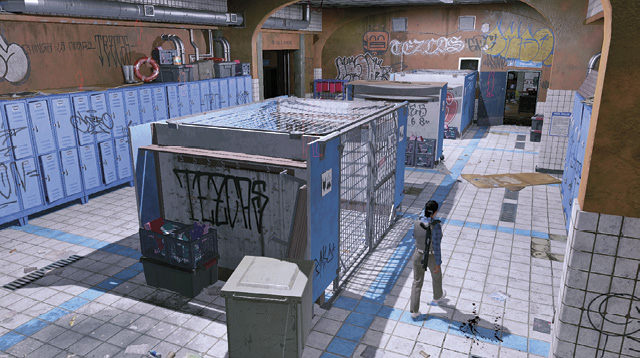
Whether foes are actively searching for you or not, cycle through the cameras and release the dogs—two in the side changing rooms (only one can be accessed via remote camera) and one in the rear. These can wreak havoc while you remain in the mechanical room, behind the double doors. Then choose any other path to completion.
 A Silent Rout

A silent set of takedowns is possible if you’re listening to Pablo’s dogfighting speech. After the speech finishes, cycle through the remote cameras and prep proximity traps in the back room, just in case you need an extra takedown later. When the speech ends, wait for the foe with the access key to come into view, hack him, open the double doors, and move to cover directly ahead of you, behind the milk crates (A.1). Wait until there are two foes in the swimming pool area, one on each side of the dogfight.
Tase the foe on the right, then tase the access key guard on the left. Finish them with suppressed fire. Move right, to the tiled stairwell (A.2). Remove another threat with strangulation. Head down the stairs, ignoring the dog pens, and silently take down another guard in this side area. This should leave two more guards and Pablo in the back room.
Wait at the doorway (A.3), and look for an opportunity to tase a guard when the foes separate. Then continue the silent operation of removing foes until only Pablo is left. Deal with him as you wish, then retrace your steps to the elevator.
 Let There Be No Doubt

Want a massacre? Make gunfire noise when you’re removing the guard with the dog in the mechanical room, then quickly switch to the remote cameras to hack the access key and arm yourself with something meaty, like the grenade launcher. Head out into the swimming pool area and step left to cover (B.1), popping off foes with projectiles as you go. Take the “exit” door and go down the stairs into Pablo’s back room (B.2). Don’t stop shooting (and lobbing grenades) until everyone’s dead.
Remote Clout

When you hack the access key, release one of your drones:
The RC Jumper can head past the milk crates to the vent in the right wall of the swimming pool room. It then goes into a duct that leads to the changing rooms, where it can hack the other dog door, leap atop the far cage, and head through an open duct into the back room. Use this technique to ignore all guards and head straight for Pablo. Then distract him with a phone call, drop a bomb, and detonate it. See ya!
The Quadcopter can fly to any of Pablo’s thugs, distract them, and drop bombs. Back up before detonation or the Quadcopter may be struck. You can also use this drone or the Jumper to drop proximity trap bombs along the routes the guards take throughout the rooms, whittling down Pablo’s goons until only he remains. Then jog in and finish him in whatever manner you wish.
THE OPERATION CONCLUDES: ESCAPE
When you reach the kitchen, you have a single foe to face at the exit into the alley area. You can shoot him, tase him, distract and then strangle him, or wait for him to turn around and head out the door and strangle him, or sneak around him.
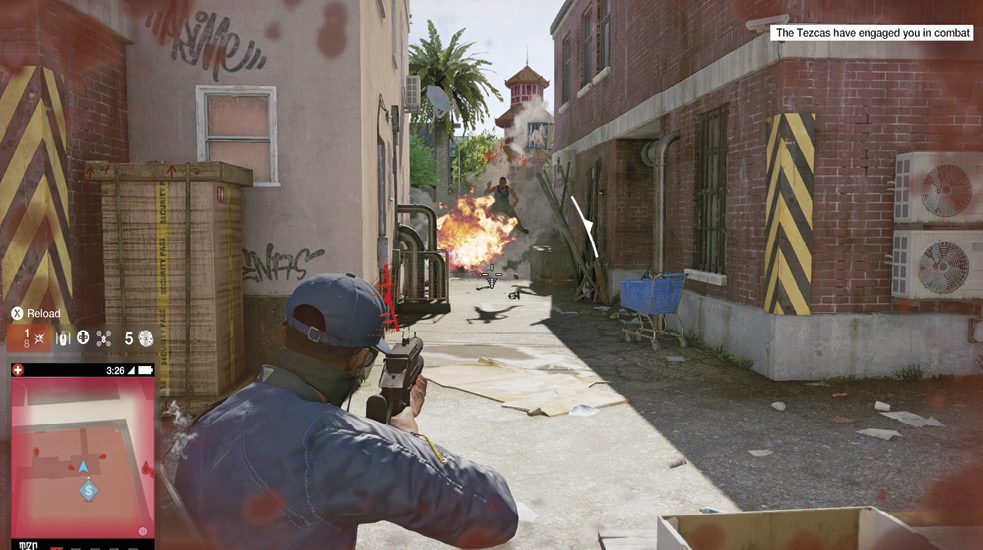
At this point, there are four Tezcas on foot. If none spot you, no additional foes usually show up, so feel free to use stealth and bring each one down within the escape radius (on your minimap). Or, simply flee via any exit alley. Obtain a vehicle with haste and drive it out of the zone. After shaking off any pursuers, there’s time for quiet reflection. The operation then concludes.