
Watch Dogs 2 Guide Main Operations HAUM Sweet HAUM
5. Operation—Swimming Upstream
Objectives
Difficulty
RewardsDedSec Followers: +30,000 BriefInvestigate the concept of “Smart Homes as a Service.” Laugh. Hostiles
Location
|
 Locate the HAUM 2.0 signal source

 Umeni Security Corps
 HAUM Data Center, northeast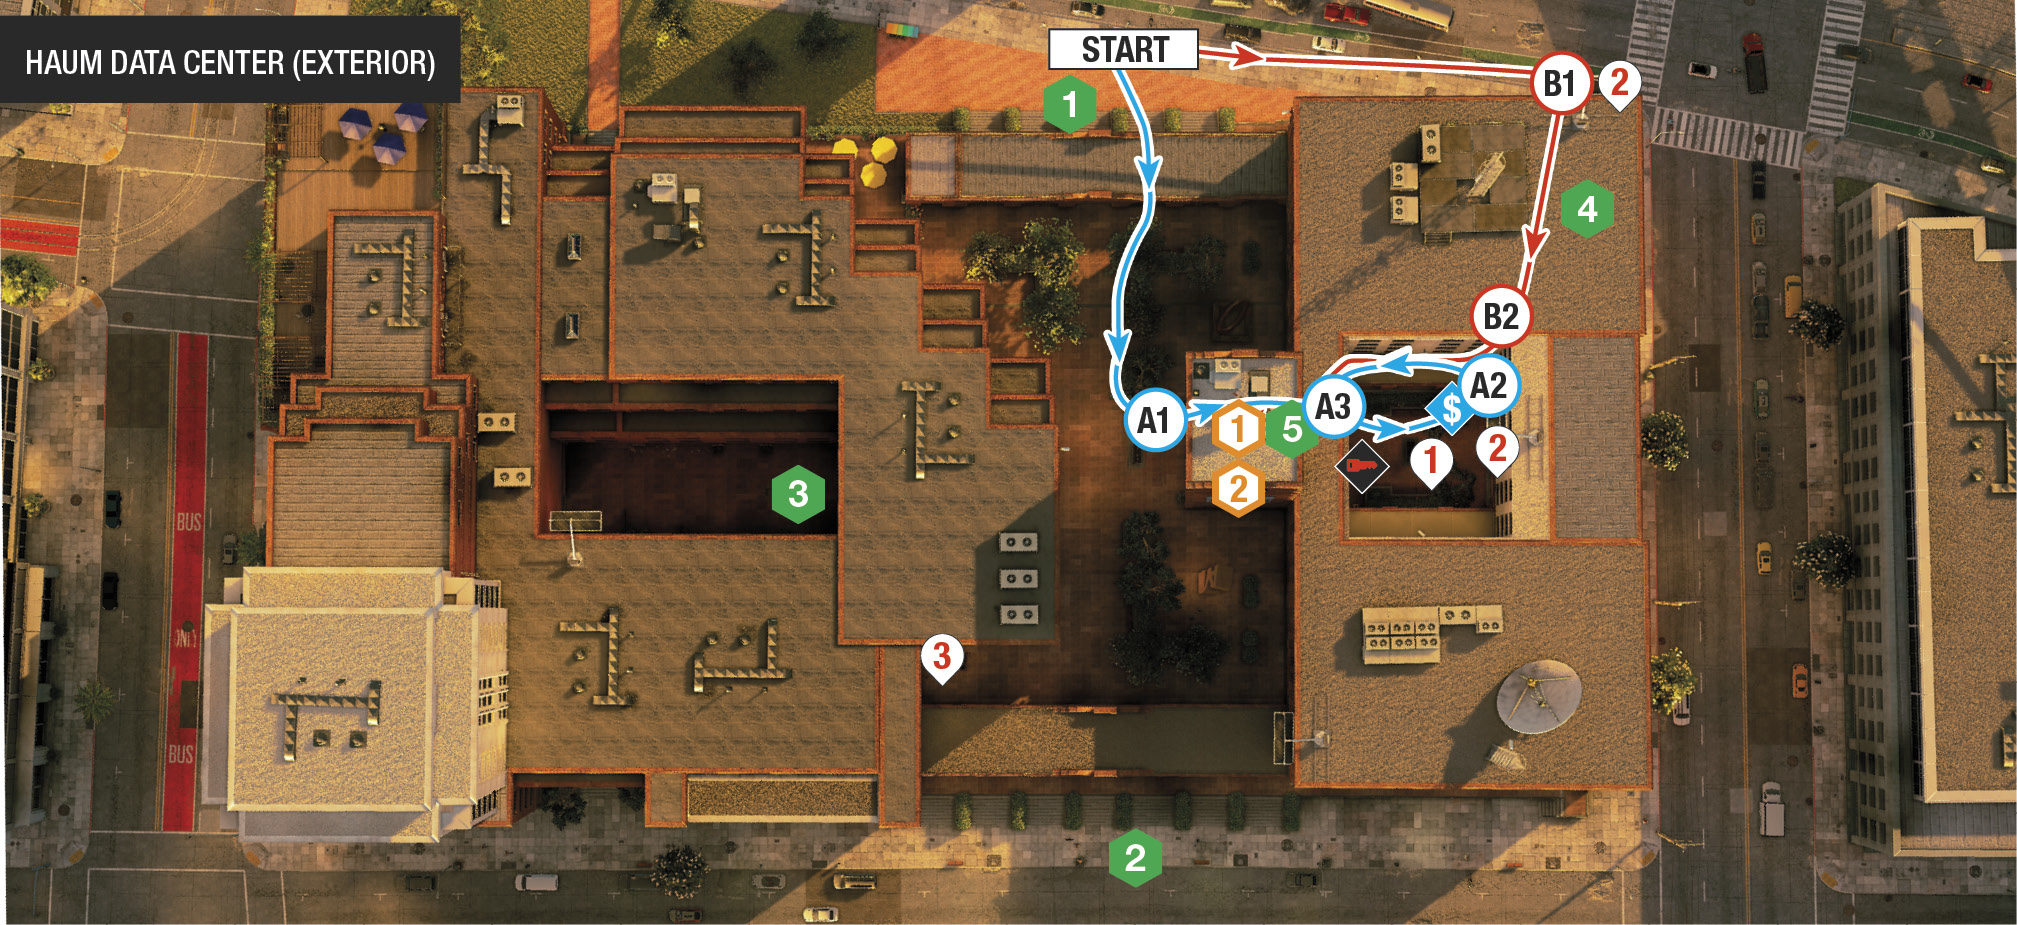
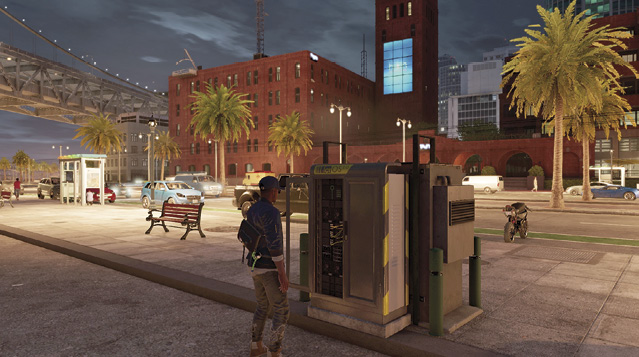
Head to the HAUM Data Center, accessing a server box across the street (as shown). Dive into their system and see what you can find.
Infiltration PointsThe Data Center is an impressive and imposing brick building with a central tower, below which is the main pedestrian entrance. However, don’t take the usual route in here if you can help it:
Hop over the fence or enter via the brick archways, into the main courtyard from the north or northeast side. 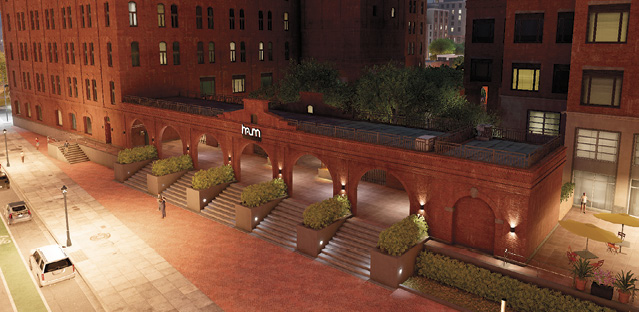
Jog around the building, and enter via an identical brick archway entrance on the southwest side. 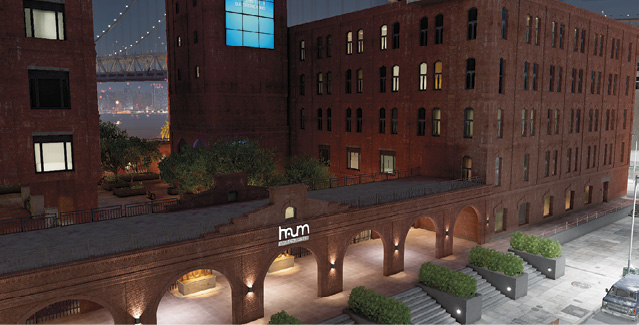
Head north, then enter the interior plaza to the northwest, heading southeast. This offers a direct view of the main facility entrance. 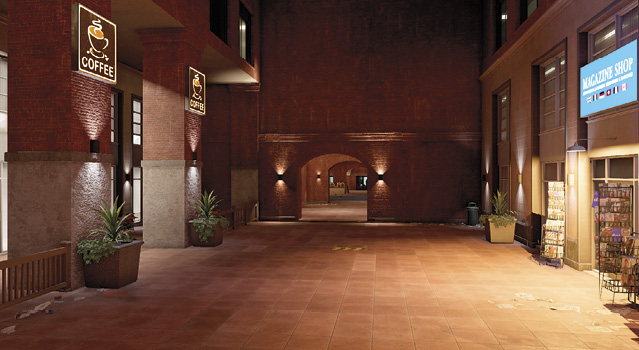
Summon a window-washer crane on the building’s exterior eastern corner, riding it up to the roof. 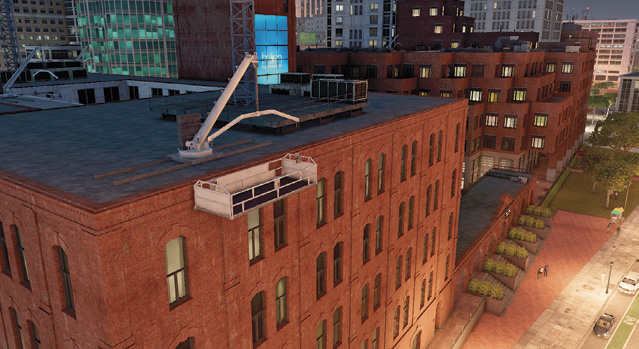
There’s a single entry point into the data center control room, on the second floor with two locked doors and a vent gate. This is where you must first head to unlock the security router. 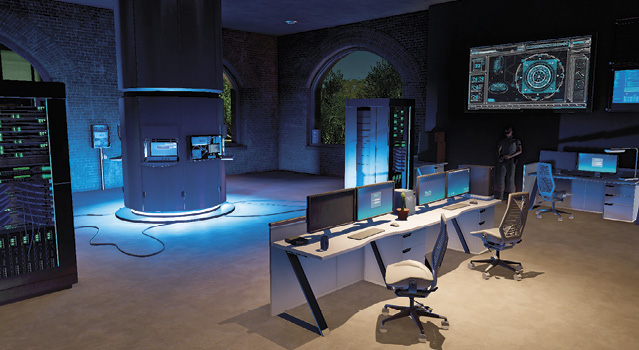 |
 Harborside:
 Street Side:
 Plaza:
 Roof:
Roof: Control Room:
|
 POIs and Objective Points
 Interior Courtyard and Collectible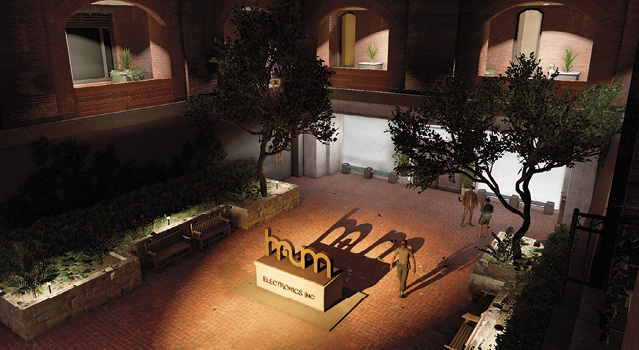

 Window-Washer Lifts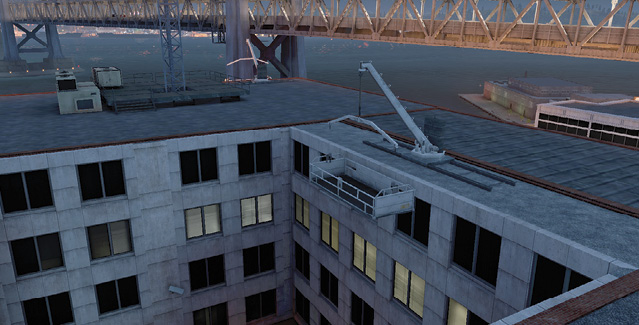
 Scissor Lift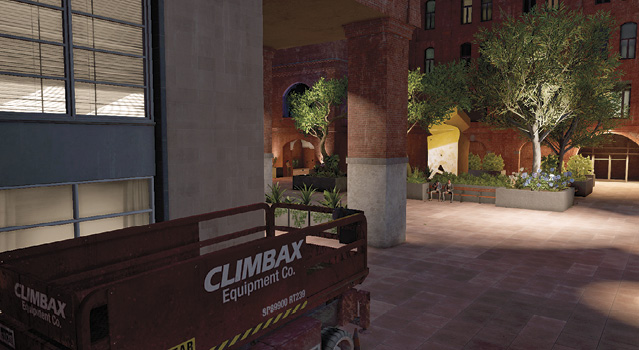
 Access Key (Guard)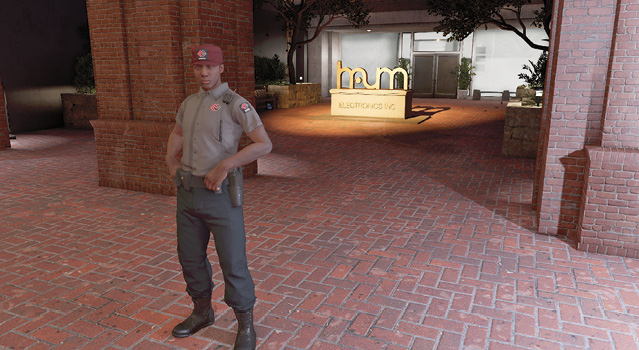
 Security Router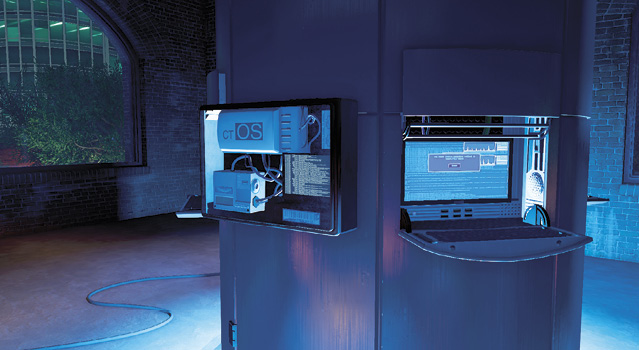
 Server Room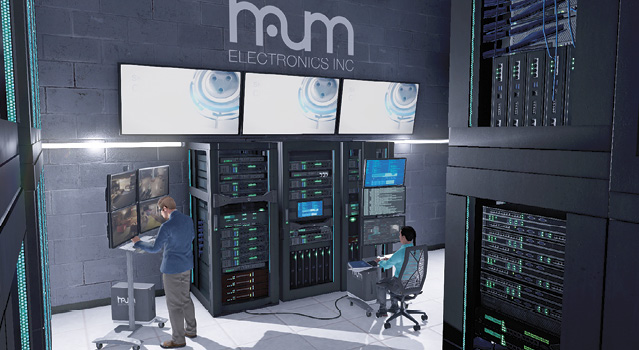
Paths to Completion
There are easy methods to complete this and more difficult ways if you’re wanting to be thorough and gather the collectible. Remember, it’s worth using drones only after you remain outside the restricted area before launching them; that way you won’t be caught by patrolling guards halfway through your remote infiltration.
Out of the Fray

You can stay outside the building’s perimeter, throw your Quadcopter into the air, and pilot it to any of the second-floor data center windows. Ignore the guard with the access key elsewhere in the area; simply target and hack the security router using the Quadcopter. Objective complete!
Now use the Quadcopter to solve the Network Bypass; then access each of the six servers. When you finally need to step into the download radius, simply move quietly through IP 1, shut down the robot with a swift tasering, and hide at the base of the “circle and square” modern art sculpture (A.1) for the duration of the download.
Remote Control Leeway

Using the RC Jumper is a little more involved. Drive it up the steps, dodging the guards and motion detector (or hacking them) at the main entrance (A.1), optionally opening the vent gate to head into the interior courtyard. At this point, use NetHack to find and hack the access key from the guard if you wish. Jump onto one of the side planters near the collectible. Then jump up to the brick balcony (A.2); you’ll just make it! Trundle to the two locked doors to the control room (A.3), hack the gate vent between them, and drive into the control room to the objective. Use the “Out of the Fray” path for the remaining objective (the Network Bypass).
Up, Up, and Away

Employ the same RC Jumper maneuvers, but with a variation in route: Summon the window-washer cradle (eastern exterior corner). Drive the Jumper onto the cradle (B.1), then raise it to the roof. Hop the Jumper off and onto the roof. Then drop down onto the roof above the brick balcony (B.2). Drive so you’re diagonally across from the open archway near the two locked control room doors, and leap across and down. Then enter the control room usingPath B. You can also employ this route on foot.
Keeping Threats at Bay

This plan removes all threats and gathers the collectible: Enter the main courtyard, and neutralize the foes in front of the main entrance subduing the two guards in the area. You may need to follow one of the guard’s patrol paths and drop him. Creep into the interior courtyard (guards may be alert but not hostile). Head to the left (east) corner, gather the collectible by the bench, then climb the ladder. Keep an eye (using NetHack) on the access key guard while you nullify him and the three additional foes in this interior courtyard. With all threats removed, hack the access key, and use it to open the door.
An alternate route is to employ either drone to hack the access key guard remotely, then sneak in using one of the now-hackable side entrances. This allows you to reach the balcony around the courtyard without worrying about being spotted from above.
Scissor Lift Ballet

Another (slightly deranged) way of obtaining the access code is to remove the two guard threats at the ground entrance (Path C), tase both robots, then locate the scissor lift. Hop inside and carefully move it to the side of the control room exterior wall, raising the lift so you can peer into the room. Hack the server and begin the Network Bypass.
Once you’ve accessed the signal source, complete the following Network Bypass. Use the Quadcopter or the remote cameras to more easily see the nodes.
Network Bypass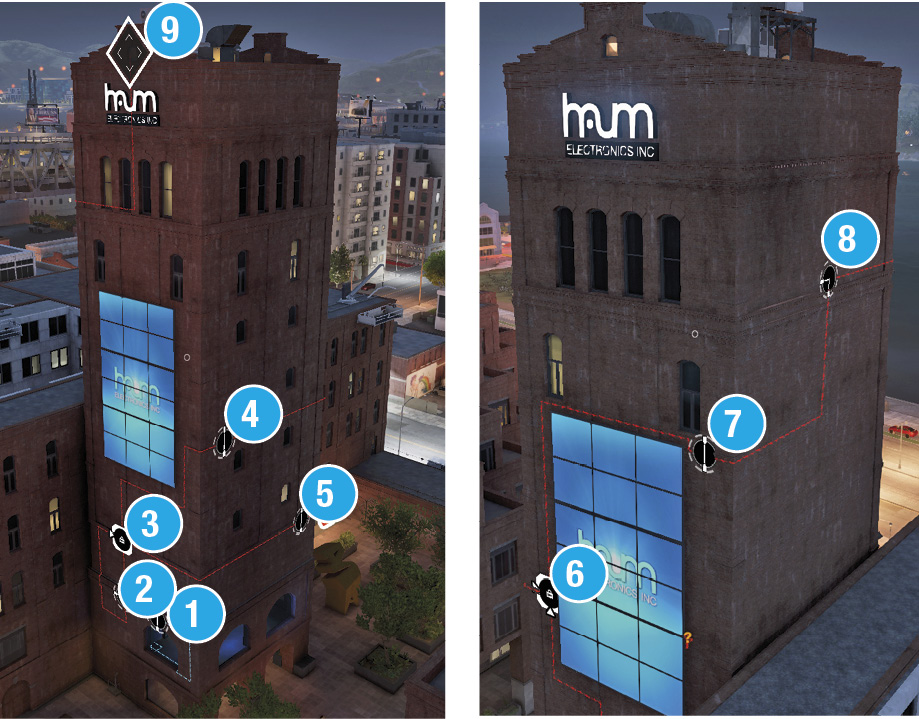 1: Turn x1. 2: Turn x2. 3: Unlock. 4: Turn x1. 5: Turn x1. 6: Unlock. 7: Turn x1. 8: Turn x3. 9: Unlock. Puzzle complete. |
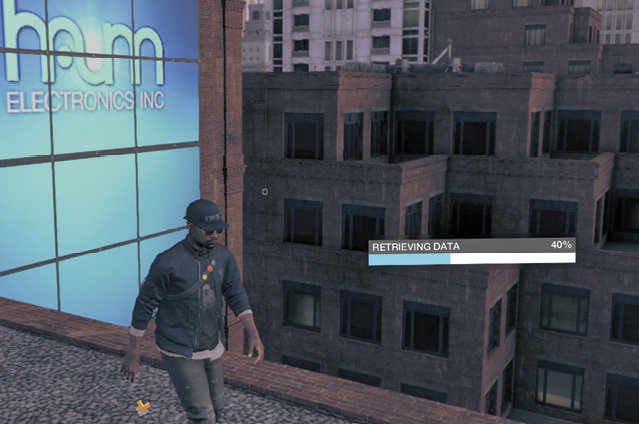
You’re in! Now optionally hack all five secondary servers, cycling through the cameras in the server room so you can see them all, and leave a rude visual present for HAUM. Remember the hackable servers show up yellow in NetHack view. Retrieve the data by standing close to the download radius near the HAUM tower. The safest place is on the roof, though taking cover behind the ground planter walls is another option (checking for enemies as you wait). With the data downloaded, DedSec sifts through it all as you leave the restricted area. This mission concludes.