
Watch Dogs 2 Guide Side Operations $911
5. Operation—Emtezcas
Objectives
Difficulty
RewardsDedSec Followers: +36,000 BriefThe police are swapping vehicles with the Tezcas at the docks. Steal the cargo and deliver it to the internal investigations bureau to provide evidence against the Police Chief. Hostiles
Location
|
 Reach the docks.

 Tezcas Street Gang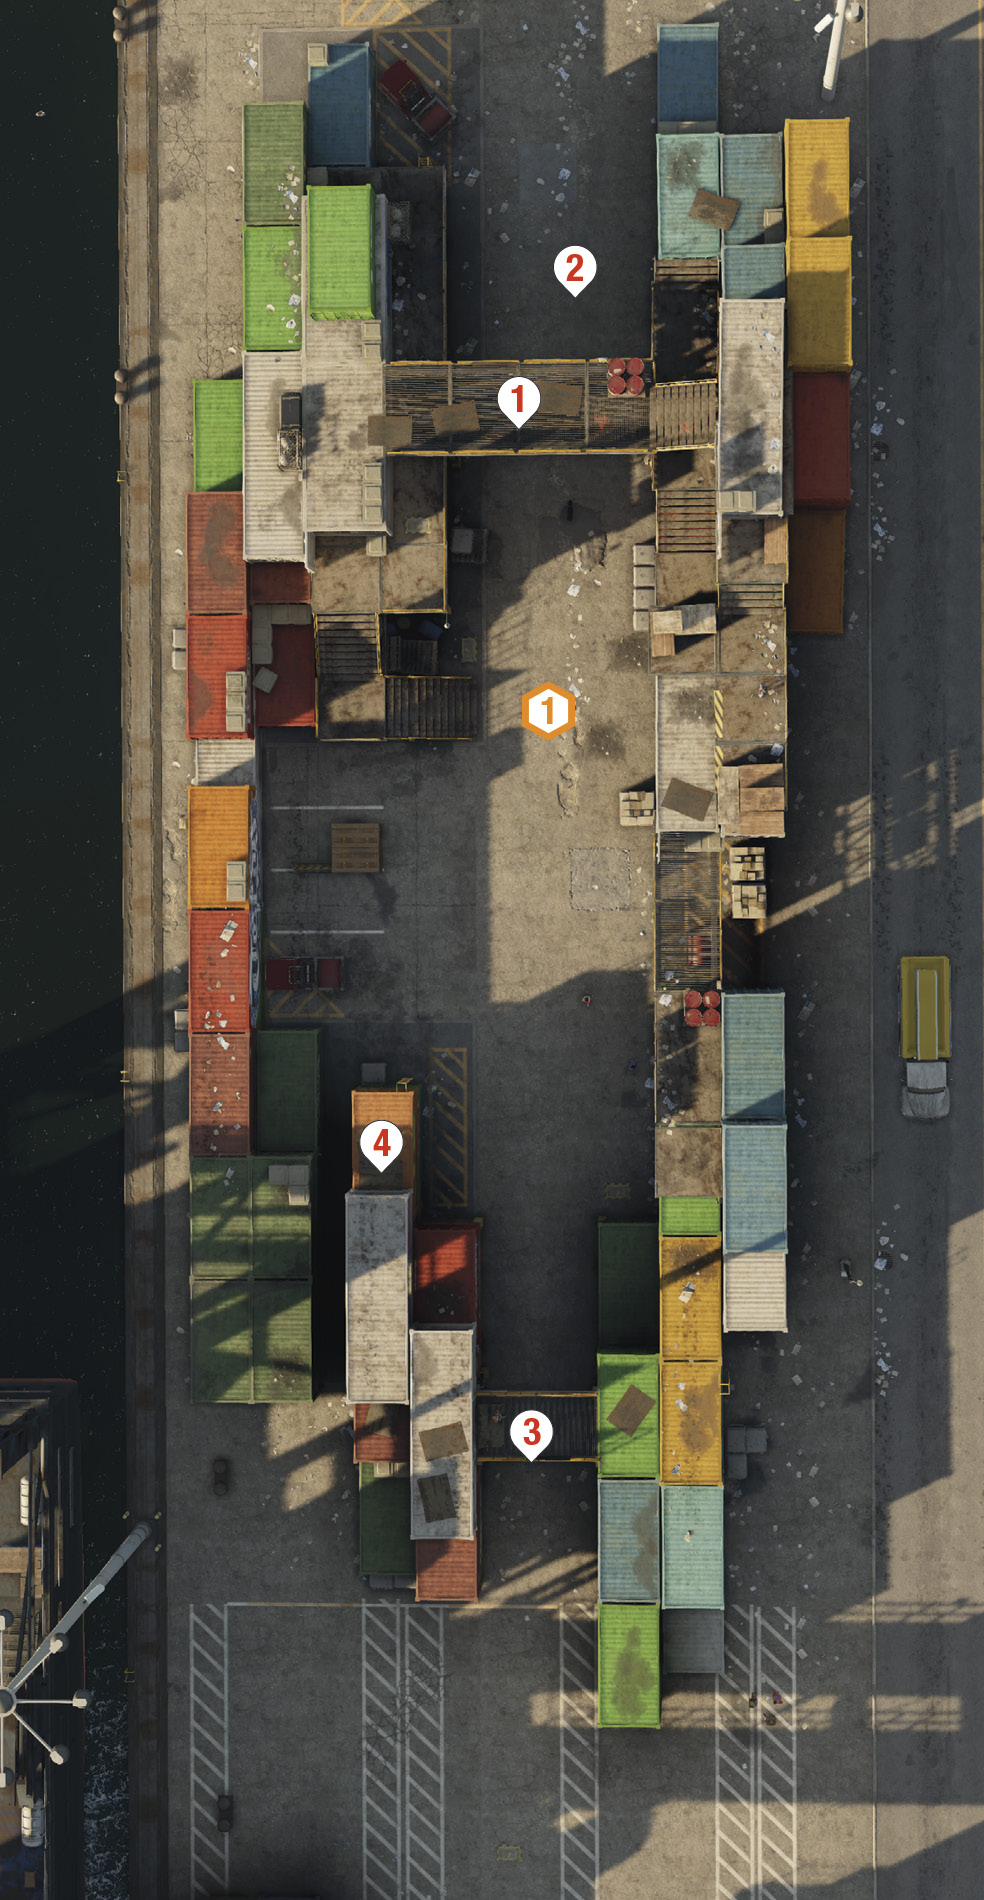
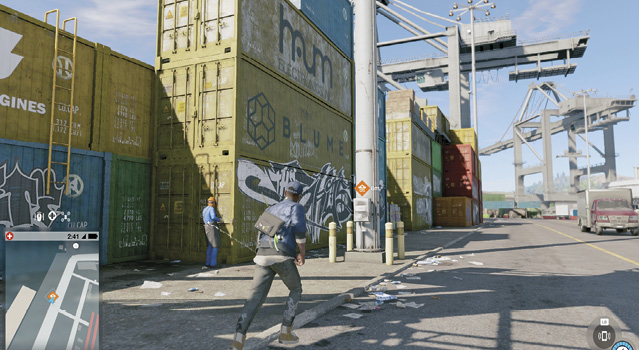
Head to the Port of Oakland and hack the ctOS box, allowing Josh to create another mosaic of this drop-off point. Seek more evidence by profiling the clues. Note that on this occasion, don’t expect the mosaic to be 100 percent accurate. Use a Quadcopter to get the best view.
|
 Preparation: Clues
 Sniper 1
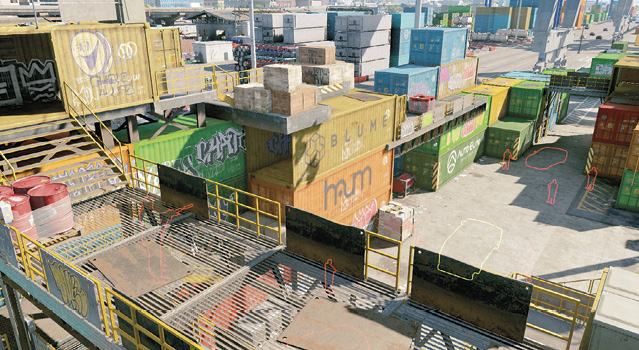
 Van Reinforcements 1
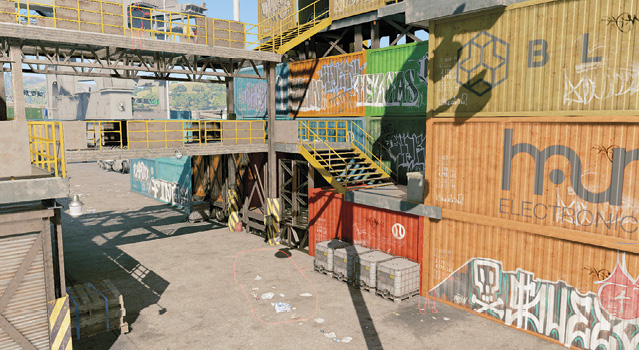
 Ambulance
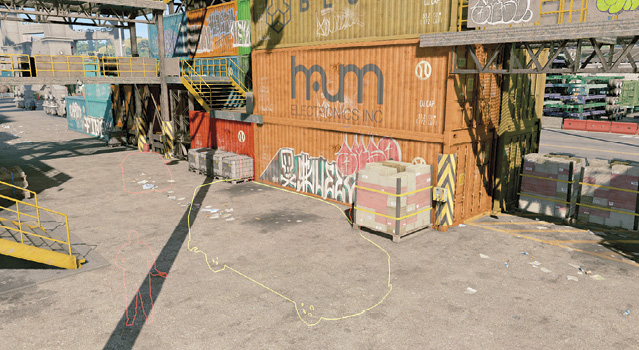
 Van Reinforcements 2
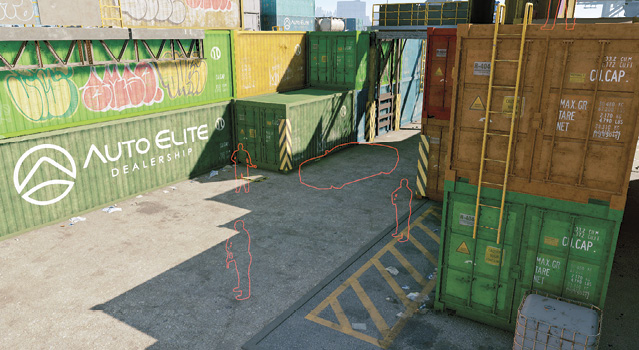
 Sniper 2
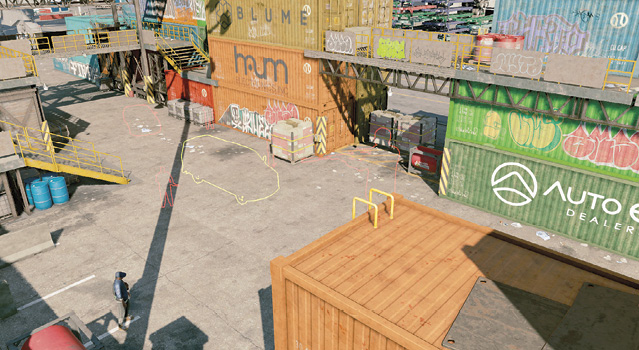
Paths to Completion
You must now remove the ambulance from this area and drive it to the FBI headquarters. There are easy and difficult ways to accomplish this:
Ambulance Chaser

Prep the maze’s southern area, where the two vans will arrive from. Destroy these remotely with proximity traps; you don’t even need to look at them. Meanwhile, remain atop the green cargo container in the maze’s northwest area, so you have an exceptional view of the ambulance and van approaching from the northeast.
As the ambulance passes you, punt a grenade or quickly throw and detonate a bomb so the van explodes. This leaves only the enemy who drove the ambulance in. Tase him when he leaves the vehicle, as well as any other stragglers. Then either reverse north, out of the maze, or destroy the explosive pallet under the gap in the eastern containers and drive under the containers to escape.
Another option is to place yourself southeast, across the large street, by some red road barriers. Watch the two vans approach from the south. Punt a grenade into both vans so they never reach the container maze. Then assault the north part of the maze after blowing up reinforcements. Now drive the ambulance south, without having to worry about removing vans from your route.
Tezcas Eraser

Climb to the highest point on the metal containers northeast of the maze. Wait for all vehicles to arrive and every foe to get into position. Then drop down to the north gantry and strangle the sniper. Work your way down and tase the foes in the main ground area and to the south. After you’ve neutralized all foes without raising the alarm, move any vehicles blocking either the north or south exits before driving the ambulance out.
Another option is to tase all the foes, then remotely move the two vans parked to the south. Remotely steer the ambulance out of here before reinforcements arrive.
Fast Pacer

Find a good hiding spot and launch your Quadcopter. Litter the entrance to the south with explosive bombs, so when the two enemy vans arrive, both explode. This only leaves enemies to the north. Neutralize them with bombs dropped by your Quadcopter—do not hit the ambulance! Remotely drive the ambulance south, out of the maze. Drop down, enter the ambulance, and flee.
I’ll Take This, Sir

Destroy the explosive pallet under the eastern container opening prior to summoning the Tezcas. With an ambulance-sized hole, hide close to this exit on the ground, and when the ambulance parks, sneak in or remotely drive the vehicle left, through the gap, and away. If any exits are guarded by enemy vehicles, hack them as you attempt to flee, reversing them out of your path. Apply this to any of your escape plans.
Operation Continues
Flee the area, using the usual faction-avoidance tactics to escape; remember to hack the road barriers as you leave the port to thwart your pursuers. Then drive the ambulance to the street in front of the FBI headquarters and get out of the vehicle.