
Watch Dogs 2 Guide Main Operations W4tched
4. Operation—Dellums Towers
Objectives
• Reach the FBI floor. • Plant a transceiver on the antenna. • Download spying post data from FBI server.
Difficulty
RewardsDedSec Followers: +36,000 BriefDedSec wants to learn about FBI surveillance starting with the HQ in Dellums Towers, so reach the mysterious contact using a pay phone. Hostiles
Location
|
 Gain access to Dellums Towers.

 Federal Bureau of Investigation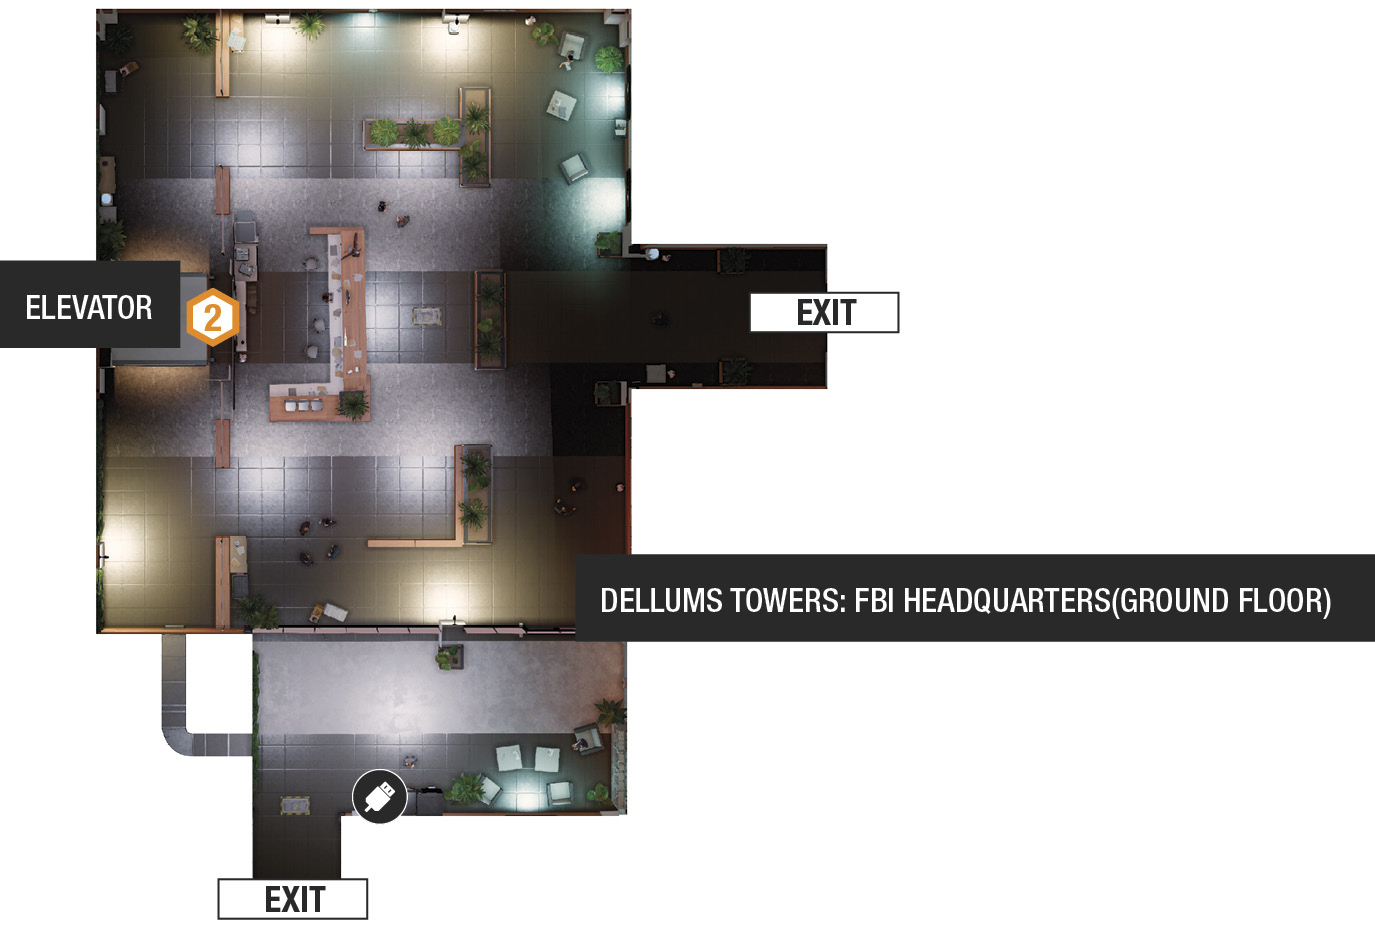
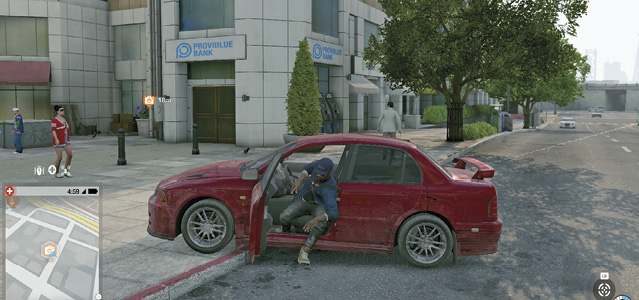
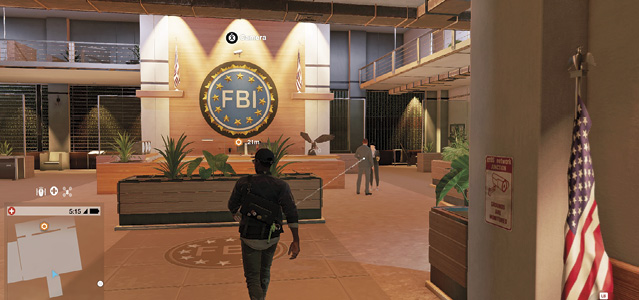
Head into Oakland and locate the pay phone indicated on your map, one block south of Dellums Towers (the FBI headquarters in Oakland). After receiving and deciphering the message, move northwest across the street and into the west tower lobby after automatically imputing the correct numerical code at the door. Then stroll into the elevator bank behind the reception desk. On your way up, Wrench mentions a slight detour; you need to place a transceiver on the roof antenna!
Exit the elevator and head into the restricted area where the objective marker is. Climb the steps and the ladder, ignoring the workers in the area (they don’t raise the alarm). Climb onto the base gantry area. When you reach the massive antenna pillar, switch to NetHack. The security router above the ctOS box requires that you complete a Network Bypass. Use the Quadcopter (or nearby security camera), as you can’t see some of the nodes unless you’re airborne. Don’t take too long, because the FBI can and will search you out! Complete as follows:
Network Bypass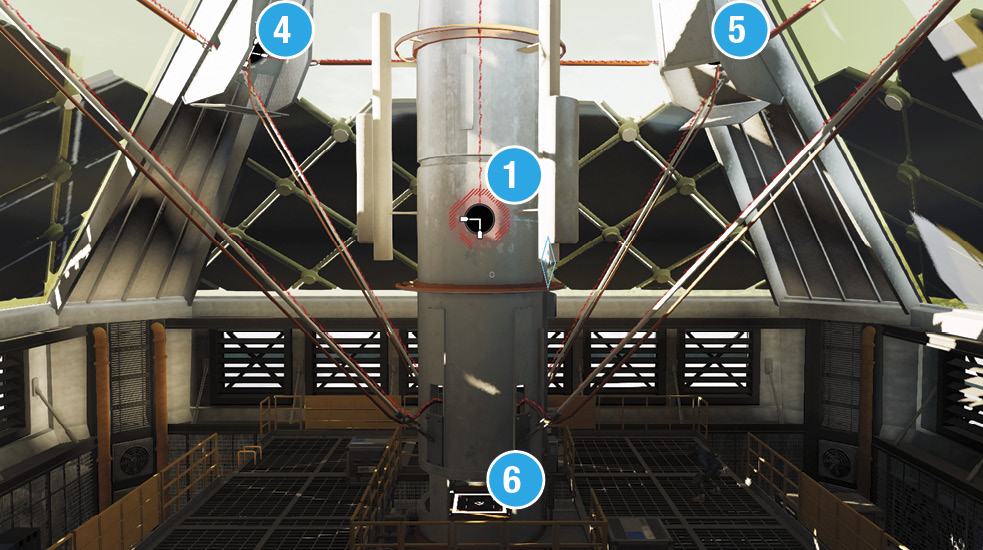
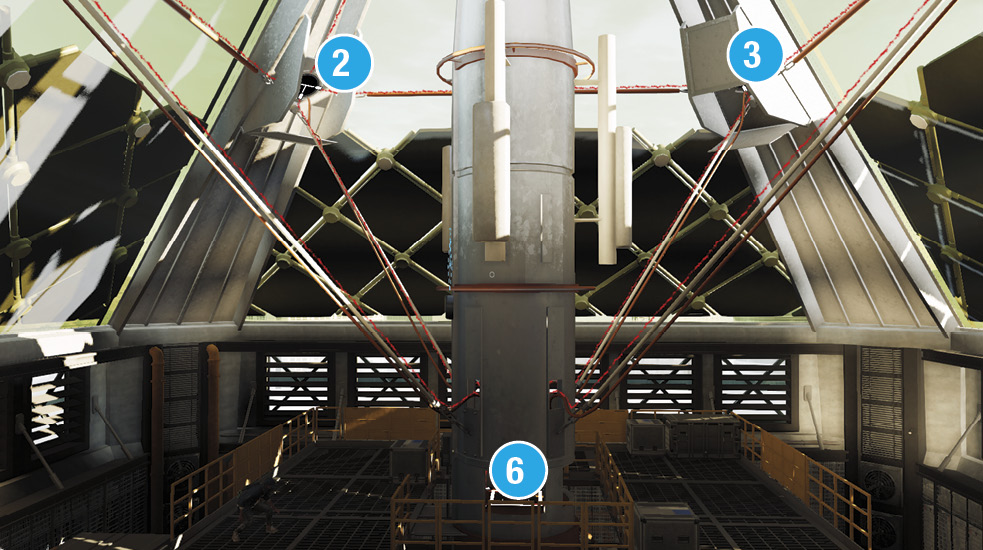
1: Turn x2, Reboot in 120 seconds. 2: Turn x2. 3: Turn x1. 4: Turn x1. 5: Unlock, Turn x1. 2: Turn x1. 6: Unlock. Puzzle complete. |
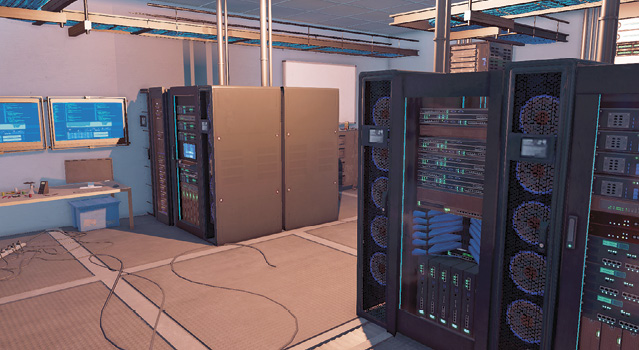
After you physically hack the antenna, Wrench traces the flow and points to the server where you must download the spying post data.
Infiltration PointsYou now need to reach the server room that is inside the east tower. This means navigating an entire floor of the FBI building. It’s never been as easy to get spotted and overrun by enemies, so try a more cunning path to completion if simple strangling and maneuvering on foot isn’t yielding results.
This leads to a corridor with a single guard and a right corner that joins the main corridor to the bridge. Innocent workers are in the cubicle office between both corridors. This entrance is a good alternative to use when escaping, as it’s likely to be less crowded. 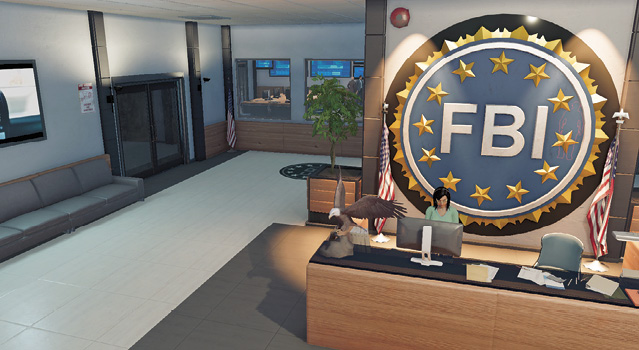
Start your main infiltration from this point, which is the main corridor that heads directly to the bridge to the east tower. As expected, there are FBI guards here-one in this corridor, and another on the bridge. 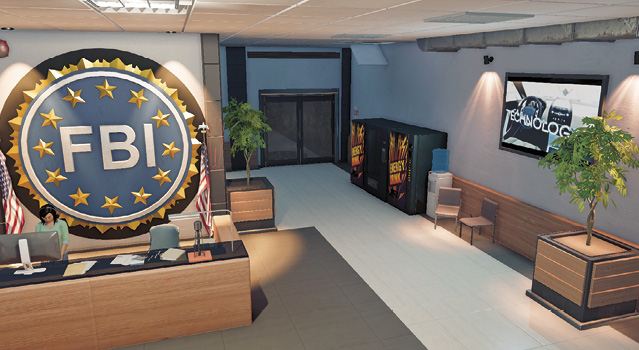
|
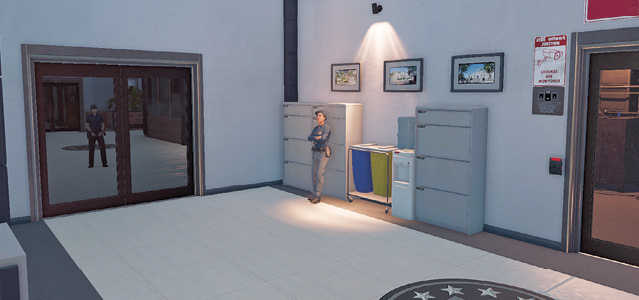
 FBI Reception Desk (Left Doors):
 FBI Reception Desk (Right Doors):
|
 POIs and Objective Points
 Access Key (Guard)
 Closed-Circuit Terminal (East Lobby)
 Server (Spying Post Data)
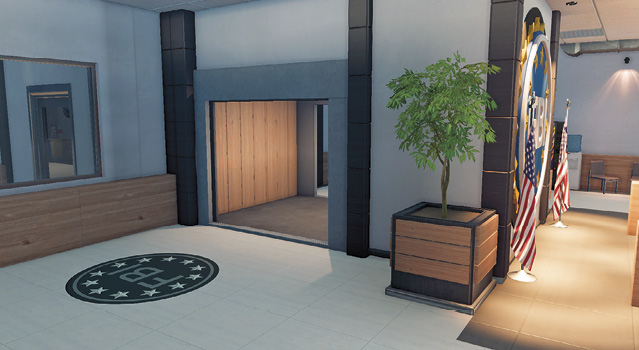
 Reception Elevator
Paths To Completion
You’re in the middle of the FBI building in Oakland. Obviously your adversaries are slightly more attuned to noises and aggressive posturing compared to a gangbanger in Elmhurst. With this in mind, should you neutralize any guard using a technique other than melee takedowns (ideally strangulation), expect guards to move from their original locations and start to hunt you down. It’s incredibly easy to make a small error and have the FBI raise the alert and stream in with armored personnel. But the following shows a stealth plan that’s been proved to work:
 FBInfiltration

This path is difficult, but it allows you to remove all FBI threats between here and the server room without reinforcements being called (until after you hack the server). Note that an even more dangerous version of this route would be to simply distract with cell phone calls and not throttle the distracted foe.
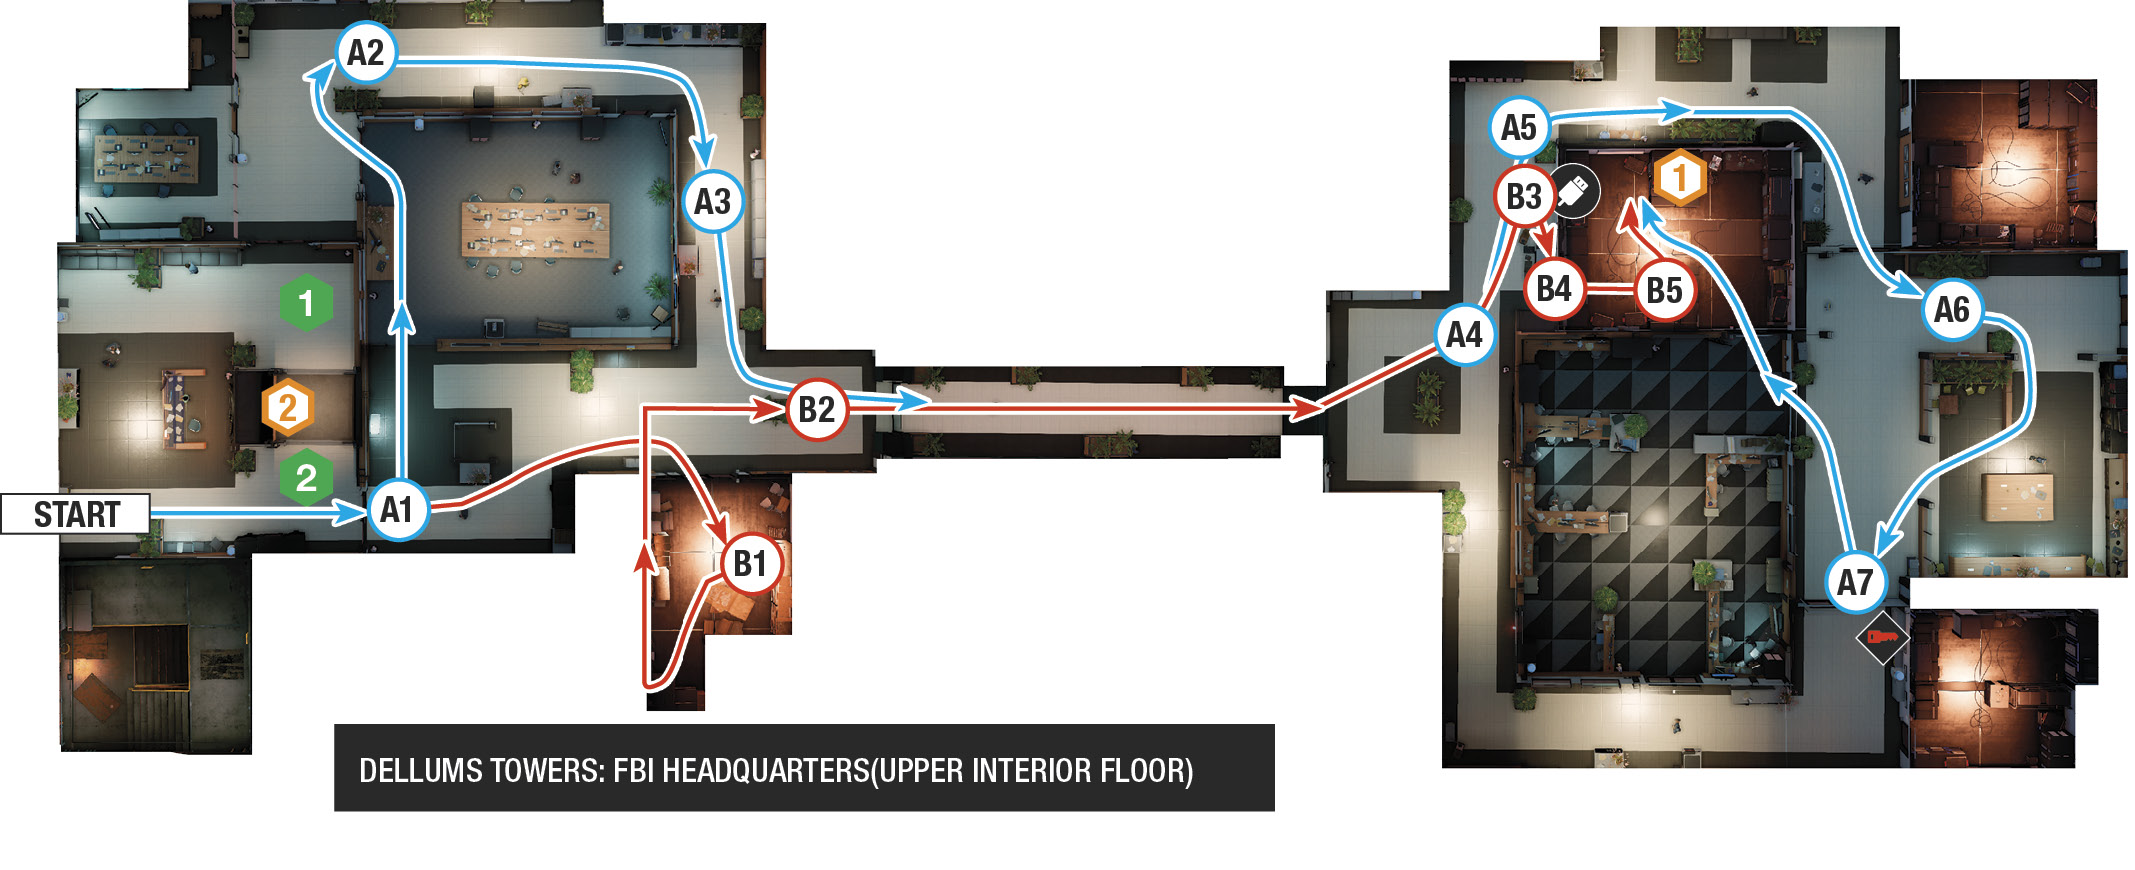
Descend from the antenna room. Peer through the glass door behind and to the right of the reception desk (A.1). Distract the guard here with a phone call, then push open the door and quickly walk up and strangle him.
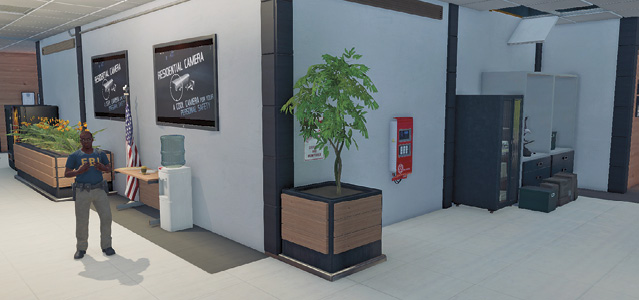
Switch directions and head left (northwest) into the office, then out the double doors to the left. Maneuver behind the guard in the side corridor (A.2) and strangle her. Continue down this corridor, heading northeast, and take cover at the corner. Check the bridge for any incoming foes, using the nearby planters (A.3) so you aren’t seen.
Move to the main corridor near the bridge entrance. There’s usually one guard on the bridge, either stationary or heading your way (though more arrive if you’ve been less-than subtle during this infiltration). Either way, hack their phones to distract, then throttle both foes (away from each other for obvious reasons). Cross the bridge, making a left turn as you enter the east tower (A.4).
Move to the corner by the shelving with the eagle statue, by the CCT and optionally unlock it (A.5). Peer around the corner. There are two guards here, near a locked server room (not the one you’re headed to). If you can’t see the second guard, use the remote camera to spot both guards. Distract and strangle the closest guard. Make sure the second guard is around the corner (in front of the vending machine) when you strangle him, so your throttling isn’t seen. Coax the guard by sparking (but not exploding) the junction box.
Head into the break room, dodging left so you aren’t seen by the two guards ahead; one has the access key. Tackle the guard in the break room (A.6). Then quickly distract and subdue the final two guards (A.7), watching for motion detectors, in the corridor at the break room’s far end. With the access key, you can open the server room and begin the download.
As soon as the download begins, you can leave. Even if you removed all threats in the building, four additional police are called. Backtrack the way you came (as you won’t step into any motion detectors). As you head back to the reception area elevator, distract and maneuver past or strangle the police, as necessary. Pound on that elevator button and escape!
 FBInsertion

This has your RC Jumper doing most of the heavy lifting. Follow Path A, avoiding the first three guards; then open the storage room to the right, before the bridge, and hide behind the cubicle wall (B.1). Bring out the RC Jumper, and hop it onto the metal rack cabinets and into the duct work in the ceiling. Leap out into the crawl space above the guards, scoot north, then turn right (east). Check your minimap; you’re above a ceiling grate by the bridge entrance. Open the grate, distract the guard, and drop down onto the floor (B.2).
Distract any guards on the bridge with phone calls, then boost across the bridge. Or, use the RC passage way above the bridge for an easier crossing. Now in the east tower (B.3), look left (north) slightly, locating the cabinet with the eagle statue. Unlock the CCT on the same wall, then bounce up the filing cabinet and shelves and into the ceiling crawl space (B.4). Scoot east, using NetHack to see the ceiling grate that’s locked and above the objective. With the CCT hacked, you can now open this ceiling hatch, and drop into the server room. Or, continue east, dropping down near the break room, watching for and distracting guards. You can:
Jump on the snack machines and plastic tubs (B.5) to reach the ceiling tile and the crawl space. Open the ceiling grating above the server room, drop in, and hack the server.
Ignore the ceiling route into the server room, trundle to the guard with the access key, distract, then hack her key, move to the server room door you can now unlock, and enter the server room to hack the server.
Before the hack begins, move to the reception area and the elevator so you’re not stuck in the storage room when reinforcements arrive once the download is noticed.
Or, locate the ceiling grate in the reception room at the start of this infiltration (it requires the Enhanced Jump), which is a slightly easier option.
FBIrritation

If you have the ability to distract, you may find the RC Jumper’s route easier if you remain in the reception area (not even in the restricted area), and follow Path A using the RC Jumper, ignoring the ceiling crawl space entirely. When the download begins, you’re adjacent to the exit elevator.
FBInsanity

If matters turn violent—either started by you at the base of the stairs in the antenna area and blasting the first guard or if you’re spotted during this infiltration—shotguns and proximity traps are your best line of defense. Any of the server or storage rooms (on either side of the bridge) are the best places to hold up and whittle down the enemy forces; use the door choke points to prime traps, and watch your ammunition: it’s easy to run out as more reinforcements arrive.
Paths To Completion: Exiting Dellums Towers
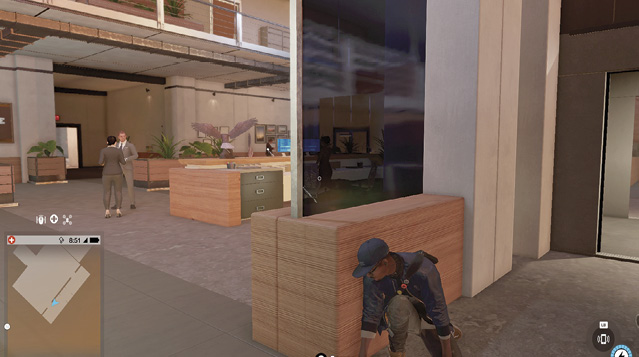
Back down in the lobby and depending on the heat level, there are a few exit plans:
Stepping Left

Step left out of the elevator, hugging the planters and moving east to the exit door. You can do this whether foes are searching for you or not. Distract or attack the agents prowling the area if you wish. If you’re fleeing, zigzag and hack proximity traps as you go.
Stepping Right

Step right out of the elevator and produce the RC Jumper. Drive it into an L-shaped duct and out to a CCT near a snack machine. Unlock the CCT, allowing you to access both locked doors in this area, one of which leads to the south side of the building, offering you slightly more cover when you escape. s always, beware of agents in the vicinity.
Flee out of the area shown on your map.