
Watch Dogs 2 Guide Side Operations Rodentia Academy
4. Operation—Pest Control
Objectives
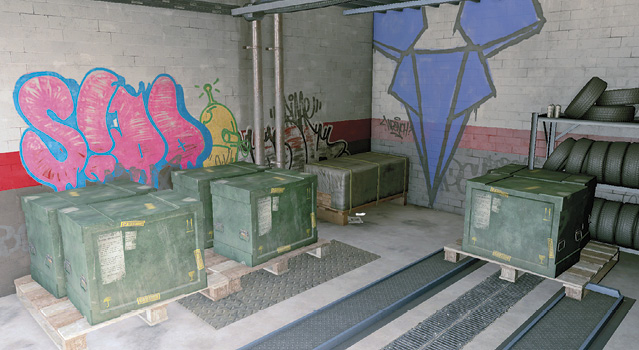
BriefOA’s going to expose its own followers to make a point about privacy. DedSec, of course, opposes this wholeheartedly. We’re going to send a message by destroying their equipment and exposing their plans. Hostiles
Location
|
 Destroy
  Umeni Security Corps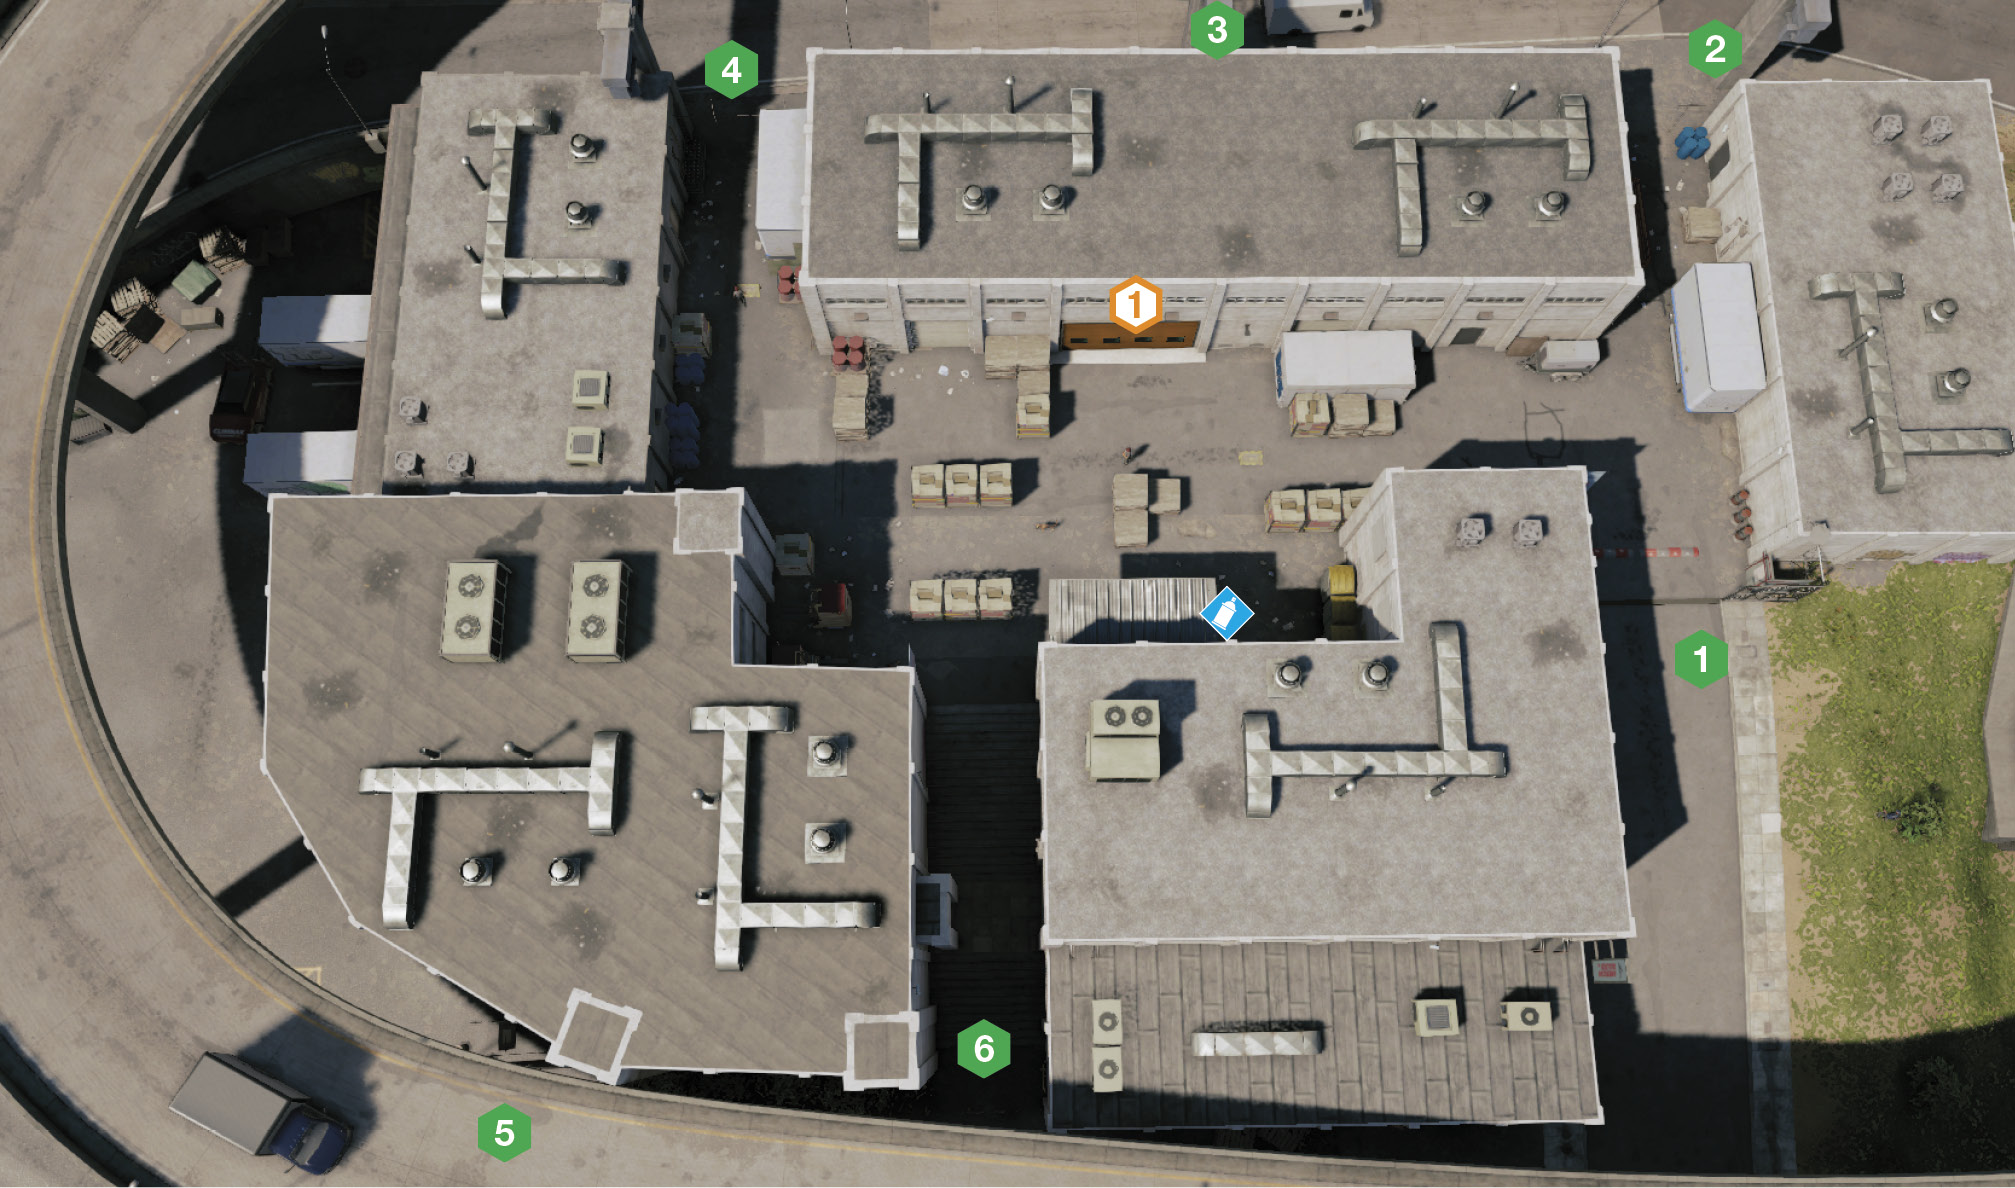
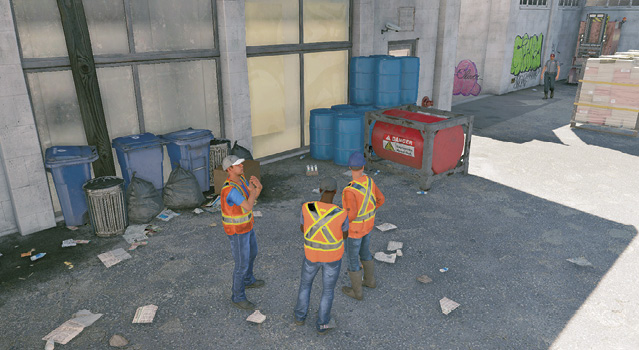
The warehouse containing the equipment that must be destroyed has several guards and a dog to worry about. Fortunately, it has more infiltration points than most and some great places to hide:
Infiltration Points
Access these via the road. Drive up to the open gates and left turn into the warehouse alley, unless you’re here clandestinely, in which case, you’re easily spotted (though you can coax foes around the main corner and dispatch them one by one). 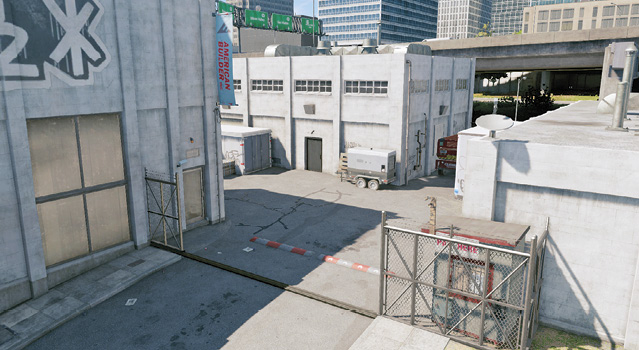
Get here from the ground by parking a vehicle and jumping the otherwise-inaccessible fence. Or stop on the elevated freeway above, and dart across the concrete buttress column and onto either of the warehouse structures to reach here.
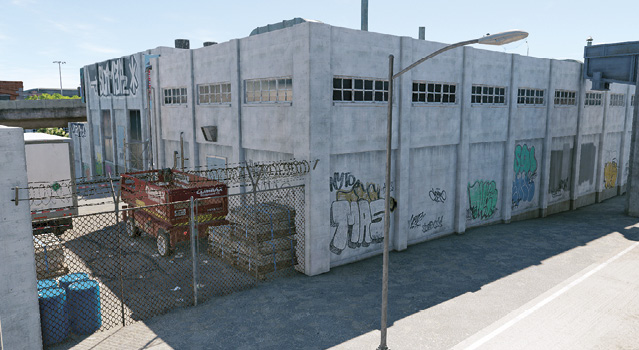
Step from the elevated freeway (to the northwest), running along the concrete freeway buttress, and drop slightly onto this warehouse roof (or scale the warehouse from the south). You’re directly over the objective now, so snipe, try stealth, or use drones to finish the job. 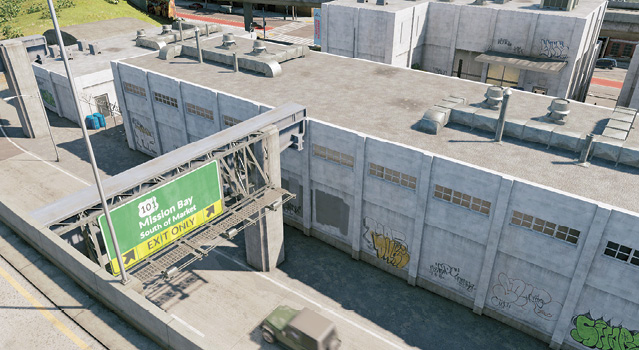
The fence here means you must hop over using a vehicle. This is your easiest option. Or, you can use the hackable forklift parked outside the restricted area to the southeast (drive it around the homeless camp parking lot and onto the street adjacent to this infiltration point). This offers quick access to IP3 or the roof to the southwest, which has a better view of the garage for the destruction to come. 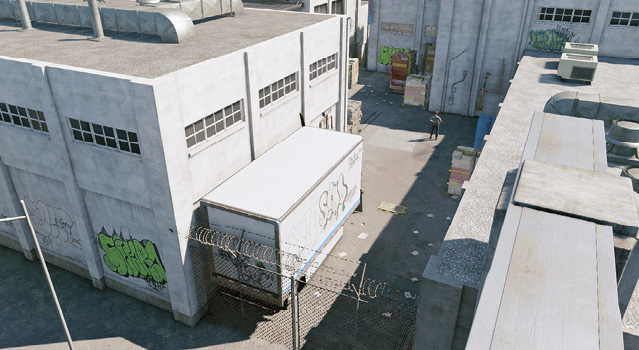
Use a tall van (like a taco truck) and park it on the elevated freeway ramp to the southwest. Climb the van, and hop onto the roof of the warehouse in the south part of the restricted area. This offers great protection, escape opportunities, and line of sight to the garage and objective.
There’s an open fence gate at ground level (under the freeway off-ramp) enabling you to quickly access some steps up to the warehouse. The objective is opposite you, meaning it’s easy to line up a grenade shot after opening the garage, before escaping. 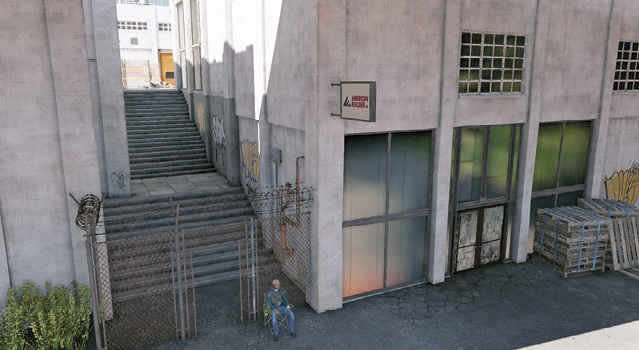
|
 Main Gates (East):
 Scissor Lift Alley (North):
 Equipment Warehouse (Northwest):
 Container Alley (West):
 Off-Ramp Roof Access (Southwest):
 Stepped Alley (Southeast):
|
 POIs and Objective Points
 Collectible
 Equipment
Paths to Completion
You’re here to make some noise. The choice whether to attempt this before or after tackling any guards is up to you.
Some Guards to Tase

This allows you to tase all the guards and dog and gather the collectible. Start at IP1, tasing the foe by the crates at the entrance. Move to his position, and aim down the alleyway (looking southwest). Tase the patrolling guards from nearest to farthest. The other guards come to investigate. Tase them from range, including the dog, until one guard is left; then track and throttle or tase him. Tase sleeping foes multiple times to stop them waking up during this taser-fest. Then grab the collectible, hack the garage, and destroy the equipment.
Creating a Remote Blaze

Enter from IP3 or IP4 and drop in the RC Jumper after hacking the garage doors open. Then drive the Jumper into the garage, and drop grenades (assuming you’ve equipped the Jumper with explosives). Detonate remotely.
A Warehouse to Raze

From the roof of IP5, look down and across at the garage, hacking the door open. Punt a well-aimed grenade into the garage. Then leave via the freeway.
Or, drive a bike up to IP1. Use the cameras to locate the garage door and open it. Drive into the warehouse, quickly drop in a grenade, and speed away via an exit down the steps at IP6. Dangerous, but quick and effective.
After you complete the objective, you let Ray know the rats’ tails have been chopped off. He reckons you haven’t seen the last of them. This mission now concludes.