
Watch Dogs 2 Guide Online Operations Silicon Valley
Restricted Area 20. Swan Leavitt Observatory
Available Operations
| Operation Type | No. of Objectives | Variations |
|---|---|---|
| Data Breach | 1 | 3 |
| Deliver Vehicle | 1 | 2 |
| Destroy Shipments | 3 | 2 |
| Prisoner Release | Not Available | Not Available |
| Steal Encrypted Drives | 1 | 3 |
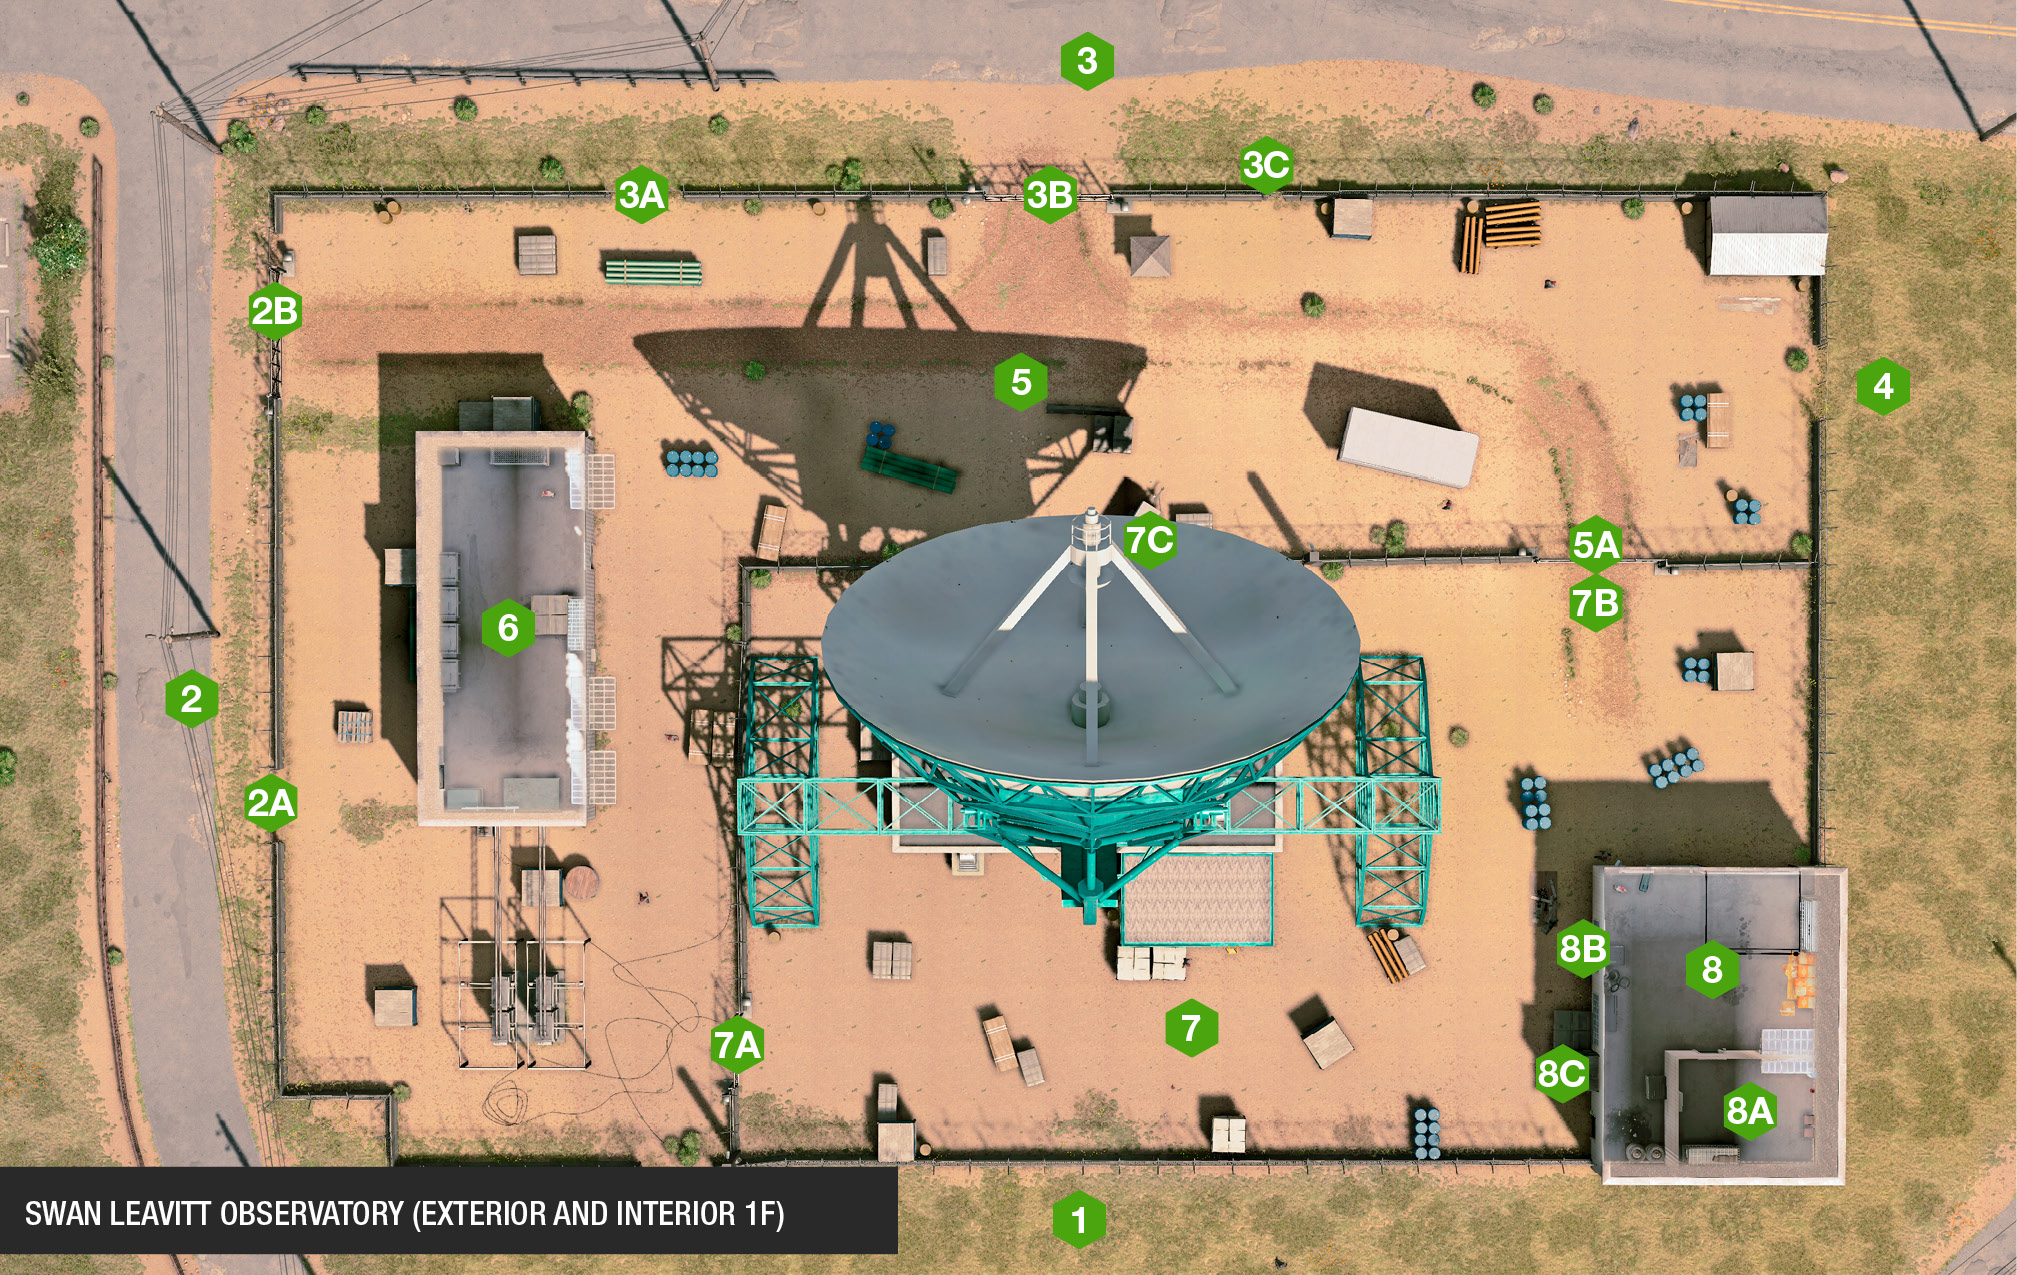
Structures and Infiltration PointsThis is a large, rectangular restricted area with a second, interior rectangular fence inside the first that also needs to be assaulted. Weak points are the gates, and the fact all of this area is open, allowing quick Quadcopter recon work to be completed.
Though you can park a vehicle and use an RC Jumper to leap over the fence at any point (on any side of the perimeter), there’s an area of fencing to the southwest without a concrete barrier base or a barbed-wire top. This can be driven through or climbed over, and is the only penetrable point along the south perimeter. 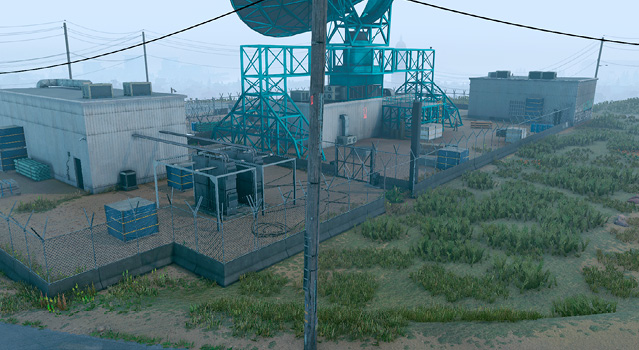
Due west, in the middle of the mostly-impenetrable fence (2A), is an area that has no barbed wire or concrete barrier base, making it excellent for climbing or driving over, assuming you have plans to distract the foes beyond. Northwest is a large gate (2B), which can be use to exit, assuming the gate doesn’t require a special unlock you haven’t completed. 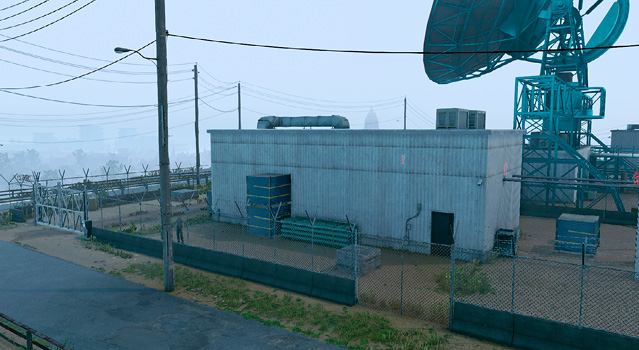
The main entrance to the observatory features an area of weakened fencing to leap over in the northwest area (3A). The main gates (3B), which are an unsubtle but effective way of getting in and out. There is also a hole in the concrete barrer to the northeast (3C), that is useful for sneaking in an RC Jumper while you hide behind a parked vehicle outside the restricted area. The interior perimeter has just the same access points; the shed in the northeast can’t be used to escape from (you can’t jump the barbed wire). 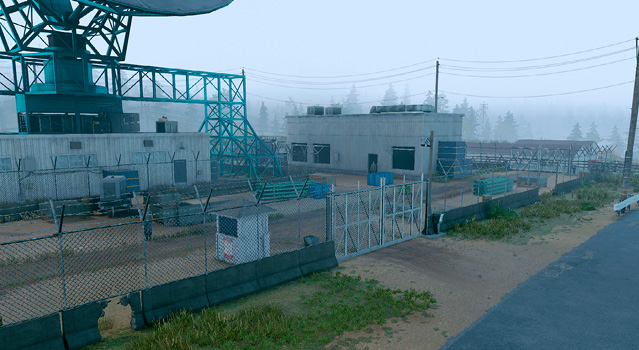
The weakened fence area to the northeast is the only area where you can infiltrate this highly-secure fence and warehouse wall. 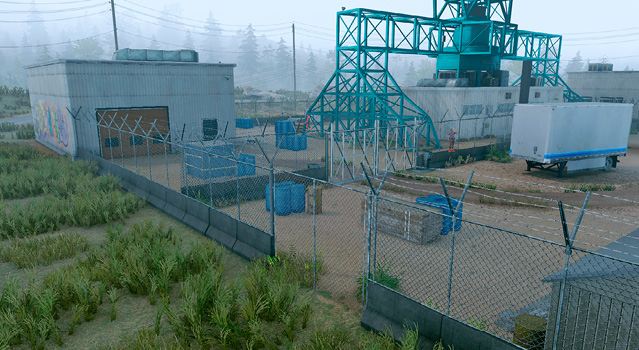
The most dangerous section of the restricted area, due to the lack of escape options, and impenetrable fencing that mostly surrounds you. There’s an east-to-west dirt track leading to the gate to the southeast (5A). Aside from scenery and concrete barrier hole that you can use to maneuver your RC Jumper over, the fencing to the south yard isn’t accessible except from here. Concentrate on using the scenery as cover, and open the gate as soon as possible in most infiltration circumstances. 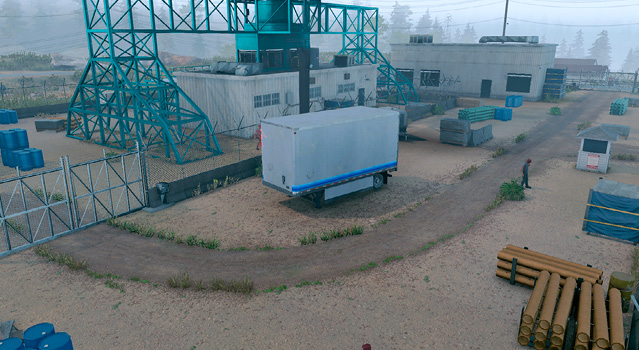
Though this doesn’t quite have the same security when hiding as the southeast warehouse, the larger building to the west is a good spot to take cover. The open windows mean you aren’t fiddling to unlock a door, and the pipes and crates on the west side of the building allow you up onto the roof, where you can hide and snipe from. Inside, you can fire out of the three open windows while trapping the door to the southwest. Outside, the yard fencing to the east is impenetrable, aside from the gate to the south yard. 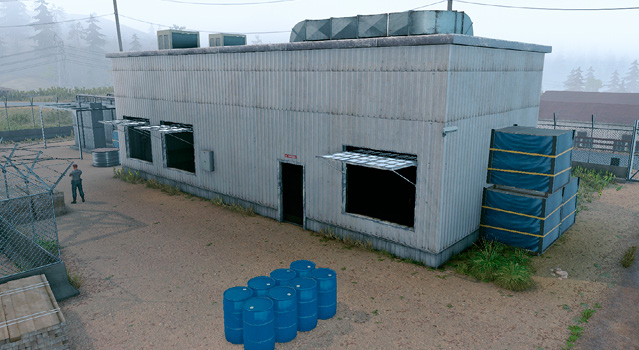
About two-thirds of the ground is taken up by this large yard where the satellite dish is. This is a difficult area to maneuver into. Only opening the southwest (7A) or northeast (7B) gates, though the hole in the north wall (7C), allows your RC Jumper through. The low building that the dish sits on is a good defensive position, and usually an objective area. The building itself can’t be entered, but the blue tarp crates or turquoise scaffold allow access under the dish at various points around the structure. Don’t leave without grabbing the Key Data from here, too! 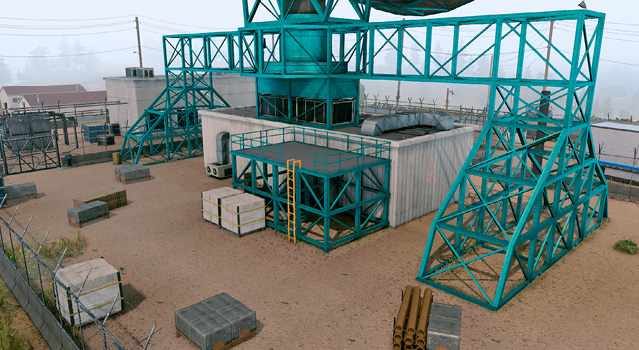
This is a great place to hide. Assuming you can keep foes from outflanking you by opening either door or the garage door. There’s a smaller, storage room (8A) with a door and open window that you can fire out from, and seek cover. It offers excellent opportunities for lobbing grenades, hacking the doors to provide cover or exit points, and there’s even a ground vent in the west wall (8B) enabling you to use the RC Jumper from here if you’ve made it without attracting attention, or you want to send in either drone to clear out the interior of this building. Finally, don’t forget to use the crates on the exterior west wall (8C) to climb to the roof, which offers even more cover. 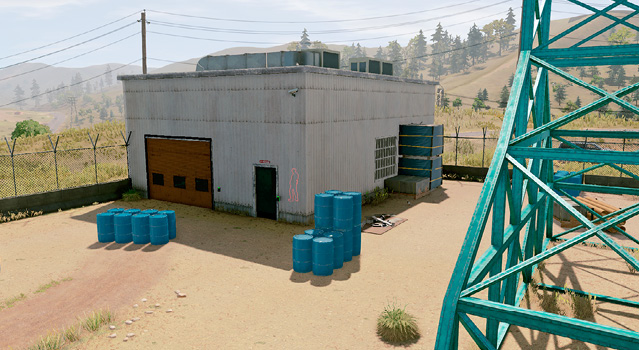
|
 South Fence
 West Fence
 North Fence
 East Fence
 North Yard
 West Warehouse
 South Yard and Satellite Dish
 Southeast Warehouse Garage
Operation Examples
Data Storage (Data Breach Operations): If the data you’re downloading is on the east side of the radar dish structure, download it by stealthily using any parked vehicles to hide in, take cover up on the dish platform by the duct work, and hide inside the northwest corner of the southeast warehouse garage, or the roof above.
Data Storage (Data Breach Operations): If the data is on the south-side of the radar dish, downloading it while foes are in the area is much more difficult, so a stealth takedown of everyone first is a good idea. Sit on the radar dish building, or hide in a parked vehicle within the download radius.
Vehicle (Deliver Vehicle Operations): If the vehicle is parked in the middle of the south yard (south of the dish), the easiest route is out of the southwest gates (in the south yard), and through the weakened fence just to the left (south) of that gate. You’ll need to drop an RC Jumper into the west building to access the CCT first, but that’s relatively easy. Remotely driving the vehicle out is also an option, if you’re skilled enough.
Shipments (Destroy Shipments Operations): As this facility is in the open landscape, it’s simplicity itself to send up a Quadcopter, and bomb the three shipments; one near the west building, one by the satellite dish, and a vehicle parked north of the southeast warehouse garage. Optionally use the parked vehicle as a getaway vehicle if you wish, but that plan is much messier than Quadcopter bombing.