
Watch Dogs 2 Guide Online Operations San Francisco
Restricted Area 17. Under The Freeway
Available Operations
| Operation Type | No. of Objectives | Variations |
|---|---|---|
| Data Breach | 1 | 1 |
| Deliver Vehicle | 1 | 1 |
| Destroy Shipments | 3 | 2 |
| Prisoner Release | 1 | 3 |
| Steal Encrypted Drives | 1 | 2 |
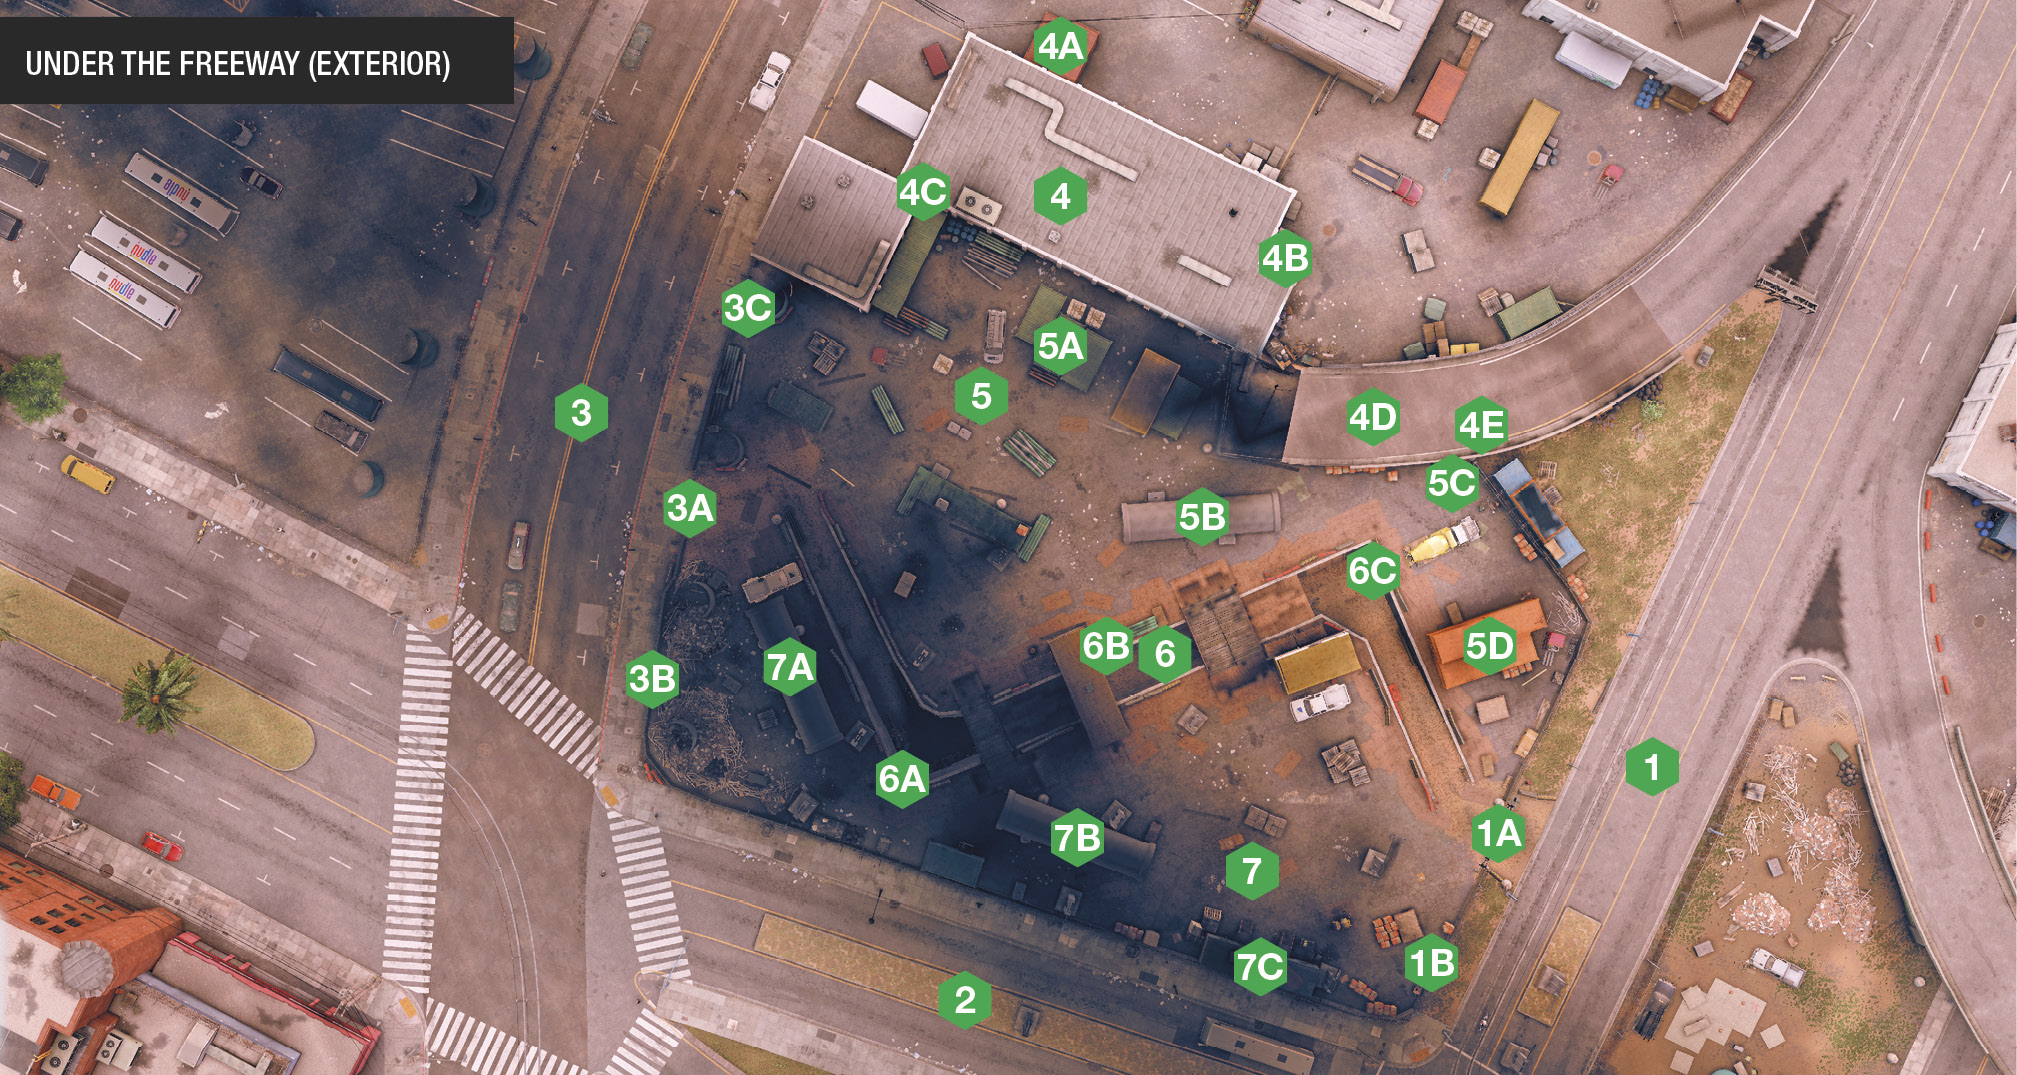
Structures and Infiltration PointsThis construction site sits in shadows for most of the day due to its proximity to the freeway onramp above. A high fence and concrete obstacles make this restricted area more difficult to infiltrate than most. It’s even more important to know the best exits.
A reinforced barbed-wire fence with concrete base barriers runs the length of this perimeter, with a main gate (1A) and a drone-sized hole in the concrete (1B) providing the only accessible points. 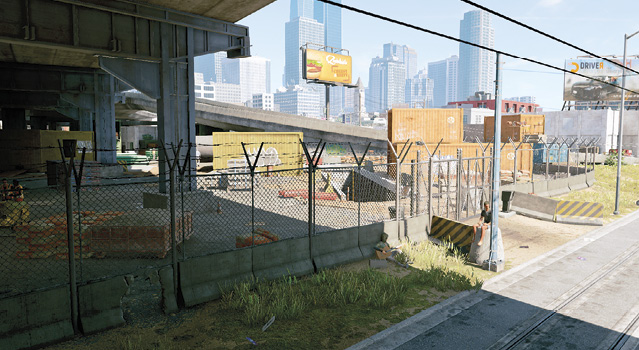
The fortification of this barbed-wire fence is impressive, as there are no weak spots along this side of the restricted area. The only way to access the interior is to bring a high-container truck to climb on, or to drop down from the freeway above. 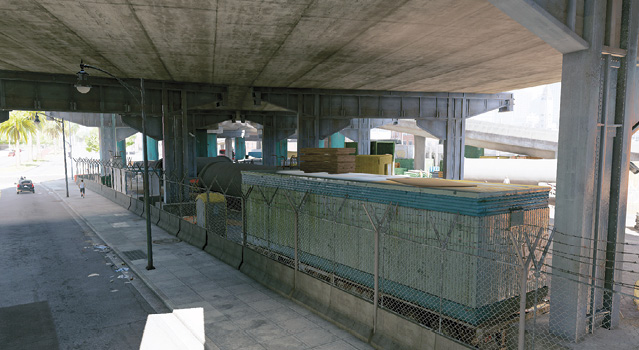
The short perimeter fence by the massive freeway pillars and the street under the freeway features a main gate (3A) and two RC Jumper-sized holes in the concrete barrier (3B, 3C). These are the only methods of gaining entry. 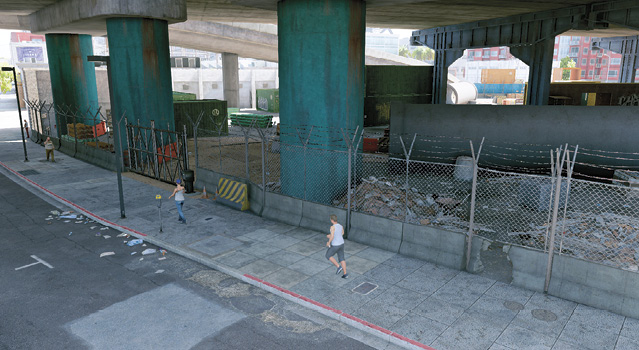
The majority of your physical infiltrations are usually from this direction. Climb to the roof of the exterior warehouse building via the red containers (4A) or the blue tarp pallets (4B). Both allow good access into the northwest part of the yard. Don’t overlook the top of the freeway onramp, where it merges with the main freeway; you can leap down from here and land on the roof of the northwest warehouse exterior (4C), or use the place to snipe from—though you can’t see all of the yard. Farther east is the entrance to the freeway onramp (4D); you can drop down from the south side of it into the restricted area, though you’re pretty exposed and the landing can hurt. Over in the northeast corner is a stack of containers, giving you the height you need to vault over the barbed-wire fence (4E). 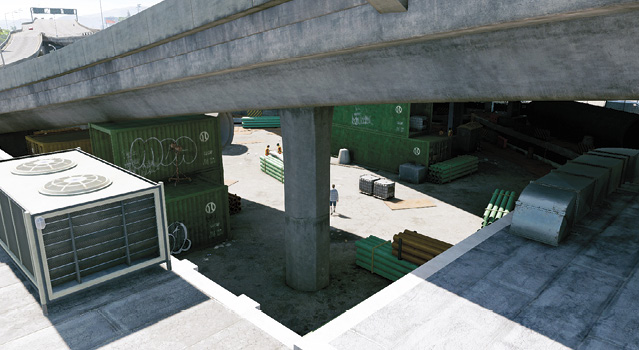
The area of the yard north of the trench is a playground of containers you can hide behind, on top of, or inside (if they’re open). The green containers under the onramp (5A) are particularly good spots during a battle, as they’re high up and you aren’t usually flanked. In a pinch, the concrete tube (5B) can be used to hide in, with proximity traps at each end. Need to escape? Aside from the northwest containers up to the exterior warehouse roof, try climbing the northeast pallets near the freeway onramp entrance (5C)—one of the few spots where you can make a quick exit. Over by the east end of the trench, the stack of large orange containers (5D) is good for hiding in or on, gaining height, and checking the trench. 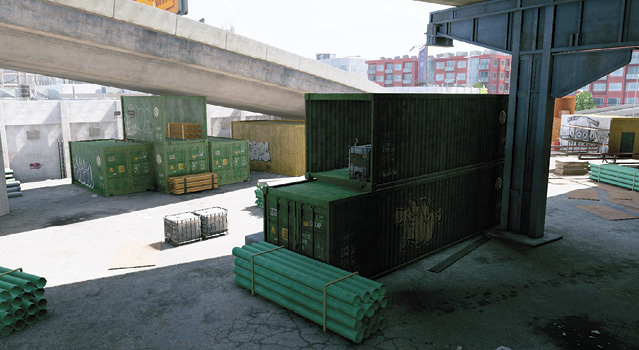
The middle of the yard is bisected by a large trench in an elongated “Z” shape. There are three ladders (6A, 6B, 6C) offering quick escape. Otherwise, use the ramped earth at the west and east ends of the trench. Check the two mustard-colored containers too (6D, 6E); these usually have an objective in them, scenery to access so you can climb onto the roof, and an opening for an RC Jumper. 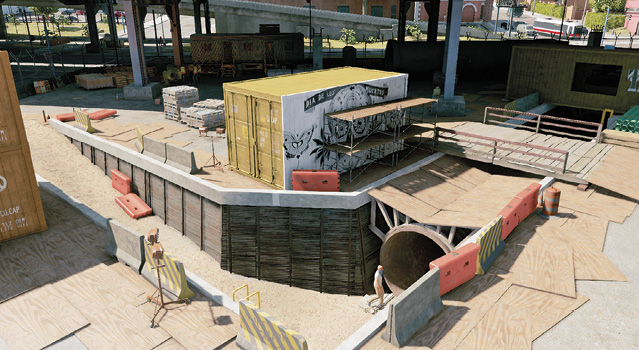
Filled with scenery and two giant concrete pipes (7A, 7B) you can use during stealth infiltrations, there’s easy access to and across the trench. Don’t forget the foreman’s cabin in the south corner (7C); climb on the roof to escape the perimeter fencing if other methods of escape are blocked. 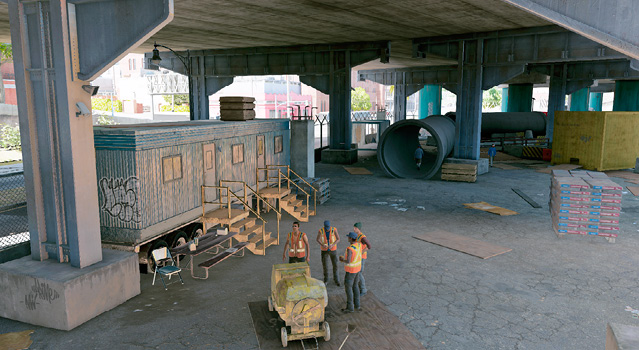
|
 Southeast Perimeter
 South and Southwest Perimeter
 West Perimeter
 North and Northeast Perimeter
 North Interior
 Trench
 South Interior
Operation Examples
Data Storage (Data Breach Operations): The data is by the green containers northwest of the trench, so your best download spot is among the other green containers by the northwest warehouse roof. Other options include the end of the north concrete tube and the central mustard container spanning the trench, but both are dangerous places to hide. For this reason, it’s well worth clearing the area of foes first.
Vehicle (Deliver Vehicle Operations): Is the vehicle parked under the onramp by the green containers (northwest)? Then you’ll need to drive it out of the west gate after unlocking the CCT on the pillar by the green containers north of the trench (use the RC Jumper). If that’s too difficult, hack the CCT in the south interior that allows the east gate to be hacked. Then drive the vehicle along the north boundary, left of the concrete tube, then down into the trench at the east ramp, and out of the gates.
Shipments (Destroy Shipments Operations): Assuming you have a Quadcopter with bombs, simply fly to each shipment (inside the northeast orange container, then the shipment in the trench, and finally through the window of the mustard container over the trench). Then leave without setting foot into the restricted area. Otherwise, bombs or projectiles from the onramp could work.
Prisoner (Prisoner Release Operations): If the prisoner is inside the mustard-colored container over the trench, have one player hack the access key and scout foes using the Quadcopter, then distract them. The other player needs to creep from the northwest warehouse roof, past the green containers, hacking the motion detector above the door, then the door (now that the access key is available), and release the prisoner. Be sure to check that there’s no enemy inside the container itself (fly by the window and distract if there is). Flee by vaulting out of the window and through the trench to the northeast pallet escape point, or back the way you came.