
Watch Dogs 2 Guide Main Operations Shanghaied
5. Operation—They’re On A Boat!
Objectives
• Use the terminal to locate the server. • Reach the server. • Move the server with a forklift. • Use the elevator to reach the top deck. • Wait for extraction. Difficulty
RewardsDedSec Followers: +542,400 Sweatshirt: East Beast BriefYou want what the Auntie Shu Boys know? Try sneaking aboard the barge when it’s close enough and stealing their main server, just for s#!ts and giggles. Hostiles
Location
|
 Meet DedSec member at pier in
 Auntie Shu Boys Gang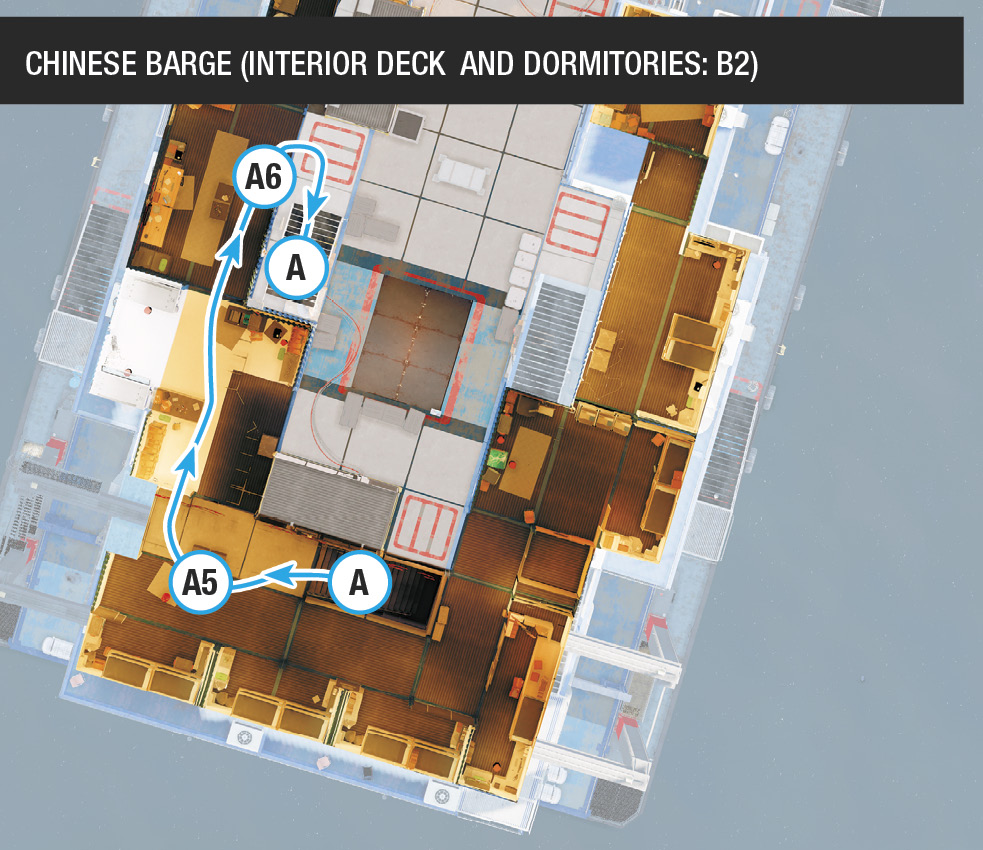
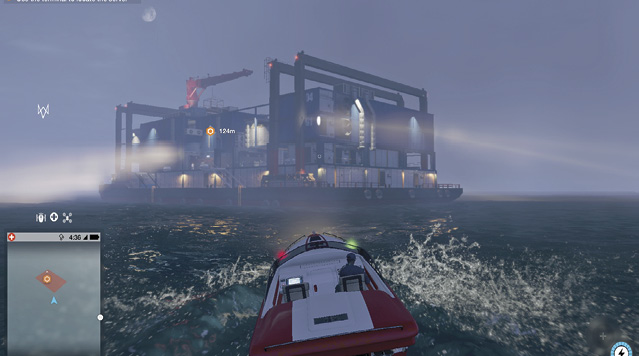
It’s a small trek to the pier where you commandeer a speedboat and steer it under the Golden Gate Bridge to the large barge in the ocean. Disembark and climb one of the ladders to begin this infiltration.
Infiltration Points
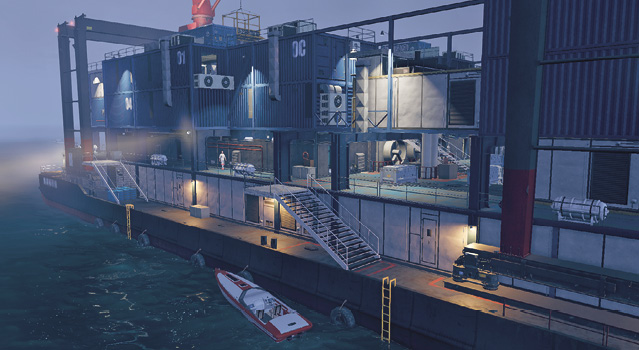
Dotted around the edge of the barge are four additional ladders, giving you access to different areas of the boat. None are necessary to clamber onto, unless you want to make your own paths to completion. 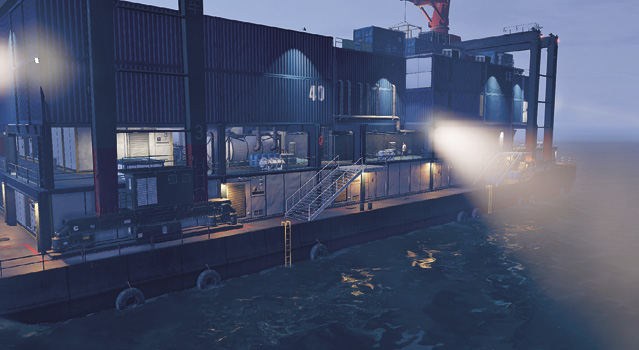
|
 Infiltration Ladder: The ladder closest to the mainland is where you should moor your boat, step across (with optional swim), and climb onto the boat. This is because you’re close to the main upper deck stairs toward the center of the barge, as well as the side decks, which are ripe for sneaking around.

 Other Infiltration Ladders:
|
 POIs and Objective Points
 Hold (Below Deck)
 Stairs and Main Upper Deck
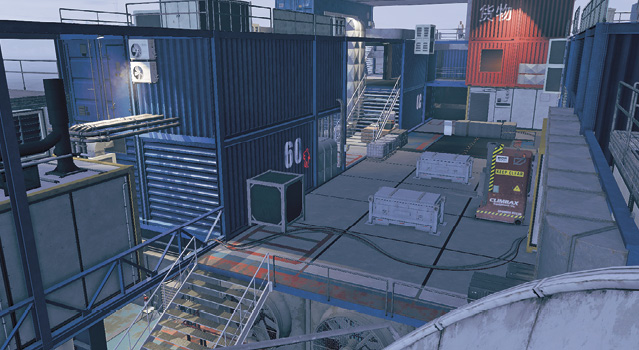
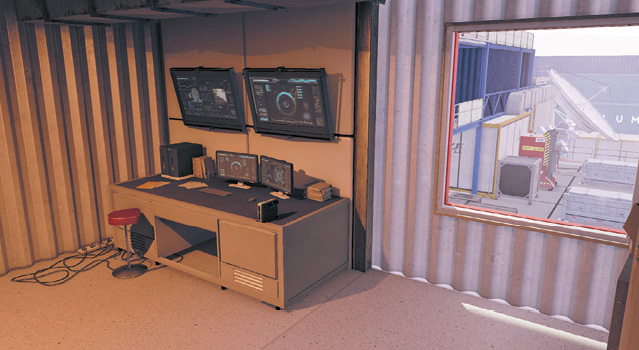
 Bridge Room and Admin Computer
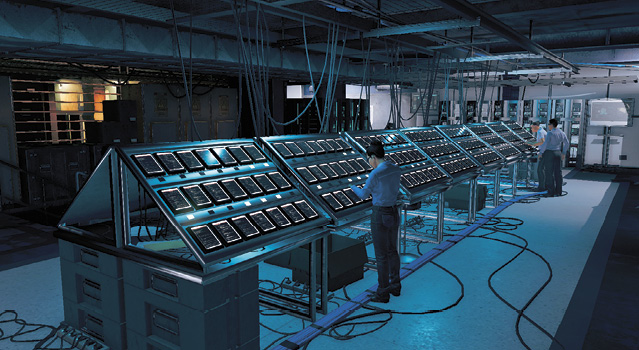
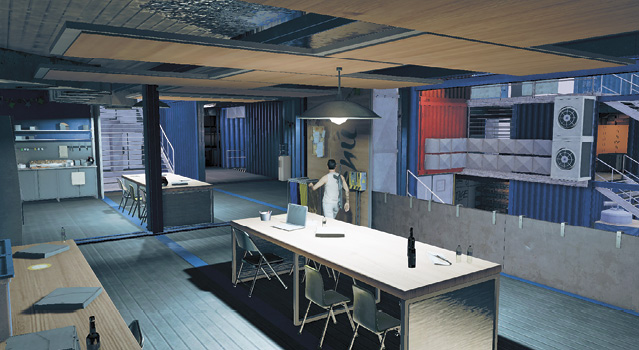
 Galley Kitchen Level

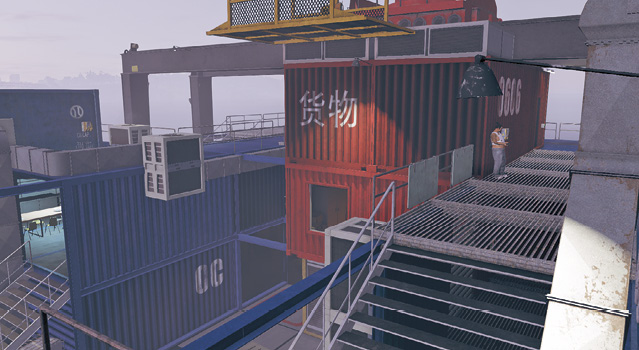
 Top Deck and Container Tower
 Access Key (Guard)
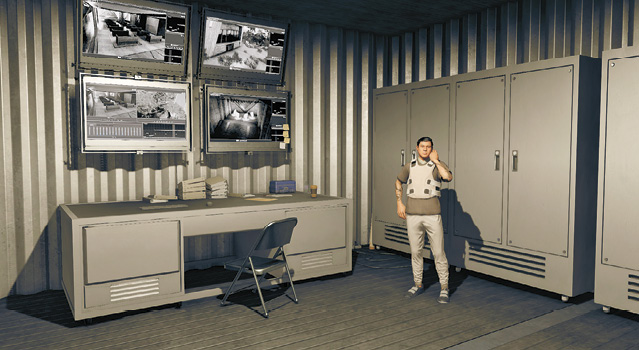
 Data Container
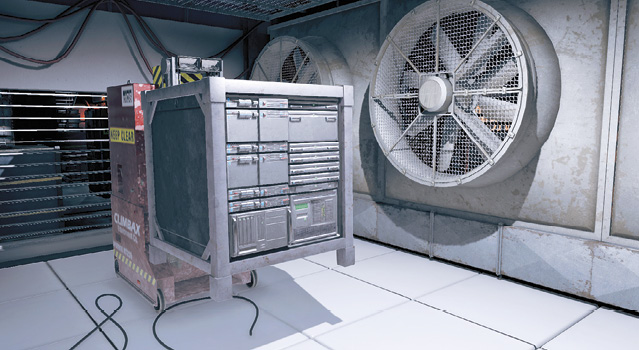
 Forklift and Server
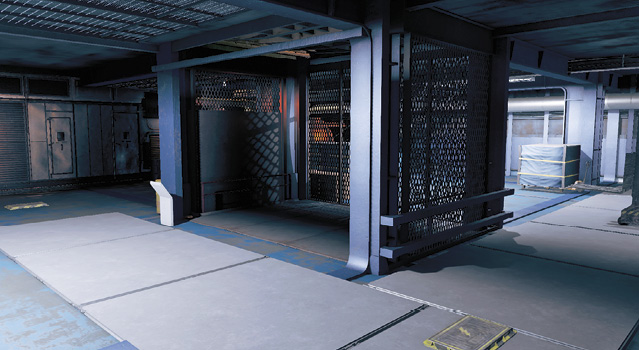
 Cargo Elevator (Extraction Point)
Paths To Completion
Using Your Tech

Fly your Quadcopter up to the access room (red cabin) out of sight of patrolling guards; then hack the junction box on the cabin’s western side, zapping the nearby guard. Open the door to the cabin with your Quadcopter, which startles the foe inside, who comes out to investigate. When he appears, hack him for the access code. Then start any of the previous paths or continue using your toys:
Trundle out your RC Jumper and take the most direct route toward the roof deck, detailed as part of Path B. Don’t go to the roof, though; head past the galley kitchen toward the dormitory corridor. Make a right before you get to the dormitory corridor, hack the door, and enter the cabin directly below the upper one. Then hack the data container. You can now drop out the window and head down the metal stairs to reach the barge’s lowest level, or you can hack the cargo elevator and drop directly into the barge’s lowest level. Then control the forklift to remotely carry the server to the elevator. Or you can head there on foot.
 Takedown Trek

This route allows you to subdue every foe without reinforcements arriving and to complete the objective with all enemies defeated. Is this difficult? Yes! But it’s certainly possible if you follow this route!
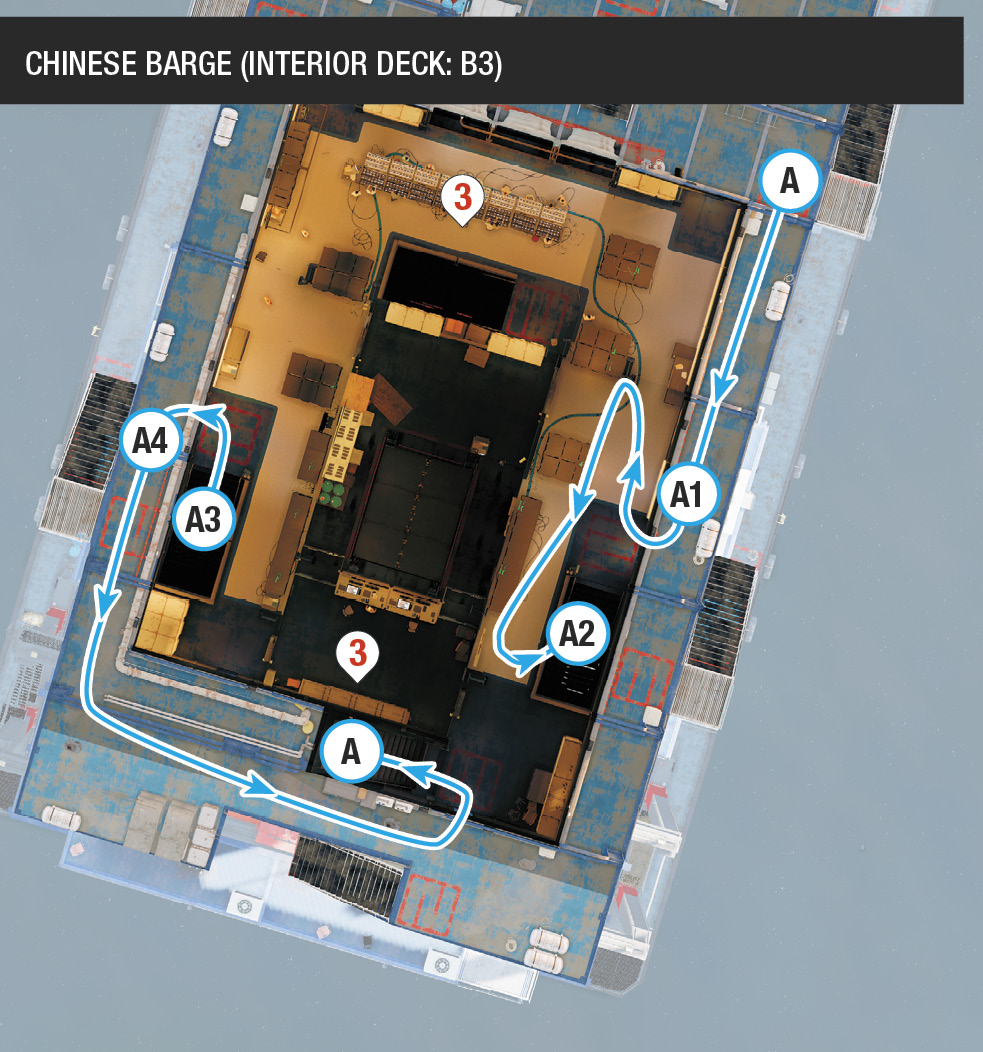
Start at IP 1. Head roughly south along the outer deck, and throttle the guard here (A.1). Step right, into the side area of the server room. Check the passage for a foe. Strangle him or hack the door ahead, around from the metal steps down to the hold. Step into the small navigation room (with the “0” outside the door) and strangle the foe here if you didn’t see him in the passage; be quick (tasing is an option from outside the door), as he can alert others. Ignore the civilian. Then drop onto the metal stairs leading to the hold (A.2).
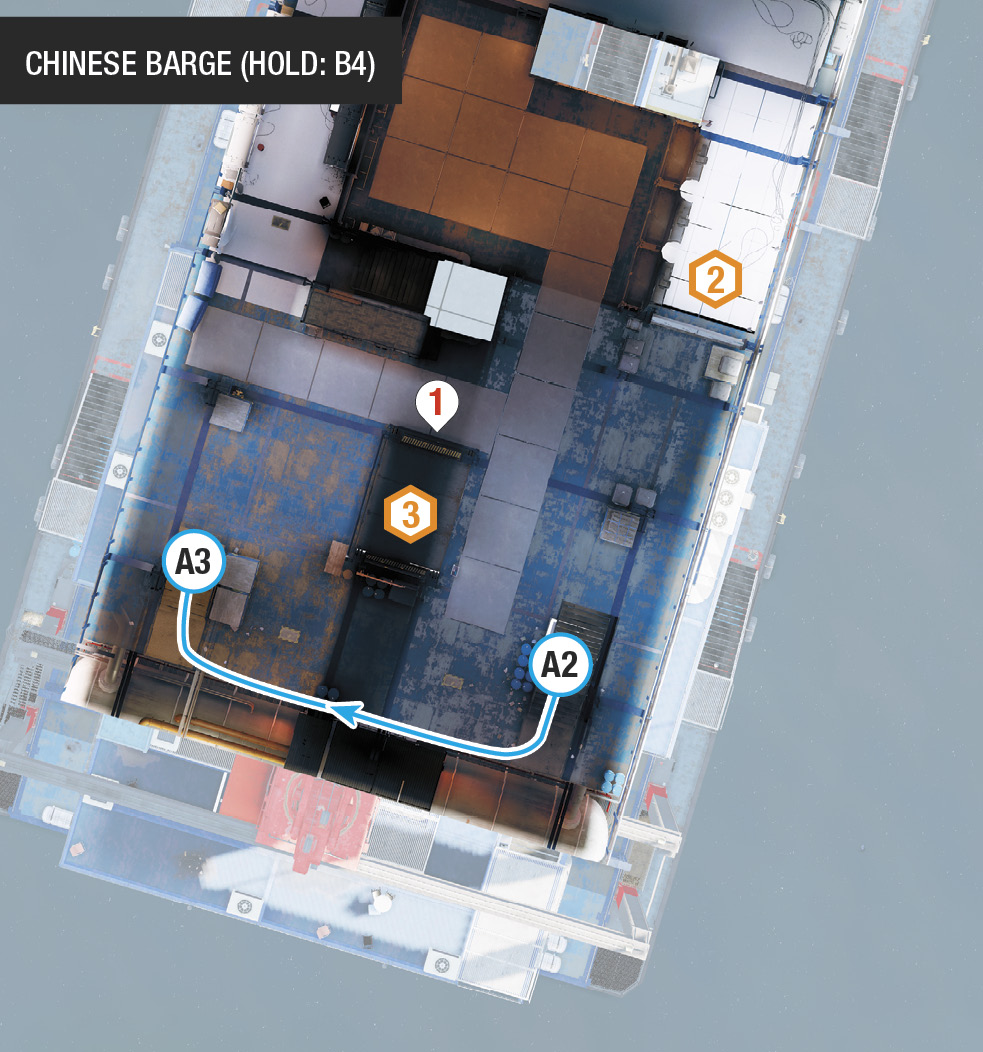
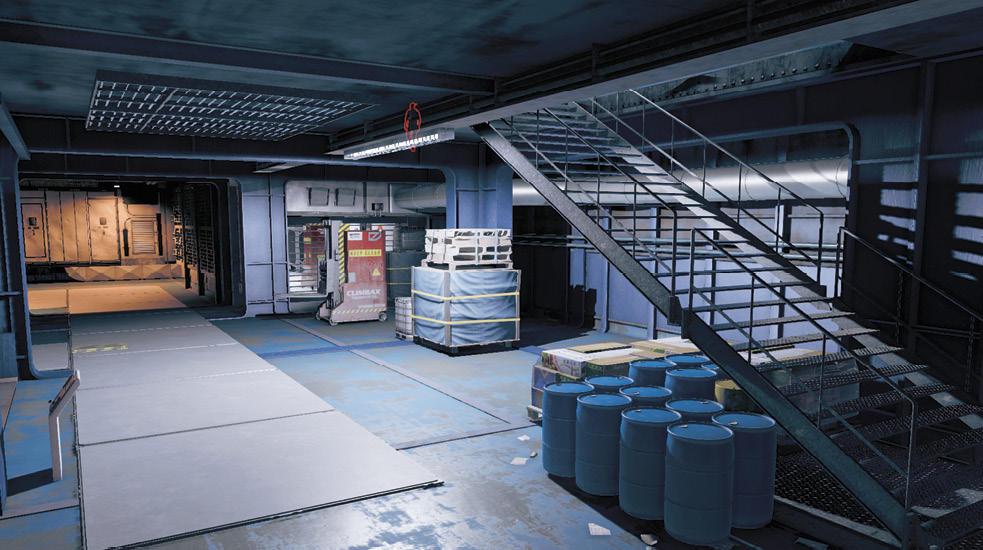
In the hold, there may be another guard. If one is there, he is likely to be stationary, in one of two positions: by some blue-tarped pallets on the room’s east side or to the northwest, close to the gas pipe and stairs up to the room filled with tablets and innocent personnel. Tackle this foe, then head up the stairs to the southwest (A.3, heading north).
Watch a foe pass you on the outer deck, then step left (west) through the opening and throttle him (A.4). Head south in a counterclockwise sweep along the outer exterior deck, then step into the server room near the “0” door and navigation room, and ascend the nearby stairs. You’re on the same floor as the main deck in the center of this vessel.
Drop behind the metal crates in the southwest corner of this floor (A.5). If there’s a foe standing by these crates, tase him as you ascend the metal steps from the floor below. Then look north to see one, two, or three guards. Distract and tase them all. At this point, the remaining guards tend to change position depending on how loud you’ve been. But continue the sweep, heading to the blue metal wall with the Chinese writing on it (western area, adjacent to the metal steps).
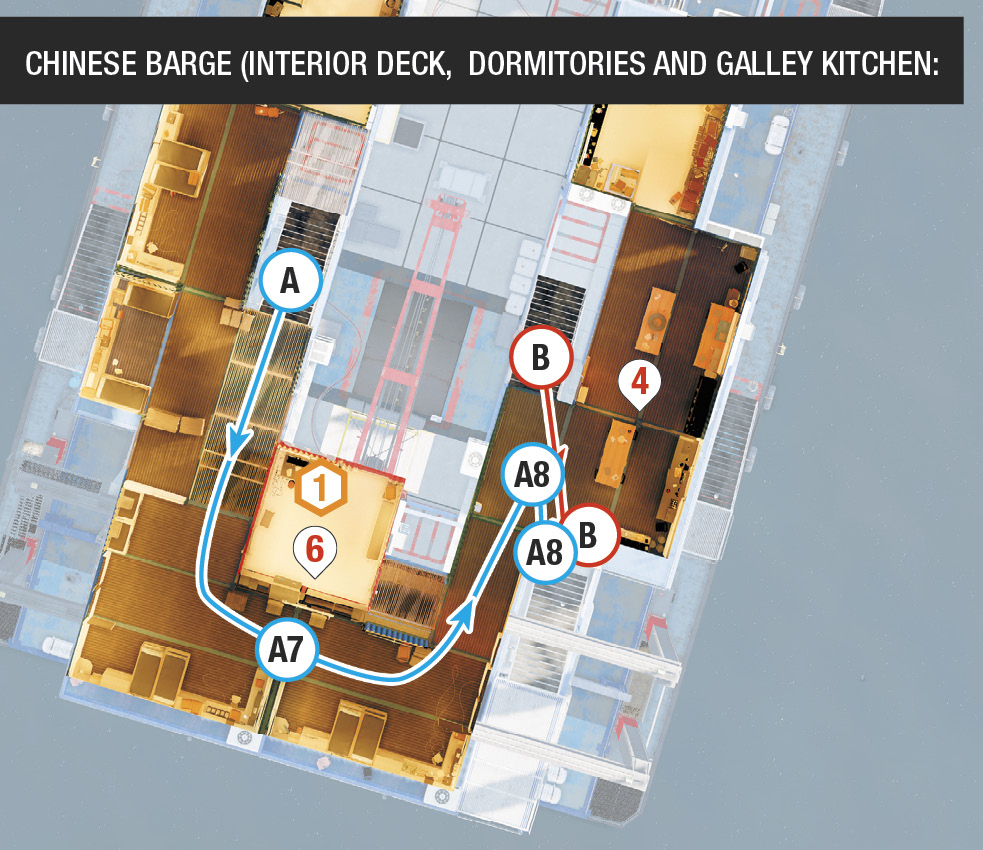
Wait by this blue metal wall for foes to descend the metal steps adjacent and 180 degrees to your right (A.6). If none appear, move around and head up the steps, watching for a patrolling guard two floors up who can see you through the gantry floor above you. Tase him or quickly move into the dormitory corridor (A.7), past the locked door (which you need the access code for).
Head counterclockwise through the dormitory, removing any threats you see, and drop a foe who’s likely to be in the galley kitchen area (A.8). Then take the stairs to the roof deck (A.9, southeast). There are three foes here—a sniper behind you as you ascend the steps, the target in the cabin with the access code, and the guard who could see you through the gantry floor. You can now neutralize all remaining threats.
However, foes will be waking up from their enforced naps by now, so quickly complete your objectives. Switch to Path B and start eliminating foes with suppressed shots, remaining on the roof for the height and cover advantage. Complete the objectives once you remove the foes.
 Top of the Deck

Eliminating opponents is best attempted when you have the height advantage and can spot (and use weaponry on) foes below you. Though it seems reckless, from IP 1 head right slightly, up the metal steps to the left side of the main deck (B.1). Immediately head up the left upper metal steps and throttle the foe in the galley kitchen. Ignore the guard patrolling the dormitory corridor ahead. Instead, head up the third set of metal stairs at the end of the galley kitchen, to the upper (roof) deck (B.2).
At the top of these stairs (at the same level as the guard with the access code), turn 180 degrees and quickly dispatch the sniper guard to your north. Then unlock the cabin room with the access code guard, step to the door, and tase the guard. Using NetHack, watch for a final guard on this upper level run to the opposite door in this cabin. Circle around outside, or remain inside, sneak up, and subdue him. Don’t sneak to his stationary position on the gantry near the metal steps, as foes below can see you.
From this point, use your suppressed weapon to permanently remove the guard threats. The first guard you defeated (in the kitchen galley one floor below) is usually seen by investigating guards first, so expect guards to head up the same metal stairs you did to reach the roof. Stay close to cover, and tase each one if you wish to keep fighting to a minimum, or you can start overly aggressive takedowns. The former is recommended. Keep using NetHack (and optionally the Quadcopter) to scan the floors below for the remaining foes as they ascend to attempt to battle you. There’s likely to be a pile of enemies near the metal stairs from the kitchen to the roof. Optionally seek and destroy any stragglers until no more threats are present. Then complete all objectives with zero enemy intrusions.
EXTRACTION PLANS
Assuming you’re not being actively hunted, once the data container is hacked, head to the ship’s lowest cargo hold, directly below the cargo elevator beneath the first objective. Use the stairs or the elevator, depending on the remaining foes. Then hack the forklift carrying the crate you need, and drive it to the elevator. Once you park it on the elevator, stand on the elevator and activate the elevator controls so the platform rises to the upper deck.
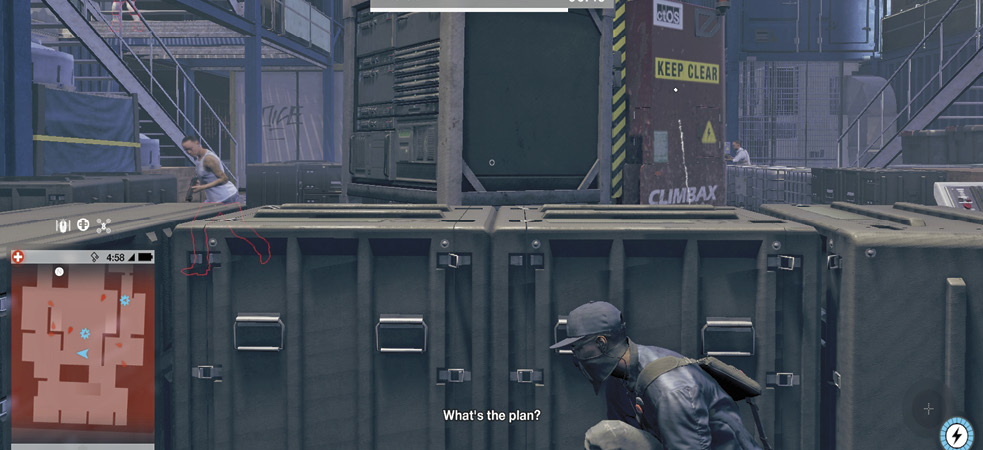
When you’re counting down the seconds to Josh’s drone arrival, feel free to try the following:
- Hop over the stack of metal crates by the elevator and hide behind them. If you haven’t removed any or all threats, the remaining foes attempt to search for you. However, if you remain hidden, you can wait these foes out until the minute is up.
- Remain in hiding anywhere on the barge, especially if you’ve hidden away and were using the RC Jumper throughout the previous part, and aren’t on the elevator when it ascends to the main deck.
- Engage in firefights until the minute is up or until everyone except you is neutralized.
Then head to the server where the elevator is so you’re hoisted to safety, and the operation concludes.