
Watch Dogs 2 Guide Main Operations Robot Wars
1. Operation—Drop the Baby
Objectives
• Gather 3 EMP parts (3). • Open the door for Wrench. • Plant EMP on Wrench Jr. Difficulty
RewardsDedSec Followers: +36,000 BriefDedSec plans to get inside Tidis proper and expose their secret programs, but to get past security, we need a plan and hopefully Wrench has exactly that. Hostiles
Location
|
 Meet Wrench at the garage.

 Umeni Security Corps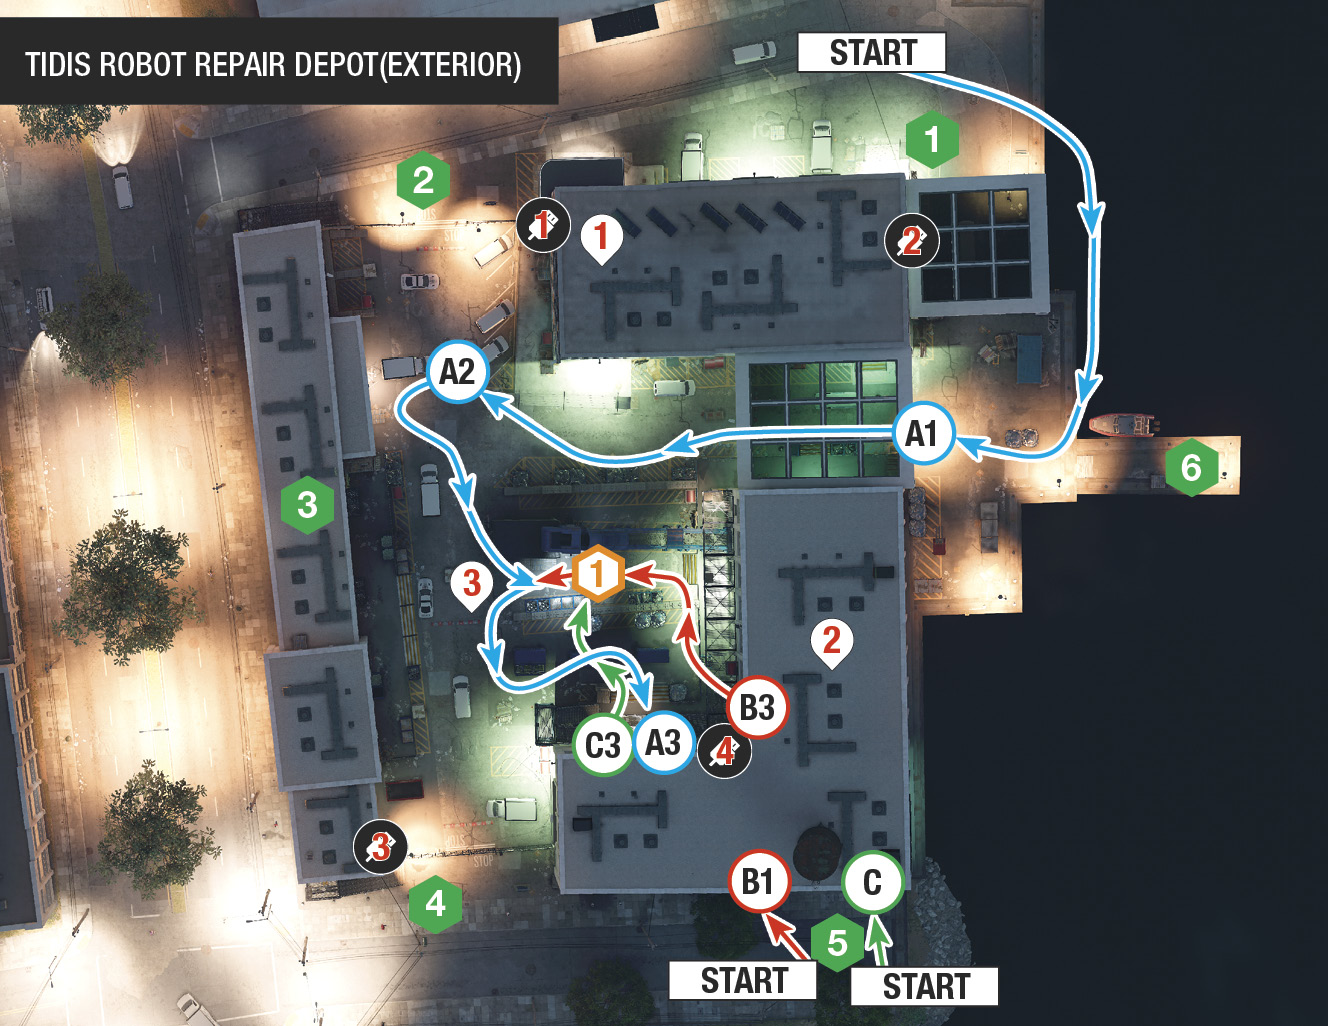
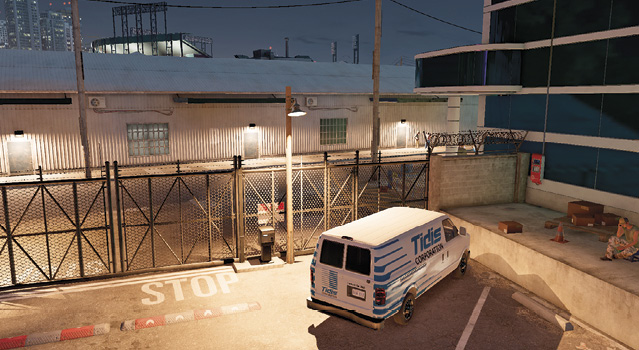
Head to Wrench’s garage, where Ray and Wrench have differing opinions on infiltrating the Tidis Corporation. After Wrench reluctantly agrees to hand over his baby (the robot Wrench Jr.) to be fitted with an EMP device designed to shut down the Tidis security long enough for DedSec to hack in, drive Wrench over to the Tidis repair depot and begin searching for the EMP pieces needed to prime the robot.
Infiltration Points
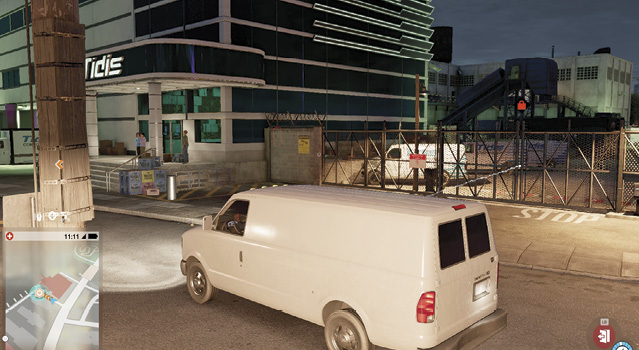
Unlock the adjacent CCT (behind the gate) to hack it, which has a well-armored guard patrolling the road beyond. Not the optimal place to infiltrate from, due to the high chance of being seen. Use the vent into the recycling warehouse to the right of this gate instead (and the RC Jumper). 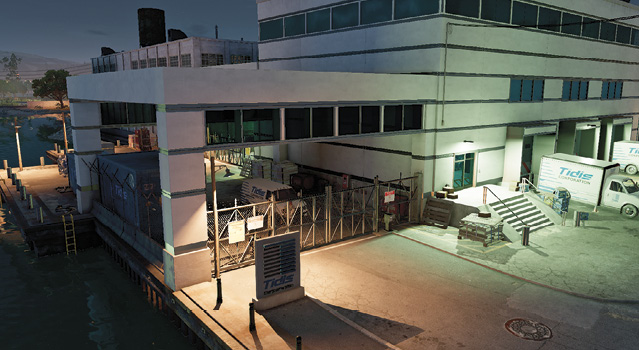
The gate requires that you unlock a nearby CCT, and the reception doesn’t allow access into the grounds. The gate leads into the parking lot and yard, which is teeming with foes. Instead, take the metal perimeter stairs to the northwest. 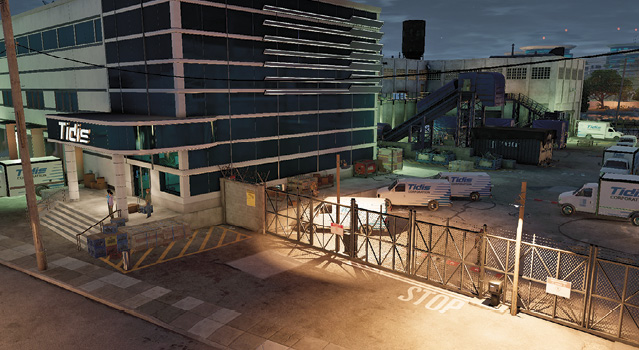
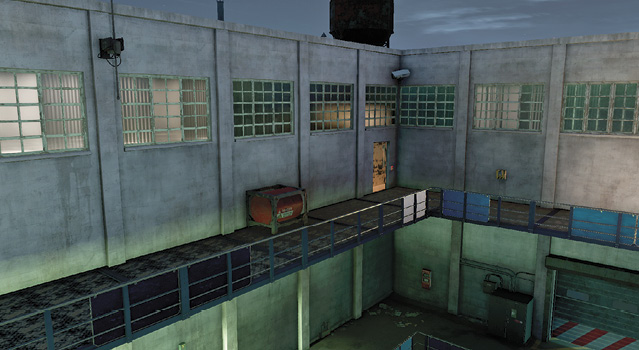
Accessed via the metal stairs to the northwest or southwest, the entire western warehouse (which you can’t enter) can be scaled. This is the premiere spot for raining death down on the foes, dropping grenades for reinforcement vehicles to drive over, and basically causing mayhem. It’s also good for surreptitiously removing foes with a taser, though enemies can easily walk out of range and see you. 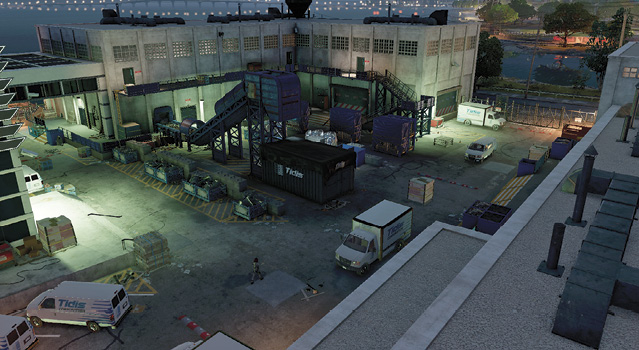
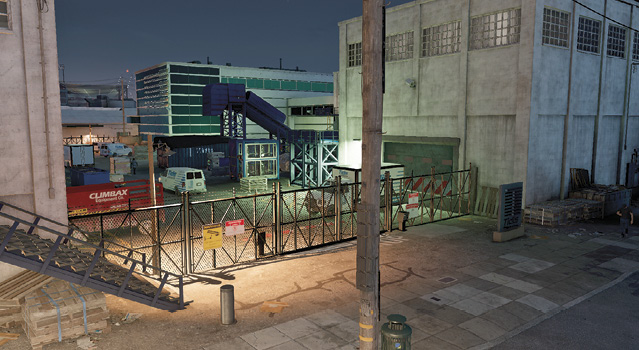
Just like the others, this requires you unlock a nearby CCT and has metal stairs to reach the western warehouse roof. This is a better gate to infiltrate from, as you’re nearer the objectives in the yard and inside the southeast conveyor warehouse. It’s also easier to sneak over an RC Jumper from here, too.
You need the access key to open this garage, but the adjacent vent offers immediate access into the southeast conveyor warehouse, where the key and two objectives are. This makes infiltration much quicker, and you’re not easily spotted. Don’t overlook this! 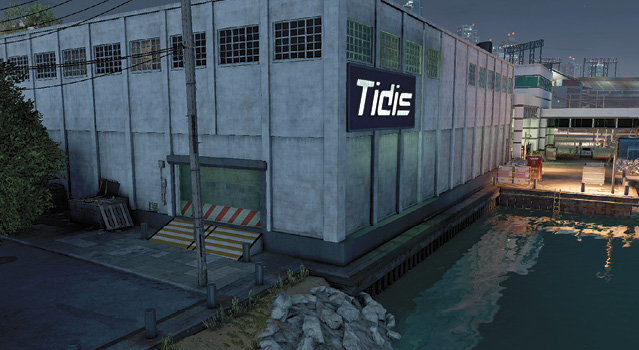
This is another great place to circumvent the gates and enemies; you can swim in or creep up from the southeast garage to this jetty area and be inside the northeast gate. The east gate is unlocked; use it during stealth routes. 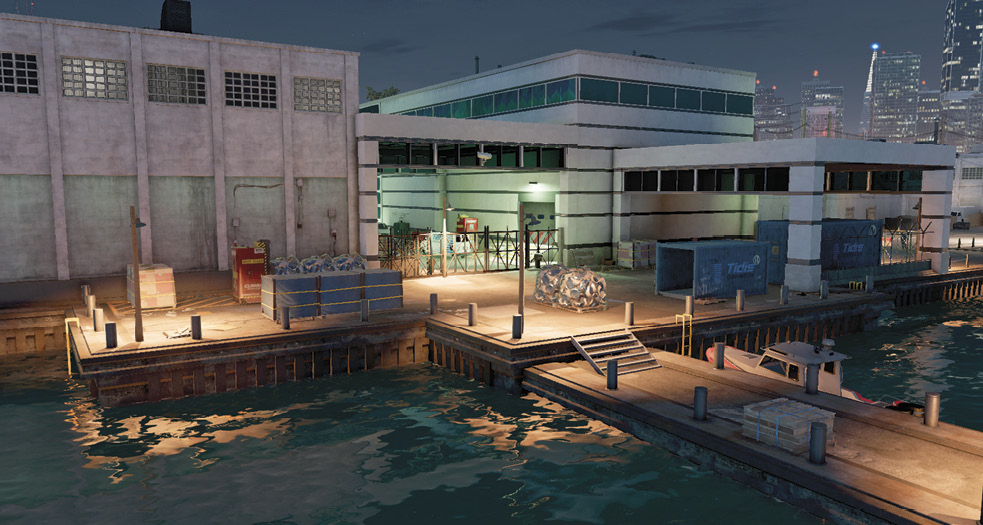
|
 Northeast Gate:
 Tidis Reception and Northwest Gate:
 Western Warehouse Roof:
 Southwest Gate:
 Southeast Garage:
 Eastern Waterfront:
|
 POIs and Objective Points
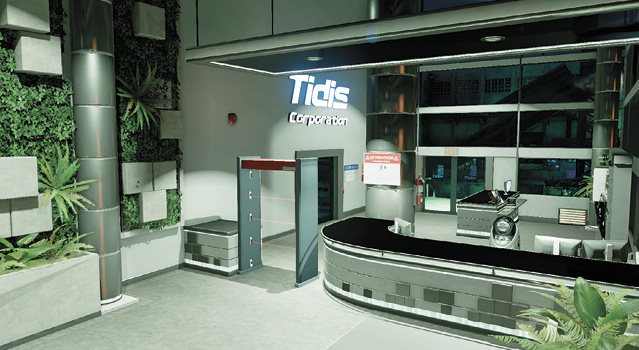
 Reception Lobby and Recycling Warehouse
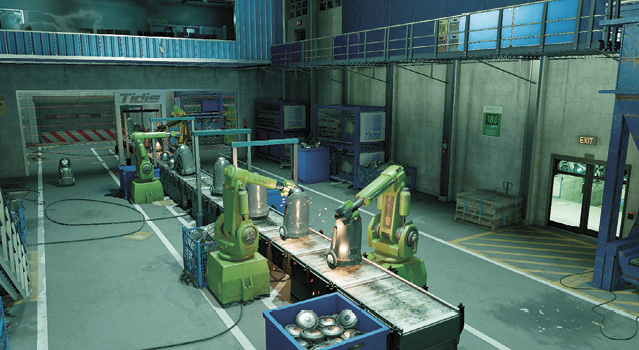
 Robot Construction Warehouse
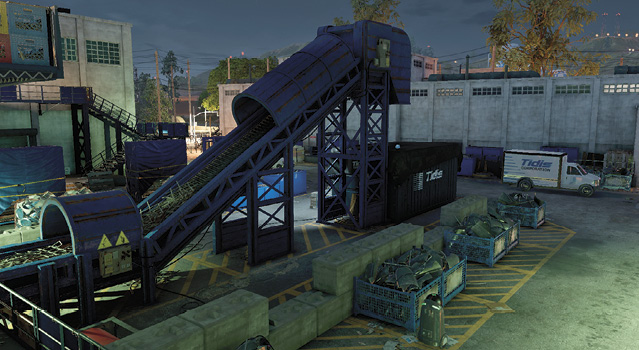
 Factory Yard


 Closed-Circuit Terminals (Gates x3)
 Closed-Circuit Terminal (Research Point)
 Access Key (Southeast)
 EMP Piece #1
 EMP Piece #2
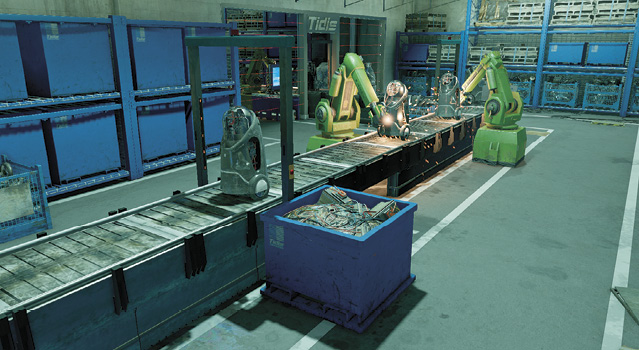
 EMP Piece #3
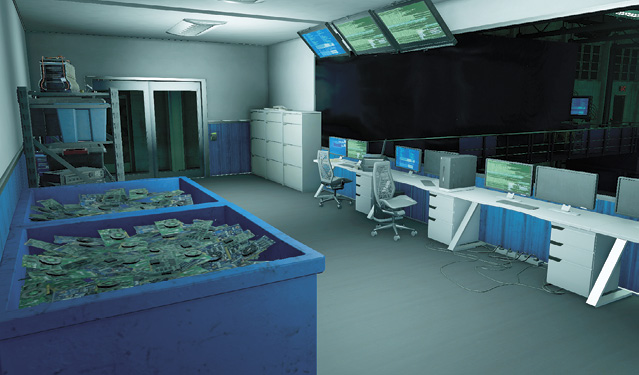
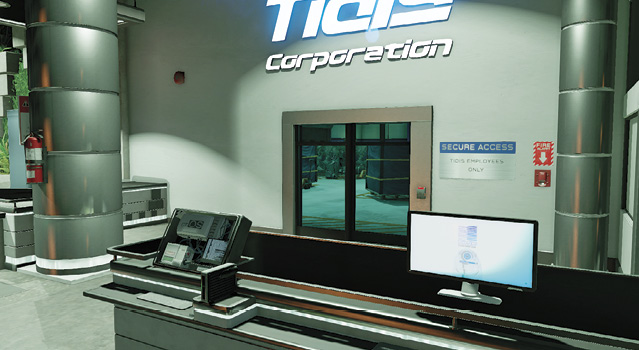
 Reception Computer
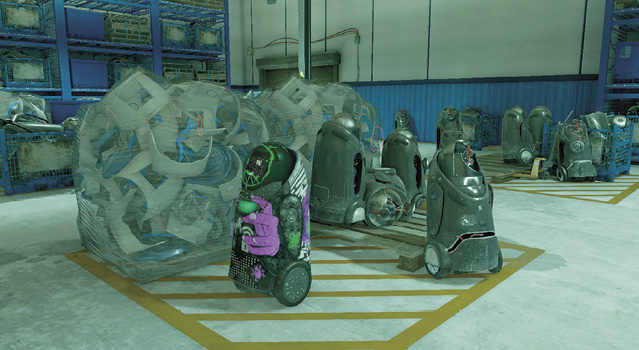
 Wrench’s Robot
Paths To Completion
 Finding Peace

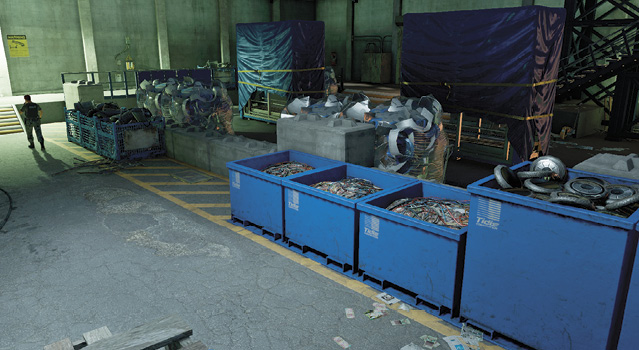
This completes the infiltration with all enemies neutralized and collectibles gathered. Enter via Infiltration Point (IP) 6. Jump in the water to the left, swim to a ladder, and climb up to the guard by the northeast gate (IP 1). Throttle him after calling his phone or distract him using the explosive pallet (don’t detonate it). Now access the eastern gate (A.1). Confuse or power down the three robots patrolling the raised concrete area, the open recycling containers, and the yard; then claim the collectible.
Remain in the yard (A.2), and sneak around to the interior (yard) side of IP 2. Use the crates and parked vans near the reception building (after neutralizing the reception robot); tase and then kill with suppressed fire the northwest gate guard and the three guards in the yard. Periodically look for robots to power down or confuse.
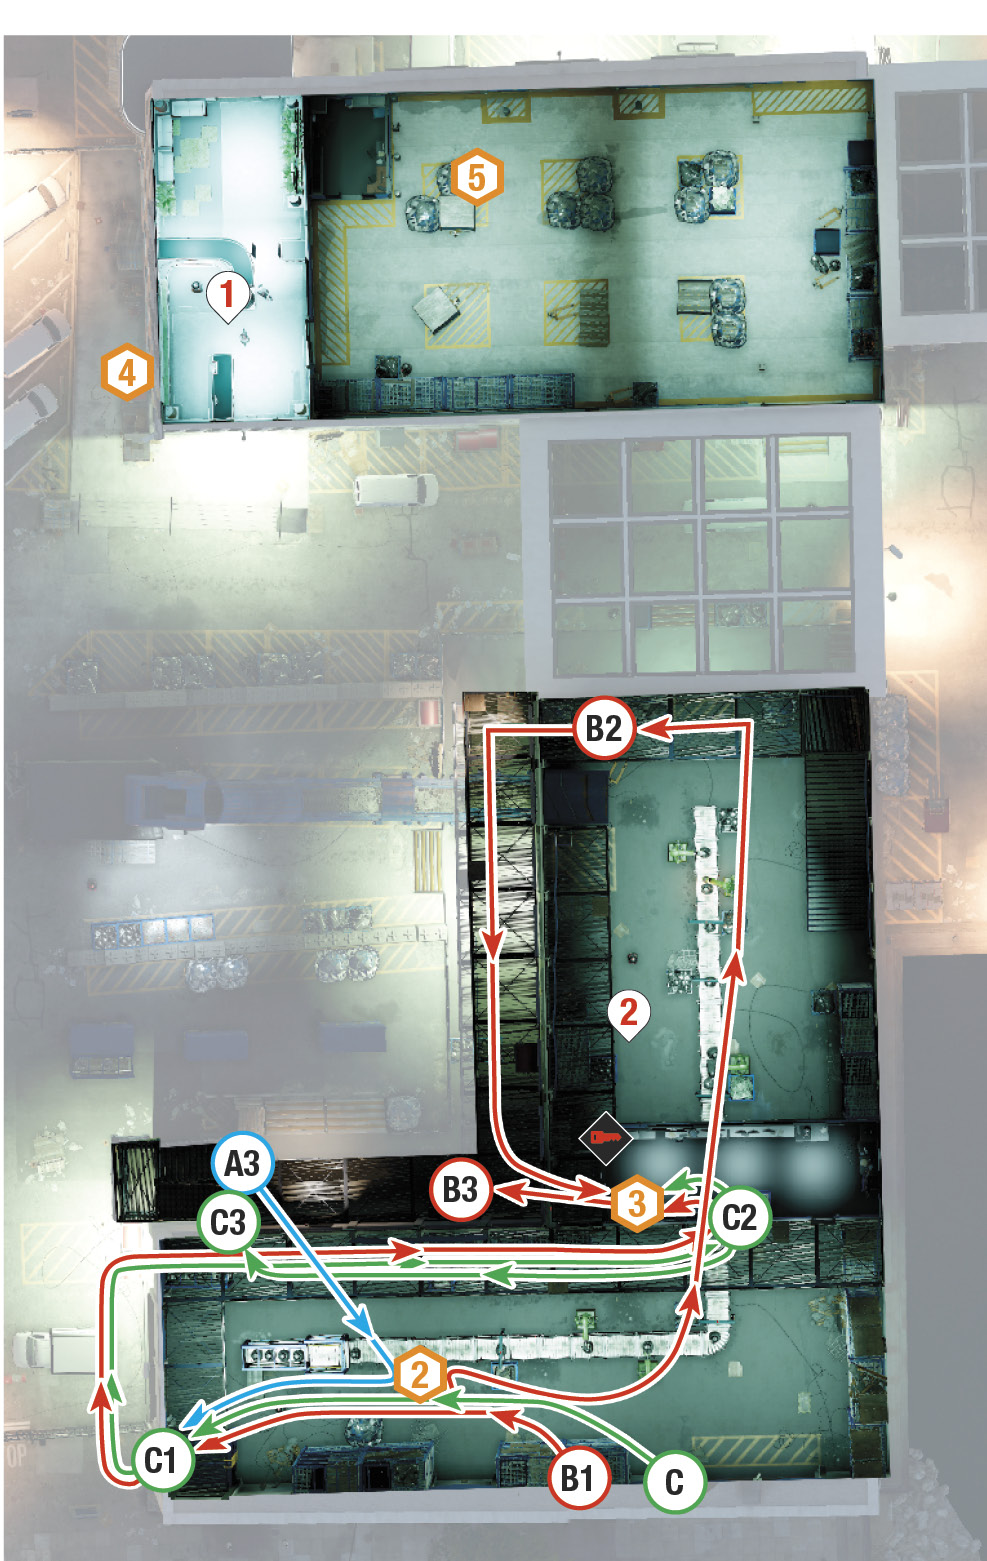
Reinforcements still shouldn’t have been called. If you’re lucky, the two guards inside the conveyor belt warehouse open the garage door (A.3) and look for you; use stealth and cover, then tase each before shooting them. This neutralizes all human foes. Now you can easily gather the collectible and EPM piece from the yard before entering the warehouse (A.4) and taking the two other EMP pieces. Technically, this is possible without even having to acquire the access code.
 Finding Piece

This is the quickest way to claim the access code and all three EMP pieces without even setting foot in the restricted area! Start by running around the perimeter of the Tidis buildings to reach IP 5. Using the RC Jumper, hack the vent and drive straight into the conveyor belt warehouse (B.1).
A variation on this route is to start at IP 1, and drive the RC Jumper south through the recycling warehouse. Hack the two robots in the side yard, and enter the conveyor belt yard.
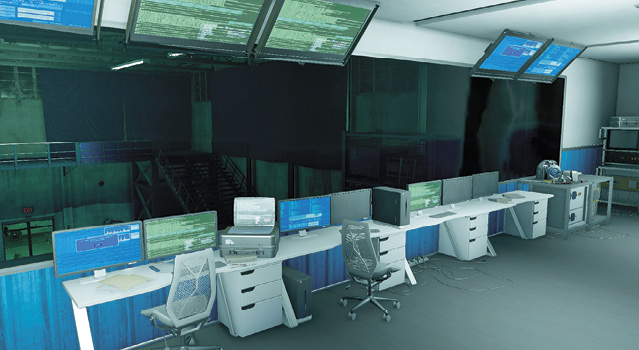
Neutralize the robot to the left, and gather the first EMP piece. Take the metal stairs to the gantry (B.2); turn to face the metal interior cabin and jump the railing to the next gantry to reach the cabin door. Hack it, enter, and gather the second EMP piece and the access code. Need the access key? Jump vertically to see the laptop from the gantry, and hack it. Or, pass under the motion lasers on the gantry, turn left, and enter the unlocked, hackable door behind the cabin.
Exit via one of the upper doors out into the yard (B.3). Scan the area for foes and drop down near the last EMP piece without being spotted. Then gather the EMP piece. At this point you can grab both collectibles, too.
 Takedowns Cease

This alternative route allows you to gather all three EMP pieces and the collectibles without harming anyone (just confusing robots). Fly your drone through the vent at IP 5, to the cabin, and hack the laptop for the access code. Use the code to open the garage door at IP 5.
Step inside and gather the EMP piece from the ground-level box. Stay on the ground and creep west (C.1), to the ladder left of the closed garage door. Climb it to the gantry way. Move to the cabin and use the door at the gantry’s far east end (C.2); don’t use the one on the north-south gantry, as there’s usually a guard there. Gather the second EMP piece.
Then simply head back along the gantry, hack the door to the upper balcony, and drop down into the yard (C.3), ensuing no one has seen you. Gather the EMP piece (and collectibles with a bit of robot hacking). This also sets you up nicely for the next objective at the nearby reception lobby.
Let the Violence Increase

Start a violent assault from IP 3, climbing the stairs to the ladder to reach the western warehouse roof. Here you can hack vans to back up into foes, trigger scenic proximity traps and explosions, rain projectile death down on enemies, and realize some of these enemies are well armored and need bombs or tasing to drop them. There will be reinforcements, so drop bombs just outside or inside the gates so their vehicles explode as they arrive.
Once you gather the three EMP pieces, Wrench is allowed access into the recycling warehouse via a hack of the reception office computer. After you plant the EMP charge on the robot and leave the restricted area, this part of the mission concludes.