
Watch Dogs 2 Guide Main Operations False Profits
4. Operation—Missing Persons
Objectives
Difficulty
RewardsDedSec Followers: +30,000 BriefJimmy Siska shared rumors about the “Red Room,” a New Dawn compound where they take troublesome members for rehab. If there’s any matches to burn the church down, you’ll find it there. Hostiles
Location
|
 Meet Miranda by the beach.
 Steal the registry of occupants.
 Bust out Jimmy Siska.
 Leave the educational center.

 Umeni Security Corps
 New Dawn Spiritual Ascendence Center, Ocean Beach,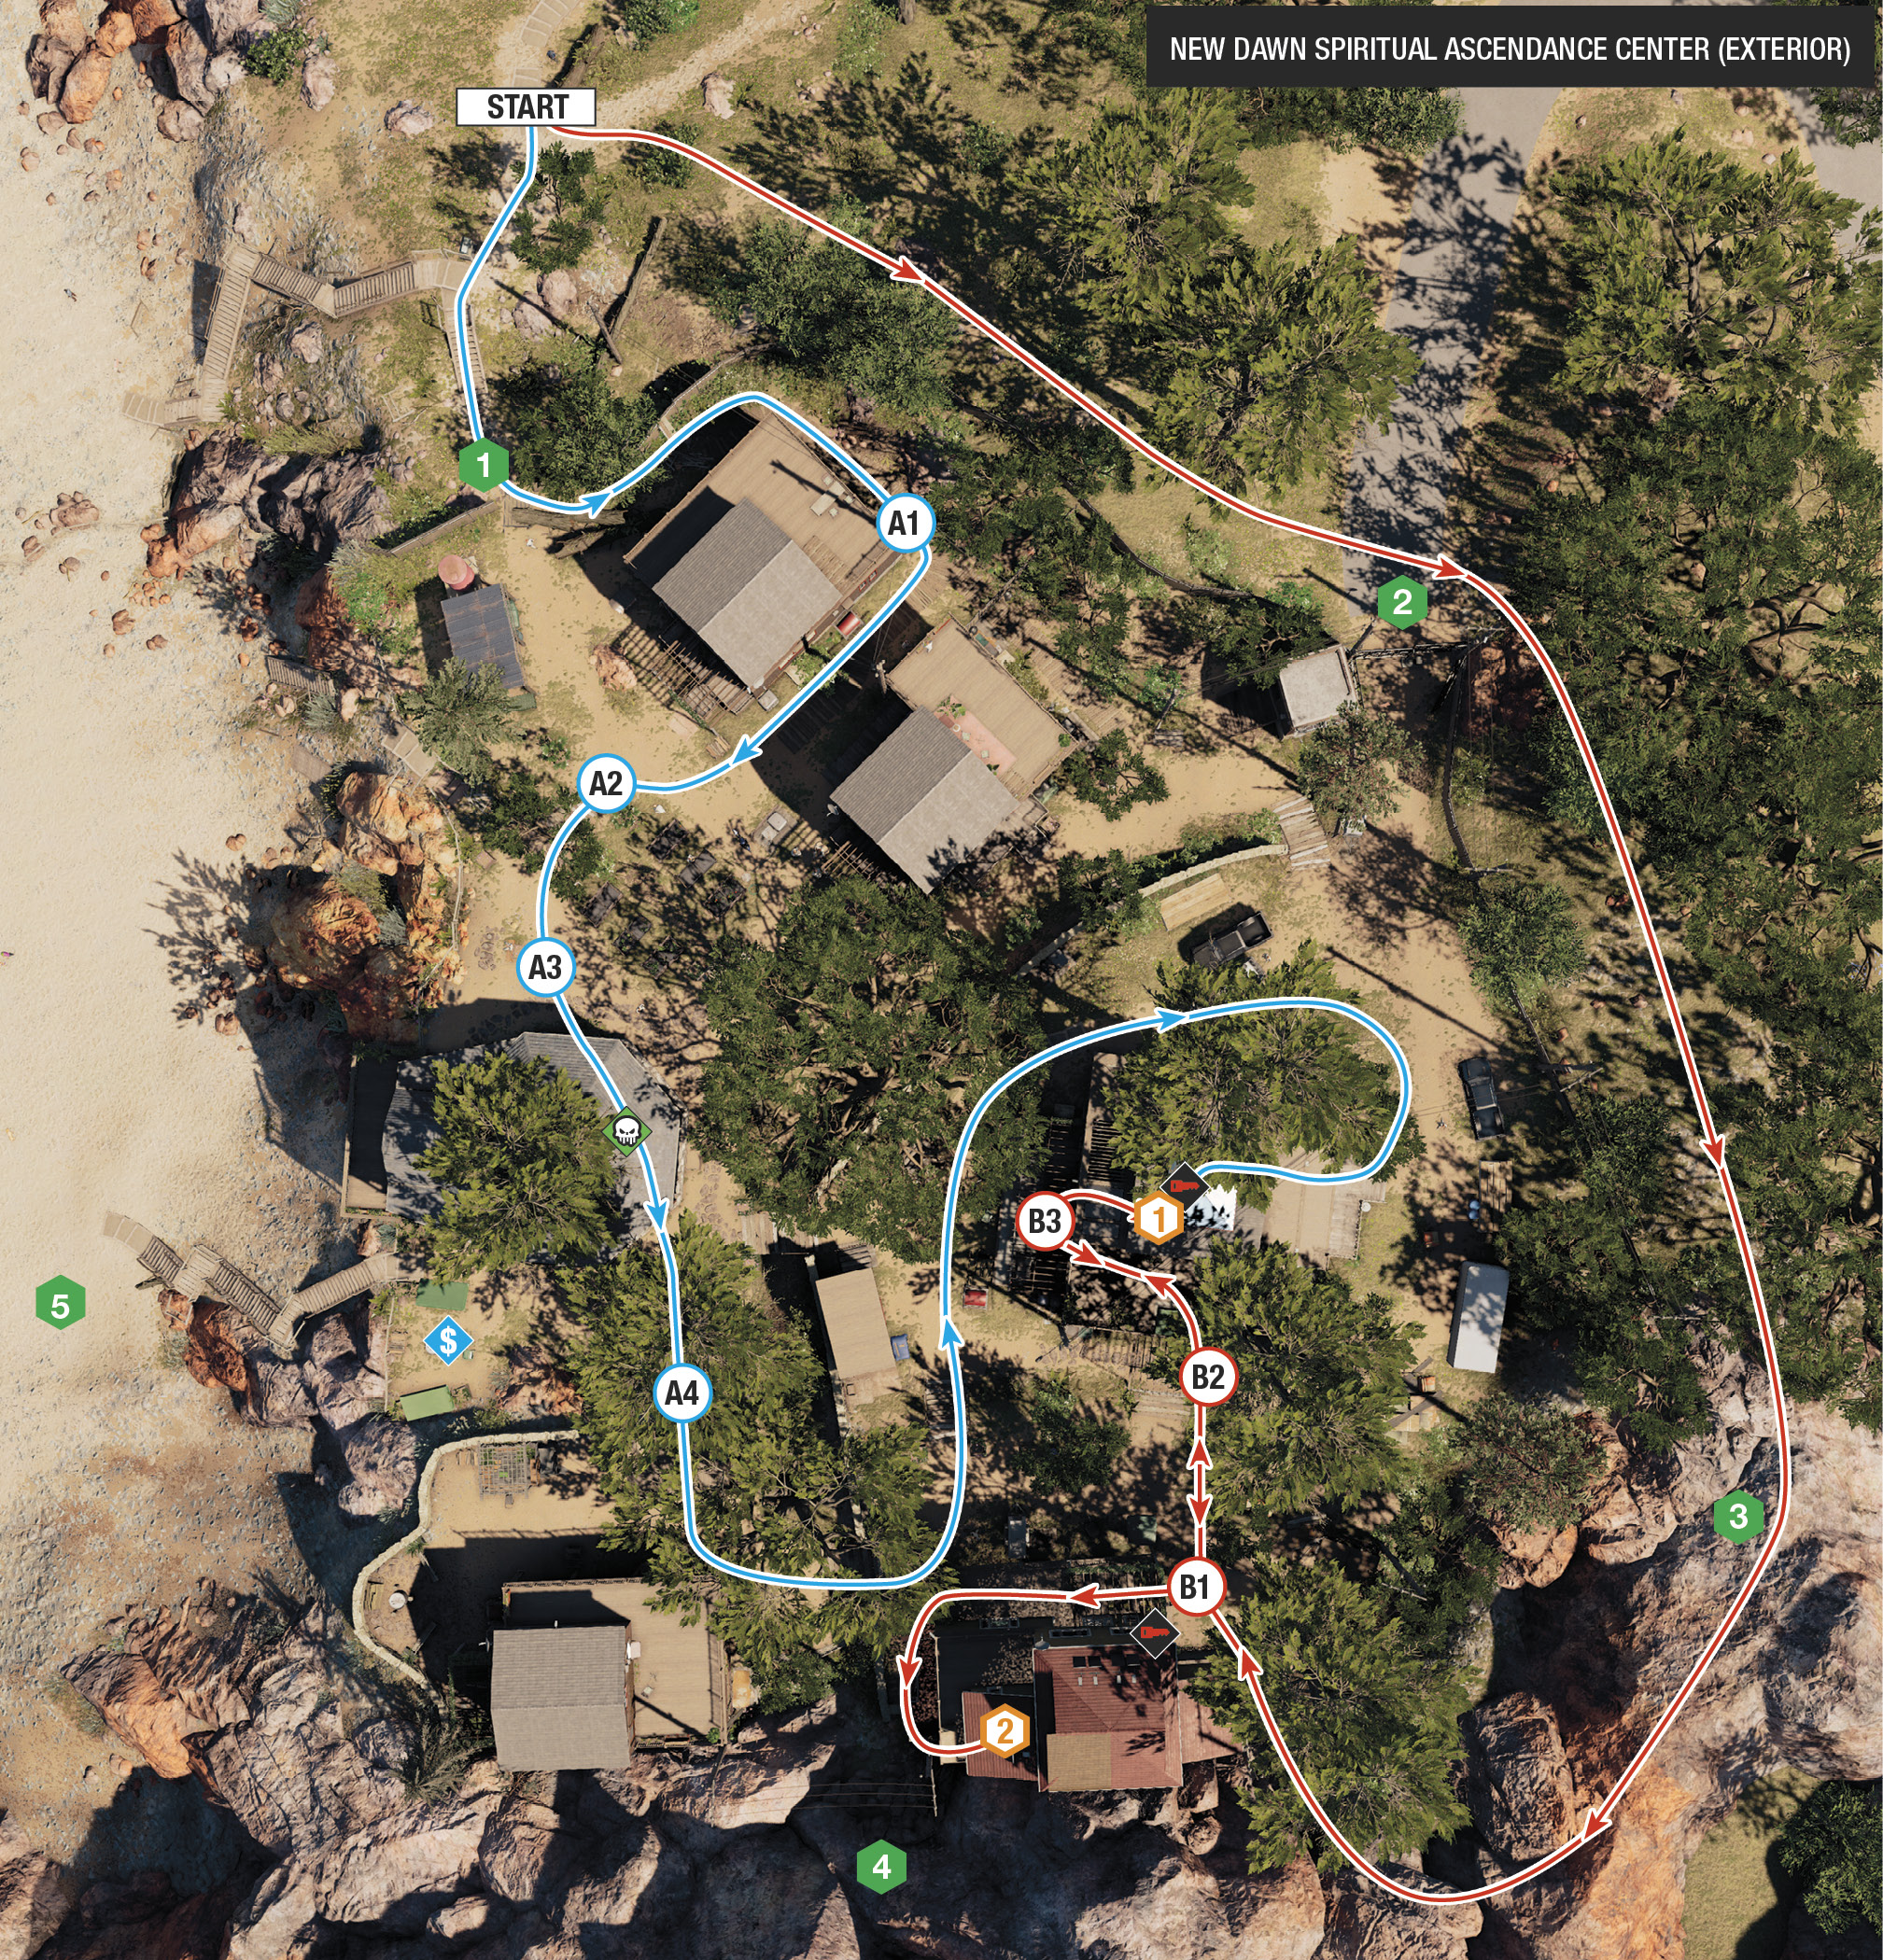
Outside Jimmy’s hotel, you mention the actor’s fear of something called the “Red Room”—a rehabilitation center where problematic church members are sent. You plan to meet up with a councilwoman named Miranda, who the church has targeted in the past. Drive there when you’re ready. You meet her on the beach.
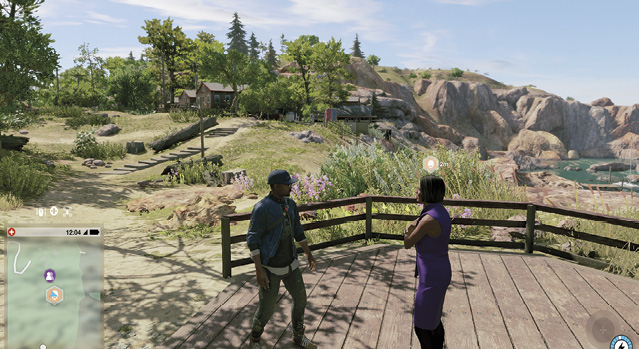
Infiltration PointsTime to assault the place and locate the registry. As you’d expect, there are many ways to accomplish this. To start, learn the different infiltration points of the Center:
This is the preferred method of intrusion, especially as it’s the closest to your starting point. You don’t need to climb, and the initial guards are relatively easy to subdue (using Path A’s plan.) 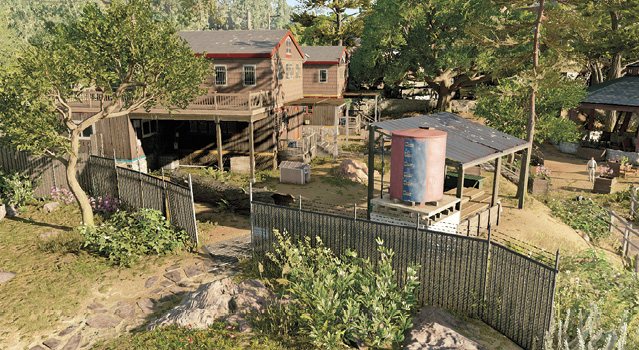
This gate is currently locked and requires an access key to open. Utilize a drone to obtain the key, and enter from this direction. However, it’s easy to be spotted sauntering through here, so it is better to unlock this and use it as an exit point. 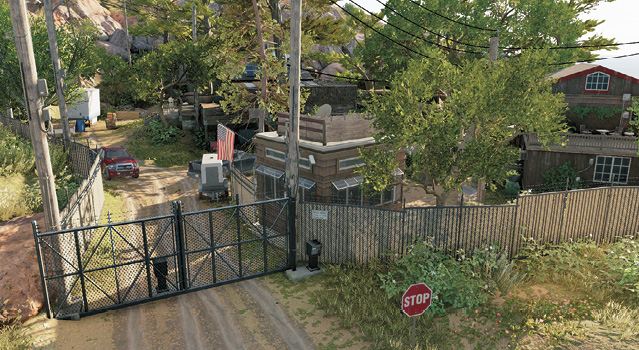
Scrambling up the rocks is also a plan, but only in the southeast corner. Your descent can be noisy and you may be spotted, but there’s a small fenced Dumpster area and a container truck to hide behind if you infiltrate from here. 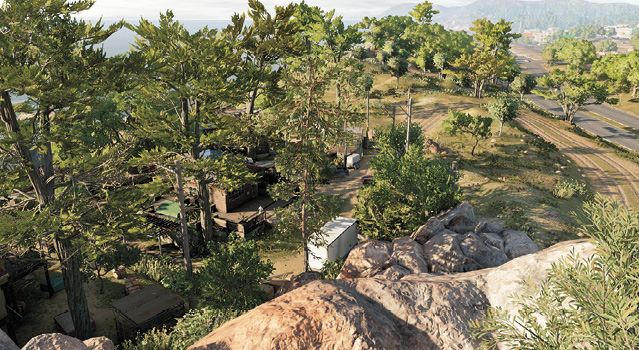
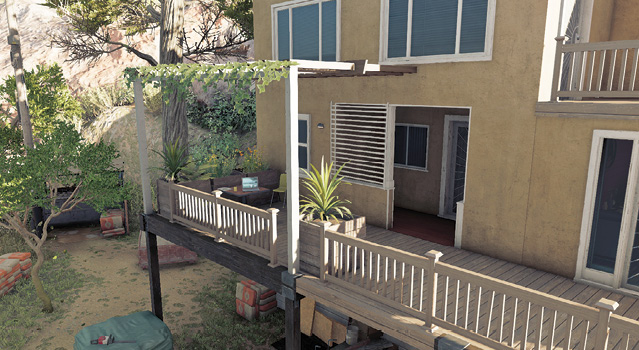
Accessed by scrambling over the hillside rocks, you can actually clamber up and onto the roof of the house where Jimmy Siska is being held. This is a cunning route to take if you wish to avoid all threats during the next two objectives. 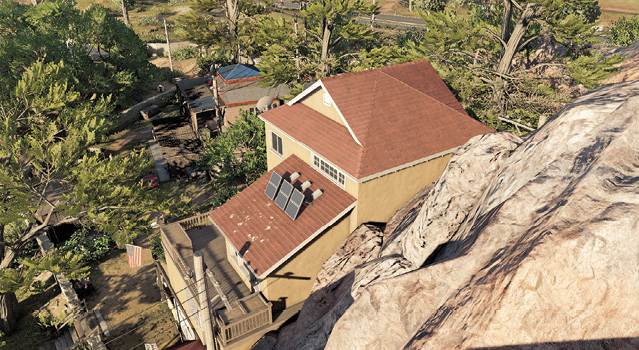
Not the wisest of insertion points, as the sandy slopes are difficult to navigate, the enemies can easily see you coming, and hostiles are usually above your position. Expect violence to quickly escalate from this direction. 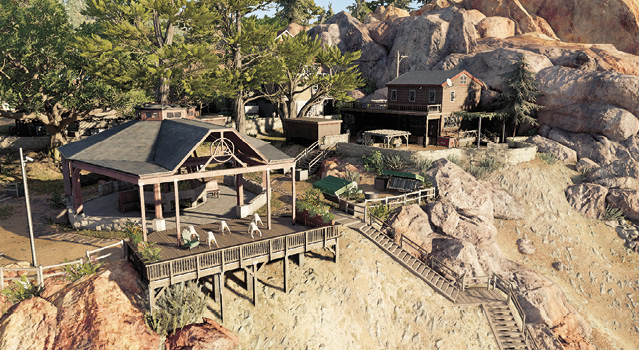
|
 Gap in the Fence (Northwest):
 Main Gate (Northeast):
 Hillside Rocks (Southeast):
 Jimmy’s House (South):
 Ocean Beach (West):
|
 POIs and Objective Points
 Access Keys 1 (Guard) and 2 (Laptop)
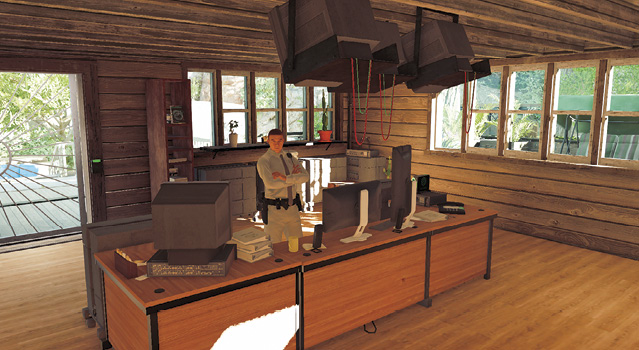

 Key Data and Collectible
 Data Container
 Jimmy Siska

Paths to Completion
With the main infiltration points known, begin your assault on the compound. It’s first wise to use NetHack and the cameras to scan and tag all of the guards. Note that some can call an additional four reinforcements, and all are easily startled. Also remember you can complete each of the two objectives in any order.
 Silent but Deadly

How about the optimal stealth route that allows you to remove all guard threats with a melee throttle and gather both the key data and collectible on the way? While you talk to Sitara about Miranda, head up the sandy steps, enter via Infiltration Point 1, and keep left. Hug the perimeter fence on your left, and head around the side area of the inaccessible building.
Crouch at the stack of milk crates at the corner (A.1). Watch for the guard moving your way, near the cabin steps ahead and left of you. Strangle him quickly, then be aware of the guard patrolling the vegetable planters (southwest). Head towards him, using the scenery on your right to hide, and strangle the second guard at the vegetable patch (A.2). Alternatively, if he sees the body of the first guard, keep hiding behind the AC unit (right wall), then step out and melee strangle him as he passes you.
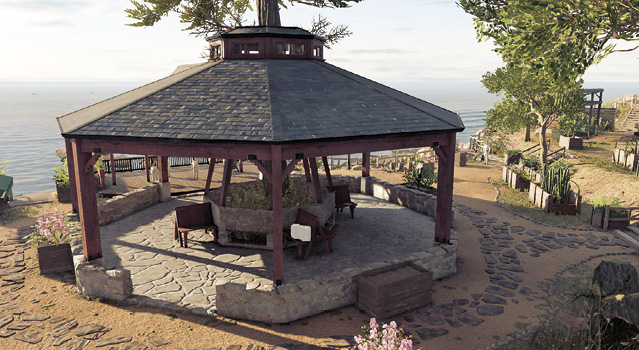
Time for a stroll under the gazebo. Head down the steps to the right of the vegetable planters, watching the movements of the guard in this area. Drop behind the planter of purple flowers (A.3), using this cover to maneuver behind the guard and choke him out. Move under the gazebo’s left side to grab the key data, then to the fire pit to nab the collectible.
Climb the steps by the low stone wall ahead of you (A.4), timing your movement so the guard is heading from left to right (toward the beach bluff); this way you won’t disturb a subsequent guard. Head back down the steps, up the second set of steps nearby. The cabin with the objective is ahead and slightly left of (and above) you. Hide by the woodpile and hack the explosive pallet so it sparks. When the nearby guard investigates, strangle him.
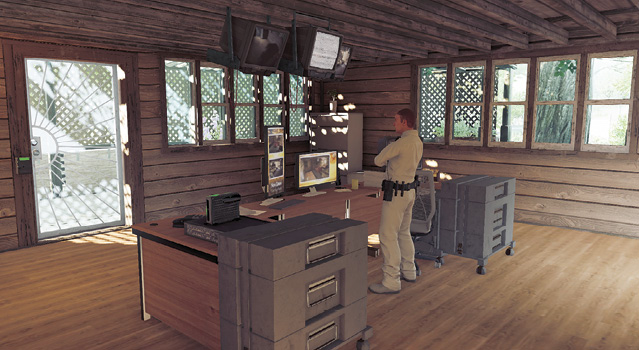
Move counterclockwise around the base of the objective cabin. When the guard near the two trucks has his back to you and you’ve crept under the cabin to get closer to him, creep out and strangle him. Then move quickly up the cabin steps, strangle the foe on the deck, and finally hack the door and remove the final guard inside. Hack him for the access key before unlocking the data container.
 Silent but Deadly

Need to complete both objectives while interacting with the least number of guards? Have your taser (or phone hack distract) ready just in case, but run around the compound and enter via the southeast rocks (Infiltration Point 3). Move west, then look at the cabin, which has the data container in it. Using cover, move to the low, sand-filled container with sand in it (B.1), the sandbags, down to the purple flower planter, and across to a second flower planter by an oak tree (B.2).
Climb the planter and vault onto the deck by the swing set. Drop into cover before the guard on the right sees you (or distract or shoot him with the taser). Head around to the west locked door to the cabin (B.3) and hack it. This alerts the guard inside, so creep to the window (left of the door), and hack the opposite door, making the guard turn around. Creep inside and strangle or tase him. Hack his access key. Then hack the objective data container.
Exit the cabin via the same door, head onto the trellis behind the swing set, and go back down to the concrete bag pallets. Head across to Jimmy Siska’s house, dropping down behind the generator trailer near the guard at the bottom of the stairs. Though it’s possible to creep up the stairs when the guard has his back to you, it’s better to simply distract or tase him before heading up the steps and releasing Jimmy Siska. Need to flee in a hurry afterward? Go for the beach or the main gates.
Silent Running

Path B can be attempted more easily by simply using the RC Jumper and running the same route (providing you’ve improved its jump function; otherwise, use the main cabin steps to the east). Or you can distract the guard by hacking the west doors, then the east doors before driving the Jumper in and hacking the data container with the guard standing right next to you! Then drive the Jumper over to Jimmy’s house. Distract the guard and then drive up the steps and untie him remotely. Leave the area without even setting foot inside. Need the collectible and key data? Gather that using the RC Jumper too!
Everybody Dies

You can reasonably expect to survive a firefight with these guards if you storm the place (via any recommended Infiltration Point), and use the cabins to hide behind. The explosive pallets are good spots to cause carnage—but the explosions can kill you too.
However, it’s much better to equip the Quadcopter with explosives, jog to the main gates, and hide nearby. Launch the Quadcopter to fly over the compound, catching most of the guards in proximity traps using the explosive pallets and junction boxes. Any stragglers can feel the heat from a dropped electroshock or explosive bomb. Then stride in via the main gates after using the Quadcopter to hack either access key.
Ride or Die

Need to announce your presence and possibly get yourself killed in the process? Then take a fast bike, approach Infiltration Point 5, drive up the sand bank just left of the main wooden stairs, and launch yourself into the Center grounds. With some luck, speed, and the Engine Override skill, you can jump to the right of the gazebo and almost land on the cabin you need to reach! Or, you could hit any number of buildings or walls, go flying, and get killed by guards.
Leaving the center is straightforward: proceed to the cabin balcony, jump the railing, use the dirt road east of the registry cabin, and head through the now-open main gates or hop the fence. There are trucks you can use to flee the area, or use one of the bikes parked in the compound. Once you move past the perimeter on your minimap, this mission concludes.