
Watch Dogs 2 Guide Main Operations Eye For An Eye
4. Operation—Root Canal
Objectives
• Neutralize Travino. • Neutralize Guttierez. • Neutralize Huerta. • Leave the area. Difficulty
RewardsDedSec Followers: +24,300 BriefScrew the Tezcas for what they did to Horatio, and trust me, you’re going to screw them hard. Hostiles
Location
|
 Avenge Horatio’s death.

 Tezcas Gang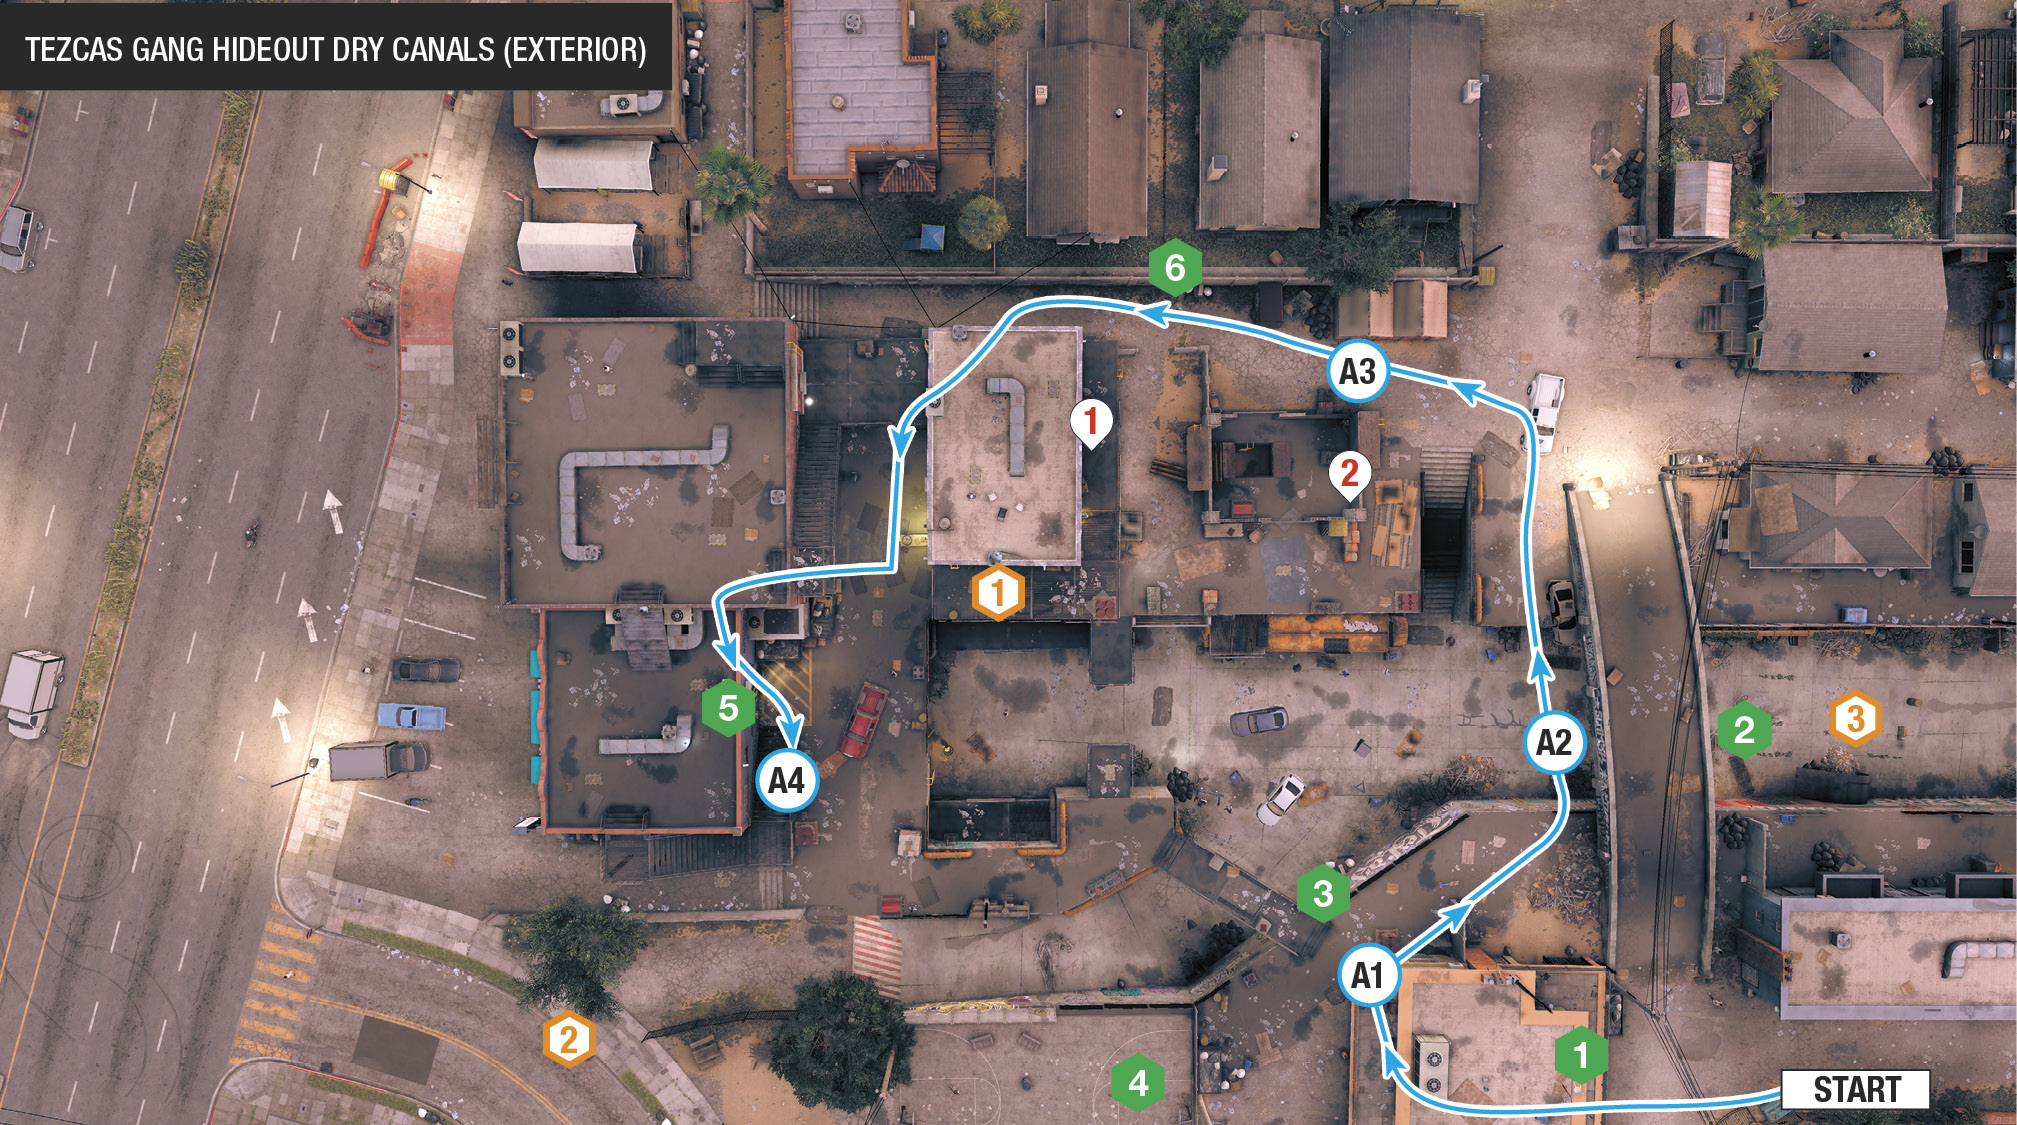
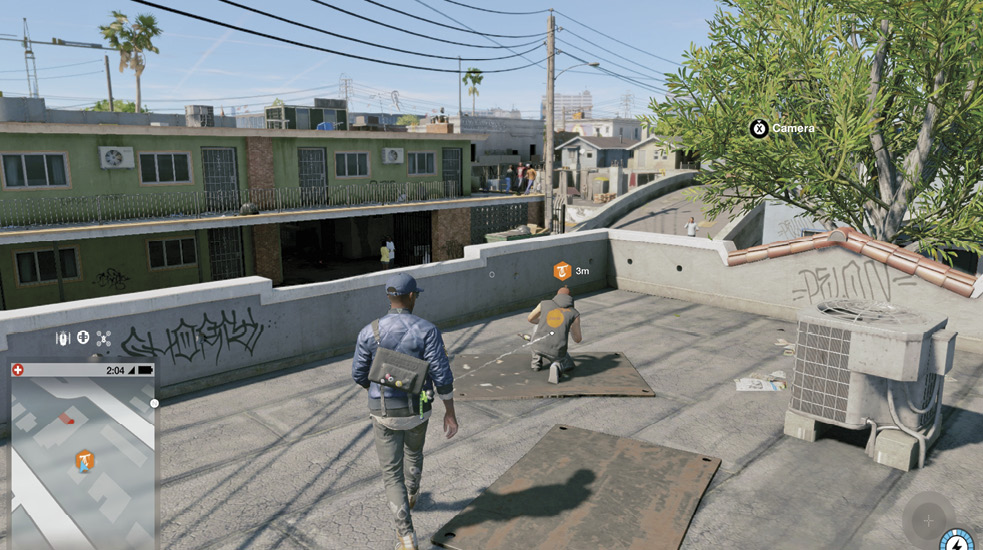
Drive to the dry canals, and hop on the roof of a house where your DedSec contact has been watching the Tezcas. You’re given details of three gang members involved in Horatio’s disappearance. Time to neutralize them.
Infiltration PointsHere’s how this usually goes down: One of the three gang members is already at the hideout. A second shows up after a minute, and a third one a minute after that. As soon as you take out two of the three targets, the third one flees in a vehicle. This can lead to a car chase. Or it can lead to Tezcas burning wreckage if you’ve prepped the exits with bombs.
Access this via the steps or the Dumpster near the humped canal bridge. This is a great spot to snipe from or control your drones if you prefer remote takedowns. It is usually completely safe from foes and offers great views. 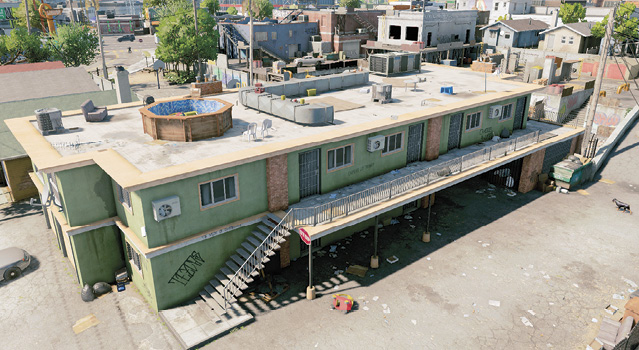
Exposed and occasionally featuring a patrolling foe, this is one way to loop counterclockwise from your starting point. It’s also a good spot to drop a bomb on the third target as she arrives. 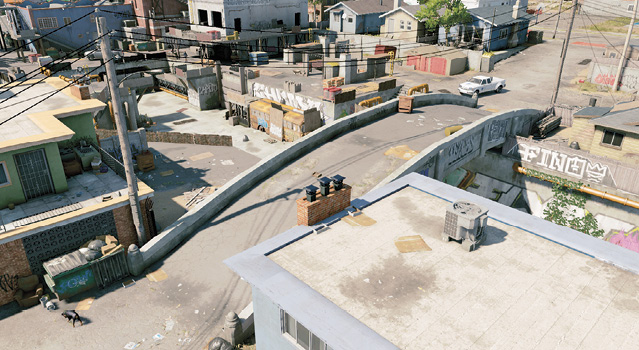
This metal structure has two guards patrolling and is very dangerous to enter, as you’re almost totally exposed. There are numerous gas pipes to prep proximity traps and ladders to and from the canal basin below. Avoid this area. 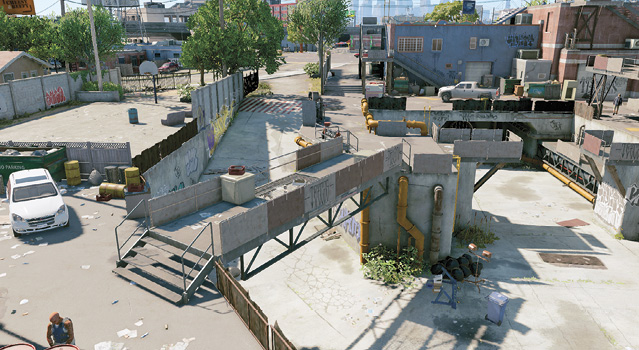
This perimeter is rarely utilized unless you’re wanting to maneuver beyond the restricted area to a different infiltration point. Target #2 enters from the road in the southwest corner, so watch your step when heading here. 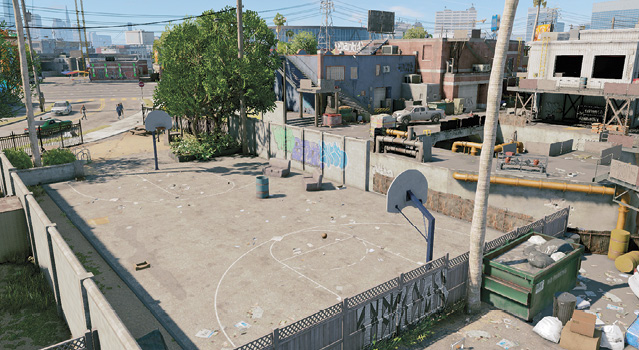
Though the stores are closed, the rooftop of this large brick structure offers exceptional cover and sniping potential, as long as you can maneuver here up one of the two connected metal stairs. Path A shows you the way. 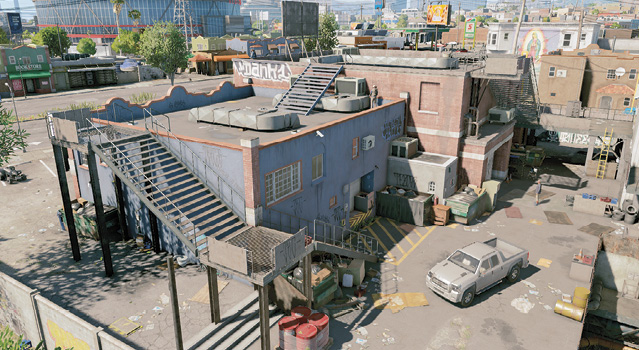
You use this in one of the paths below. Sit atop here and leap from the low rooftops of the homes outside the restricted area. This means you’re less likely to be attacked, and you have good height to see targets around the garage warehouse area. 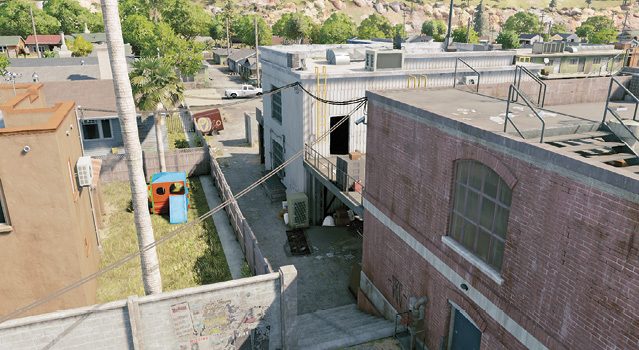
|
 Green Apartment Building (Southeast):
 Humped Canal Bridge (East):
 Small Canal Bridge (South):
 Basketball Court and Park (Southwest):
 Store Fronts and Roof (West):
 North Alley and Houses:
|
 POIs and Objective Points
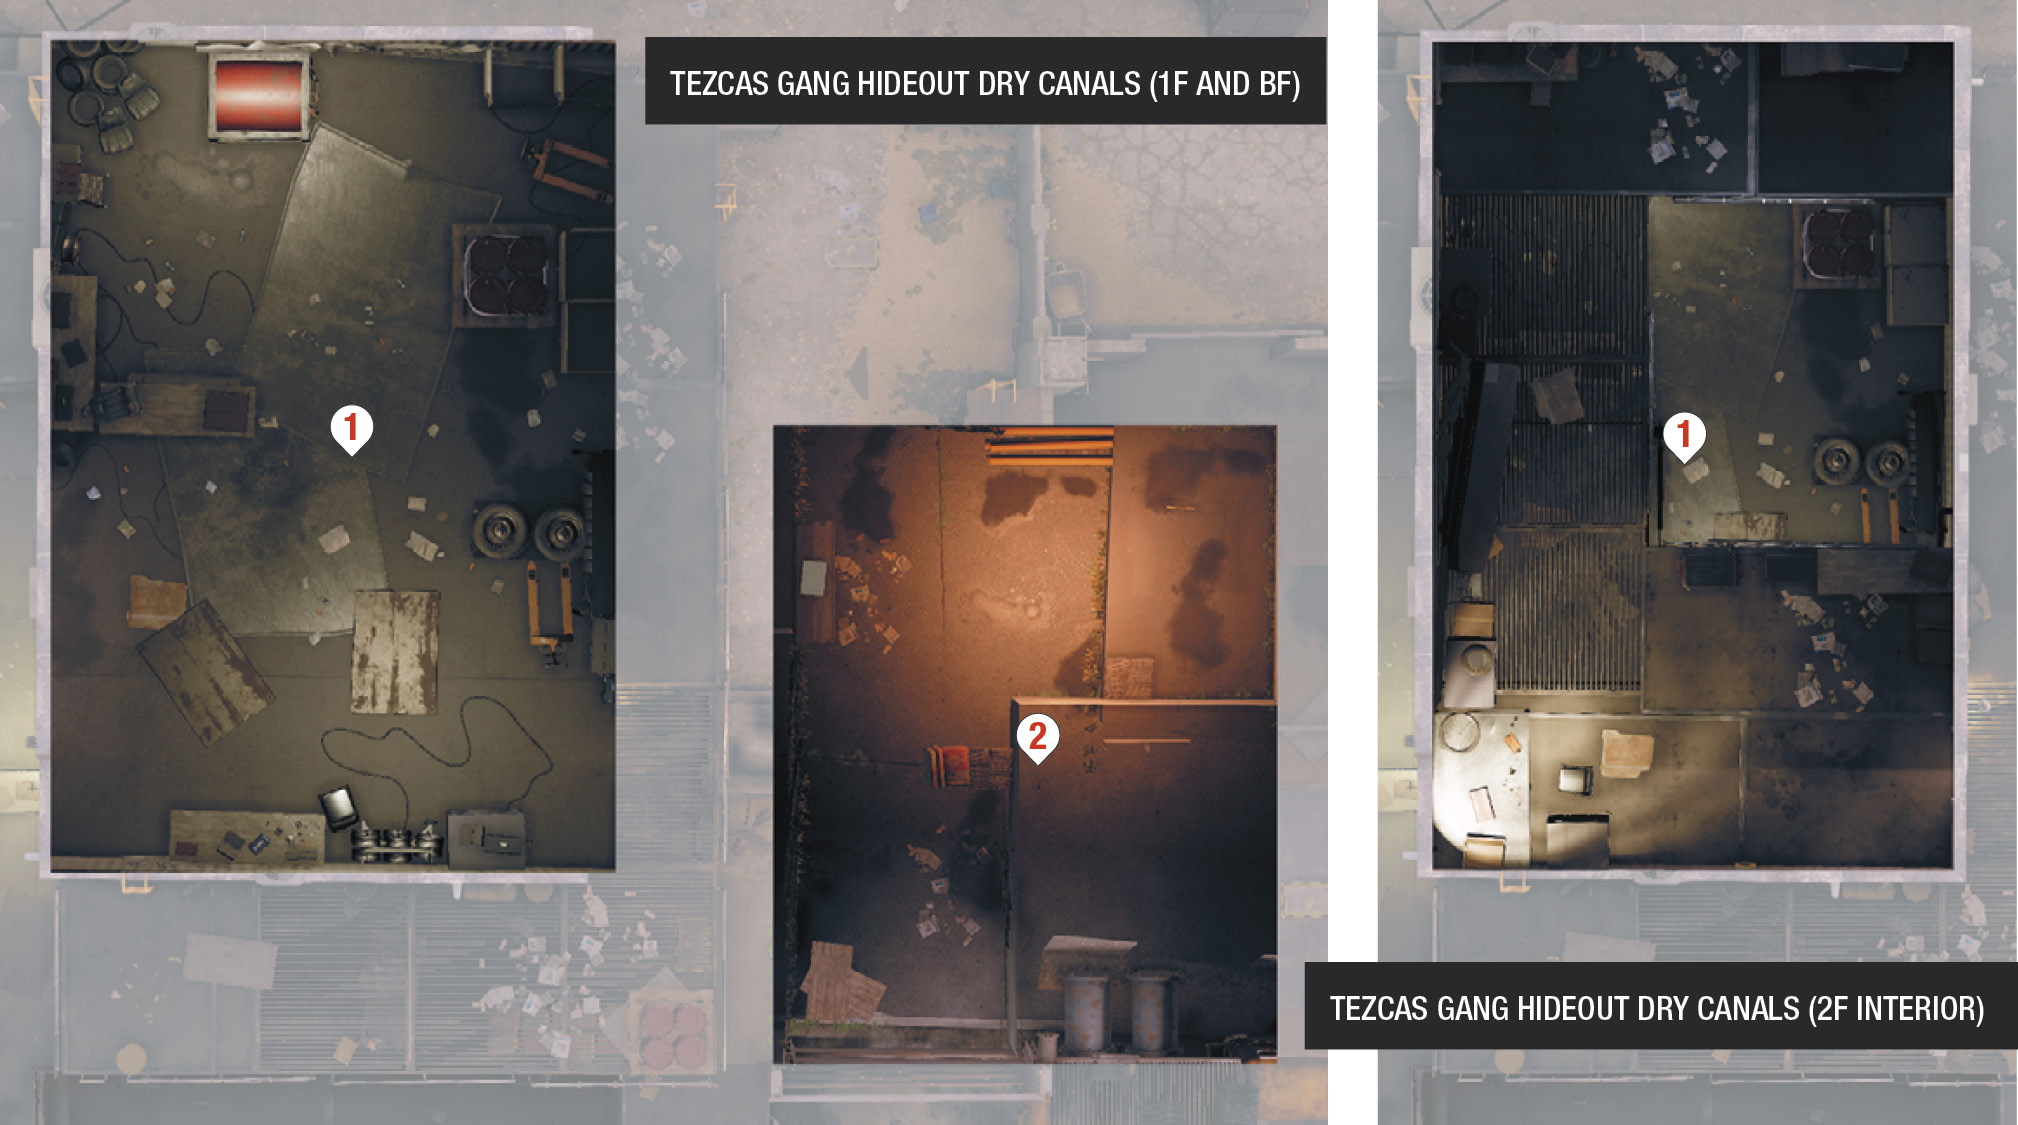
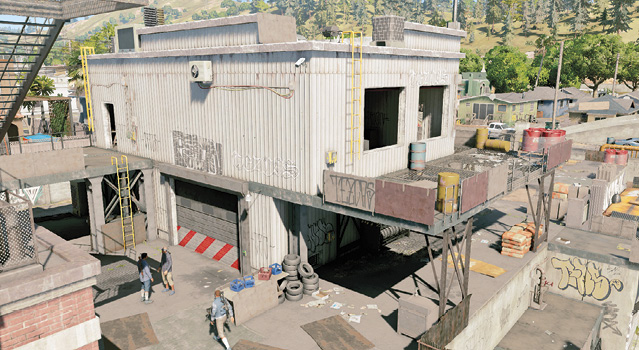
 Garage Warehouse
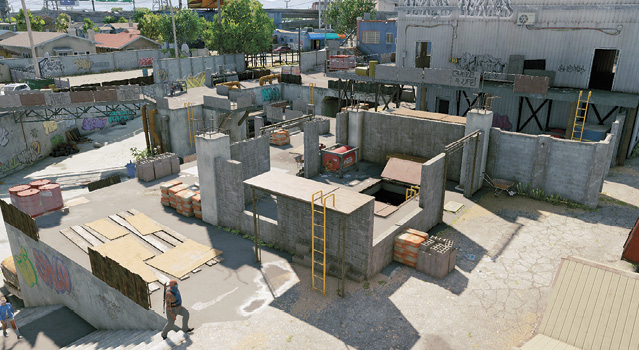
 Construction Zone (Research Point)
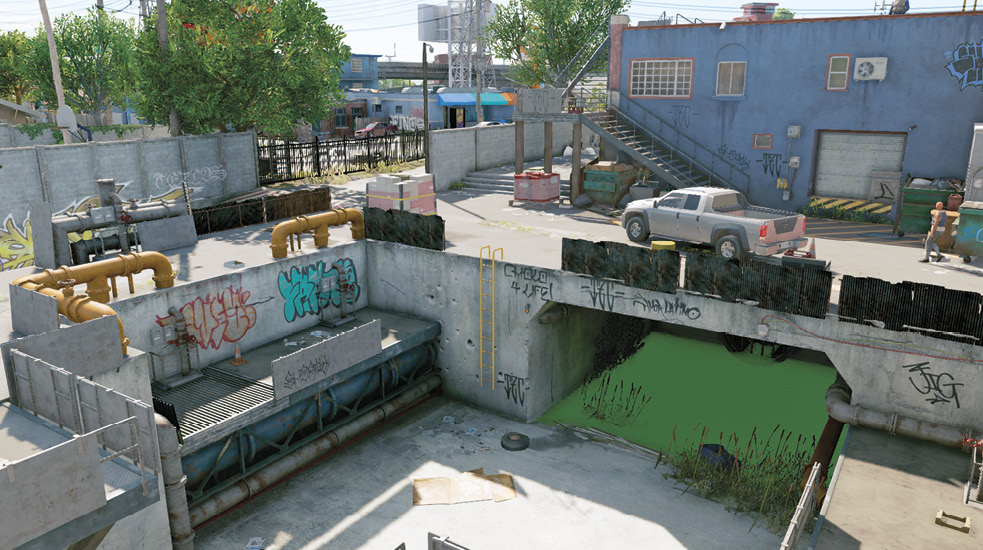
 Ground Scenery


 Targets (Gang Members)
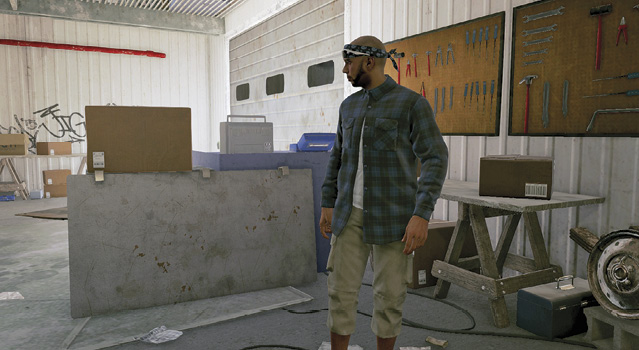
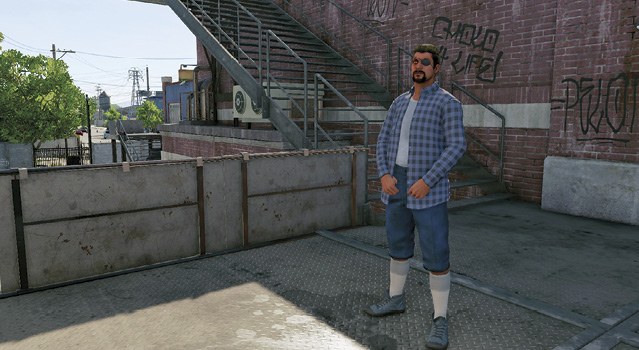
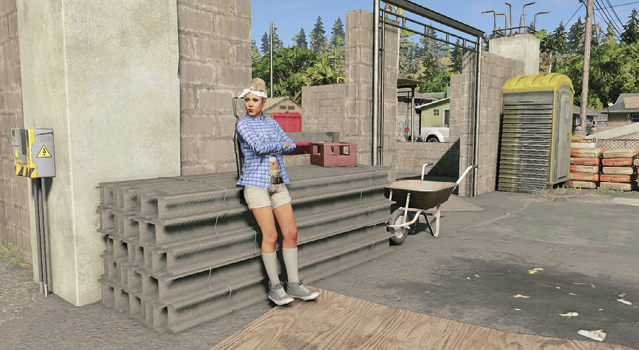
Paths To Completion
There are some truly satisfying ways to end the days of the three gang members you’re after. Note that if you neutralize any of them using electroshock techniques (tasing or scenic explosions), they are permanently down. This is not the case for the targets’ guards.
 Putting the Tezcas to Shame

Need to methodically dispatch every foe without the alarm being raised? Need to leave only the three targets left, after disposing of all their henchmen? Then follow these guidelines and know that a stealth approach is recommended, though each foe you neutralized should be killed (ideally with the Zero Day Rifle with its suppression capabilities after tasing each foe). You can tase foes instead, but as everyone except your targets wake up afterward, it isn’t feasible.
Cross under the green apartment, and neutralize the two foes on or near the small metal canal bridge (they may be on either side of it). Hide behind the rusty oven just left of the bridge (A.1), and prime a proximity trap in the northwest corner of the restricted area, using the junction box and explosive pallet. This slows down target #2 when he arrives. Don’t cross the bridge into the restricted area, as the snipers on the brick rooftop spot you.
Instead, head to the canal, dropping down by the ladder near the humped bridge (A.2). Head north and climb the steps, working your way around the north side of the construction area (A.3). As the second target arrives, you need to have climbed the yellow ladder attached to the east side of the garage and be creeping along the walkway on the upper floor of the garage.
Step onto the metal deck and stairs up to the roof of the brick building, and check for foes. Your plan is to ignore enemies below and head to the brick roof (A.4, west side of the restricted area). Strangle (or tase and execute) the two or three foes up here. Just as you’ve done that (and timed everything right), target #2 or one of his henchmen should walk into the proximity trap you laid for him.
The brick roof is your home for the rest of this battle. Stay up here, periodically checking the two sets of metal steps down (prep proximity traps if you’re worried about being outflanked). Now lean over the side, pop taser rounds into guards you can see, and then execute them with your Zero Day Rifle. Keep this up until only the two or three targets remain (and perhaps one or two guard stragglers). The key to victory is reaching this roof and continuing to remain up here, without your foes raising the alarm.
Time to end this! Send out your Quadcopter to either prep proximity traps close to the targets or the concrete canal basin. Drop traps there and at the exits from the garage (both floors). Then neutralize the next target. When the final one flees, they should run into one of your prepped traps. Train your rifle on the foe in case they maneuver around the traps. Have your Quadcopter ready to follow and drop bombs just to be sure. If the last target somehow makes it through all that, chase them on foot and in a vehicle.
The Waiting Game

Play the waiting game by moving around the edge of the restricted area, and climb on the rooftops of the houses outside the restricted area to the north. Now wait until all three targets arrive; don’t engage the ones that appear first, or the third takes off in a vehicle. When all three have arrived, execute one or more of the following:
Look across and tase (or shoot with a suppressed weapon) the first foe.
Catch them in a scenery explosion. There are numerous vault transformers, junction boxes, and the like near the warehouse garage.
Vault the fence heading south, climb the old fridge to the metal walkway, and enter the garage; then tase, subdue, or shoot the foe inside.
Throw (but don’t prep) a bomb outside the door and the garage shutter door. When a target moves close, prep it and watch the ensuing explosion.
Should the third foe try to run, maneuver up to the tallest structure—the roof of the brick storefronts—and attempt projectile takedowns if you’re close enough. If not, set off on foot or claim a vehicle and perform the tactics for neutralizing a chasing foe you learned in the “Training” section of this guide.
In-Flight Maim

Need immediate, proficient takedowns of the second and third targets before they even reach the restricted area? Dash to the Dumpster at the south end of the humped bridge, and use it to climb onto the roof of the green apartment building. This allows you the range to maneuver your Quadcopter throughout the restricted area.
Take to the skies, and immediately hover over the road in the southwest corner of the restricted area, near the park with the picnic tables. Drop a bomb (of either type) so you catch target #2’s car as it passes through it. Did you miss? Drop another to catch the target as he steps out.
Spend the next 30 seconds prepping bombs dropped from your Quadcopter in the alleyway northwest of the garage (where target #1 most likely is), but don’t kill him, as the third target needs to arrive first! When you spot her car heading to the dry canal, drop a bomb in front of the humped bridge. Or hack the target’s car so it drives into the canal pipe below the brick building, then bomb her as she emerges.
Now target #1 will run. React by prepping any remaining scenery below with proximity traps, then drop bombs from above to land on the route of your target, preventing him from leaving. If you miss, engage in a foot and car chase.