
Watch Dogs 2 Guide Online Operations Silicon Valley
Restricted Area 19. Storm Drain
The last two of the 20 available restricted areas for Online Operations are located in Silicon Valley. The following maps and data reveal the best perimeter infiltration plans, and give you background information regarding the objectives you’ll encounter depending on the Online Operation that you’ve selected.
Available Operations
| Operation Type | No. of Objectives | Variations |
|---|---|---|
| Data Breach | 1 | 2 |
| Deliver Vehicle | Not Available | Not Available |
| Destroy Shipments | 3 | 2 |
| Prisoner Release | 1 | 2 |
| Steal Encrypted Drives | 1 | 2 |
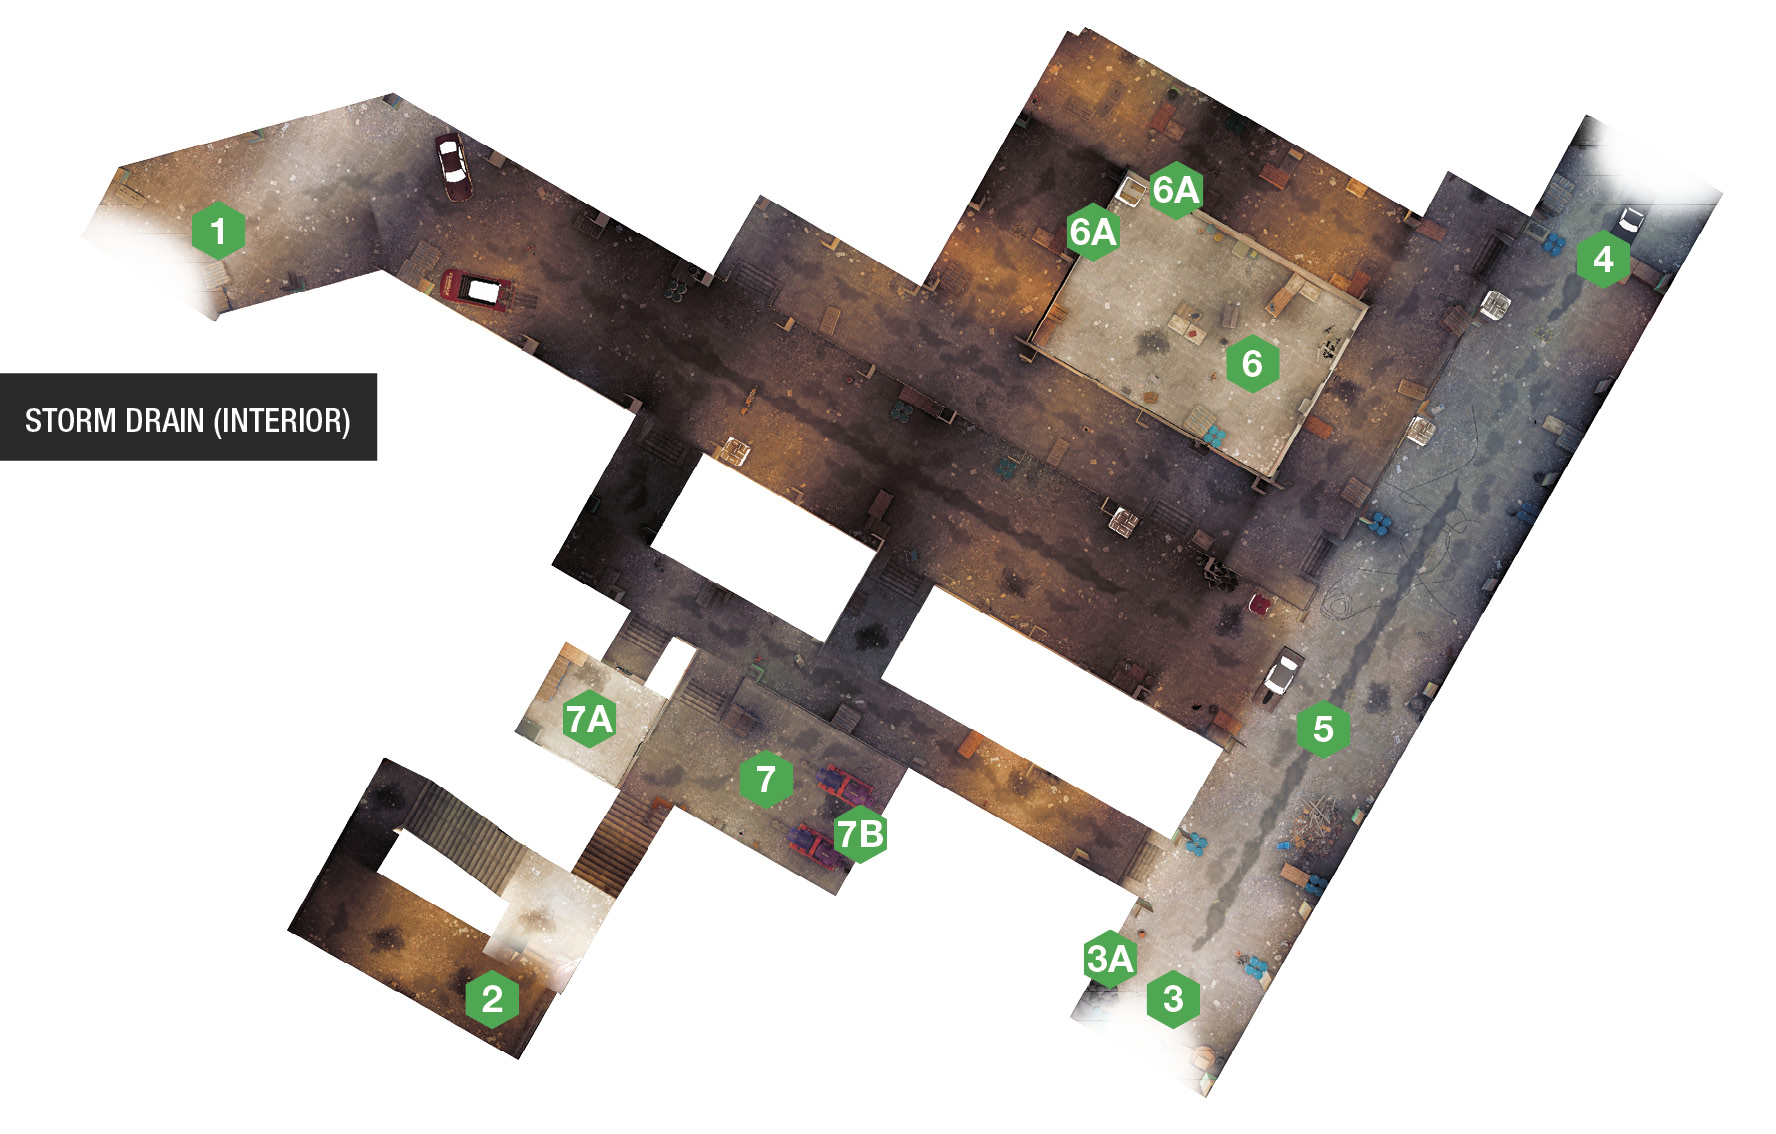
Structures and Infiltration PointsThis is one of the few restricted areas that is almost entirely underground, within the canal storm drain southwest of Palo Alto (close to the “giant computer terminal” playground). Once you figure out the layout; which has three underground entrances from either canals or low marshy ground, you can plan an assault, and use an often-overlooked surface entrance. One potential problem is the lack of escape routes. Fleeing is more difficult, so you may wish to remain within the interior chambers until all of the threats are cleared.
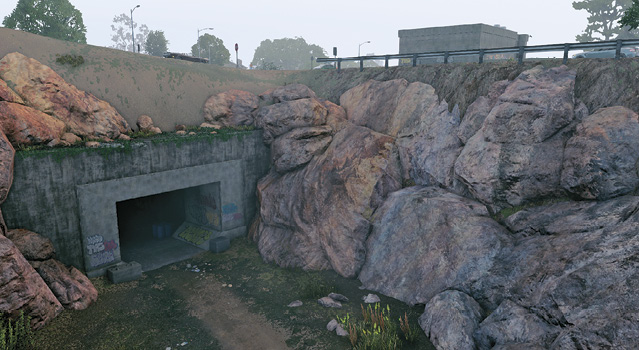
Under the main road, there is a dirt road in a gully. This is the main method of reaching the concrete tunnel entrance. There are good stealth opportunities here, since the wide tunnel makes a right (southeast) turn, with scenery, a vehicle, and possibly a forklift to use as cover.
A concrete substation building exists above and between the west and south drain entrances, and is an excellent infiltration point for those wanting a more sneaky plan of attack. Hop the easily-scaled fence, and hack one of the two doors (which may be locked by an access key). The stairs lead down to one of the interior concrete deck areas (#7) with a side room to unlock for sneaking. Move here during an escape (assuming you have the key to exit, if needed), as this brings you out close to roads and vehicles you can use. 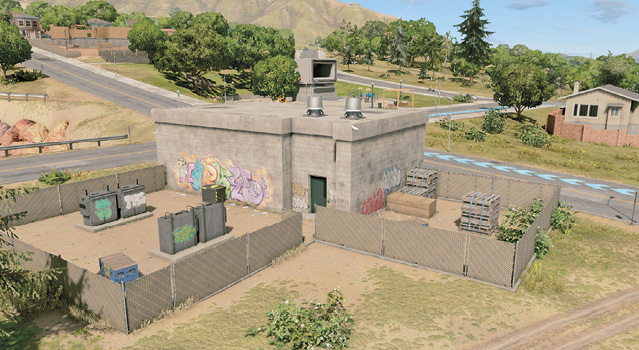
Under the main road, with a rocky outcropping on either side, this entrance can be confused with the west drain, except the tunnel stretches directly northeast once you get inside. There’s a thoroughfare to your left (northwest) once you pass by the scattered scenery and barrels. Don’t overlook the wall vent (3A) on the northwest wall as you enter; this makes RC Jumper maneuvering more stealthy when attempting to find and unlock CCTs, if any appear in your operation. 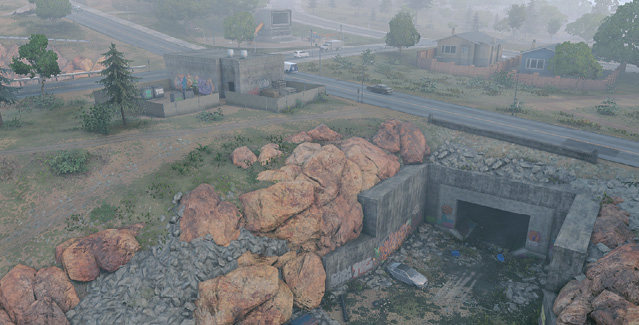
This is the only entrance at the concrete canal basin that stretches northeast away from the restricted area, with a ramp down from the road above. It offers fewer hiding spots, and most of the interior chambers are on your right (northwest) side when entering. Enemies have a good view of you if you’re trying to escape, and can easily shoot you in the back, so try immediately moving right (southeast) when you’re leaving, so you can climb up the surface ramp. 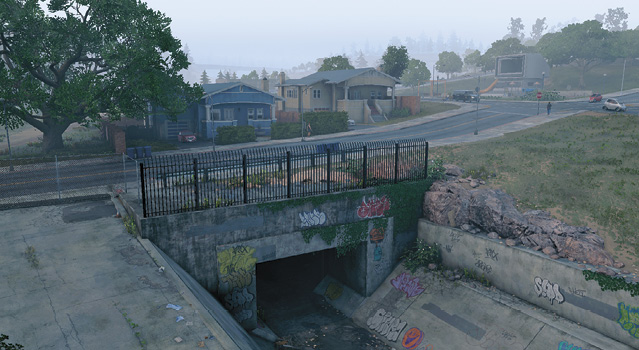
This T-shaped drain floor connects all three drain entrances, and it’s important to realize where you are when you enter one of them. Inside, expect scenery, the odd vehicle (to pinpoint and use as means of escape), and many guards patrolling here. Don’t overlook the plentiful supply of gas pipes, junction boxes, and vault transformers to use as distractions or to neutralize foes. Similarly, don’t overlook the motion detectors too (taze or hack them). Can vehicles be driven down here? Yes, but they are usually destroyed and boxed in by immovable scenery. 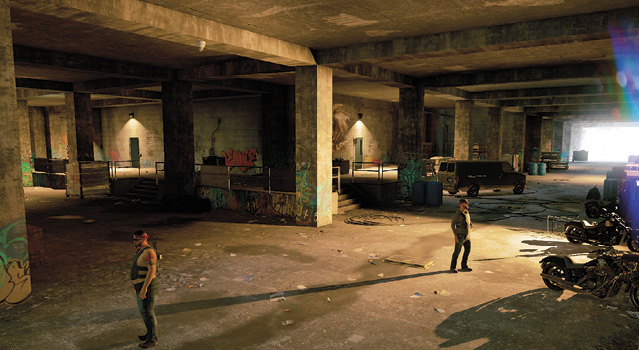
Once you’re inside this storm drain, an objective is usually residing within this raised storage room with a corridor surrounding it, and the main T-shaped thoroughfare on two sides. Expect the majority of hostiles to be patrolling the thoroughfare, the upper surrounding corridor, or inside the room itself. Aside from the two doors into the room, don’t overlook the ground vents (6A) allowing easy and remote access if there’s a CCT to unlock, or shipments to burn. 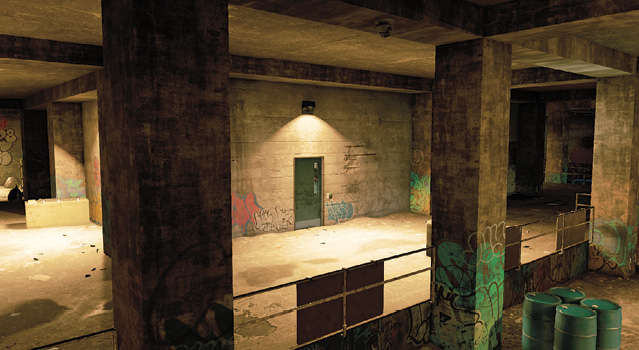
At the bottom of the stairs from the surface entrance, and in-between the west and south drain entrances, is this raised mechanical deck, which is open to the northeast corridors, and has a small adjacent storage room (7A) to the northwest, which is good for sneaking through or hiding in. There’s usually a CCT or other objective here, making it a high-traffic area and one that’s well guarded. So approach using the RC Jumper from the ground vent to the southeast (7B), or the surface for a more stealthy approach. 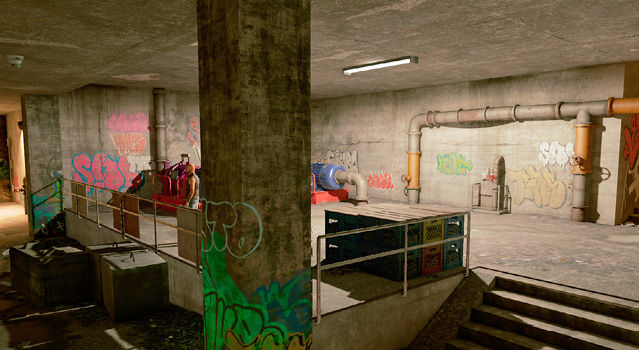
|
 West Drain Entrance
 Southwest Surface Entrance
 South Drain Entrance
 Northeast Drain Entrance
 Main Thoroughfare
 Raised Storage Room
 Raised Mechanical Deck
Operation Examples
Data Storage (Data Breach Operations): If the data breach is occurring in the central part of the main thoroughfare, finding a suitable hiding spot is of paramount importance. These can be found inside the storage room (6) on the edge of the download radius, or on the inside corner near the concrete steps by the south drain entrance are two good spots.
Shipments (Destroy Shipments Operations): With a shipment in the mechanical deck, one in the storage room, and a vehicle parked in the thoroughfare, you can use Quadcopters to easily get the job done. The gas pipe in the mechanical deck (or bombs dropped by either drone) can take out the first shipment. For the one in the storage room, you can unlock the doors using the CCT in the mechanical deck room, but a better plan is to simply use the ground vents and an RC Jumper, followed by a bomb or setting the shipment on fire. For the last shipment? If it’s a vehicle, simply use it as a getaway vehicle if you wish. Or bomb it, or drive it remotely to an exit where you can quickly destroy it.
Prisoner (Prisoner Release Operations): The prisoner is being held in one of two places: The small storage chamber (southwest, adjacent to the mechanical deck room) with a CCT on the raised corridor north of the raised storage room. Or, he’s in the raised storage room, with a CCT in the mechanical deck room. While one player uses the RC Jumper to distract foes and reach the CCT, the other should head for the prisoner. Fleeing the area depends on how badly you’re outnumbered, but a dash up the stairs to the surface entrance is always a good idea.