
Watch Dogs 2 Guide Main Operations Hack Teh World
2. Operation—Hangar On
Objectives
• Modify motherboard. • Install motherboard.
Difficulty
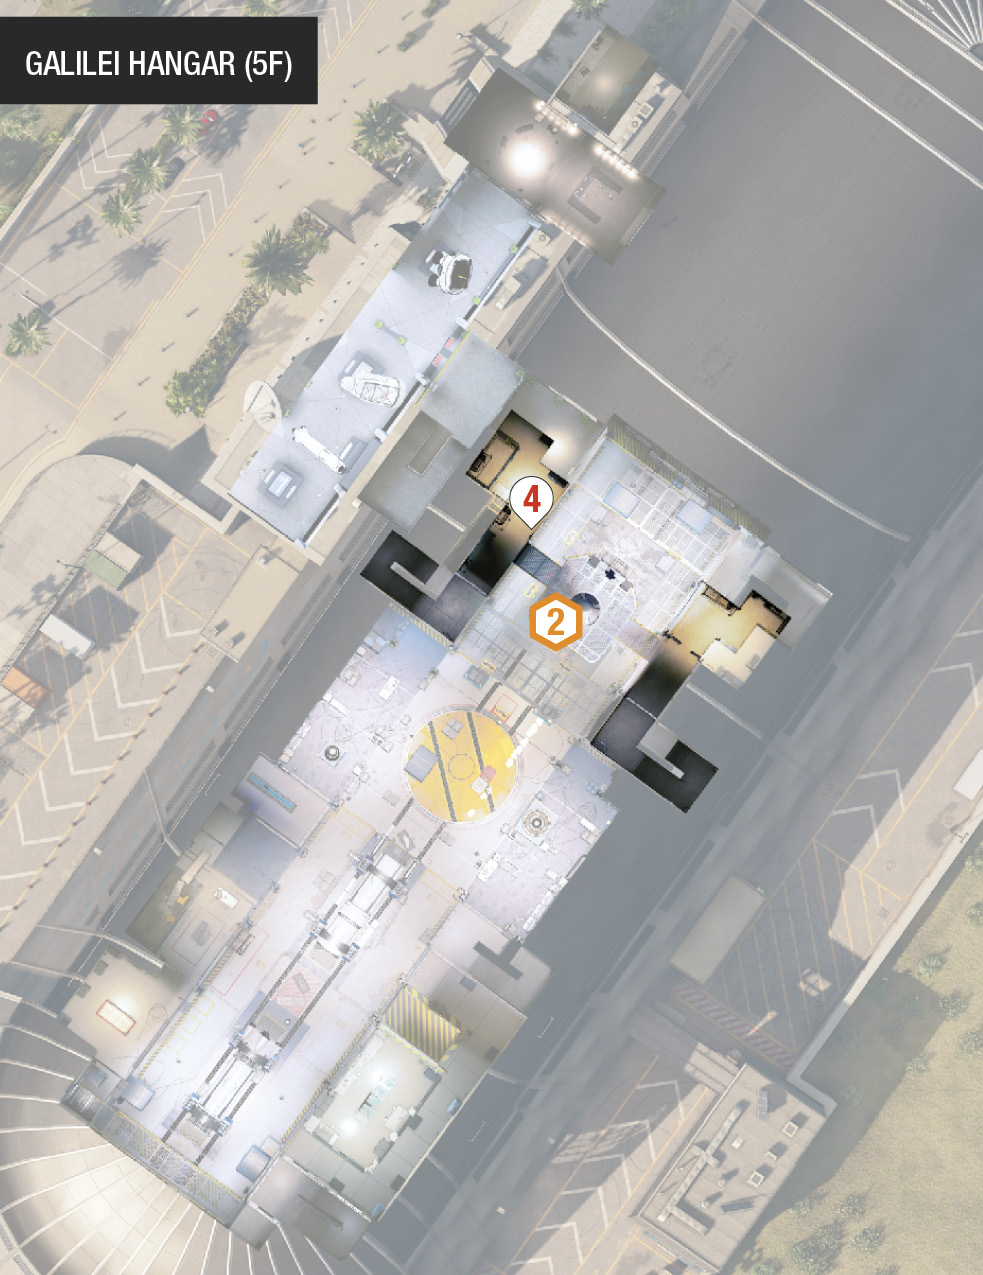
RewardsDedSec Followers: +36,000 BriefBlume’s been launching multiple satellites with Galilei’s help. Get to Galilei’s hangar and plant an exploit on the last satellites to find out what they’re up to. Hostiles
Location
|
 Plant an exploit in the satellite.

 Umeni Security Corps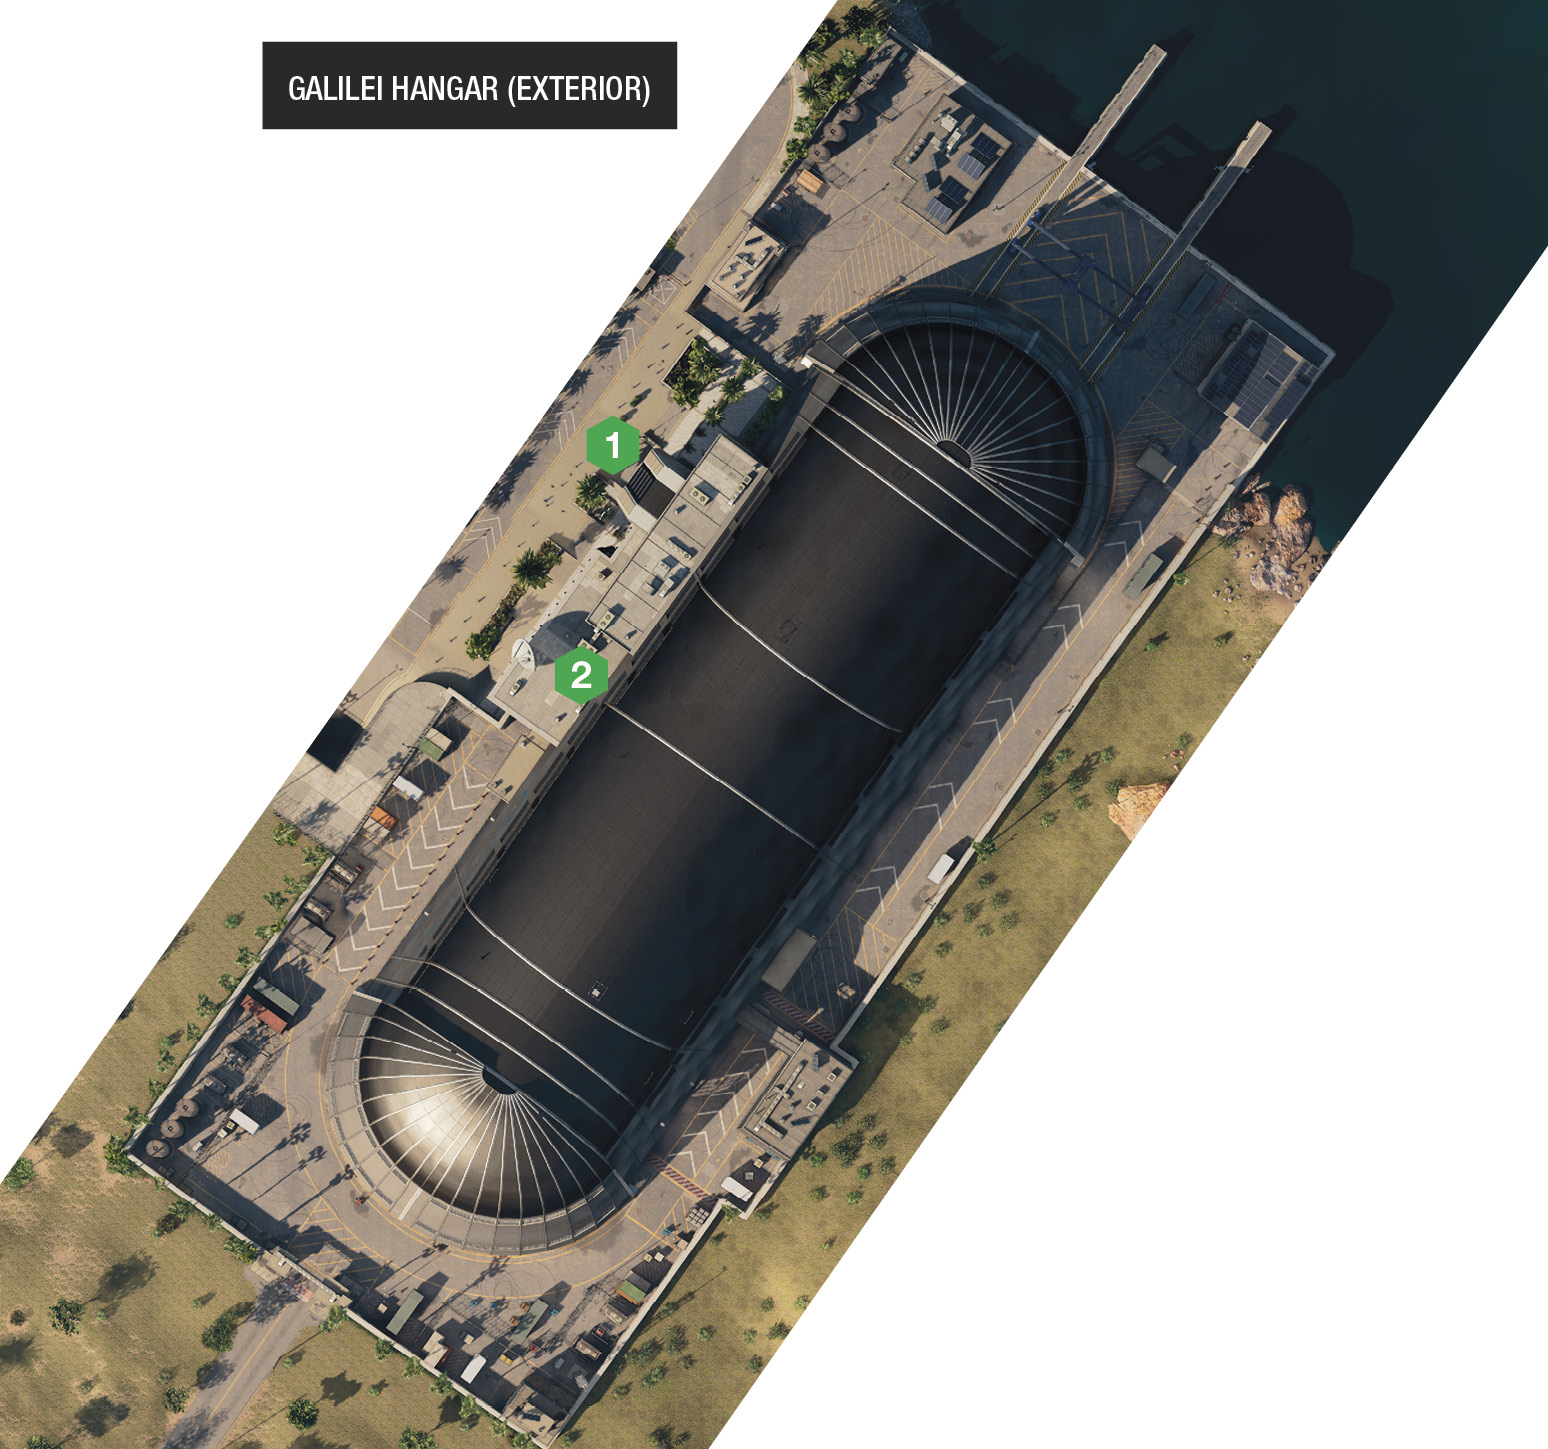
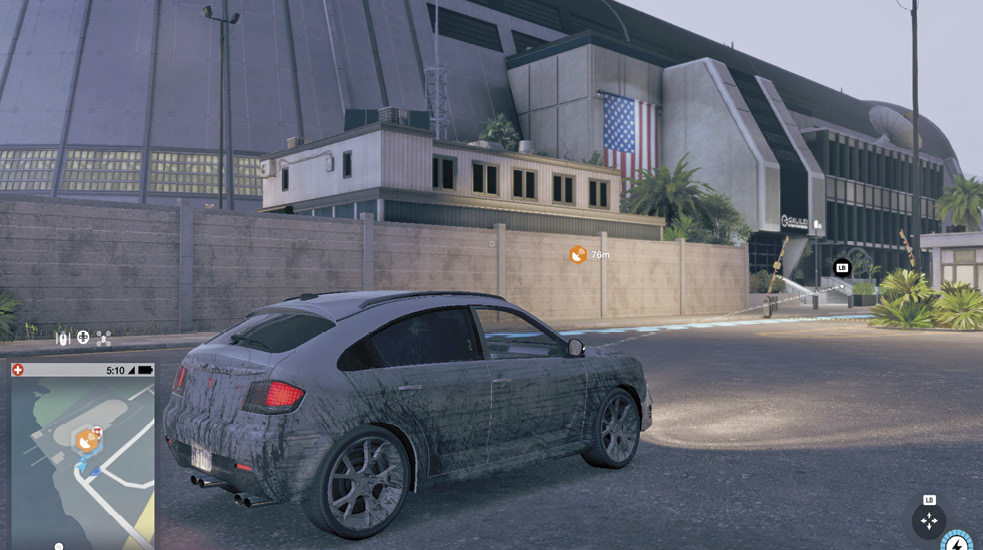
Head to the mechanical hut to the left of the main entrance. Once you hack the security router, the Network Bypass appears. Fly your drone to the roof where the puzzle begins after you activate it. Solve it in the following manner:
Network Bypass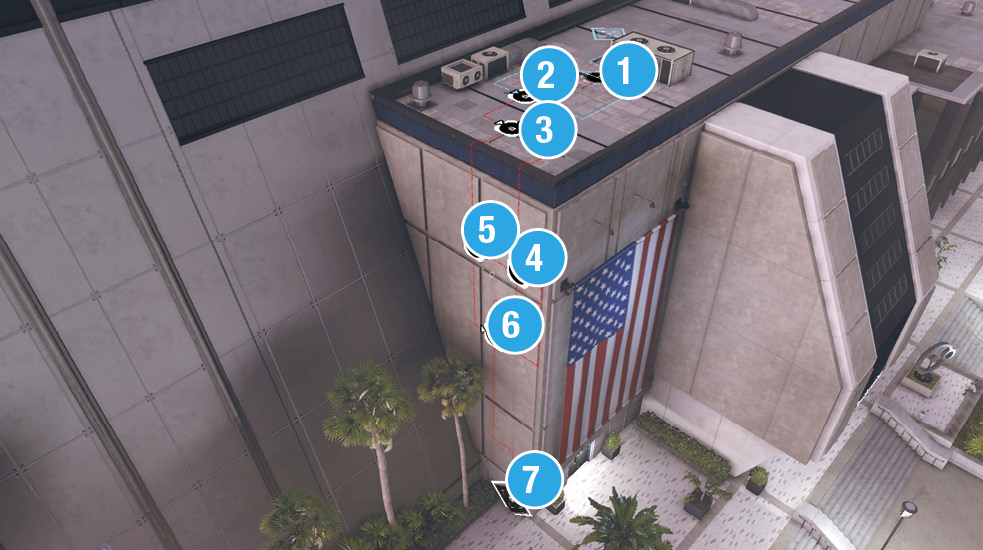
1: Turn x3. 2: Unlock. Turn x1. 1: Turn x1. 3: Unlock. Turn x3. 4: Unlock. Turn x2. 5: Unlock. Turn x2. 4: Turn x3. 3: Turn x2. 6: Unlock. Turn x1. 7: Unlock. Puzzle complete. |
With the internal network unlocked, you can physically hack the ctOS box, which gives Ray access to the interior of the facility.
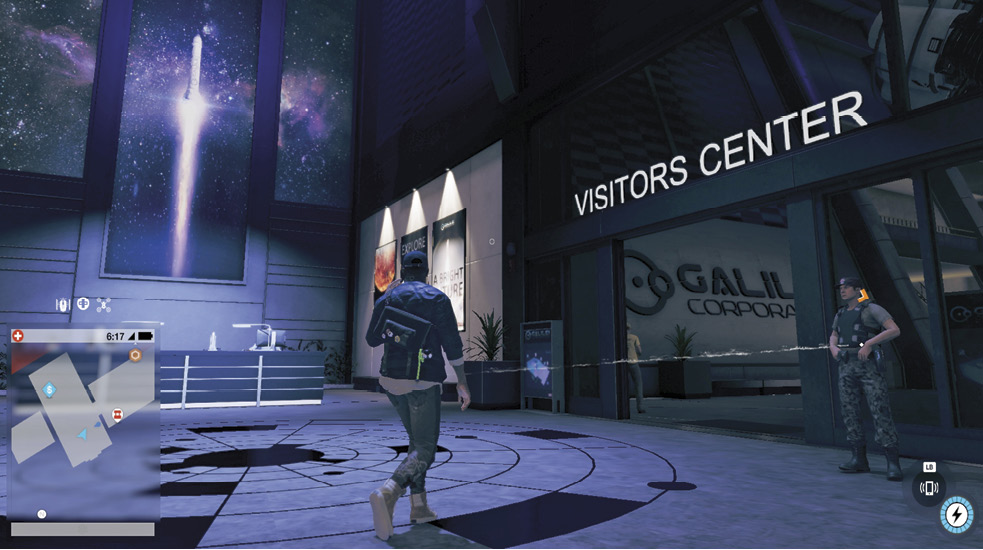
Entering Galilei Hangar
Infiltration Points
To the northwest of the building is the main lobby entrance and visitor center, where Galilei’s advancements in space technology are accessible. Remember the location of these doors, as they’re close to a getaway car, if you need one when exiting the facility after completing the objectives. 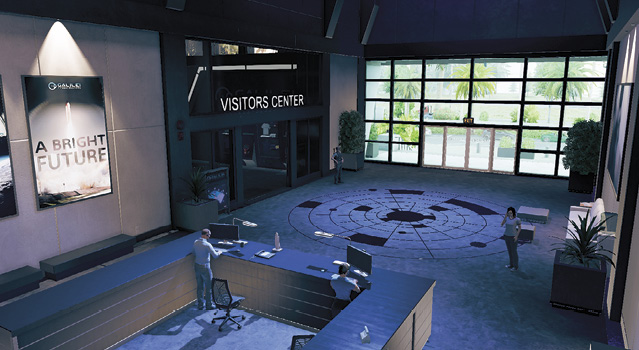
To the southwest, in the middle of the perimeter, is a concrete wall. Behind the wall is a small hackable door leading into the far end of the visitor center. This is an alternative entrance or exit. Park a bike or car here for a quick getaway. 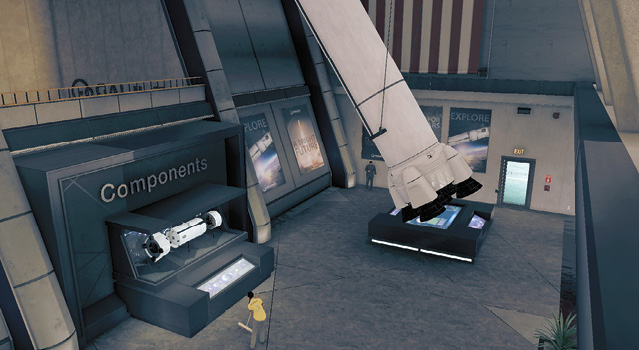
|
 Main Lobby:
 Authorized Personnel Entrance:
|
 POIs and Objective Points
 Collectible
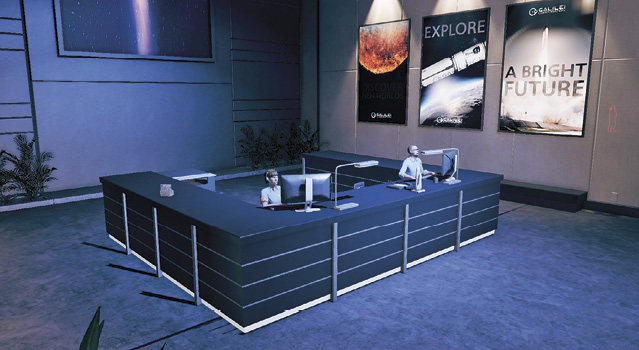
 Security Checkpoint
Paths To Completion
ENTERING HANGAR
Motion Undetected

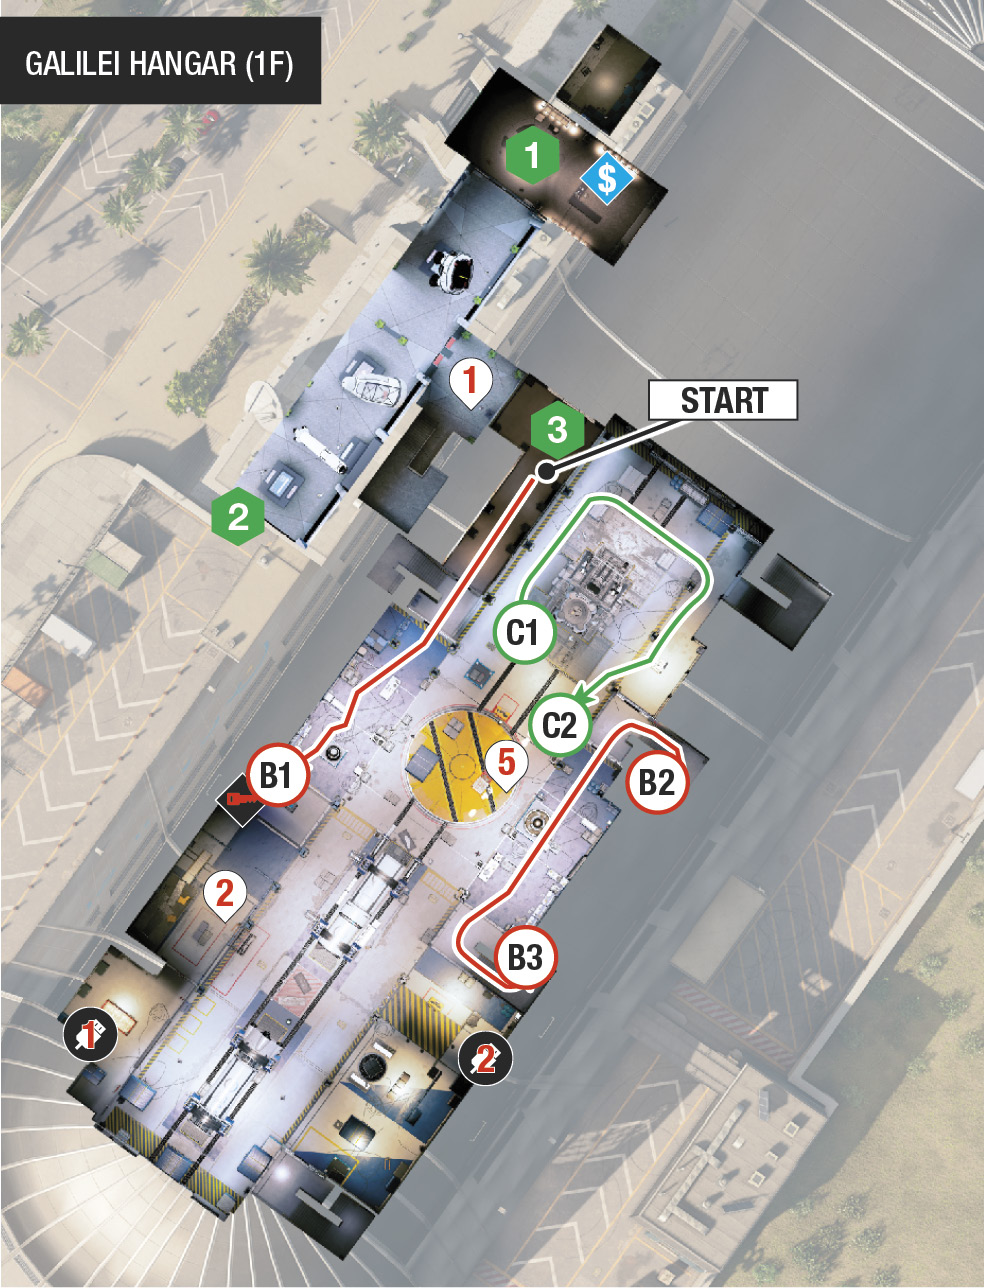
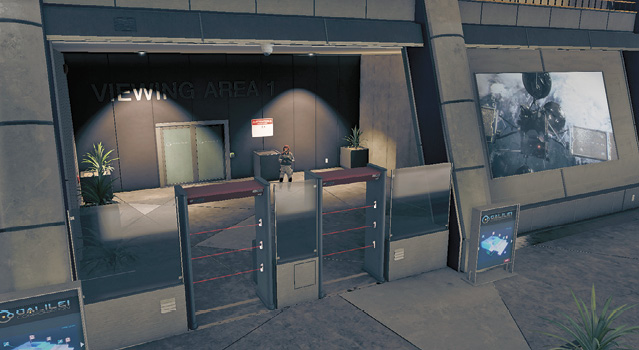
Hack the motion detector at the security checkpoint. Then call the guard so he answers the phone, and quickly sneak past and up the stairs to Viewing Area 2. This is preferable, as subduing the guard eventually causes him to wake up and alert others. Another excellent way into the hangar is to avoid the checkpoint entirely; look for the display named “Components” to the right of the checkpoint, and simply climb up and over it, to Viewing Area 2.
Commotion Undetected

Hack the motion detector or climb over the security checkpoint between the lasers, but line up the double doors to Viewing Area 1. Hack so the doors open and the guard turns to investigate; then sprint in and throttle him or race up the stairs to Viewing Area 2. You can pass through into Viewing Area 1 afterward, but beware of the guard waking up a minute or so later and placing others on alert (but not “red alert”).
Vibration Detected

Another option is to hover the drone over the security barrier, hack the double doors, then call the drone back. Now hack the lasers, hack the guard’s phone once he’s back at his guard post, and walk through the open doors while the guard is preoccupied with his phone.
ACCESSING CLEAN ROOM
Infiltration PointsHANGAR INTERIOR
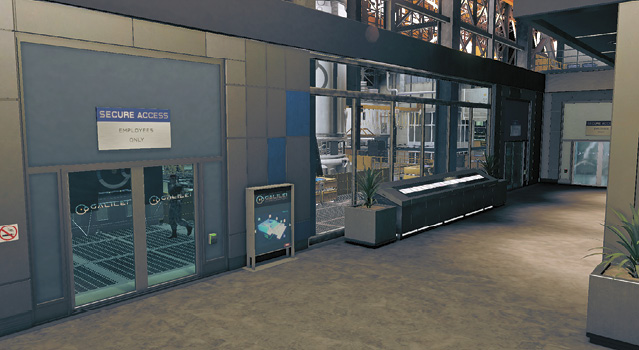
On the ground floor and directly above are the only two entrances into the hangar interior. Either is fine to start from, as both have two sets of double doors and a small vent to utilize, so the tactics are the same. Viewing Area 2 (second floor) is slightly more advantageous, as you have the height advantage. 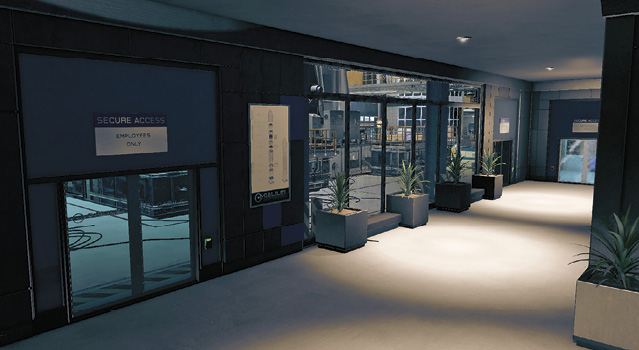
|

 Viewing Areas 1 and 2:
|

 Laptops
 Container Crane Hoist
 Access Key (Doors)
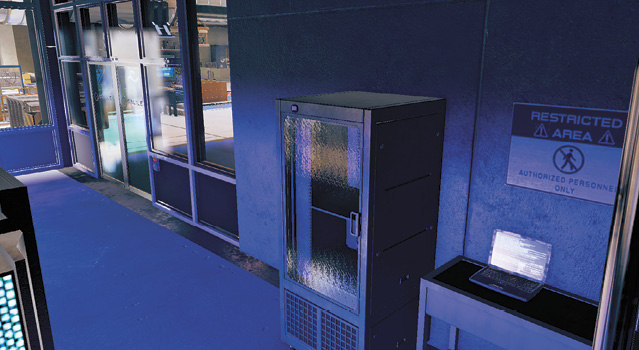
 Closed-Circuit Terminal #1 (Scissor Lift Garage Access)
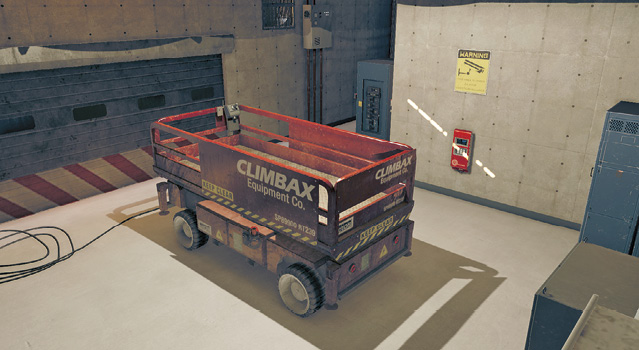
 Closed-Circuit Terminal #2 (Bollard Access)
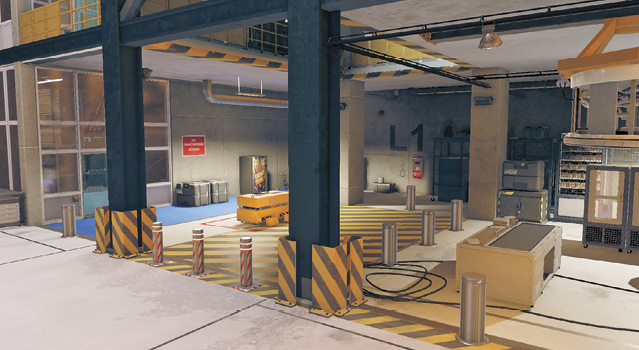
 Closed-Circuit Terminal #3 (Clean Room Access)
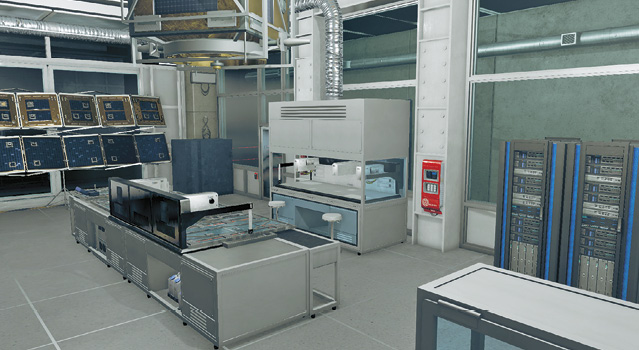
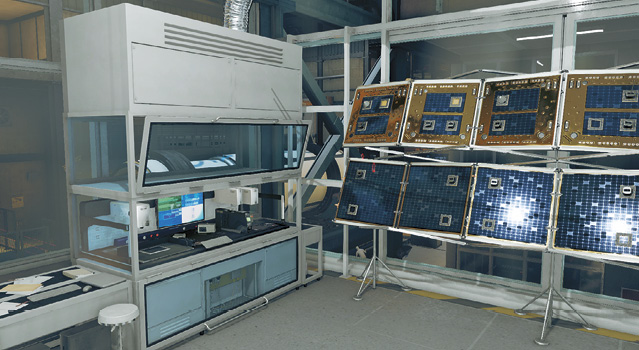
 Motherboard (Clean Room)
 Motherboard Installation (Rocket Module)
Paths To Completion
MODIFYING MOTHERBOARD
 Hoisted to the Motherboard

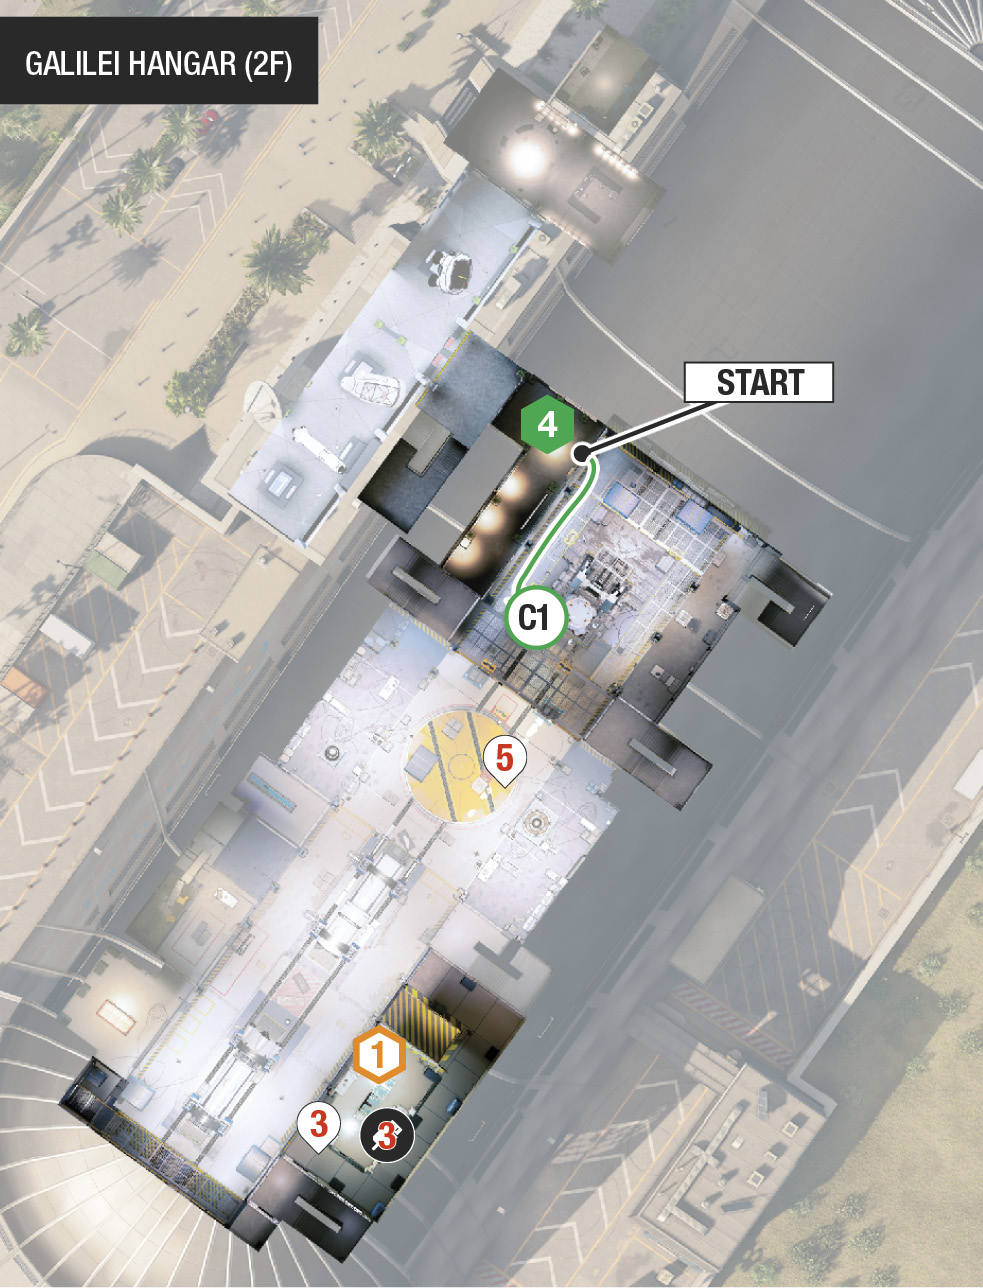
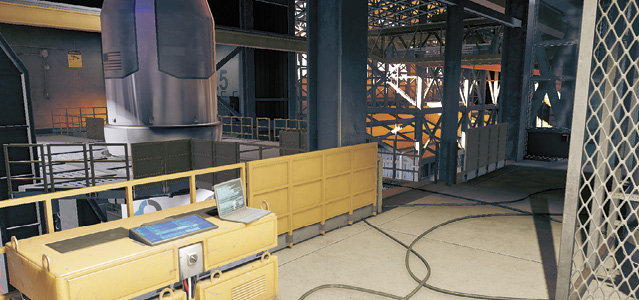
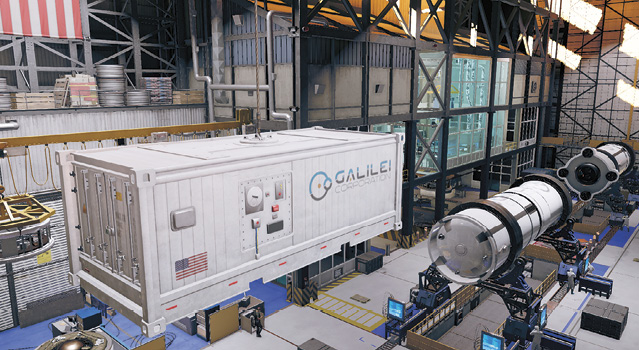
Sit down at Viewing Area 2 and produce the Quadcopter. Fly through the opening in the ceiling at L3 and into the hangar. Fly down to the window outside the server room and hack the access key from the laptop. Fly to the three laptops and optionally hack them. Then hack and control the crane hoist, moving the white container to the edge of the L2 gantry, on the northeast side (closest to the rocket module).
Enter the L2 gantry from Infiltration Point (IP) 4. Subdue the guard near laptop #1, so he doesn’t raise the alarm at your subsequent visit. Creep around the gantry, climb onto the white container (A.1), and use the crane to maneuver yourself (atop the container) southwest, to the hangar’s opposite end. Hop off at the gantry or balcony near the clean room (A.2). Hack the motion detector lasers, drop the RC Jumper into the clean room vent hatch to unlock CCT #2, then enter the clean room and modify the motherboard (objective).
 A Remote Reward

Produce your RC Jumper, and drive it onto the hangar floor. Head across to the vent by the server room and into the room to hack the laptop for the access key (B.1). Then recall the Jumper. Or, use the Quadcopter (as you need the Jumper to access the clean room).
Head onto the L2 gantry, head southeast to the opposite side, then southwest to the stairwell (B.2). Descend, hacking the motion detector at the base of the stairs. Hack the doors and step into the hangar’s left (southeast) side. Creep to the next stairwell, calling guards’ phones to distract them. Hack another motion detector at the base of the steps, and ascend to L2 (B.3). Maneuver to the junction box and lasers by the clean room. Don’t accidentally detonate the junction box! Use the RC Jumper to enter the clean room to unlock the CCT, then head in yourself.
 Hostiles Should Not Be Ignored

Using a suppressed weapon in such a quiet area usually attracts one guard to investigate. Use this to your advantage, removing the five guard threats easily. Start at L2 (C.1), throttling the guard on the gantry. Then shoot him. When the next guard comes to look (L1), drop down and sneak behind him, then shoot him. Do this for a third and possibly fourth guard. Hack both the robots so they’re immobilized, and finally track and throttle the fifth guard close to the center of the room (the general area of C.2). Tasing or leaving guards asleep just causes problems when they wake up. Ignore the guards at the lobby. Then complete all objectives with no more worries about guards.
Hangar Completely Explored

Although needlessly convoluted, it’s possible to use your RC Jumper to hack the ground vent into the scissor lift garage, unlock CCT #1, drive the Jumper across to CCT #2 to lower the bollards. Next, drive the scissor lift into the bay near CCT #2, get into it, and raise it to L2, adjacent to the clean room. The benefit is not needing to acquire the access code. However, you should attempt Path C (removing threats) first, or you’ll be driving a scissor lift through a firefight.
Paths To Completion
INSTALLING MOTHERBOARD
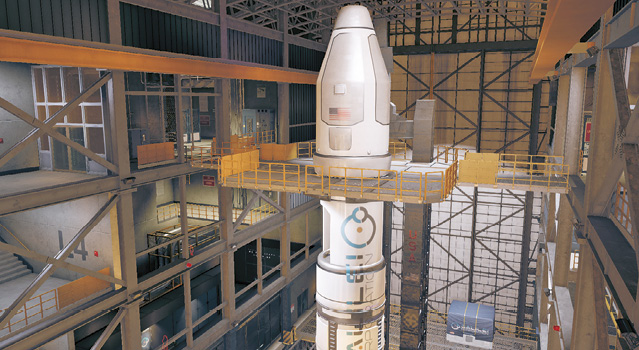
You need to reach the rocket module on the fifth floor of this hangar. There are only two ways to complete this:
Floating to the Module

Exit the clean room, and maneuver the crane hoist to whichever gantry balcony you want. Climb onto the white container, and maneuver it northeast and upward, to the objective point. This is the easier method of completing this objective.
Dashing up the Stairwell

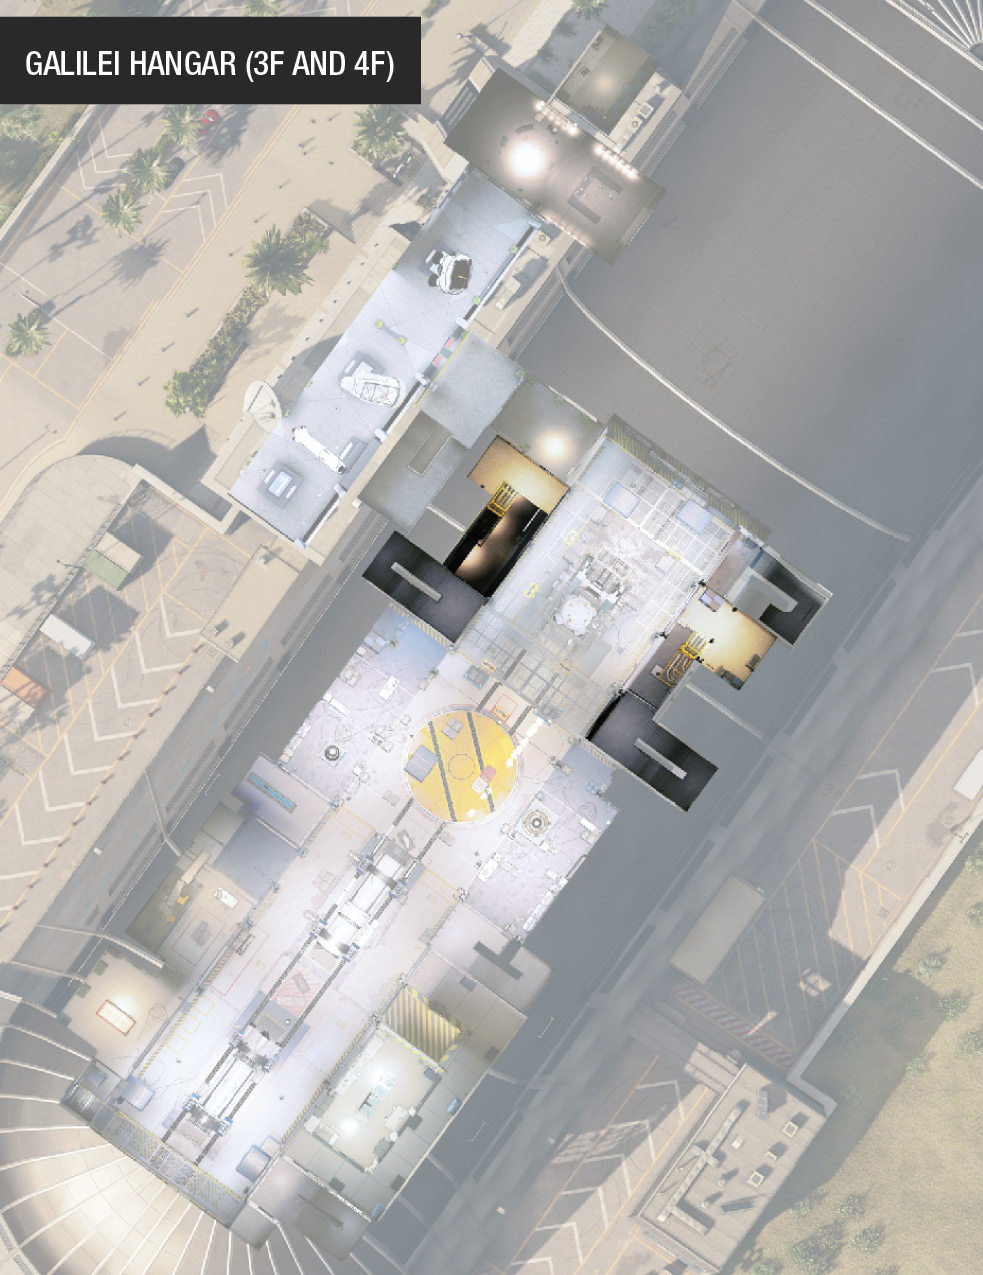
Exit the clean room, and (assuming you have the access code), return to one of the stairwells on either side of the rocket module gantry. You need to descend to L1 and work your way across the hangar floor (so watch for guards and robots). Beware of the motion detector at the base of either stairwell. Climb the five floors, and head to the module. You can use either stairwell, though the one along the southeast wall involves less maneuvering across the hangar floor.
LEAVING GALILEI
This is straightforward: simply head north past laptop #3, down the ladder. Drop down onto the mesh-covered pipes, to L2. You could also use the stairs. Exit, and hop over the balcony railing to the visitor center lobby to avoid the security area. Leave via IP 1. The next part of this operation updates six minutes after you finish talking to DedSec.