
Watch Dogs 2 Guide Main Operations W4tched
5. Operation—Wrench In The Works
Objectives
• Retrieve Wrench’s mask. • Download the FBI data.
Difficulty
RewardsDedSec Followers: +242,000+ T-Shirt: FedSec BriefDedSec is on the trail of the not-so-secret FBI surveillance center by using radio triangulation. You and Wrench are all about disrupting FBI activities. Hostiles
Location
|
 Reach the antenna.
 Federal Bureau of Investigation
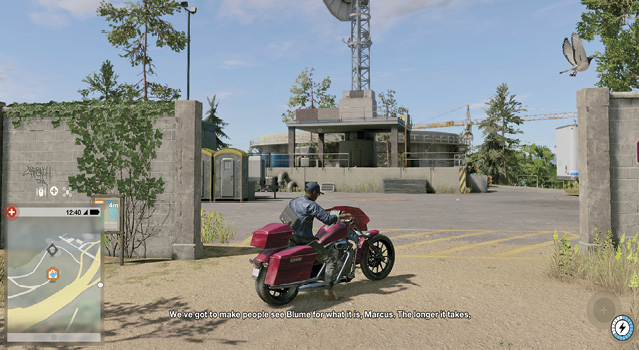
Your break-in has yielded dividends. Time to triangulate and pinpoint the trail; set off to the antenna location. As you arrive and start the operation, you receive some troubling news about Wrench. As you’re here, you need to complete the triangulation quickly, as Wrench has gone dark. Time to solve another Network Bypass. Note one of the nodes is in a hole below you, and another is on the underside of the concrete platform the ctOS box is attached to.
Network Bypass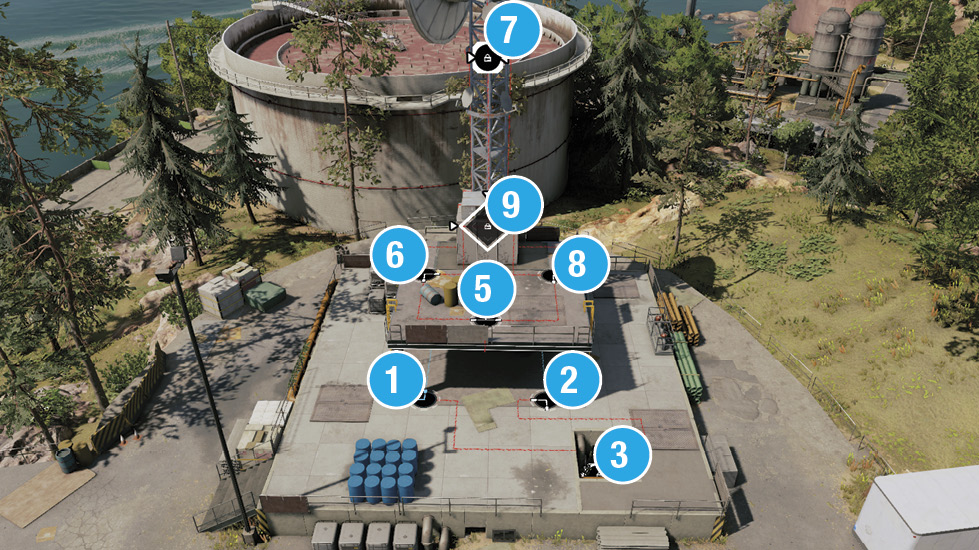
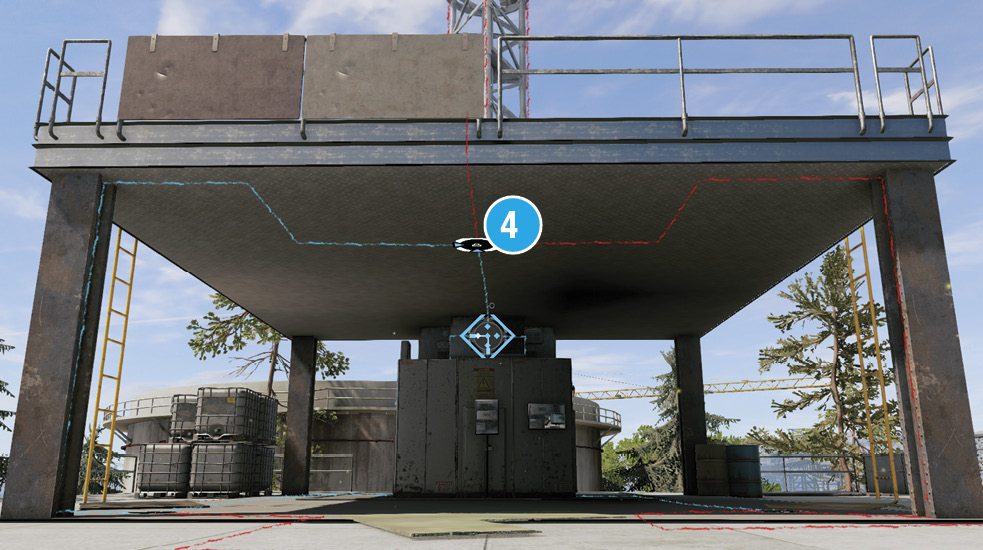
1: Turn x1. 2: Turn x1. 3: Unlock. 1: Turn x3. 2: Turn x1. 4: Unlock. Turn x1. 5: Turn x2. 6: Turn x1. 7: Unlock. 6: Turn x3. 8: Turn x1. 1: Turn x1. 3: Turn x3. 9: Unlock. Puzzle complete. |
Infiltration PointsThe station grounds and the restricted area is among the largest you’ll encounter, but most of the action takes place in the area within the motion detector lasers surrounding the main station building. With this in mind, the main places to insert yourself or your drone are as follows:
Motion lasers, a motion detector under the main door awning, and a locked door requiring an access key mean it isn’t wise to infiltrate from this area. However, the semicircular windows above the main doors (and on either side of them) allow your Quadcopter (and with careful maneuvering, your RC Jumper) to enter the main hall remotely; you can then secure the access key, Wrench’s mask, the CCT unlock, and the server download. Now you need to move to a spot where the download can continue. 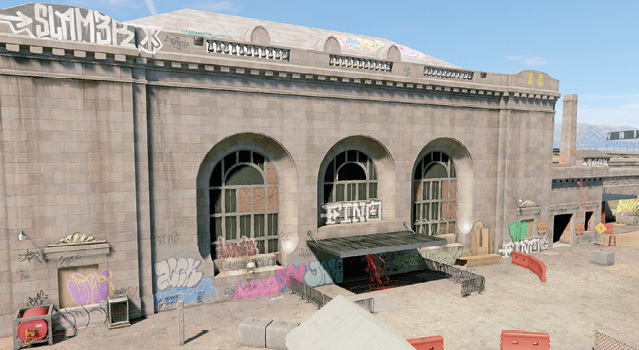
Watch for a sniper on the mid-roof balcony, an armored foe on the ground, and a foe inside the storeroom you reach after entering. Clearing this area is a good choice, and using the red metal container to reach the ladder to the mid-roof is a good stealth option. From here you can access the building’s west side. Note the scaffold platform above the mid-roof, which leads to a roof vent. Use your RC Jumper to head into the building and secure the collectible (as well as other, more vital objectives) if you wish. 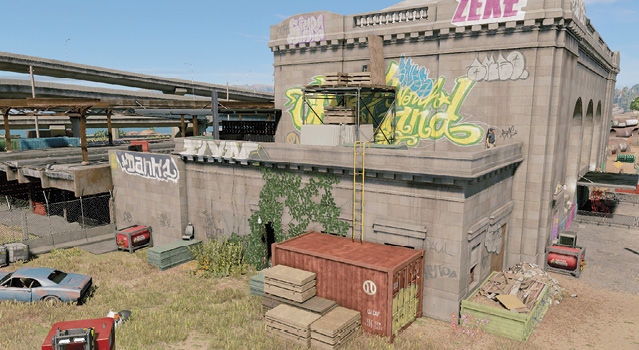
The massive restricted area extends out to the overgrown train yard, but of greater interest is the concrete platform past the motion lasers. Very difficult to enter directly, it’s best to dodge the three guards in this area by distracting or creeping along the station’s outer perimeter. Expect reinforcements to reach this area first. Both stairwells (northwest and southwest) allow access to the upper platform. 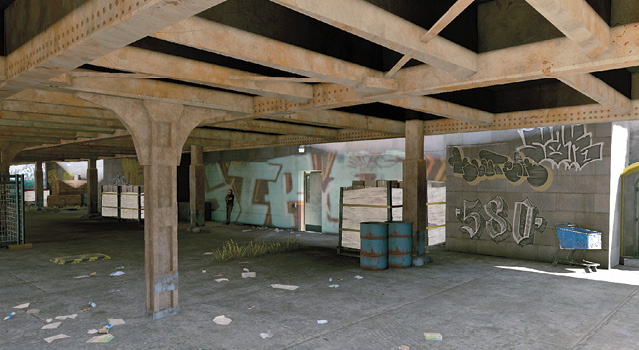
Access this via the northwest or southwest staircases, the containers on the outer edge of the southwest yard, or by hacking the construction area to the north. There are at least two guards to worry about on this open area. Don’t overlook this area, though; you can peer down at the building’s interior, hack the access key, mount an attack, or use a remote device to start infiltrations through the open windows. Note the two ladders and holes leading down into the building interior on either side of the server; these can circumvent the locked doors. 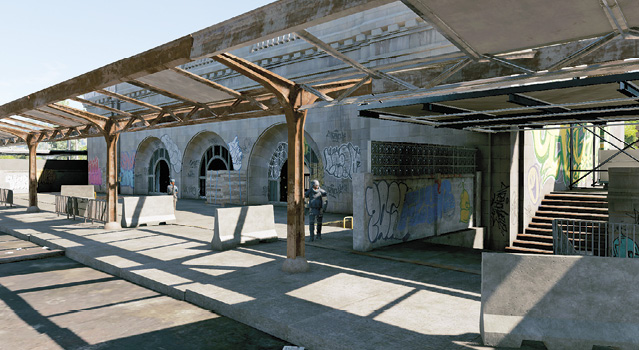
Access these via the upper platform, the northwest stairs, or the awning and metal container at northeast ground level. This area is dominated by a tall stone chimney and various construction piles. You can hide here when using remote devices, as you can quickly reach the download radius afterward. Also note the high open vent hole high atop the central northern wall of the building, allowing your Quadcopter in easily. 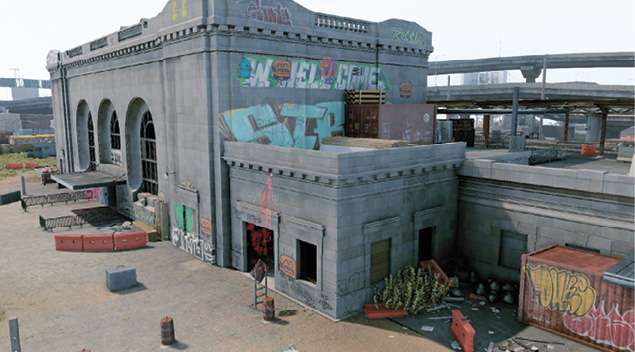
On the inner side of the various motion lasers are two openings leading into the northern building interior—one window and one doorway (northeast). Beware of the patrolling guard who goes in and out. Note the smaller open window (north) opposite the open metal cargo container, which is too small to pass through. 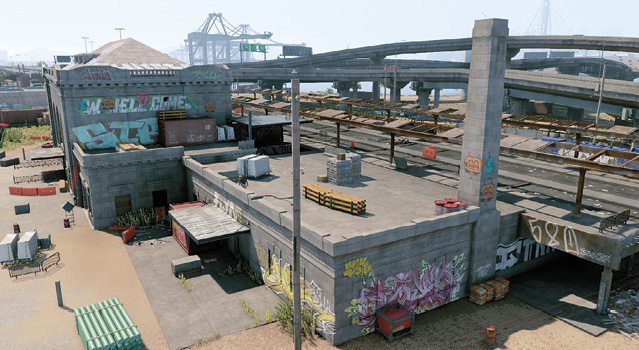
|
 Front Entrance (East):
 Ivy-Covered Entrance (South):
 Lower Platform (West):
 Upper Platform (West):
 Mid-Roof and Construction Area (North):
 Open Entrance (Northeast):
Hack the antenna, and Josh triangulates to the old 16th Street Station. You hack into the camera feed at the location and watch an interrogation take place. Optionally hack into Wrench’s mask and give him a wink. After Wrench fails to rat on DedSec, despite the arrival of a certain CEO, he’s released—without his mask—and you’re determined to find it and exact more than a modicum of revenge. Head down to the 16th Street Station and begin to scout the perimeter.
|
 POIs and Objective Points
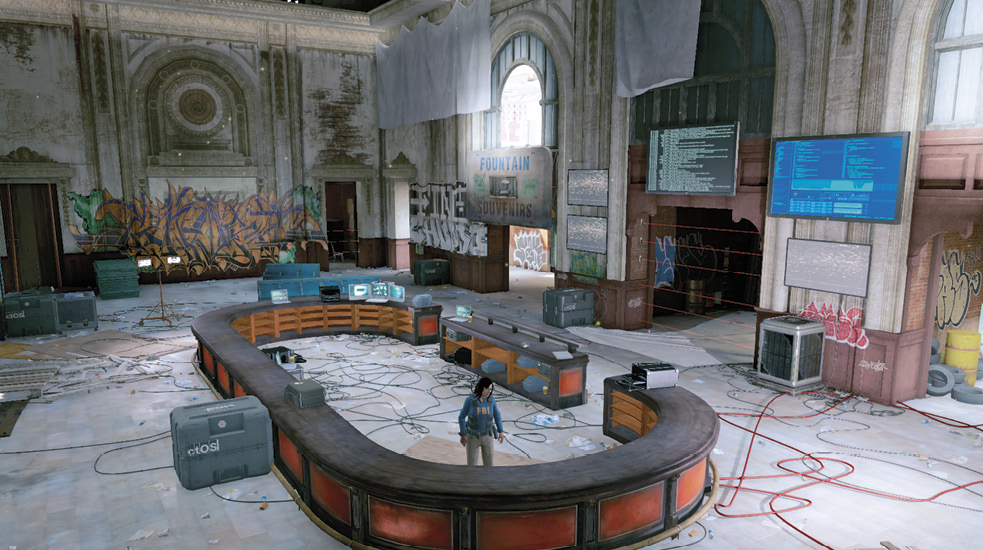
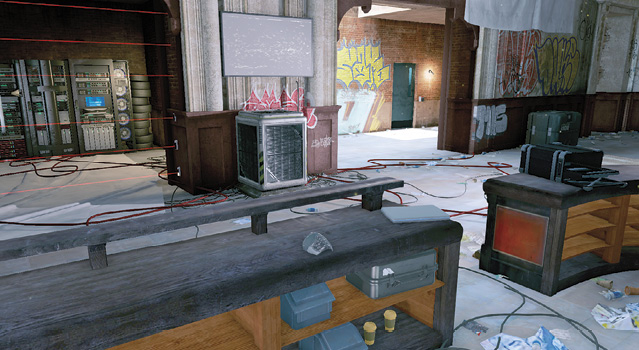
 Main Hall and Oval Desk
 Collectible
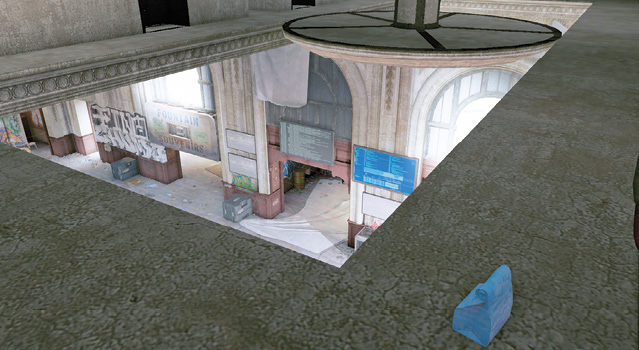
 Access Key
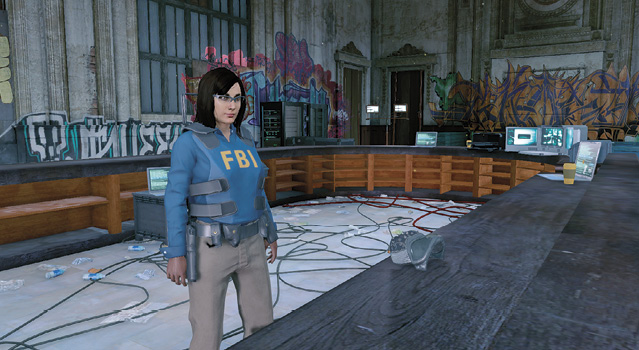
 Closed-Circuit Terminal
 Wrench’s Mask
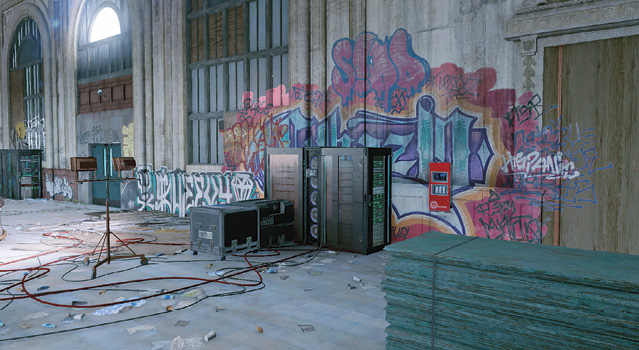
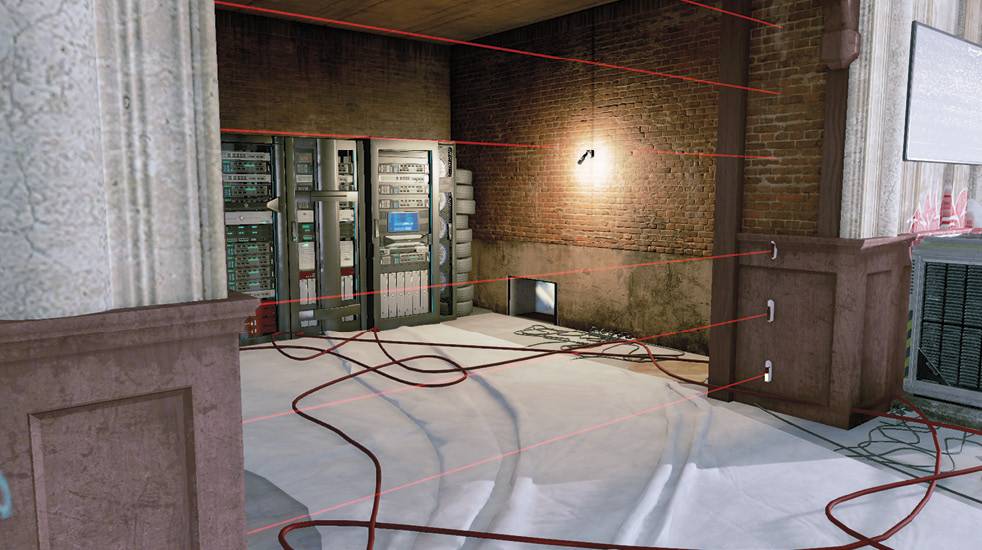
 FBI Data Server
Paths To Completion
With armored foes guarding this hideout, along with the regular FBI, extreme caution is advised. The place has numerous motion detectors (above almost every entrance), and reinforcements arrive quickly and in large numbers, usually via the railroad tracks. So it’s best to solve the objectives by stealth or remote hacking:
 Ghost Train

Show the FBI the definition of the word “ghost” by using only motion detector hacking, phone distractions, and simple throttling to remove all threats using the following route. Be aware that even tasering and using scenery to electrocute foes results in them actively searching for you and usually calling in reinforcements.
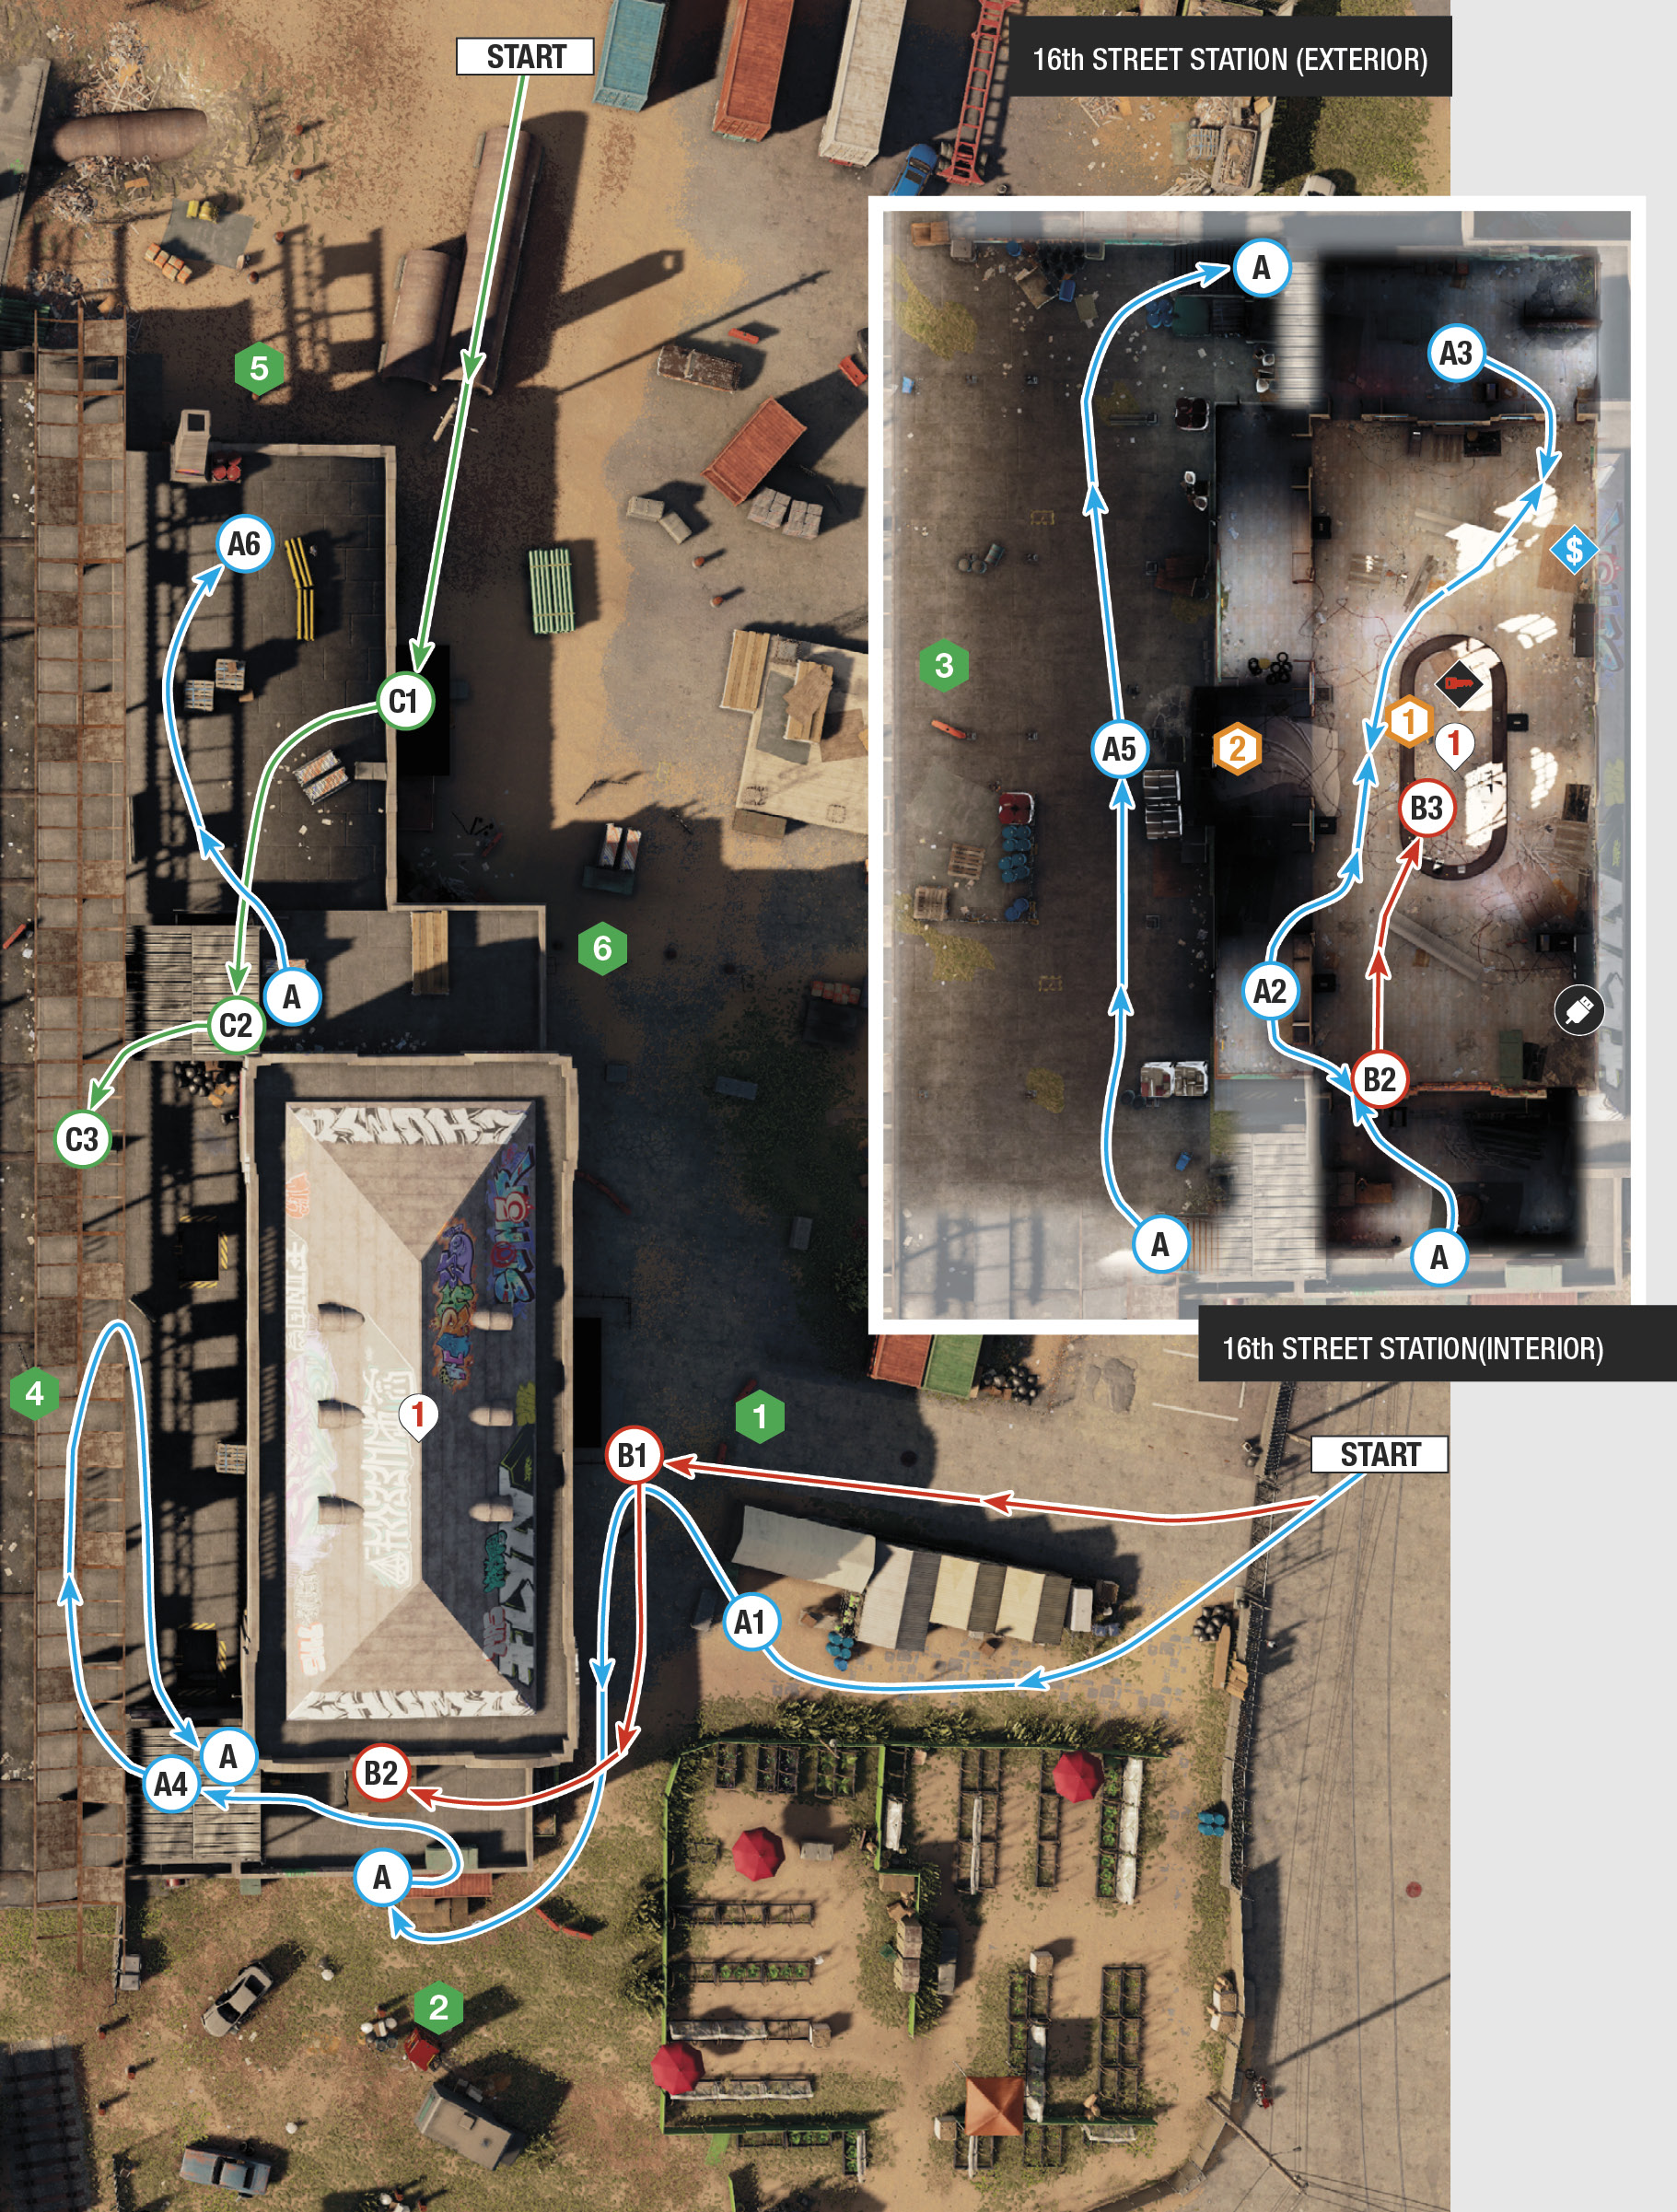
Enter via the gates at Infiltration Point (IP) 1. Head west and hack the small length of motion lasers left of the main entrance (A.1). Creep south and west, to the side of the building, hiding by the large red container. Hack the motion detector. Wait for the armored foe to emerge from the ivy-covered doorway, then throttle him. Head inside the station building to a small side storage area with a second foe leaning on some construction materials. Strangle this foe.
Hack the motion detectors, head into the main hall of the old station, and immediately creep left, to the brick wall with the access key door and ladder. Hide behind this wall (A.2). There are two immediate threats—both foes in the central oval-shaped counter area. When the farthest one’s back is turned away from you, hack both their phones. Then creep in, strangle the nearest, then the farthest one.
Remain inside, and head northeast to the main hall’s far end. Hack the motion detector, and quickly search the graffiti-daubed side area (and outside, watching for a motion detector outside the doorway) for another guard to neutralize (A.3). Don’t complete the objectives yet, as more foes arrive when you try to hack the server. Instead, hack the access key from one of the interior guards, then retrace your steps to the ivy-covered doorway you used to enter the building. The motion detector is active, so turn left, hug the wall, and climb up the red container to a ladder.
Climb the ladder onto the building’s southern roof. Strangle the guard up here, then look for the armored guard patrolling the southwest area, on the old platform. Cross the stairwell and throttle him (A.4), turn north, and head along the platform’s upper floor. Strangle the waiting guard here, without stepping into the motion detector cone. Return to the southwest stairwell.
Descend to the area under the platform. There are three guards here, and they may be anywhere in the western part of this ground-level platform area. Distract the two foes farthest away and stalk the nearest foe as close as you can. Then continue and bring down the two remaining guards (A.5). Watch out for a motion detector cone as you climb the northwest stairs to the upper level, and turn to face north. The final guard is patrolling the rooftop construction area (northwest) with the stone column (A.6). He’s easy to drop.
Now reenter the station building, but be very careful not to trigger the motion lasers or cones along the way. Complete both objectives. When the server download is triggered, simply stay by the western brick wall near either of the access key exit doors and ladders; foes don’t reach you in time, and you can make a quick getaway.
 A Quick Gain

Need a quick in-and-out infiltration using your drone? Then enter from IP 1, and position yourself close to the front (east) doors, beyond the motion detector lasers (B.1). Now release the drone, flying it up and around to the south. Open the roof vent above the crates and scaffolding (B.2). Fly into the station interior.
Position yourself so you’re almost scraping the ceiling, and hack the access key. Before you finish using the drone, fly it over the center of the oval desk (B.3) with the two foes patrolling under you (by Wrench’s mask), and drop an electroshock bomb. Activate it, and when one foe walks into it, both are struck and sent to sleep.
Now on foot, deactivate the lasers and the motion detector cone above the east door. Unlock the door now that you have the access key, and enter the station. Turn left (south), unlock the CCT, and quickly grab Wrench’s mask, then hack the server, before getting into a hiding position by one of the western access walls and ladder. As the download begins, zap anyone close by, before they see you. Then flee the way you came once the objective is complete.
No Pain, All Gain

Want to execute both objectives using the RC Jumper? There are numerous entrances to try, but for supreme stealth, enter via the break in the laser fencing to the north (by the two large pipes). Climb up to the northern roof (C.1). Optionally dodge or strangle the single foe up here, then climb onto the stairwell’s metal roof, using cover on top of it, at the building’s northwest corner (C.2).
Produce your RC Jumper and trundle south, hacking the access key and calling the phones of both foes inside the station; then drop through the open arched window or the hole with the ladder. With all enemies answering their phones, you just have enough time to grab Wrench’s mask, then seek cover behind a wall. Go to the CCT and unlock the server. Trundle via the wall vent to either side of the server cubbyhole (avoiding the laser wire), and begin the download.
Switch to Marcus. If you’ve been careful, enemies may be searching for but not actively shooting you. Drop down and slip behind the concrete barrier in the northwestern edge of the download radius (C.3). Wait for the objective to complete. You don’t need to gather the RC Jumper, even after Wrench’s mask has been remotely picked up. When the objective is complete, escape via the north, which is usually far less crowded with foes.
THE OPERATION CONCLUDES: MEETING WRENCH
Flee the restricted area, and lose any pursuers in the usual manner. Then rendezvous with Wrench at the roof of the multistory parking lot one block west of Christ the Light. Look for the white neon arrow indicating the parking lot stairwell, and ascend. After a chat, DedSec releases an incriminating video about the FBI’s activities. The operation now concludes.