
Watch Dogs 2 Guide Main Operations HAUM Sweet HAUM
2. Operation—Heist Sweet Heist
Objectives
Difficulty
RewardsDedSec Followers: +18,000 Brief“Acquire” a HAUM 2.0 pre-order shipment for DedSec’s personal use. Hostiles
Location
|
 Acquire HAUM’s delivery information

 Umeni Security Corps
 HAUM shipment yard, one block north of Ghirardelli Square, one block south of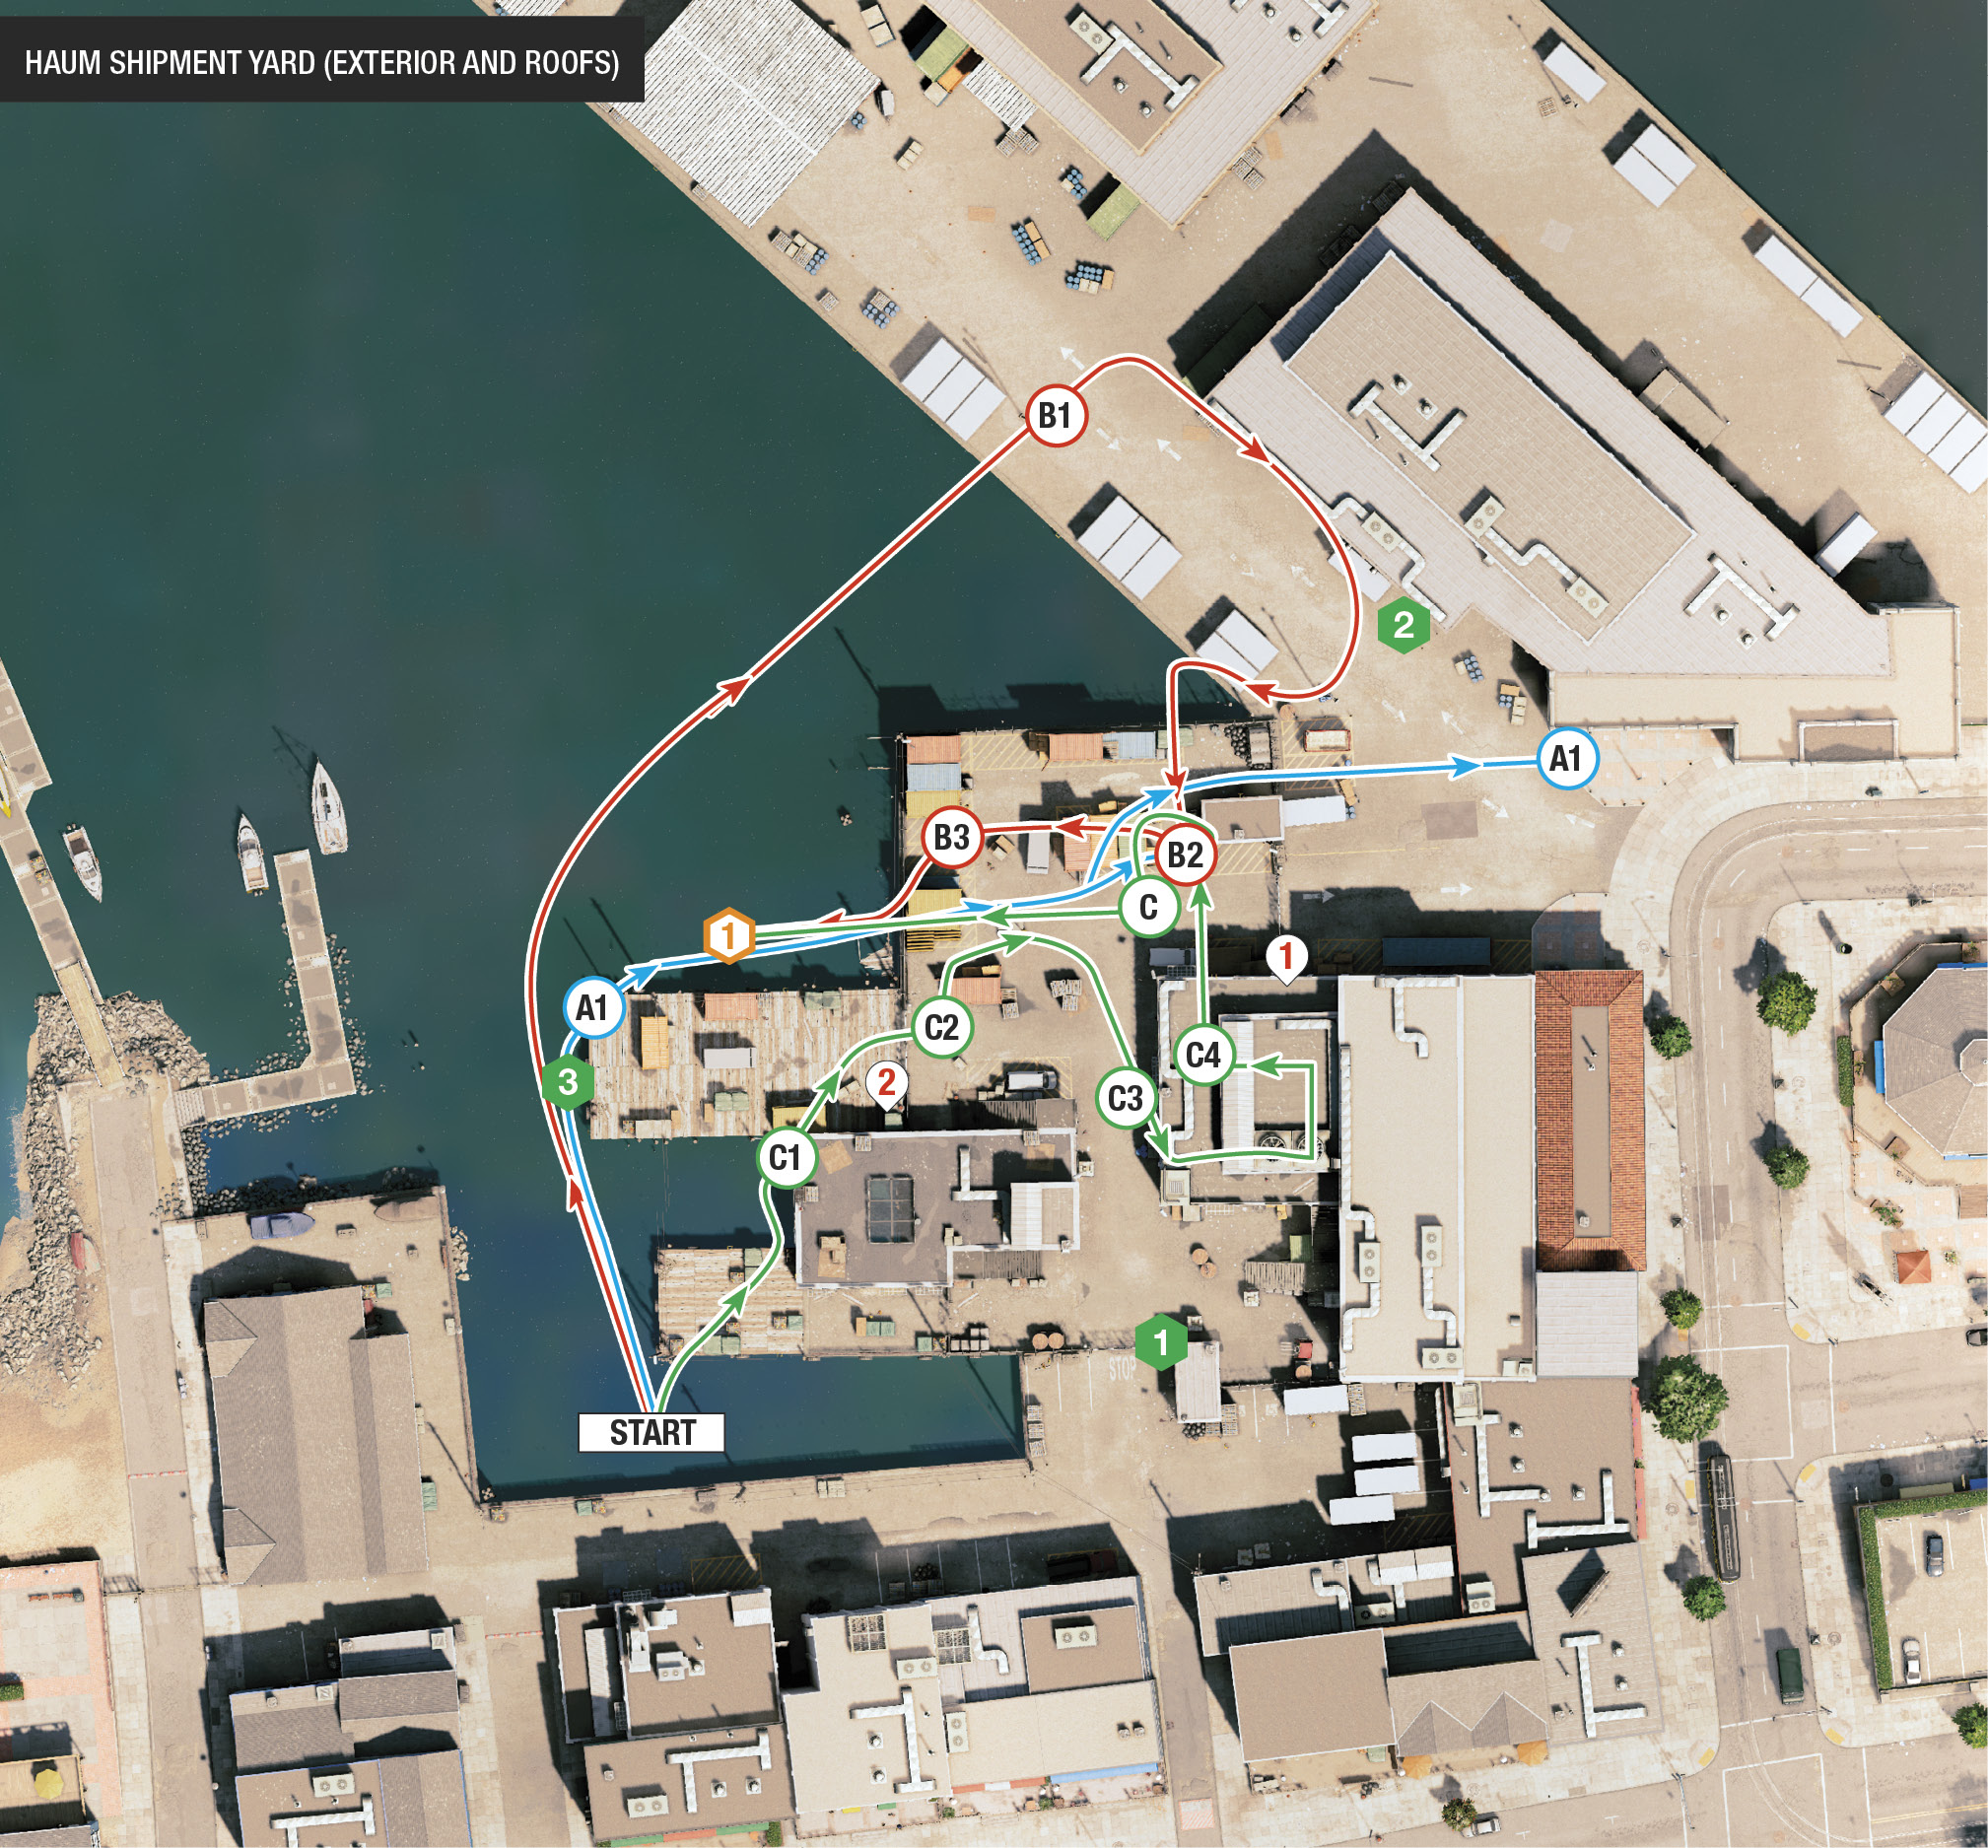
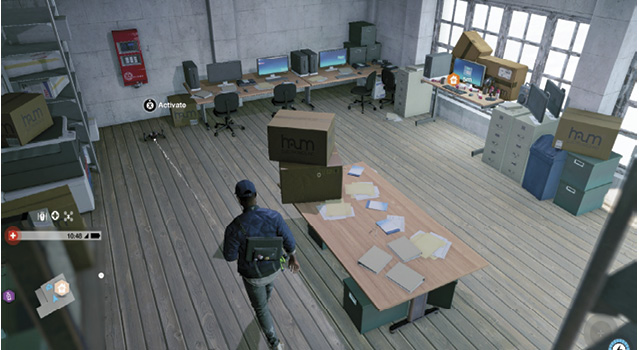
At the docks north of Ghirardelli Square, HAUM’s delivery information must be acquired. Make a swift NetHack scan of the office building. Gather this intel by entering the stairwell, releasing your RC Jumper to open the grating to the right of the locked door at the top of the steps. Maneuver it into the office via the duct. Once inside, unlock the CCT and hack open the door. Then inspect the PC to begin the mission.
Infiltration PointsAfter checking the computer, stroll over to the distribution center located on the docks nearby, and steal the HAUM truck shipment. Naturally, there are several ways in:
The initial infiltration location is via the gates situated in the southeast perimeter of the restricted area. To the right of the gates is a cabin and some pallets you can use to climb. There are more pallets to the right of the parked container. Use these to climb atop the container, and drop into the corner of the yard. Also note the hole in the fence near the pallets if you’re using the RC Jumper. 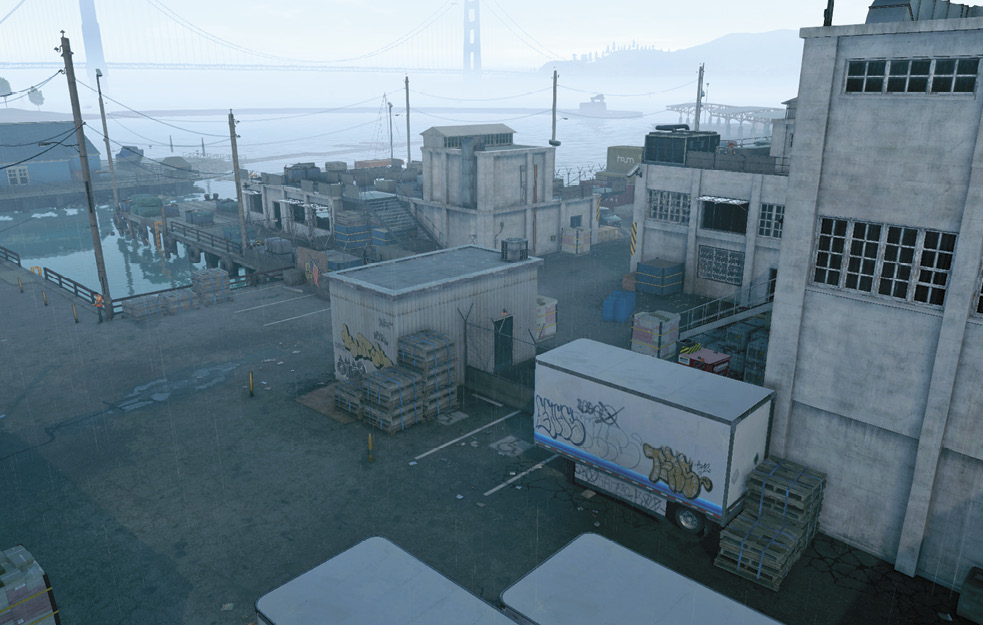
The northeast gate to the yard is the key to an easy mission completion, as once you acquire the access key, you can quickly unlock the gates (and thus the escape route out of here). You’re also close to the easiest infiltration point (IP) into the main warehouse where the guard with the access code is. You can take the road or swim across, and enter here to avoid most enemy interactions. 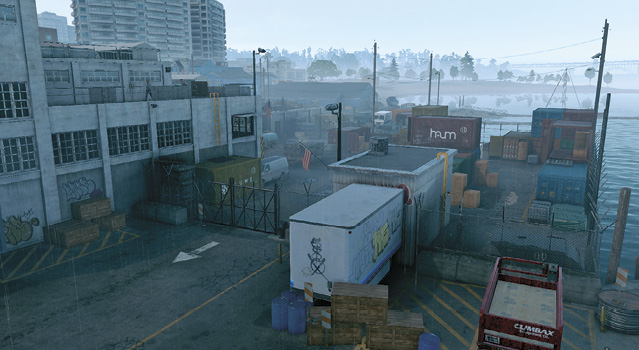
Ignore the waterfront IP at your peril! Swimming up to either of the two piers on the yard’s western perimeter allows you to circumvent many of the guards. The southwest pier has a boat garage attached to it. The truck you need to steal is on the northwest pier; don’t forget you can access this pier from the gate you need to unlock, as well as from the two pier ladders at the water’s edge (for those who like to get wet while employing stealth tactics). 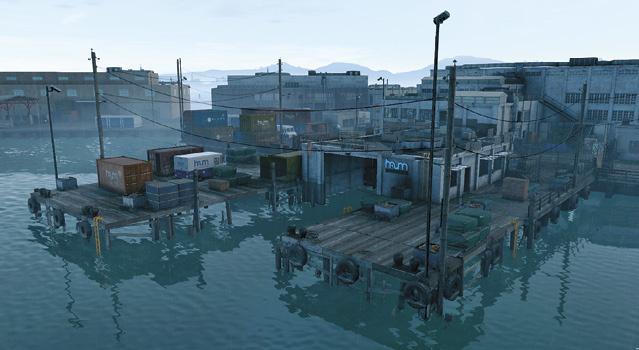 |
 Southeast Gates:
 Northeast Gates:
 Western Water:
|
 POIs and Objective Points
 Warehouse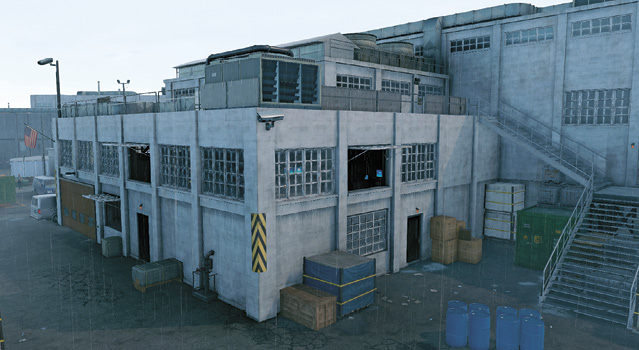
 Boat Garage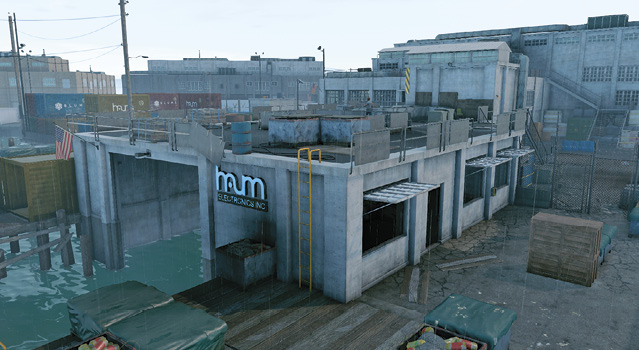
 HAUM Truck (Landrock Motors)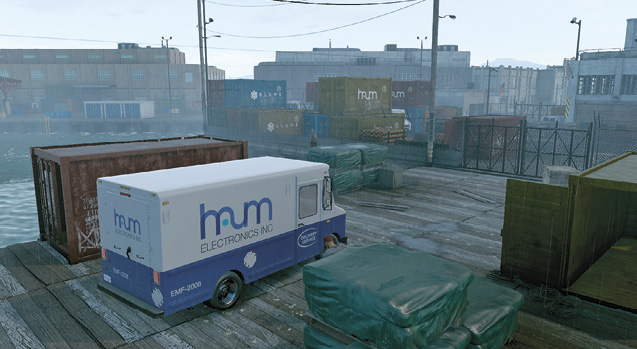
Paths to Completion
There are dozens of ways to complete this objective, but the optimal (or most entertaining) ones are detailed below:
 MARCUS, KNOW YOUR ROLE

This plan involves the least amount of enemy interaction and allows you to complete the objective, gathering the Research Point and the collectible too. Begin by swimming to the pier with the truck on it (A.1). Quietly slip into the truck and hide in it. You may need to tase or throttle the single guard patrolling this pier; it’s worth silencing him before continuing.
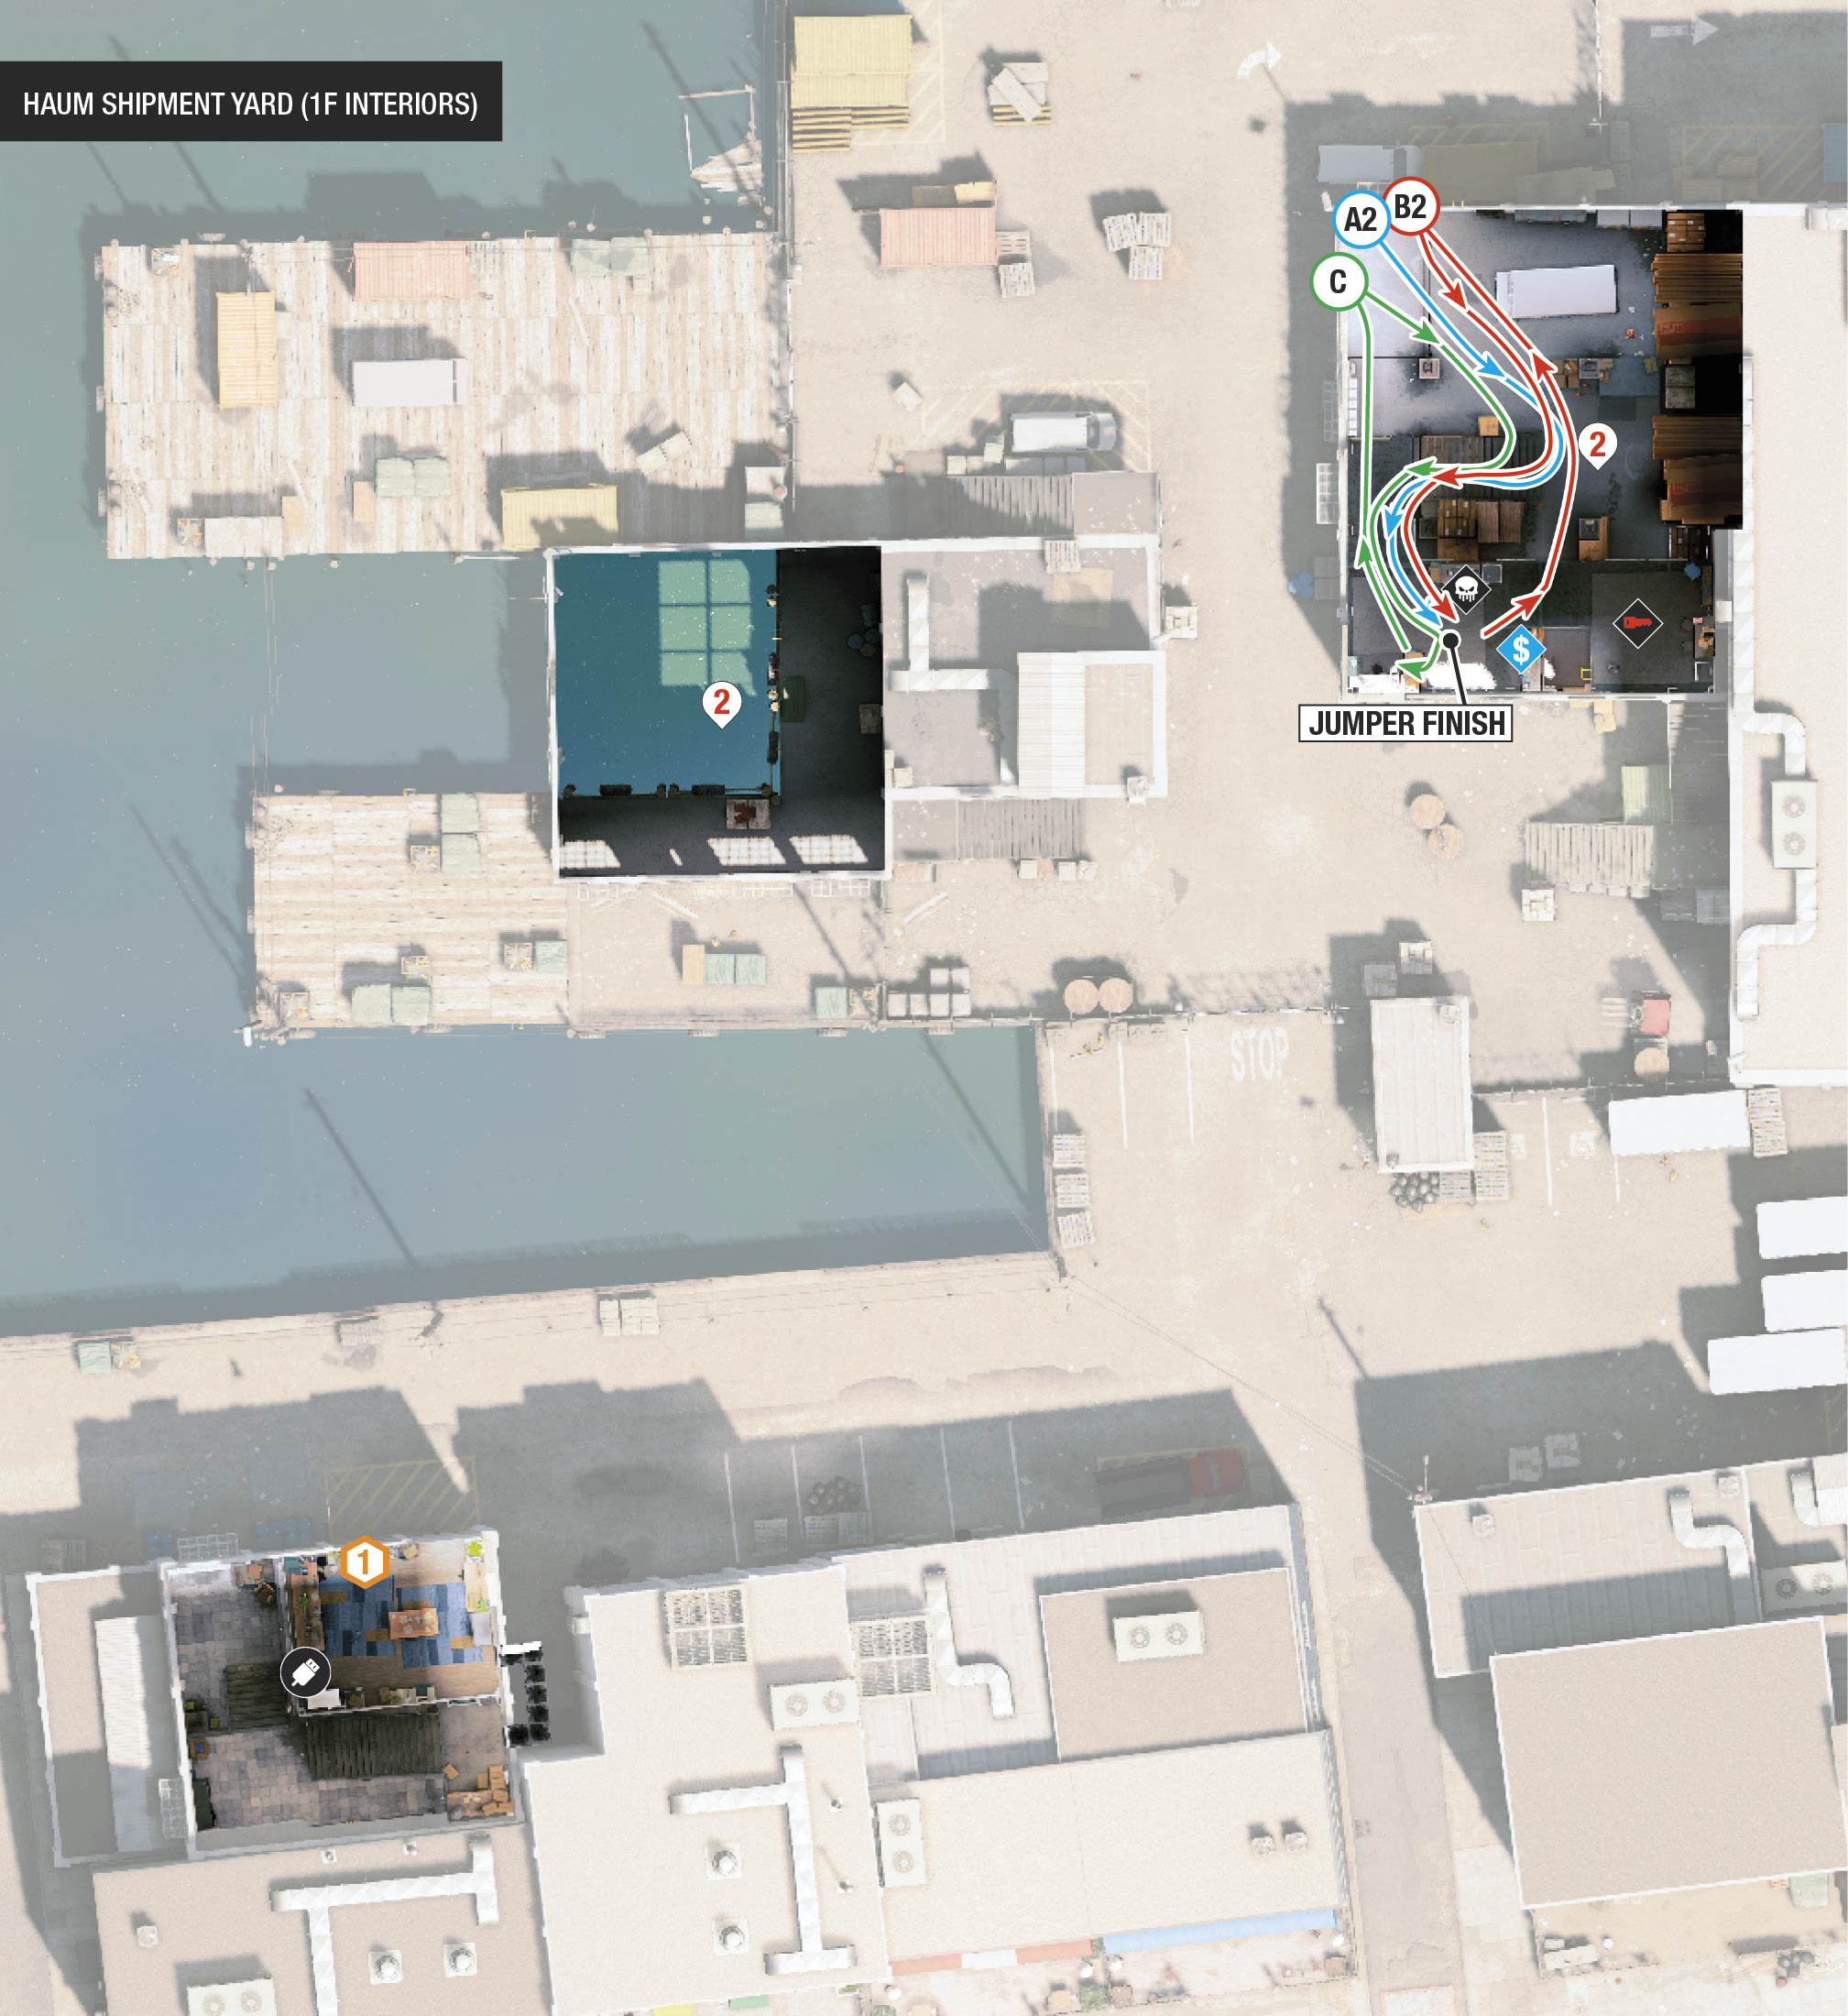
Now release your RC Jumper. Drive it to the locked gate ahead (east); jump onto the tarp-covered crate and over the fence. Watch for other guards spotting the Jumper. Use NetHack to pinpoint the guard with the access key inside the warehouse. Either open the garage or the ground vent close to the parked van (A.2) (drive under the van to hide your RC if you need to). Once inside the garage, hack the access key without being spotted; this allows you to open the gate to the pier that holds the van you’re hiding in.
With the access code, ditch the Jumper or trundle back under the van, out to the gates you need to unlock with the access key. Go toward the truck on the pier, and unlock the gates there. Start the truck, and make a break for it (A.3)! If you don’t get caught on any scenery (smash through the pallets), you can flee the area before the guards call reinforcements.
Utilize the Quadcopter to fly to the gaps in the warehouse defenses; the open windows for example (you can even remotely hack a door and scoot through). Hack the access key through the window before opening both gates. But only the RC Jumper can gather the Research Point and collectible.
 Out for a Stroll

Without the RC drones, swim around the piers and climb the ladder onto Fisherman’s Wharf to the north (B.1). Jog around to the wooden crates and parked container adjacent to the northeast cabin and climb them, stepping onto the cabin roof (IP 3). Use NetHack to track the guard in the cabin. When he heads outside, hack him. Optionally drop and subdue him afterward.
Head south, crossing the area in front of the gates you need to hack, toward the corner of the warehouse where the van is parked (B.2). No van? Then open the garage door around the corner and slip in. Climb the van, clamber through the open window, and drop into the warehouse. Hide close to the crates under the metal stairs, and pinpoint the guard inside this warehouse with the access key. Subdue the guard, then climb the steps and secure the Research Point and collectible. Leave the warehouse via the same window you came in from; park the HAUM truck next to the window so you can reach it.
Drop onto the van roof, watching for guards. Using the containers as cover (B.3), head to the pier with the truck on it. Open the gate, optionally remove the guard on this pier, and drive the truck out.
 Leave Not a Soul

The optimal stealth route allows you to remove all guard threats first (without reinforcements arriving). Hack the access key during the route, and drive the van out at your leisure. Use primarily the taser and strangling, and use suppressed weapons to kill sleeping foes if you wish. Here’s a battle-tested route to try (one of many):
Look north, jump into the water, and head to the ladder leading to the pier. Climb the corner ladder on the boat garage to the roof (C.1). Subdue the guard patrolling here, then tase (with careful aiming) the guard near the objective truck.
The third guard at the base of the stairs to the boat garage roof should be in the vicinity (C.2). Jump down on his head, tase him as he comes up the stairs, or watch for him and remove this threat. Remember this guy could be on the roof, too!
Head across the yard, moving diagonally to your right, toward IP 1 (C.3) (southeast gates). Tase or strangle the guard near the security hut. Head up the metal stairs to the warehouse roof, and work your way around, throttling the patrolling guards or tasing them. From the southwest corner of the roof path (C.4), check the yard of containers to the southwest, find the guard, and tase him. Then tase the guard in or near the security hut by the northeast gate.
Climb down the ladder, open the garage door to the warehouse, sneak inside, and hunt down and tase the last guard (carrying the access key). Quickly move to secure the Research Point and collectible. Then sprint west across the yard to the truck, and flee in the truck via the northeast gates. Tased guards are waking up by this point (which is the main reason you slay them quietly afterward).
Variations on this path involve using the scenery (the gas pipes, junction boxes, and other explosive objects) to cause guards to turn with their backs to you. However, this also causes enemies to ignore their normal, nonalert patrol routes.
Remote Control

Use any aspects of this plan, which gets progressively crazier as you go. Position Marcus at either IP 1 or 3, but don’t enter the restricted area. Instead, launch your Quadcopter, fly it outside the warehouse, and hack the access key from the guard through the window.
Hover the Quadcopter above the HAUM truck after opening the nearest gate (or maneuver the RC Jumper onto the truck’s roof). Use the Vehicle Directional Hack to remotely steer the truck without Marcus in it!:
Drive forward (east), left, right, then forward and out of the northeast gate (if that’s where Marcus is waiting).
Drive forward (east), right, then forward and out of the southeast gate (if that’s where Marcus is waiting).
Is this difficult? Yes. You need to use this hack four or more times each time you change direction. However, it is possible! Then ram a nearby building so Marcus can dash into the truck and escape. Here are some additional tips to try:
Refill Botnets from nearby guards, civilians and police if you need to.
Always remember that “forward” can be used to straighten the vehicle during a turn.
Forward or reverse causes the vehicle to stop in place, if it’s moving in the opposite direction.
Is Carnage Your Goal?

If you’ve a grenade launcher or other weaponry you’ve been itching to use, be prepared for reinforcements. The majority of them show up along the alley to the yard’s south. Before the mayhem begins, bring a large truck and park it at this alley to waylay any reinforcements. Force them through this choke point, where you can easily neutralize them.
Then hop on the security hut by the locked gate to the southeast (IP 1), and start mowing guards down. The height and AC unit affords you cover, and you’ve a good view (especially when flicking NetHack off and on) of guards attempting to attack from the warehouse roof, boat garage roof, and the ground below. Stay here until everyone is dead. Then complete the objective.
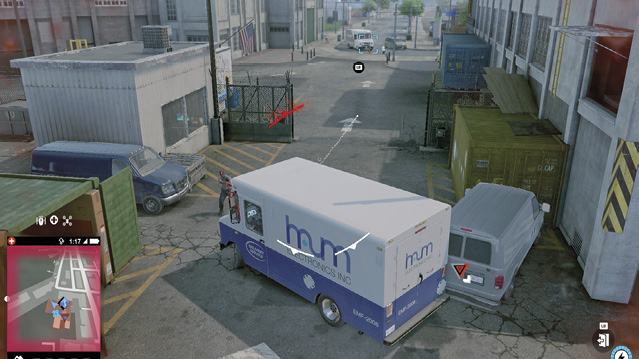
The Scissor Lift near IP2, when extended, is another good vantage point, though you need to be aware of incoming grenades!).
How about attacking from a boat using a sniper rifle? It’s possible, but you’re under the pier, so pinpointing foes can be difficult. Or rain down bombs using the Quadcopter; that’s always entertaining.
Once you’ve escaped the pursuers using standard defensive driving tactics detailed in this guide’s “Training” chapter, head to Wrench’s garage again. Though your shipment contained a lot of trash, there’s some treasure in there as well. The mission concludes.