
Watch Dogs 2 Guide Main Operations Power To The Sheeple
3. Operation—A Tempting !nvitation
Objectives
• Install backdoor on !Nvite’s servers. • Tap !Nvite CEO’s phone.
Difficulty
RewardsDedSec Followers: +32,400 BriefInfiltrate the social media giant that you know oh so well; thank you very much for the fake followers, !Nvite. Hostiles
Location
|
 Meet Sitara near !Nvite.

 Umeni Security Corps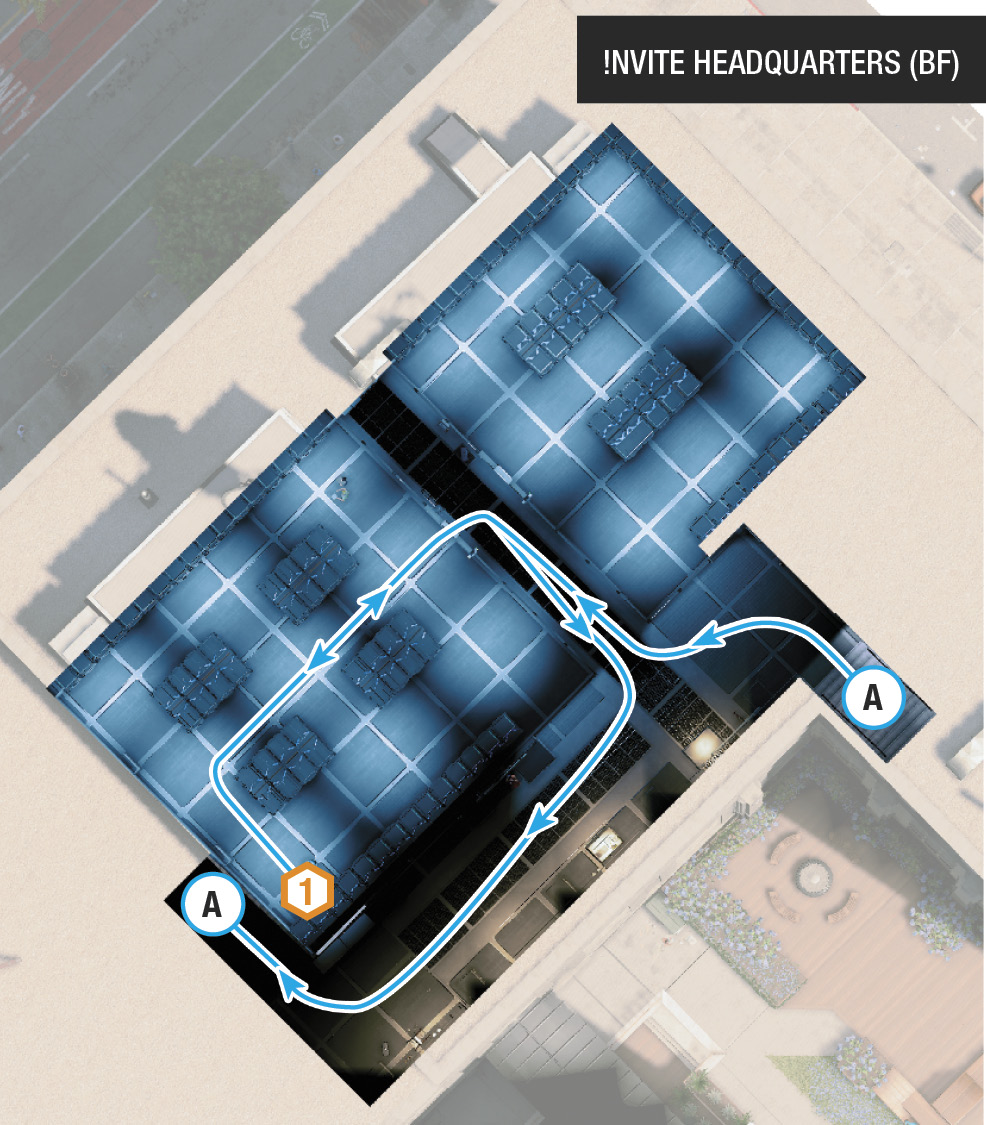
Travel to a bench close to the !Nvite building, and talk to Sitara once she arrives. Thruss is seriously pissed about the billboard. Now to hack into the office of the CEO of !Nvite, Mary Catskill, and uncover some evidence of collusion. You remember this place, right?
Infiltration PointsThe entrances and exits of this building should be familiar to you, as you’ve explored the interior during Main Operation: Looking Glass. This time, though, you’re headed down to the server room basement, and there’s a whole load more guards to worry about.
Located on the northwest perimeter by the main street, these three doors require an access key to open. Handy, then, that you can cycle through to the camera above the lobby, wait for the security guard with the access key to walk by, and hack before entering. However, you’re more easily spotted taking this route; a more clandestine approach could be safer. 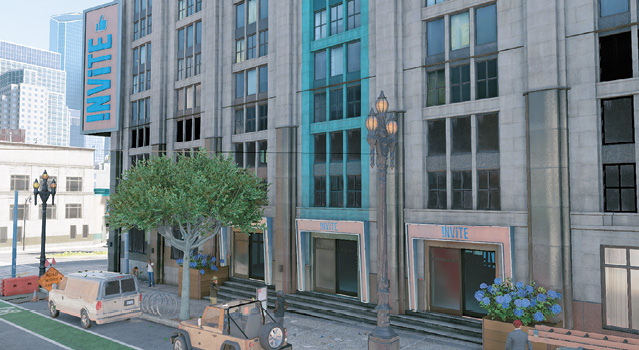
The two doors accessible from the deck and recreation gardens, close to the steps with the huge !Nvite signs, are both locked and need an access key. However, the two vents above the doors allow you to maneuver a drone in here to obtain the key remotely. 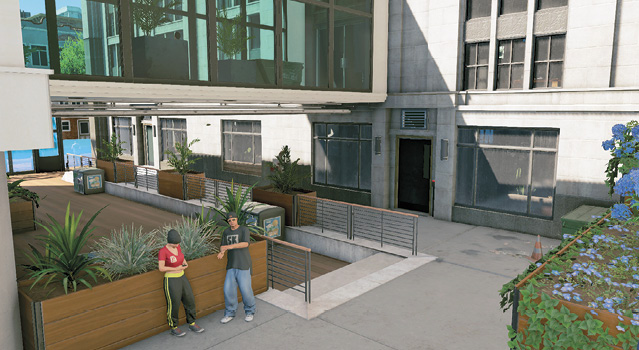
Opposite the deck gardens doors is an interior stairwell and a bridge across to the upper floor of the !Nvite offices. Though the door needs hacking with an access key, the floor vent around the corner (opposite the doors) does not and provides a great insertion point for your RC Jumper. 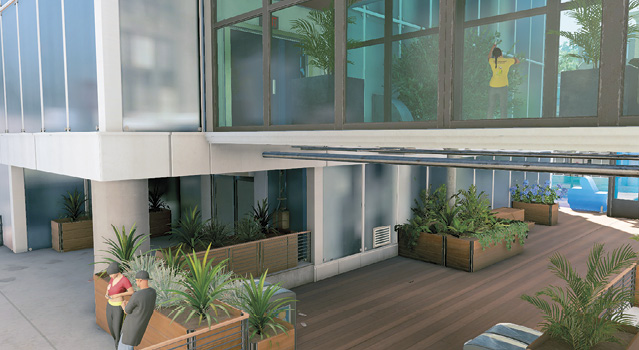 |
 Front Doors (Northwest):
 Deck Gardens (Southeast):
 South Building Stairwell:
|
 POIs and Objective Points
 Access Key (2)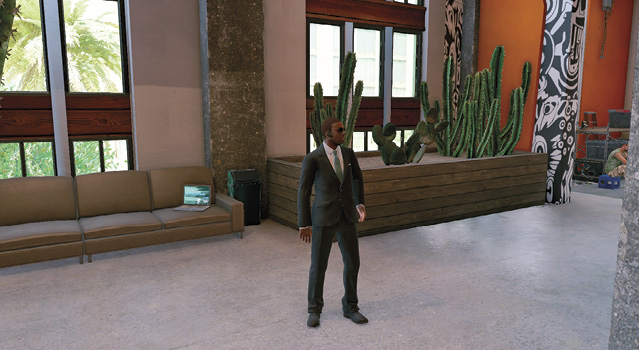
 Closed-Circuit Terminal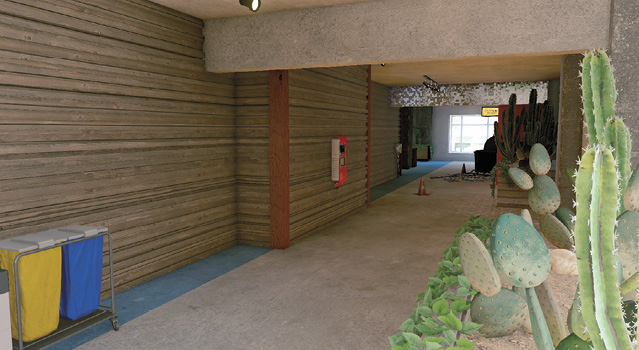
 Server (Backdoor Hack)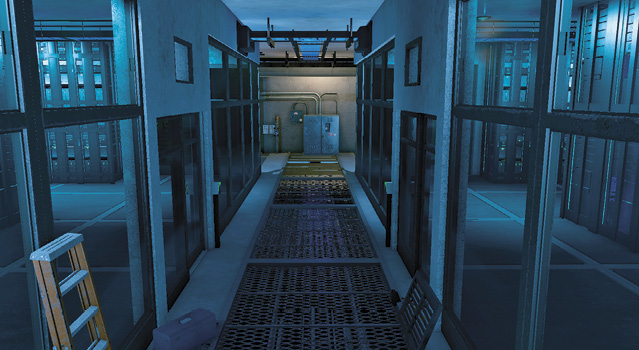
 Control Desk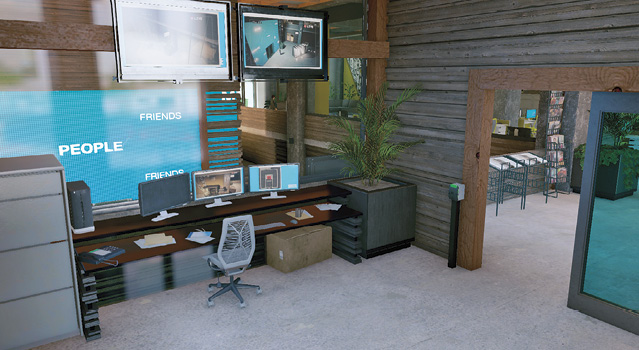
Network Bypass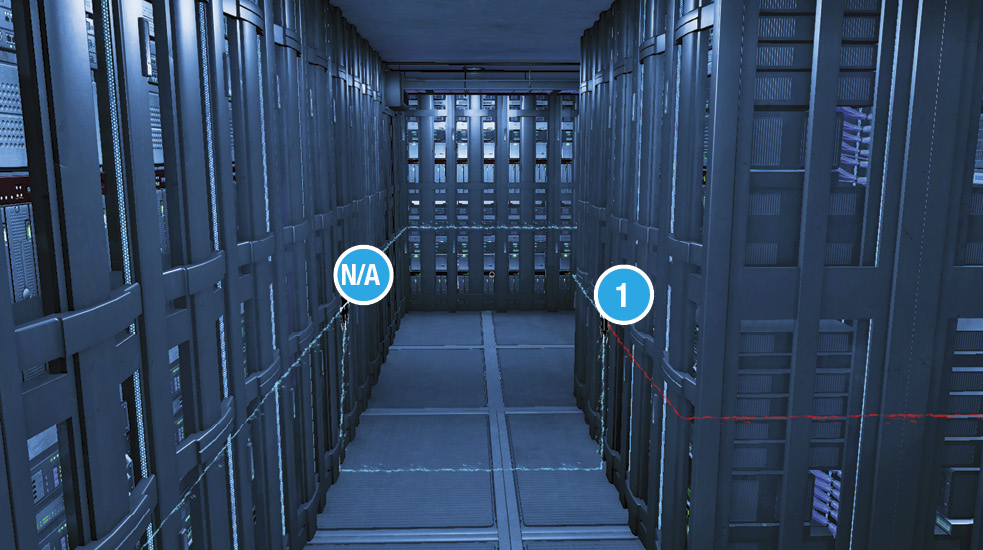 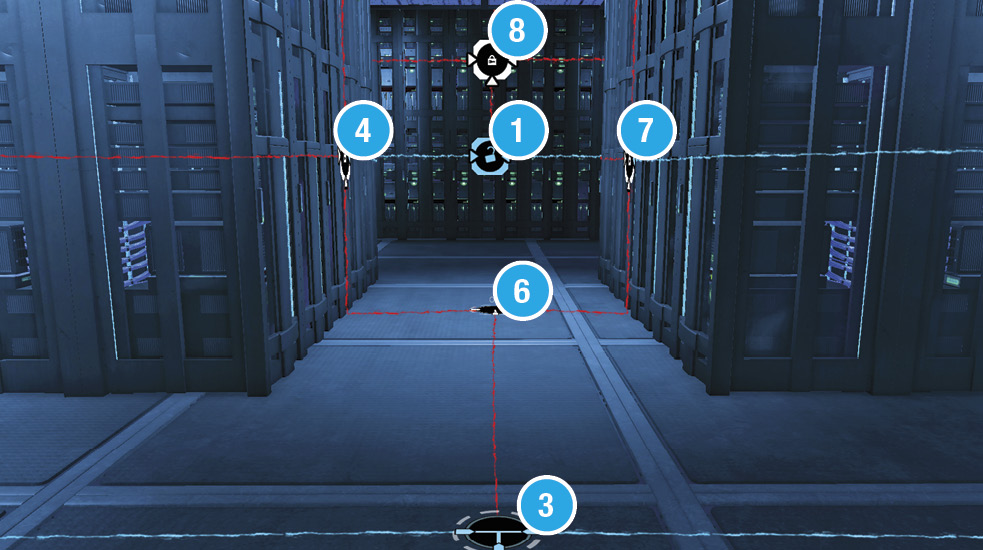  Puzzle Room 1 1: Unlock. 2: Turn x3. 3: Turn x1. 4: Unlock. 3: Turn x2. 5: Turn x3. 6: Turn x3. 7: Unlock. 1: Turn x1. 3: Turn x1. 8: Unlock. Part 1 complete. |
Network Bypass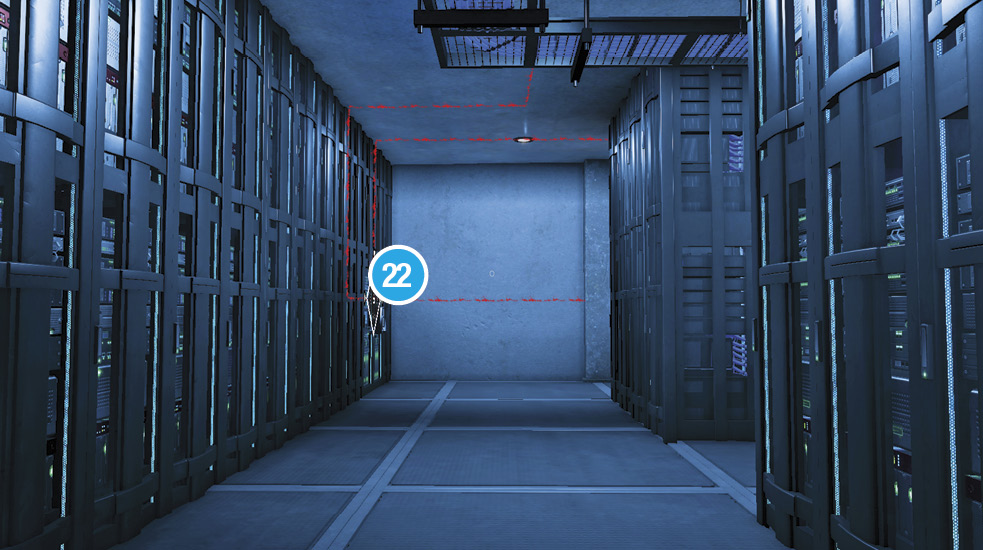 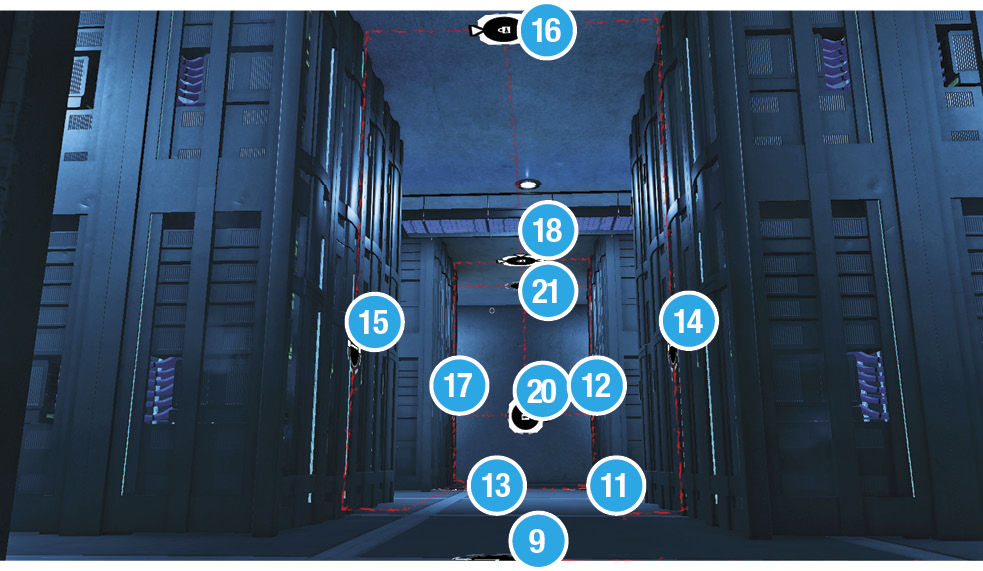 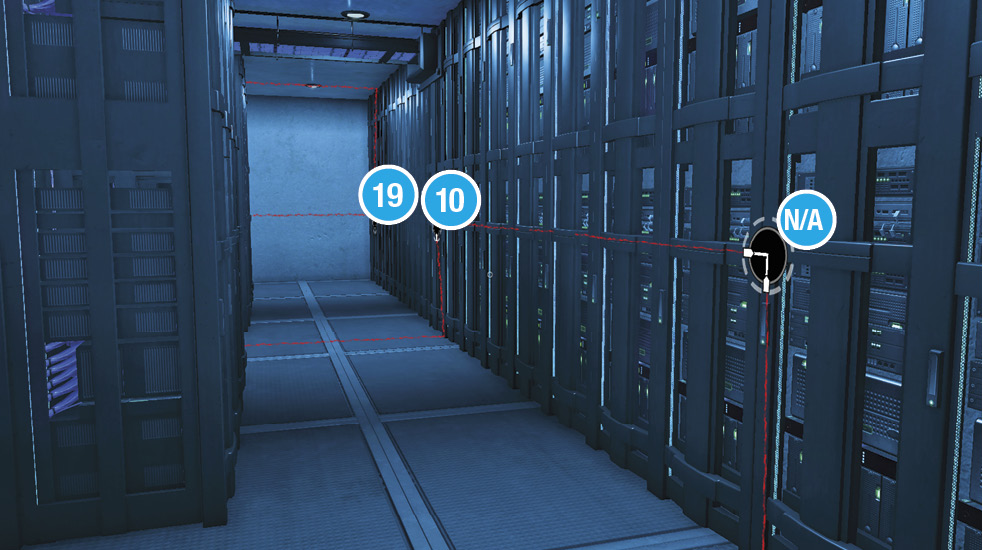 Puzzle Room 2 9: Turn x3. 10: Turn x3. 11: Turn x1. 12: Turn x1. 13: Turn x3. 11. Turn x2. 14. Turn x1. 15. Turn x1. 16. Unlock. Turn x1. 11. Turn x2. 17. Turn x1. 18. Unlock. 19: Turn x3. 20: Unlock. Turn x2. 21: Turn x2. 22: Unlock. Puzzles complete. |
Paths To Completion
 This Guest Is Un!Nvited

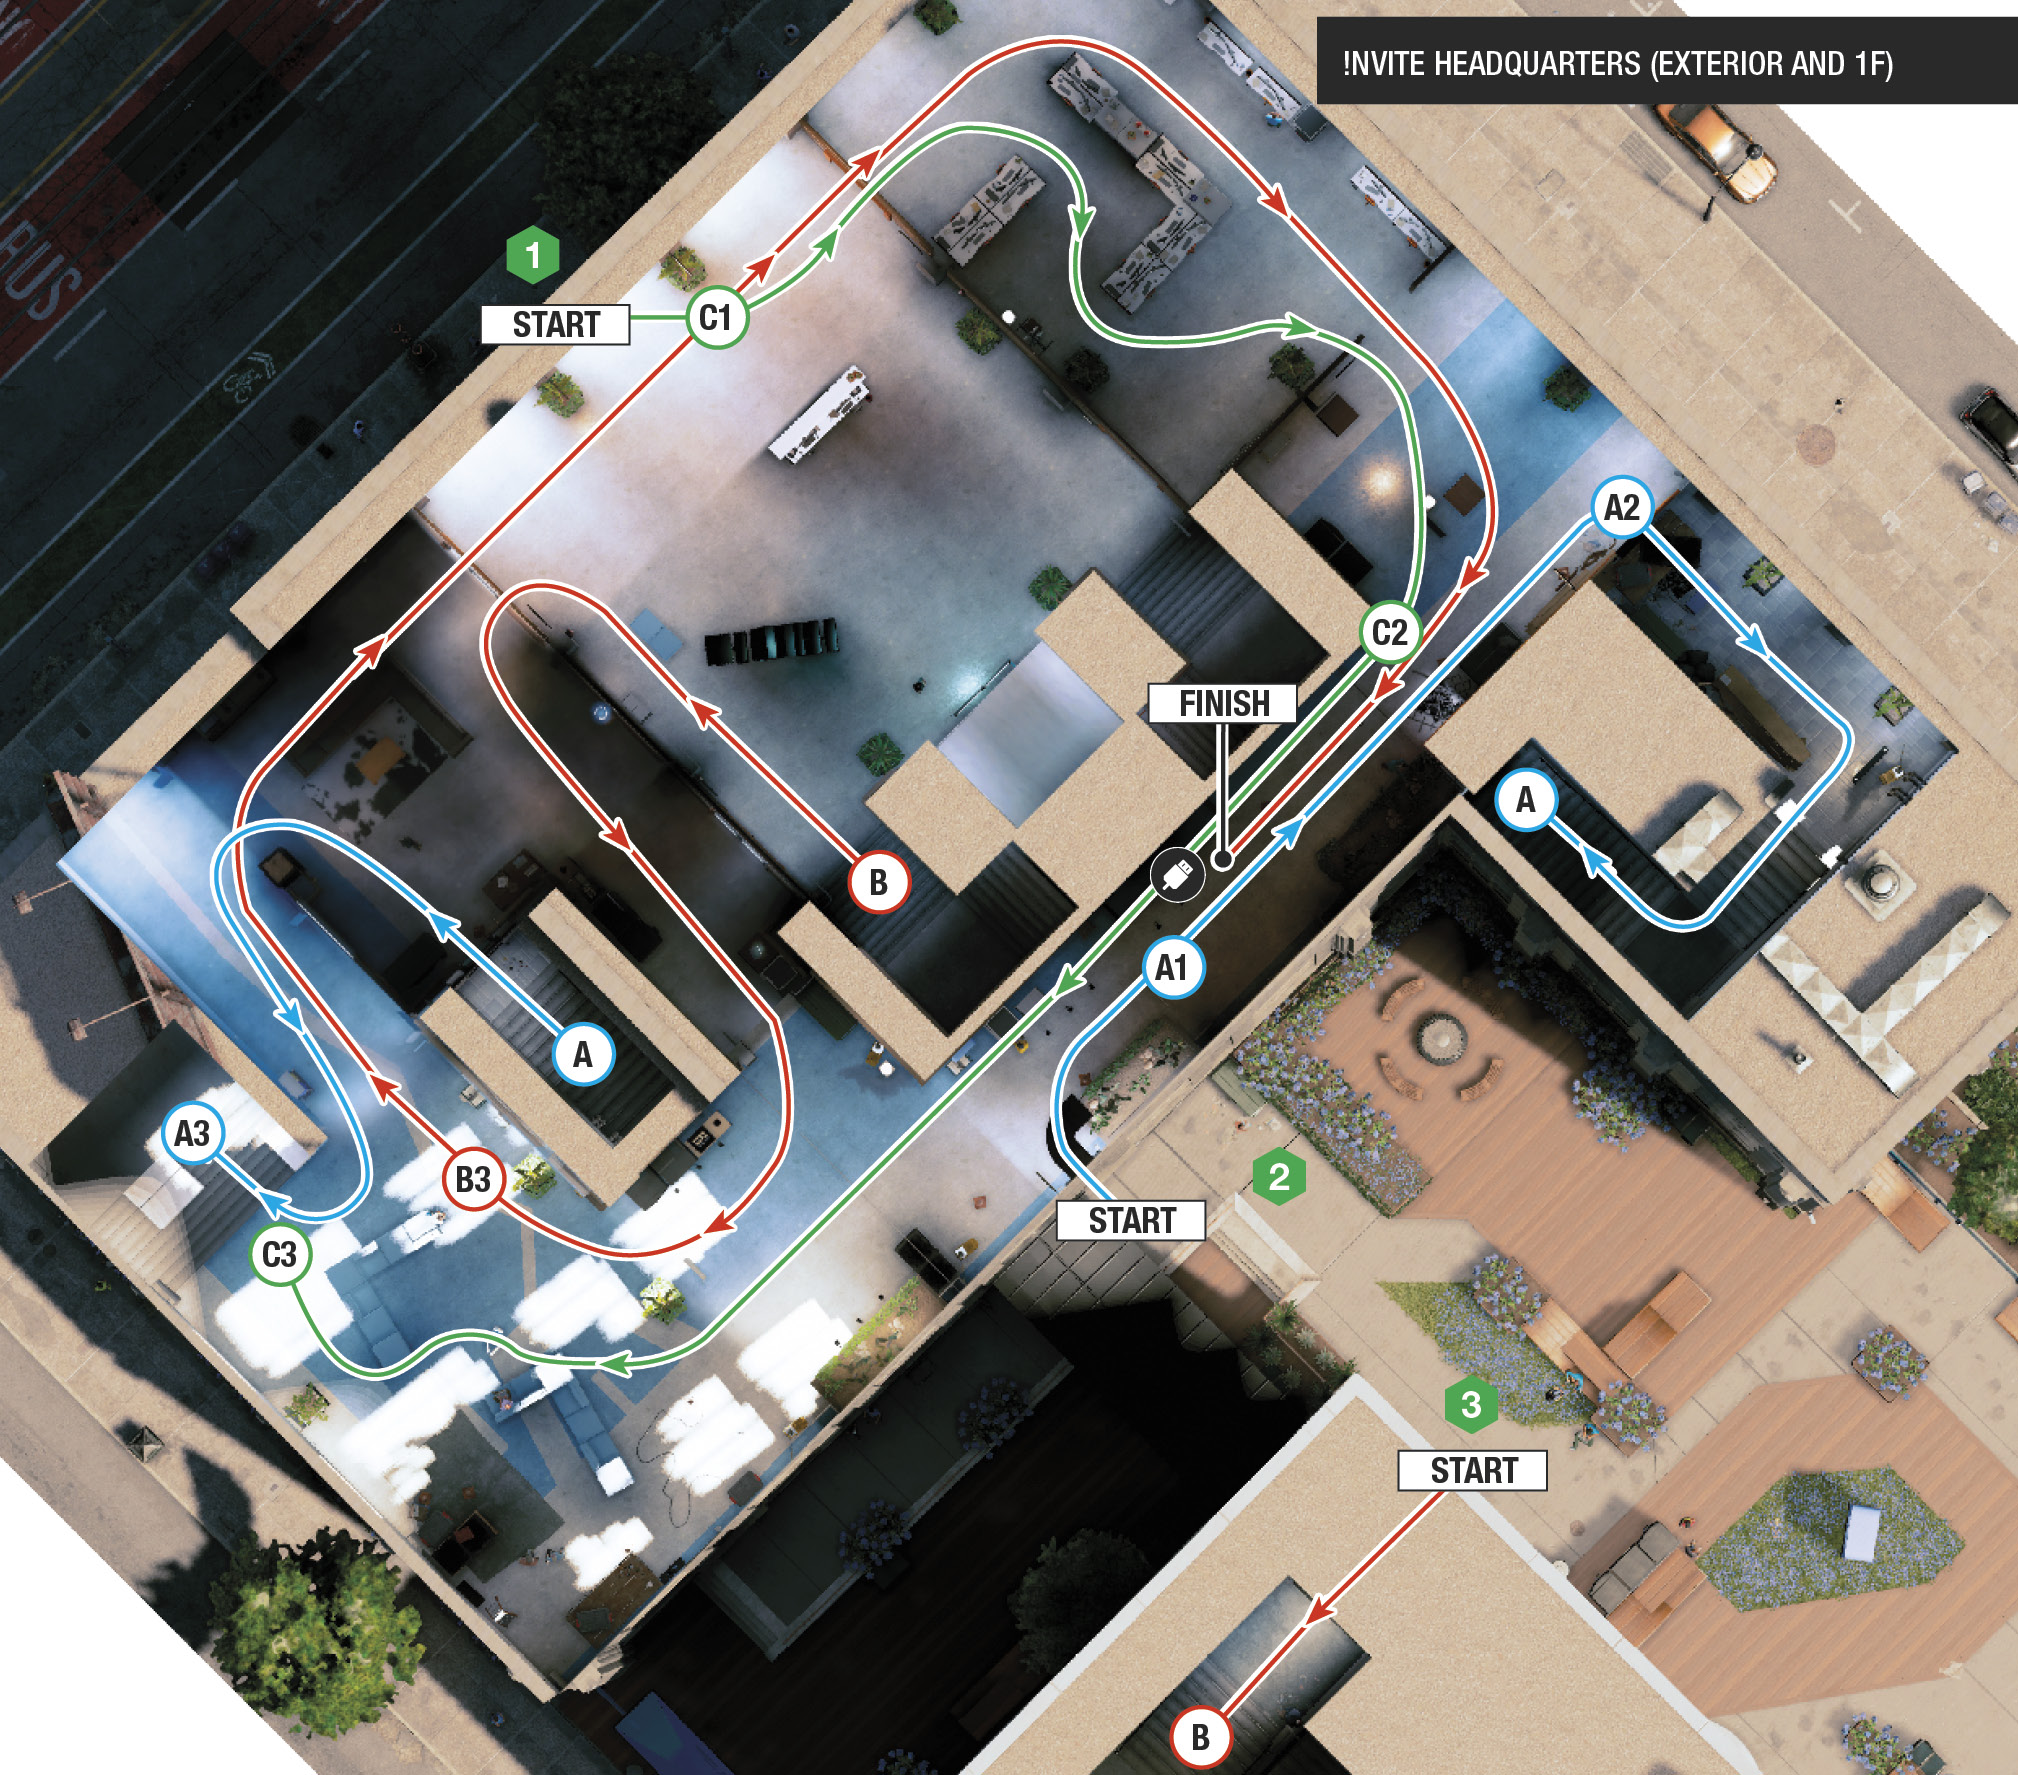
Need the most proficient route to both objectives? Then sit outside IP 2 and send in the Quadcopter (or cycle through the cameras in NetHack) to hack the access key. Now use the RC Jumper or Marcus to enter via the Infiltration Point (by vent or door, as you have the key now). Since you’re in the same corridor as the CCT (A.1), now is the time to unlock it. If there’s a guard near the CCT, coax him down the corridor to the junction box, strangle him (if you’re Marcus, as this is silent), or call his phone. Then unlock the CCT. Head to the ground floor’s northeast corner, where the now-hackable doors are to “#server room.” Open them (A.2), head down the stairs, and complete the Network Bypass. Do this as Marcus or with the RC Jumper.
Then, as Marcus, either:
- Leave via the basement “#exit” stairs to the southeast (not the way you came). Turn left at the top of the stairs by the potted fern, drive into the foyer, and spin 180 degrees to head (northwest) up the large concrete stairs of the “#lounge” (A.3).
- Or, if you used the RC Jumper up until this point:
- Move as Marcus to the “#lounge” by entering from IP 2, and climb the concrete stairs.
Then turn right (northeast) and distract one more guard (possibly two) on your way to the “#tech support” area (A.4) where the computer is. Interact with the keyboard (Marcus only), and complete the other objective (bugging the phone).
 These Guards Are Nearsighted

Now for a plan that delivers a strangle-based shakedown of all seven guards, with optimal suppressed executions afterward. This will ensure you’ve neutralized all threats before completing either objective. First, use the Quadcopter and hack any of the vents, scoot inside, and hack the access key (or cycle through the cameras to gather either key). Then enter via the stairwell under construction (IP 3).
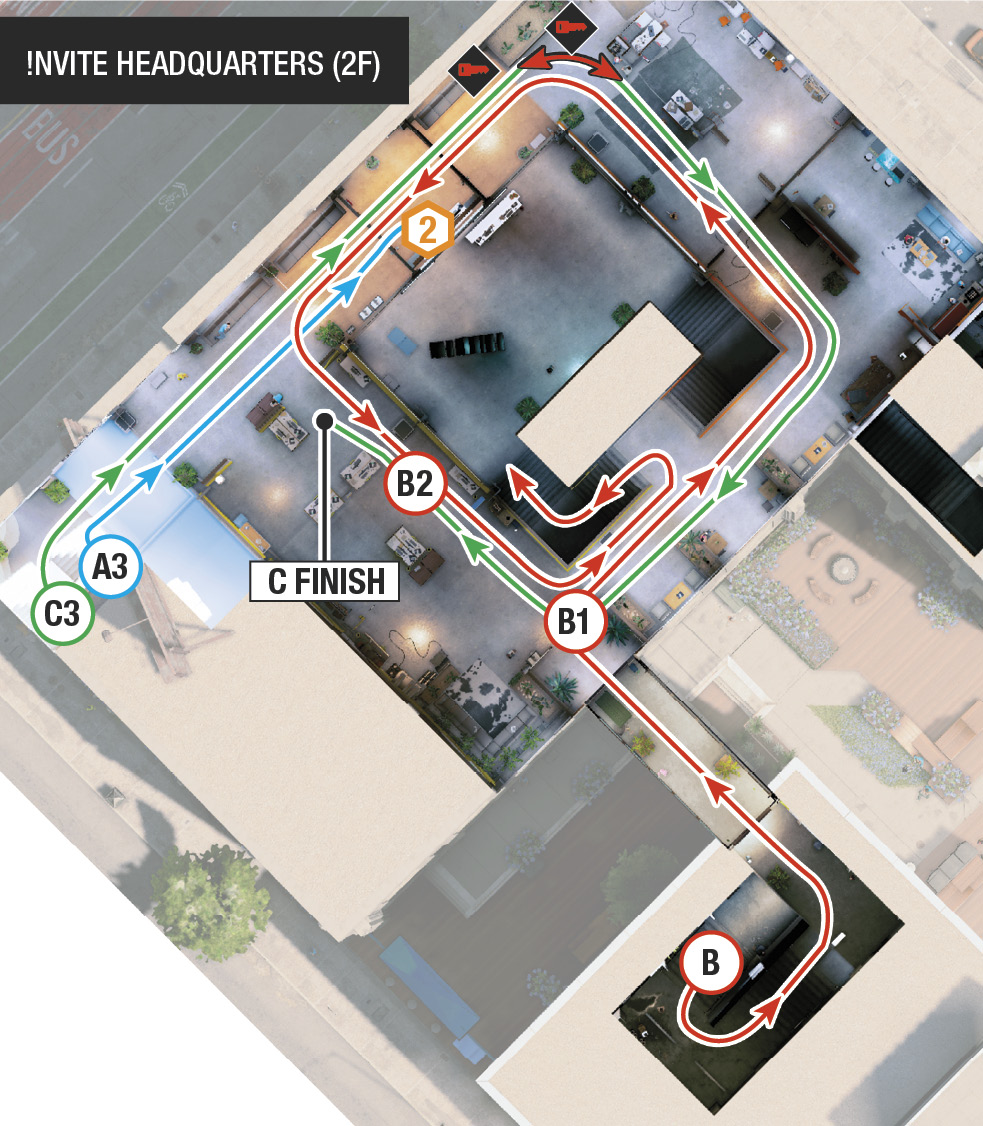
Ensure the upper floor is clear of other foes. Distract the guard to the right of the sets of unlocked doors after crossing the covered bridge, then drop him (B.1). If more than one guard is up here, distract both. Maneuver counterclockwise around the upper balcony, and take down the two other guards. Do this quickly in case one of the remaining four guards on the ground floor head upstairs. After a complete circle of the upper floor (B.2), use NetHack to determine where the four remaining guards are downstairs. If any use the central stairwell (from either side), hide and drop them as they arrive on the upper floor.
Usually you can head to the lounge concrete stairs, tase one or two guards there (B.3), and then search and drop the remaining three guards in a clockwise route without worrying about being seen from above. This route is preferable, as removing threats on the upper floor means you aren’t as easily spotted on the ground floor. Now unlock the CCT and complete both objectives in peace.
Other options include entering from IP 2 and making a ground-level counterclockwise sweep, followed by an upstairs takedown, with judicious use of phone distracts and strangulation.
 Your Tasing Is Unrequited

An alternate route with takedowns is via the main front doors (IP 1). Stand there and launch your drone, flying it to IP 2. Open the vent and fly inside (distracting a guard below the vent) before hacking one of the access keys. You can ignore the drone at this point. Or, cycle to the camera on the lobby’s upper section, just on the other side of the locked doors. Hack the access key remotely.
Enter the ground-floor lobby (C.1, with the !Nvite signs) and work your way clockwise around the office, past the locked server room (C.2), and unlock the CCT in the corridor. Make a complete sweep of the ground floor, strangling the guards as you go. Tasing is an option, but it makes a sound. Ascend to the top-floor balcony via the concrete steps in the lounge area (C.3). Drop the guard near the tech support office, then make a clockwise sweep of the upper floor, removing the two remaining guards. Then complete both objectives in either order.
These Bombs Are Ignited

Drive a motorbike through the doors to create havoc, then use the concrete steps and blue walls of the lounge as cover, moving along the balcony to the bridge above IP 2. Watch for reinforcements shooting through the windows of the bridge as you lay proximity traps for all and sundry until no more threats are present. Another good camping spot is objective point 2. Alternatively, ignore the bike plan and just wade in there after hacking the access key; the defensive positions upstairs allow you to lay bombs to stop foes outflanking you.
Once you complete both objectives, flee the building, out of the area radius on your minimap. The next part of the operation begins immediately, outside city hall.